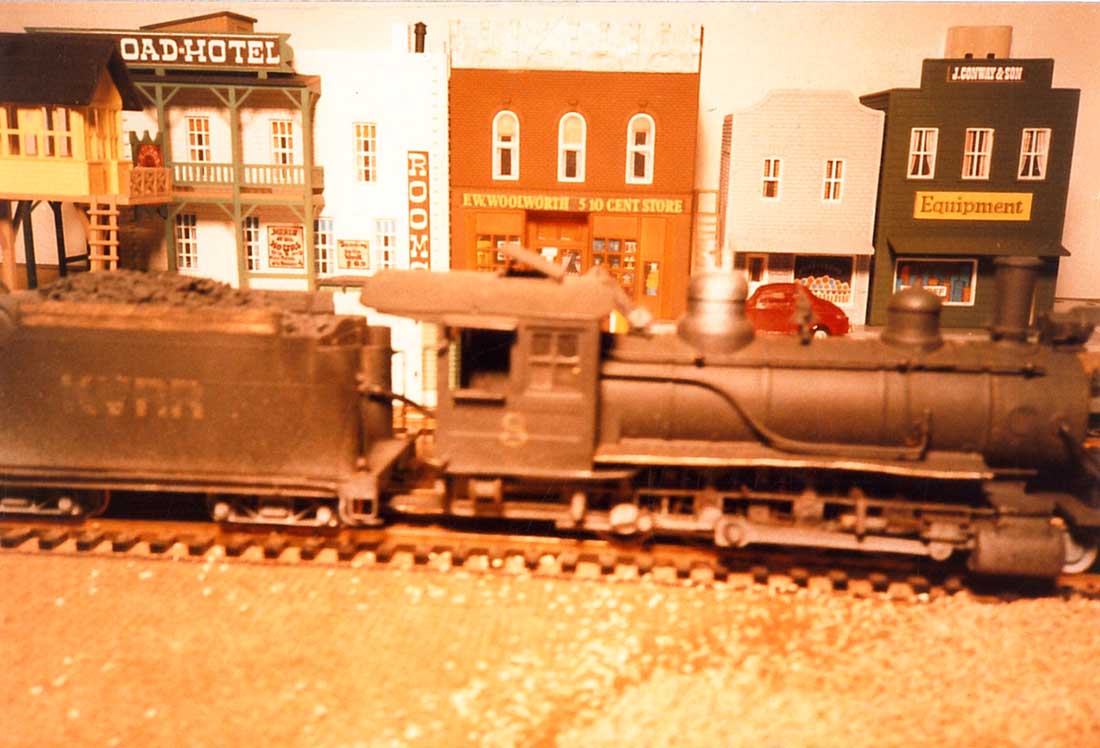
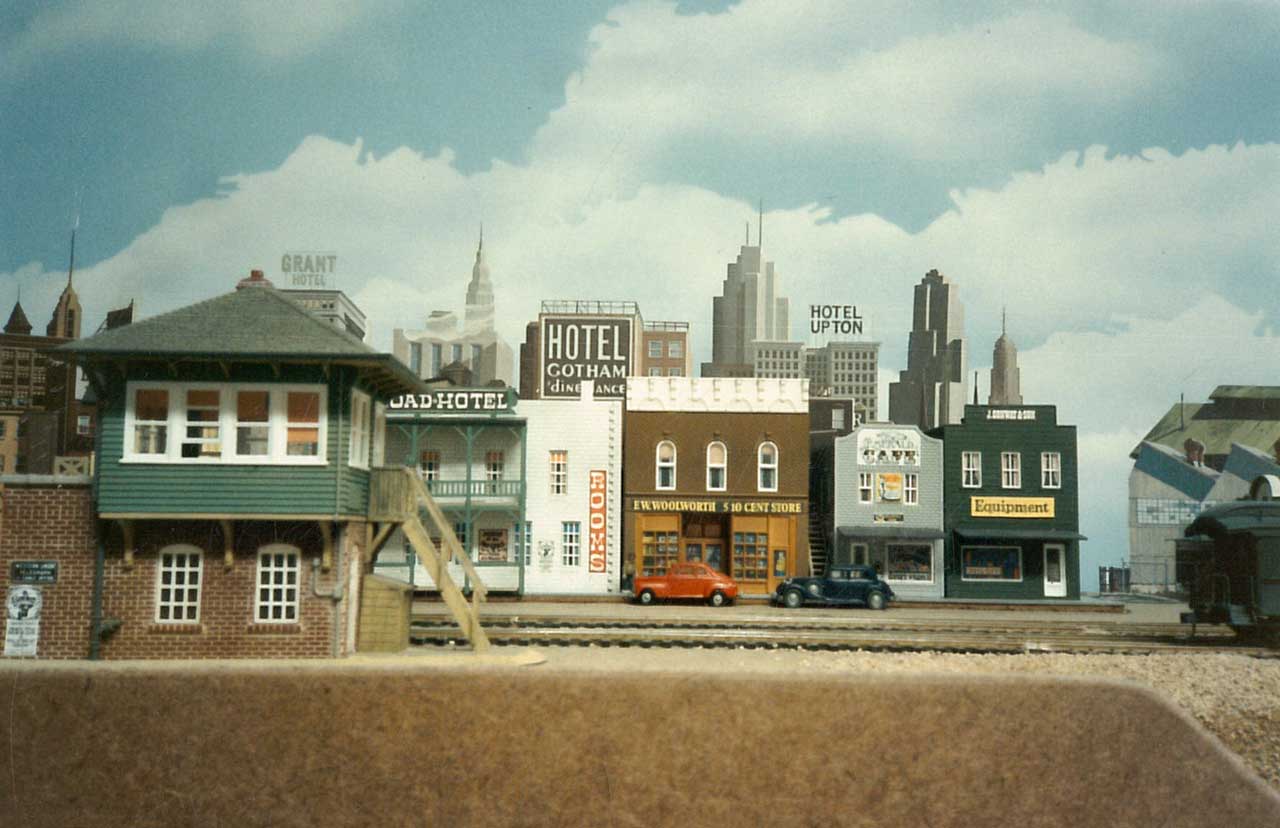
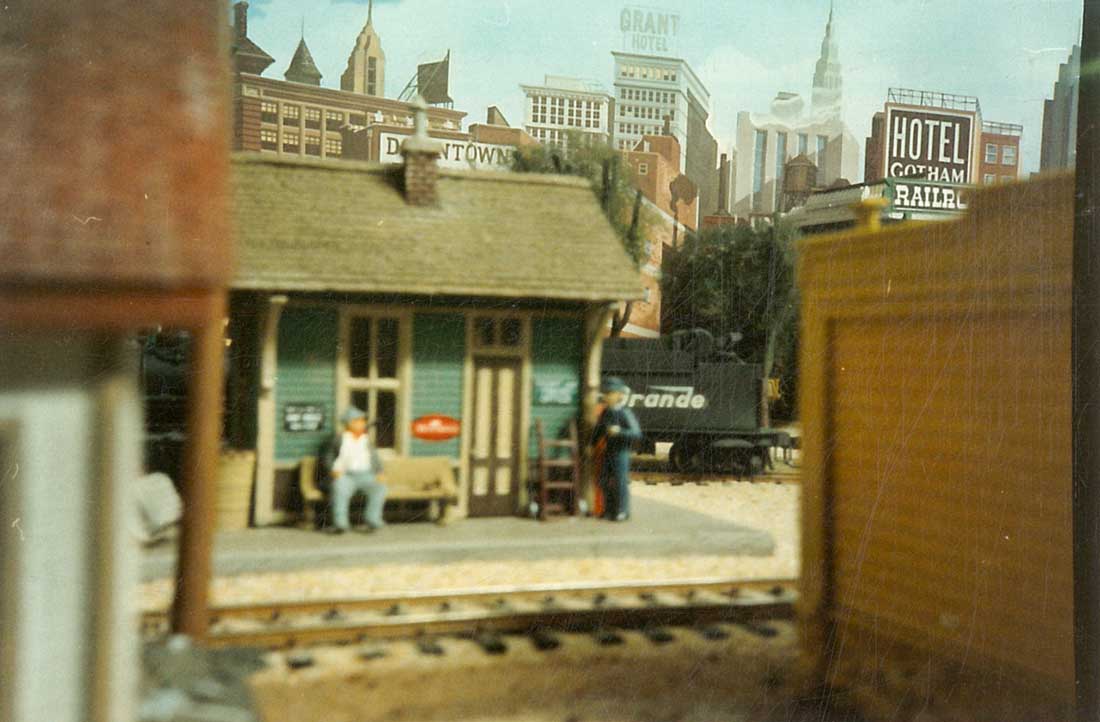
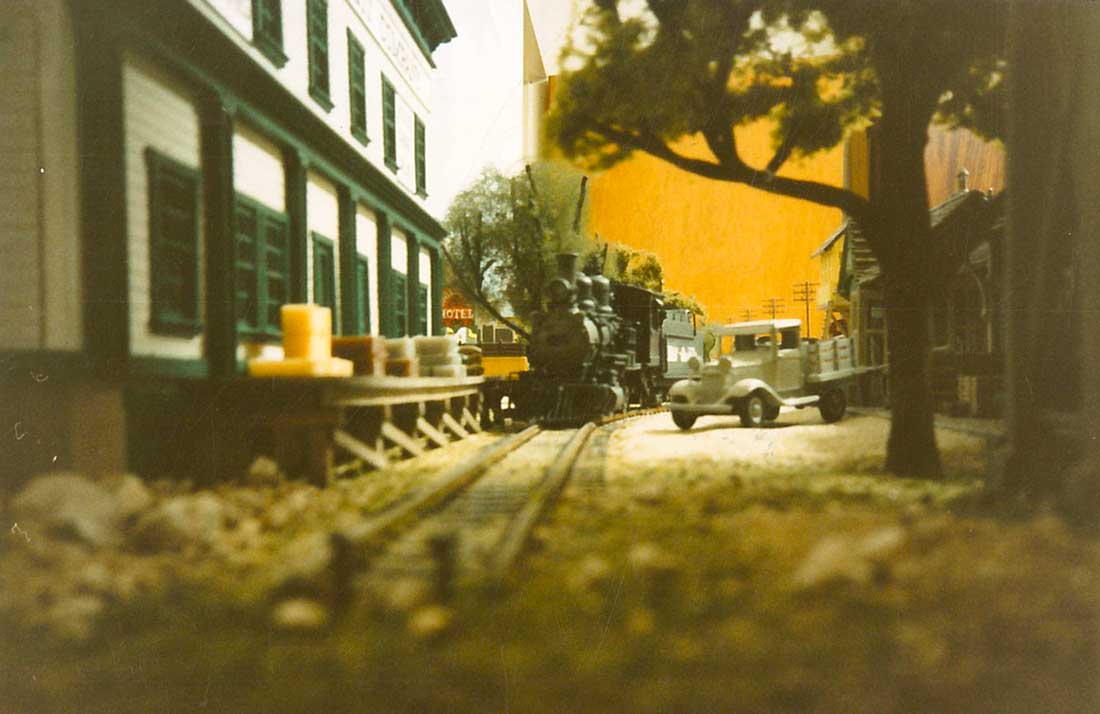
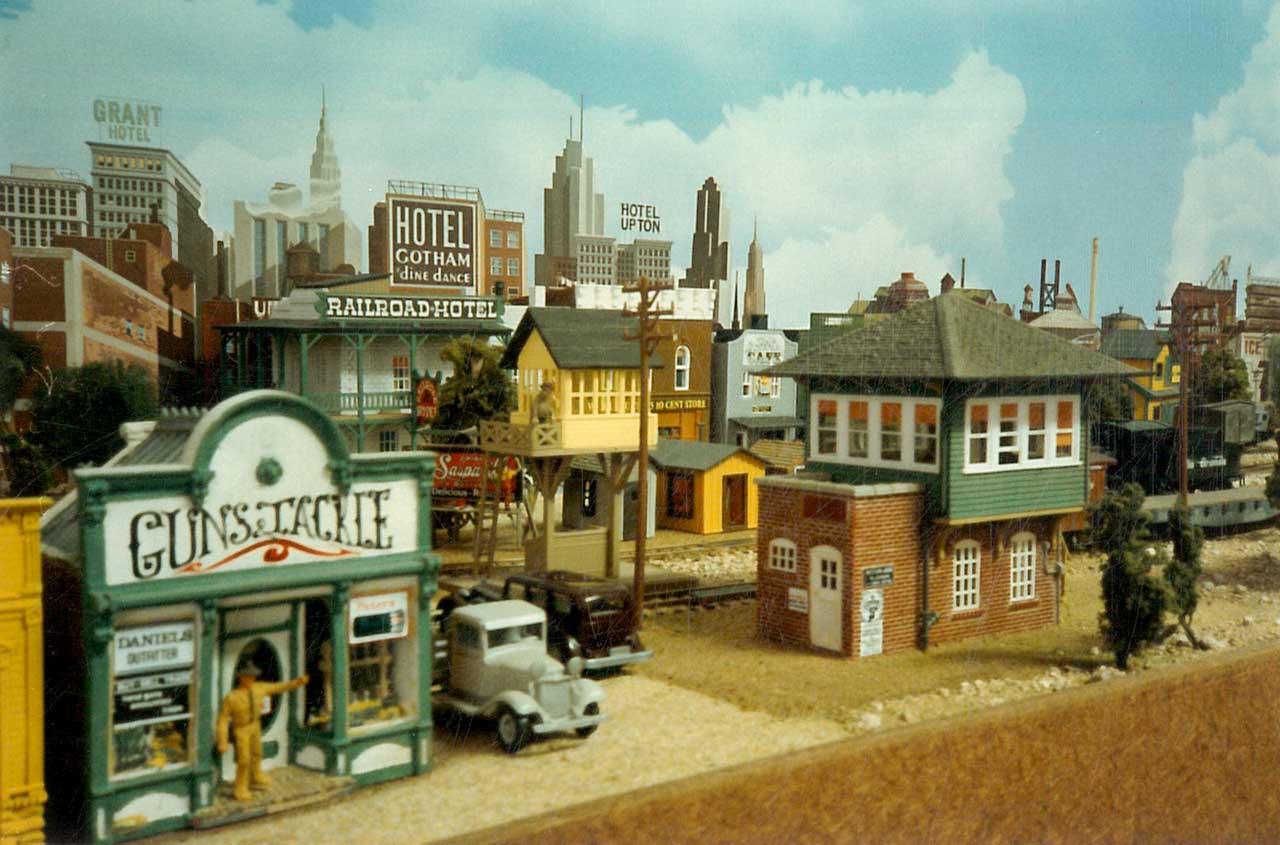
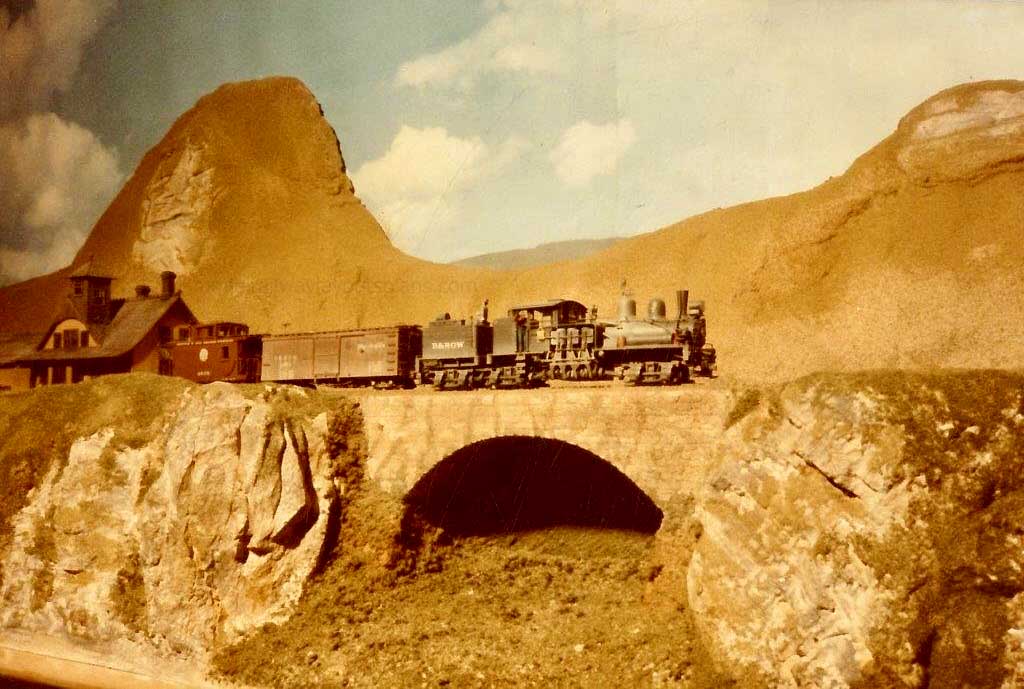
Brian’s been in touch with pics from his very first layout. Have a look at his HOn3 brass K-37 on his narrow shelf:
“Hi Alastair.
Photos below are of my first HOn3 layout built when I lived in an apartment many years ago.
I mentioned in my last post that I would find the old photos of my first narrow gauge layout, and here they are, attached. They were scanned and saved as jpegs for use on computers.
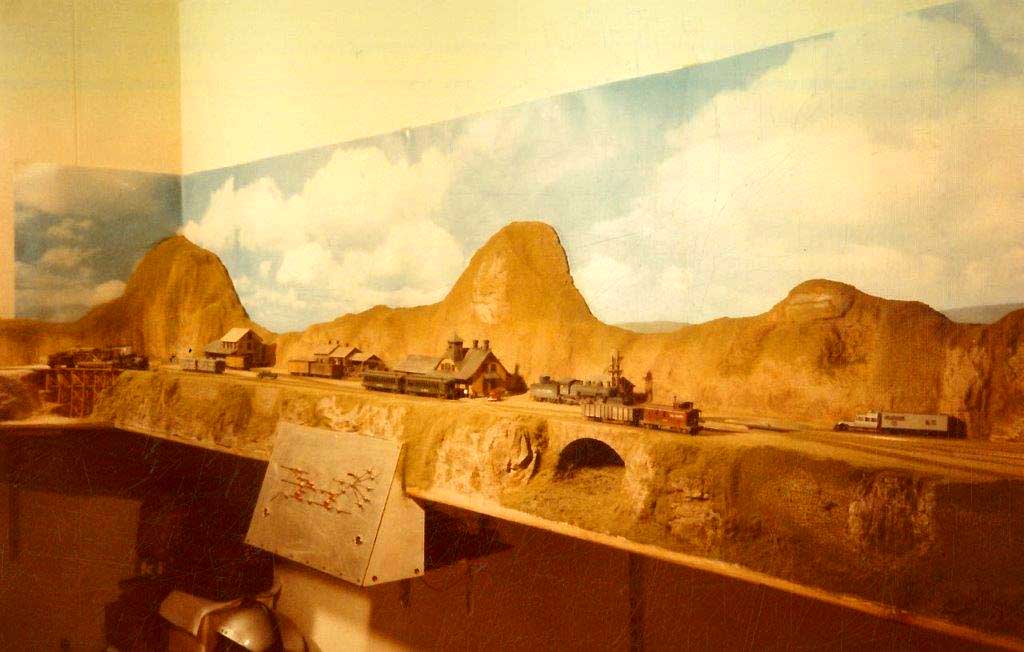
At that time I only had space for a narrow shelf layout (15 inches wide). That included the front drop down scenery.
I built an ‘L’ shaped layout around two walls.
The quality of the photos are not the best as stated in my previous post and were taken in the late 19 seventies.
Below, the track was laid in place. The backdrop backing is 3 mm Masonite and the cloud sky is a commercial one fixed to the wall. The base under the track is ceiling board to deaden the sound.
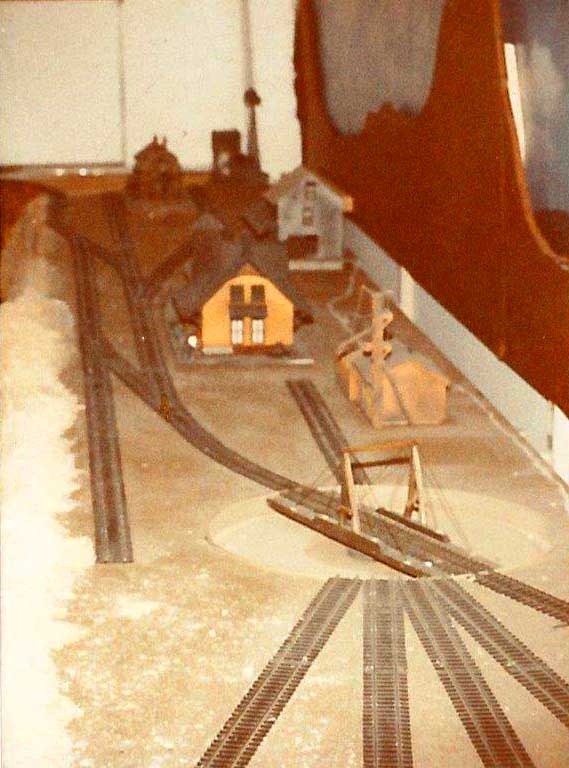
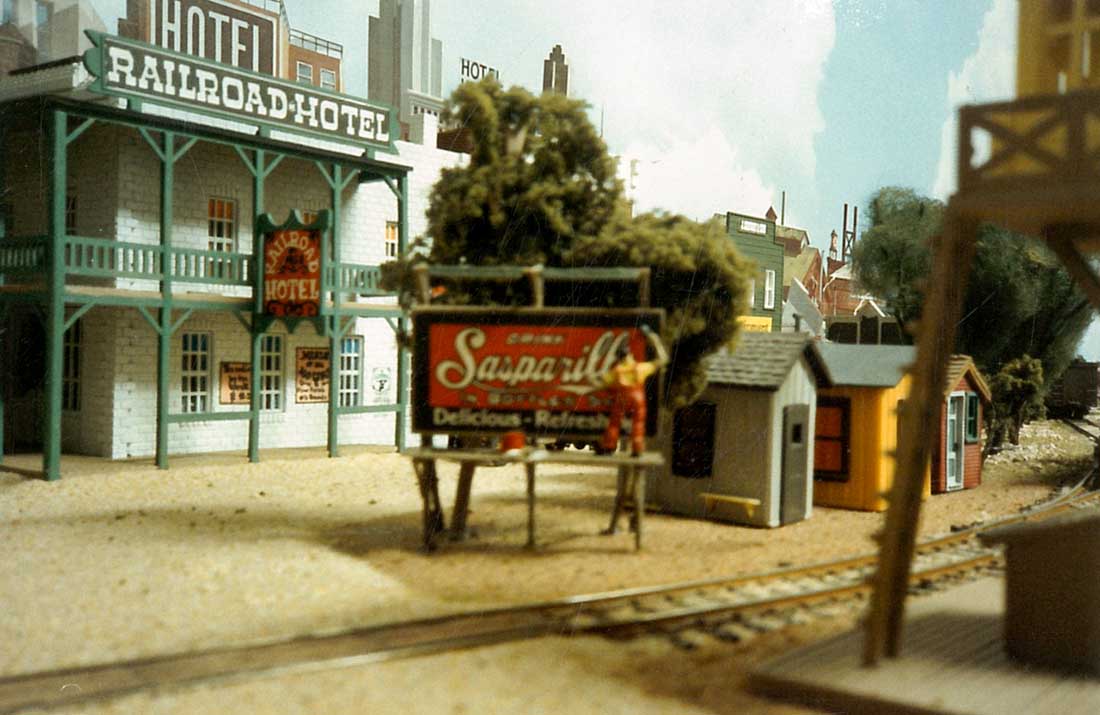
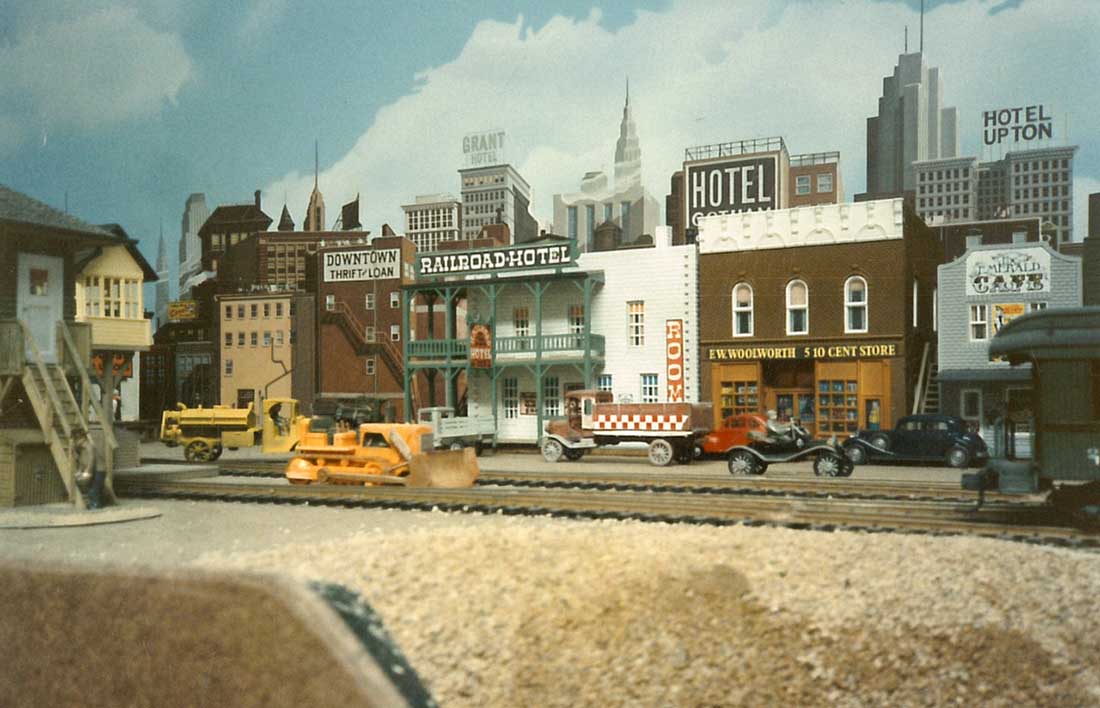
Some of the intended buildings placed temporarily to visualise what the end result would be and where to mount the foam scenery.
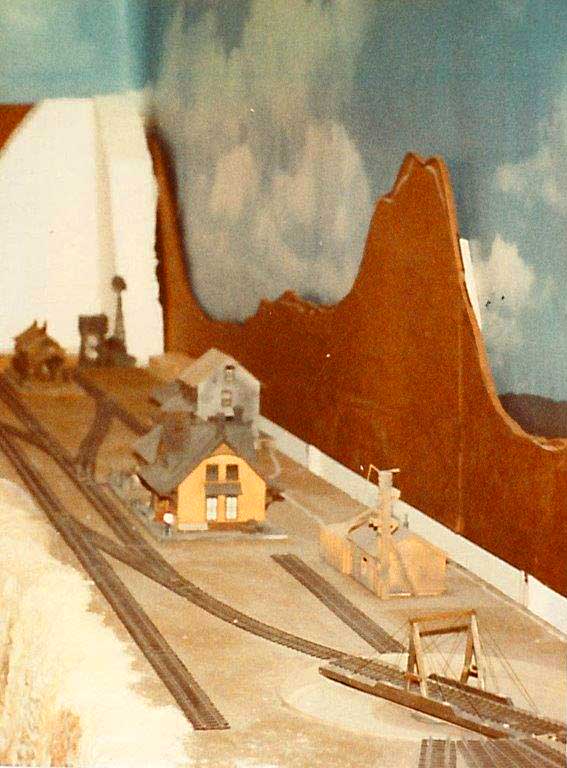
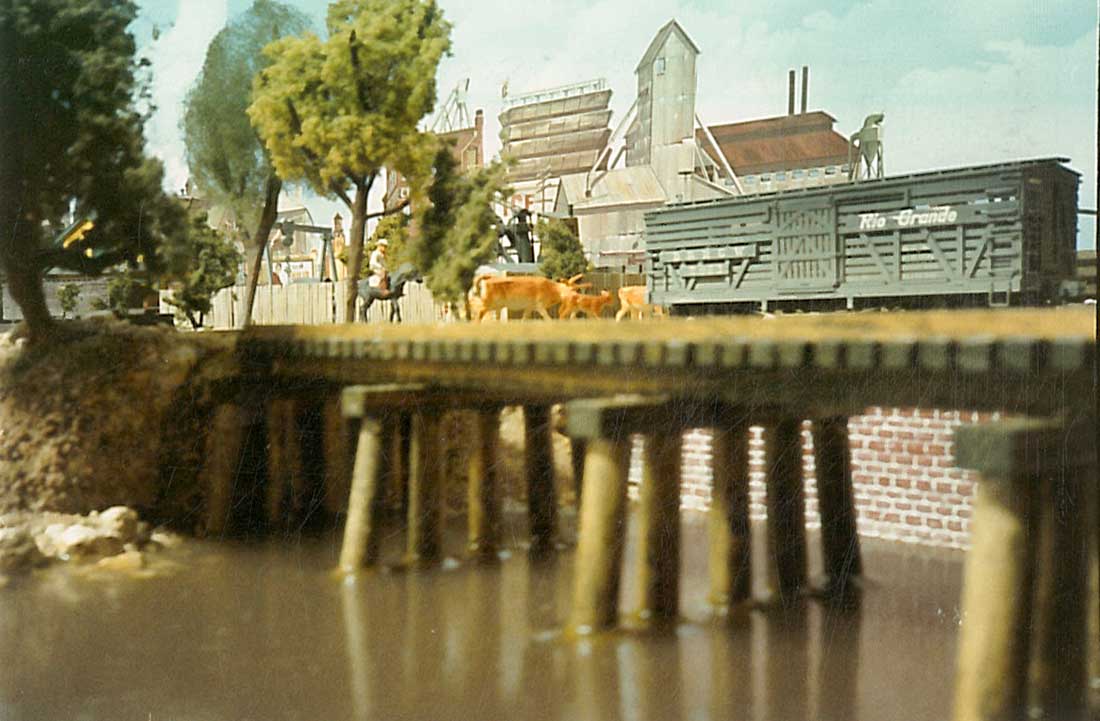
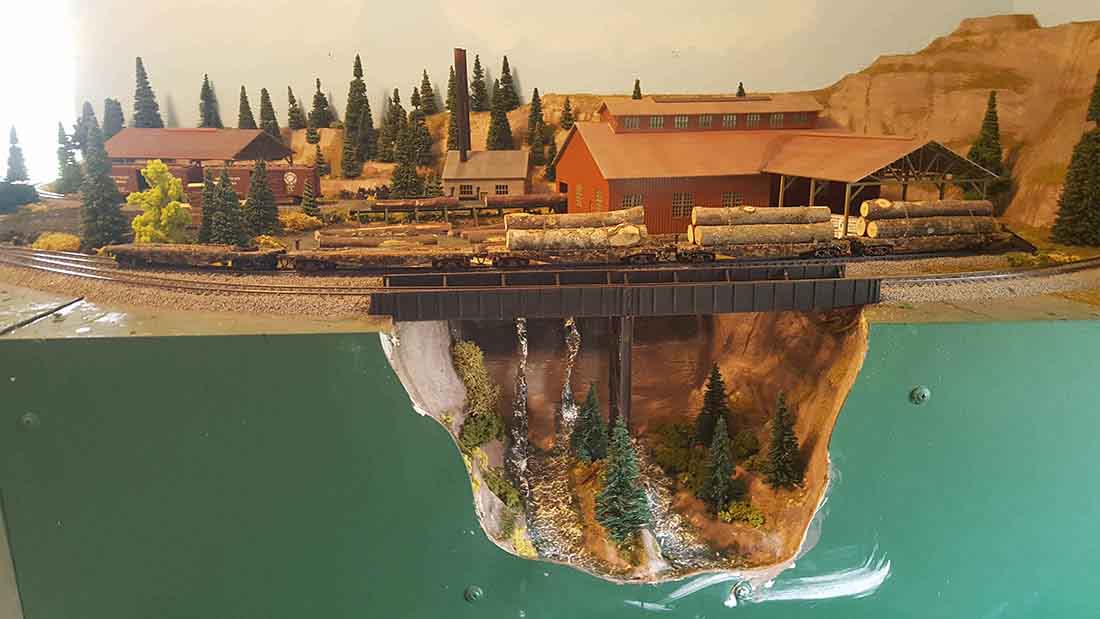
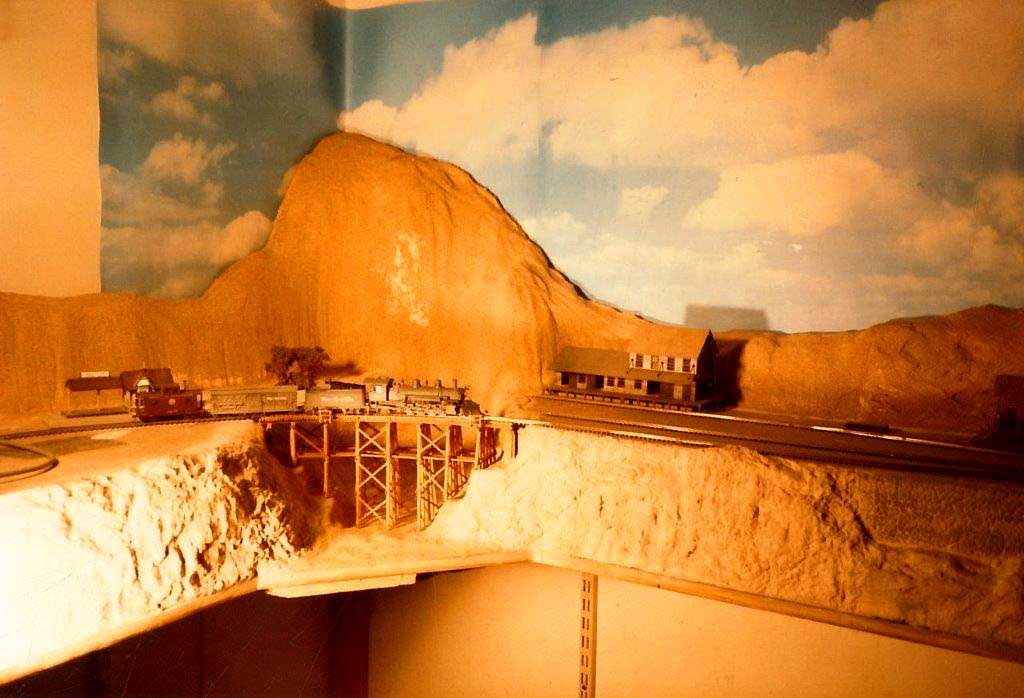
Below is the ‘L’ section with a trestle bridge over the valley with foam forming the mountains.
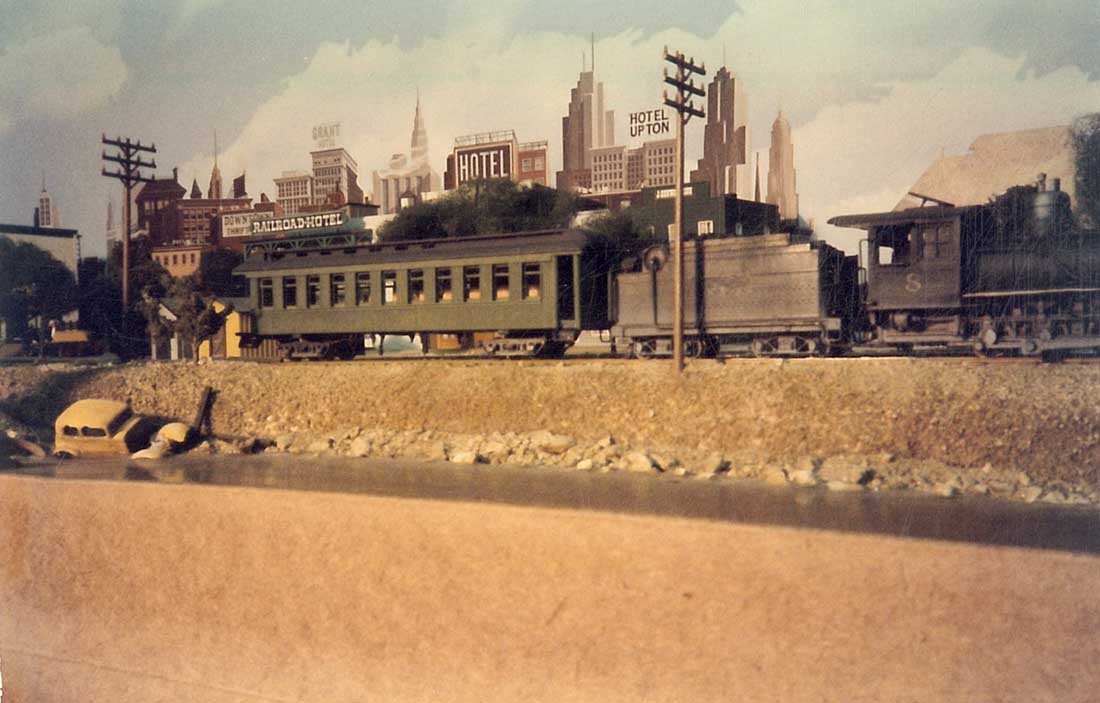
HOn3 brass K-37:
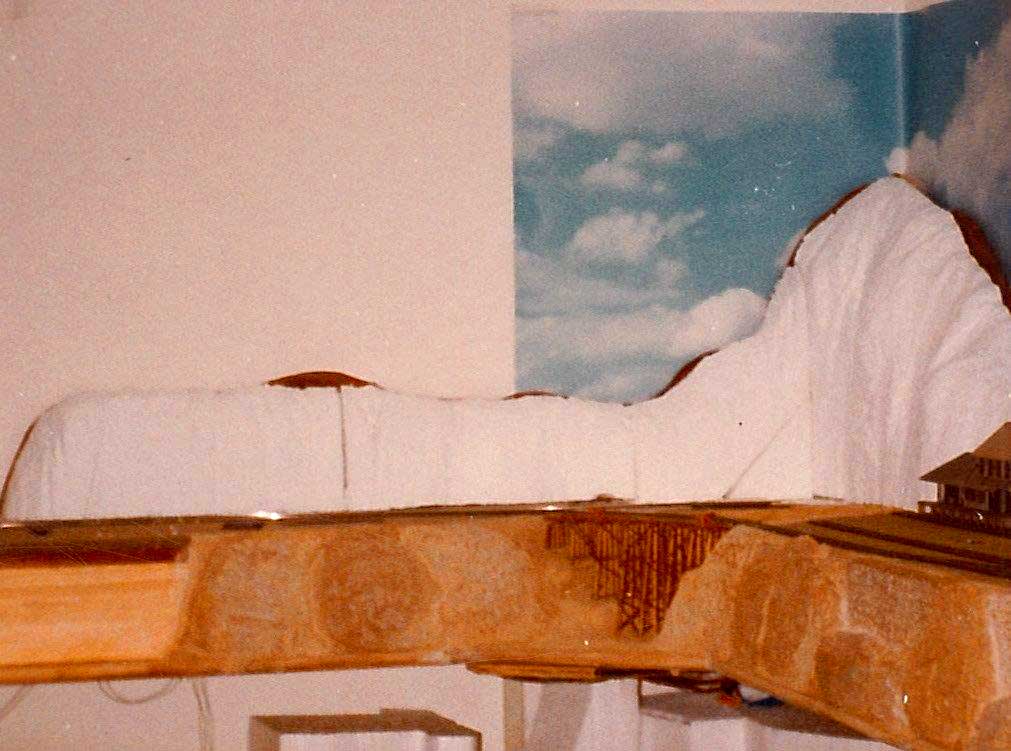
Here polystyrene foam is used to form the mountains on the main section.

Below, create stone (plaster) was used to cover the foam and Woodland Scenics rock molds were used to cast the rock faces and then applied to the front face of the mountains.
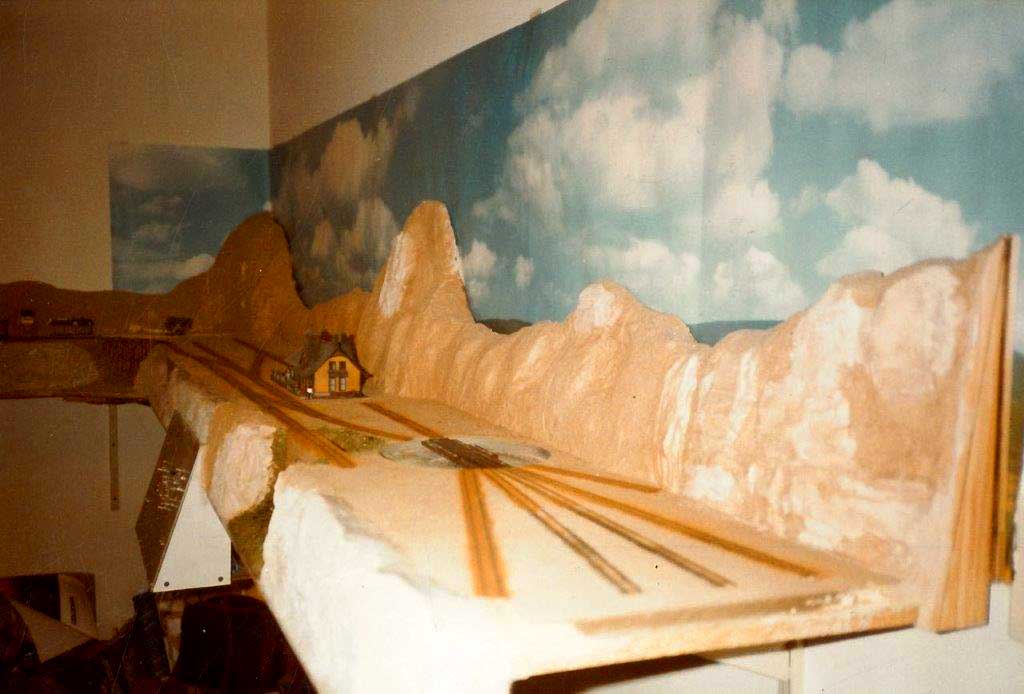
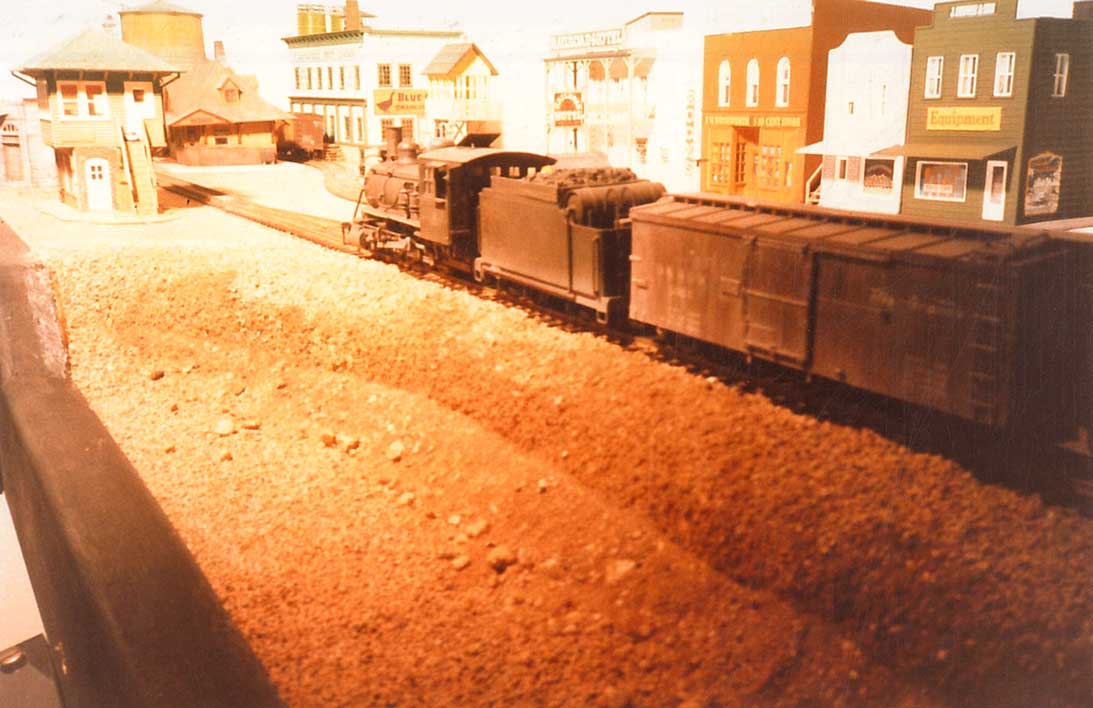
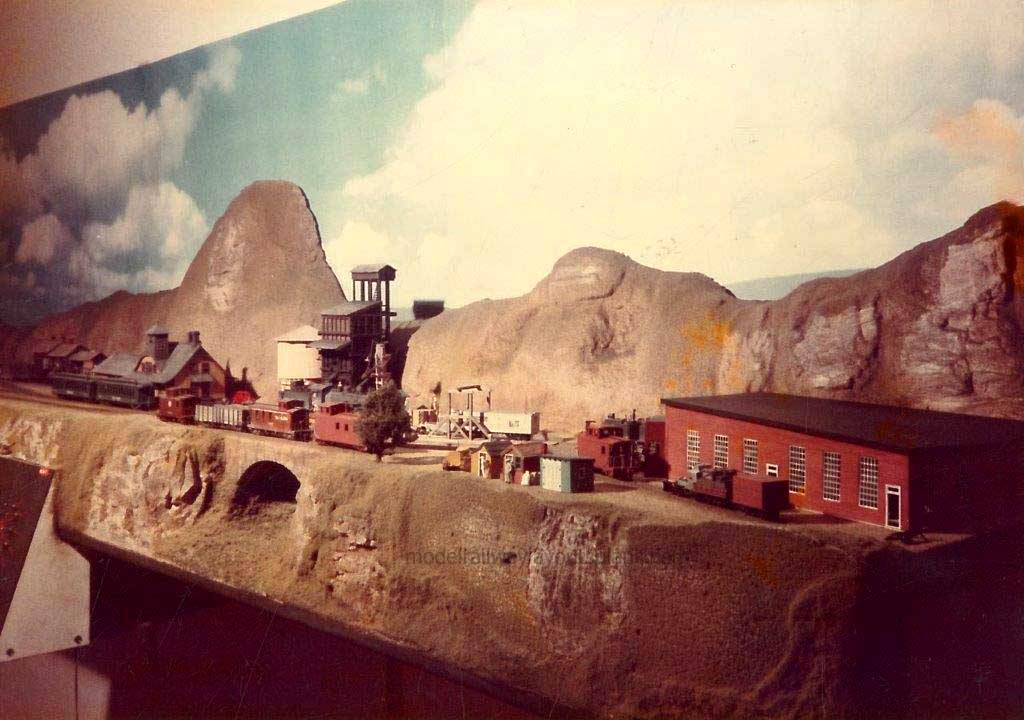
Crete stone gave the right earth colour as a base coat before adding the greenery. A cast stone arch bridge was cast to span another hollow in the front.
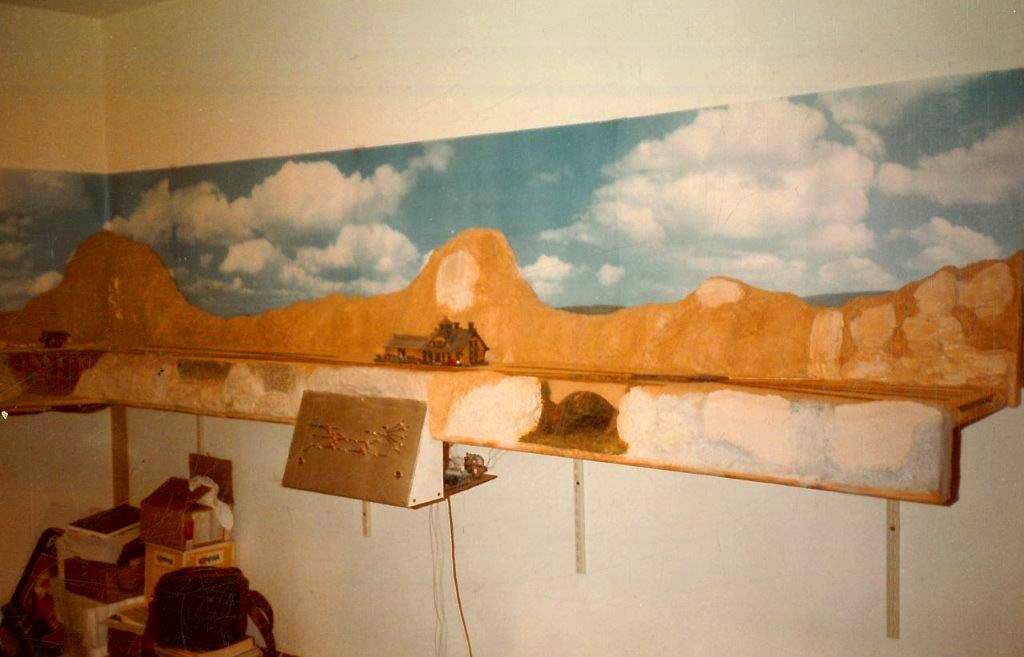
More of Woodland Scenics grass was added using white cold glue before putting on the greenery to the face of the mountains.
A closer view of the cast stone arch bridge.
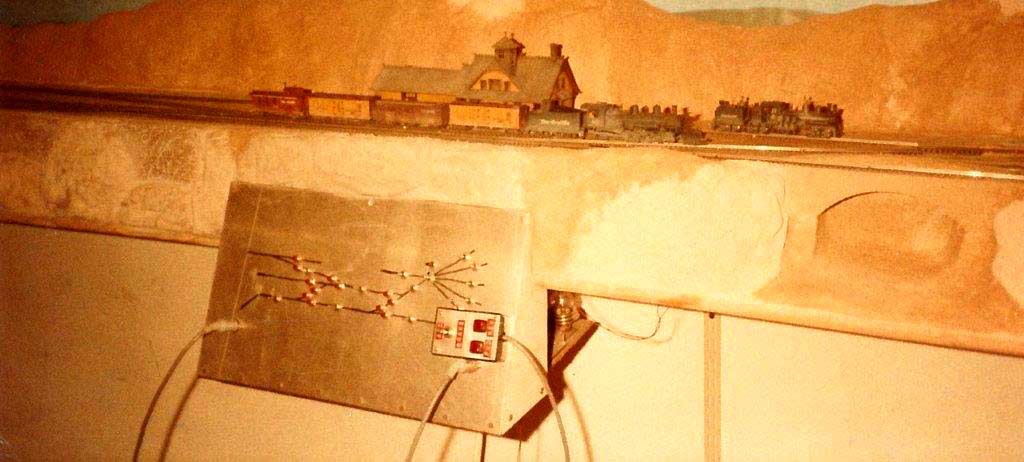
Here you can see how the control panel was incorporated into the scenery in front.
A PFM HOn3 brass K-37 locomotive crossing the trestle in the corner. Unfinished scenery in the foreground.
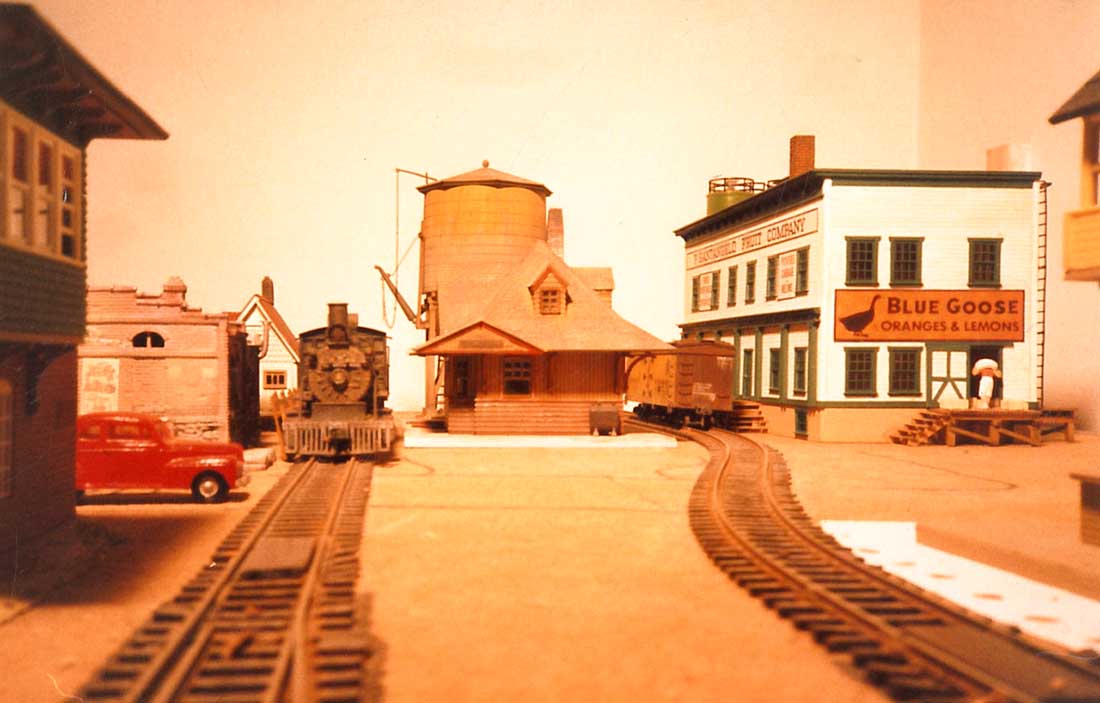
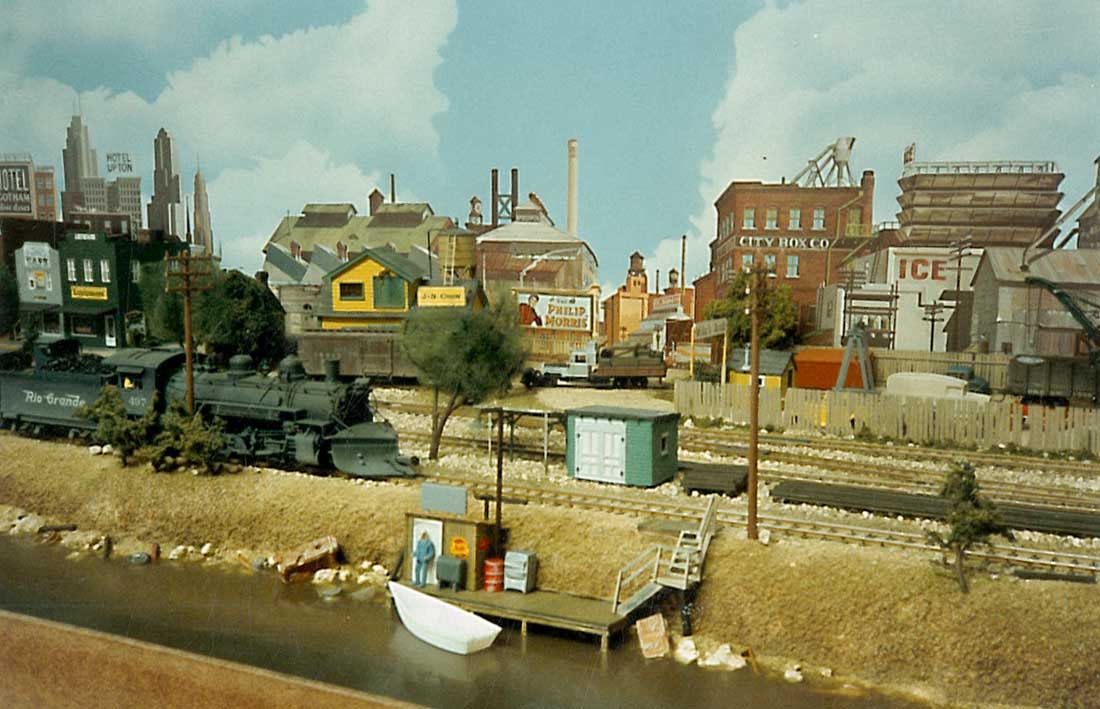
A lot of action here on this section as well as at the engine terminal facilities. The water tank still needed to be completed.
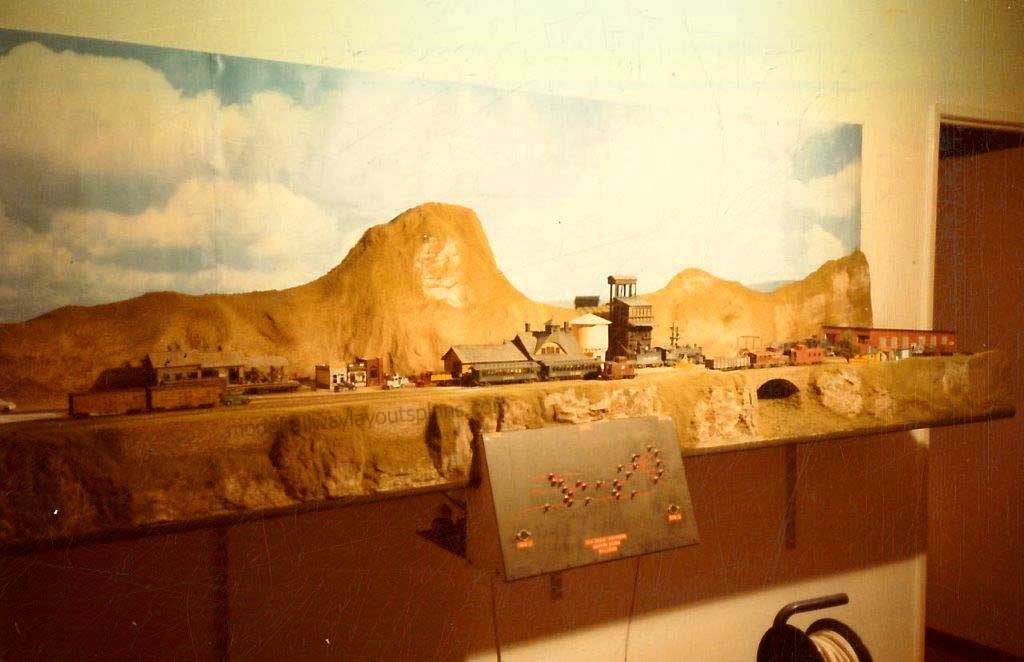
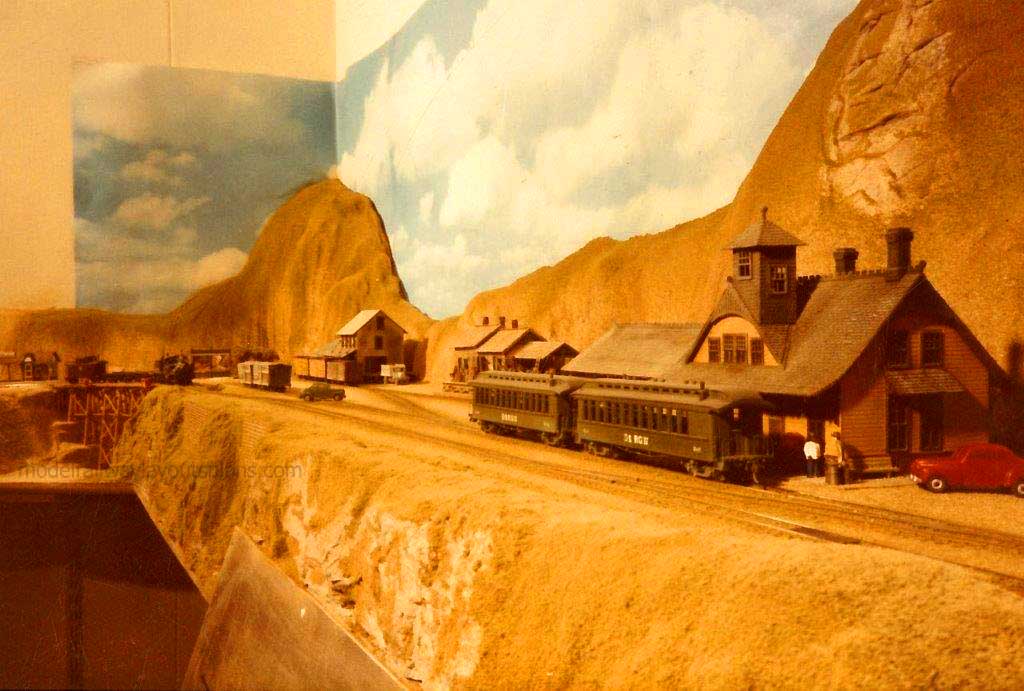
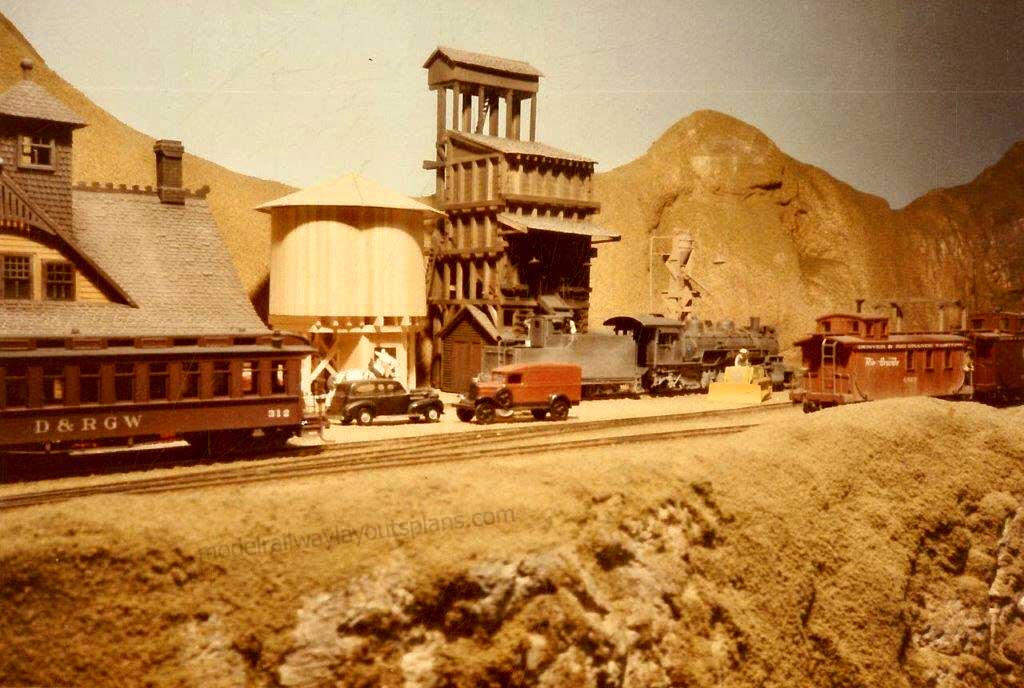
Below is a card stock mock-up of the intended coaling tower. (I assembled a Campbell scale kit). The Rico station is a plastic kit assembled, repainted and weathered. In front is a brass C-16 painted and weathered. I painted all my brass locomotives and weathered them as well as the rolling stock.
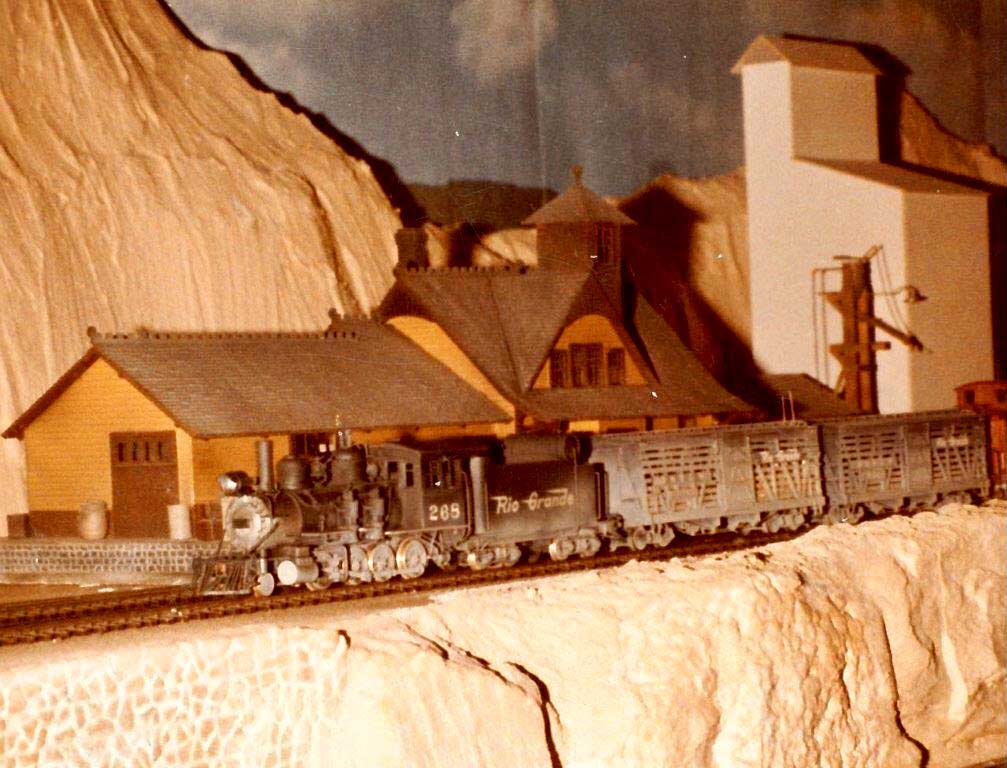
Passenger cars at the station, picking up passengers and the locomotive will collect the cars for their intended journey.
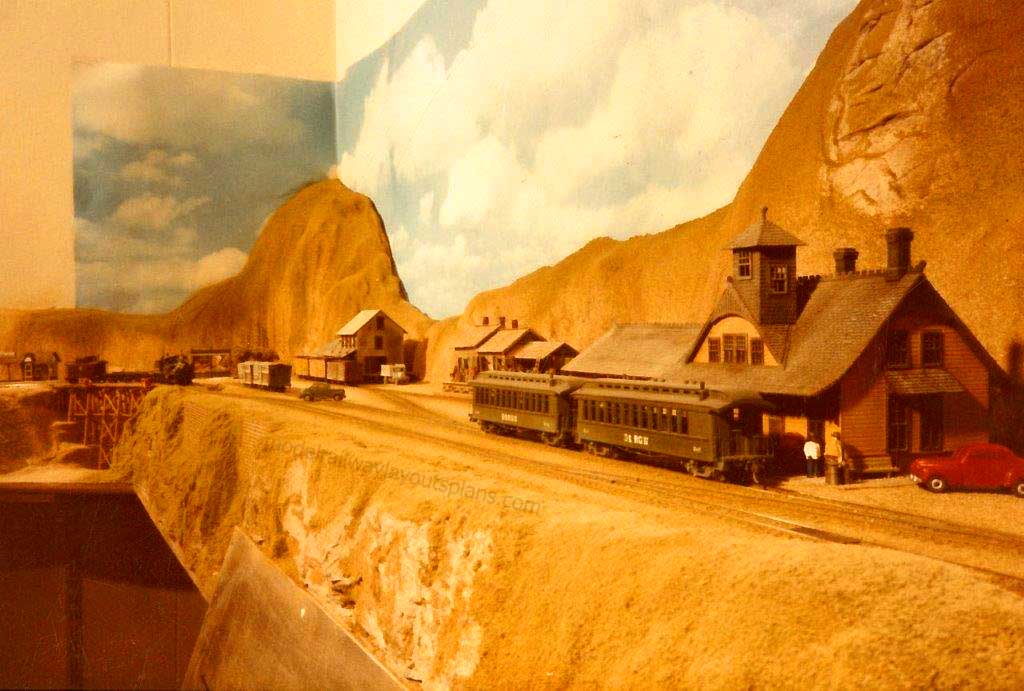
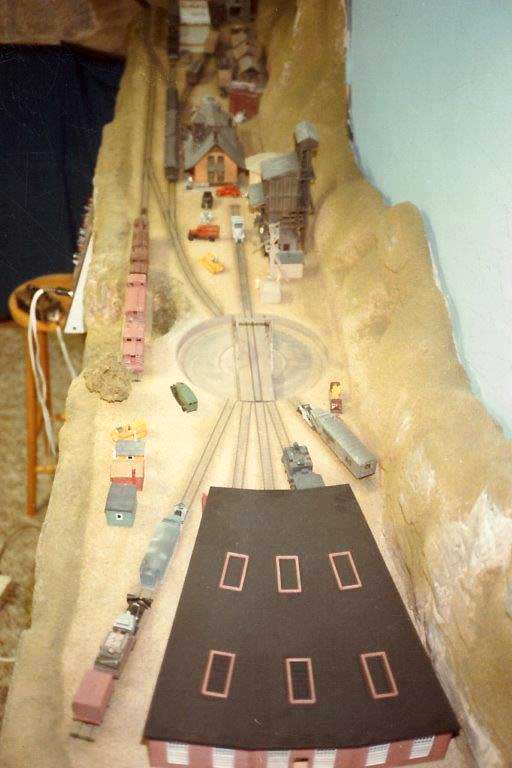
A view of the scratch built HOn3 turntable. Powered by hand.
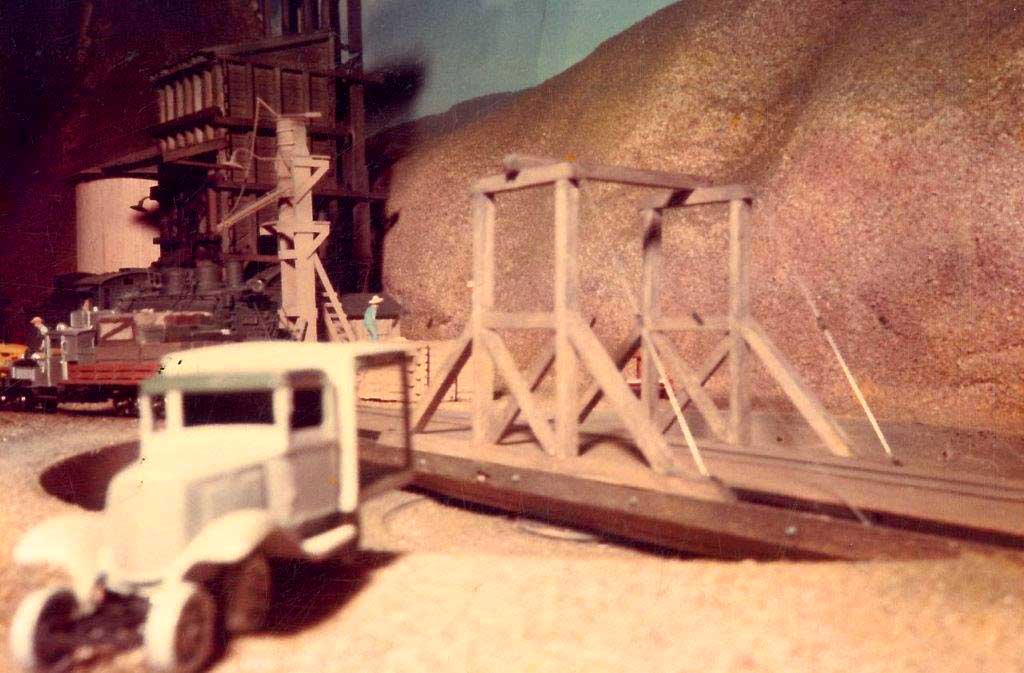
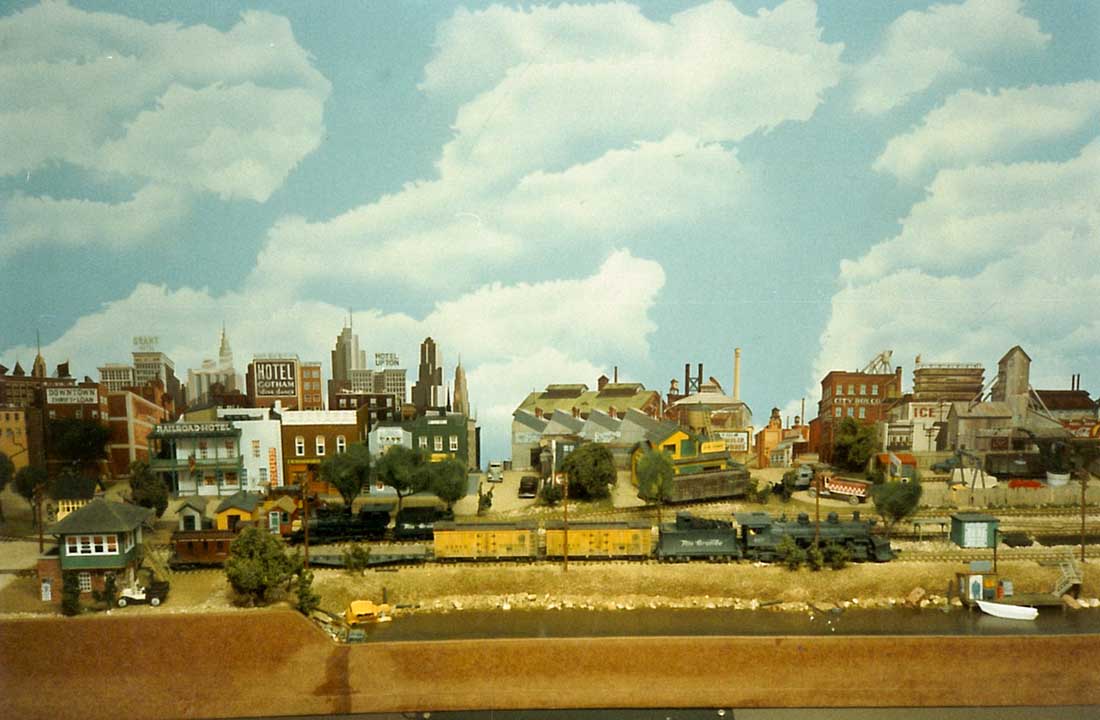
A brass Westside model C-16 crossing the trestle with a string of scratch built refrigerator cars.
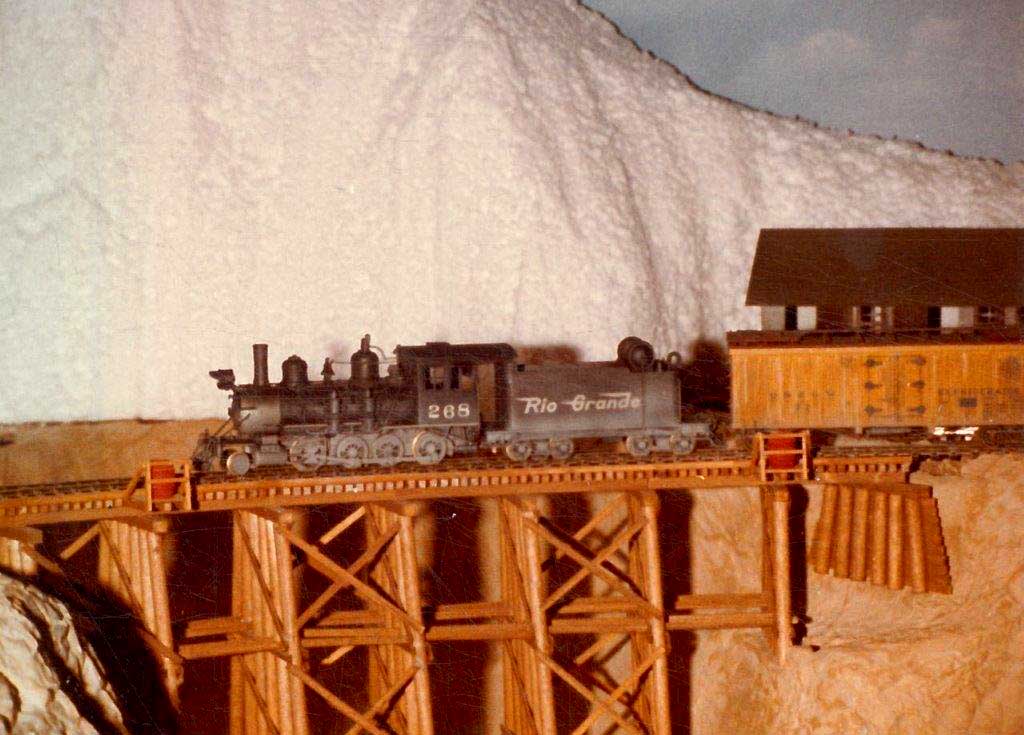 HOn3 brass K-37 trestle bridge
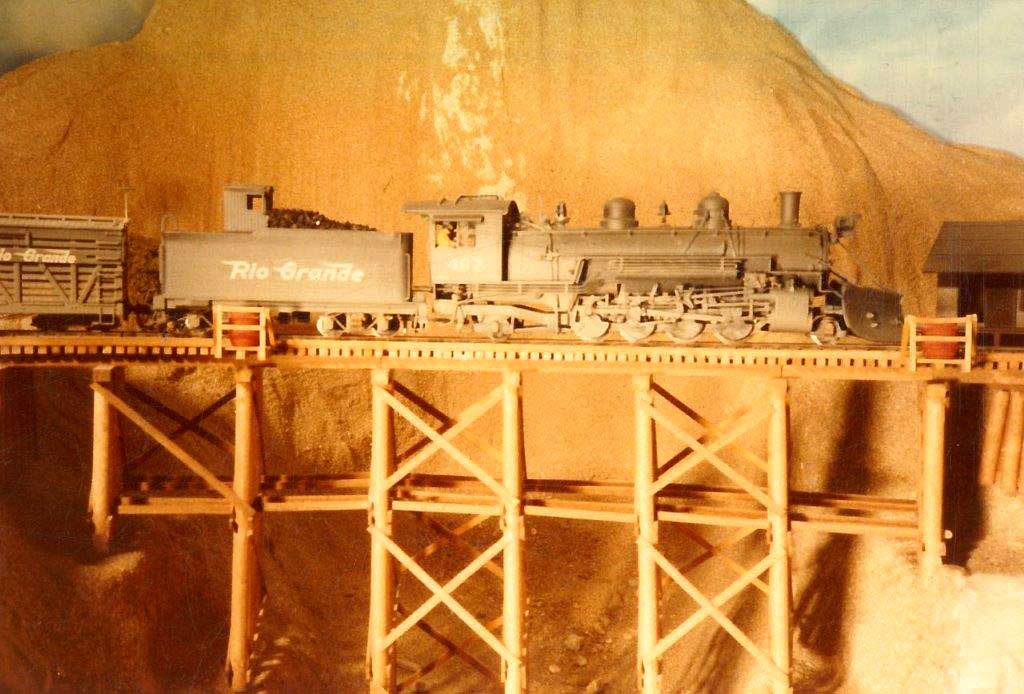
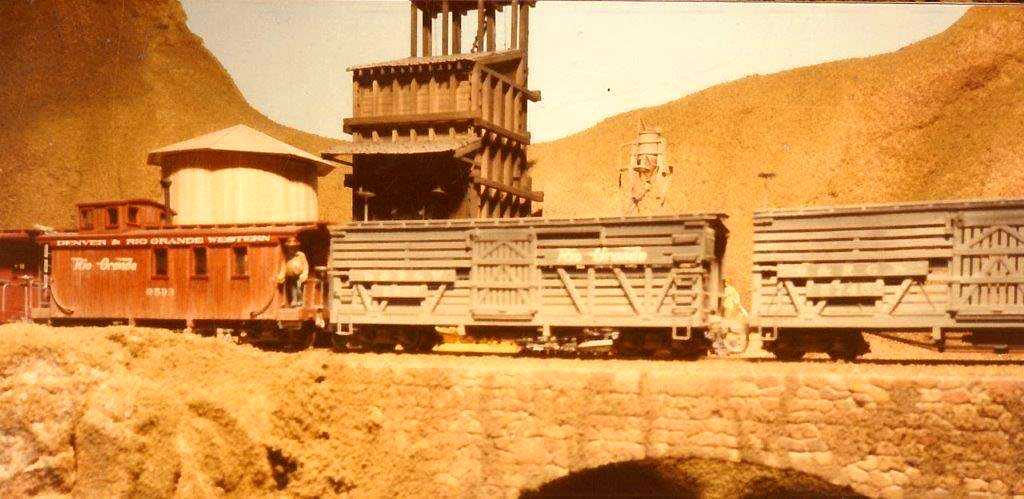
The HOn3 brass K-37 returning with stock cars to the town.
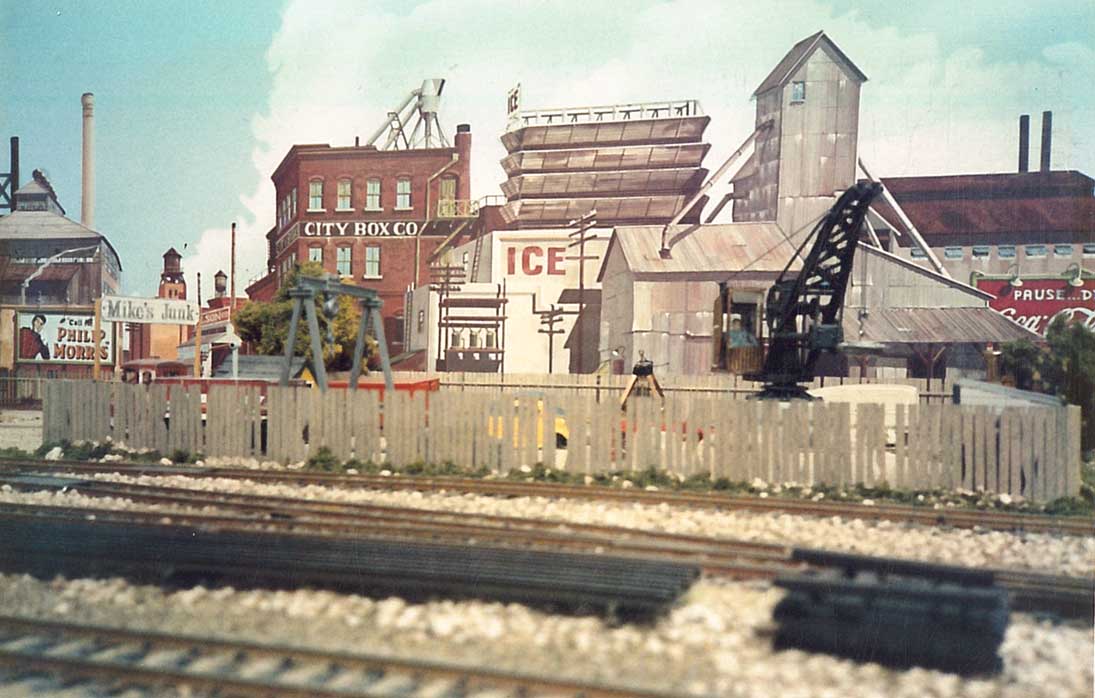
A view of the storage track in the foreground next to the turntable.
Storage track on the right with the caboose on it and showing the unfinished water tank kit.(Durango press kit) as well as the finished coaling tower kit.
Top view of the HOn3 layout. Roundhouse roof skylights still had to be cut out.
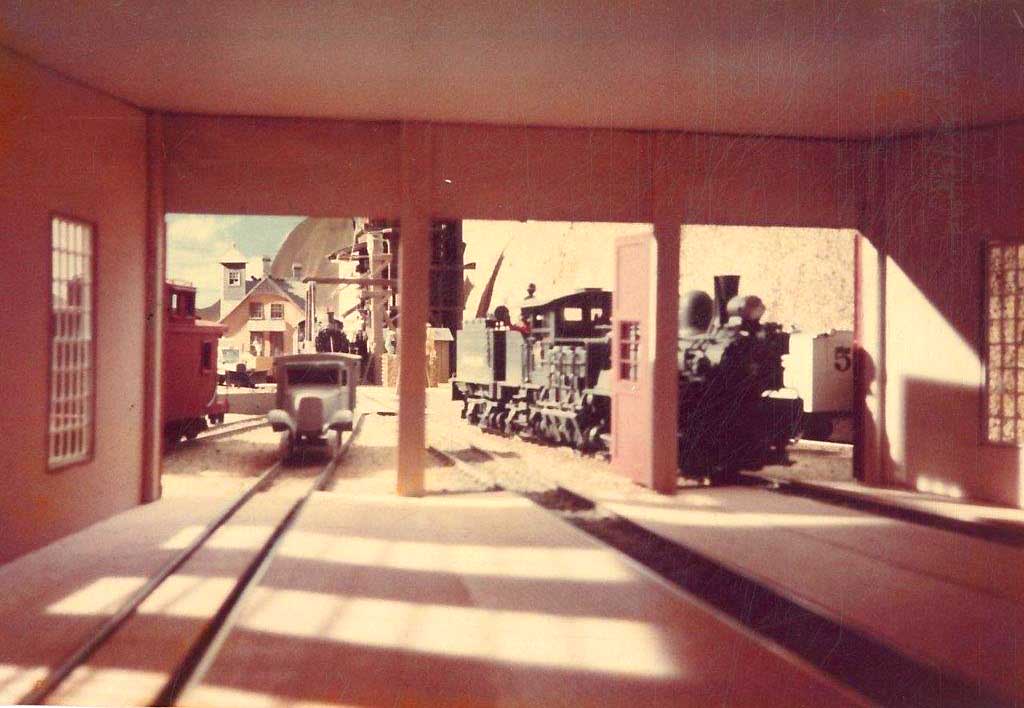
A view from inside the newly (at that time) scratch built three stall roundhouse before all the interior details were added.
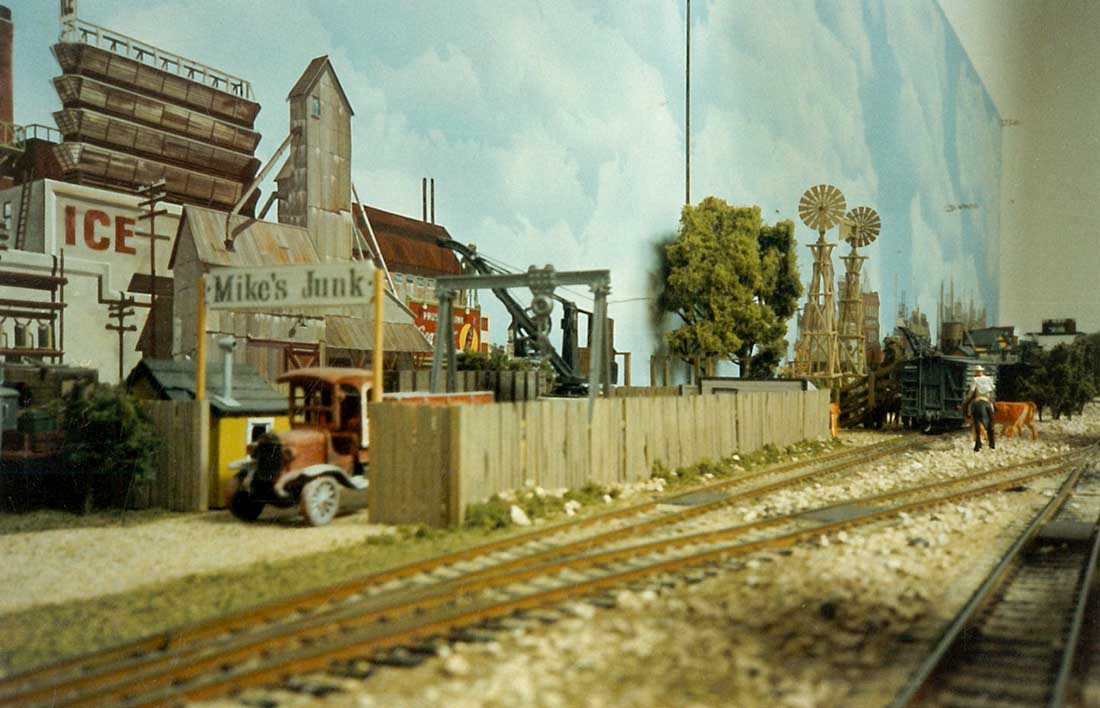
A stock car train being readied for dispatching in the yard.
This view shows the installation of the DC control panel with a home built DC controller resting on the face of it.
Unfortunately this is as far as I got with the building of it.
I had to build an HO scale display layout for a hobbies fair. I used to get involved every second year with the Round Table and YMCA to provide model train displays at them.
The above layout was sold to a friend minus all the buildings, locomotives and rolling stock. He added it to his home layout in another city.
All the above was built in the late 19 seventies.
It was a great learning curve from here. (And boy, have I learnt a lot since then ).
From the very early 2000 thousands I switched to DCC, putting decoders with all the bells and whistles in all the locomotives and have never looked back.
All the best and please big Al, keep up the excellent work on the blog.
Brian – the HOn3 guy from Knysna RSA”
A huge big thank you to Brian for sharing his HOn3 brass K-37 loco pics. His very first layout!
You can see his second ever layout here too:
And there’s loads of Brian’s stuff in the Hall of Fame.
That’s all for today folks.
Please do keep ’em coming.
And if today is the day you get started on your layout, the Beginner’s Guide is here.
Best
Al
PS Latest ebay cheat sheet is here.
PPS More HO scale train layouts here if that’s your thing.