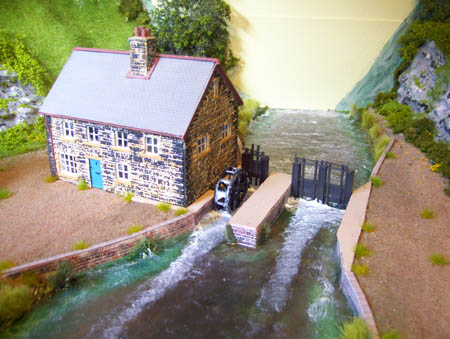
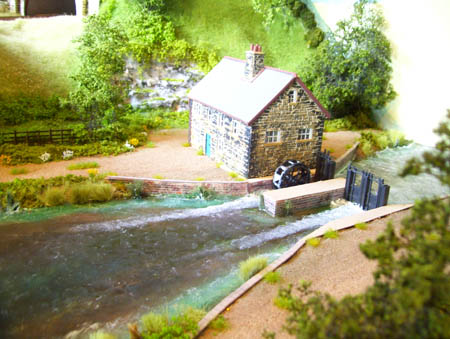
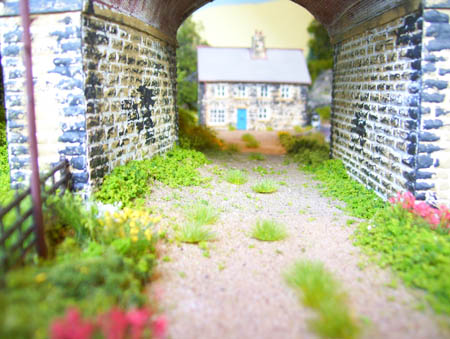
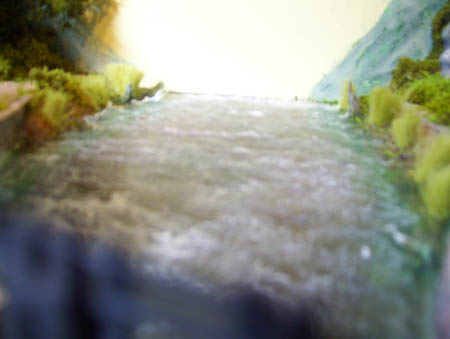
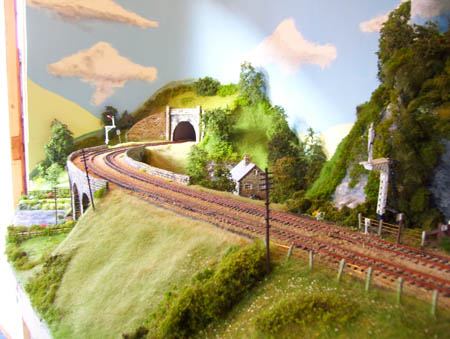
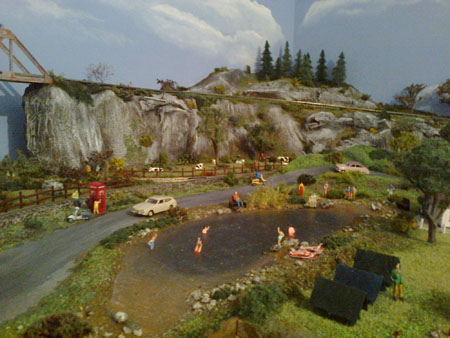
Here is some new pictures of my new viaduct scene.
I’ve used static grass,seafoam trees and Heki flor to recreate flock.The viaduct is scratch built using emboss plastikard and greenscene plastic strips.
The river is Woodland scenic realistic water and realistic water effects and dry brushed white paint.
Kevin”
“Dear Al
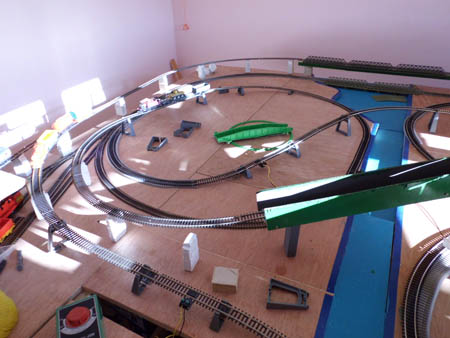
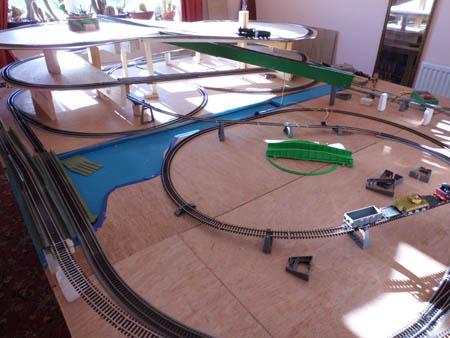
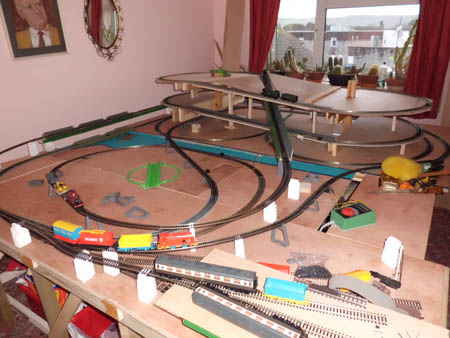
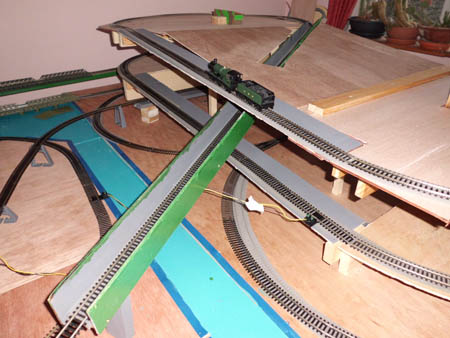
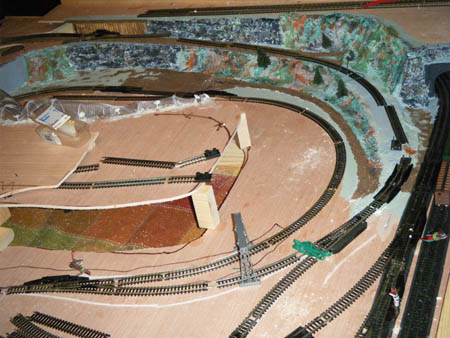
Having been grateful for the help you have given me in layouts and other peoples ideas. I thought I would show my first skeleton picture of my anticipated layout. The trains have passed the layout test so next time I will show you the completed article
Thanks for your assistance
Regards
Michael”
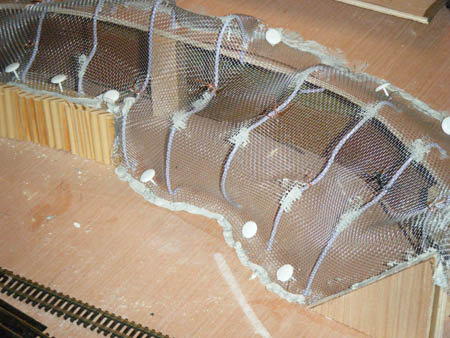
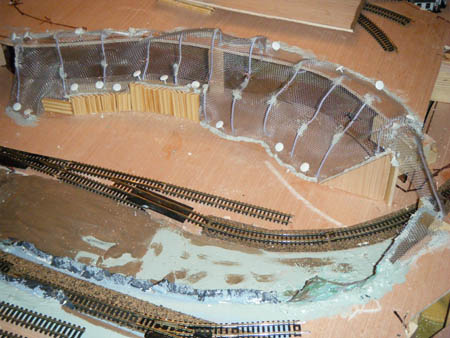
“For more realistic hillsides I use coat hanger wires free formed to stretch your screen wire over. I drilled holes in the table to insert the ends of the hanger wires into then glued them in place. Next I temporarily hold the ends of the screen down with thumb tacks and then liquid nailed all the ends of the screen to the table top. Finally tie small copper wires to help hold the screen to the hanger wires. This allows you to free form hillsides and make shelves to place your landscape trees onto. Lastly I applied drywall compound over the screen and added/embedded crumbles of sheet rock for exposed rock type details.
It is both strong and light weight not to mention cheap.
“I contacted you just about a year and a half ago as I reentered the hobby after being out of it for more than twenty five years. I asked if you could solicit your loyal readers and have them give their opinion on what comes first, the buildings or the track. Many responded and it was pretty much evenly split as to their preference.
Subsequent to that time, I joined a traveling modular group called the Miami Valley Modular Railways, which has a very large traveling layout comprised of members individual modules which are constructed to be able to match the neighboring units. They can set up anywhere from 24’ x 80’ to 36’ x 132’. We set up at last year’s NMRA convention in Grand Rapids and are planning to set up in Atlanta this coming May for the 2013 NMRA convention as well. We also travel all over the mid-west to do train shows on average of twice a month from August until May.
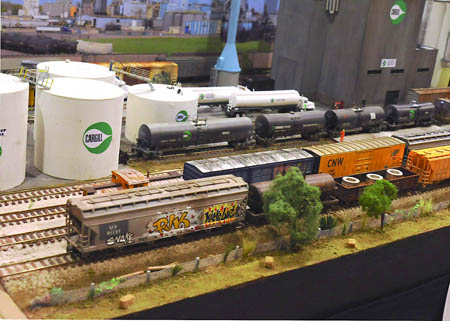
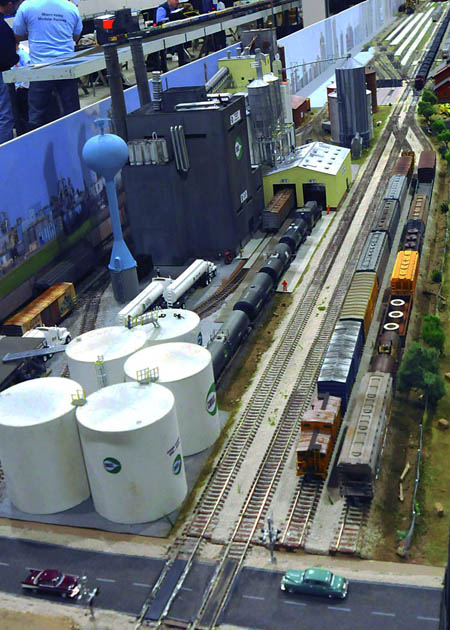
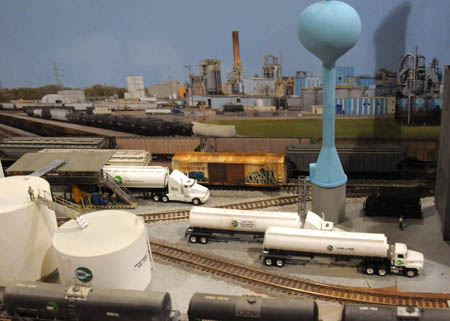
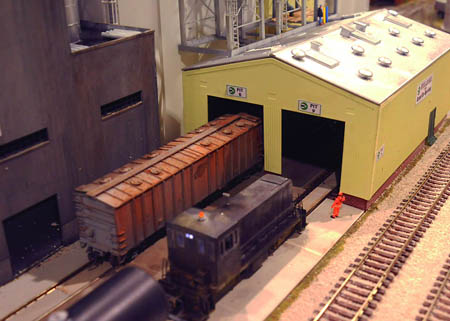
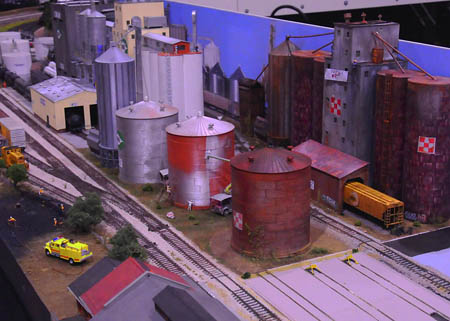
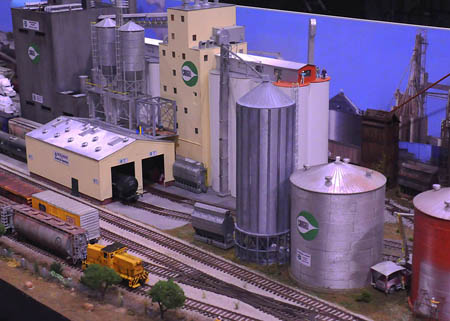
It took me almost fifteen months to finish my 30” x 96” unit and I have attached photos of it. I am currently working on 30” x 196” steel mill which covers two units.
The finished grain operation is modeled after the Cargill Processing Plant in Dayton, Ohio, our home base. The backdrop is a combination of that operation and three other grain operations I Photo Shopped together.
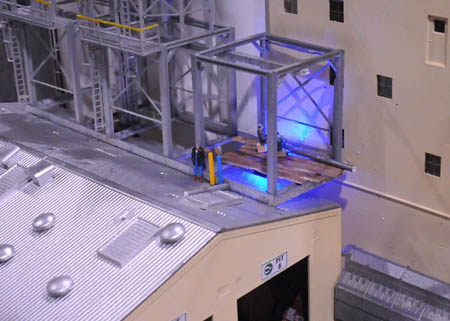
The basic principal of the module is to represent a brand new facility next to an much older one which is being rehabbed back into operation. The Cargill plat in Dayton produces both corn syrup and vegetable oil so we have covered hoppers coming in and tankers going out. Next to the two surge bins above the pit building there is a group of men welding the support structure for a third bin.
Hope your readers enjoy the photos.
Pat”
Nice pics, Pat – even if the jury is still out and what comes first, the buildings or the track!
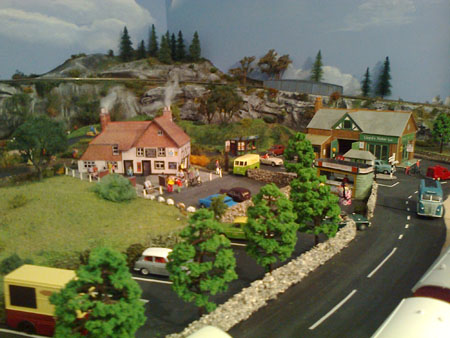
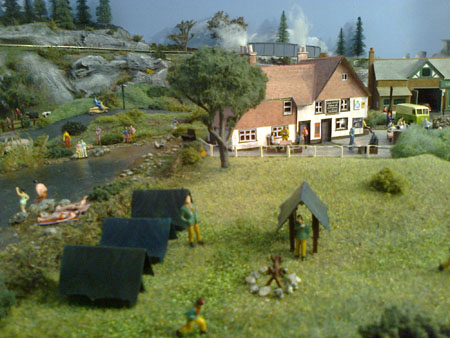
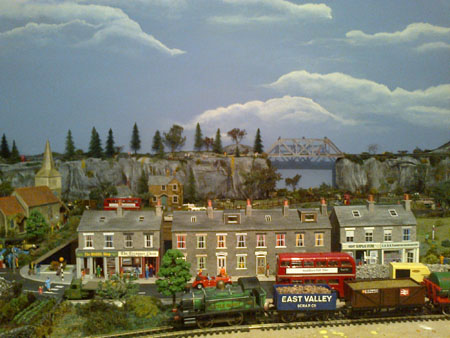
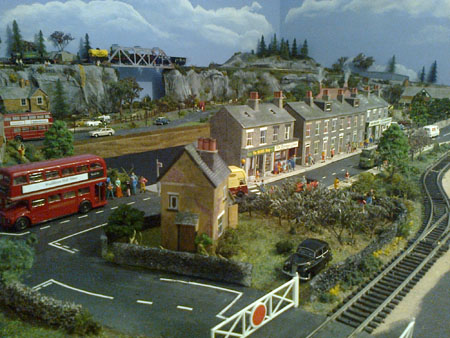
Here are a few more pics of Muddleton village, Still got the station to build, middle section and lots more finishing off to do.
Cheers
Stuart”
“Hi Al
In my view there are many ways to save money in these hard times and still make a layout look realistic.
Scatter materials are expensive so why not use what nature has
Sand, superb for creating any type of soil just add coloured poster paints dry, and you will be amazed at the results
make sure the sand is dry place in an oven for a short while. Use also for beaches etc
Twigs, cut them into length and you have instant logs for wood yards or a load in a wagon
Tea bags, empty them out onto a baking tray and dry them in the oven they make great scatter material
Small pebbles or stones use them near pools or rivers they look so realistic
Tree bark theres plenty around dry it out once again dust with powder paints and use as cliff faces etc, (shops sell cork at a mad price)
PVA go to a DIY store and buy a large bottle of builders PVA ( around £11-£14 for 2 litres dilute as required normally 50/50)
This will save pounds compared to a small bottle of pre mixed glue from a model shop
For us that replicate the steam age coal is the most important factor of the layout DONT buy small packets of charcoal, look for the neighbour with an open fire you only want ONE piece of coal, crush it up and yes you have real coal, use the dust to smear in-between the track, smear on buildings to give that dirty look, it looks fantastic, and while you obtain your piece of coal ask for some ashes !!!
I have many more ideas which I will share with you all and Al I will forward photographs soon of my layout showing the above laid out (spot the difference between mine and purchased goods if you can
Regards
Lawrence”
“Al,
I enjoy the links you provide and the input all of us enthusiasts provide in ideas and how-to.
With regards to wiring and power distribution discipline and visual trouble shooting simplicity for low voltage lines and power distribution, I have used soft telephone wire and temperature control wire (for A/C-Heating rheostat controllers) for low voltage (3 and 4.5V DC) lighting as well as HO switches control.
Of late and for DC lighting, I have switched to the less expensive cat5e (when on sale, particularly the 25ft prepackaged segments which when their outer covering is removed provide about 30ft of usable paired wires). It has 4 twisted pairs and allows for 4 separate LED lighting distribution grids.
For each grid, a twisted pair becomes a power distribution/source circuit. I ensure all (-) connections are with the solid color pair. It allows for easier hooking up and visual trouble-shooting of the various grids. Manufacturers still rely on 1 strand of 7 to define polarity for their lights. Hopefully that might change as the twisted pairs of a cat 5, cat5e and cat6 becomes more available for other uses.
Caution: as in all my power distribution grids, the total amperage of the grids (each) or in totality when power is provided by a single transformer/rectifier is at 50% of the maximal amperage provided by the transformer/rectifier. It does require more transformers/rectifiers BUT they do stay cool to the touch and less likely to “burn” ( a fire hazard)!)
Have fun,
NDY”
“Hi Al
A fantastic lot of tips for electrics form the last circulation, that i shall be applying to my layout thank you.
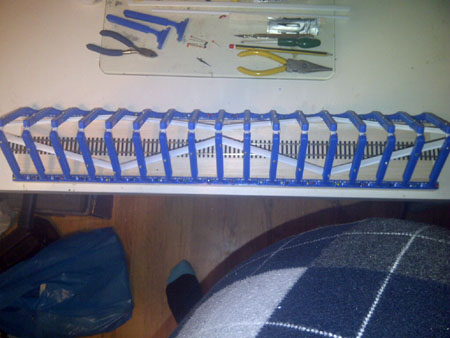
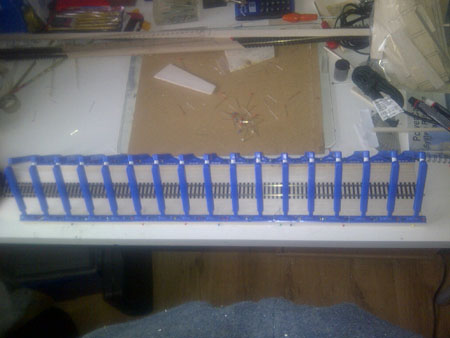
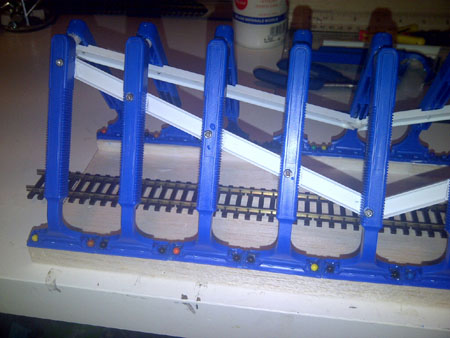
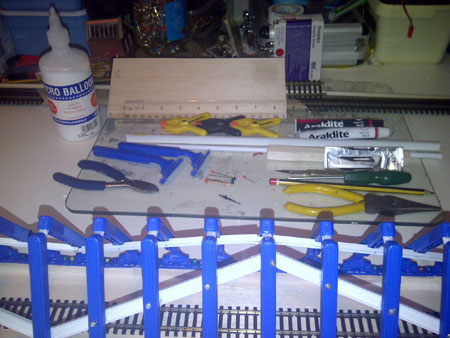
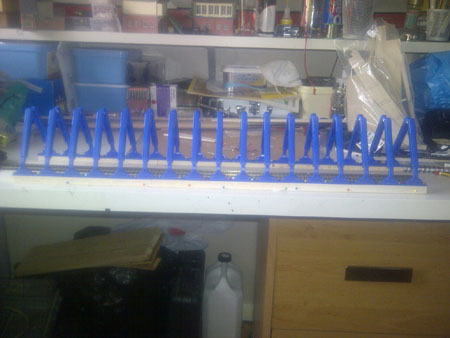
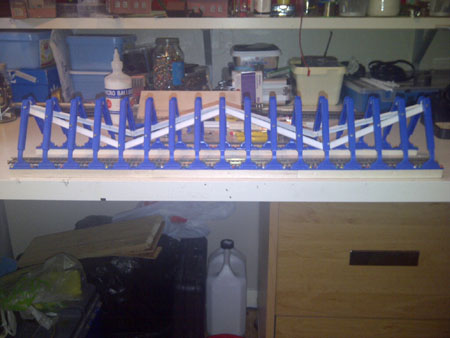
speaking of layouts i have taken some old tips requiring some bic razors to build a bridge that was circulated last year by Roger, I have now with some modifications made a start on my new 25” girder bridge using some new and suggested material.
plastic girder and tubing for bracing and tops of bridge cross sections, bobble pins cut to resemble bolts or rivets in girder footings at the base of the bridge uprights, and some servo holding screws to secure the girder braces as a representation of rivets or bolts through the bridge uprights to the bracing lengths of plastic girder.
you will need balsa or some type of wood base to suite your needs at your desired length for the bridge base plate, lengths of 0.5” x 0.5” balsa to represent the bridge footings or sides for the razors to site and be fixed on. disposable razors as the uprights for the girders or the bridge. Tools required side cutters, snout nosed pliers, scalpel, epoxy or suitable glue, micro balloons to do any tiding up, pencil, ruler, finger clamps to hold things together, drill and screw driver cross point.
Design your bridge and build it easy and effective it took me 3 days and now i look forward to the painting and finishing which of course i shall send in for your eager eyes to feast on. thanks Roger great bridge.
Andrew”
Wow! Thanks to Stuart, Andrew, Lawrence and ‘NDY’.