Andrew has been in touch with his take on model railroad grass:
“Dear Alistair,
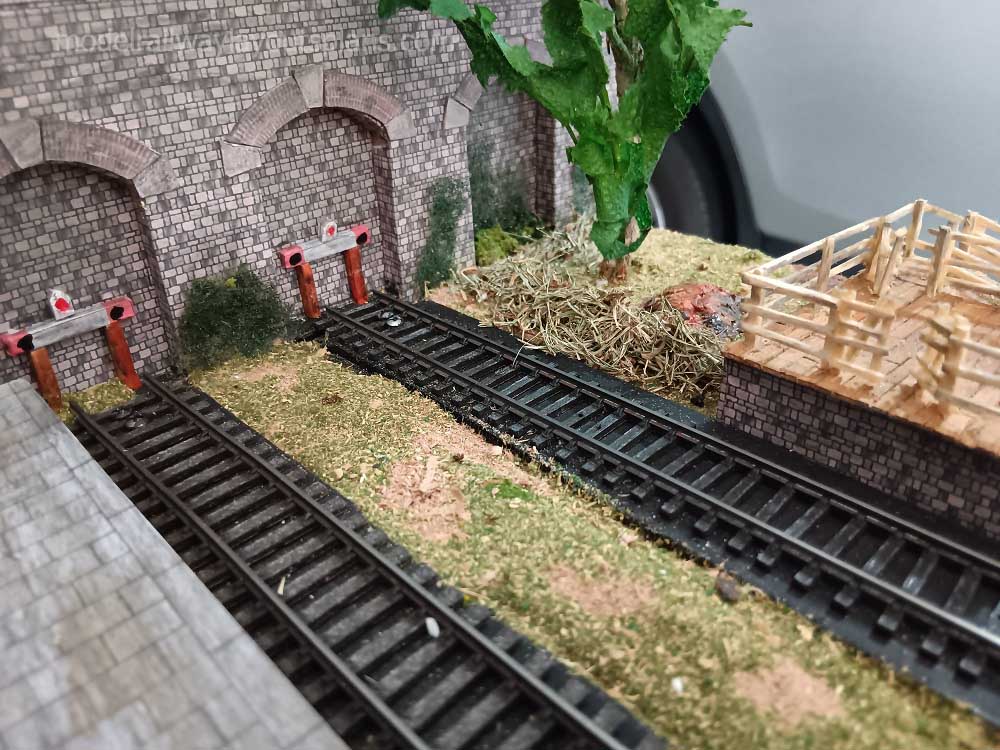
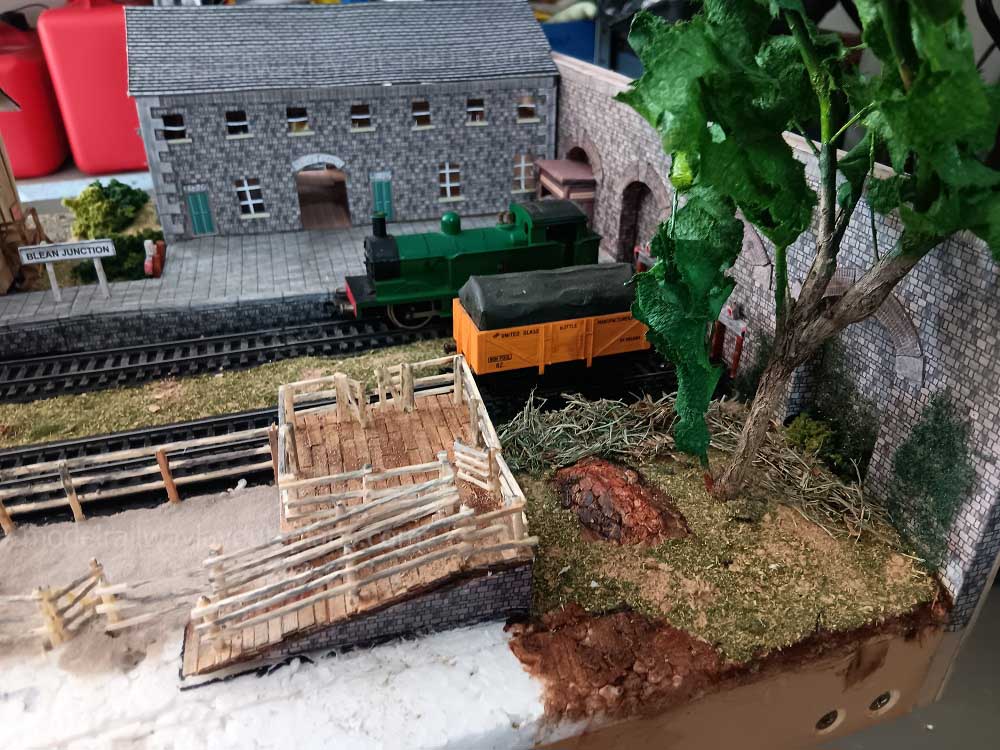
Please find attached photos from my new inglenook shunting layout. My first was sent to you and you kindly featured it on your site. Subsequently I sold it on Facebook and have started again.
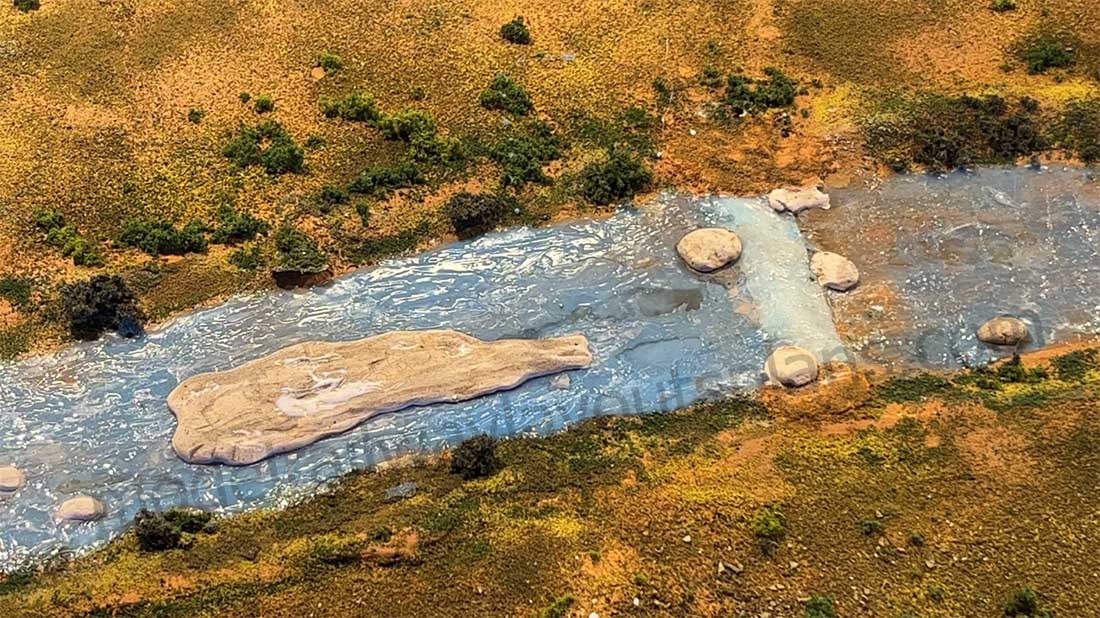
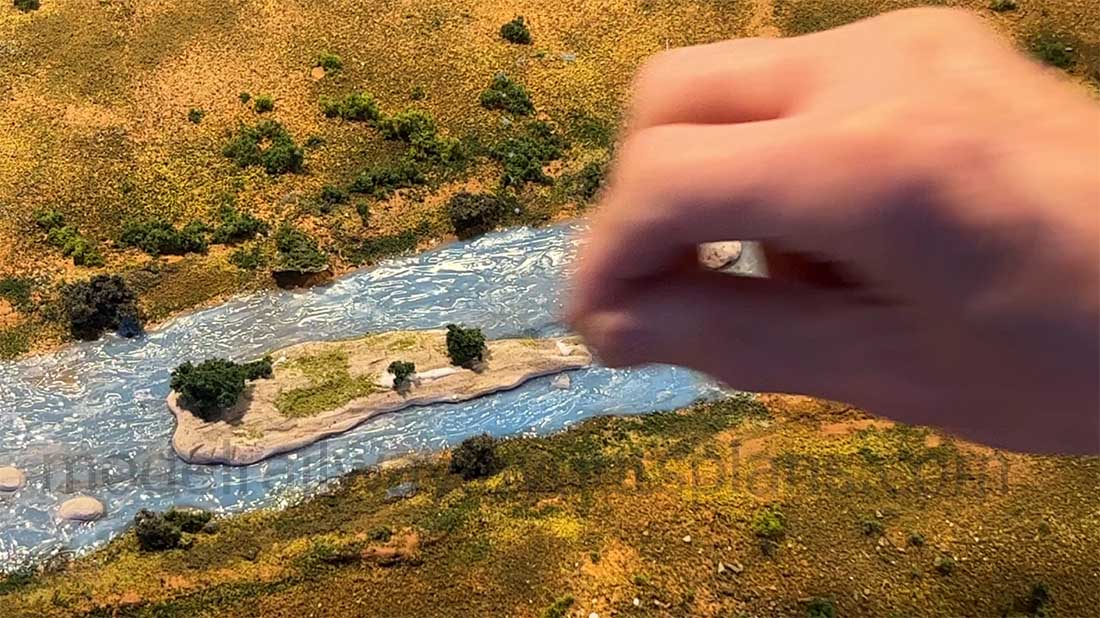
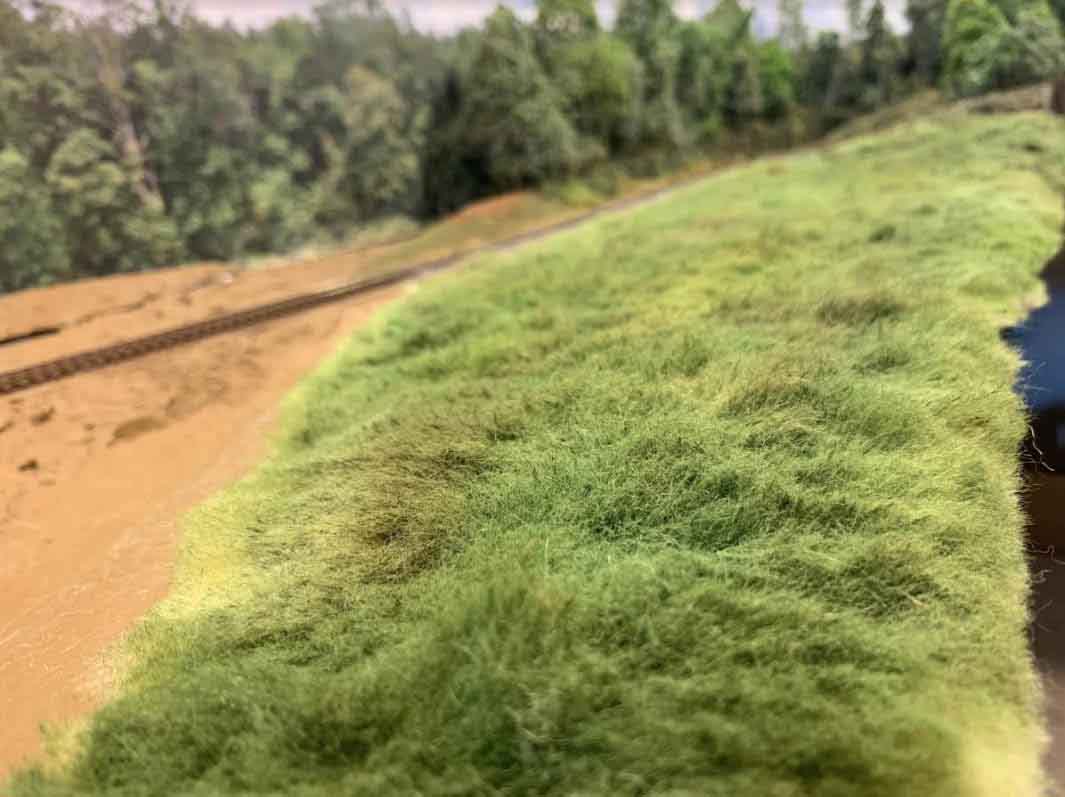
I wanted to create wild overgrown grass areas without purchasing static grass etc.
Much of the enjoyment I get from building a model railway is doing so for as little or no cost – I am retired so my budget is limited, my time is not restricted and hopefully innovation will keep my mind active.
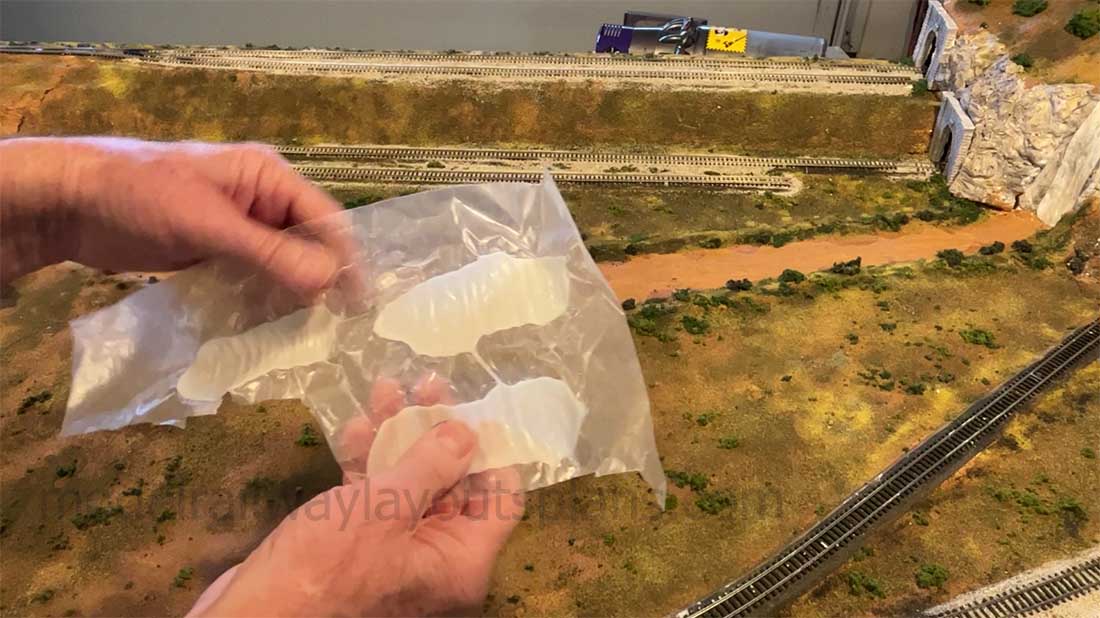
When mowing the lawn (yard here in Oz) there are always cuttings on the blade guard.
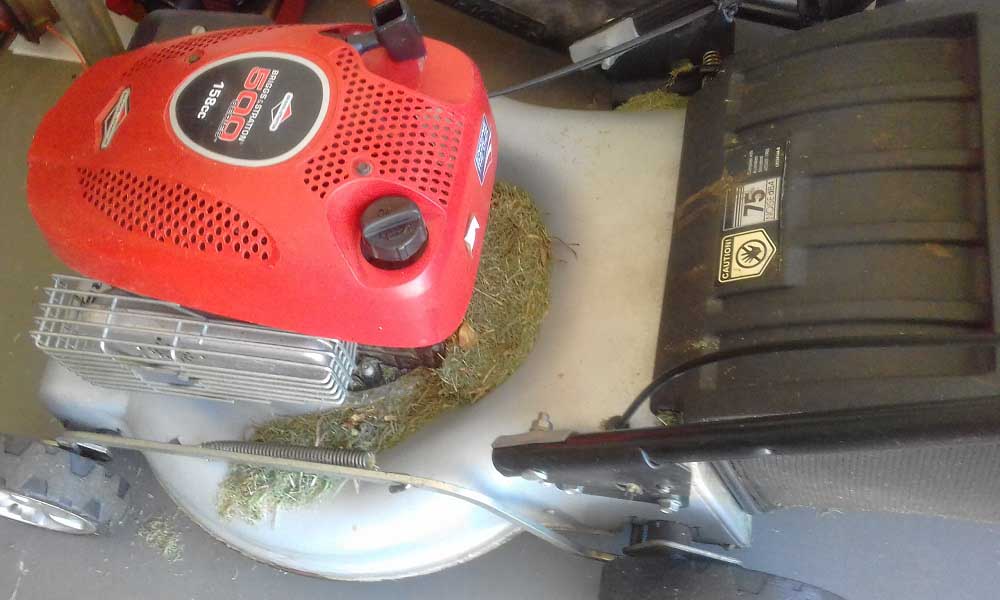
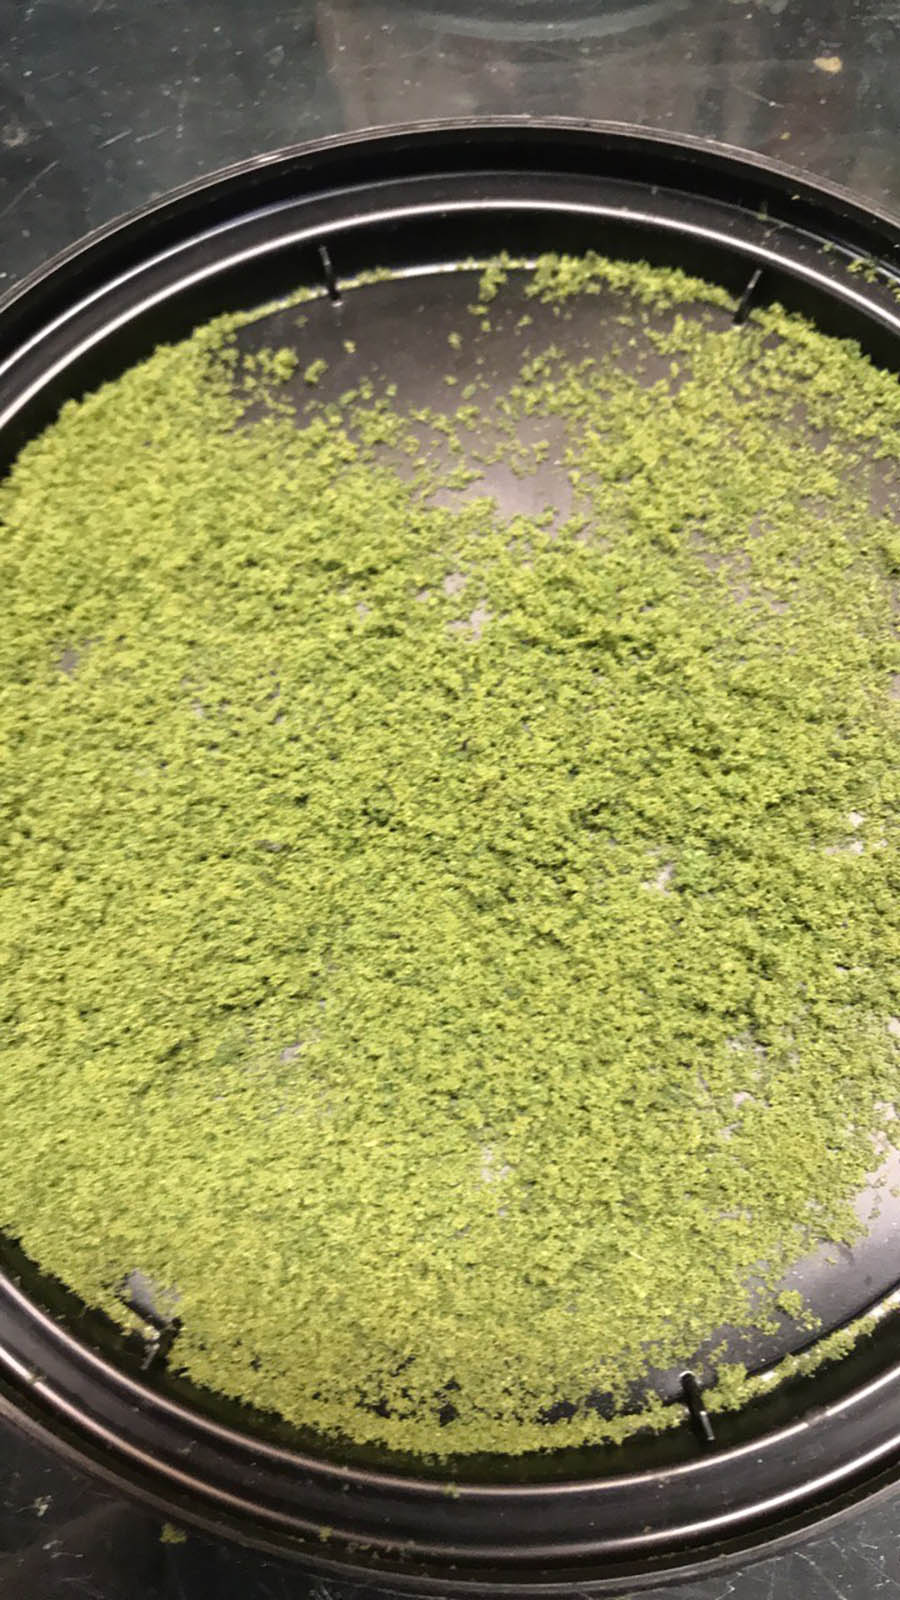
These dry out with the heat of the engine. These are collected and sorted to remove leaves and other detritus.

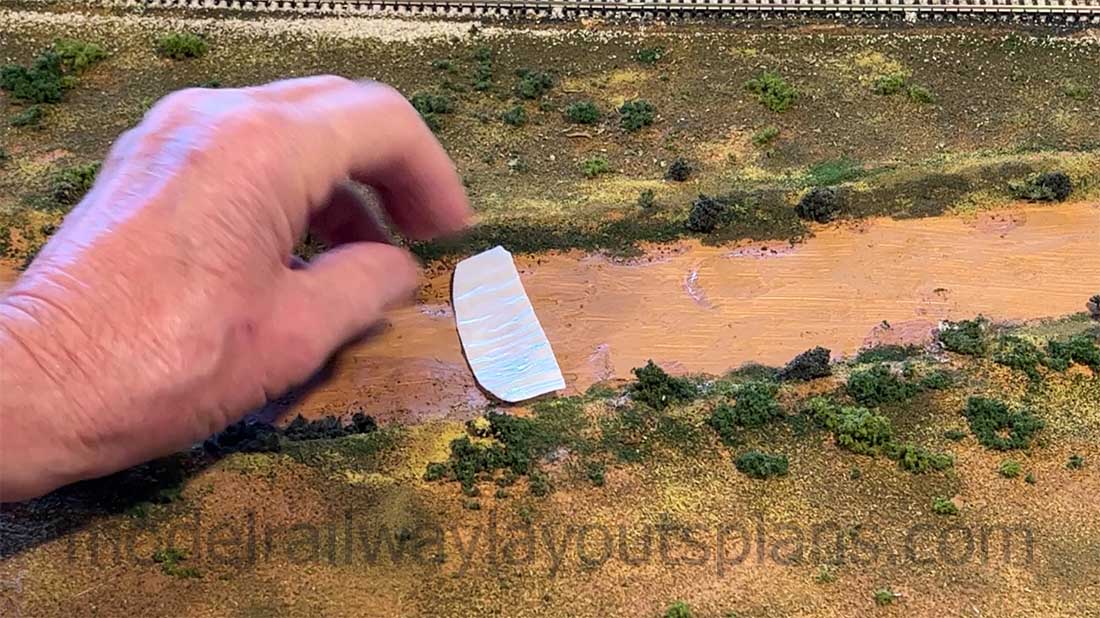
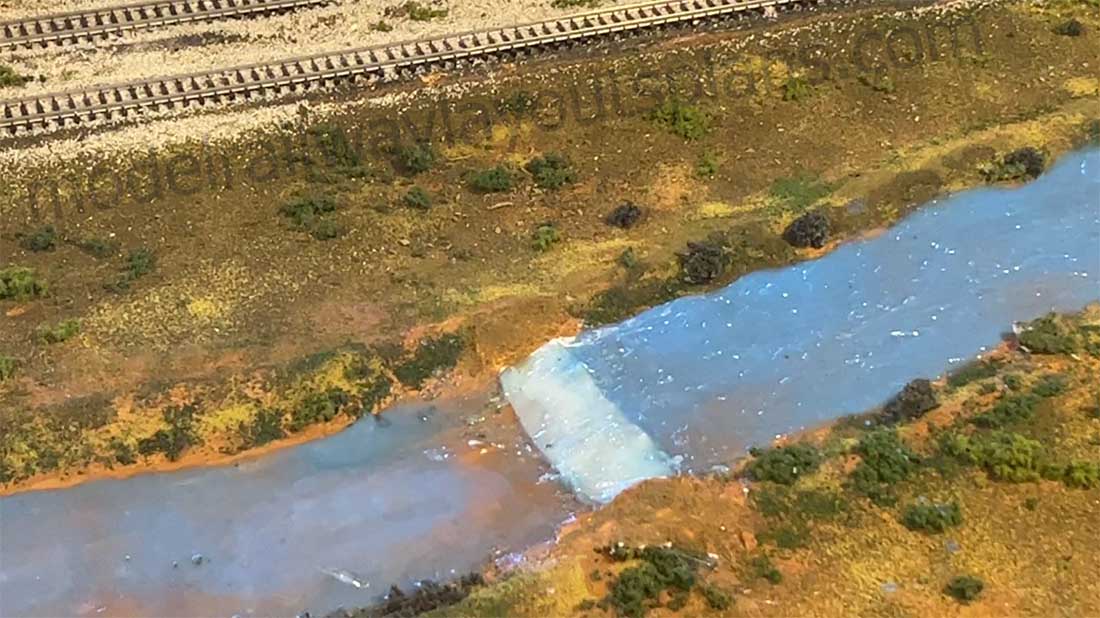
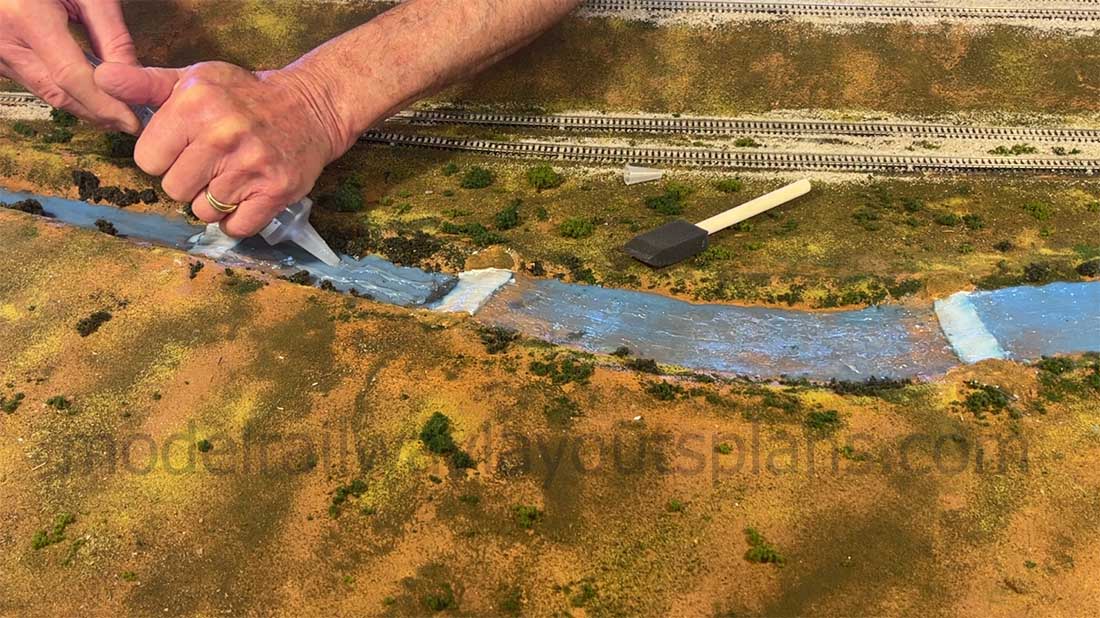
A selected amount is placed on cling film and soaked with PVA glue and allowed to dry.
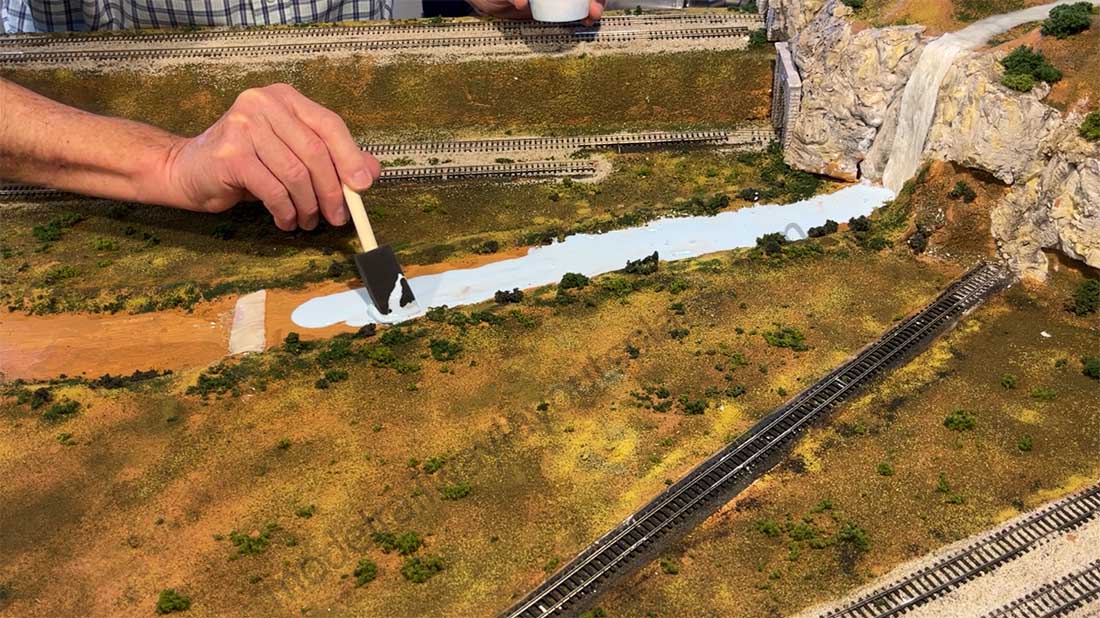
It easily peals off the cling film when dry and may be glued into place on the layout.
Best wishes to you and all who follow your blog.
Andrew
P.S. It’s work in progress as you can see. The cattle pens are from used matchsticks cut into 4 lengthwise”
A big thanks to Andrew – model railroad grass comes up a lot on the blog for the simple reason most scenes have grass on them somewhere.
The one that springs to my mind by a country mile is John’s grass ‘how to’:
Then there’s Gary’s:
Model train grass which also looks great.
And there’s Rob’s and Dave’s posts also:
Now on to Peter, because you all know how much I like an update:
“Many thanks for posting by first layout about 18 months or so ago, a 18” x 8” shelf – switching layout that I had a lot of fun building.
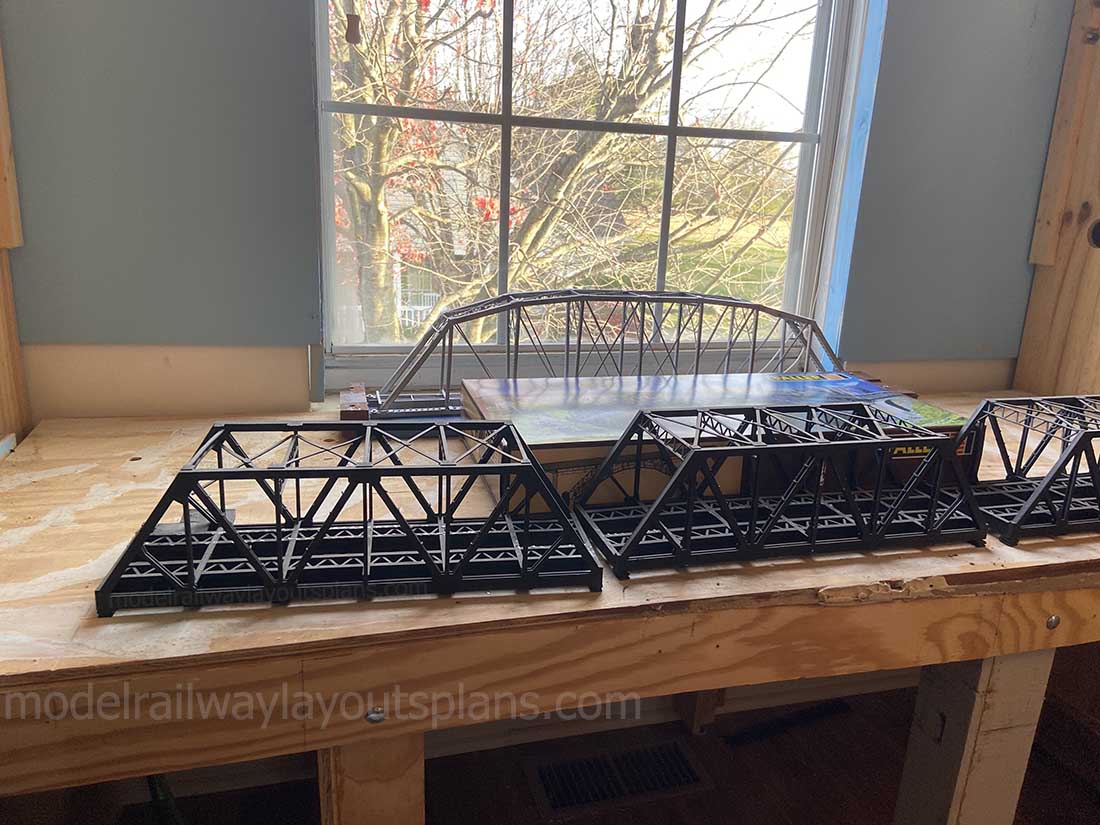
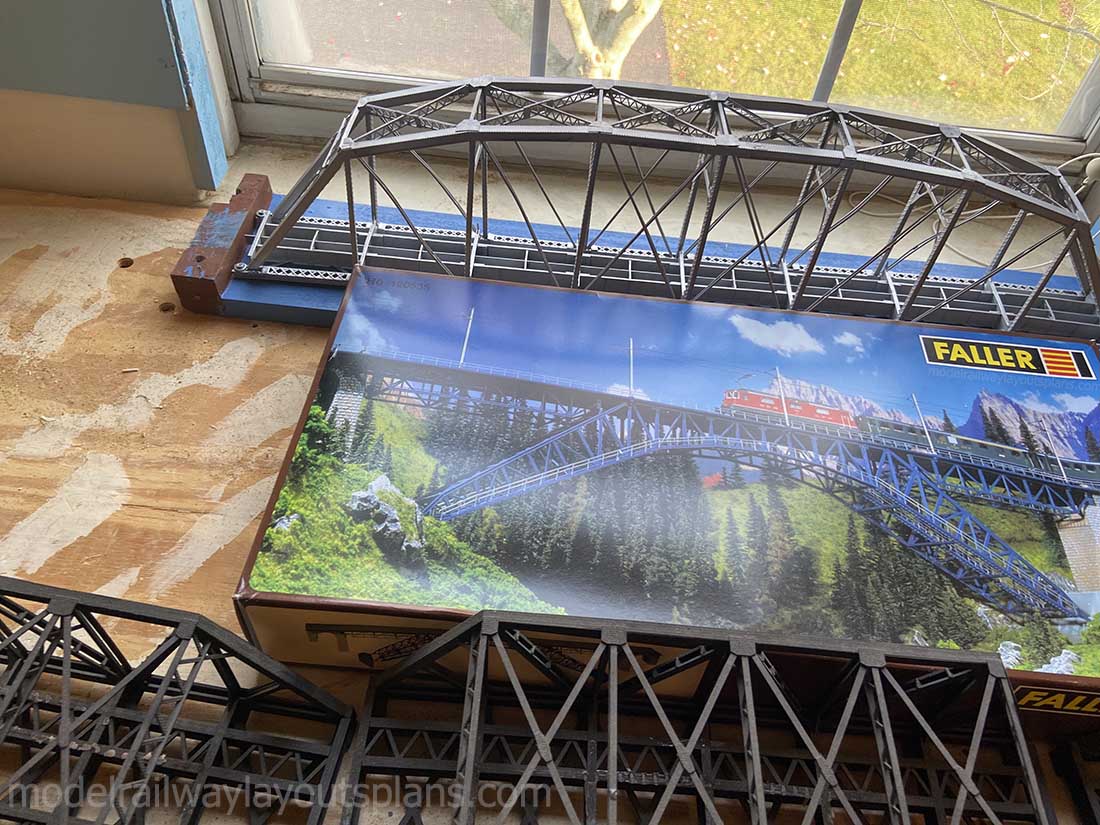
Your constituents appeared to like it and I mentioned I was going to build another bigger and better layout. It’s about time to share my progress.
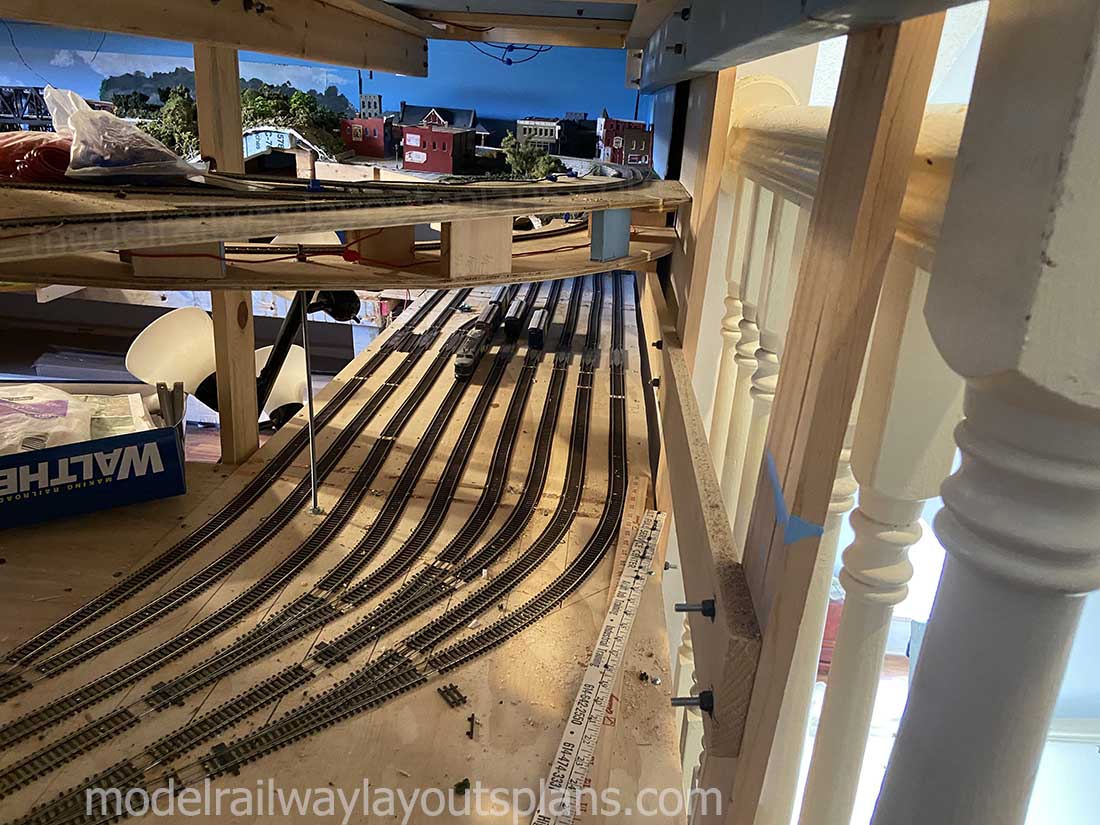
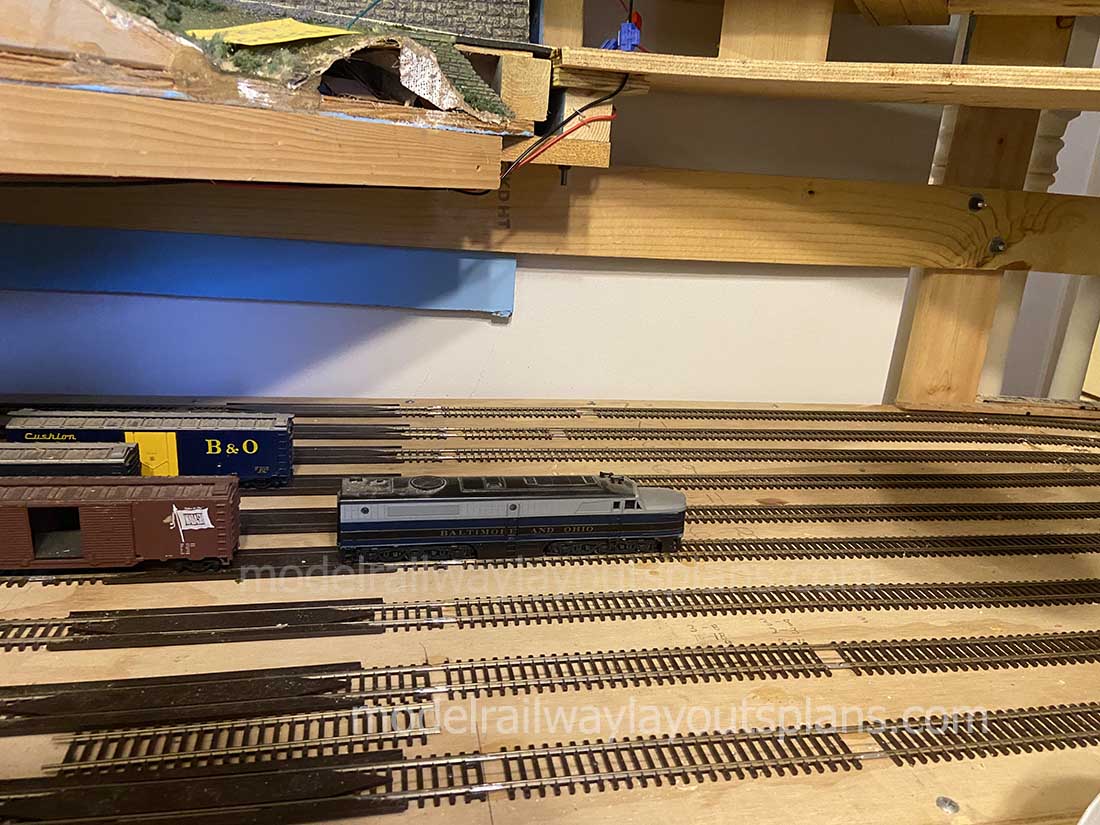
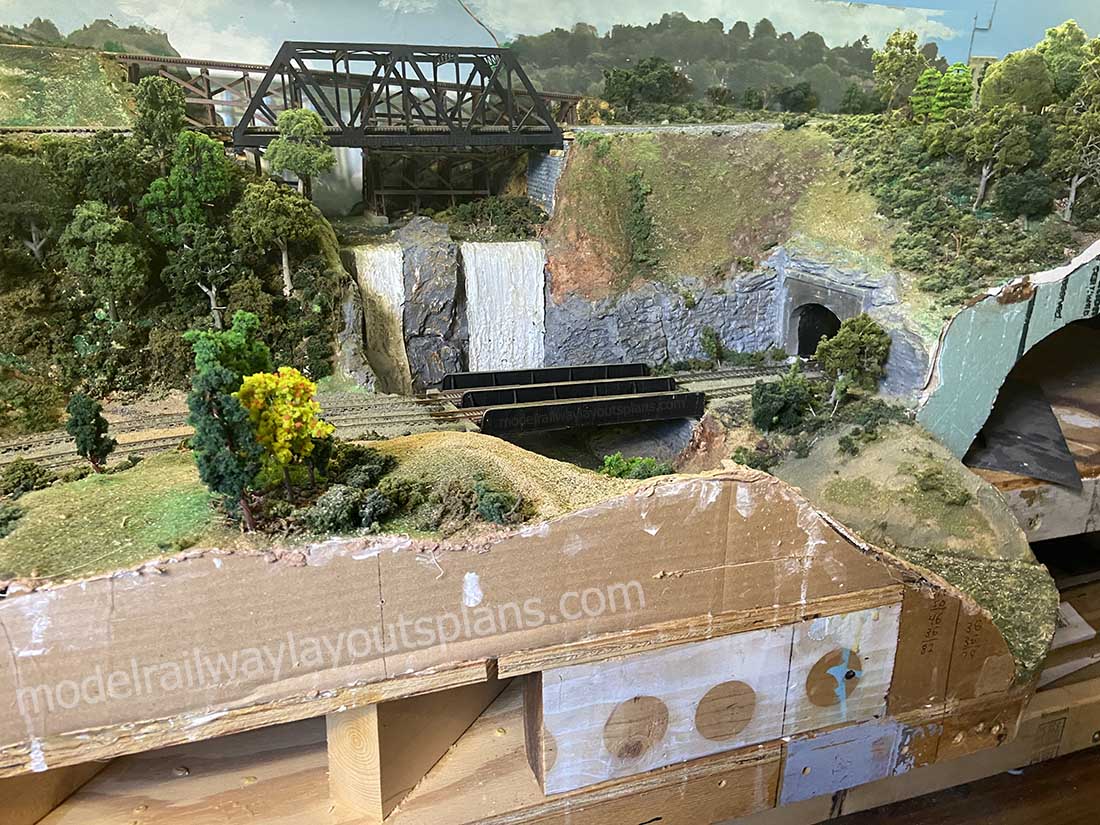
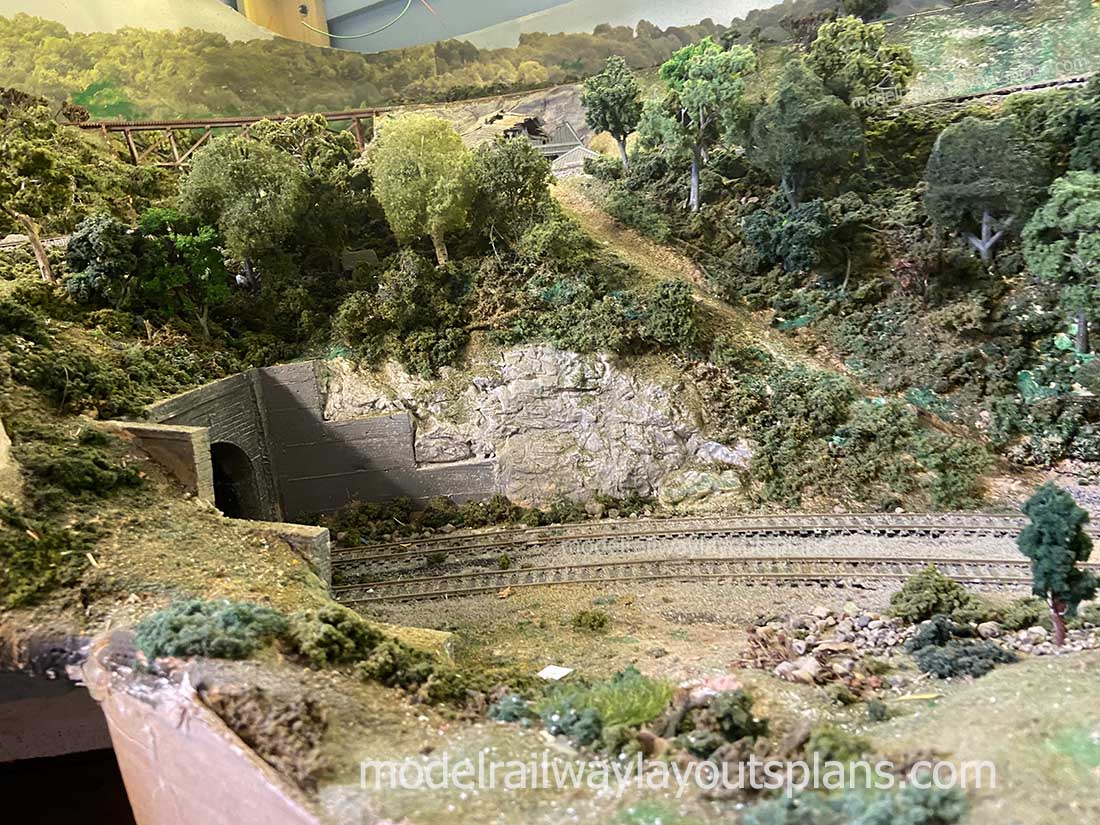
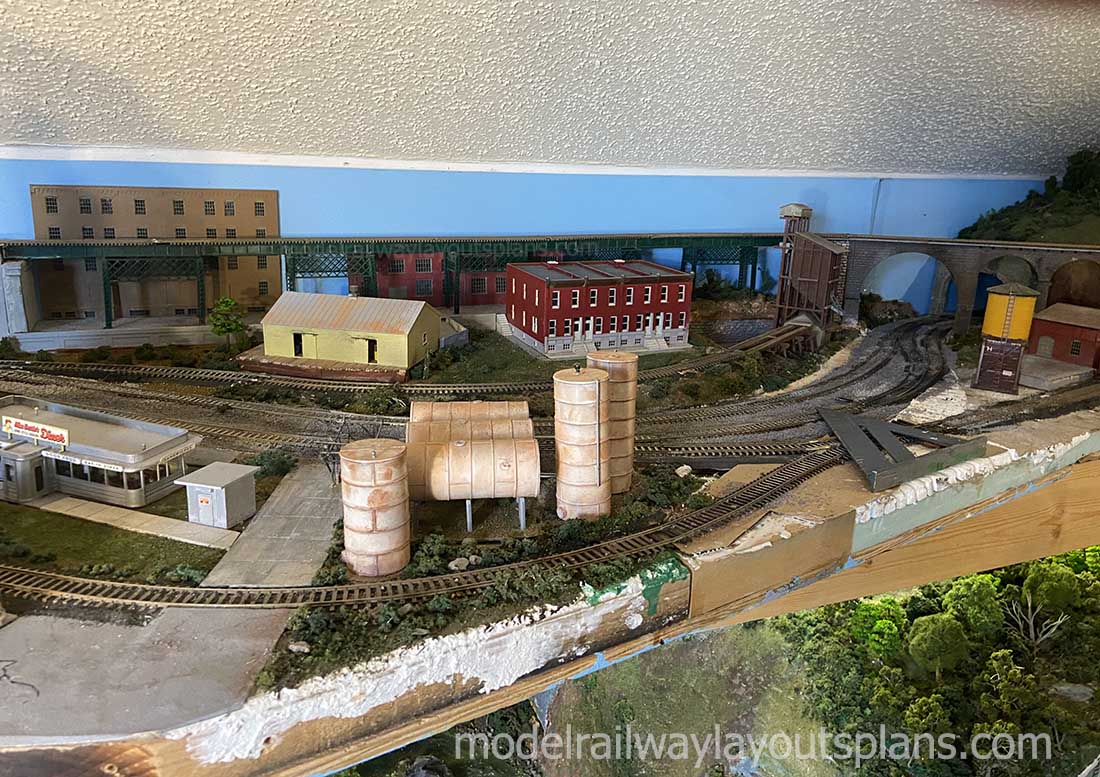
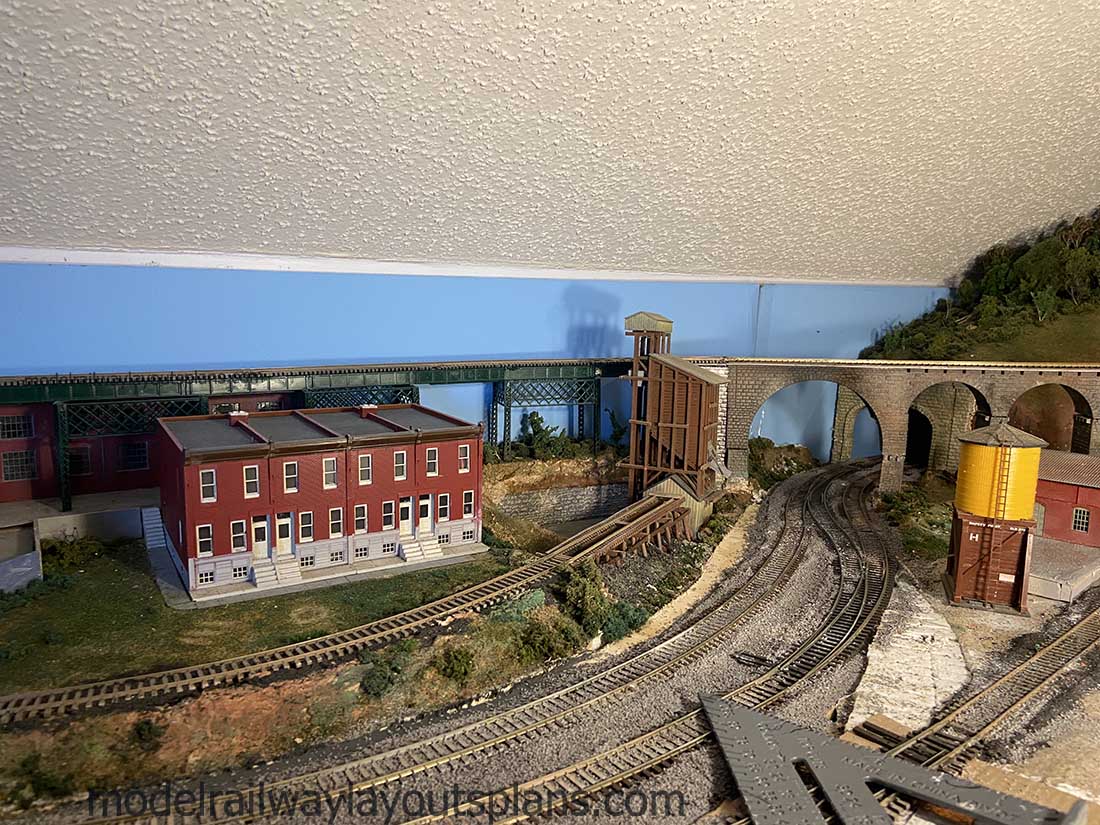
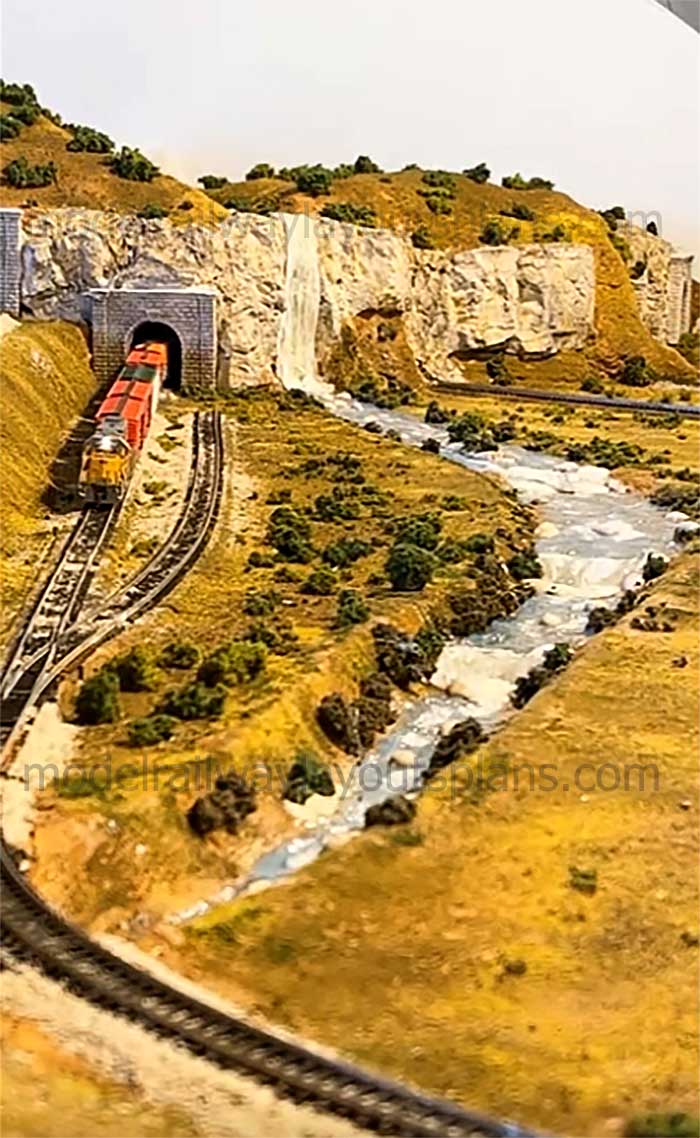
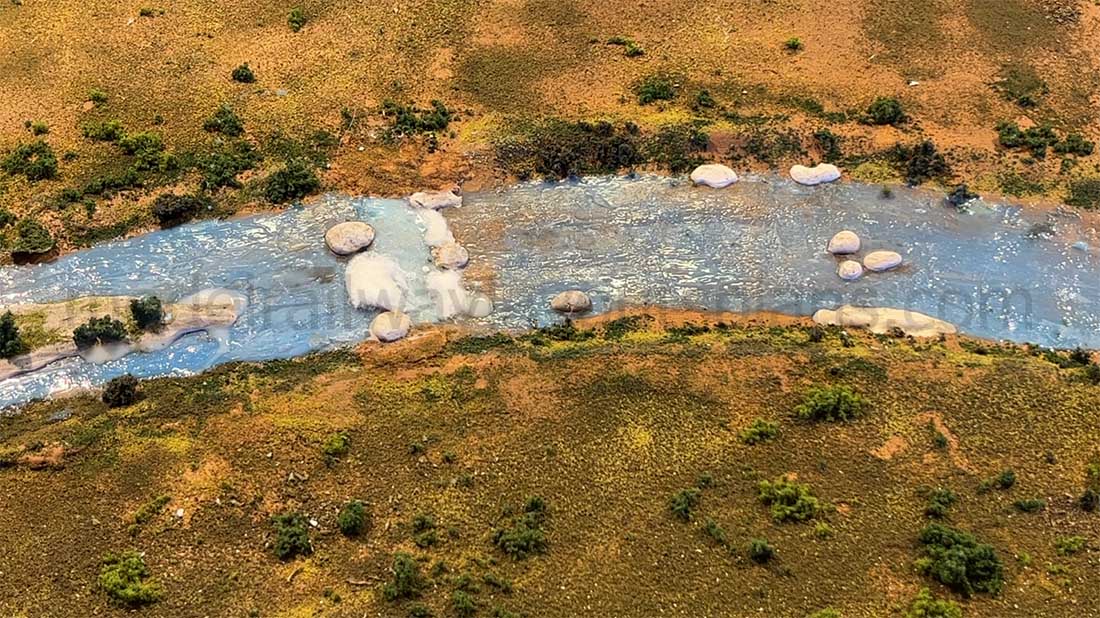
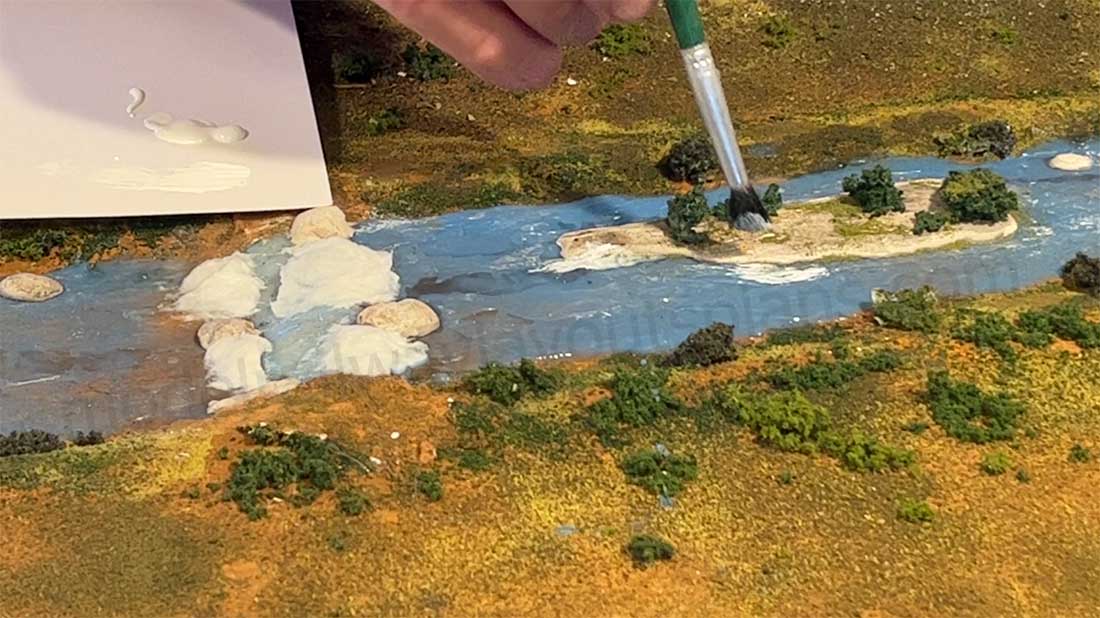
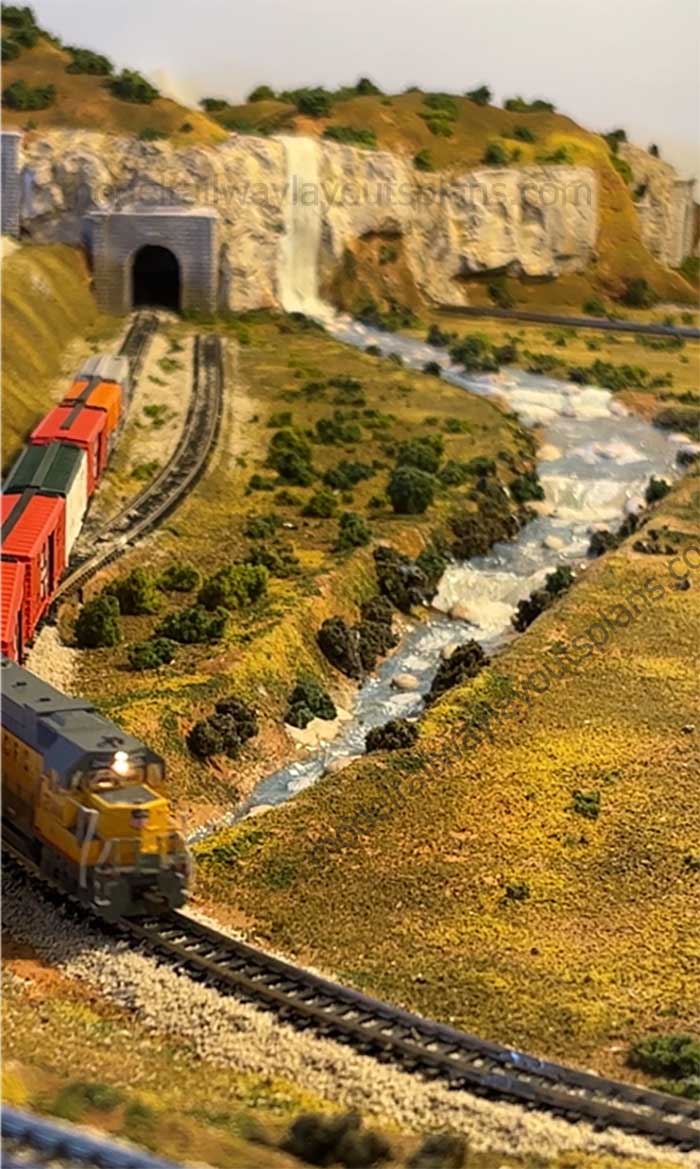
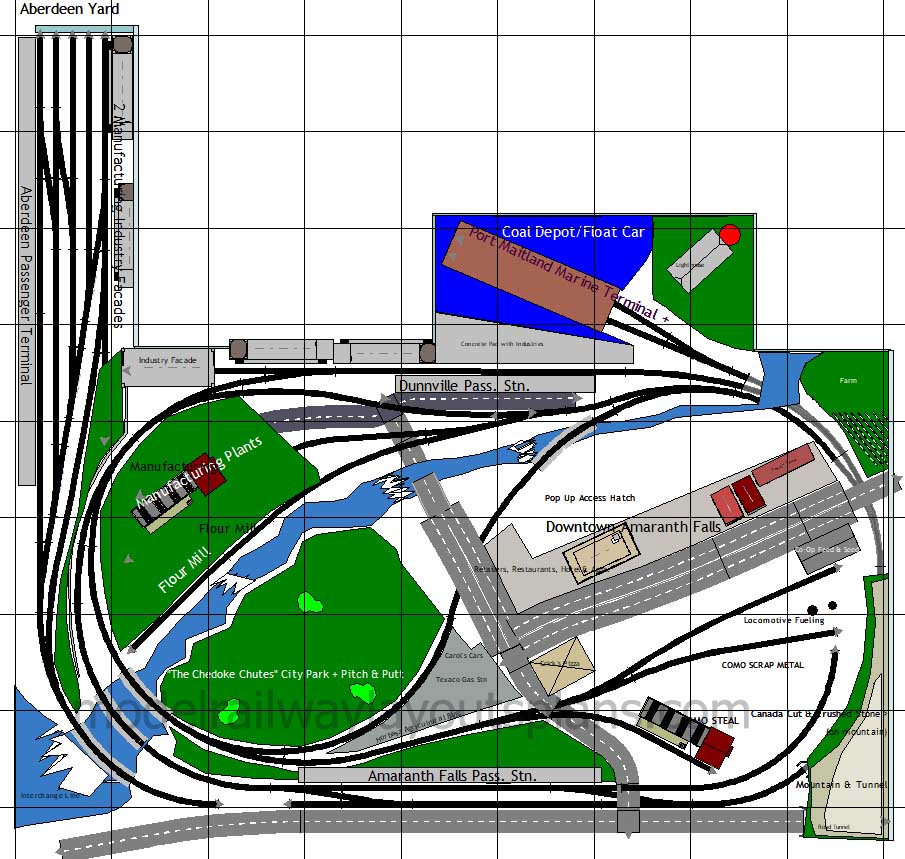
I’ve stayed with the fictitious town of “Amaranth Falls”, this time around it’s much bigger and better.
It is again inspired by the TH&B – the Toronto Hamilton and Buffalo Railway – which was eventually absorbed into the Canadian Pacific railway network in 1987.
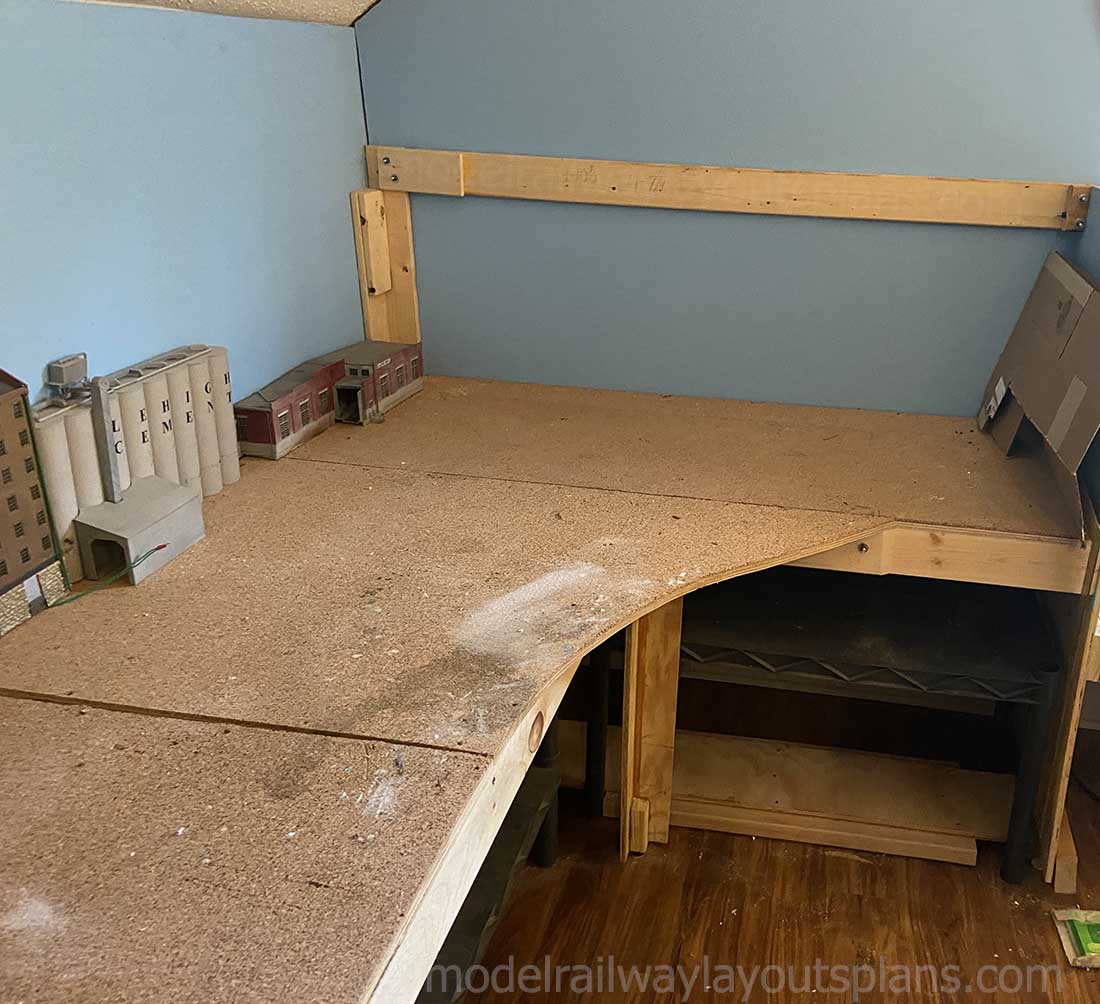
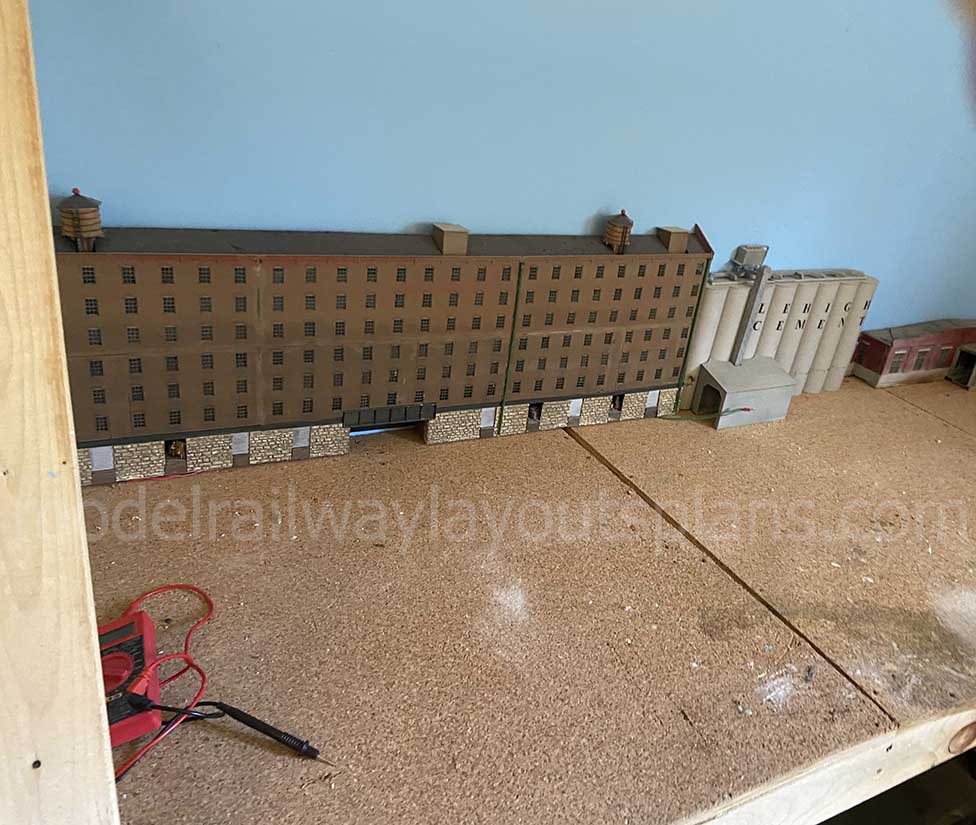
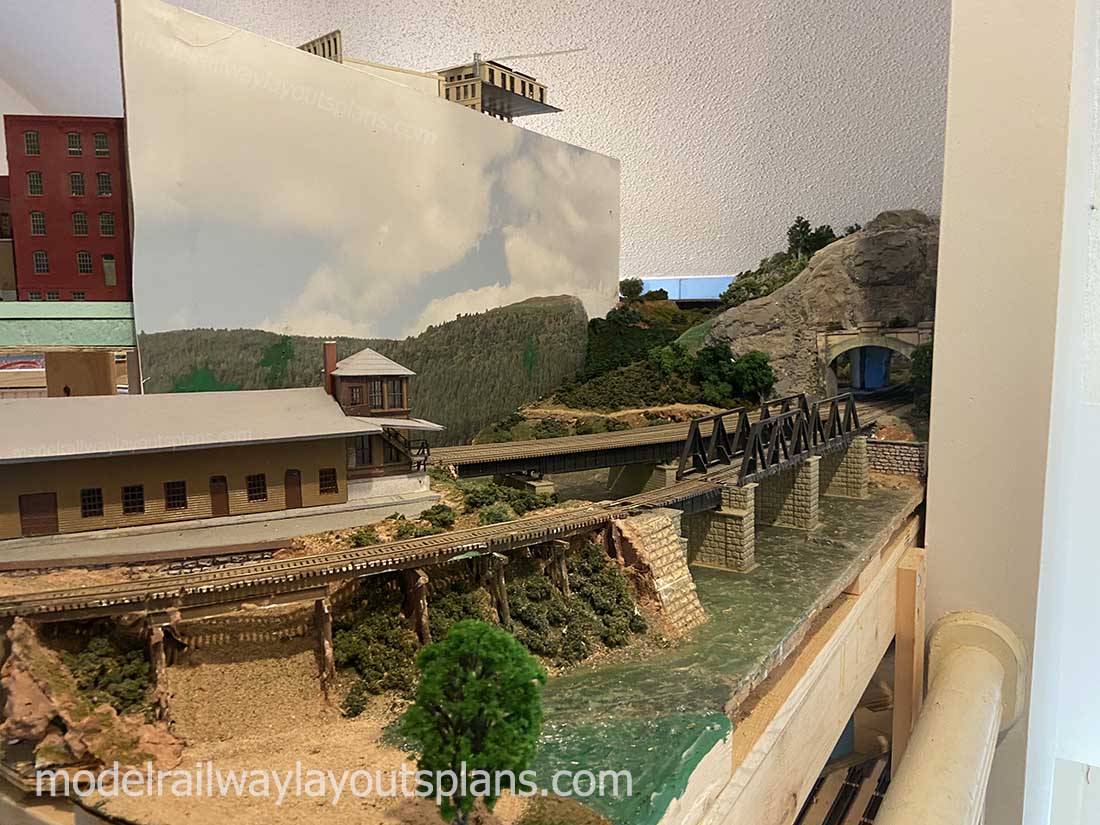
I’ve incorporated a number of features and industries that the TH&B served, most notably the Port Maitland marine terminal on Lake Erie, the Canada Cut and Crushed Stone facility near Hamilton and the Aberdeen Yard also in Hamilton.
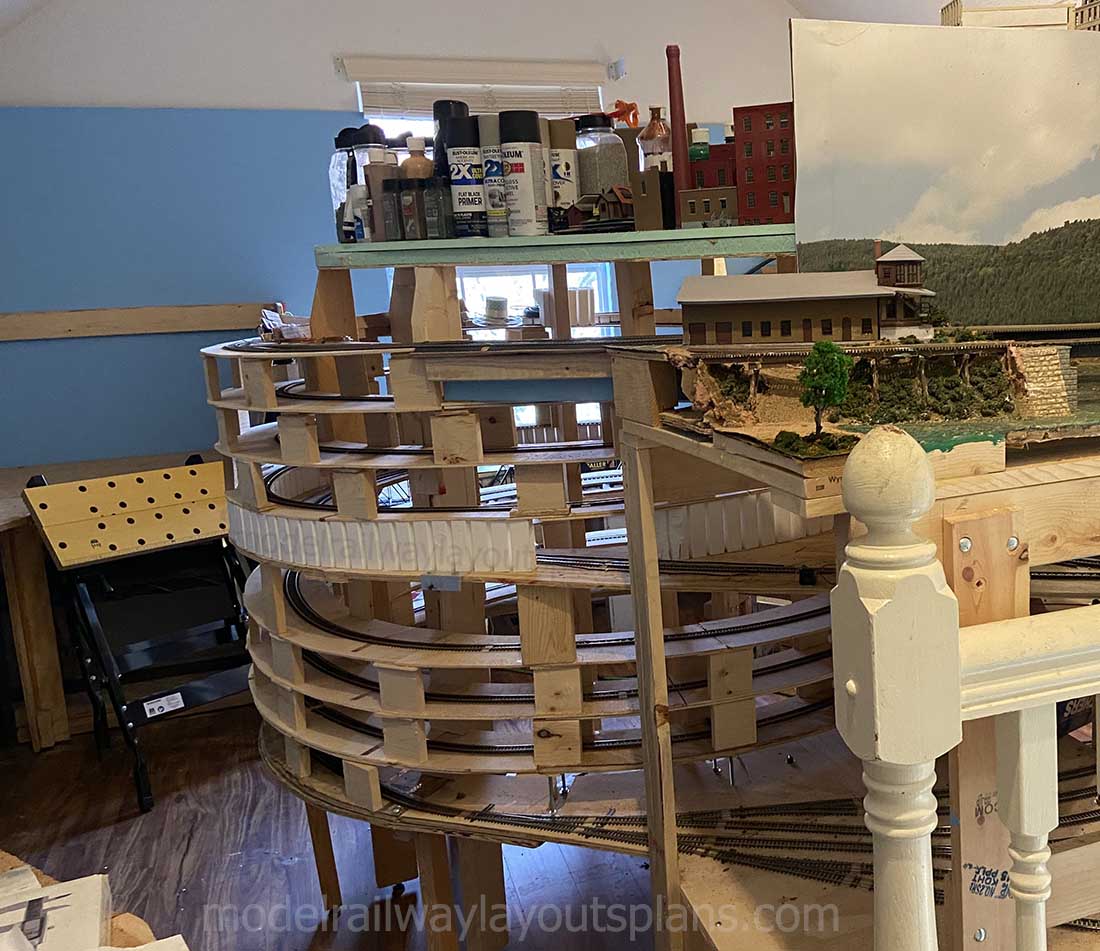
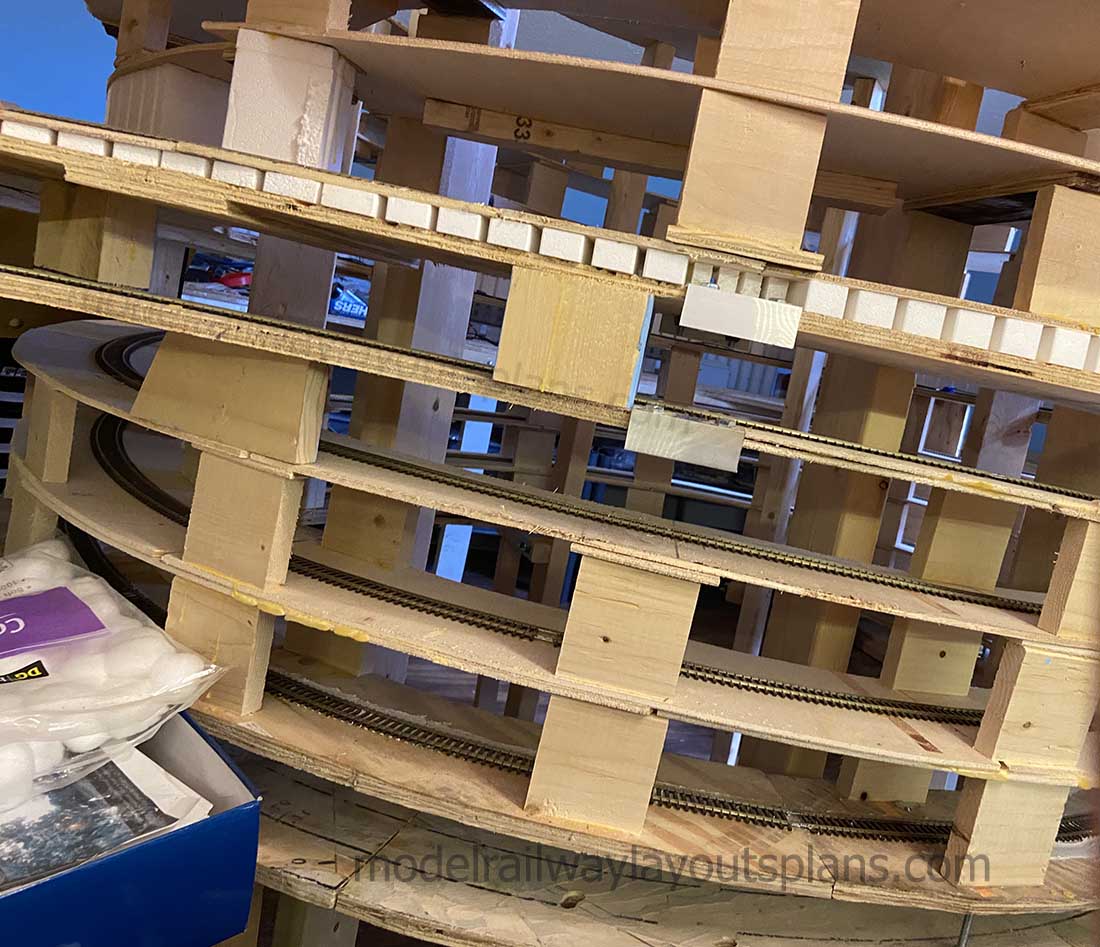
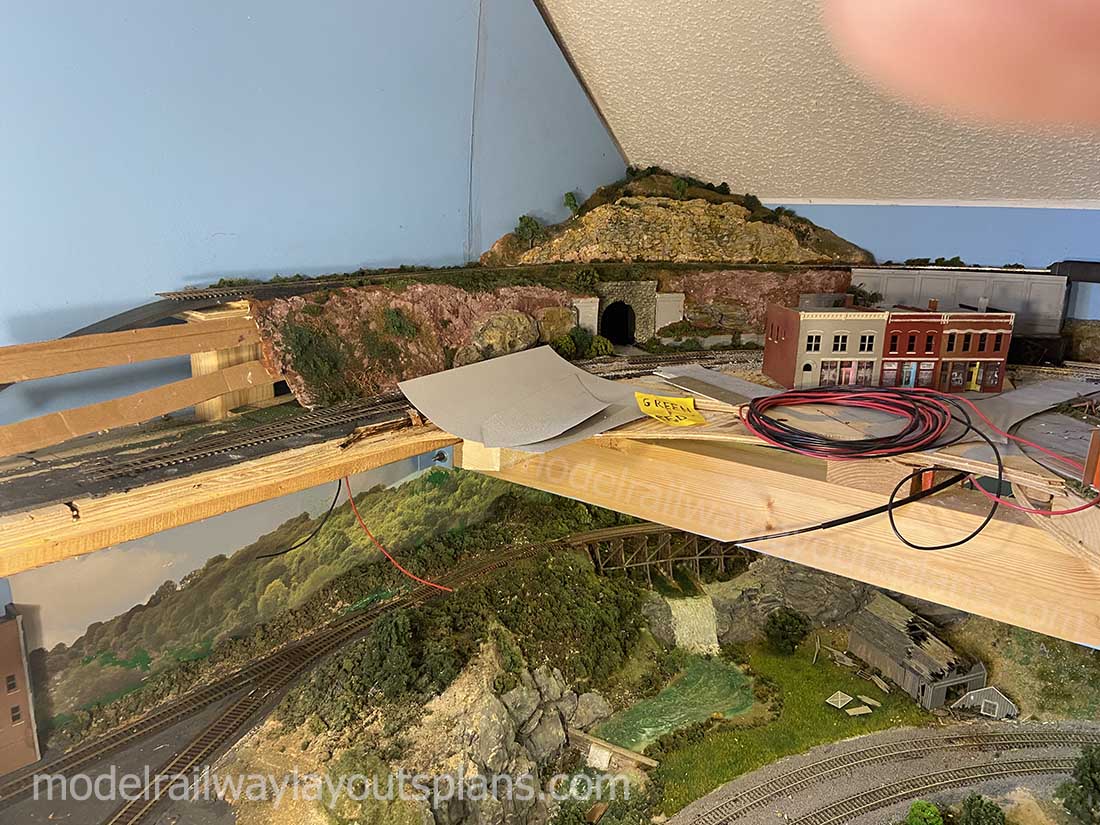
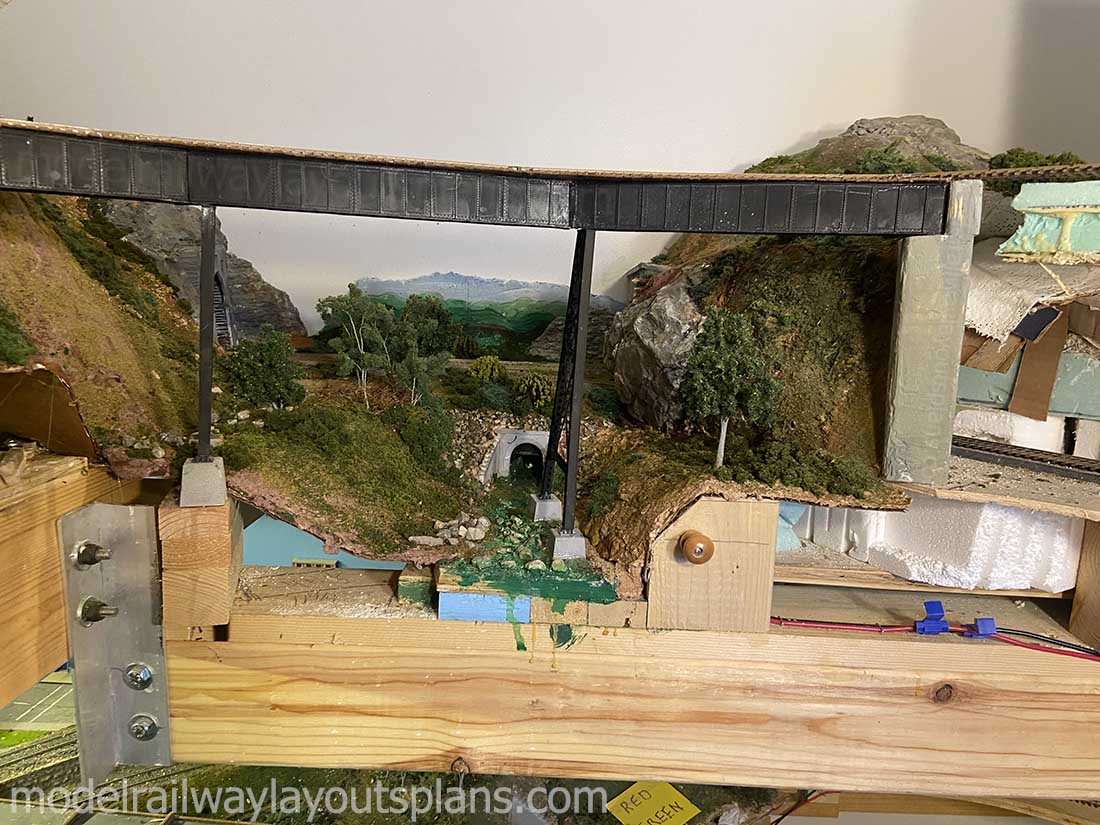
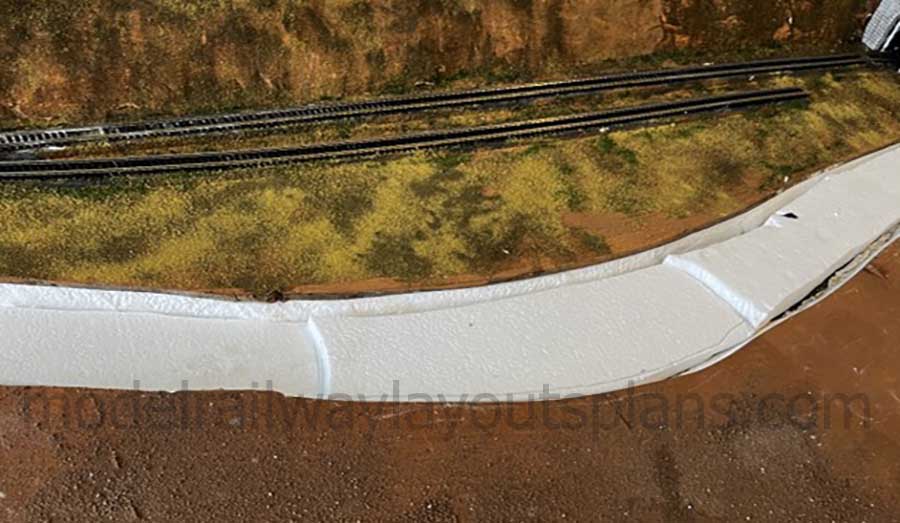
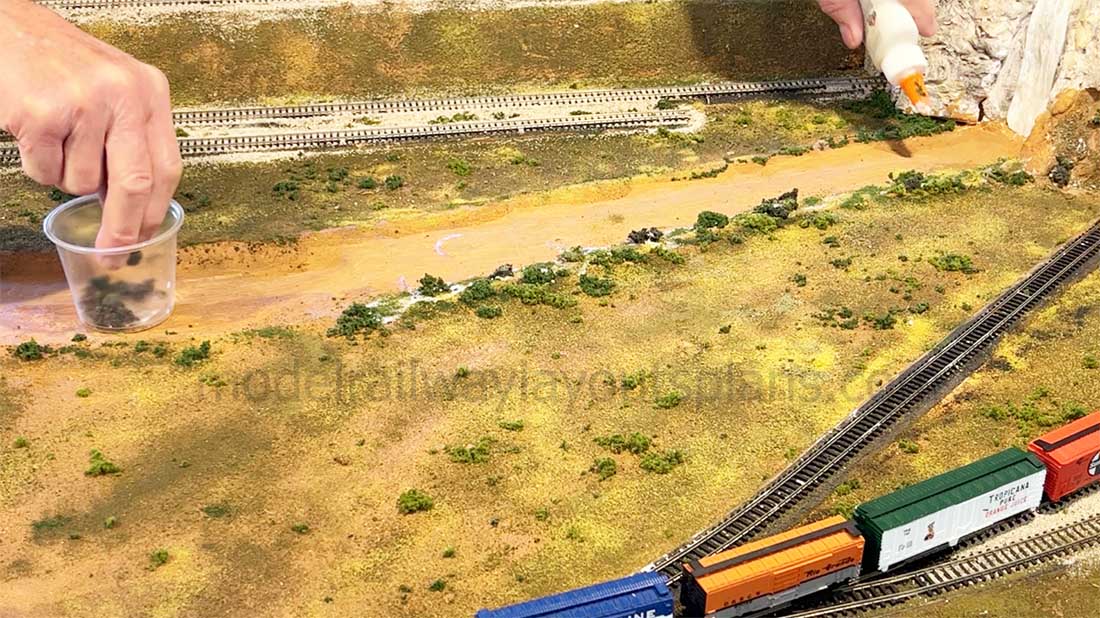
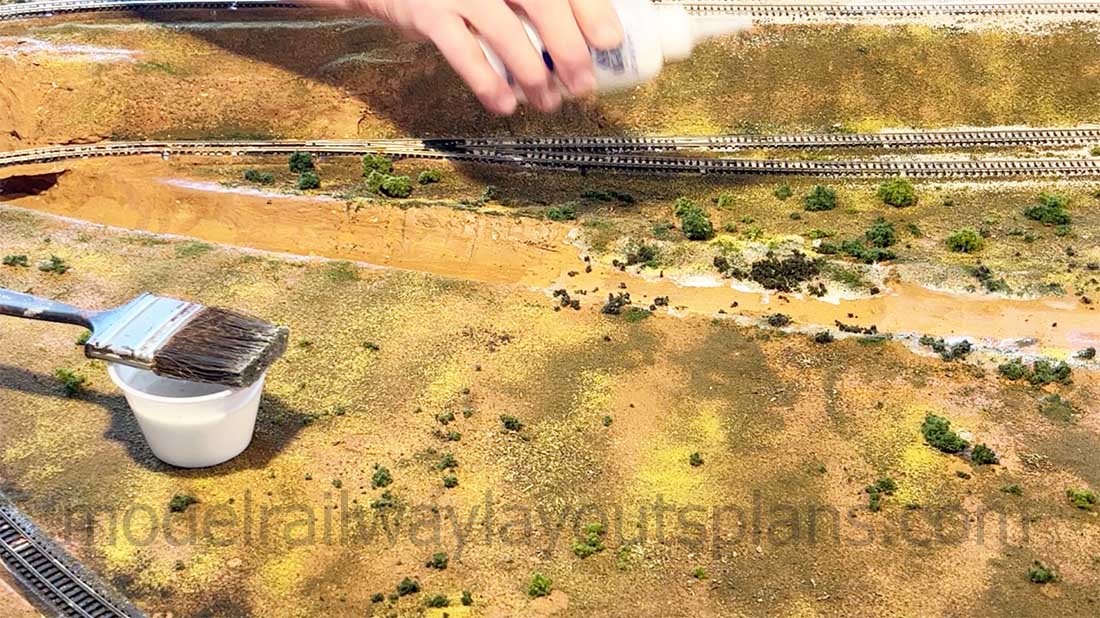
I’m working my way through the layout stages, but I thought your followers would like to see my progress to date.
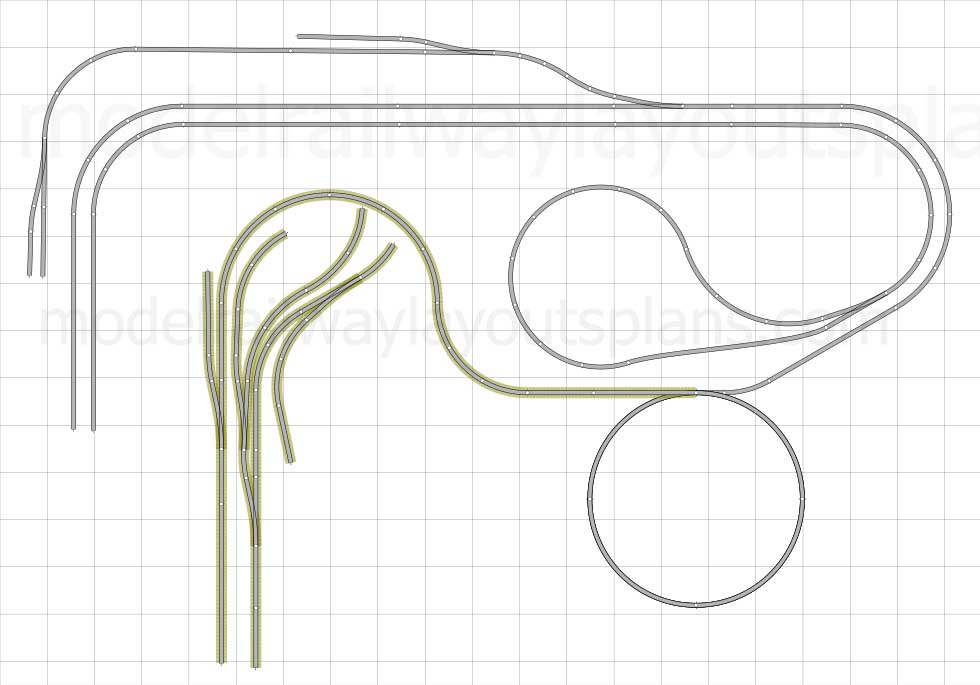
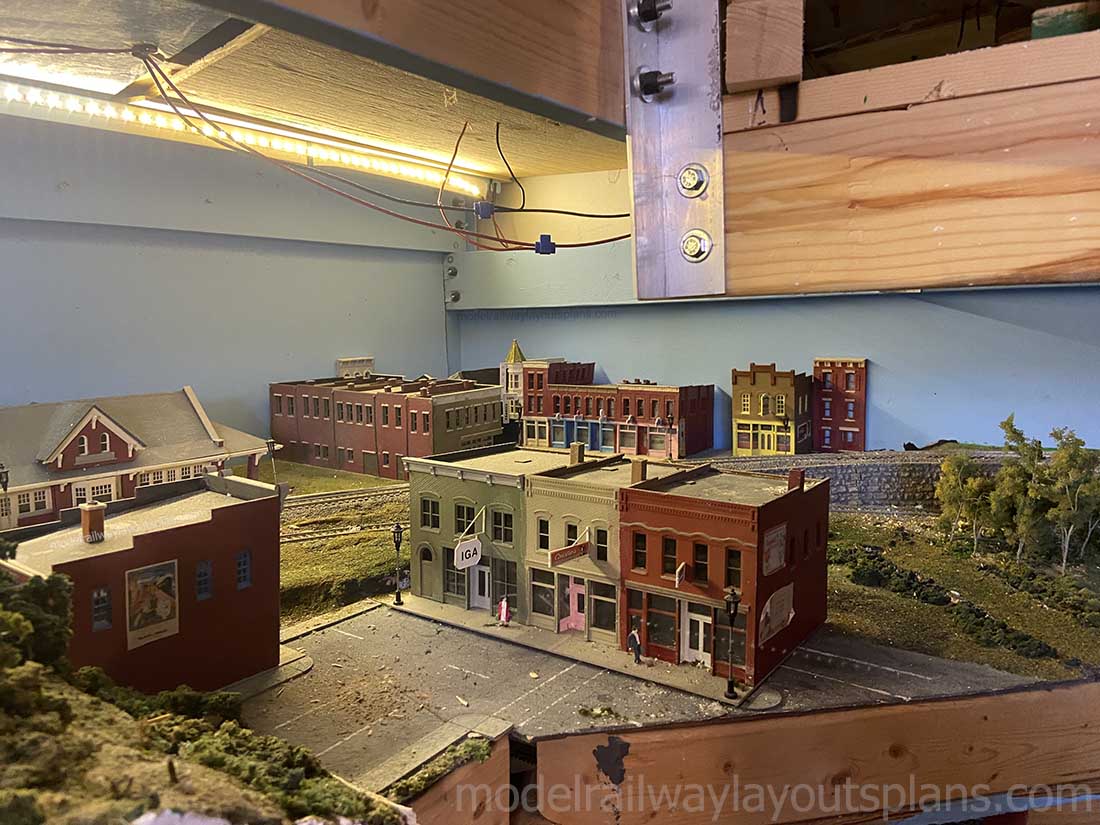
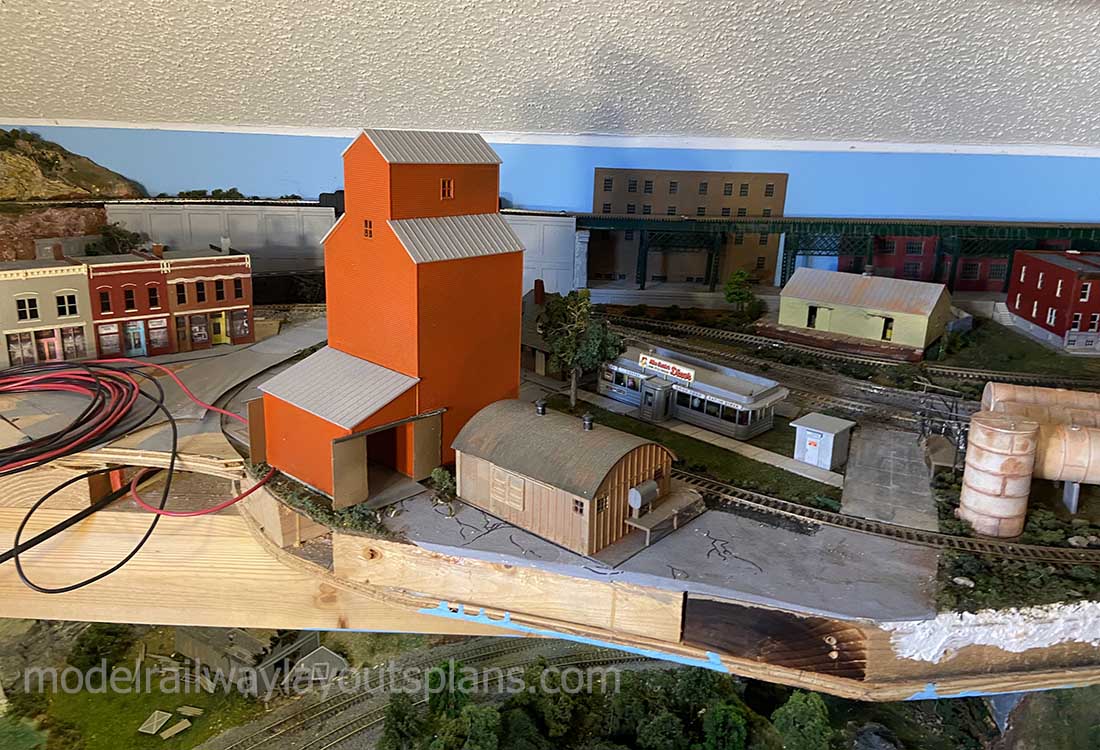
I’ve included a layout schematic and one overall photo with descriptors – yes a lot of family and friends are featured with business here mirroring their actual careers and business ventures.
It’s a bit whimsical but I do find this part of the fun.
Thanks again for your wonderful work in sharing the great ideas and layouts everyone is working on.
Peter”

(Peter’s last layout is here if you want to have a peek.)
A big thanks to Peter – please do leave a comment below on your thoughts!
Thanks also to Andrew for his take on model railroad grass. After all the years I still take delight in seeing the different ways of doing things.
I think Tommy from a few posts ago with is HO scale tunnel said it best:
“There is no wrong way, there is no right way.”
That’s all for this time, except that I have discovered one or two of you missed some mailings last week.
It was my fault entirely because it was just me pressing the wrong buttons. If you missed them, here they are:
That’s all for today folks, please do keep ’em coming though because it’s awfully quiet this end.
And if today is the day you stop dreaming, start doing and join in the fun, the Beginner’s Guide is here.
Best
Al
PS Latest ebay cheat sheet is here.
PPS More HO scale train layouts here if that’s your thing.