The talented Dan has been back in touch with pics of his HO scenery for model trains:
“I know not everyone has a lot of space when building a layout. You use what you have. That is the name of the game.
First impressions are very important. When I built my layout, I spent quite a bit of time working out what I wanted visitors to see first.
As you have seen, my layout is designed to have many scenes along the way around the layout.
Also, remember my layout is a scenery first layout. The other 7 I have done or worked on were operations AND scenery layouts. The B&M comes to mind.
On my layout, the first part you see is the part I am about to describe in this post. This was also the last part to be finished.
After just a few construction photos, I will spend more time on the detailing I have done. There will be lots of detailed photos. This is intended to show that in a 5 by7 foot section there is a lot to see without being too busy.
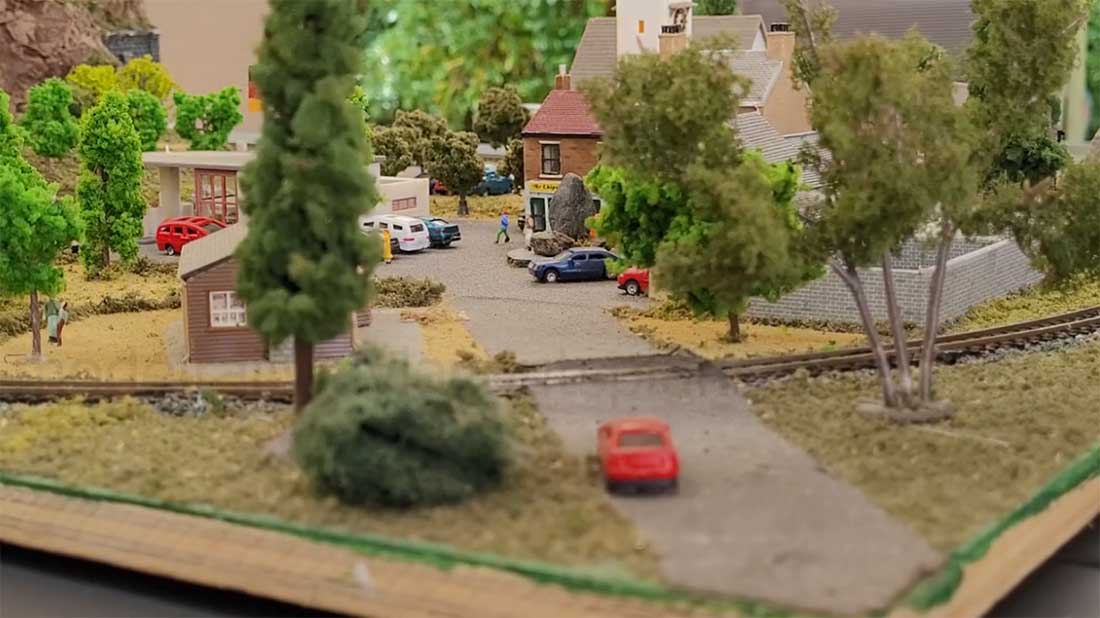
The overall scene is of a road leading from the layout. The road goes to a resort. In my case “Burnt Lake” a hot spring. Santa Fe has the Grand Canyon. I just did not have the space for
that!
The railroads often built resorts near great scenic vistas. They did this to keep passengers riding during the winter. The western ski resorts are an example.
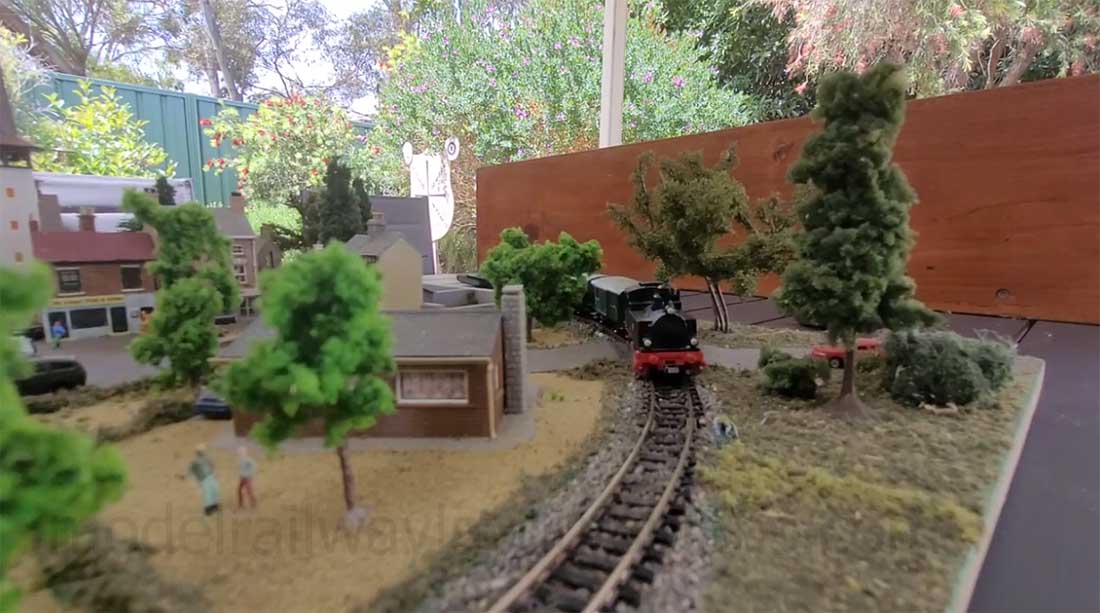
The only way in or out is via train. The train arrives on the upper trestle on the way to a small station. This view sets the scene for the visitor as they walk around to the right and see the station.
This post will conclude the major rocks scenes. If there is interest, I can show more of the flatter parts seen in the track diagram.
If Al permits me to continue, I will have the rivers I have done, and some other layout sections I have done.
HO scenery for model trains:
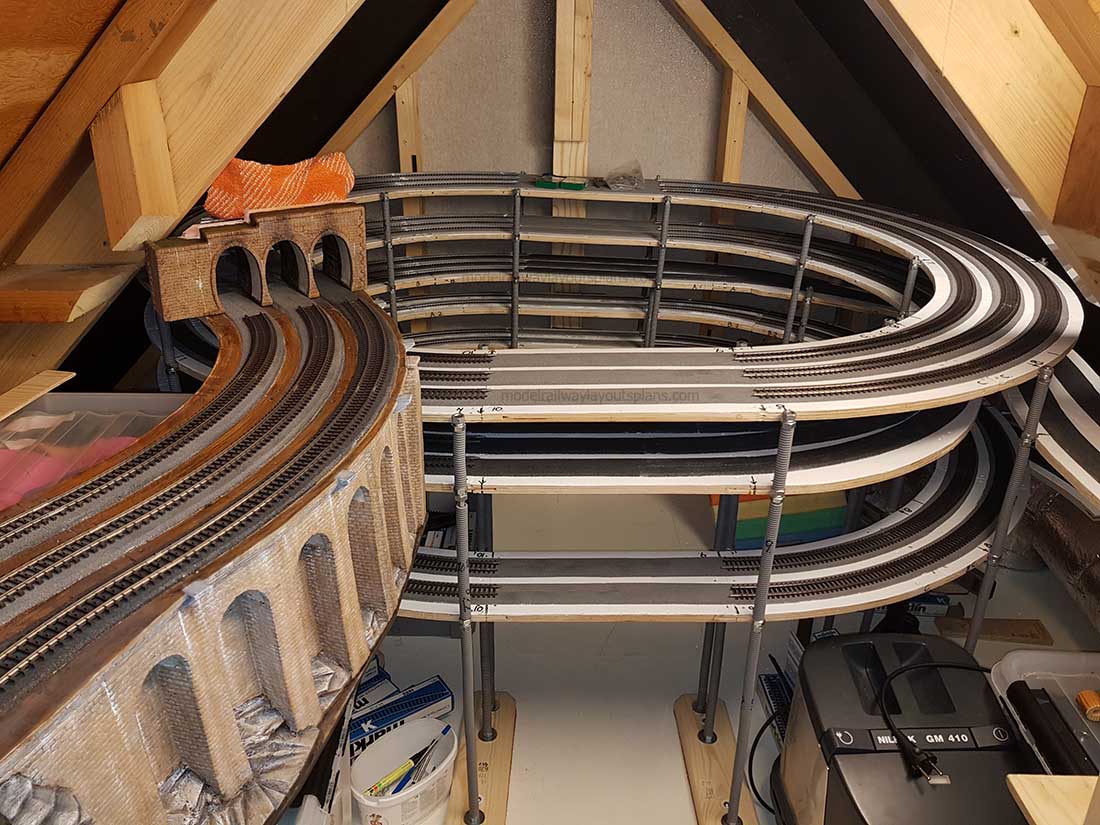
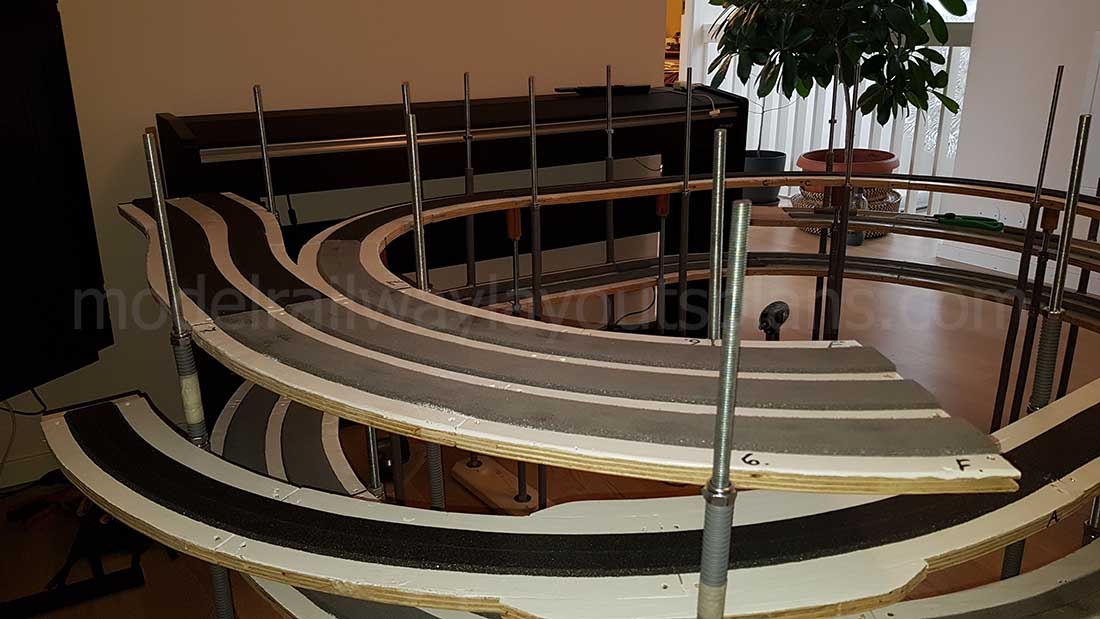
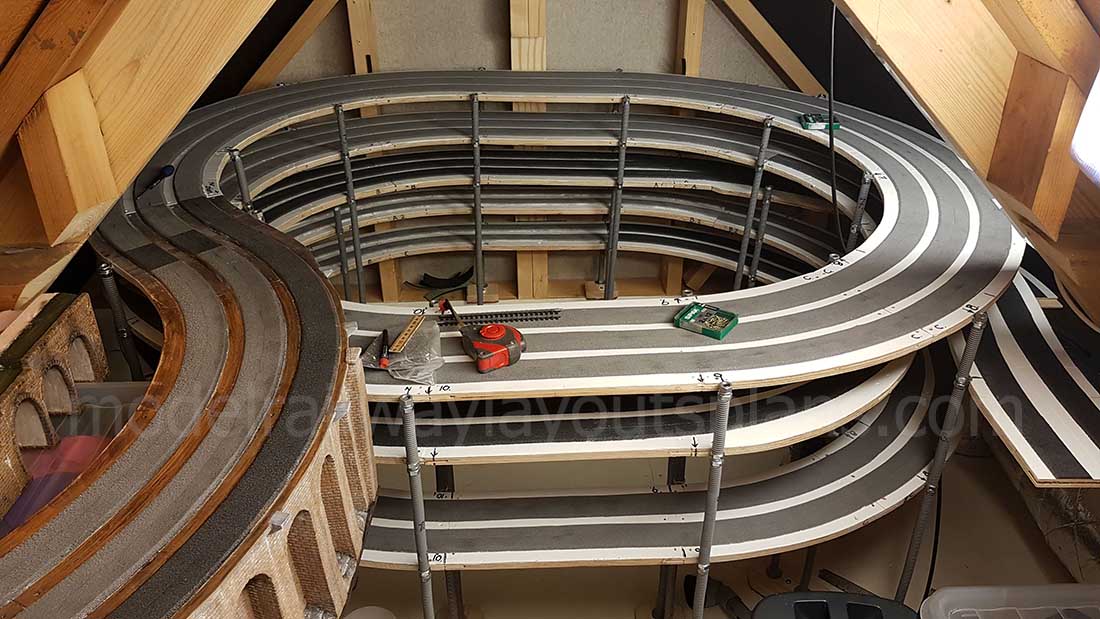
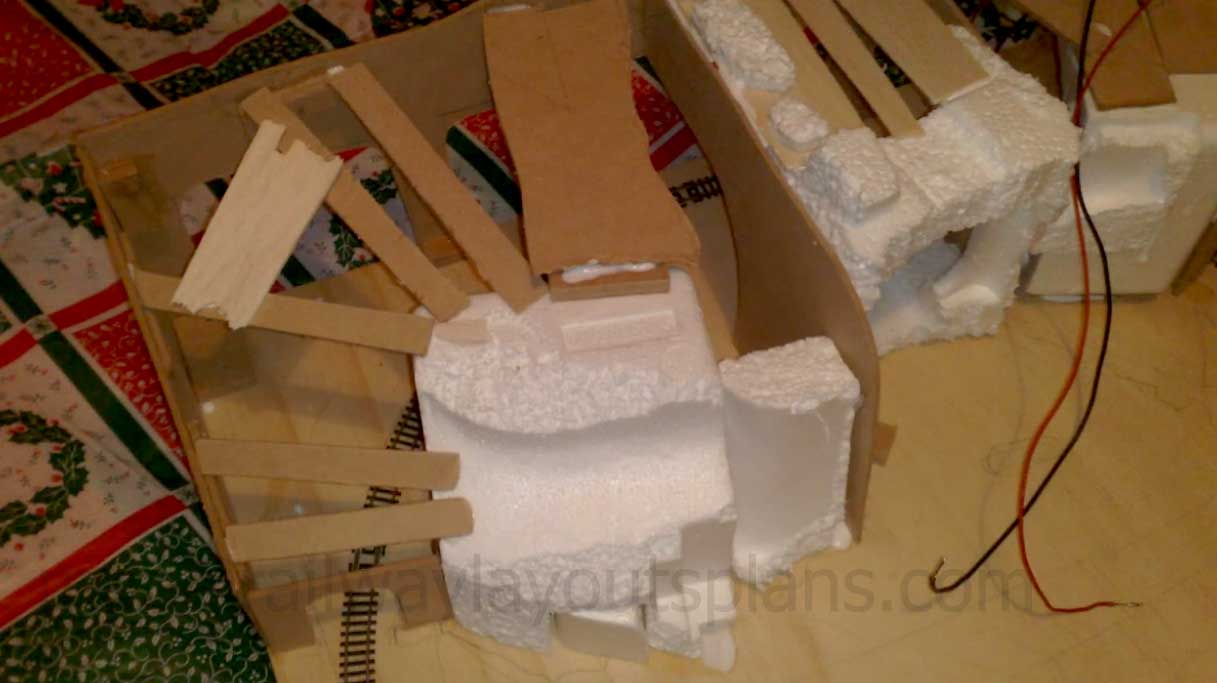
This was the last section to be done. It shows the mainline (ballasted) going down to the lower level staging and run through.It is a 3 1/2 % grade. I duplicates the Route over Raton Pass the highest part of the passenger route of the Santa Fe.

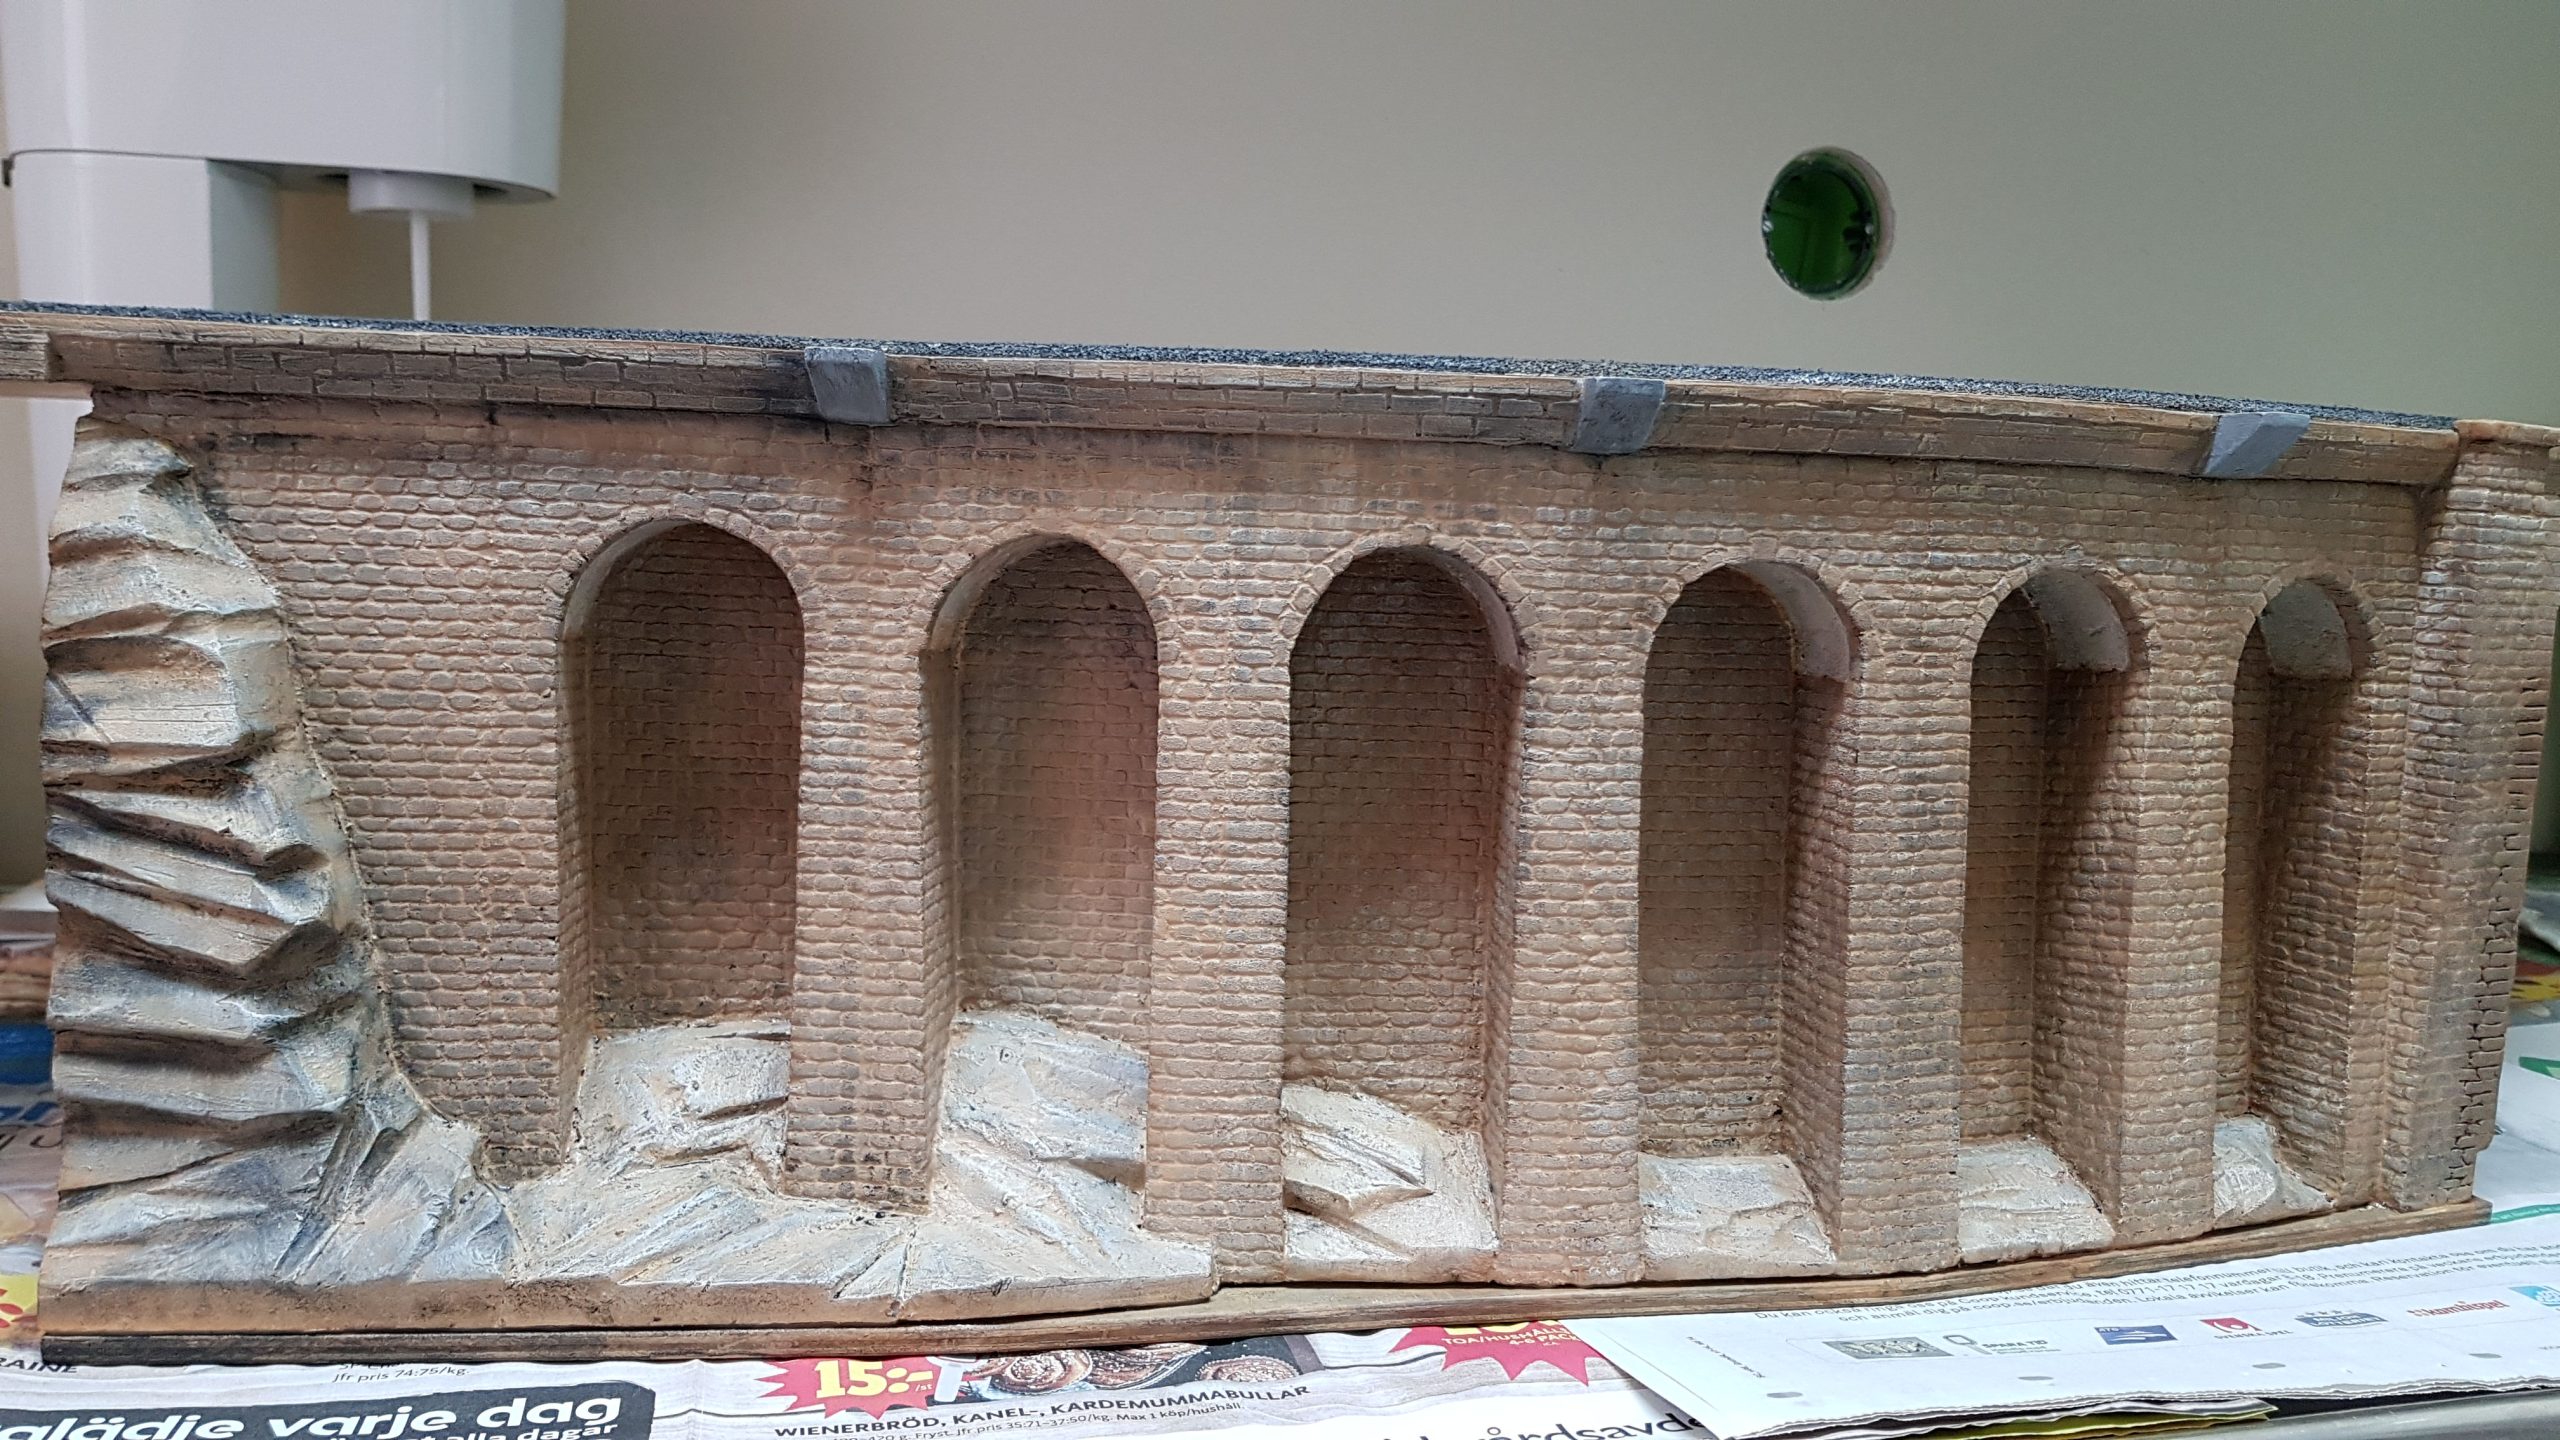
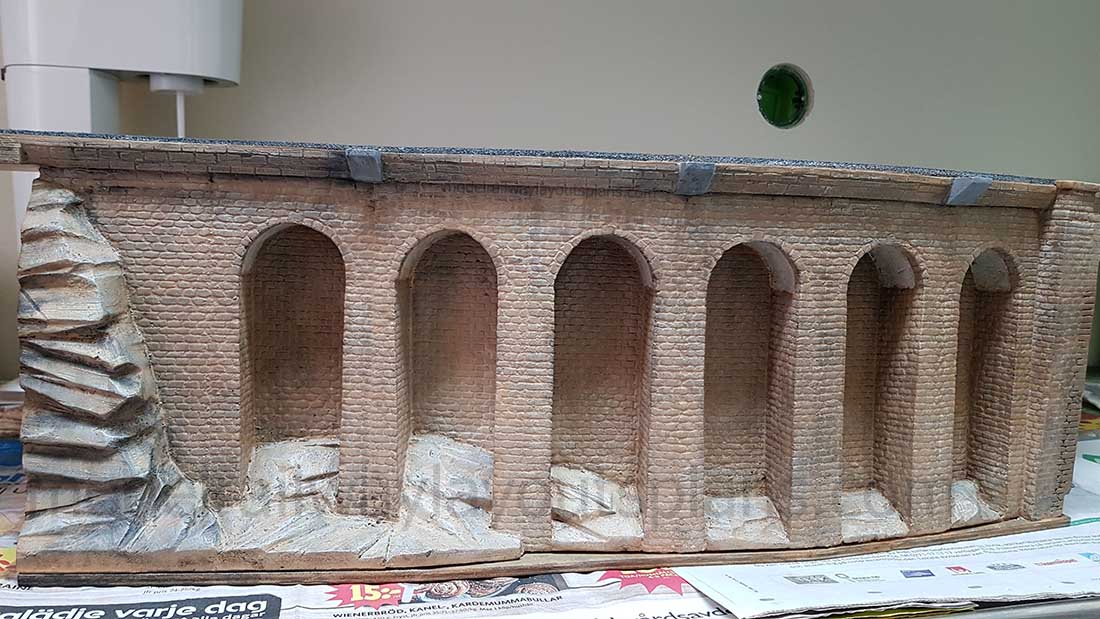
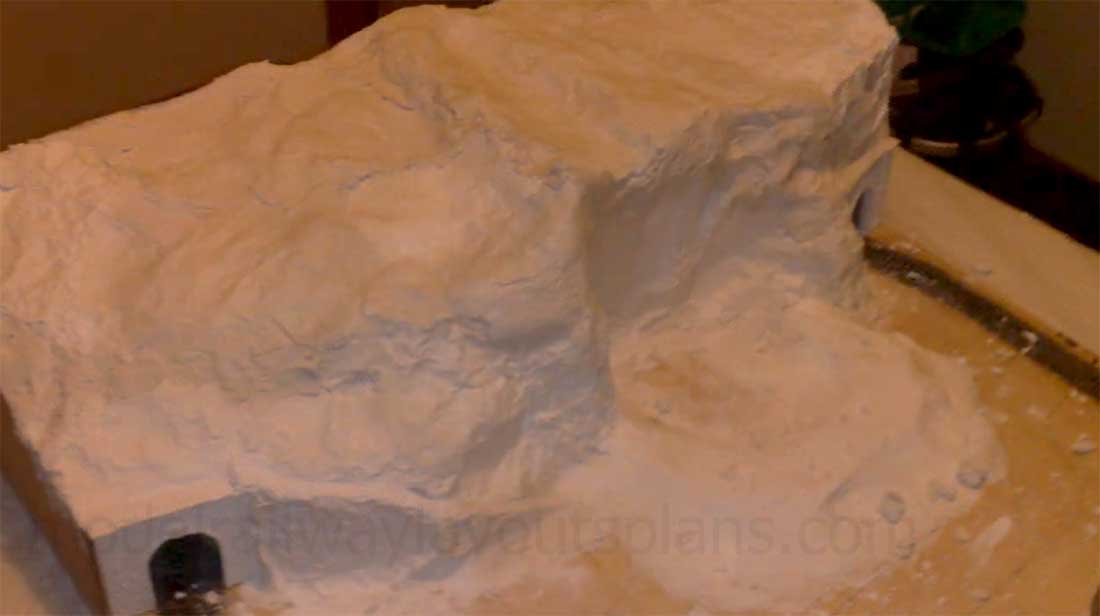
Magic of ceiling tile rocks in place.

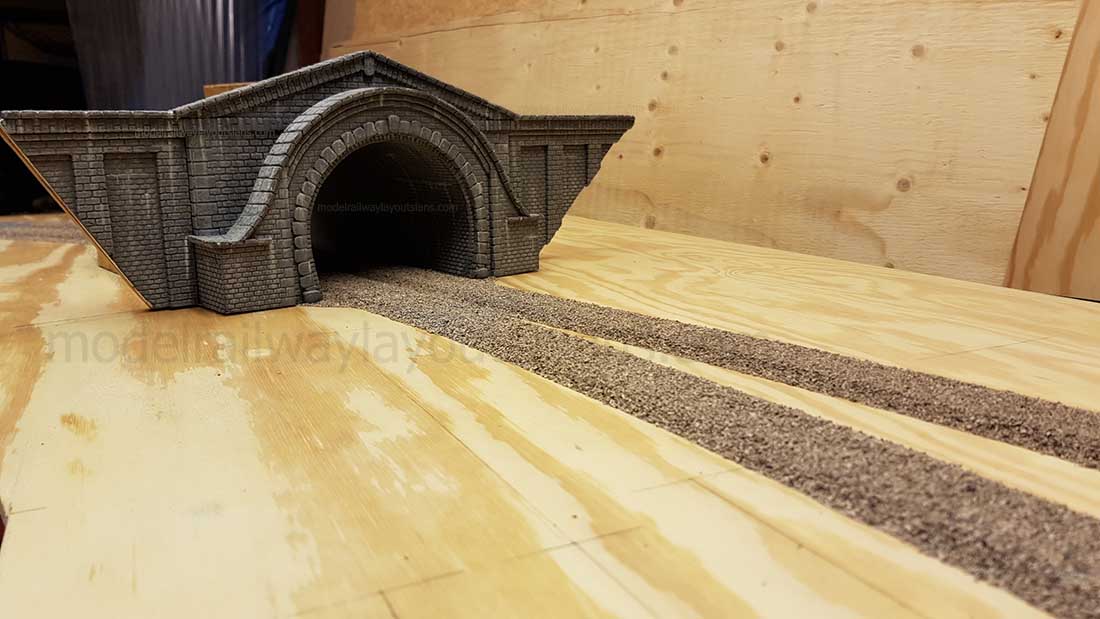
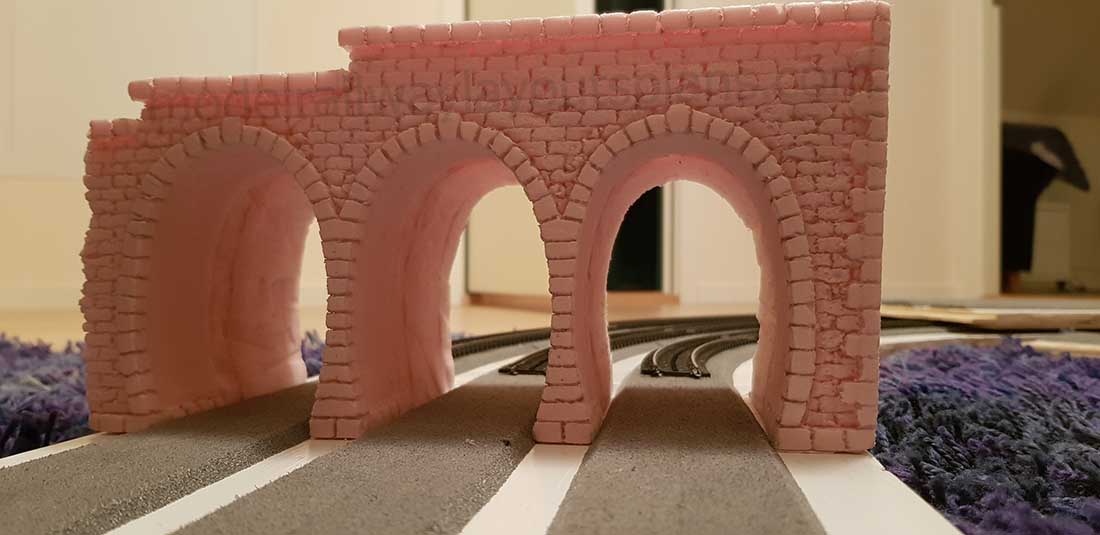
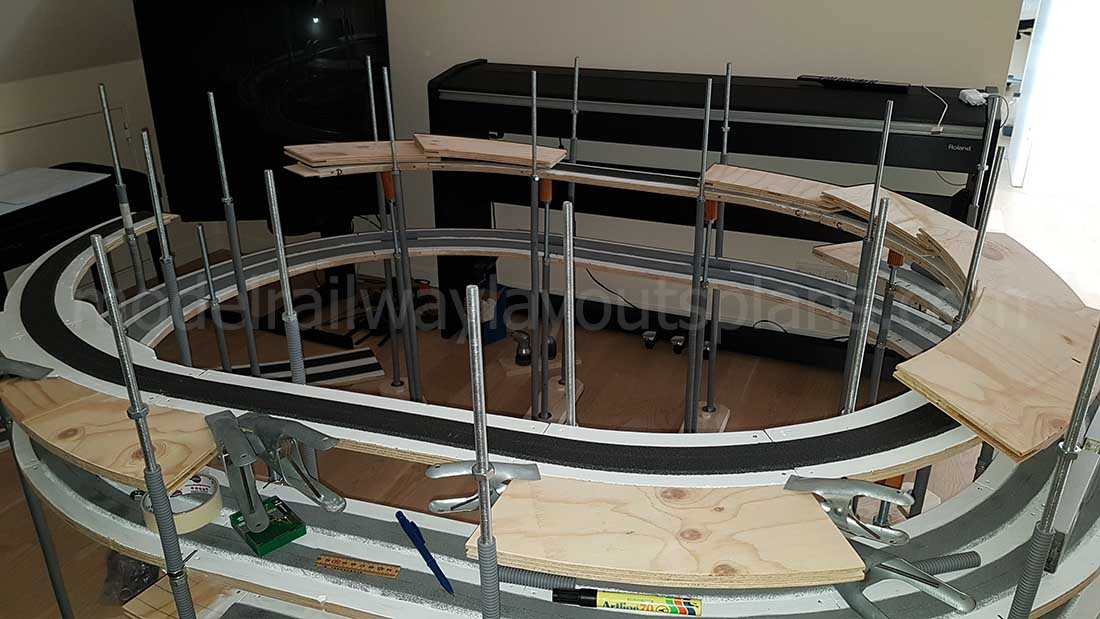
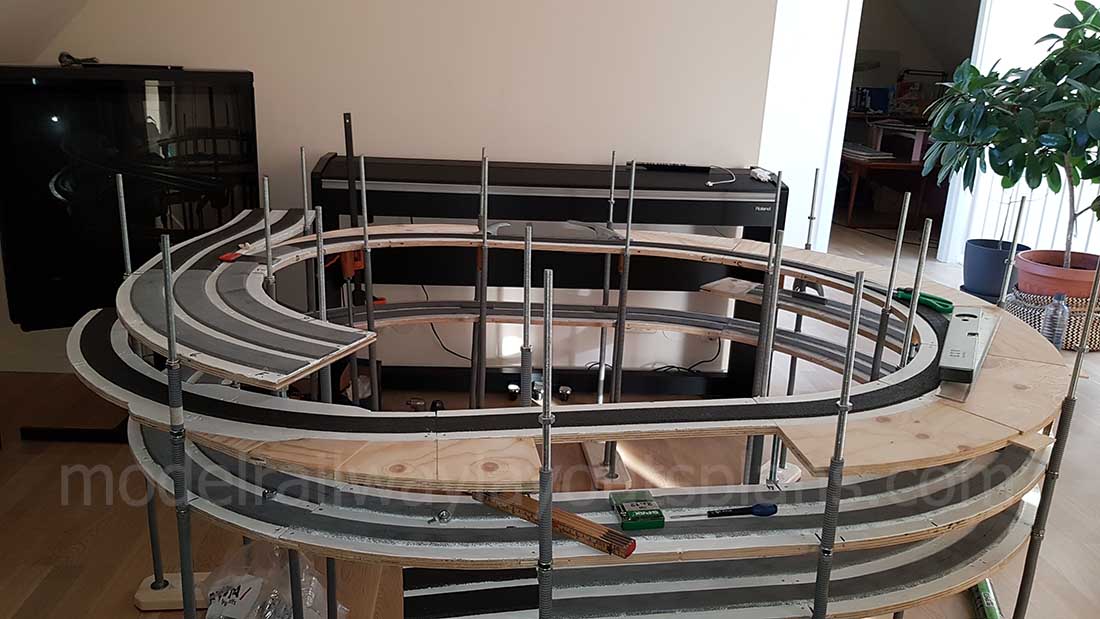
Here you can see the mainline on the lower level and the upper track to the station at Burnt Lake. The long track to the upper left was to be a tunnel. I realized that a long cut would be more interesting. Sometimes you make changes as you go. Don’t be afraid to adjust to make it better.

Roads often take gullies or natural cracks in the rocks. A road will run down from the station to the road crossing leaving the layout to the resort. The objective is to make it look natural.

My basement (always an advantage) has a “mud room.” The previous owner was a fisherman and had a half bath and an old kitchen sink pit in. The sink is a great place to clean bushes.
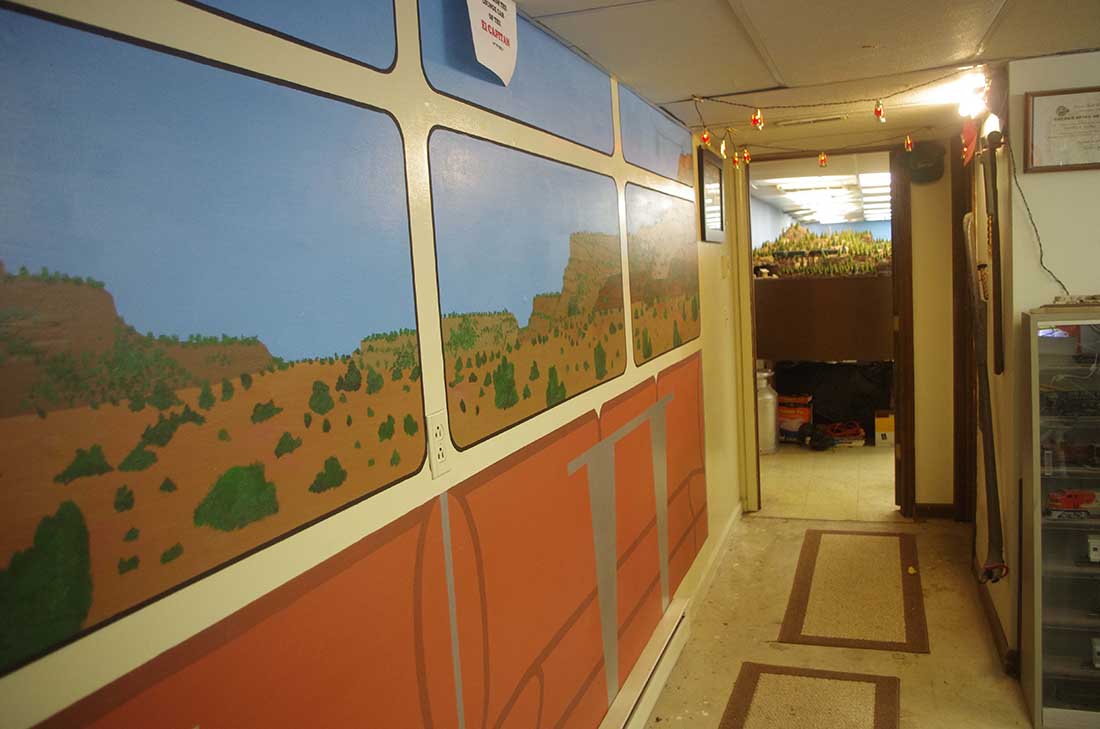
The wall on the left was white. I painted, full sized, the view from the el Capitan lounge car. The color of the interior is as I remember it when I rode it in 1957.
In the distance is what you see when entering the basement.
This what they see first.

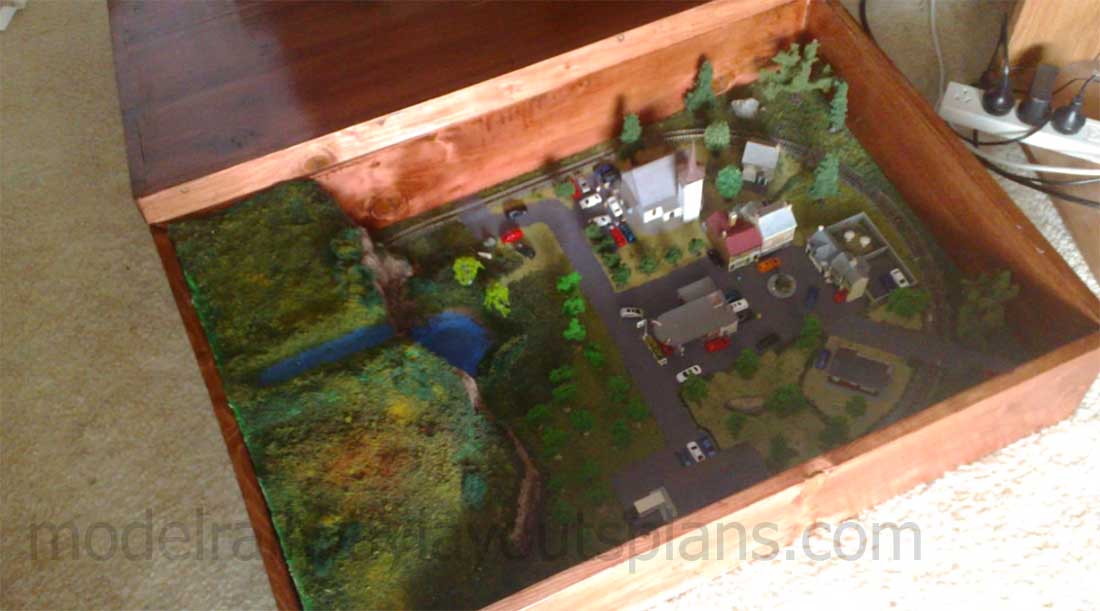
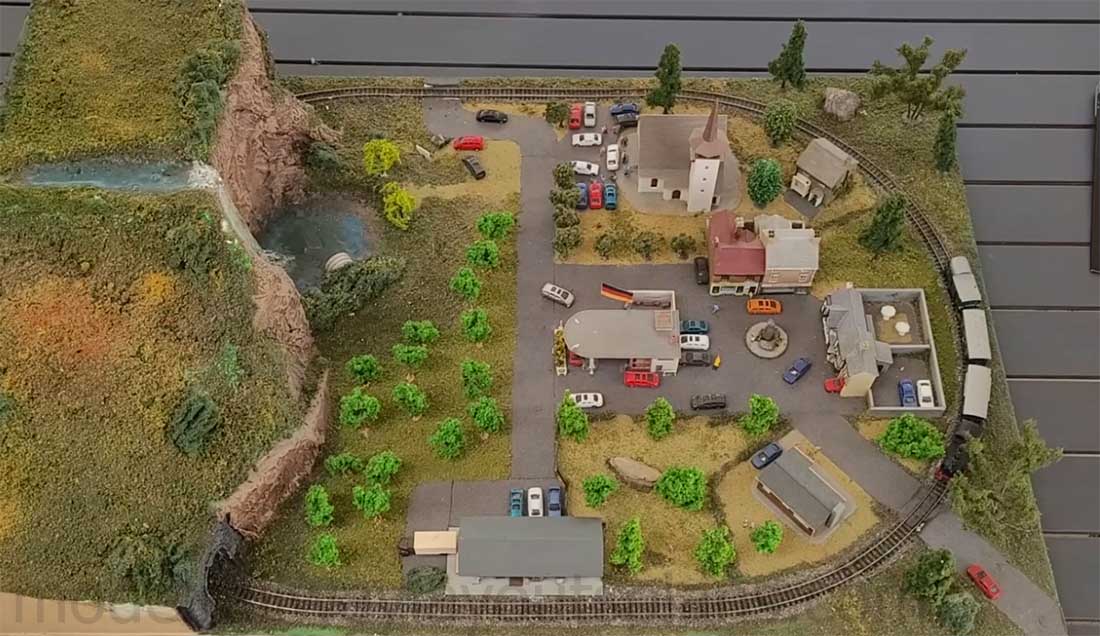
The diagram of the layout shows the area as you walk in. As I mentioned before, if you follow a train around the layout, your back is always turned away from the scene in front of you.

The area around the Burnt Lake station and engine facility

Now I will start with the detailed sections. The trestle was built from a Campbell curved trestle kit. This was done in 1967, long before I built the layout. I used creosote stain from True-scale, I think.
When I built the large trestle I did not want it to be this dark. Rivet counters have told me that a crossing shanty should not be this large. Once they hear “my story” they understand.
The crossing guard lives in the shanty. He works only when a train has arrived at the Burnt Lake station or passengers are going the station.
Notice the van waiting to cross. They are owned by the resort. The only way to or from the resort is via train. Also, my era is 1958 to 1961. In the US the stop signs then were YELLOW. This helps to reinforce the setting.

The view as you move around to the right as you view the Burnt Lake station area.

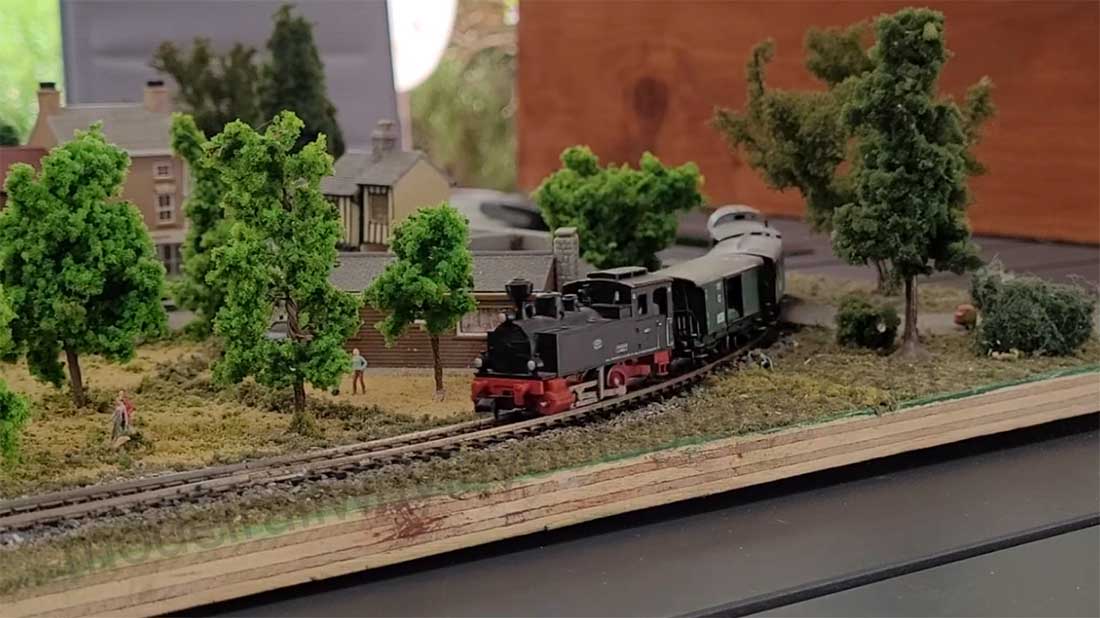
A train approaching Burnt Lake station.

The trains need to be serviced before leaving. Santa Fe trains out west burned oil rather than coal. Oil was more plentiful back in those days.

I scratched built the oil tank and crib work. Once you do a trestle these are easy! I believe I have seen a kit to do the same thing several years later. At the time it cost $65. Mine was from left over lumber and an old tank car.
There is a lot of activity when the tourist train arrives. The tourist train is modeled after Death Valley Scotty’s train. He was a gold miner and wanted to set the speed record for the La to Chicago run. Te station is to the left of the photo. This the Walther’s 90 foot turn table.

Over all view of the pit. Look carefully just above the water tower…..

A lineman working on the wire. I have a very good modelling friend. When he came to visit he asked, “where are the electric lines for the turn table?” I went back and installed them. To make sure the wires are not ignored I added the line man.

HO scenery for model trains:
I added a turn table operator.

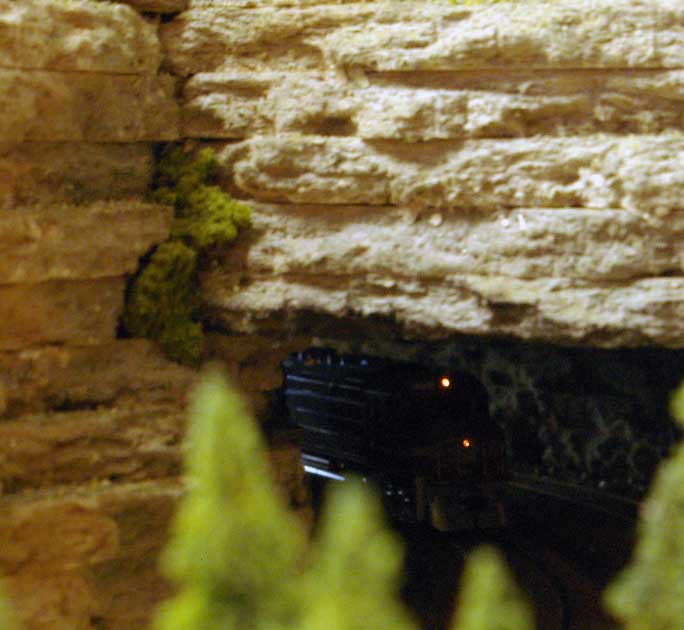
Just below Burnt Lake station the trains go in and out of a tunnel creating another mini scene. Here a rail fan. (train spotter) If you go back to the overall Burnt Lake view you can see the tunnel opening. One thing I never do is place people without a way to get to where they are. There is actually a path to his position.

The other tunnel behind the photographer.

As you first walk in and see the trestle, to the right is an over look for resort visitors. It is a short walk from the resort to the station.

Another overlook.

Looks like the honeymooner’s found a quiet place in the woods!

Passengers waiting for the train.

General view of Burnt Lake station. The steamer to the left is one of Death Valley Scotty’s 2-6-2 Prairie locomotives on display for visitors. Again you see the resort vans waiting to take visitors to and from the resort.

The road from the resort to the station.

A look down into the gully.

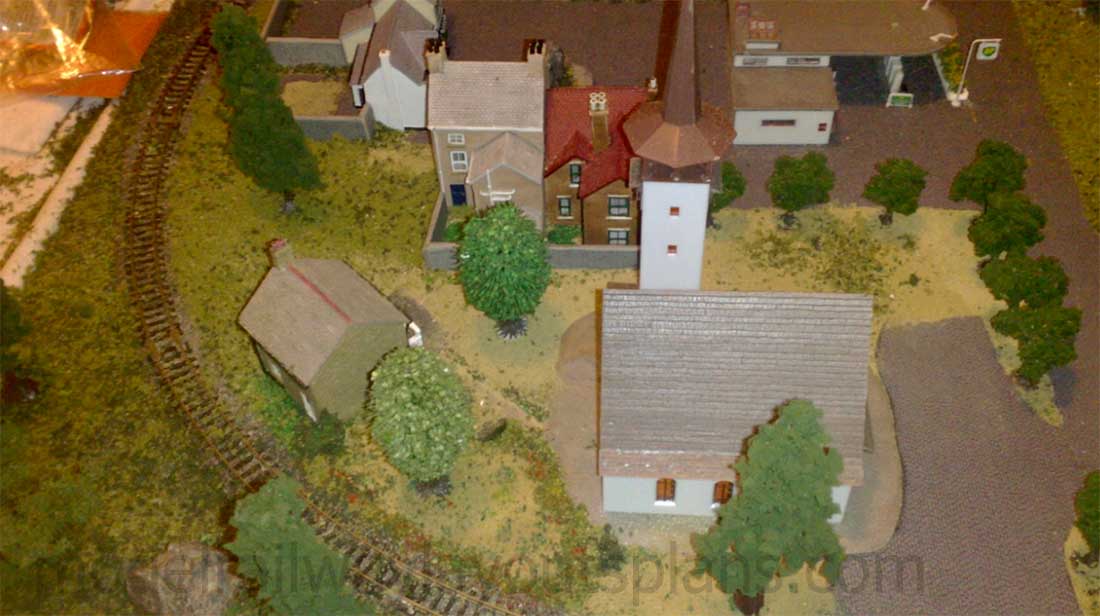
I was working on another layout for a friend. He is a fire fighter for the state natural resources department. He wanted a fire tower on his layout. Sooooo, I realized I needed one, too. They are N scale so they did not over power the trees.

By the way there are 1,200 pine trees here in the mountains. I use them to give a sense of distance and altitude. For example, between Winslow and Flagstaff the land goes from dry desert about 6000 ft. to 7,000 feet at Flagstaff. No trees in Winslow.
I have mentioned that I always line the tunnels with the rocks if you can see into them.
This finishes the look at First Impressions. There is an oddity in this photo. Most likely only a Santa Fe modeler will see it. Let me know if you see it.

Thanks for looking,
Dan”
A huge big thank you to Dan for sharing his narrative and HO scale model train scenery pics. Stunning stuff.
I did enjoy reading his thought process on planning the layout – you can really see how much went in to it.
If you missed Dan’s last post – another stunner – on his trestle bridge, it’s here:
That’s all for this time folks.
I know we’ve had a run of stunners, but remember, this site is for all layouts and all scales – it they don’t have to be draw dropping for us to enjoy.
So if you have a layout, a scratch build or what ever, please share.
Please do keep ’em coming.
And if today is the day you get started on your layout, the Beginner’s Guide is here.
Best
Al
PS Latest ebay cheat sheet is here.
PPS More HO scale train layouts here if that’s your thing.
Need buildings for your layout? Have a look at the Silly Discount bundle.