Dan’s been back in touch – this time he very kindly answers your questions on his HO scale railroad crossing:
“I had a few questions about how I did some of the details and such. This instalment will address them.
I will begin with the individual pieces at crossings.
The tack board material looks more like a rubber type of material rather than cork. As I mentioned, my source was from cut off pieces of folding doors used as room dividers and tacking up posters and such.
You might find it a big box store or a DYI supply store as bulletin boards.

I used profile ties (sleepers) for the 10 foot and the longer 15 foot switch ties.
Profile ties are not square. These easily fit with wither code 100 or code 83 track.
I have code 83 track and have the thinner thickness as the flat side. I stained them after the work was done fitting everything in place.
I have prestained ties but wanted to do my own staining. My ties were from Campbell and the stained ones were from Clover House. They are not longer in business. Alas, the situation all around.

Here is a crossing for passengers at the station at Almost. Use 2 ties as the thicker part nearest the rail and single ties for the part between the tracks. Sand down the edges to make a smooth transition between the tie height difference. You don’t want the passengers to trip. Stain as you like.

A closer look.

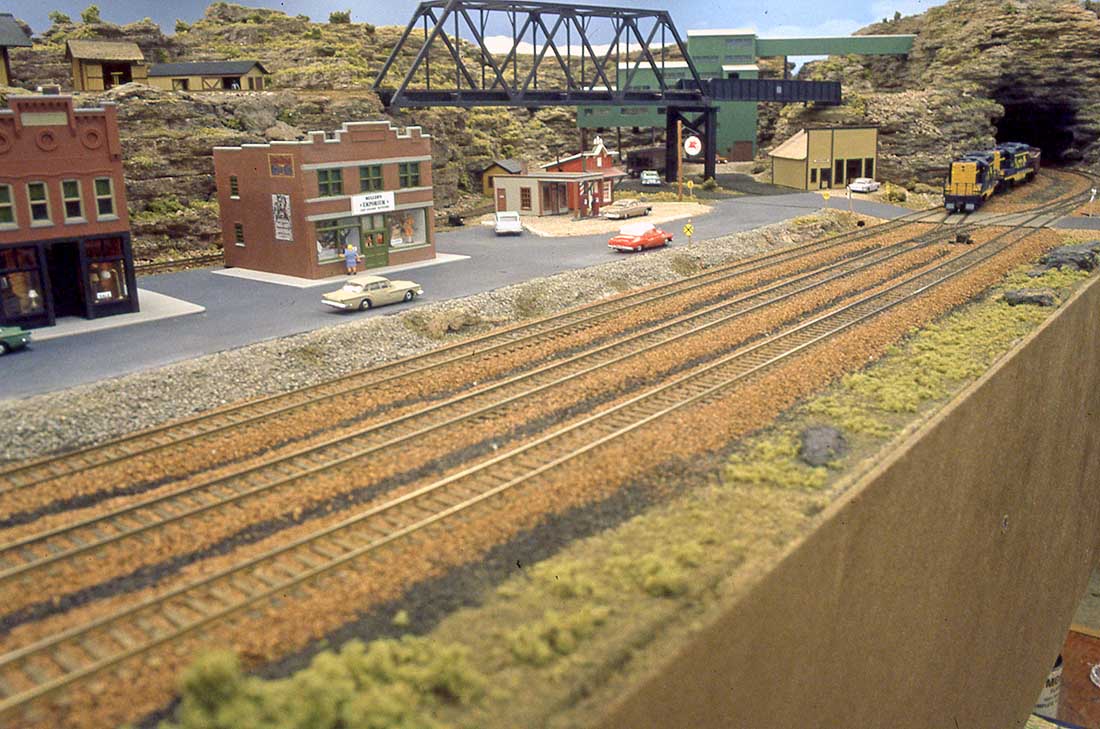
Here is a crossing where the track is an an angle to the roadway. It is surprising how much material you will need when the crossing is not 90 degrees.
I used three and a half 10 foot ties and 2 15 foot ties for the outside of the track. You can just see the individual 10 footers. Be sure to bevel the ends at each end of the crossing. The prototype often has a sheet of steel to deflect dragging equipment.

This crossing is on a 30 inch radius curve. I used a nail file to profile the curve so the flanges do not scrape the ties. This was done after the ties had time for the white glue to set up.

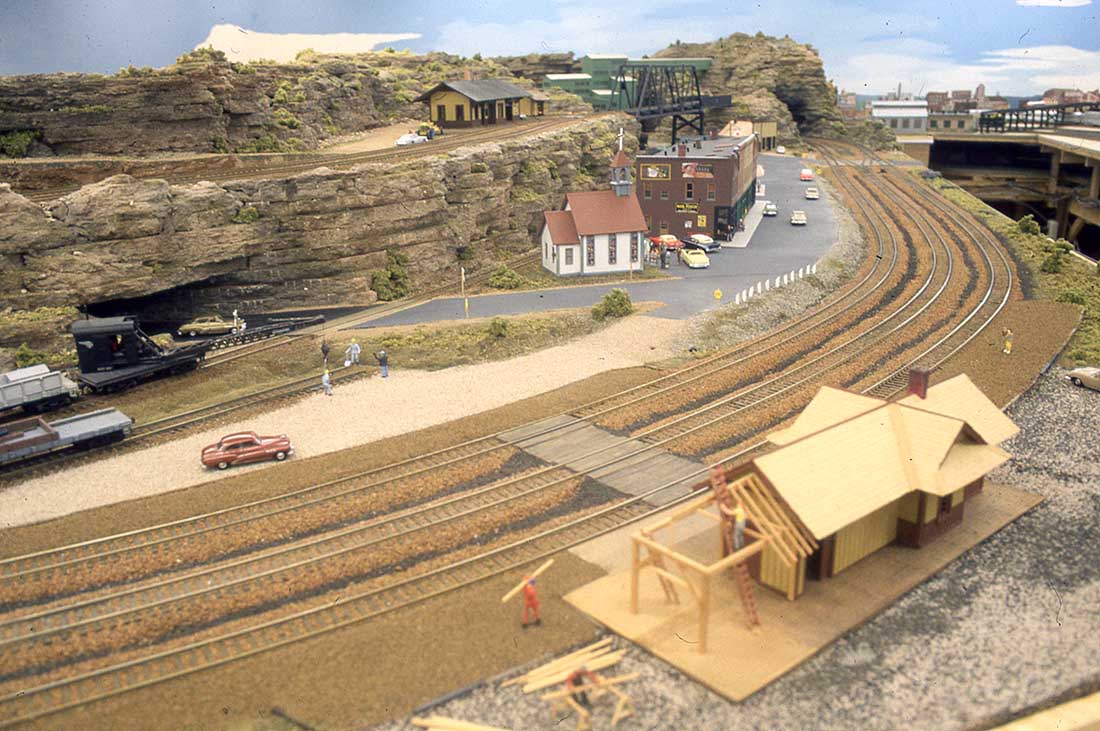
I am a little crazy. I like to put crossings right through the switch work. It is more work but worth the effort. It is more interesting and it is prototypical.
You will notice that I used the 10 foot ties between the rails. I staggered them and trimmed the ends to fit. I pit in one set with the short piece needed. Then started the next row with a 10 foot one next to the short piece and so on.
I used the 15 foot pieces for the roadway between the tracks.
The larger gaps in the rail is for the power blocks. I used a “Y” switch to go from two to three tracks. You gain a car length using “Y”s at either end of the siding.
HO scale railroad crossing:

Another view of the crossing.

Here is a piece of the cut off tack board. The tack board material is on a hard particle board kind of material. The original panel was anywhere fro m 8 feet to 15 feet or more. They were room dividers.

A close up of the backing on the tacky material. I used a box knife to cut whatever shape I needed. Then pried up the tack material. This is flexible but not flimsy. I used white glue to hold it down. I also weighted it down overnight.
You can paint it and sand it where needed. It turned out that the pieces matched the code 83 track exactly. I would guess that a thin shim would let it match the code 100 track.

A close up of a typical HO scale railroad crossing.

Close up of that crossings end at the edge of the layout. I used cork roadbed to get the road up to level with the track. The tack board material is flexible enough to not have to do that. This represents a main highway and a hump would not be good.

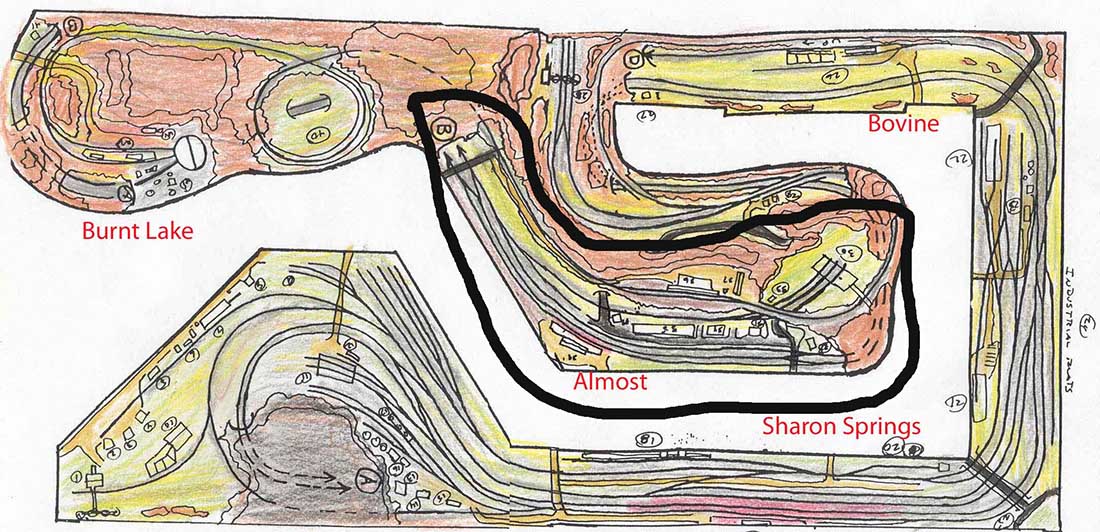
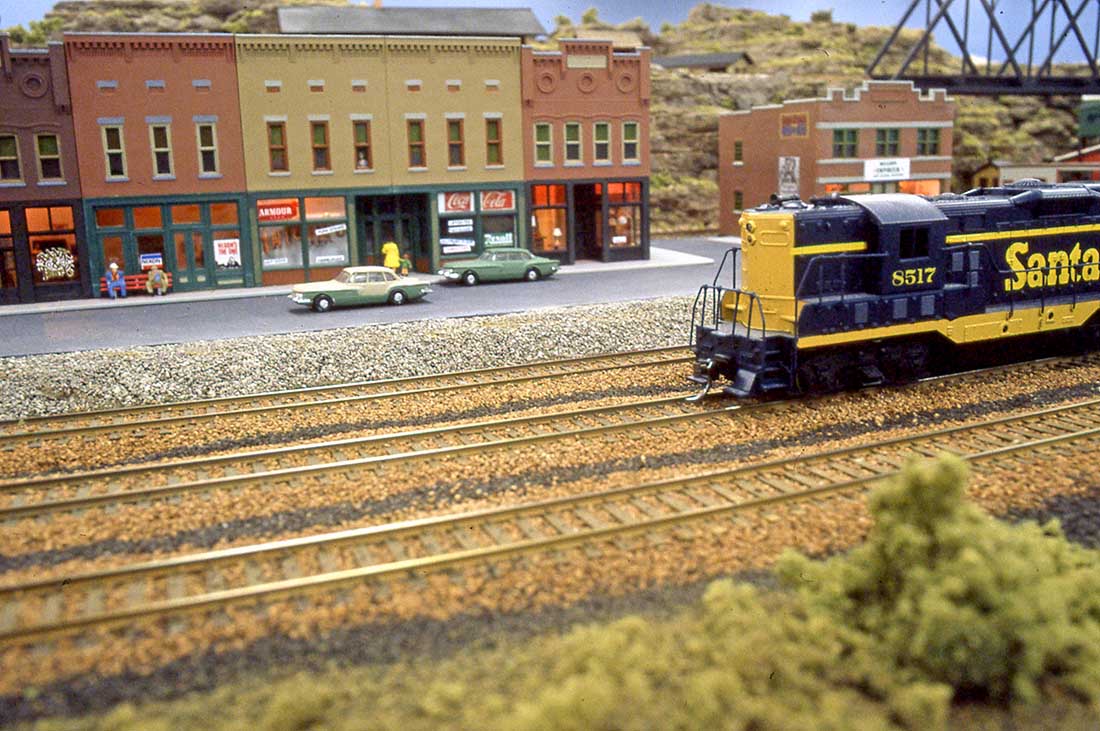
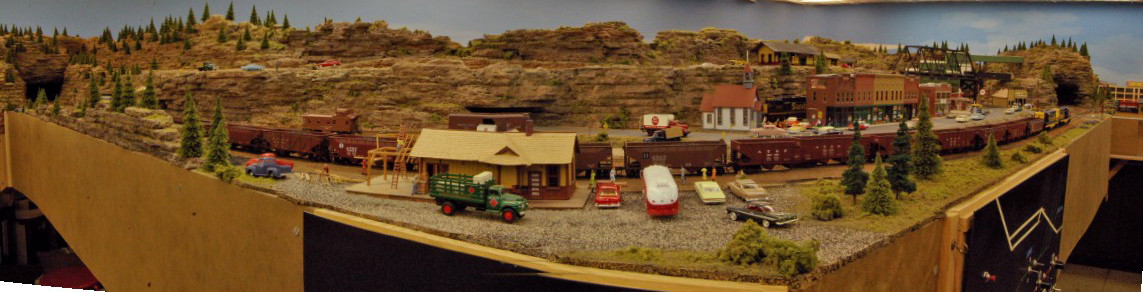
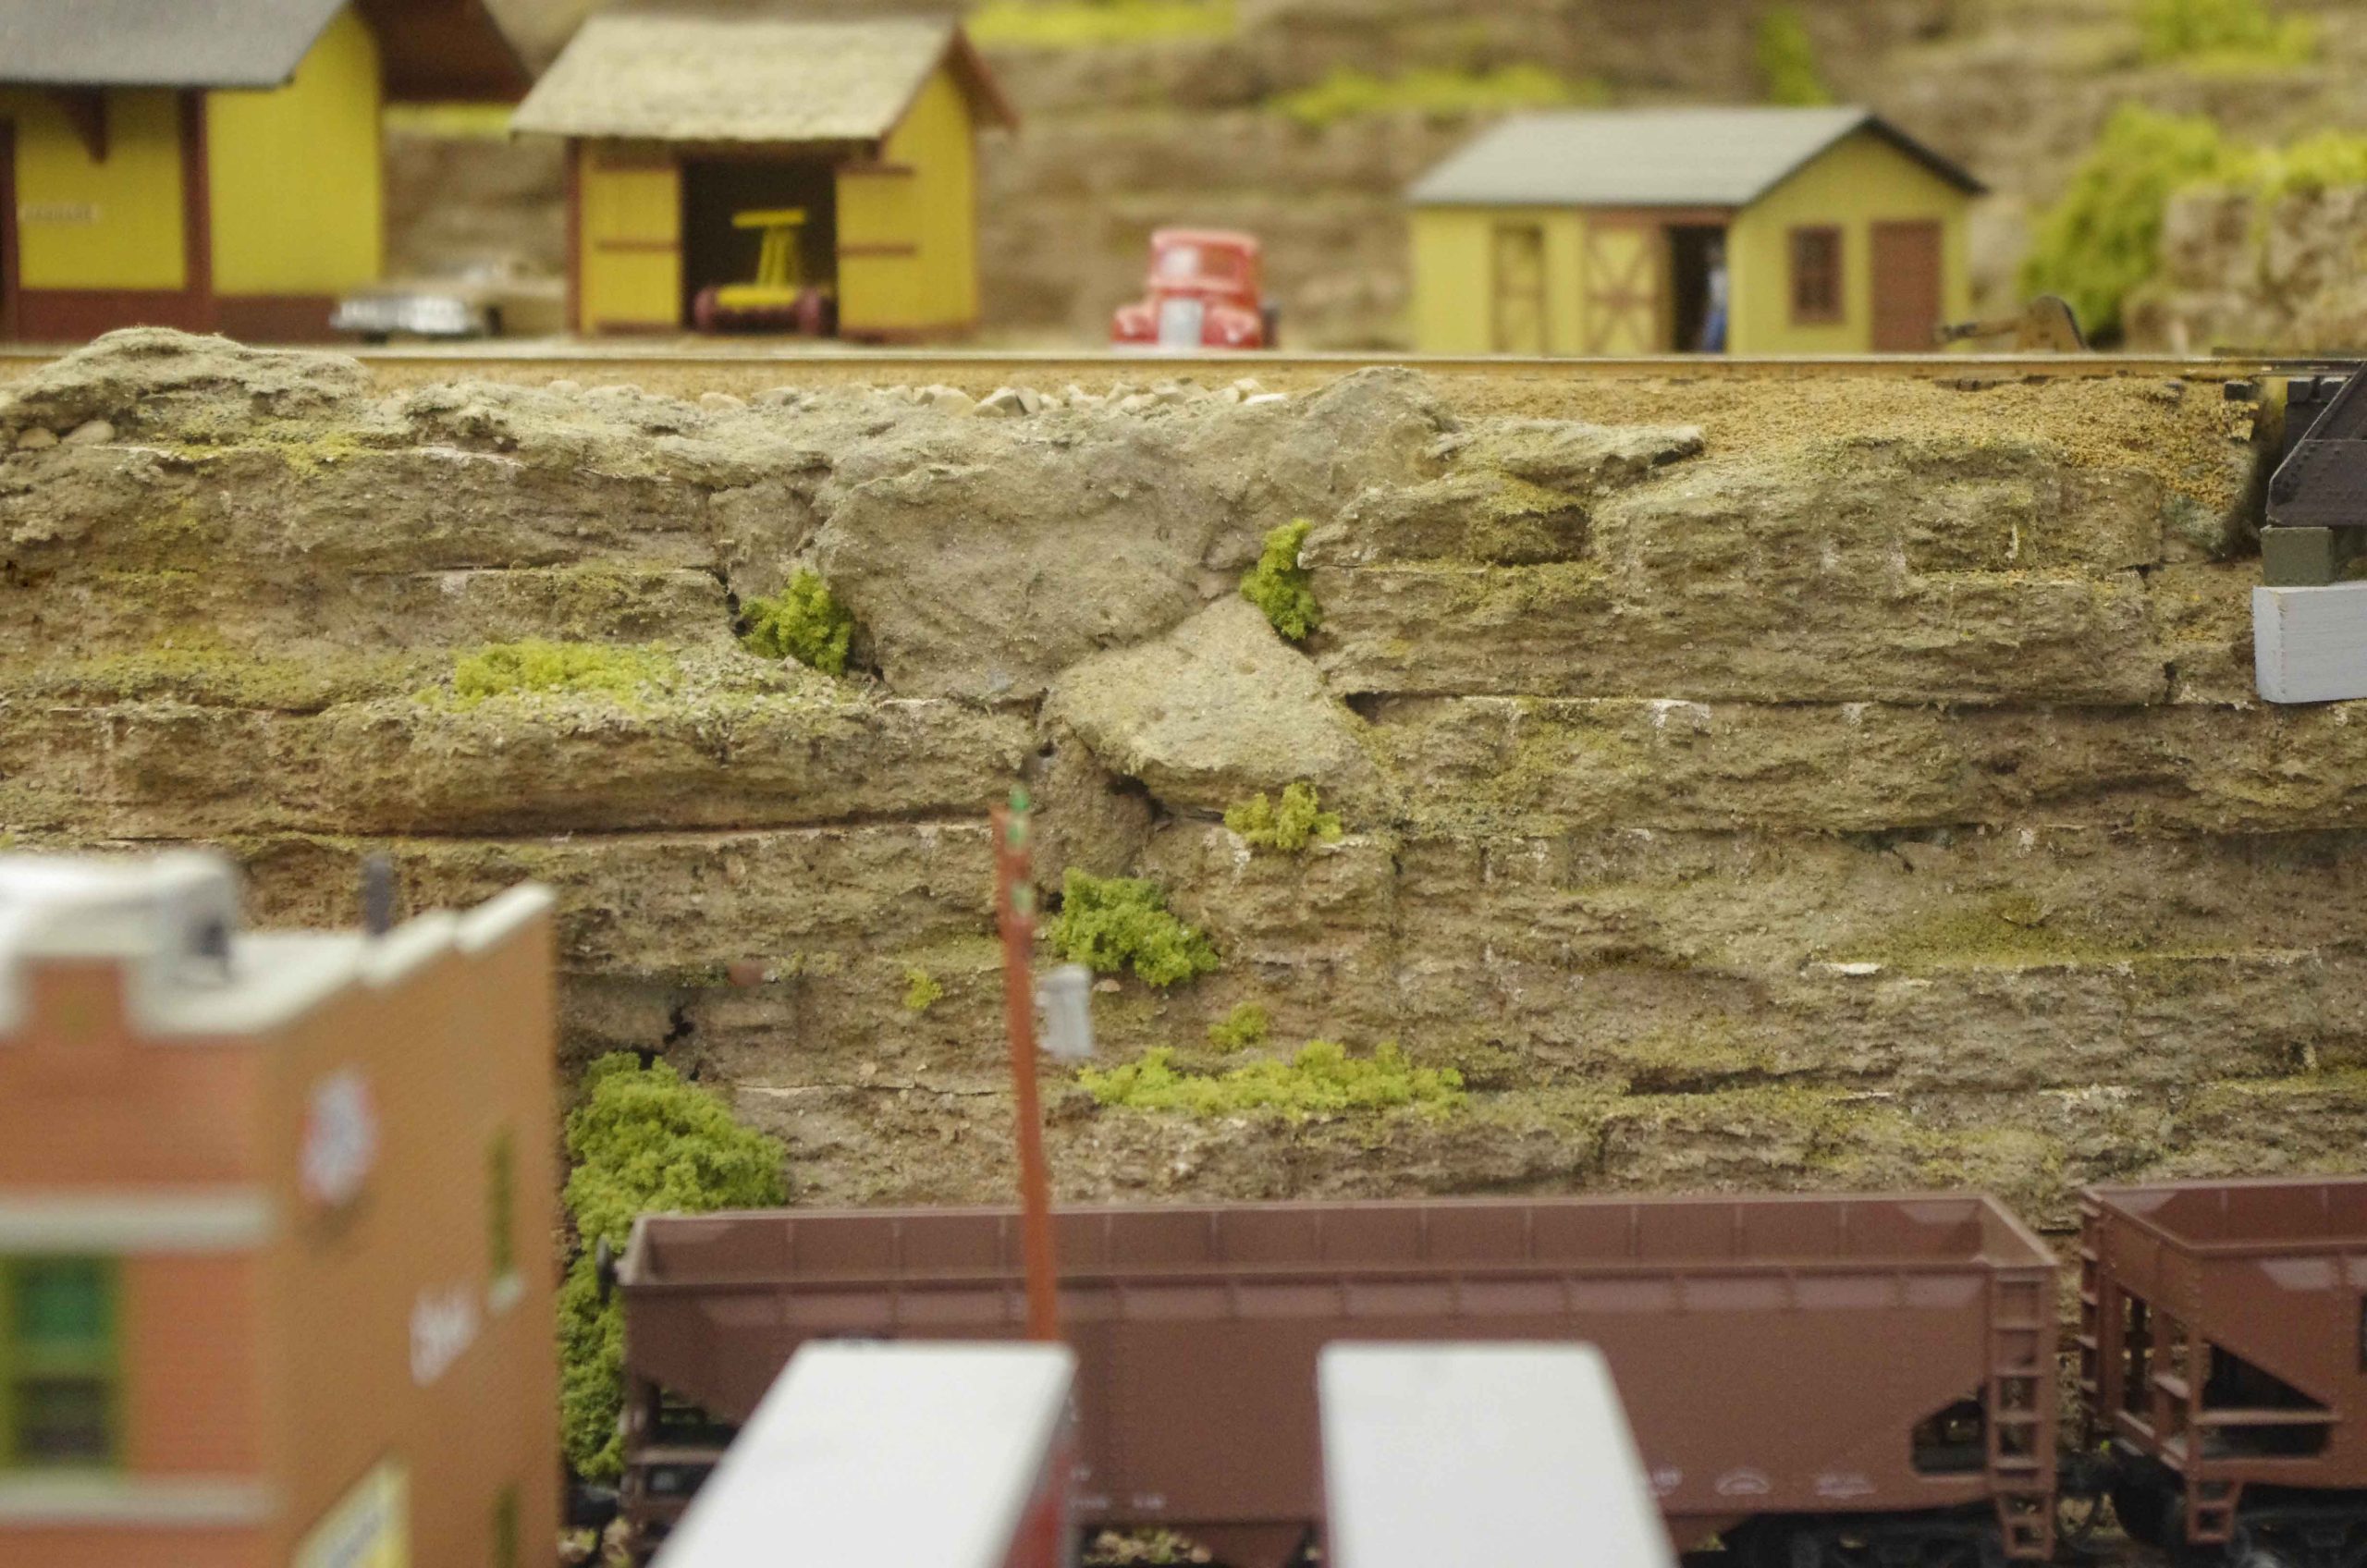
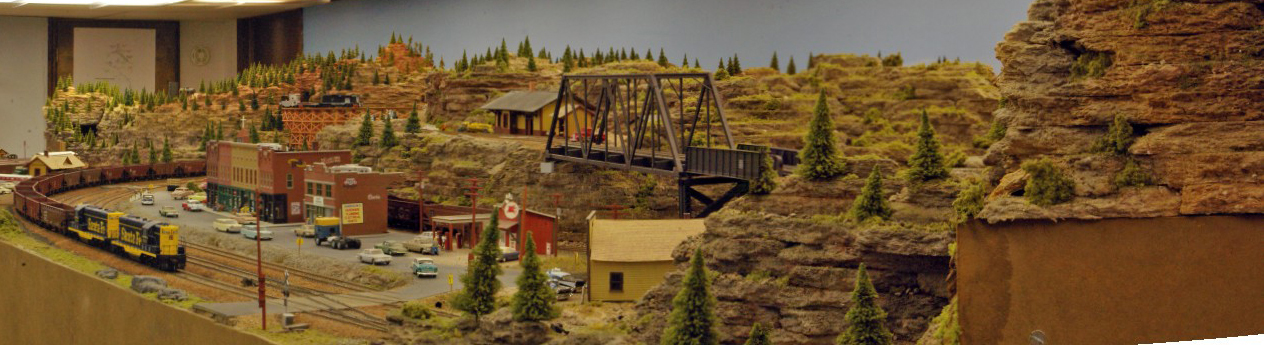
For the town of Almost, I used a large sheet of the tack board material that for the town shape. This made it very flat. Everything is on a base of plywood and then Homasote.
I used Walther’s sidewalk pieces to make up the “block” sidewalk. The buildings were kits that were modified to fit together as one building.
I am modeling 1958 to 1961 or so. To set the era there is Nixon headquarters and a lair’s bench out side the office. There is other signage to help set the era.

As I have said before, it is the little things that bring the layout to life. Everyone likes the sausages in the window.

Early evening at Almost. I rarely run at “night” however, I can make it evening if I want.
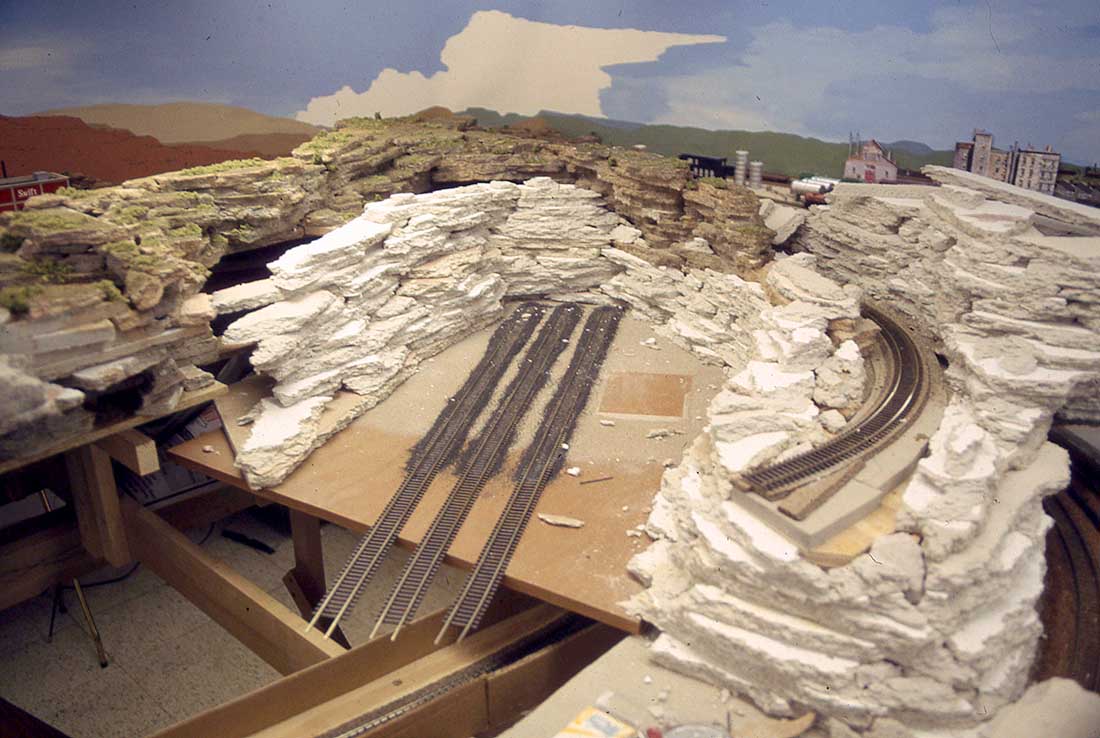
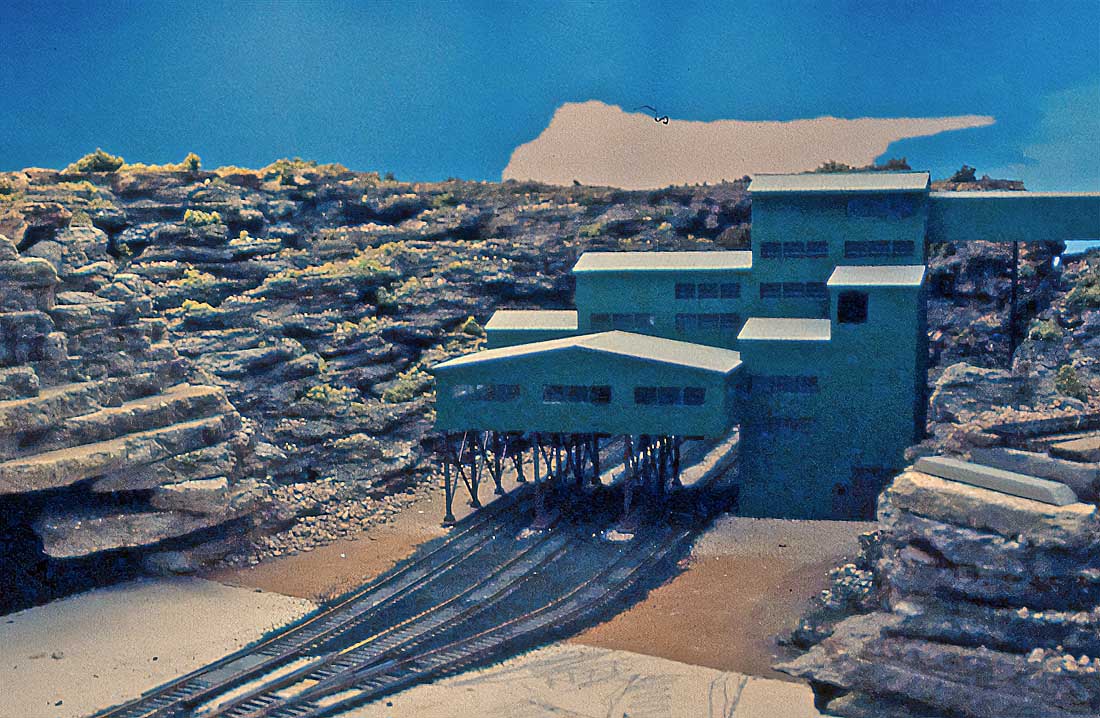
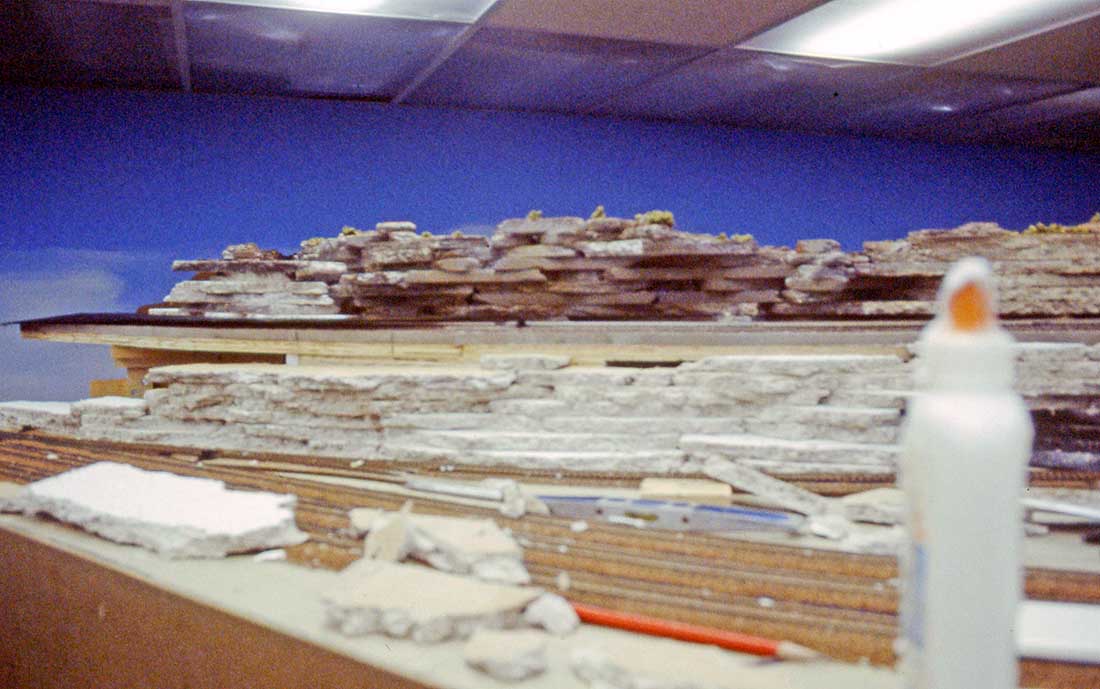
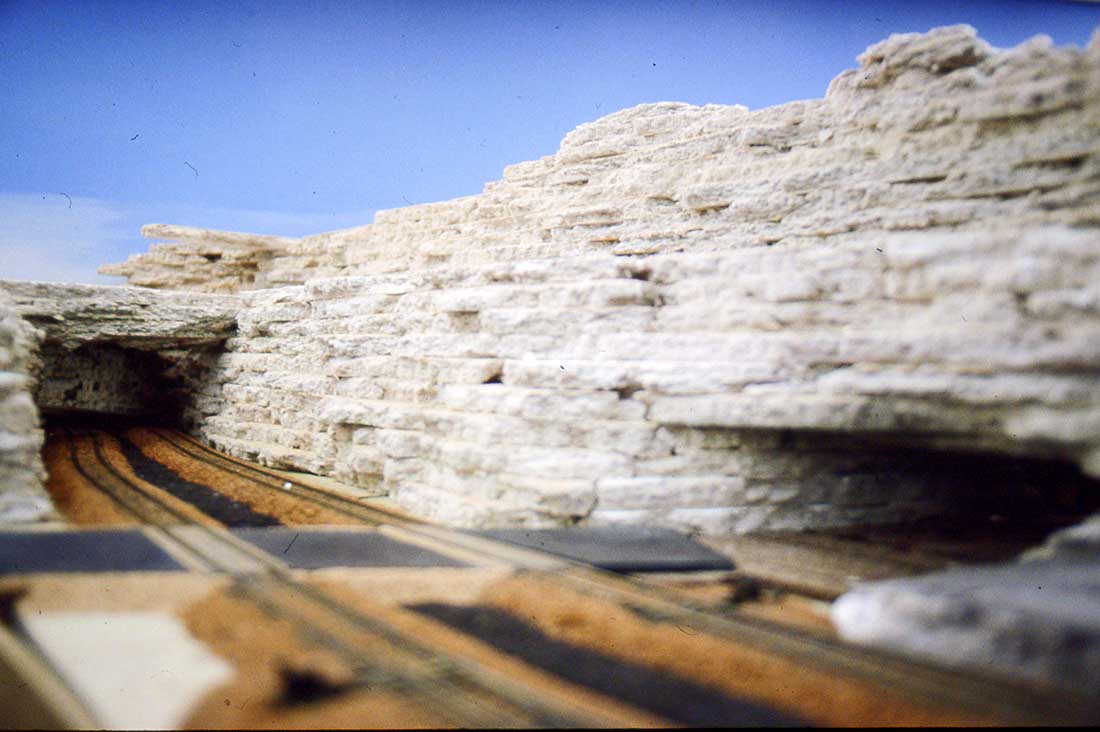
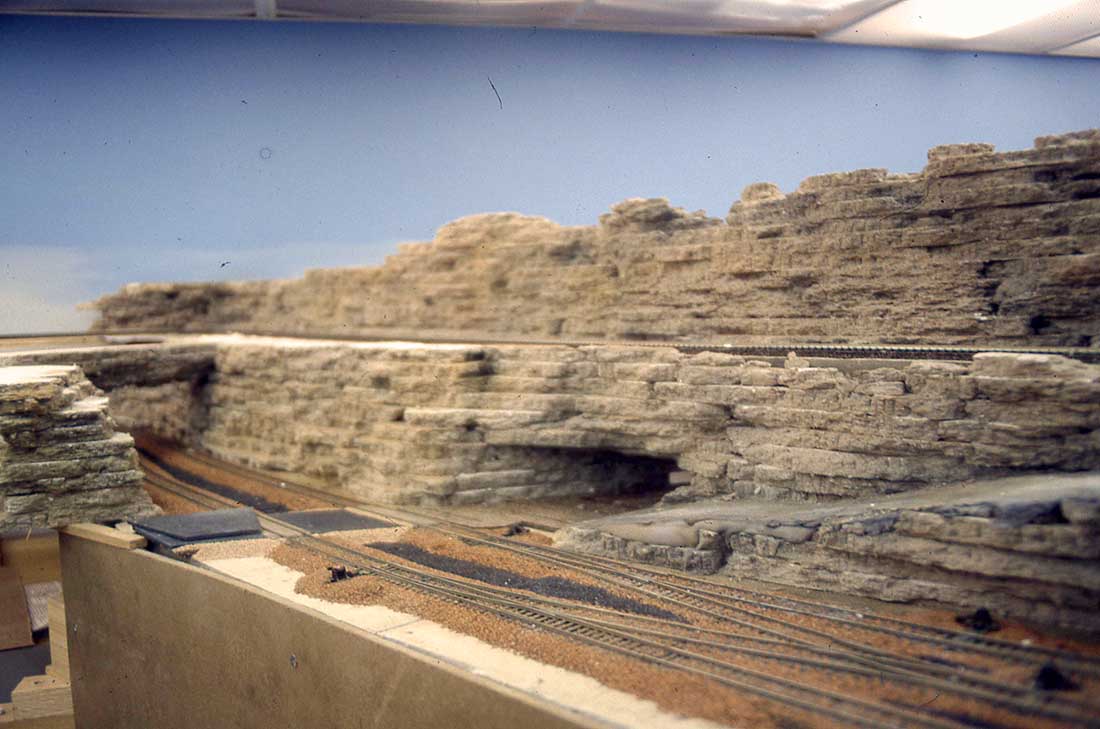
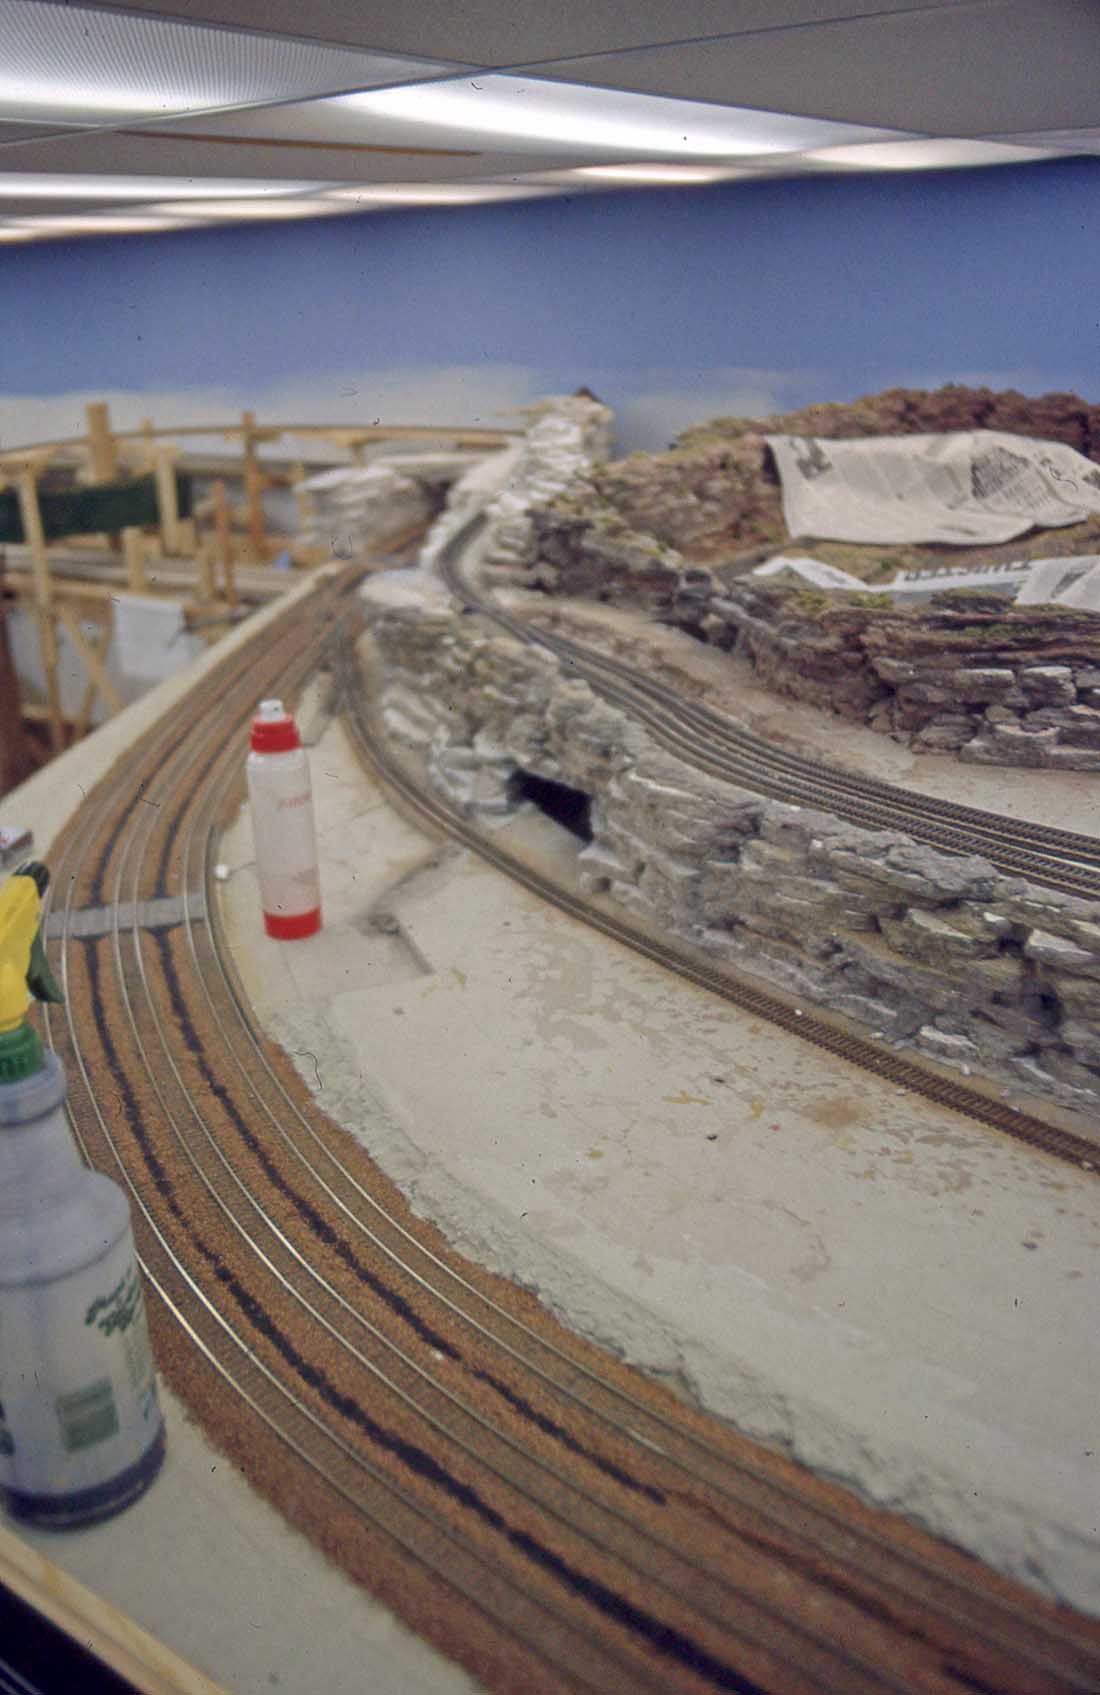
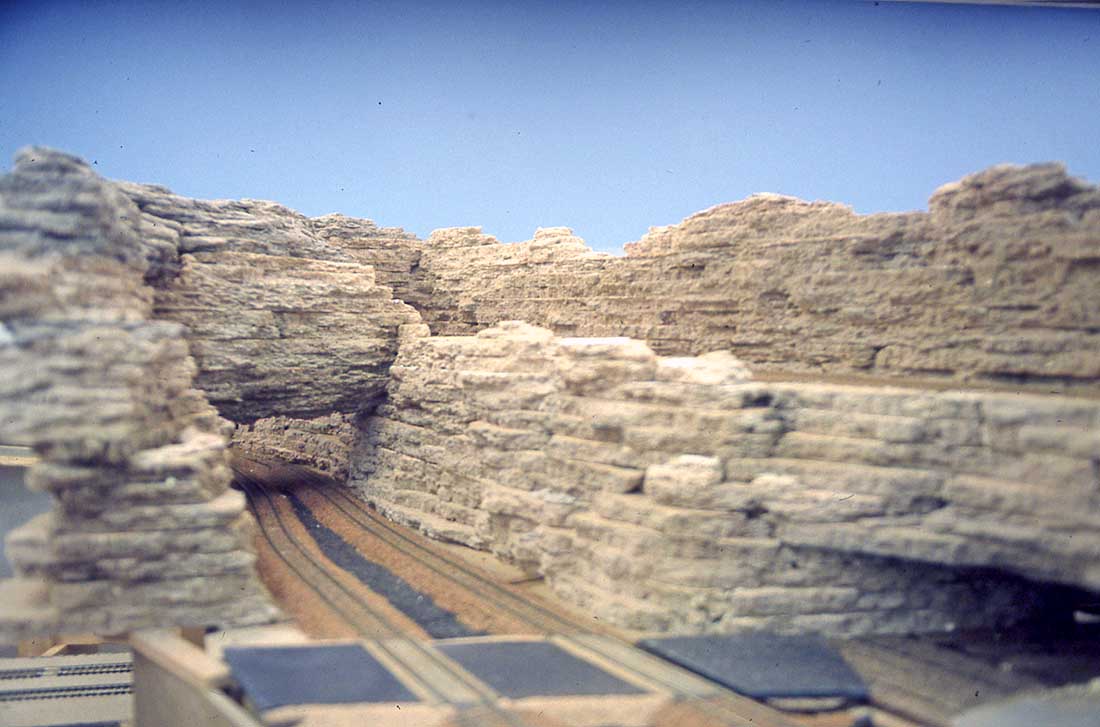
That is all for this time around. Next I will show how rainbow canyon came to be with the long trestle.
Thanks again,
Dan”
A huge big thanks to Dan for taking the time to post this post together on his stunning HO scale railroad crossing.
His previous post on roads is here:
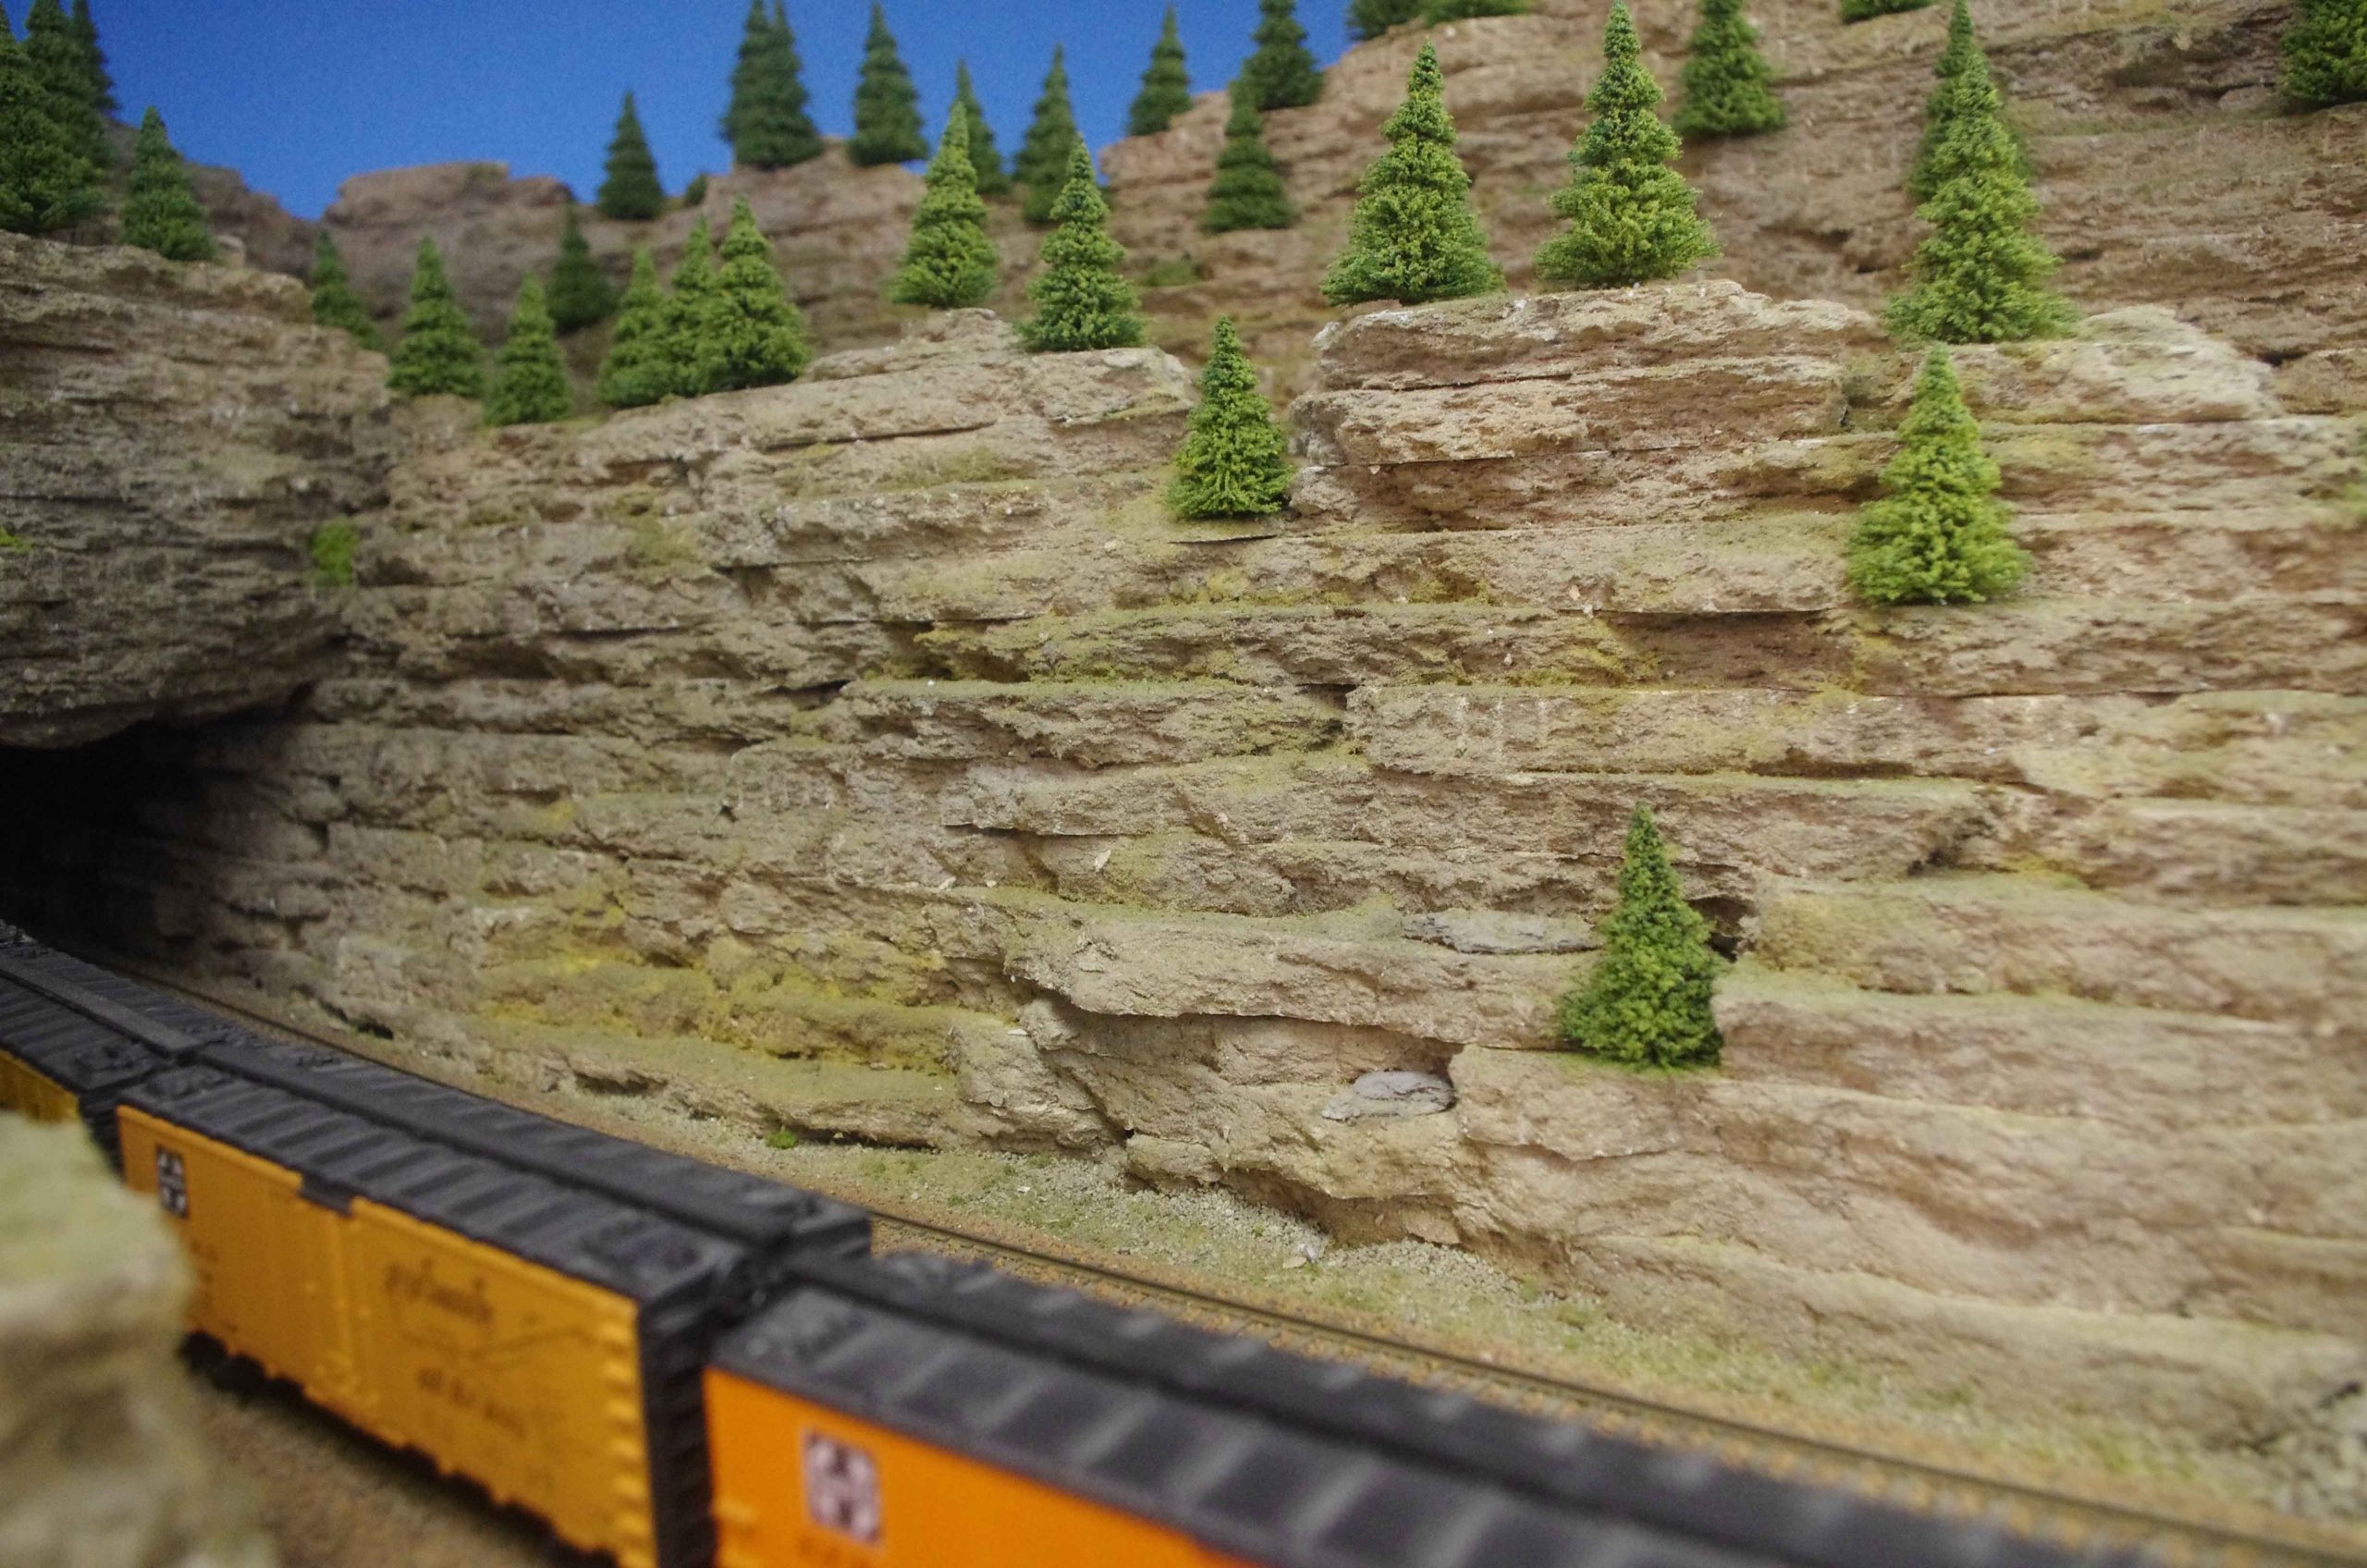
And there’s also his stunning scenery post here:
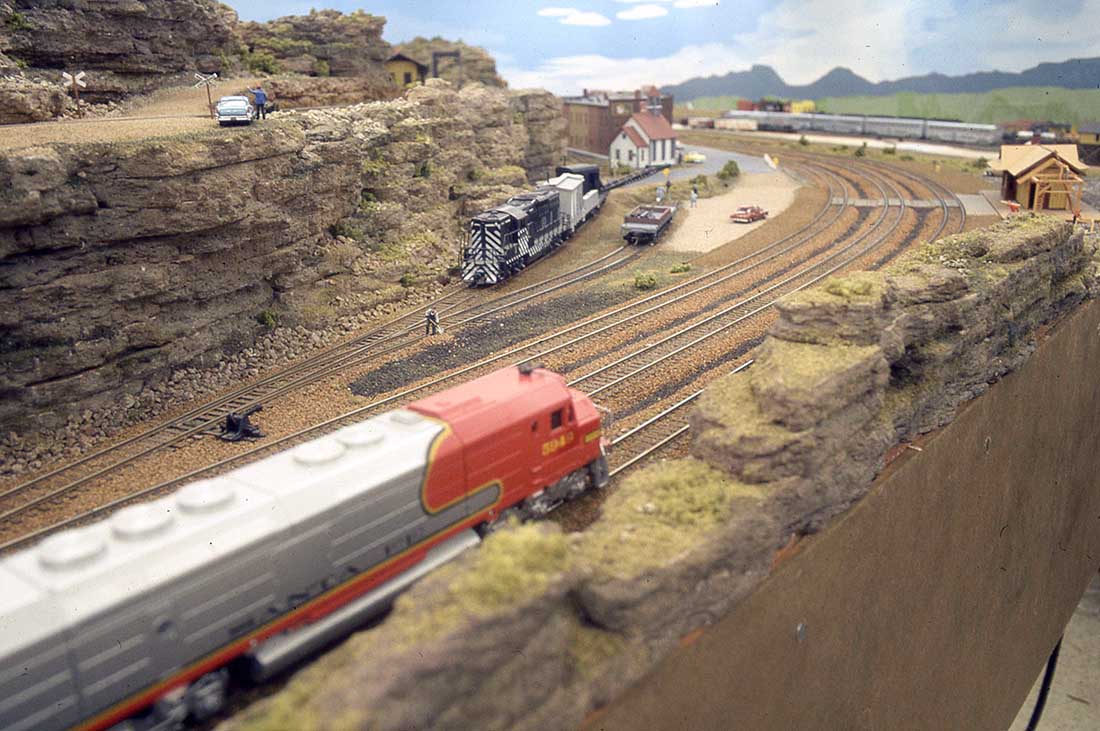
Model train Santa Fe scenery.
There’s also Rob’s excellent ‘how to’ on signals: Model train crossing signals.
That’s all for today folks.
Please do keep ’em coming.
And if today is the day you get started on your layout, the Beginner’s Guide is here.
Best
Al
PS More HO scale train layouts here if that’s your thing.
Need buildings for your layout? Have a look at the Silly Discount bundle.