I have a collection of your model train layout builds today.
Do you know, after all these years, I still enjoy seeing what turns up in my inbox:
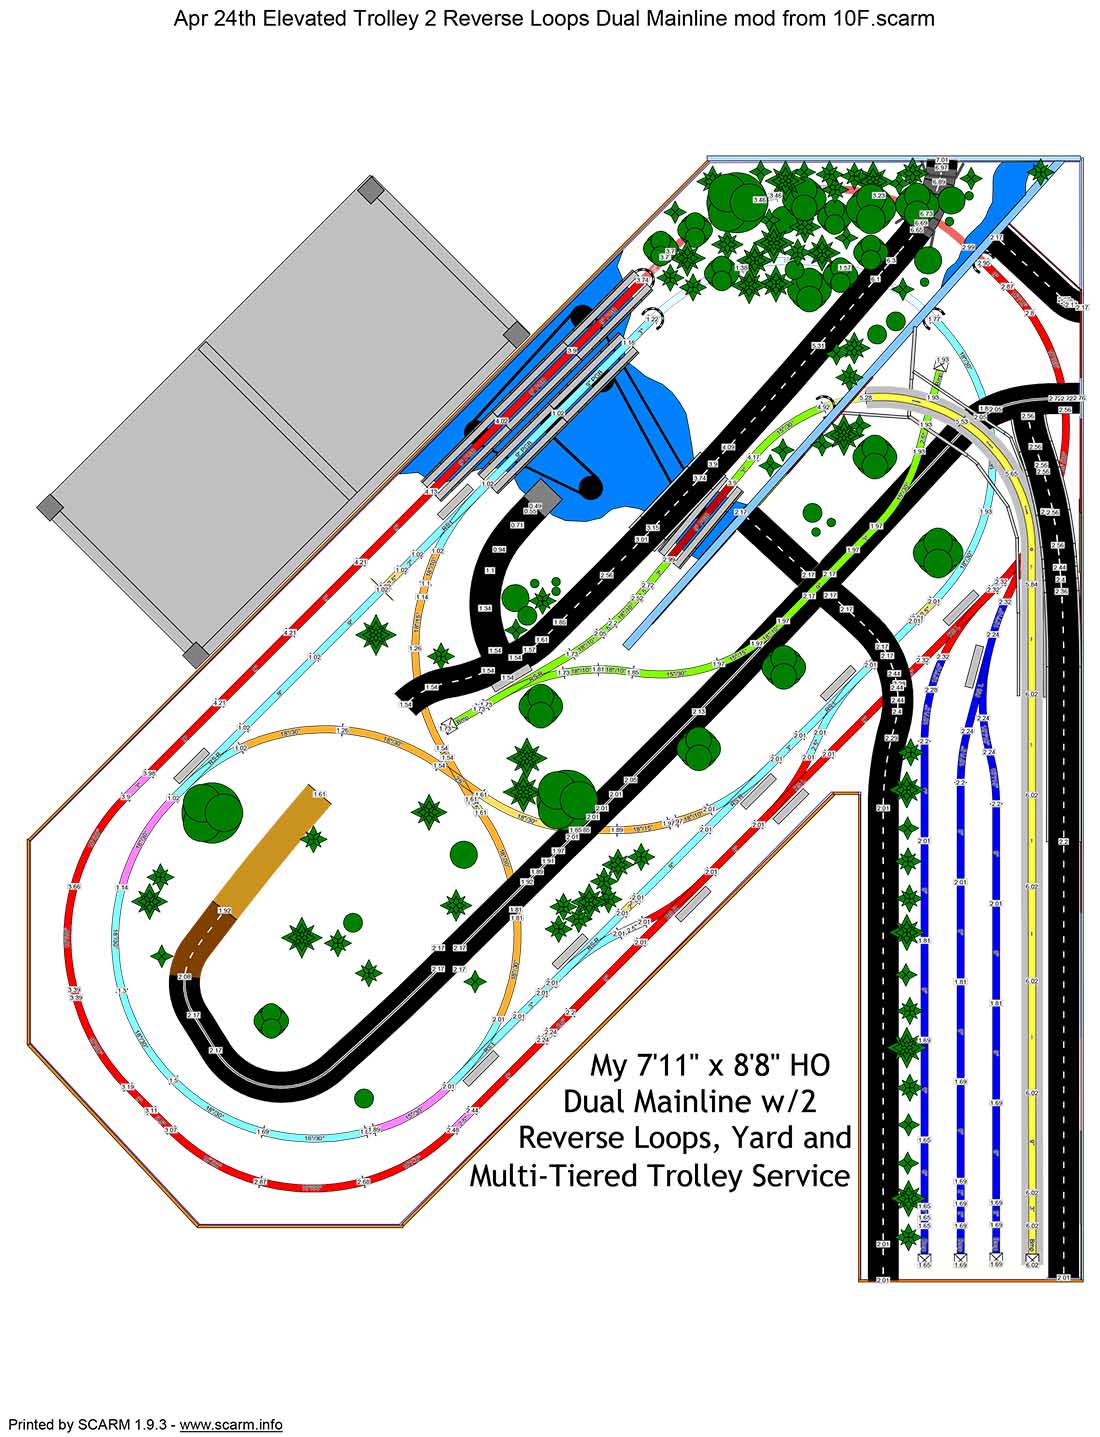
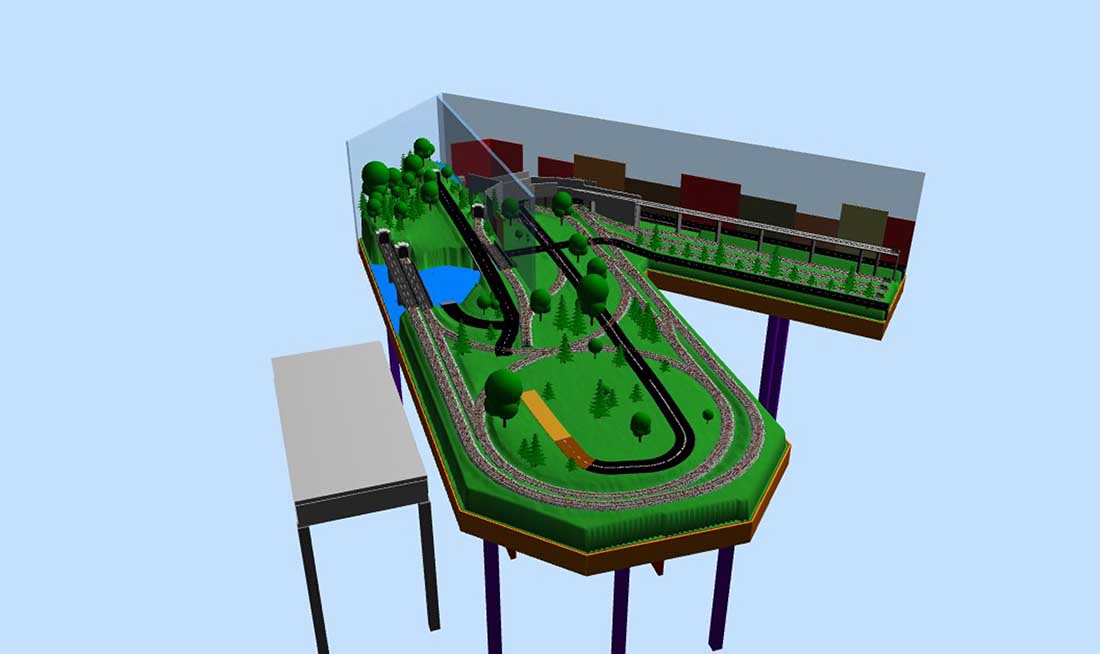
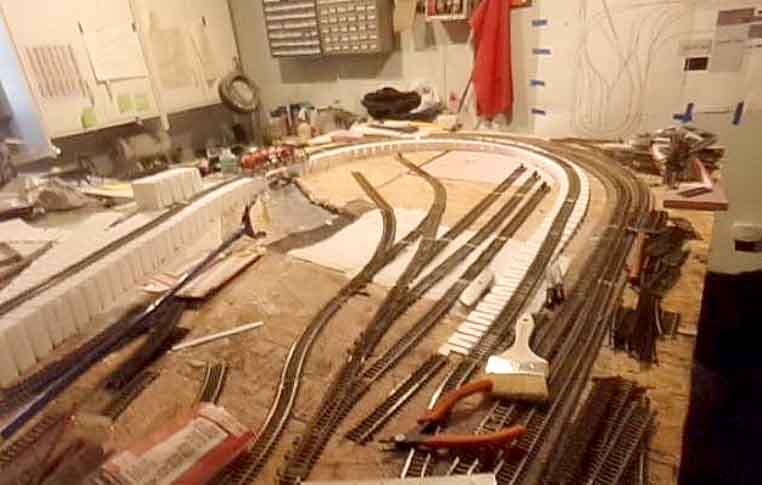
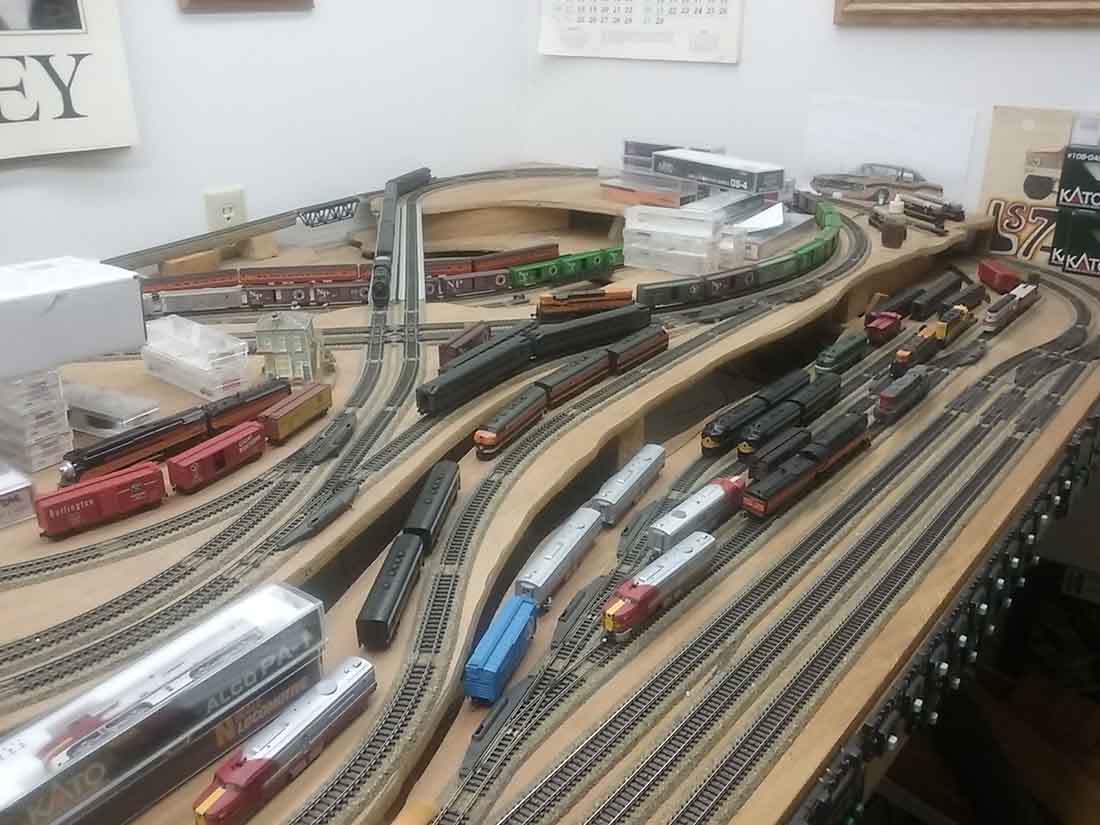
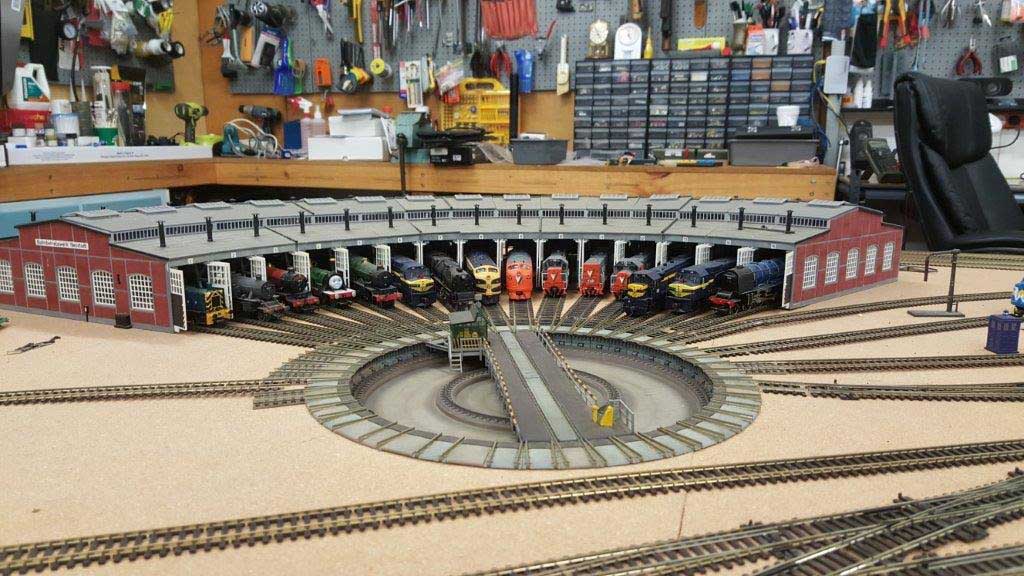
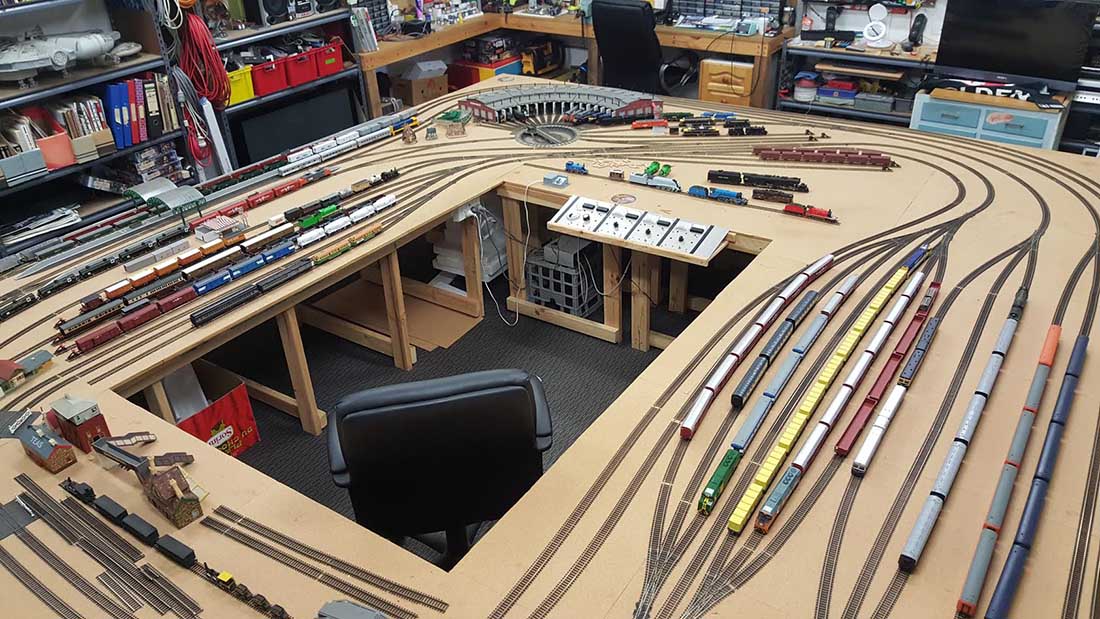
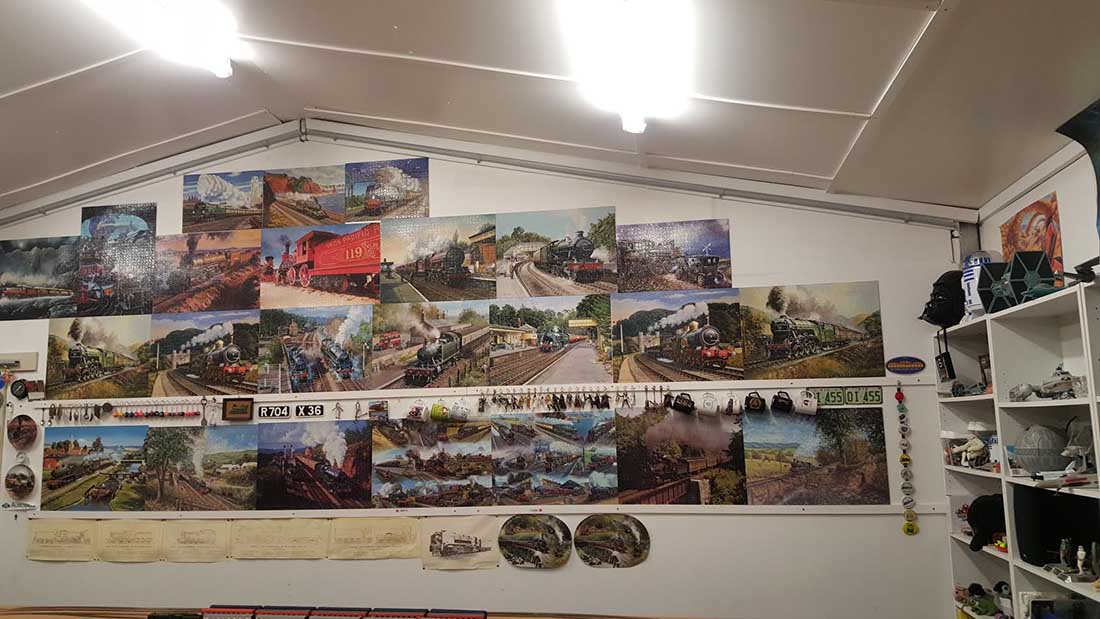
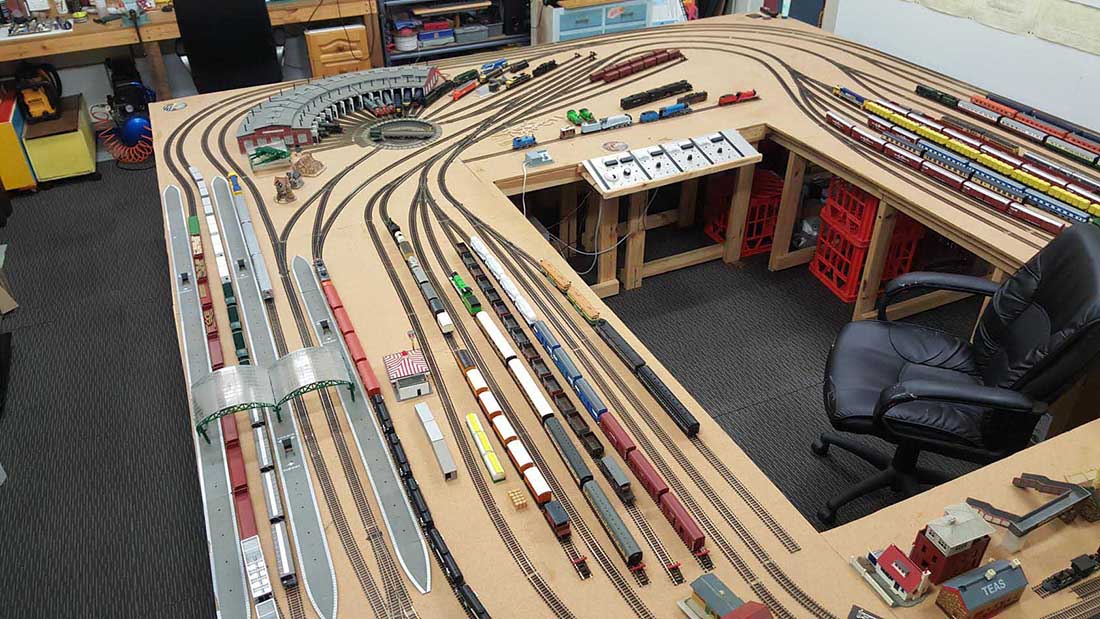
“Hi my name is Herb from Melbourne Australia I miss receiving your emails, so i will send a couple of pictures of my layout.
Not much too talk about, & i don’t model any spefic era as my son is austic.
But we get out there & have a great deal of fun & father son bonding time & i believe that’s what’s life is all about.
Plus we get out from under my wife’s feet well that’s all for now.
From Herb & Rick in the land down under.”
Now over to Rob:
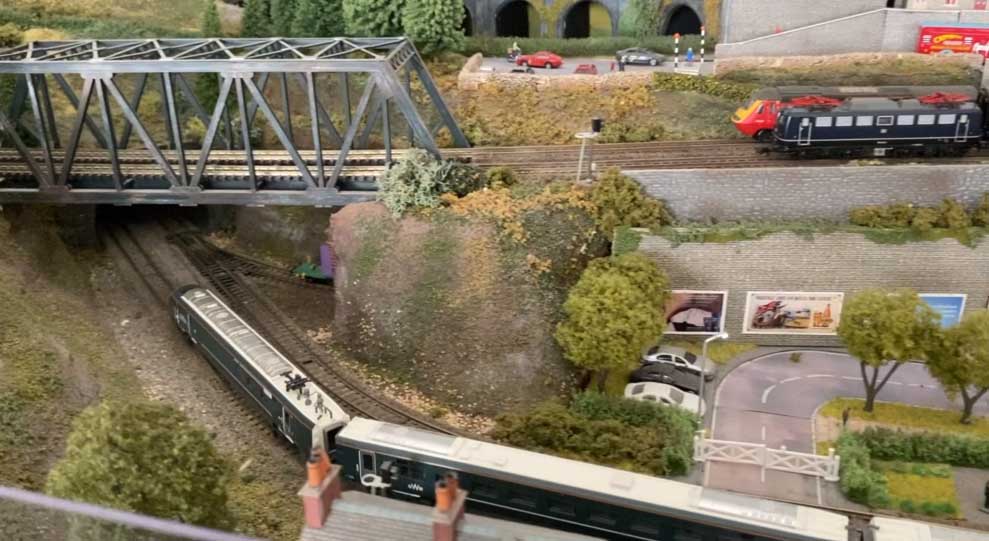
“Alastair,
I am located in Up-State New York, USA, but my OO layout is the North country (imagined) portion of the West Coast, Scottish Border, portion of the pre-Nationalization LMS. As a result I have to scratch build most of my buildings from heavy card stock. I reference them from photographs from the mid 1920’s and there are a lot of stone cottages and farm buildings.
To give them the right look of white washed, rough cut stone, I have found that I can use a product called “White Out”. It is a correction fluid used to mask errors on written or typed materials. I use it to “paint” on the stone pattern, building up random “stones” to give the walls of the cottages the right look. This is then given an over all wash of white acrylic water based paint. Then I finish it by weathering it as would be done for any structure. I have tried using the embossed plastic sheets, but found them to not be to my liking, as they are too “predictable”.
To do the roofs and sides of farm and industrial buildings, sheds, and the like, that use corrugated iron sheeting. I lay down a thick coat of Elmer’s “Carpenters Wood Glue” on heavy paper stock. Let it start to set up (2 or 3 minutes) and then pull a fine tooth hair comb across it. The result, when fully dried, is a very useful representation of corrugated iron sheeting that is easily cut to shape, painted, and given proper weathering.
I suspect that these are not unique ideas about how to create specific effects for scratch built structures, but I thought I would pass then on, as they may help some other modelers with similar challenges.
In closing, I have followed your postings for a number of years now and found them to be both helpful and inspiring. I can not tell you how much I appreciate what you bring to model railway building…. THANK YOU!
Rob
Endicott, New York”
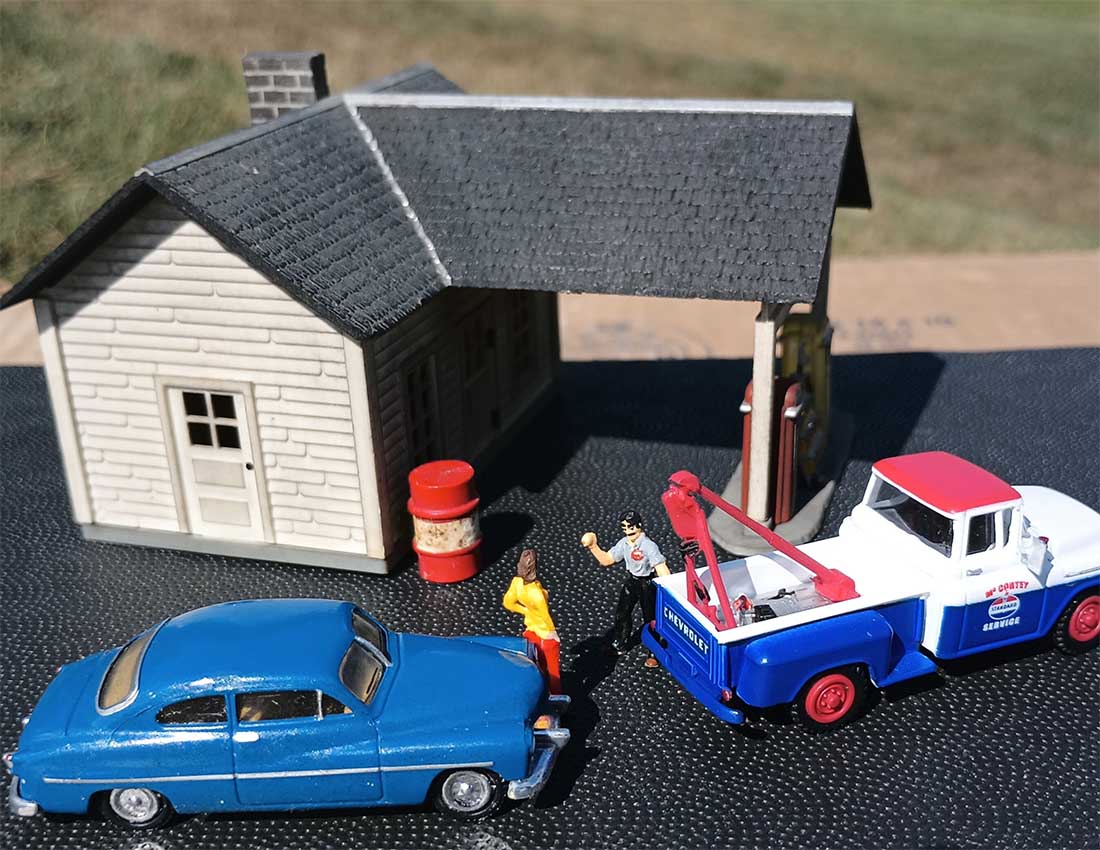
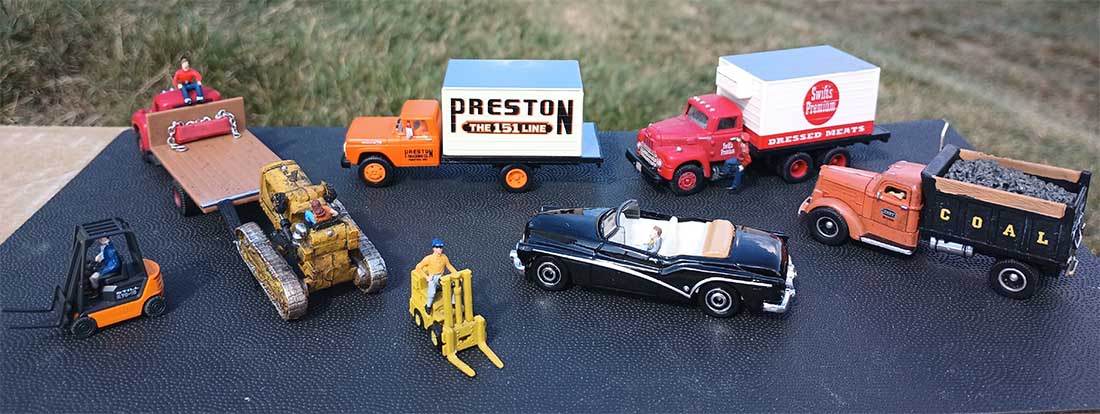
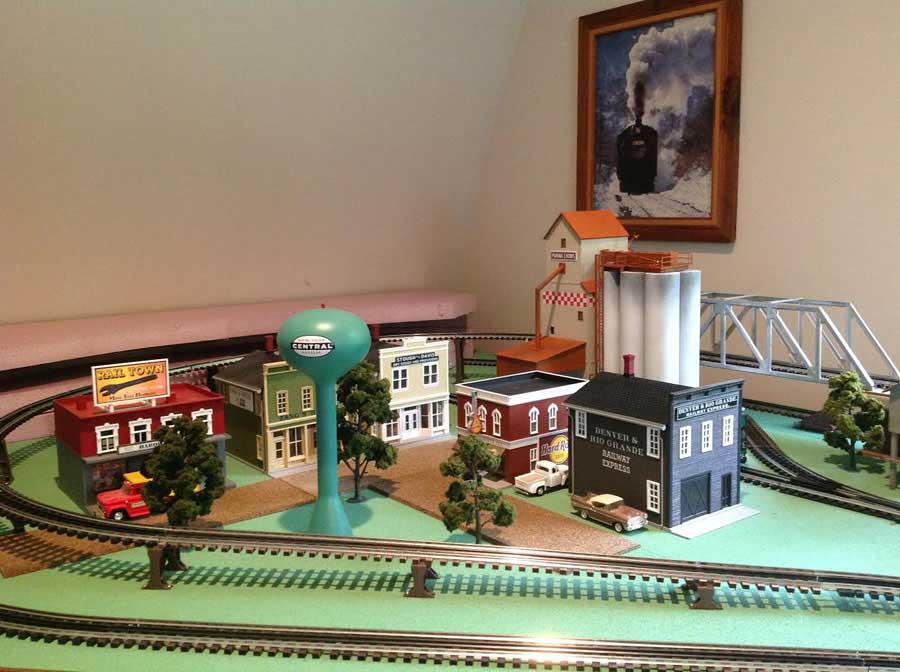
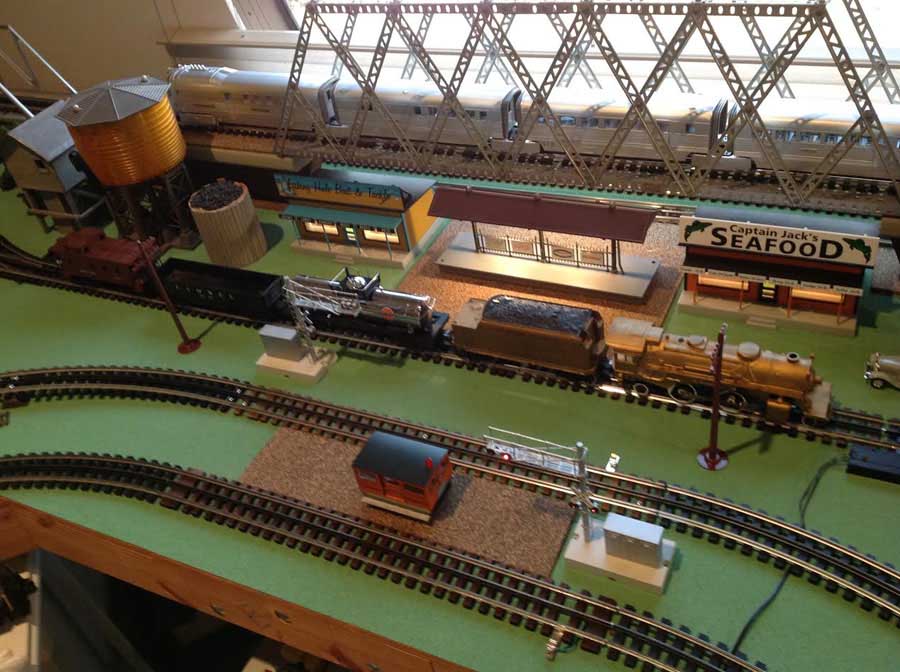
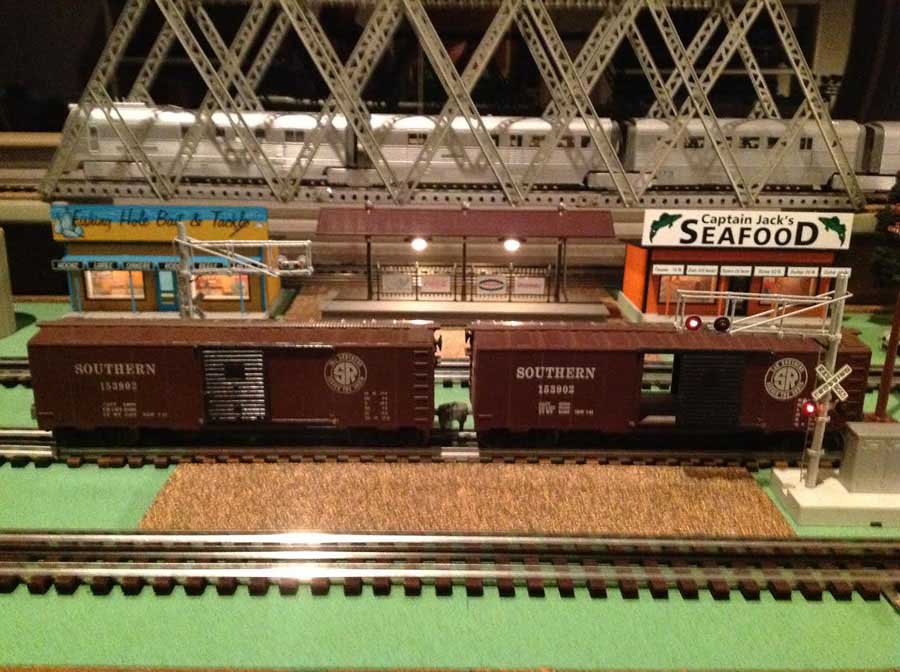
Next up, Frank:
“Lee I have been receiving your messages for over a year and really like them. Many tips have been very valuable.
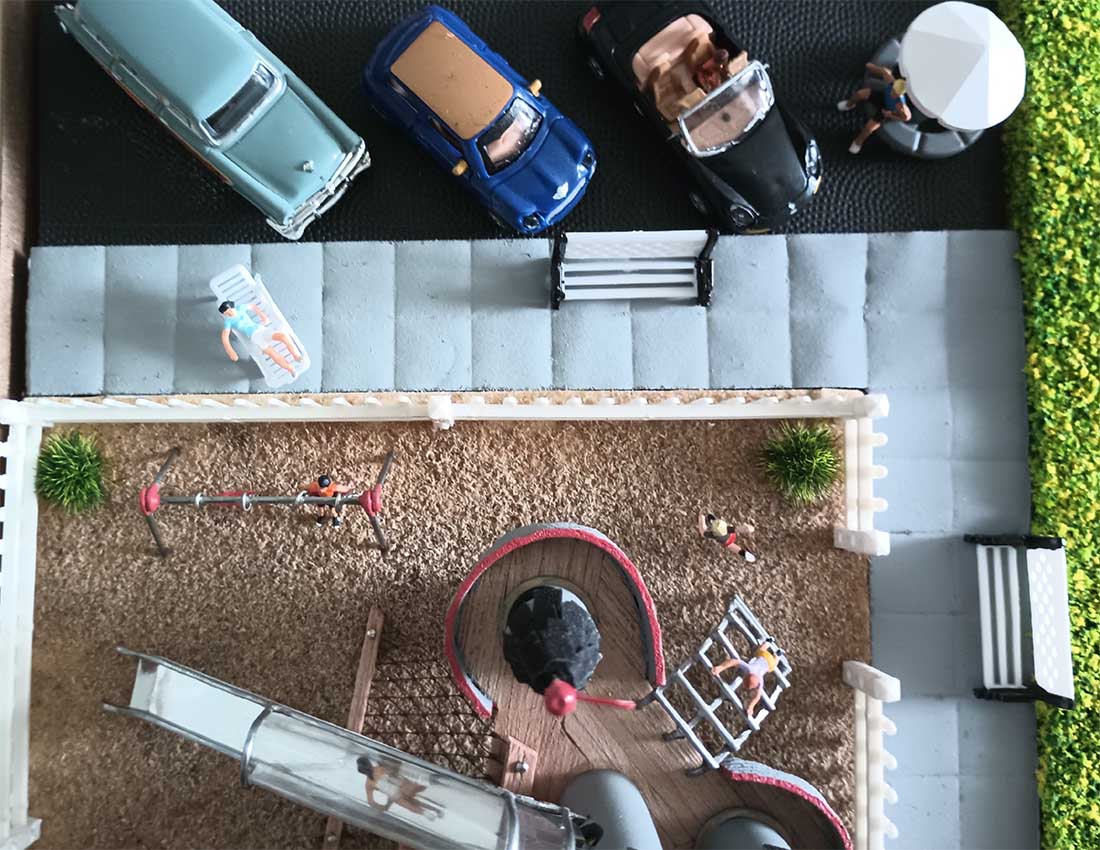
In June of this year I started to build a new layout modeled after a small Connecticut town where some road work was going on. One piece of equipment is not to scale because I cannot find it . Finishing up a few scenery issues and fine tuning the running two trains. I might add a few smaller buildings but not now.
Notice your card structures in the background.
Also solving a few small electric issues .
Great fun.
Thanks for all you do .
Regards
Frank”
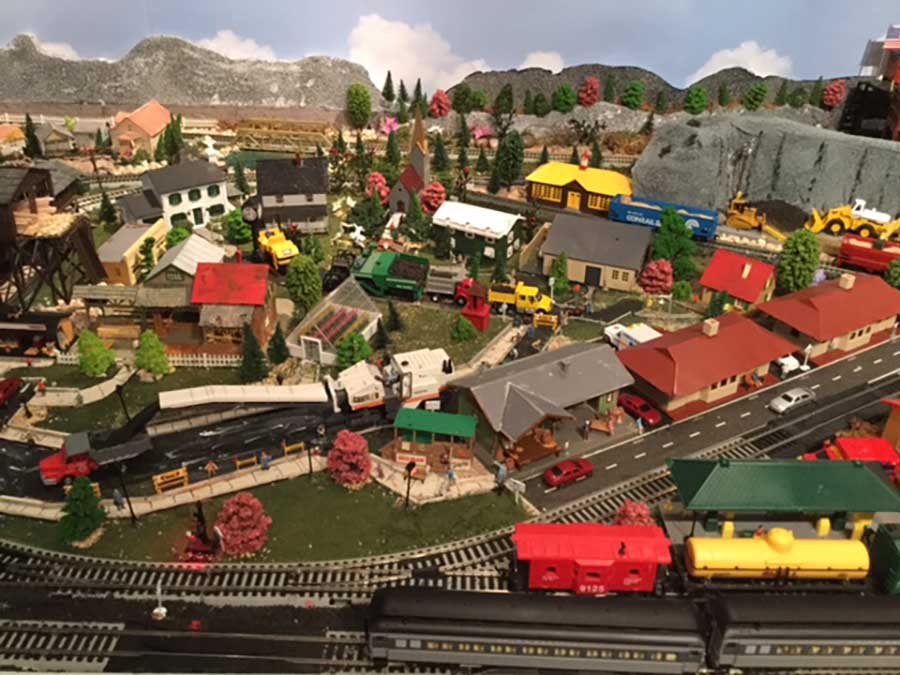
It’s always good to see the printable buildings on your layouts.
And now on to Bob:
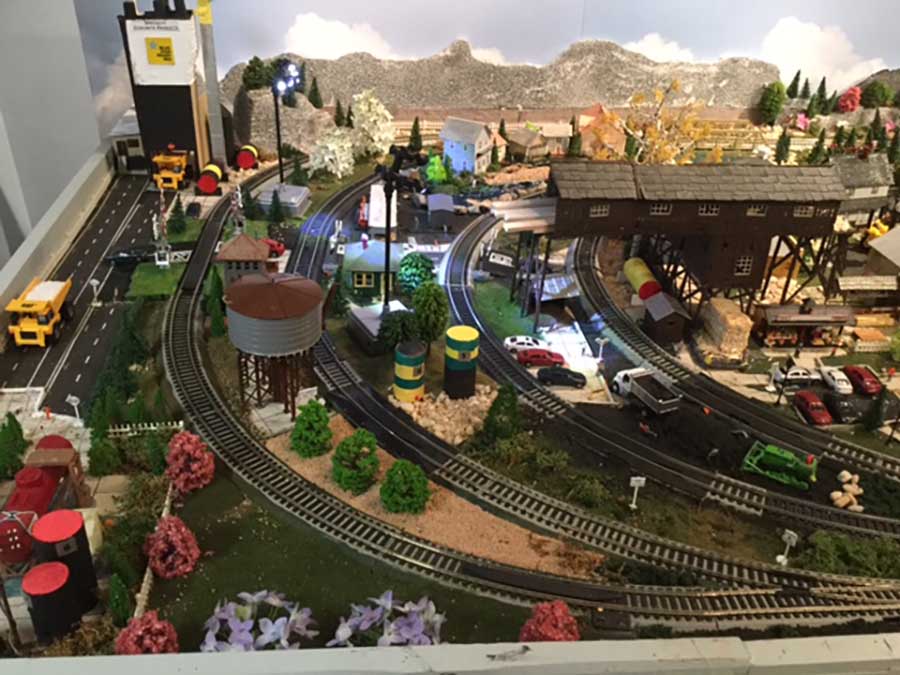
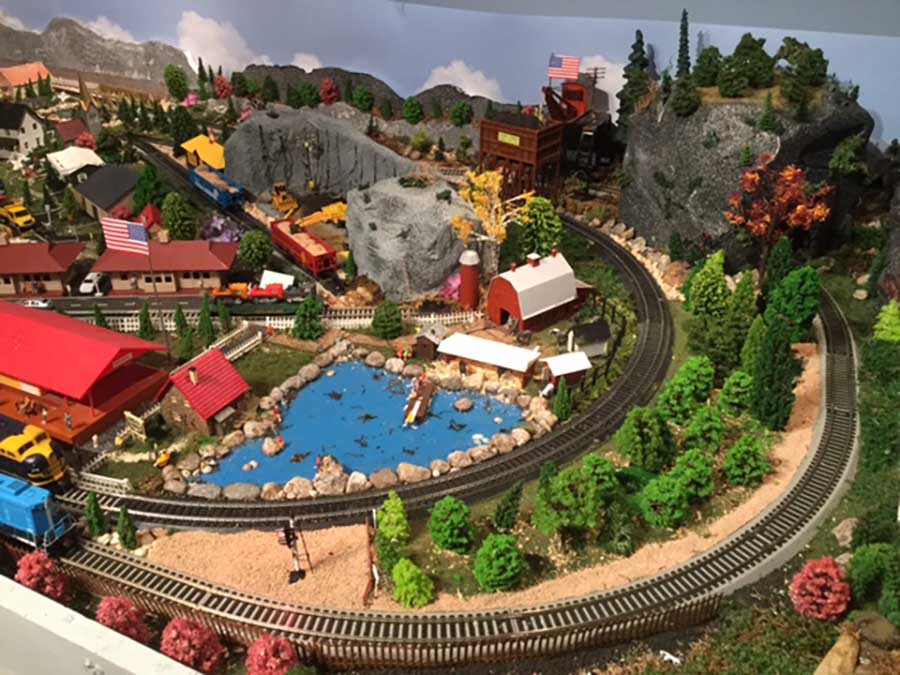
“HI AL … plan to keep your layout flexible … do not make everything so rigid that it becomes too much trouble to make modifications …
allow for the rearrangement of some scenry (trees) and layout accessories and buildings … minor adjustments to track … maybe add a siding …
the whole concept being similar to rearranging furniture in your home to offer a new perspective … I have found that this approach gives me new incentives and extends the pleasure of the hobby by working the mind …
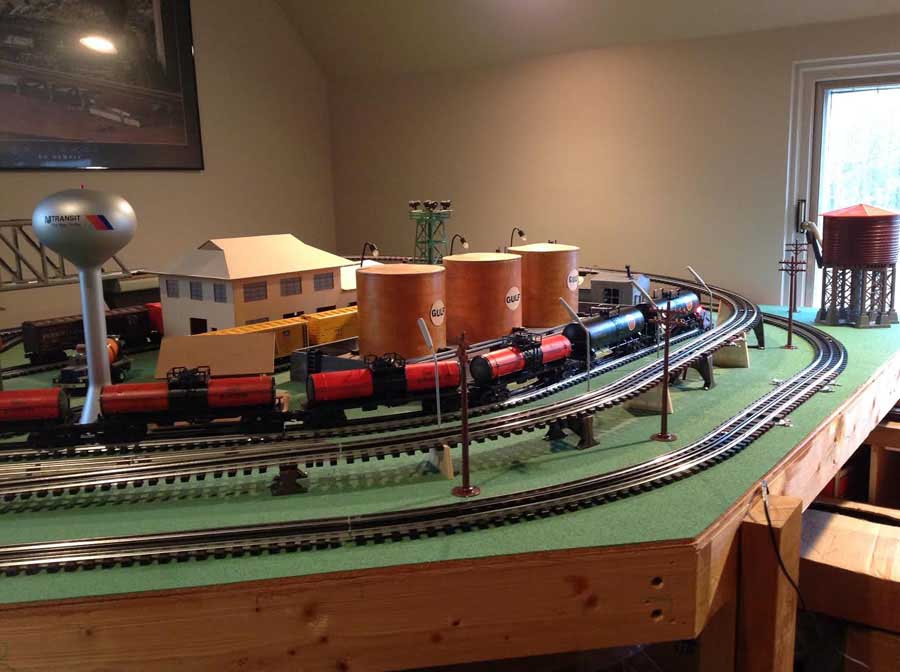
always have a theme in mind for your layout … give a function to different parts … city … industrial … rural … give the trains a place to go … for me it was the small town USA … along with coal, oil / gas and freight …
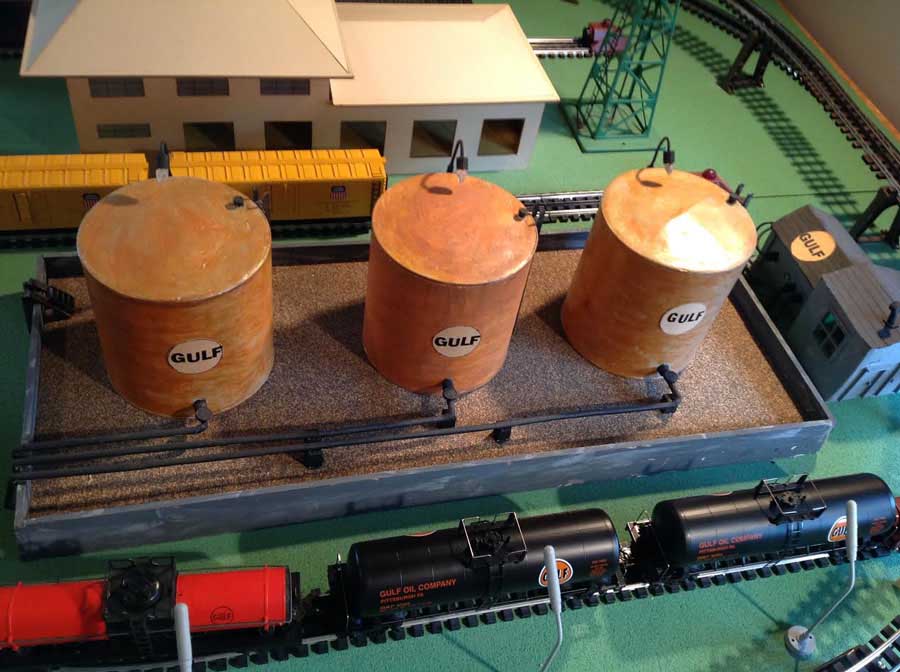
FYI, the Gulf oil tanks on my layout were made from coffee cans … 6 1/2″ in diameter and 6 1/2″ tall …
my layout is a 6′ x 18′ dog bone, 3′ wide in the middle … 90 sf of table top surface … runs two trains, over and under action with bridges … four sidings … fun to run
BOB”
A big thanks to Bob, Frank and Herb.
I so enjoy seeing your layouts – some love the scenery part, some just love running trains. There is no wrong way to enjoy this hobby!
Tootling along at your own pace is the best way to learn how to build a train layout. They are never finished – and the ones that are very nearly finished inevitably turn out to be the draft version for the next bigger and better one.
It’s all about making that start… remember it’s the start that stops most people.
That’s all for today folks.
Please do keep ’em coming.
And if today is the day you get started on your layout, the Beginner’s Guide is here.
Best
Al
PS Latest ebay cheat sheet is here.