I don’t think I’ll ever tire of your model train layout tips – even after all these years they are still rolling in:
“Dear Al,
I have a 5’x8′ HO layout running 2 trains.
Most of the cars have plastic wheels. I noticed that over time I had to keep increasing the voltage to the engines to keep up speed. Finally, it got ridiculous.
I looked at the track and rubbed it with my finger and it was black from residue from the plastic wheels.
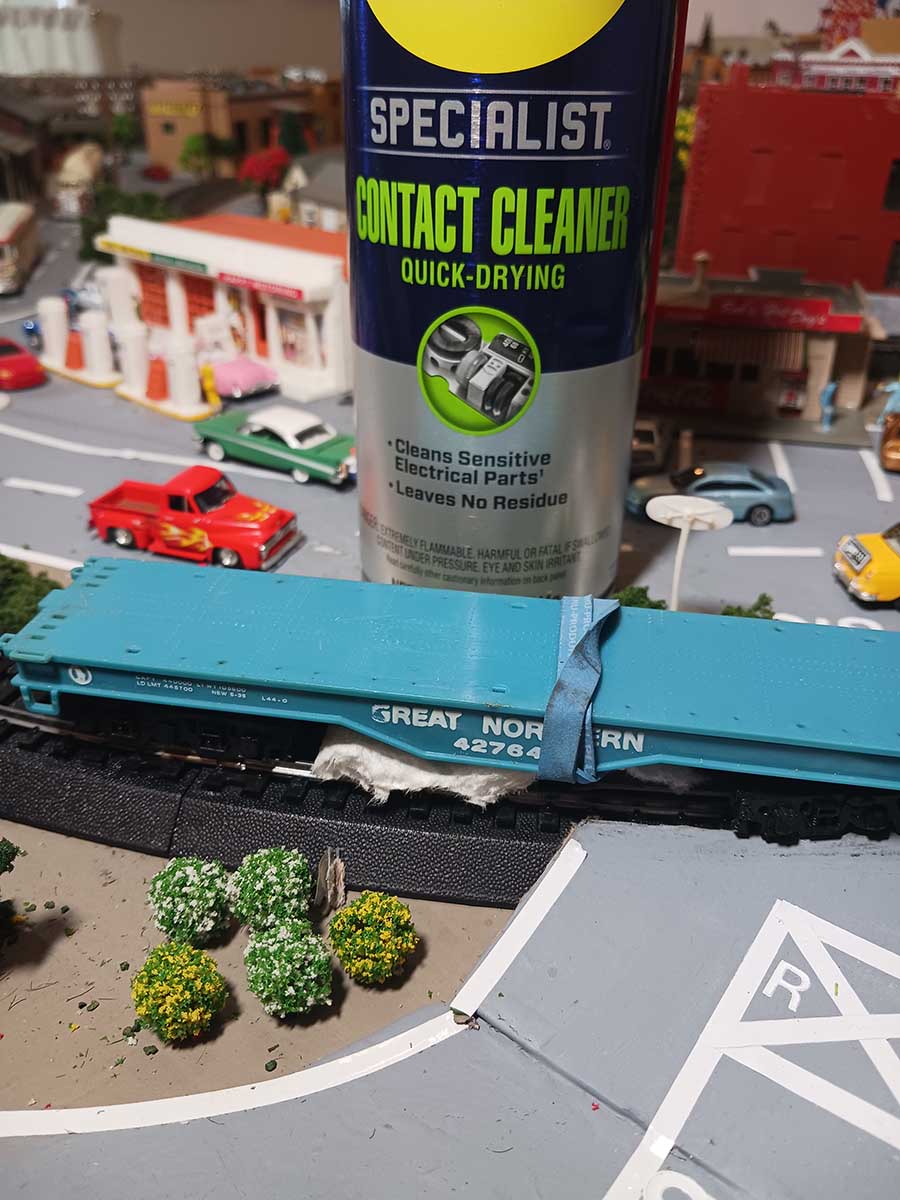
I had purchased some W-D 40 Electrical Contact Cleaner to renew an old motor in an engine. It worked great.
So I took a die-cast flat car and attached a folded piece of paper towel to the bottom with a rubber band and soaked it with the cleaner.
I then attached it to the rear of one of the trains and ran the train.
I noticed that after 3-4 trips around the train was running faster. I stopped the train and turned the towel over and resoaked it. More improvement.
Lastly, I ran a clean dry towel to finish off. I have seen poles with rags attached doing the same thing, but I can’t reach all of my tracks that way.
Besides, I would rather just sit in my chair and watch the train do the work. I hope this helps some of the folks that can’t afford brass wheels.
I look forward to reading your posts every morning while I drink my coffee.
I am 81 years old and a widower and all I have are my trains and my little dog. As you say, “Keep ’em coming”
Thanks,
Santa Fe Bob in Florida, USA”
Now on to Dangerous Dave:
“Hi Al…
I have just loaded a video showing how to improve a space on my layout.
I show in detail how easy it is to do this, also added footage of hauling some freight as requested by some of the members on my last video.
Also a short one of my garden at the end, again requested by members.
Regards
Dave”
And now on to Brian:
“Hi Al,
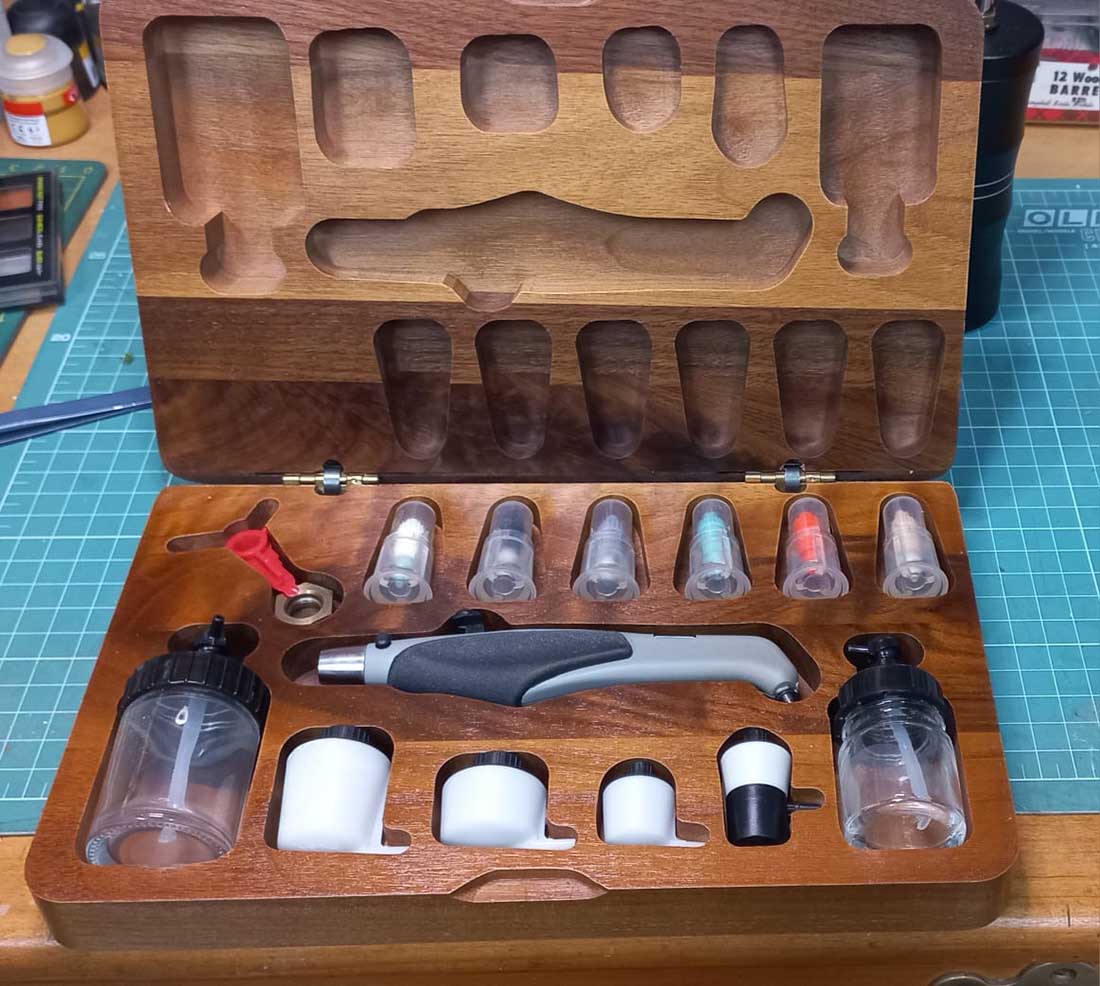
this is in response to Robs airbrush article.
I have an Aztec airbrush (top of the range) one as seen below.
I have been using it for about 20 years and can do almost everything with it.
Using the fine nozzle, I can write my name in my check book (if I had one). I use it for all my spray work and takes me about 3 minutes to thoroughly clean it between paint colours.
Unfortunately it is no longer manufactured. I do have a spare airbrush body though just in case.
Brian”
Now on to Jim:
“Al,
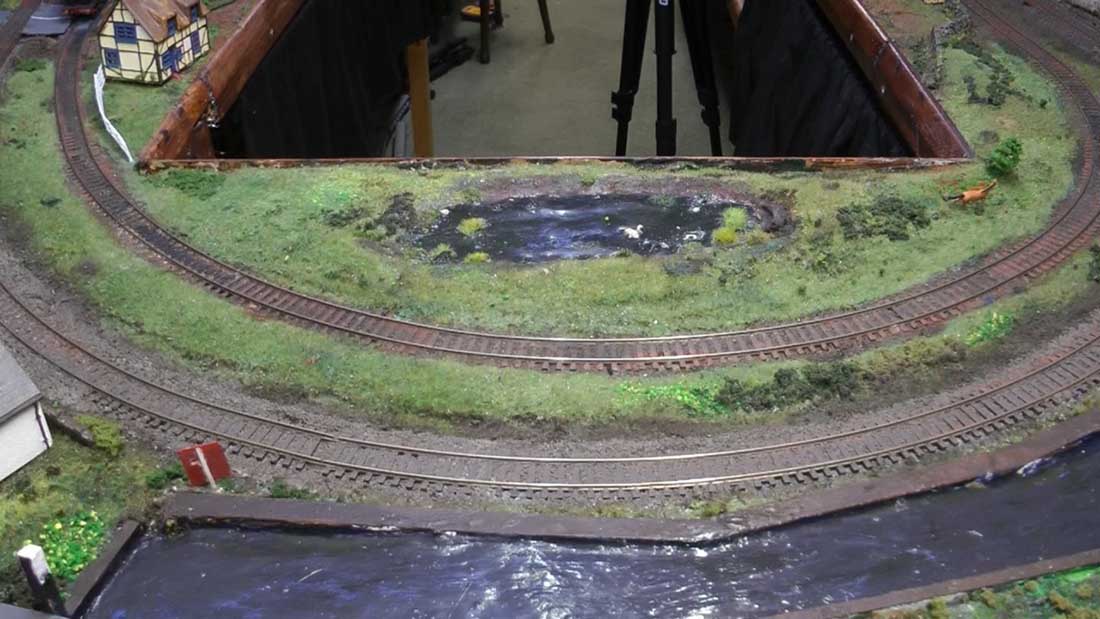
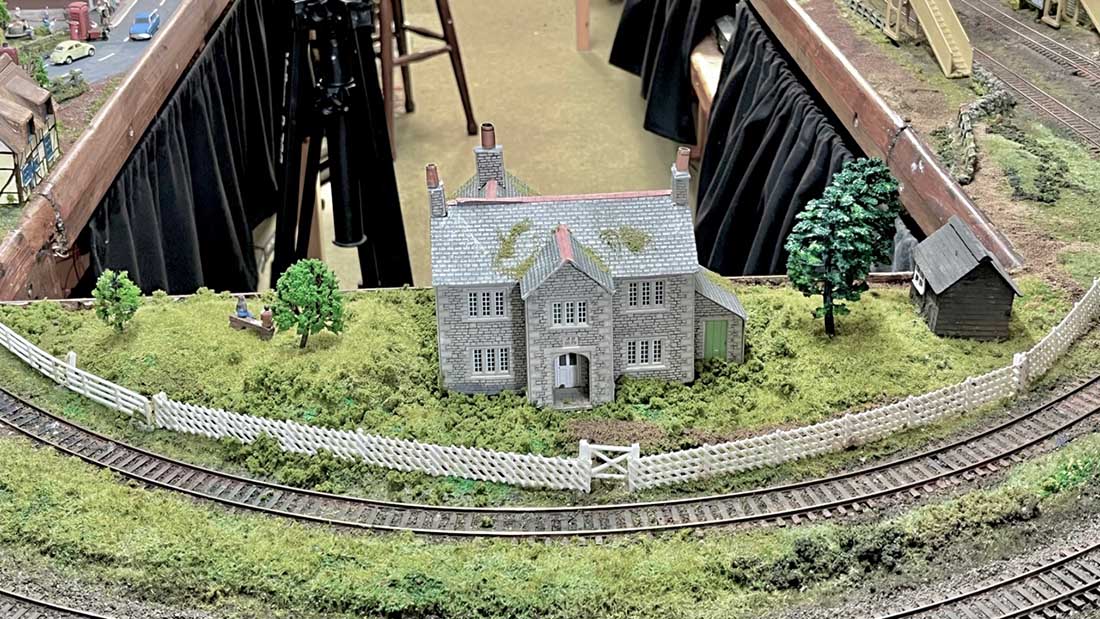
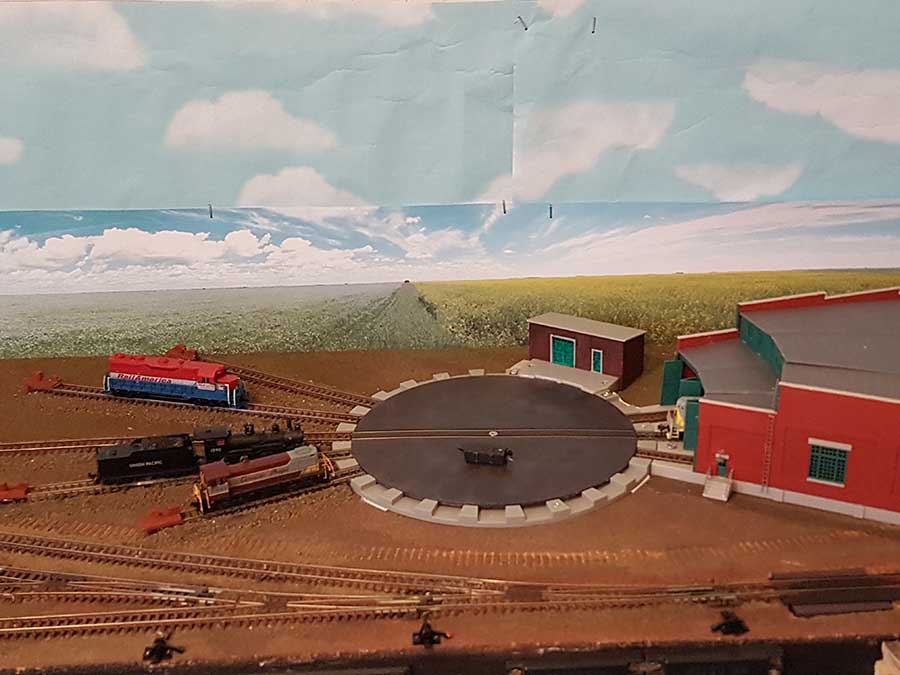
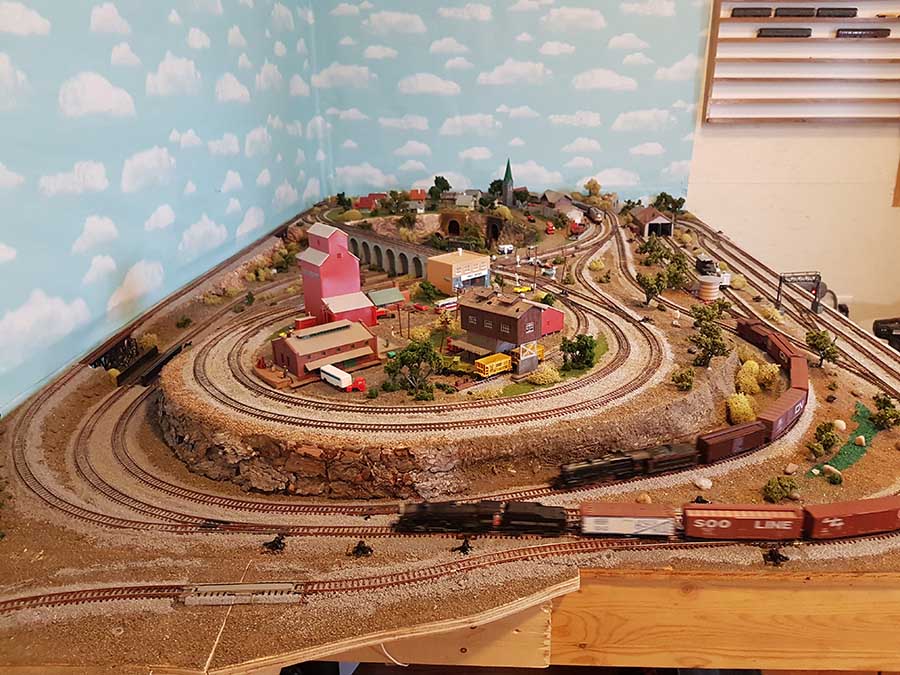
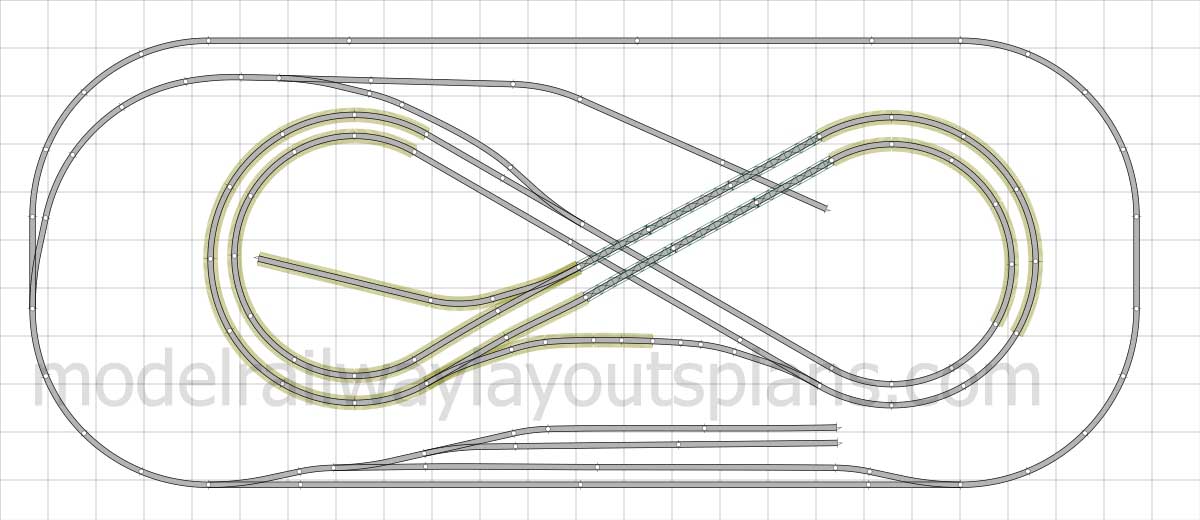
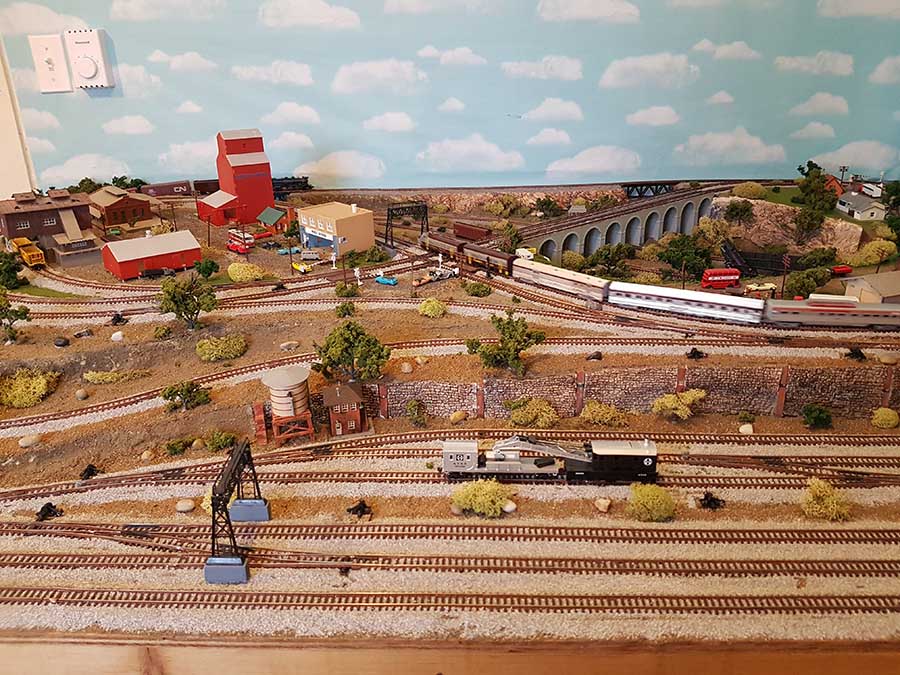
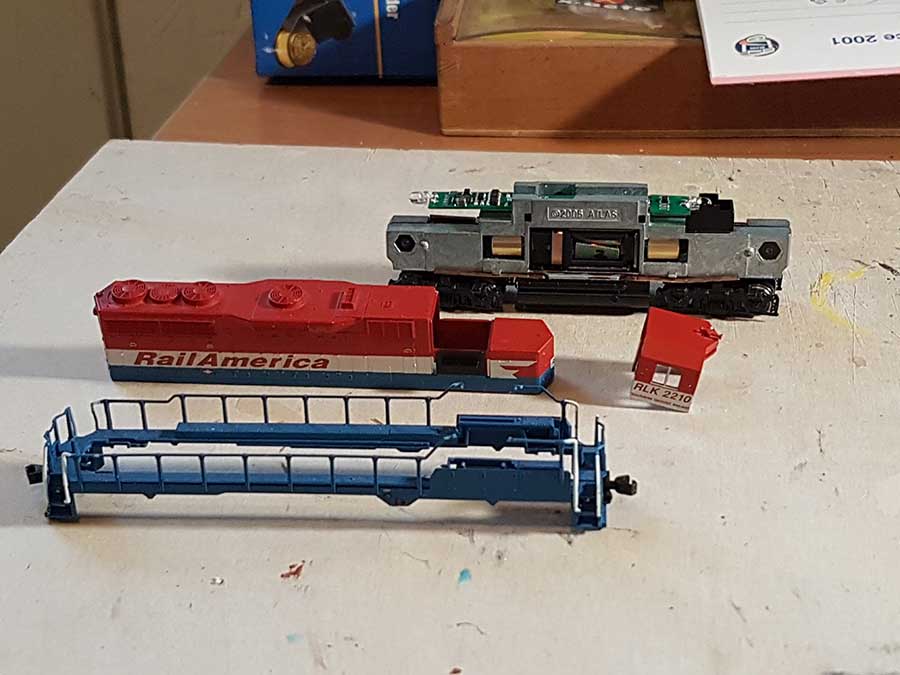
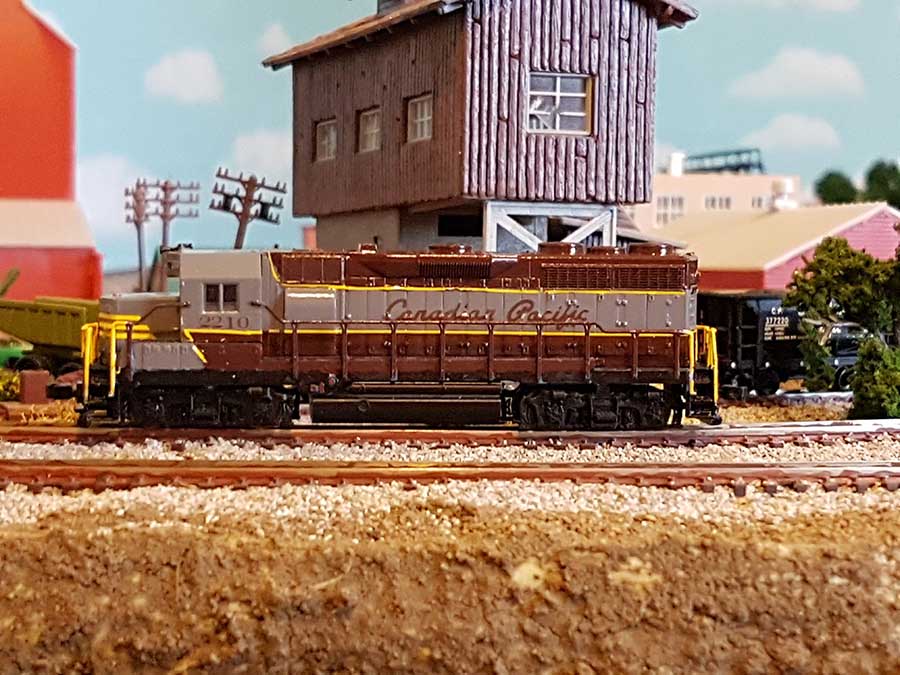
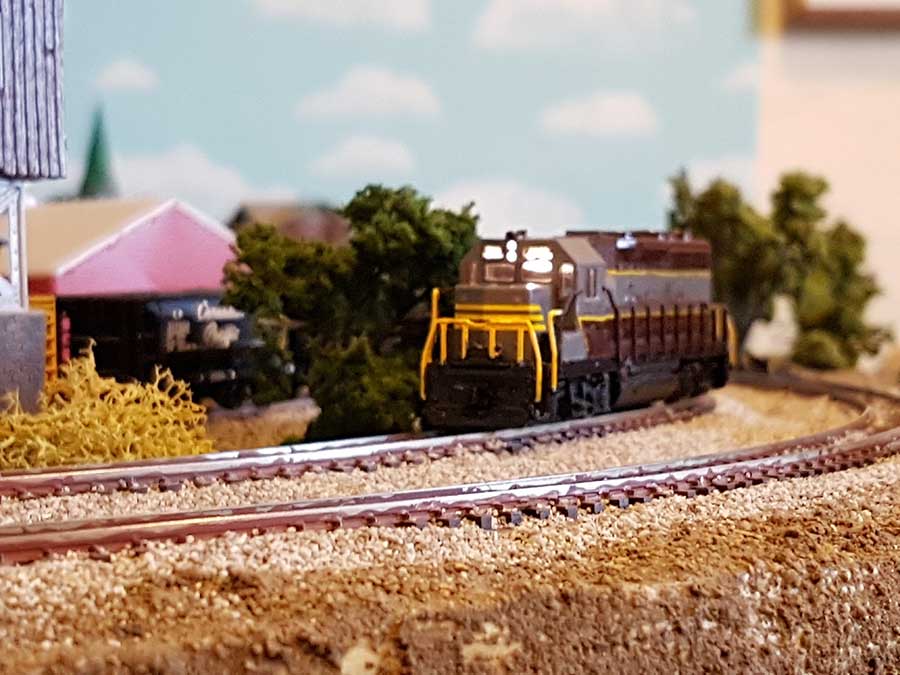
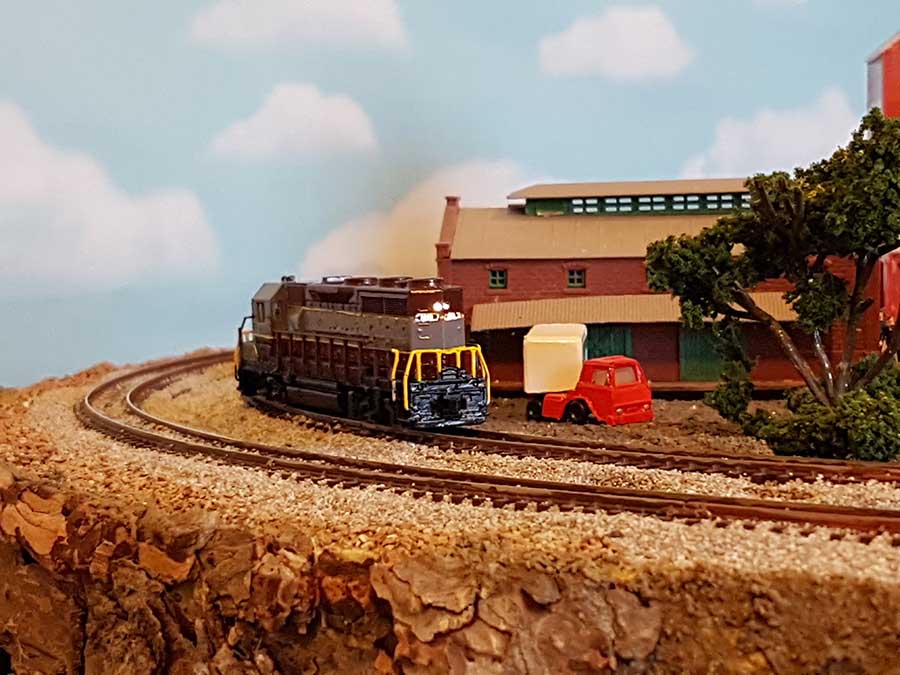
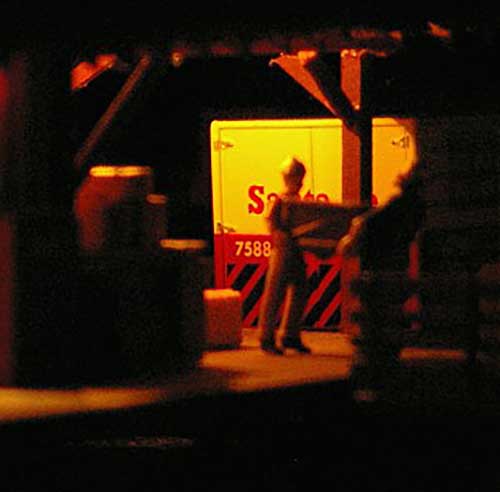
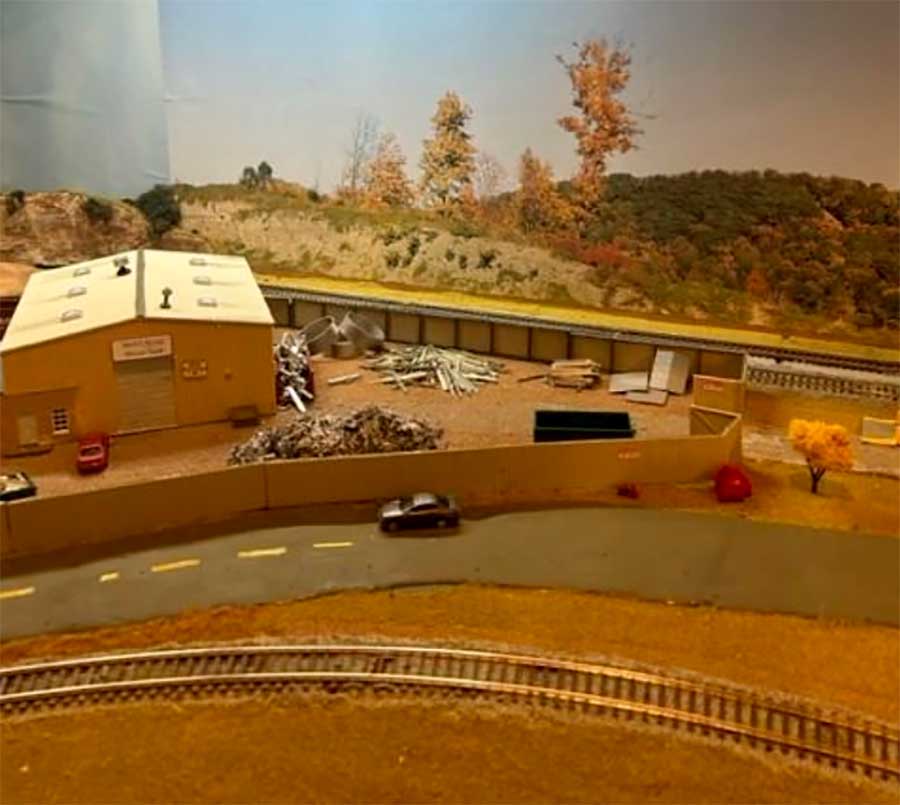
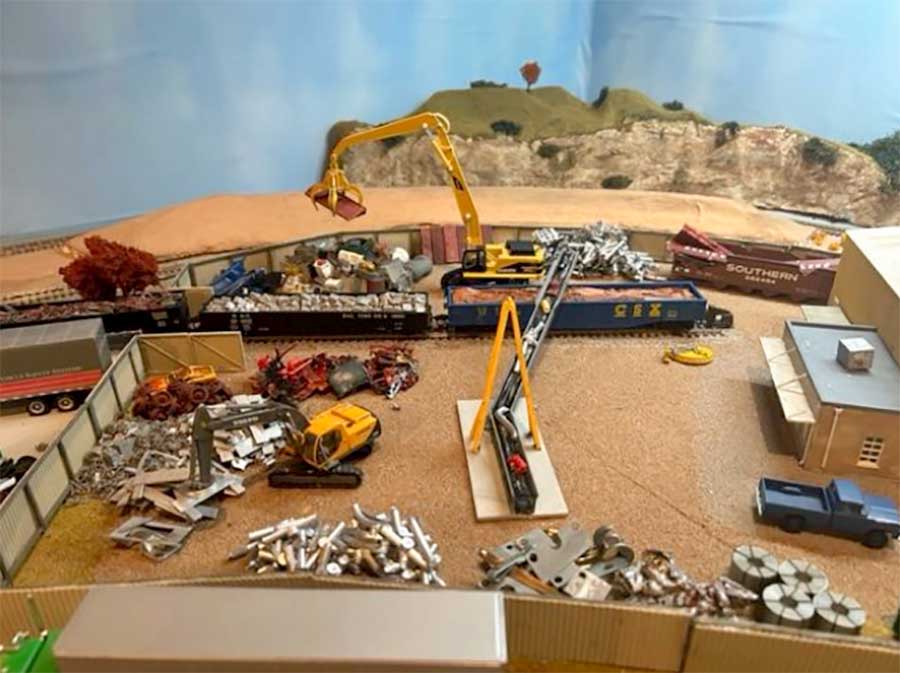
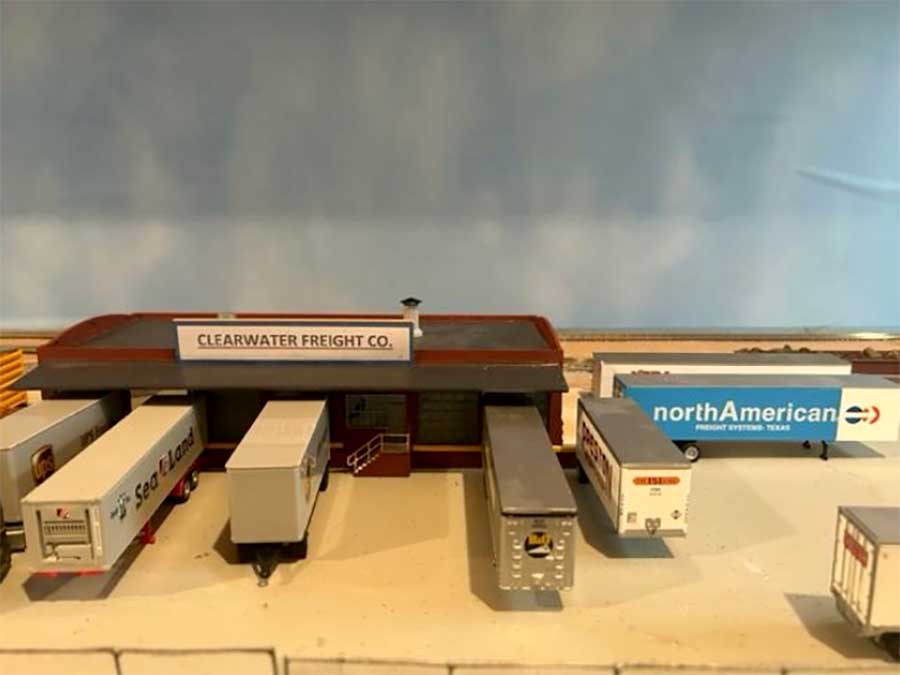
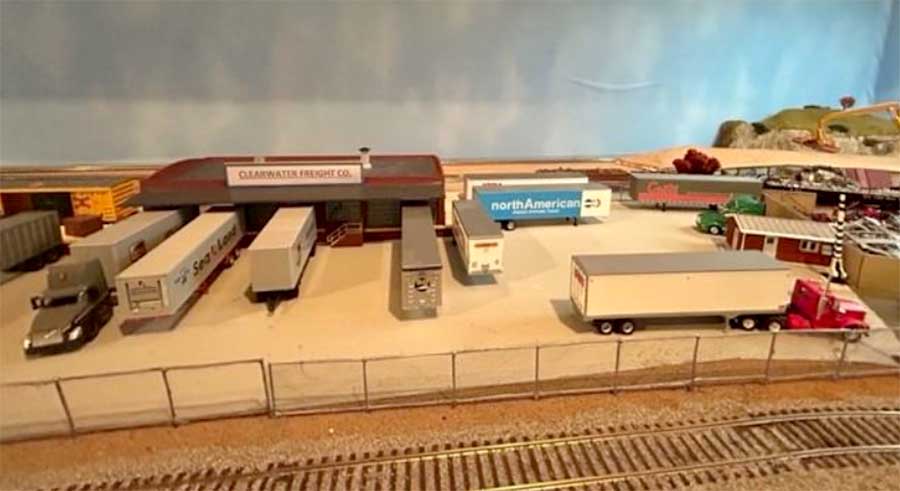
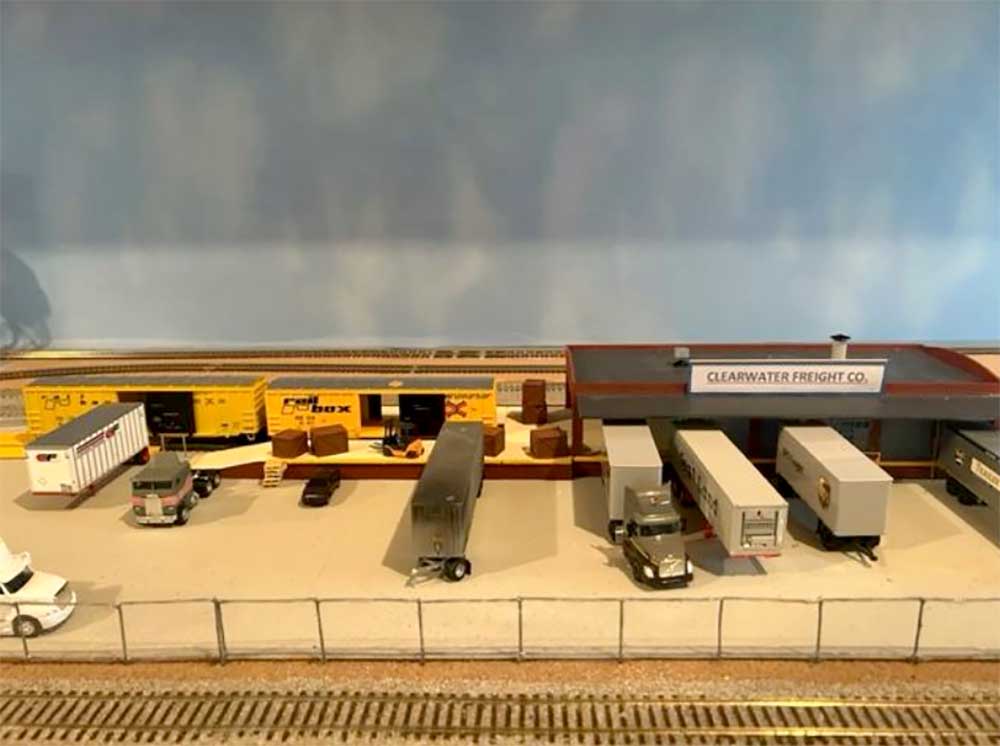
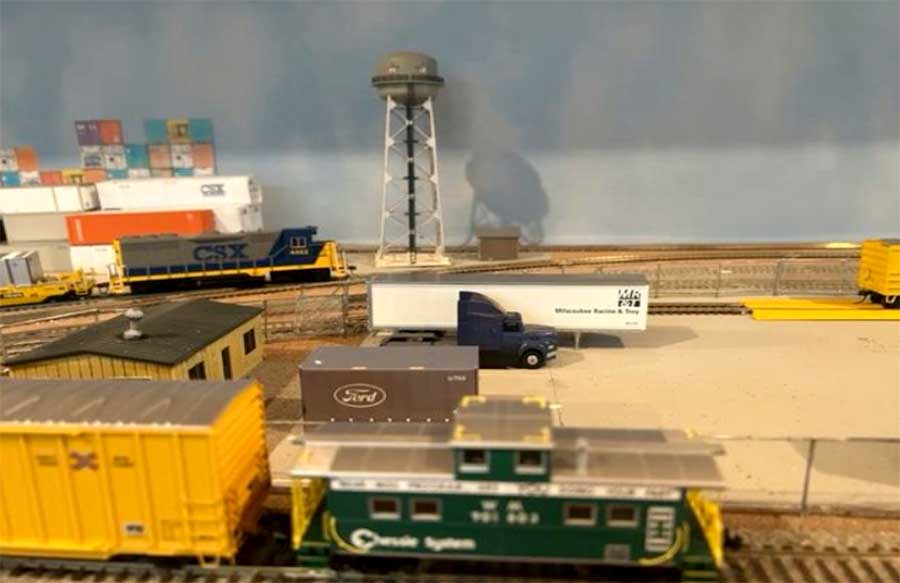
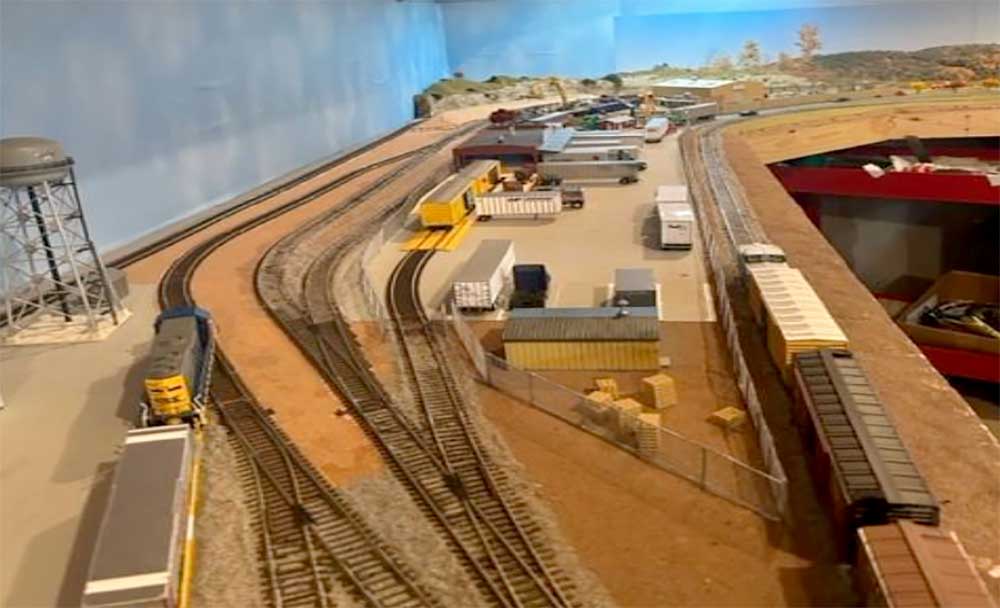
Attached are 6 photos of my layout and the start of my paint job on a N scale GP-35.
My layout is 4feet by 6.6feet with a yard and round house off to one end with a lift gate to a door to the rest of my garage.
Jim”
If it’s more tips you are after, here’s another dose: Tips for model railroading.
That’s all for today folks.
Please do keep ’em coming.
And if today is the day you get started on your layout, the Beginner’s Guide is here.
Best
Al
PS More HO scale train layouts here if that’s your thing.
Need buildings for your layout? Have a look at the Silly Discount bundle.
