Model train tunnel entrance

Brian’s been in touch with his model train tunnel entrance:

“Hi Al,

Back in March I sent you a description of my model railway. I thought it may be interesting to send you a small update resulting from a recent visit to the UK.

In May, I had a couple of weeks in London and my 2 children and their spouses joined me. We decided to go for a hike on the South Downs, aiming for the Devils Dyke in Sussex and so we caught the train down to Hassocks station.

The first mile of our walk took us parallel to the railway track and at the end of this path we had the most wonderful view of the entrance to the Clayton Tunnel, on the London to Brighton line.

clayton tunnel entrance

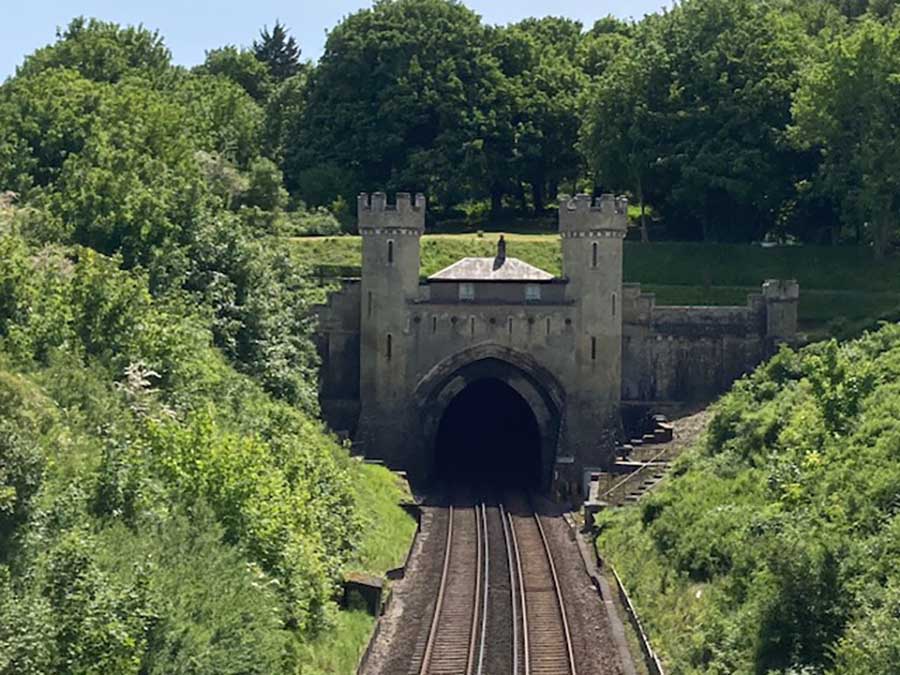
If only British Rail would build tunnel entrances like this nowadays, maybe we should suggest it for HS2!

The tunnel was built in 1839 under the South Downs when they built the line from London to Brighton, and the house was built for the tunnel keeper and his family.

However, in 1861, there was a major crash in the tunnel resulting in the deaths of 23 passengers and it is said that the house is now haunted by some of the victims.

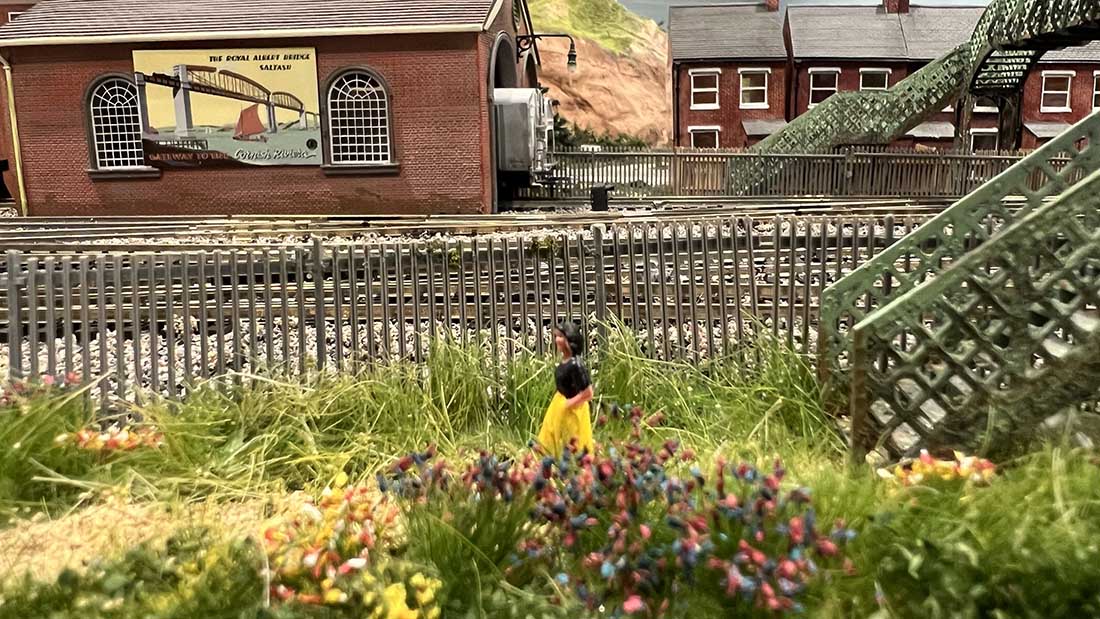
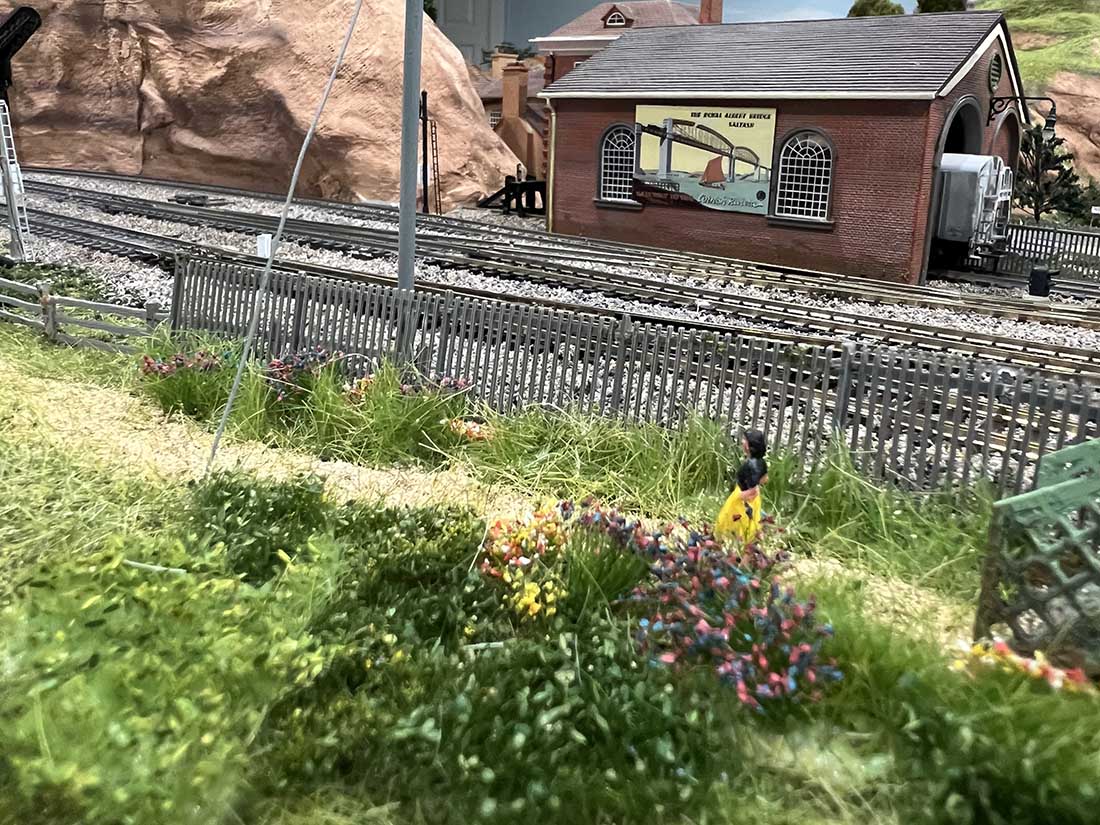
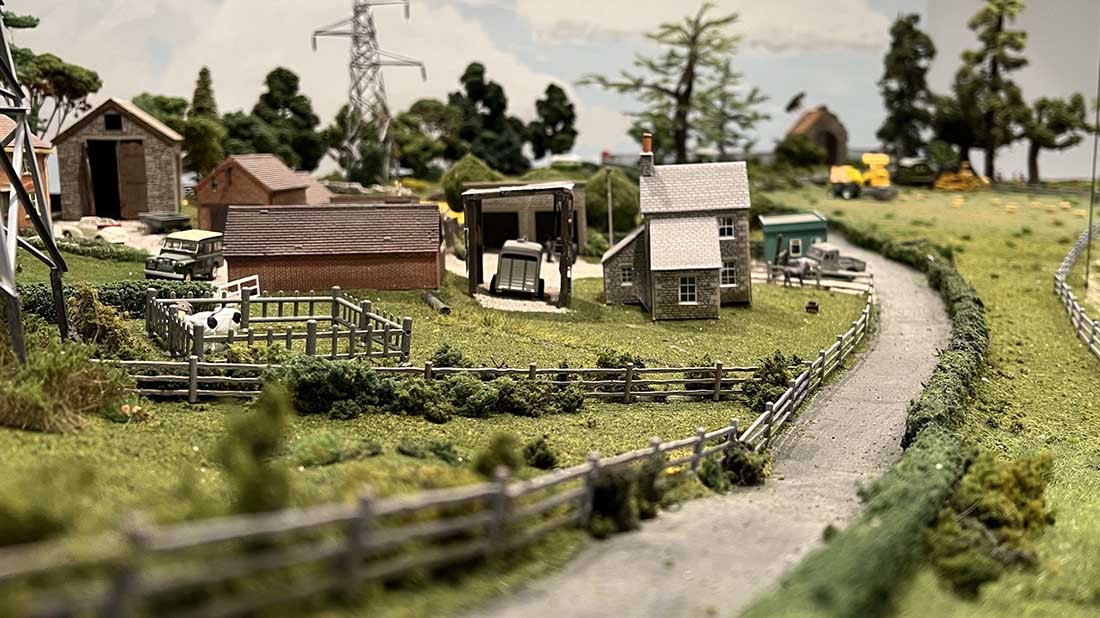
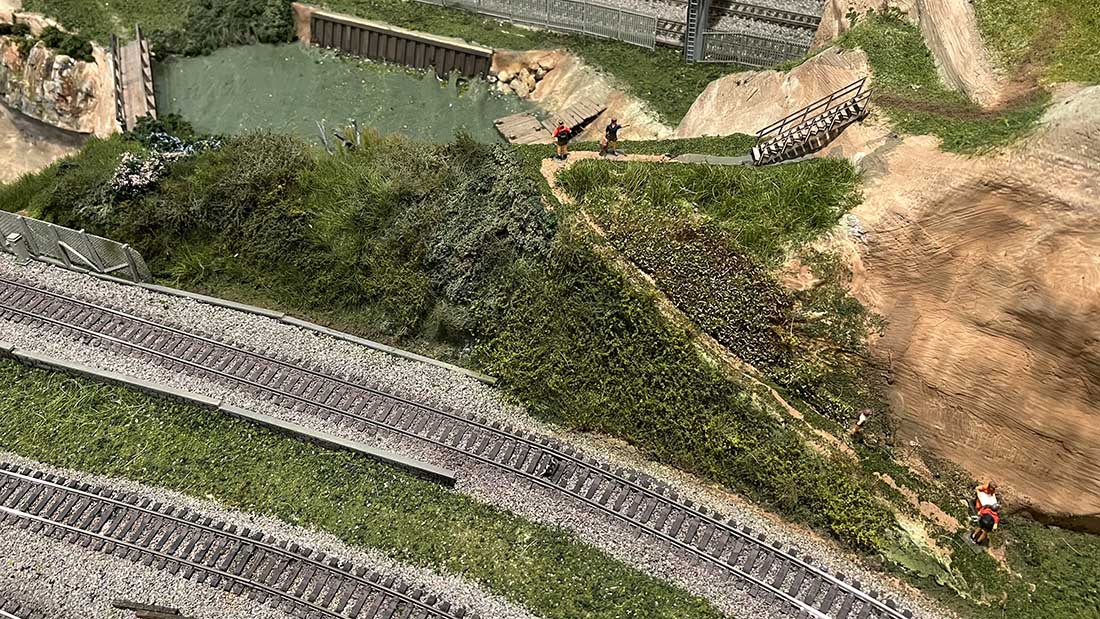
On my model railway, I have not tried to emulate anywhere in particular, but once I saw this, I knew I had to create a tunnel entrance to match it, and here is the result-

model train tunnel entrance

It was a lot of fun in the making, although I am still trying to work out how to include a ghost!

Thanks, once again, Al for all you do for this wonderful hobby, I look forward to your emails every morning.

Brian

(The Brit living just outside of New York)”

A huge big thank you to Brian – I think he has done an excellent job!

If you’d like to see his last post, it’s here.

And now on to another Brian:

“Hi Alastair,

I continue to have fun with the hobby and mixing in my other hobby of video.

I worked in television news as a News Director and Executive Producer for many years. Big, bulky and heavy gear that over the years became lighter and well, today we all have television studios in our pockets, aka Smart Phones. In my case it’s an iPhone 14 Plus.

This video demonstrates a couple of tips modelers can try. In this case we have three scenes:

1. N Scale UP 844 Train seen from a distance arriving.

2. Train passing by station in Saddlestring WY

3. Rear shot as the train continues out of frame.

OK, how did that News Helicopter get there? And that American Flag, it’s waving in the wind! More in a moment.

OK, the three scenes are something called “Video Sequencing.” The same scene shot from three different angles.

No, you don’t need three cameras. Just one to shoot the scene three different times from three different views. Then you edit together.

In this case I’m using a video editing software called Videoleap. It allows me to trim the video as needed to make the overall production flow.

It also has sound effects including train sounds. I added in audio from a video I did of UP’s Big Boy. My feeling is if you’re going to see a steam engine, you should hear one!

As for the helicopter and flag, those are “stickers” also concluded with the editing software. Ditto for the Saddlestring Sign on the rail station.

The call letters of the helicopter are from the first station I worked at early in my career, KGWN-TV in Cheyenne. It’s “their video” of the last scene in the video.

I can see all this sounding a bit geeky to folks, but give it a try! Another way of adding life to our layouts. Or at least videos of our layouts!

Brian”


A big thanks to the two Brians – hope you’ve enjoyed today’s bonus post.

And if today is the day you get started on your layout, the Beginner’s Guide is here.

Best

Al

PS Just so we’re all clear – this silly sale is only for a day or so.

PPS Also, any purchase on the blog comes with a no quibble, money back guarantee, no questions asked – I really do want you to be delighted with your purchase.


Static grass

Rob’s been in touch with some nice detail on his layout – static grass.

“Dear Al,

A new way to use static grass.

While I was wandering across the videos about model railway scenery on YouTube, I ran across this novel idea for planting tufts of static grass.

I thought it looked interesting so I started to investigate and experiment with it to see if it would work for me. It got marvelous results.

In the attached video I demonstrate how to do it.

It is essentially making custom grass tufts in the place where you want them. I used 12 mm standard static grass in this video. If your fingers are smaller you could probably use 7 mm fiber.

I bought mine from Woodland Scenics but other suppliers no doubt could provide good material.

Just be careful and avoid the ones where the fibers are bent and not very straight. This type of fiber does not work well in the static grass machine either or, when you use this method.

Thank you for your posts, I know they are helping many people around the world.

Rob”

static grass railway bridge

static grass track side

static grass hedge

static grass view

static grass embankment


A huge big thank you to Hall of Famer Rob – love the scenes and detail he has created.

When comes to green stuff and foliage, these posts spring to mind:

Static grass applicator.

HO scale bushes.

Add grass to layout? John shows us how

Model train grass.


Now on to something completely different.

I got this in from George:

“Dear Al

I cant be the only one who creates these printable buildings in a larger scale and has a wibbly wobbly warped resemblance, poorly glued, lousy cornered, and worse a disappointing end result.

Little tips & tricks! The perception that John used cereal boxes for everything is not true.

Be safe

George”

George is quite right, if you make the buildings just from cereal boxes, they won’t be robust.

But when you do them the right way, here’s what happens:


As you can see, they are very robust indeed.

But how do you make them?

Well, there is no wrong way or right way, but here’s how the Boy Wonder does it.

It’s quite a long youtube, but you can see just how easy they are to make… and how strong they are too.


Here’s the youtube link if you want to watch it full screen.

At the moment, I’ve taken the store down, and I’m putting together a new one with everything in the same place.

So for the moment, I’m putting together bunde deals while I go through everything. These won’t be about forever, but here’s the latest. Of course, I’m biased, but it’s amazing value:

The silly discount bundle for just $29.

That’s all for today folks.

Please do keep ’em coming.

And if today is the day you get started on your layout, the Beginner’s Guide is here.

Best

Al

PS Latest ebay cheat sheet is here.

PPS More HO scale train layouts here if that’s your thing.


N scale weights

Dean’s been in touch with an interesting post on N scale weights.

Changing couplers, wheels and weighing your rolling stock may seem like a bit of faff, but I suspect it’s the difference between a smooth running layout and a derailing one.

Please do leave a comment on this one, would love to know what you all think:

“Cheer’s Al, from Dean in New Mexico.

As anyone who follows the progress on my layouts may have guessed, I tend to be cheap, buying low priced cars, then fixing them up.

All my freight cars were bought in two parts: a Bachmann train set (the Bachmann “Golden Spike” set with two engines, four cars, track and a DCC controller—no longer available) and two sets of multiple freight cars from overstocked dealers.

I’m not a prototypical modeler and the only visitors to my trains are grandchildren who don’t care how they look, just how fast they run.

But with the low-priced freight cars, I’ve had lots of trouble keeping the rolling stock on the tracks. It was more a question of seeing which set of cars could make up a train that could make it around the layout without derailing.

I decided to do something about it and to tune up my freight cars.

The first thing was to use a consistent set of couples and wheel sets.

Here is a photo of some of the couplers and wheelsets that were on the cars. As you can see, they are all different and some don’t even couple consistently.

Although I prefer metal wheels, they tend to bump over turnouts, so I’ll stick to plastic wheels for now.

model railroad couplers

Here are the couplers and wheel sets, bought from China, that I’m standardizing on. They come in a box of a dozen sets which for around $15 can be purchased on eBay (search for “N Scale 1:160 Roller bearing Truck Coupler 33″ Plastic Wheels”). I’m with time converting all my stock to this wheel set.

N scale plastic couplers

Next, I correctly added weights to my cars. The NMRA (National Model Railroad Association) sets the standard weight of an N-scale car at 0.5 oz plus 0.15 oz for each inch of car length. Here is a table with the results for various car lengths from 2.5” to 5”

n scale weight table

I bought a small digital scale (from Amazon) and started to weigh my cars.

A 50-ft boxcar weighed 0.56 oz; it should have been 1.06 oz. This is typical of all my cars, way underweight. I’m mostly using ¼-20 nuts as weights. This car took five nuts to increase its weight to the correct value. The nuts are attached with a few drops of super glue.

N scale nuts for weights

When done, the car was actually right on.

n scale weights

I don’t recommend buying tin-lead solder now, as it’s much more expensive than in the older days, but, if you have a roll of solder in your toolbox, you can melt a blob of it until you get the correct weight.

N scale solder

The same number of ¼-20 nuts was needed for a 40-ft boxcar, coming in close to the recommended value.

n scale weights


My set of open gondolas each took four ¼-20 nuts. I attached them with super glue to pieces of cardstock so that I could remove them if needed.

n scale weights

The long tanker is a problem. It’s grossly under weight (0.4 oz rather than 0.99 oz). Any place I put it on a train other than the rear car would lead to derailment.

Other modelers have suggested that you can snap the bottom of the tank apart from the top to add weight, but I haven’t been able to do that.

I’m trying to come up with some kind of liquid that I could squirt into the car then allow it to set up—maybe liquid epoxy. Any ideas from readers would be appreciated.

N scale weights

The caboose needs one more nut to make the correct weight.

N scale weights

For more information on my techniques and for some shots of running trains with the tuned-up cars, see


Thanks, Al, for all you do and thanks to my viewers! I appreciate all the support.

Dean”

A big thanks to Dean for sharing his N scale weights and wheels info.

Please do leave a comment if you can help Dean with his adding weight with a liquid.

Hope you enjoyed Bill’s pics and vid – he really is the gift that keeps giving.

That’s all today folks.

And if you’d like to feel the warm glow of supporting the blog, the Beginner’s Guide is here.

Best

Al

PS More HO scale train layouts here if that’s your thing.


Need buildings for your layout? Have a look at the Silly Discount bundle.