Dale’s been in touch and added to the N scale train layout plans on the blog.
I really do enjoy the posts where you can see the layout from the very start:
“After having an HO layout as a kid, I decided that, at 68 years old, it was time to have another one.
This time, due to space limitations, I had to go with N scale.
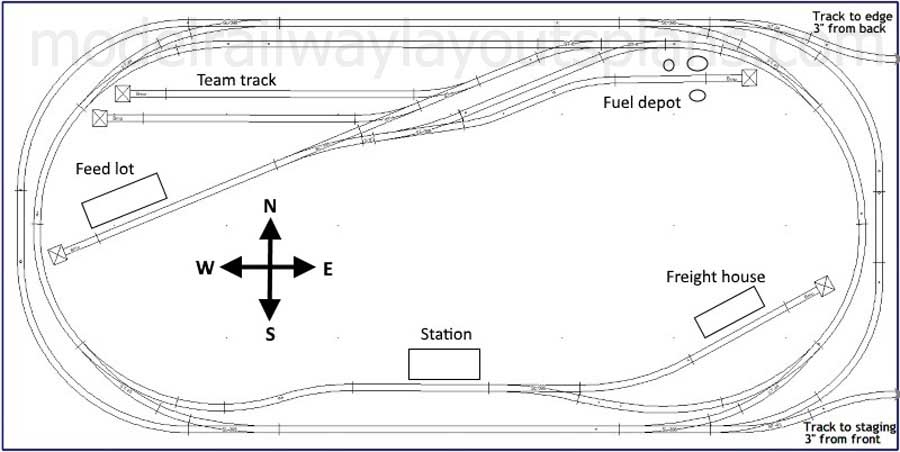
My design considerations were 1) that I would be able to sit back and just watch trains run if I wanted, or 2) have a hands-on “operating” session if I wanted. The first consideration mandated a closed loop; the second mandated rail-served businesses with sidings and a team track.
The following track plan gave me what I needed.
The second major design decision was era and locale.
Era was easy since the limited space required tight radius curves. Thus, a time frame of the 1950-1970s was indicated, where locomotives were diesel and relatively short. I went with an EMD GP7 and an F7a. Rolling stock had to be no more than 60 feet long.
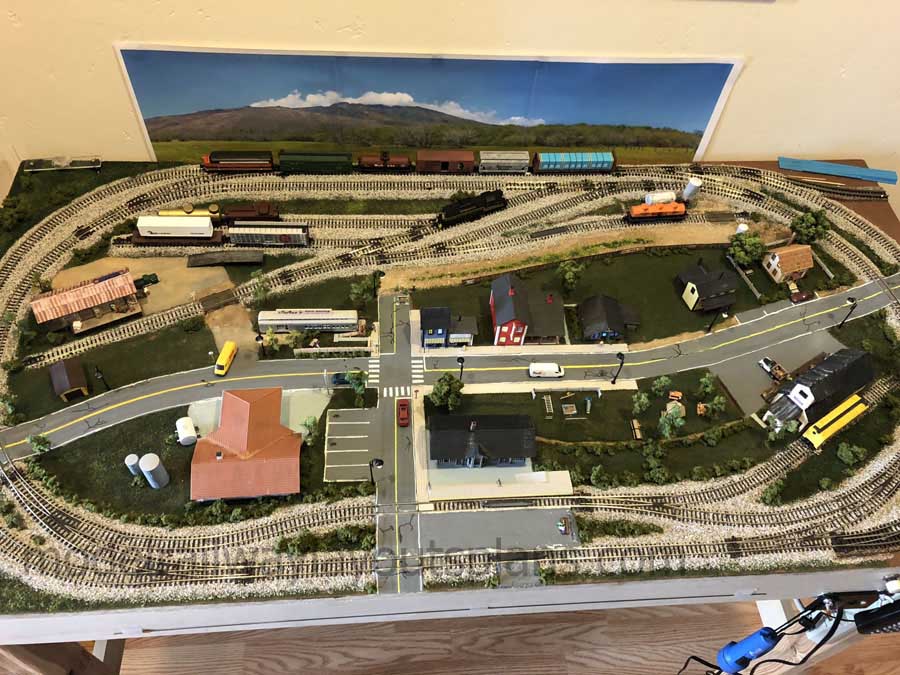
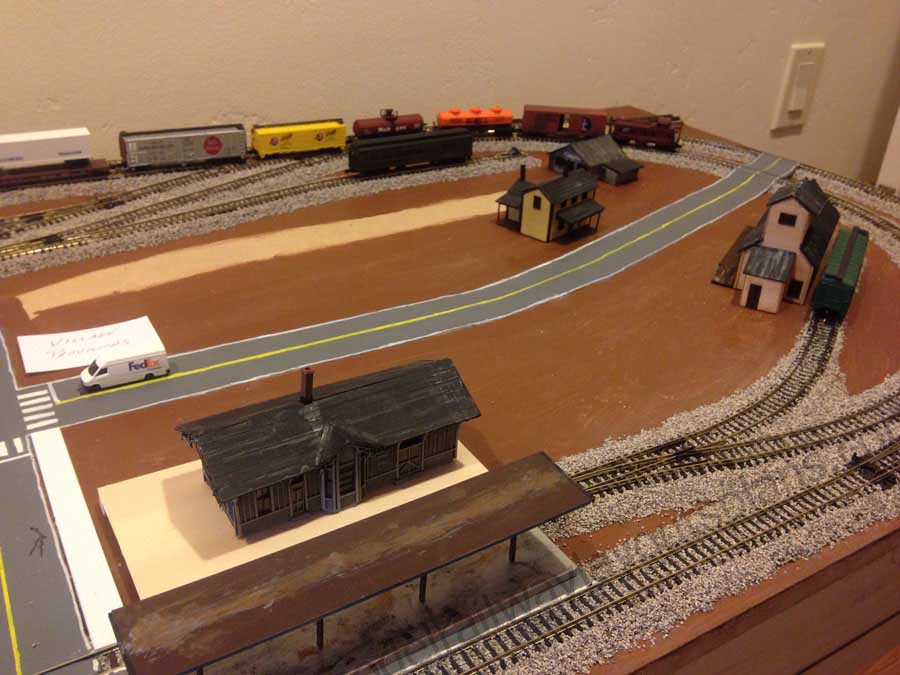
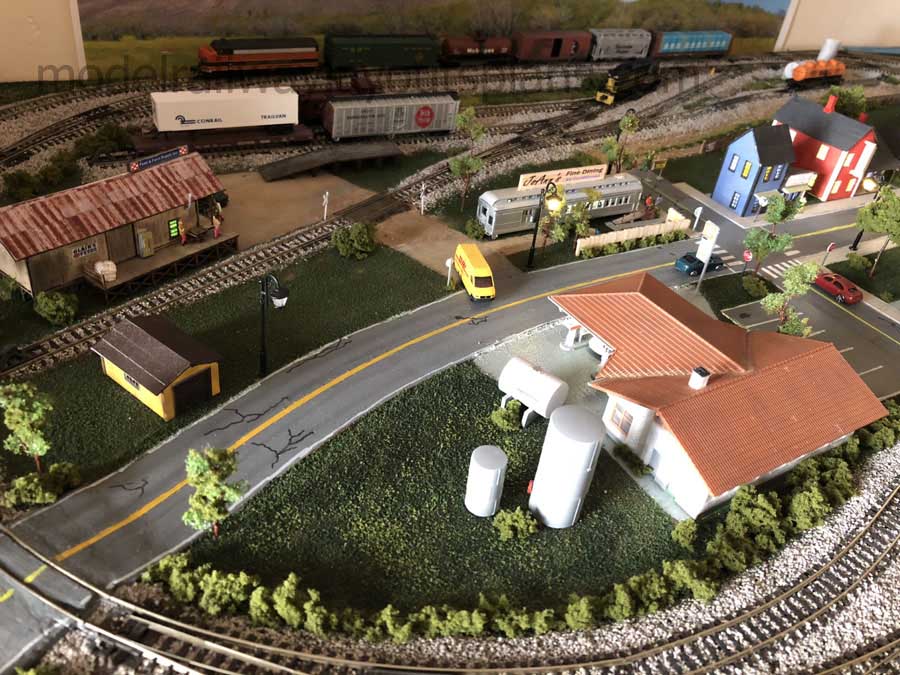
Locale was a bit harder to decide until I started thinking about the operation aspect. I set the scene as an area in a small town, not the center of town but somewhere on the edge of town. Since it depicts an area no more than a mile or so east to west, I kept to flat terrain.
There are two spurs at the east end where a staging yard or connection to an expansion can be done but I haven’t decided if I will build them.
The only way to get what I wanted in the space I had was to model in N scale. The layout measures 2 feet by 4 feet.
Build details:
The layout is on a piece of 3/8 inch MDF attached to a framework made from 1×3 lumber. The height is 42 inches. This height is right for me to operate the layout while standing (and high enough to keep my lazy cat from jumping up on it.)
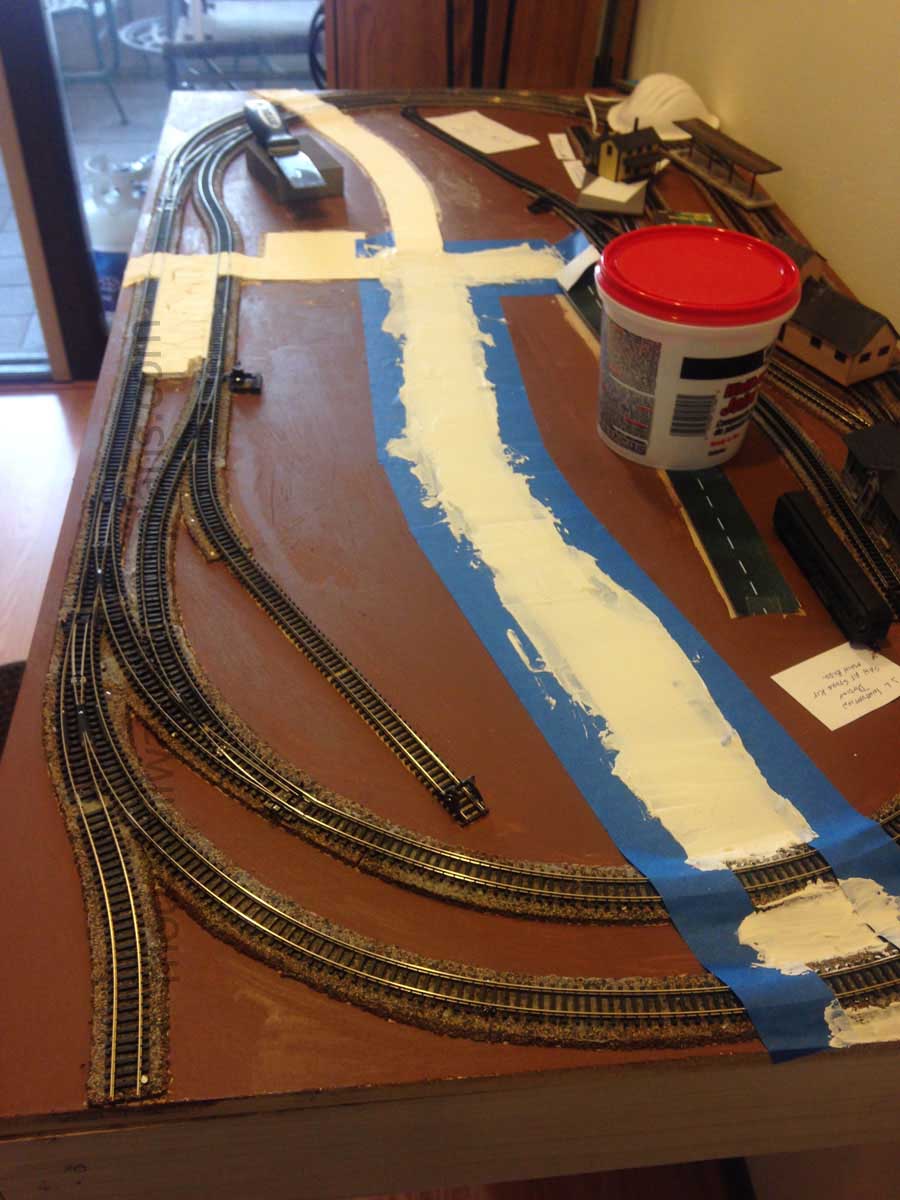
The track is a combination of code 80 Atlas flex track and Peco turnouts on N scale cork roadbed. The sidings to the businesses are sloped so that the track at the business is at ground level. The tightest radius on the layout is just under 8 inches.
Wiring is 14 gauge for the DCC bus to the track with feeders every 24 inches. For the LED lighting in the buildings and the street lights I used 18 gauge stranded wire. All wiring is color coded so I can tell easily what lines are for what purpose.
Taking my time, the layout took about a year to build. Or, more correctly, I took about a year to build it. I wanted to go slowly and get it right, especially the trackwork. I had to take up and replace two of the Peco curved turnouts because the original ones kept causing derailments and I finally got tired of trying adjustments. Once replaced, both worked fine without fiddling with alignments.
Operations – Running trains
As I mentioned earlier, the layout is designed for two styles of running. Sometimes I just want to sit back and watch the trains run. For this, I will have one train running westbound (clockwise) on the inner loop and one eastbound (counter-clockwise) on the outer loop. I often do this when I’m thinking about some other problem or deciding on what to do next.
Although there is a station, there is no passenger service. With the tight radius required, passenger cars are just too long, or too old style for the era, to look good on the curves, so the station is pretty much abandoned.
Operations: Operating session
Even for such a small layout there is sufficient challenge for operating it as a railroad. Here’s how my imagination guides it.
The outer loop becomes an inter-city mainline and is not part of the local scene unless the manifest train on it needs to pick up or drop off cars. Pick-ups and drop-offs are done on the back part of the inner loop. Once that is done, the manifest is constantly in motion around the outer loop but is “seen” as going to or coming from somewhere off site. Since the outer loop is not “really there” it can’t be used in the switching of cars for the local businesses.
I looked through a lot of N scale train layout plans to find what I wanted.
So, an operating session, which may take anything from 10 to 30 minutes, starts out by the switcher picking up the cars that are due to be routed out the next time the manifest hits town and staging them on the back of the inner loop. When the manifest, headed up by the EMD F7a, has arrived, dropped off the cars tagged for the town, picked up its new batch and departed, the EMD GP7 switcher has to do its job of delivering the cars to the appropriate business or to the holding track.
To keep things interesting, (remember, you can’t use the outer track) the siding to the Feed and Seed at the west end of the layout can only hold the locomotive and one car and still clear the turnout.
The run-around there can only hold one car and the locomotive and still clear the turnouts at each end. The distance between the points leading to the fuel depot and the Feed and Seed can hold the loco and two cars. All this together means that care must be taken to move the cars so that the loco can be at the proper end of the car it needs to spot.
A car may be at a business or on the holding or team track for no less than one and no more than three operating sessions. Plus, some cars may be routed to either the Feed and Seed or the freight warehouse, depending on what I think it’s carrying. Other cars will never be sent to the Feed and Seed since their contents make no sense there. And, of course, tank cars only go to the fuel depot or the holding track.
N scale train layout plans:
Lastly, just for fun:
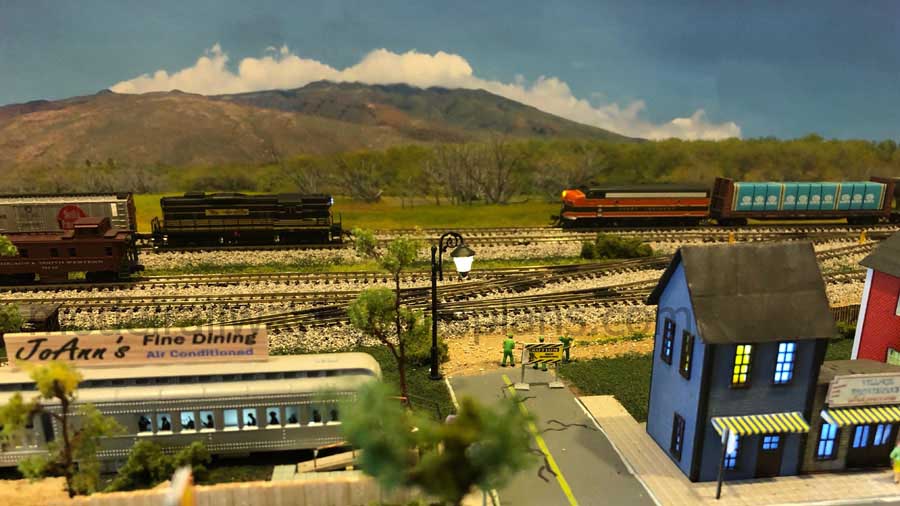
I printed out a three-page wide backdrop and taped it to the wall behind the layout.
Dale”
I love what Dale has done, there are lots of N scale train layout plans on the site now, here are some that spring to mind:
Lots more N scale layouts here.
Rob’s N scale also springs to mind because of the stunning detail:
London underground model trains (N scale).
Now on to Dave:
Hi Alistair… just uploaded this video, showing two different ways to add lights to a coach on the layout, also adding people, then I show the CMX track clear at work, and how it works, and of course finish off with a bit of a running session
Dave”
Brand spanking new ebay cheat sheet here.
A huge thank you to Dave and especially to Dale for adding to the N scale train layout plans on the blog.
Really liked Dale’s narrative – so many folk overlook a theme / locale / era – and they are so important to breath life in to a layout.
That’s all this time, folks.
Don’t forget the Beginner’s Guide if you want to stop dreaming and start doing.
Best
Al
PS More N scale layouts here if that’s your thing.
Need buildings for your layout? Have a look at the Silly Discount bundle.
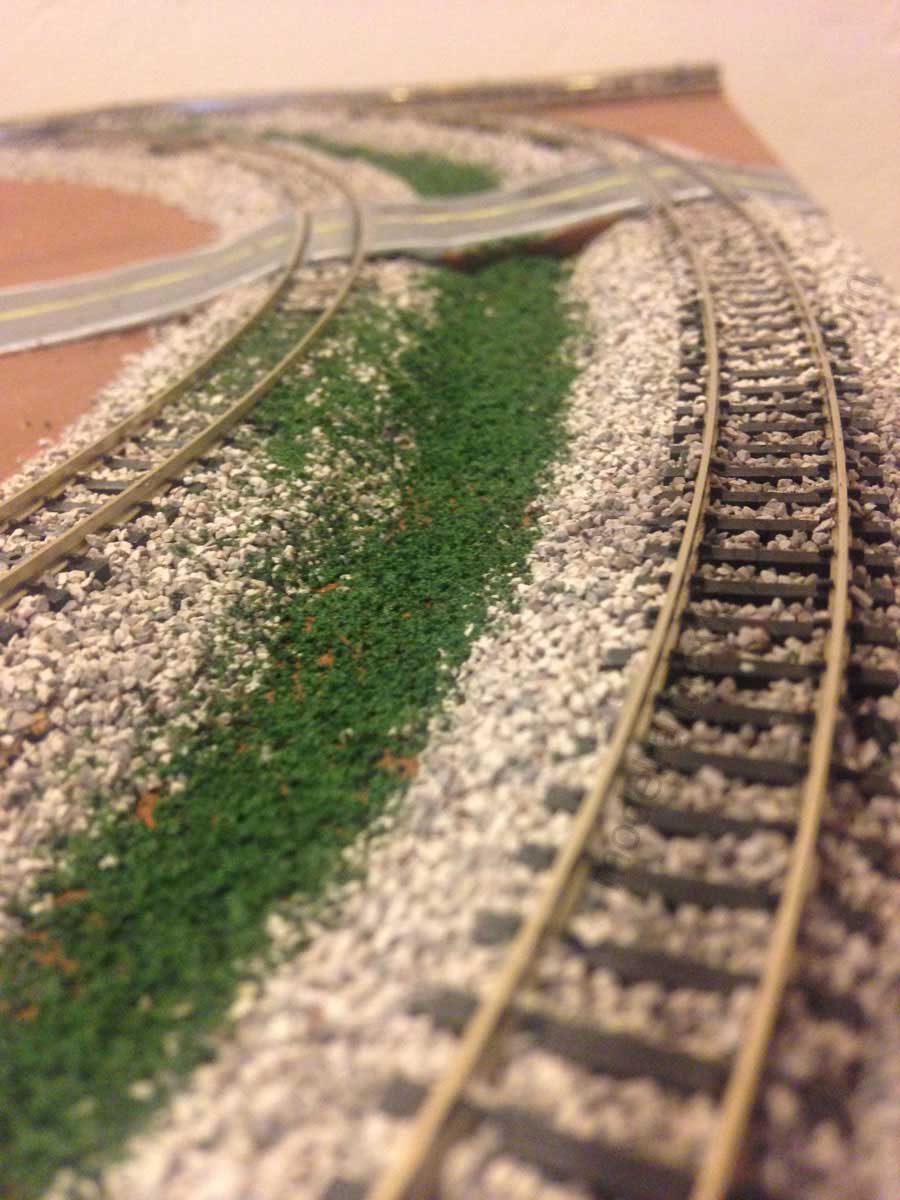
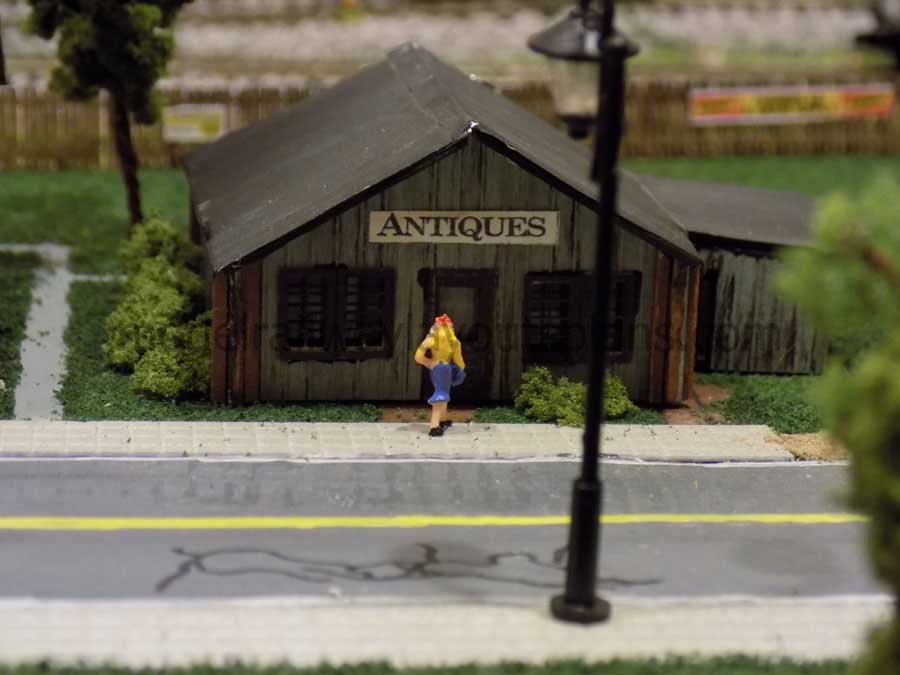
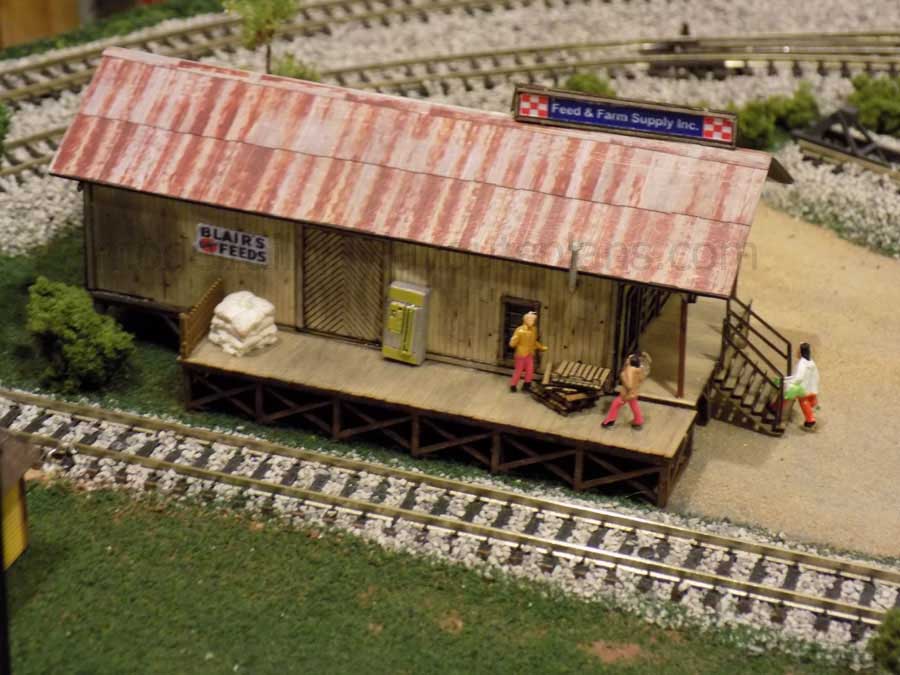
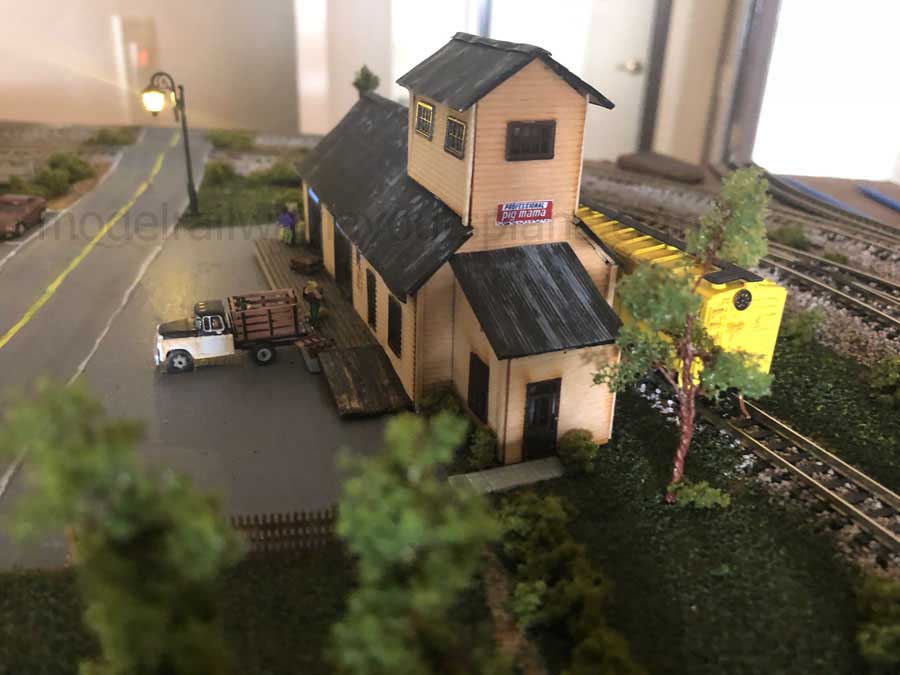
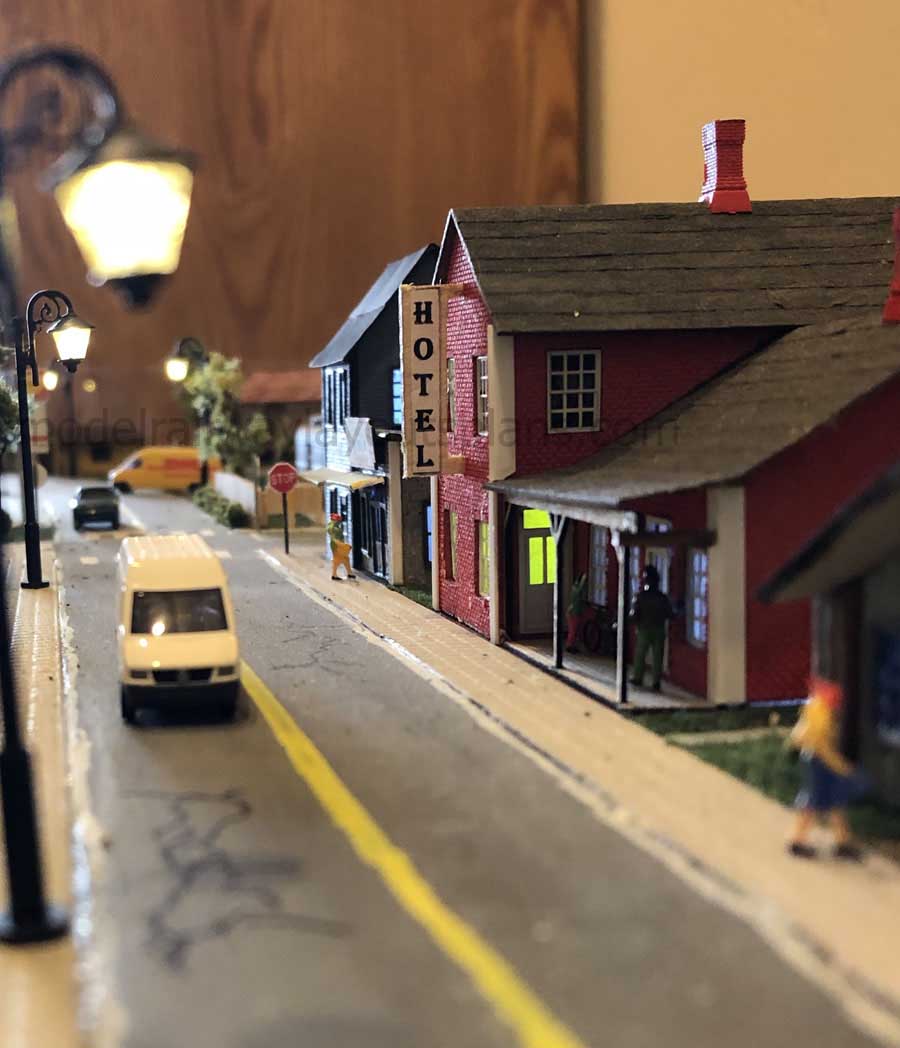
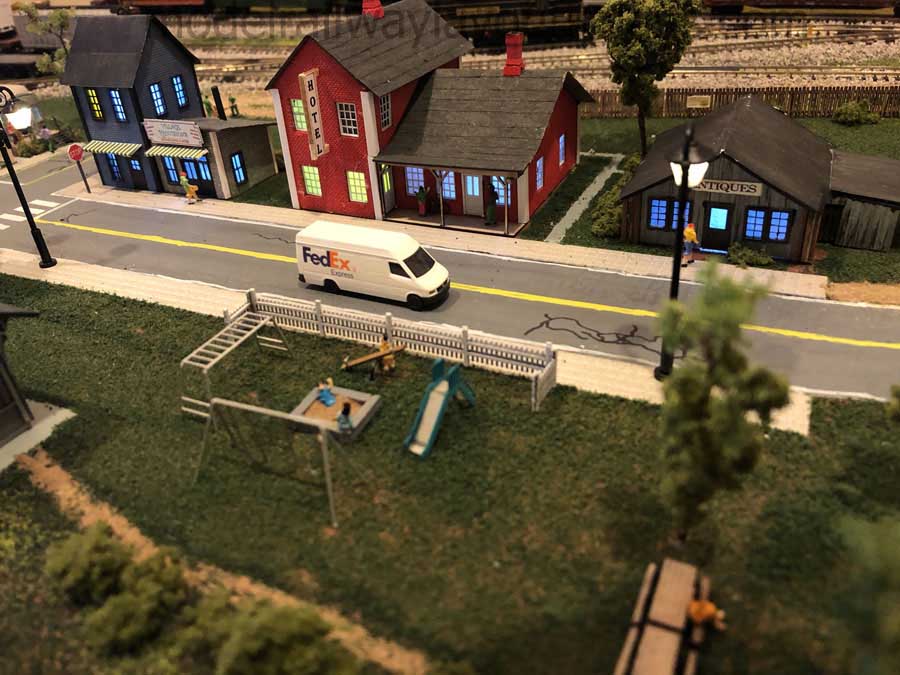
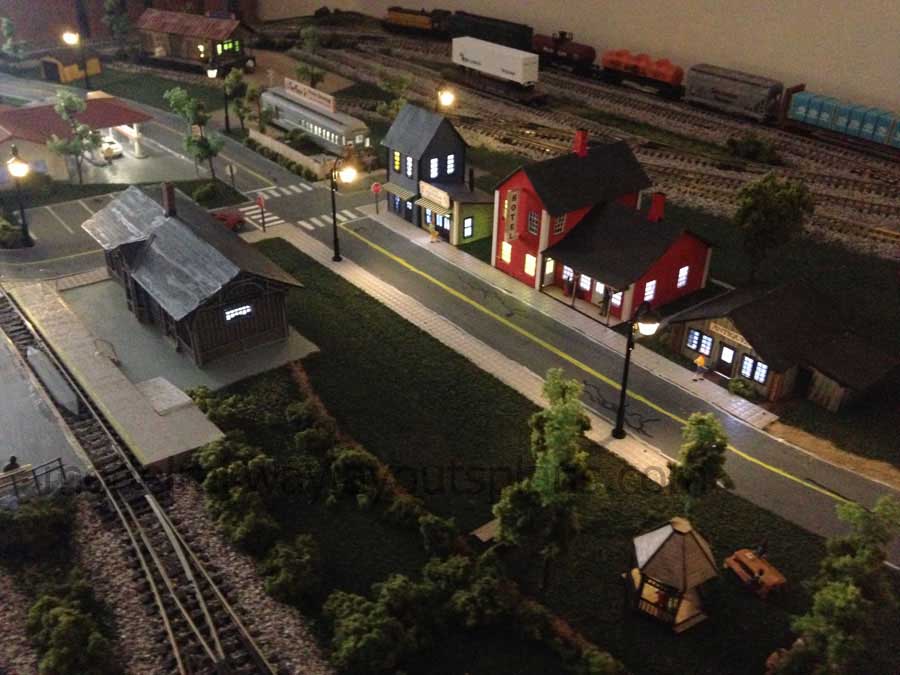
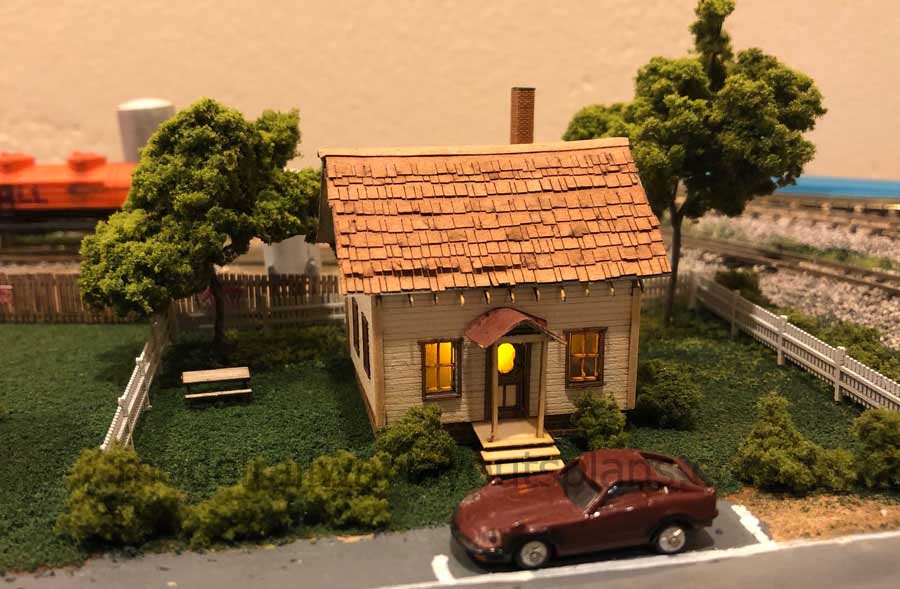

Dale, very nice layout with excellent detail. Love the operations you have on such a small layout. Keep up the good work. Brian 🇿🇦
Dale…
Your layout is excellent…
Well themed and conceived…
One small issue…
The vehicles on your roads seem to be a wee tad new….
Our of era so to speak..
Other than that little issue… Excellent, Excellent, Excellent!
Good narrative also..
John
Dave, you may be able to reduce the brightness of the cheap lighting by adding a dropping resistor. It would not be very high in value as you are only at 3 volts but you could experiment? There is a formulae for this and I have a sneaky suspicion that there is an App for the smart phone that does all the thinking for you!
Pete
Nice layout Dale. Also thanks for the great lighting and figure tips Dave.
Cary B
Well I must say Loved when the stubborn little people wouldn’t sit for you and kept falling like they were in a slumber lol. Oh and the glue oozing out the tube while fighting with the passengers.Dave this happens to all of us from time to time and made it amusing and enjoyable. As I’ve said love your rail road and can’t wait for The next episode.
Dale,
I love your layout. I’m also space challenged and this one has given me some thought. If you can find the space I suggest trying to fit in an Inglenook style switching puzzle. I am currently planning a 12″ x 36″ Inglenook in N scale on a piece of shelving with the provision to fit in to an expanded layout later. As for passenger service think about a single Budd RDC2 car for your layout.
Pete S.
Dale, thanks for sharing. I’ve been out of model railroading for many, many years, mostly because of lack of time, but also lack of space. Several years ago, my wife and son bought me some N scale stuff, but it’s taken me until recently to start looking into it with anything more than idle interest. Your layout is inspiring, and I appreciate the detailed narrative … you’ve done a lot in a very small space! Regards. Greg
What a great little layout! Great job!
Great layout Dale, enjoyed your post and pics very much. Thanks for sharing.
Cary in KY
Dale, Your layout brings fond memories of my own first layout, also a 2 x 4. I ran an old timer passenger excursion train, using the very short passenger cars, to an amusement park and a mine, both pictured on the backdrop. Maybe you could do something similar? Have fun. Use a sector plate as a staging yard.
If Dale’s Feed & Seed business has a grinding mill, an occasional tank car of molasses can be spotted there to mix with the farmer’s locally ground grains for horse or cattle feeds. That’s about the time portable mills on trucks started going onto the farm to do the work and saving the farmer time and handling.
Dale, you have reignited my train fever. Had HO layouts as a kid, a 4X8 board up in garage rafters, boxes of HO trains and accessories. Yours is 2×4 in N scale so looks like an easy scale-up. Travelled Rte 66 a few yrs ago, wondered how to to apply to a layout. Yours is the answer: little old downtown with highway for main drag, sidings for lumber yard and warehouse, maybe hill/ridge along back or corner (instead of staging track), and a panoramic backdrop (Monument Valley? not Rte 66 but this is all fantasy anyway.) Will give the grandkids something to do between video games and sports. Thanks for the ideas!
Dave, there are a couple of apps available. I downloaded one, and for a 3 volt power source, LED’s in parallel, (yours looked like they were) and four led’s, it saidsuggested a 12 ohm resistor. I would try a quarter Watt one. If the lightgs were still too bright, use a higher value resistor.
I used dcc power for mine (about15v) and to get that “yellow light look” I use 5k ohm resistors. Seems to work OK. I use diodes as well to sort out the at voltage etc.
Pete
That is a very tidy and enjoyable layout to look out Dale. I really like the concept of just watching the trains and or shunting. Very well planned and I am new to model railroading so a lot of your concepts I can use on my next layout.Thanks for sharing. great video Dave the battery light system is what my son is chasing thanks also for sharing. This site gives me so much pleasure thanks AL.
Hello Dave, some of those coach interiors will fit either way round, you have to make sure they go back in right, I think when you put the GW brake third back together you may find you have people sitting in the corridor (longer windows with the handrails painted inside) instead of the partitions meeting those extra uprights between the doors. You put me to shame though, most of mine have no lights and no people at all! Well done.
Rod
Thank you all for your comments regarding the coach lighting , yes shall have to add a resistor to that one , not sure as will do any more with that method, not enough room on most coaches for the battery holder under the chassis , and to make it better you need to add a switch , again very short of room , so although the TT lights are very expensive , will stick with those , may try another method
..if I find on that is easy and cheap ..I will post a video showing it …Dangerous Dave
Dale my friend you have done a terrific job with your platform! I am jealous because I have been disabled for 3 years now and I have a huge N gage supply but I am currently unable to put it together. Maybe you can can come over and help me out! Frank
nice layout. bigger is not always better. in my case I have 300 sq. ft of h.o. to dela with. i’m 72 and it is getting a little much.
Dale, i was very impressed with your planning , narrative and layout. Great job and so much in such a small space. I am having to move my layout and will start overt fresh. I make us some of your ideas for track work and layout. Thanks for sharing.
To Wayne Irwin, I have 361 sq ft and I hear what you are saying. I’m 88 years old
Dave some of the comments above about your small layout. BOY I wish I had a layout your size. GREAT stuff as usual, thanks Dave. Hope to be riding some of your British rail next again. Did London to Oxford and of cause the Chunnel to Paris twice. TGV is my favorite, and the ICE in Germany also.
Hi Dale,, Great Little N Scale Layout… Very Well Detailed. Regarding your lack of Passenger service cause the Cars are Too long.. How about using a RDC Self propelled passenger car? Or one of those shorter Gas Electric Cars? You could have it parked at a siding by the station when not in use. And run it around the layout on the main line, as if it travels between stations during the day or night shifts. Also, that Rail Road Crossing Hump is a big ungainly for traffic. Perhaps, you could build up the ground between the tracks where there are two crossings.. and have crossing gates and lights on either side. AND for DAVE: Great Idea with the putting passengers in the Coaches… as well as the battery powered lighting… the strip lights could also be used for building interior lights as well… Perhaps a Micro Slide switch can be placed in the underbelly of the Coaches in order to turn on or off the interior lights so you don’t run the batteries down? Same with building interior light set ups..The Tank Tracking Cleaning Car is Great… you can also Paint it with Enamel Paint and decal it as a special service tank car. That would allow it to blend in with the other tank cars. From Mike from Across the Pond, in N.H. U.S.A..
Dale,
I am so impressed with your N-scale layout. It’s hard to believe you got all that into just 2 x 4 feet! I like your track plan a lot — so much so I might try to duplicate it in HO scale with broader curves so I can run the long passenger cars. Only noticeable issue I saw was the gap under the roadway between the two tracks and your vans look a bit new for the 50’s to 70’s era. Your operating plan is excellent for such a small layout. Keep up the great work! I’d love to see a video of one of your operating sessions.
Dave,
AS always, your videos are great! And they a such a help to those of us who haven’t progressed to your skill level yet. I used your idea to add legless people to some of my passenger cars. Thanks again for sharing your videos and ideas.
Dale, you must have built a few layouts before – you seem to know what to plan for. Brilliant planning so consequently a brilliant layout. I like your double turnouts going to the feed lot. must help a lot with switching. Thanks for your thought process. My planning hasn’t been so thorough in the past so that’s going to help me a lot.
Wow that is Fantastic.
Hi Dale,
As Will in NM said about your layout, I also would like to build a layout like yours except in HO scale. I’m just starting out in HO and wonder if could help me get started by providing me with the track and switches necessary to build your layout in HO. I would greatly appreciate any advice you can provide. I have had track and some switches sitting in tote boxes for years collecting dust. I finally got the bug to do something but I want to make sure I’m going in the right direction. I have heard so many people making mistakes building layouts and then doing nothing after failing on getting their railroad started.
Dale
Fantastic layout. A lot of activity using a small spce. It’s obvious a lot of thoughts went into this layout.
Nice work!!
It was a 2×4 layout that got me back into the hobby several years ago. I had lots of fun with it. Also like his layout height. Makes it easier to get under for wiring. My current 6×12 layout is 43 inches high. Nice work!
very good detail. lots of work.
All good stuff. And another great video from Dave. Track cleaning is always a must but always time consuming.
Jim AZ
It’s always good to see what Dave has been up to, it can brighten up an otherwise bad day, at present I am having to upgrade the tender drive ringfield motor on my “English built” Hornby Queen Mary Princess Coronation us a ‘Strathpeffer Junction’ Kit.
I have them before, they use either 6v or 12v CD drive motors and diode volt dropper kits. Very reliable and good quality.
Enough about me, thanks again Al for your dedication in keeping your site running as it provides a place of tranquility and inspiration for all railway modellers everywhere.
Dale, fantastic arrangement and operations plan and very inspiring. I have a thought to share. Run a BUDD RDC to & from the station. Starting with the RDC departing the station going westbound (CW), it uses the crossover just south-west of the station to move onto the Inter-city mainline, then changes direction to travel eastward (CCW). At some point in time, the RDC enters one of the two sidings located at the east end of the layout, (perhaps being another station?).
Dale, I loved your layout and all the different railroading possibilities as well as all the different “setups”.
I wonder if there is a magnet operated switch that could be used to turn the cabin lights on or off. Touch the cab with a magnet or, better yet, mount a magnet under an overpass or an arm so that just running under it would activate the lighting. Much like a decoupler except above, not below the train.
Dale your track plan is almost identical to mine and gave me lots of ideas for buildings, scenery etc. as I have only laid the track so far. Fantastic layout with many possibilities, well done.
Dave never apologize for a long video, I could listen and watch your videos all day. Viewing your trains running is very relaxing, I’m always disappointed when they end.
I just bought
NO-OX-ID A-Special- Electrical Contact Grease- Keeps Metals Free of Rust and Corrosion- Part# 10203 by Storm Manufacturing $20 CDN Amazon, to use to clean the track and it leaves a slight film on the rail which makes better continuity and also prevents the rail from oxidizing which is the cause of the black gunk. Those that use it swear by it with lots of positive feedback, with some claiming that it keeps the trains running for over a year before it needs applying again. So I will try it, I’m at the stage where I’m making sure that the track work is problem free before moving on with the fun stuff.
Al, thank you for this newsletter and all the effort you put in it, I for one, appreciate the wealth of information and enjoyment you provide.