Old Taz has been back in touch with his way of making the model train water look so realistic.
He’s very kindly taken the time to answer your questions.
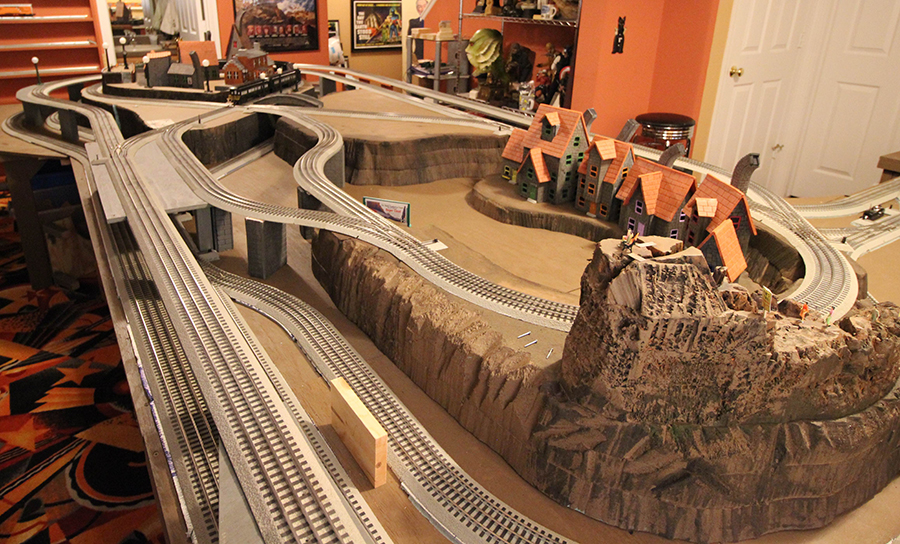
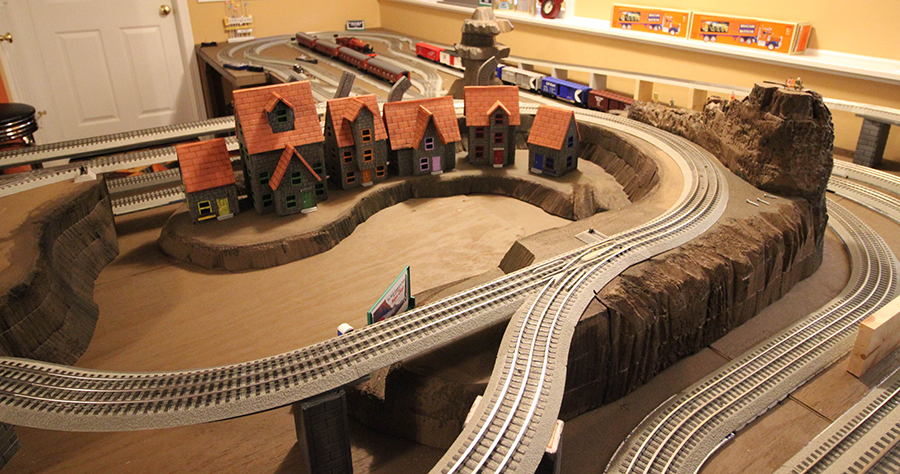
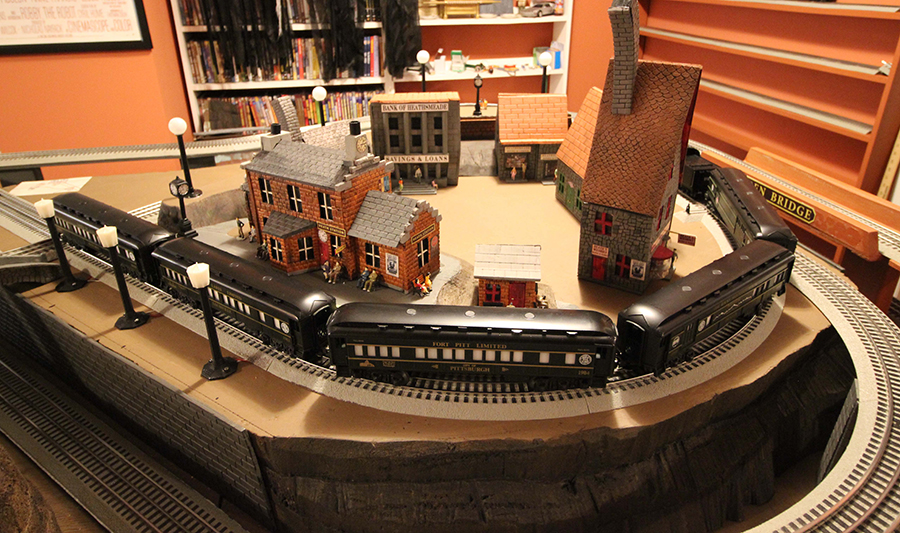
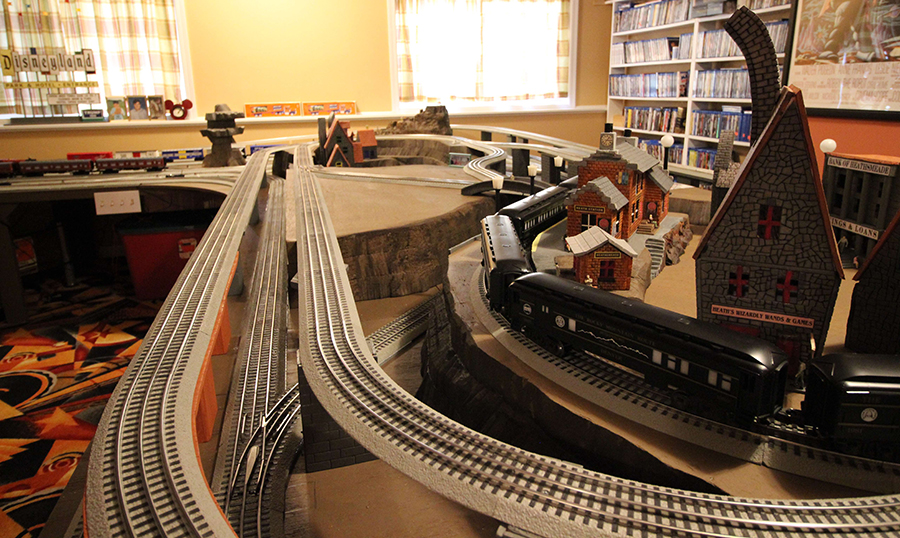
Have a look at his layout – which is here – that way his answers will make a lot more sense.

“A lot of questions popped up I will do my best to answer most of them. Let’s start with a hard one.
First: My spellchecker was in the wrong language, Sorry!
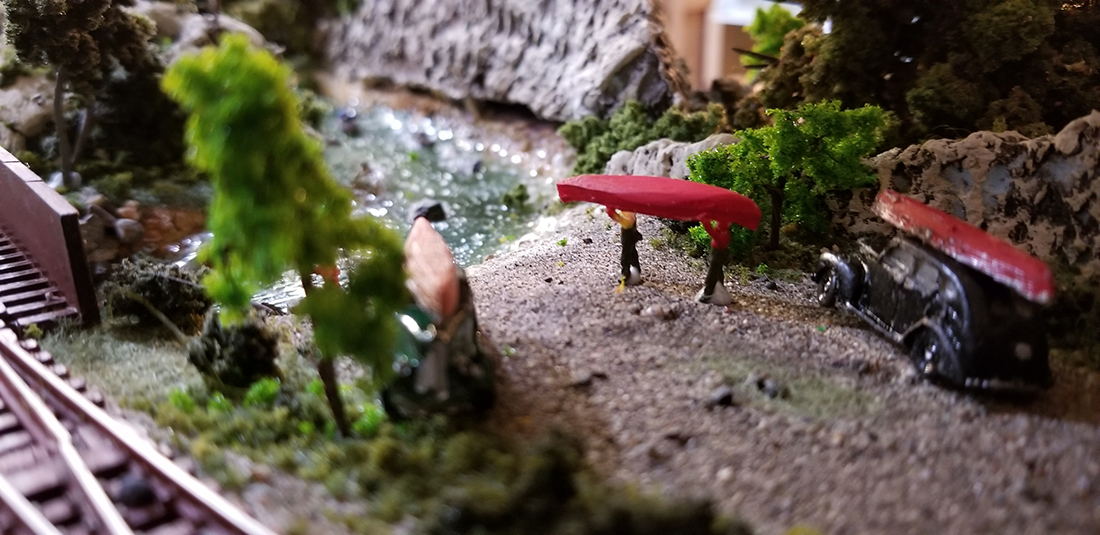
Now, as for the model train water. I lived on and fished on the Bighorn River for 18 years saw it almost every day.
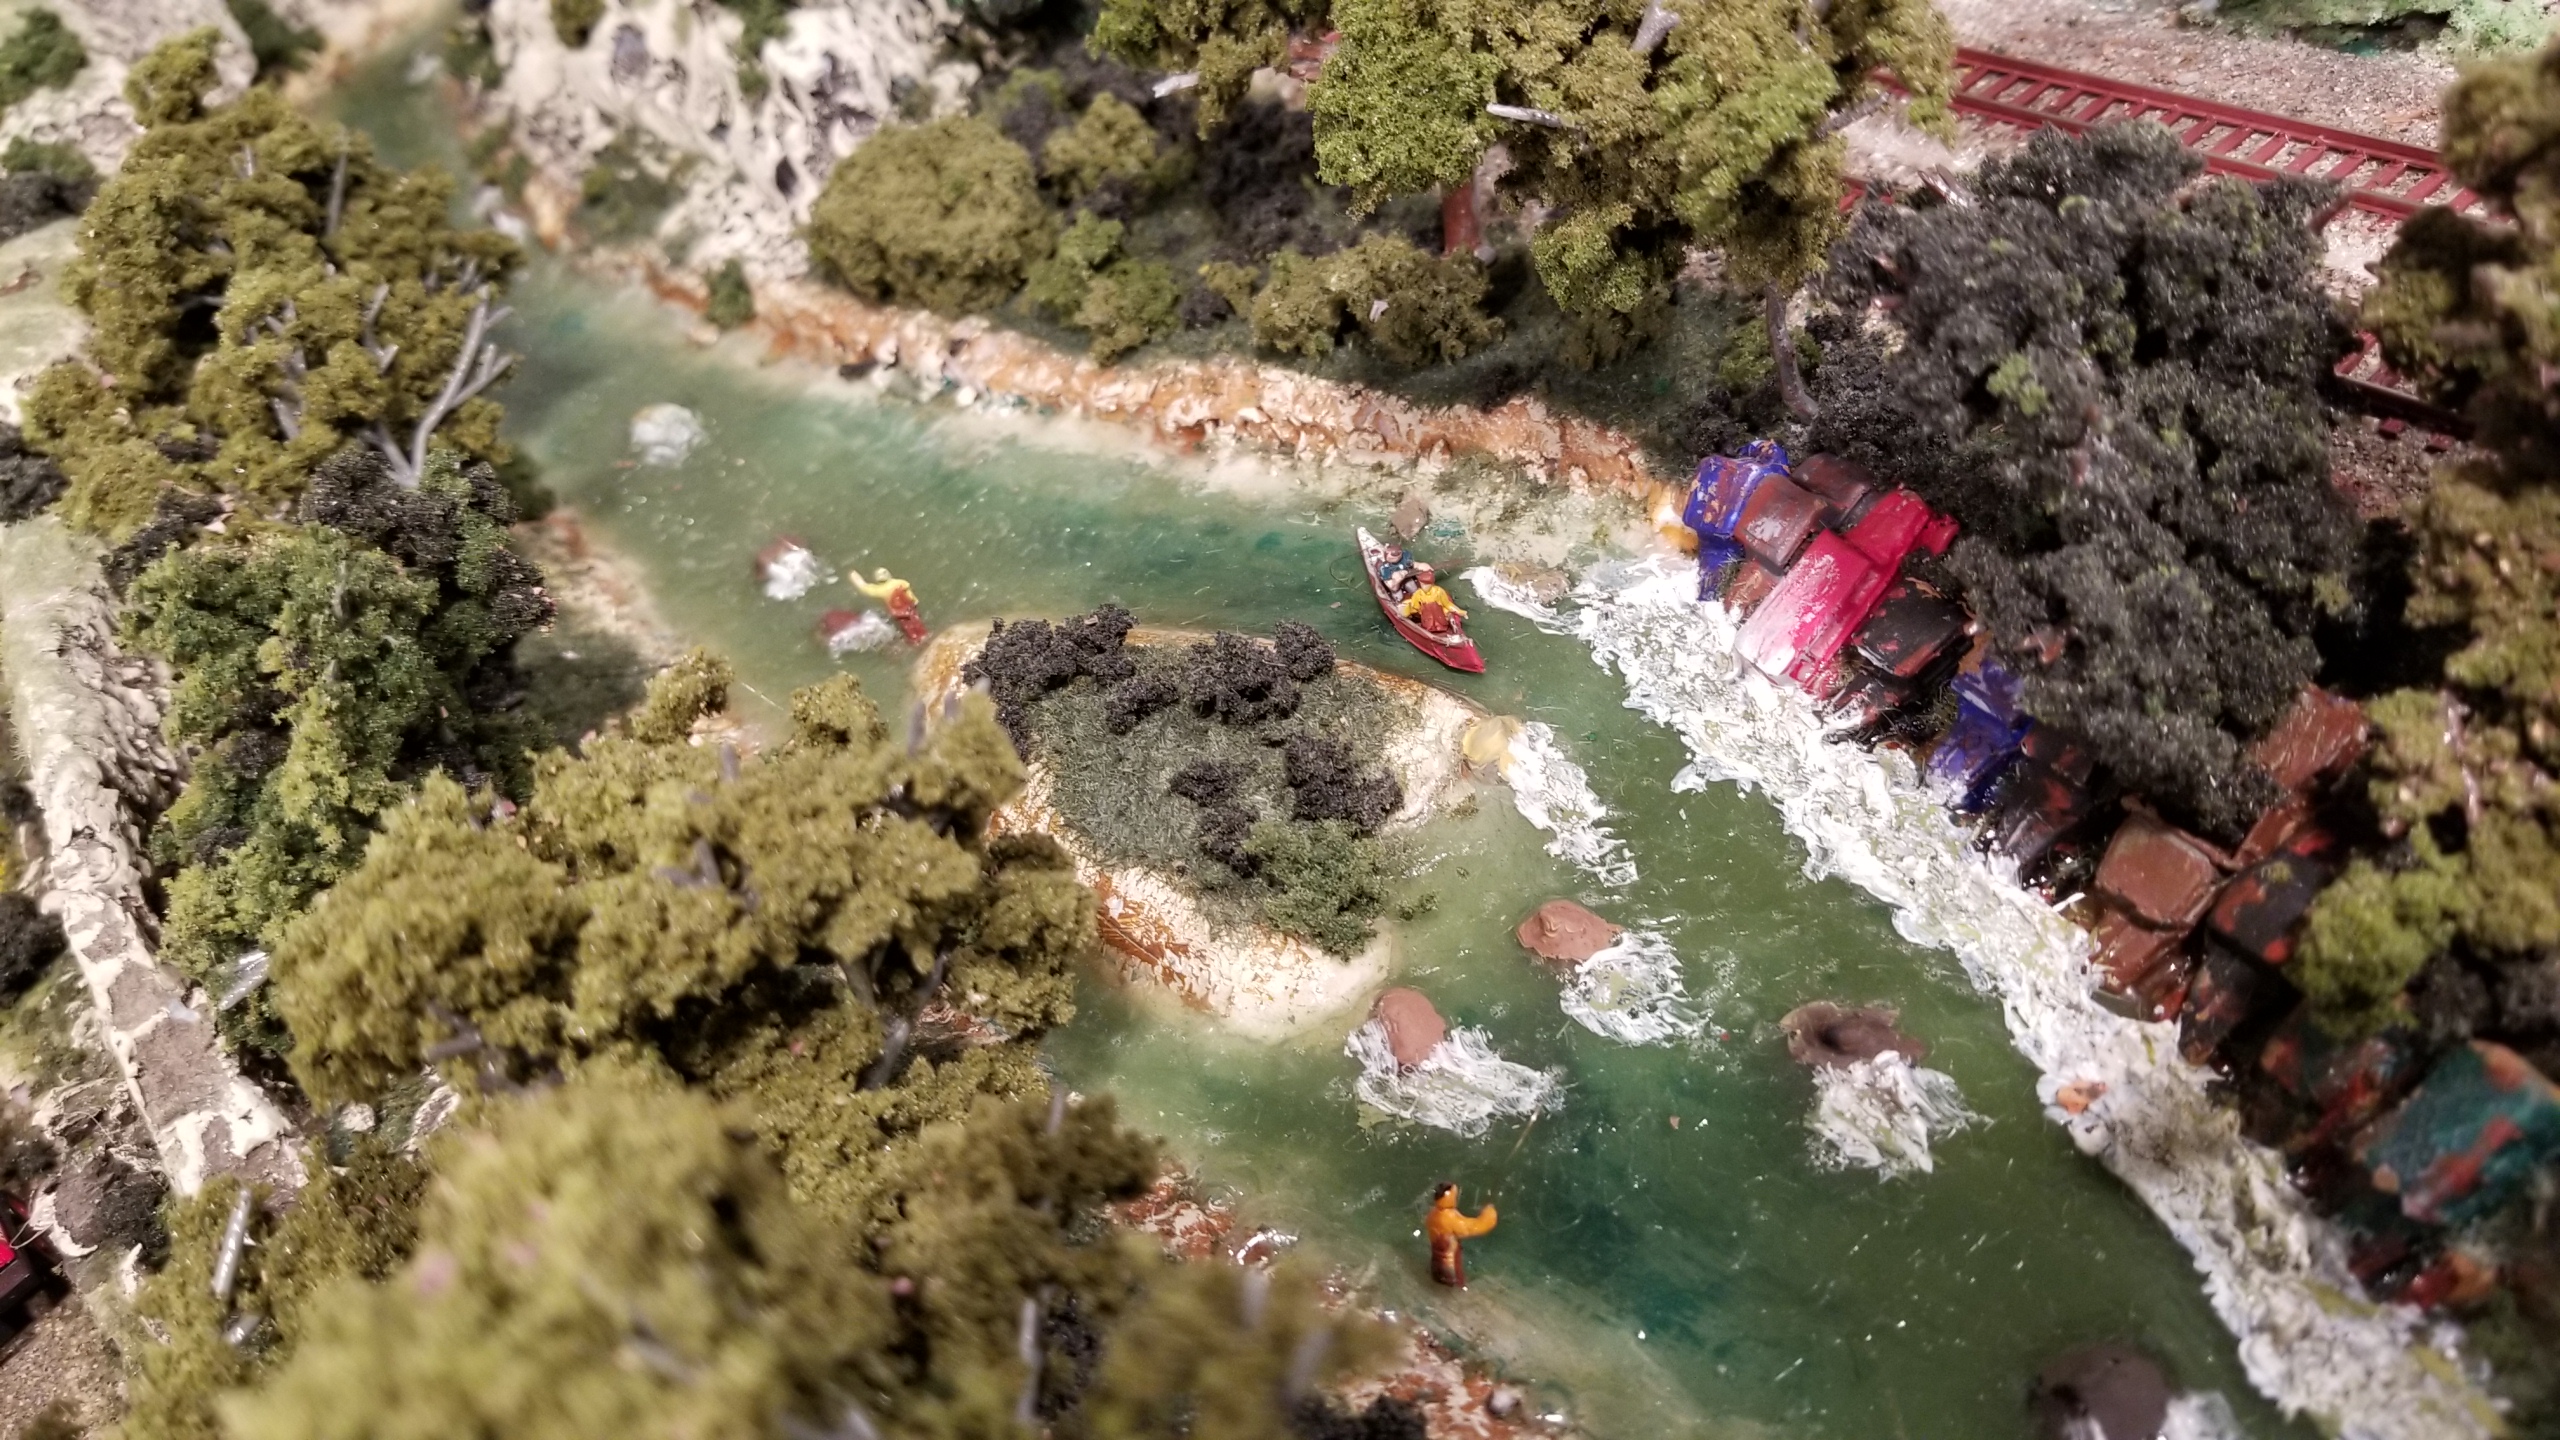
Like I said before, I like depth. I start with a color of the bottom of the river. Then pour a very thin coat of Realistic Water from Woodland Scenic. Let that dry and put other color that mimics the river moss (oil base flat). Then another thin layer of Realistic Water.
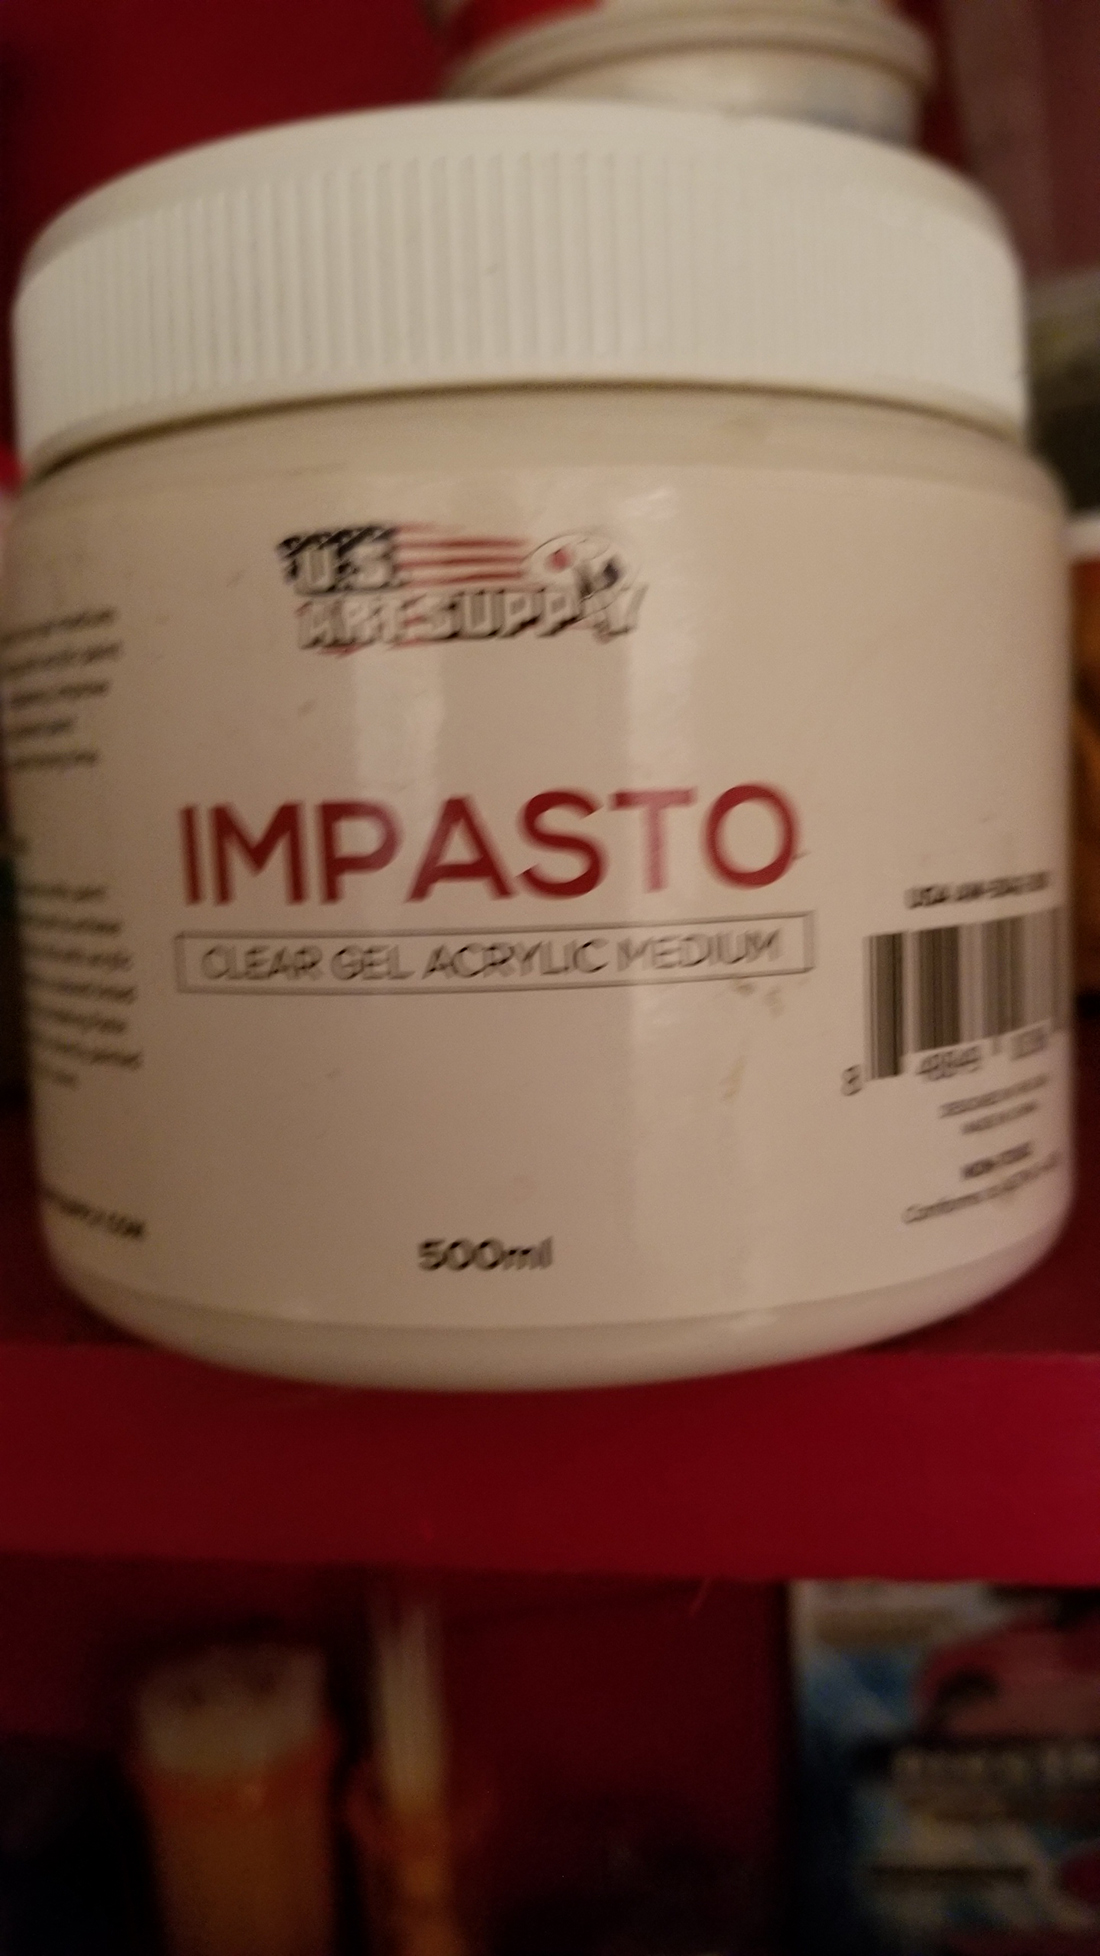
The last coat is tinted just ½ a shade. Let this dry. Then I use Impasto (clear gel acrylic medium). Stipple it on with the end of your brush. FIRST PRACTICE ON A PIECE OF GLASS. I used a 3/8 flat brush for that. Then a touch of flat white on the downstream side of the rocks, bushes and logs
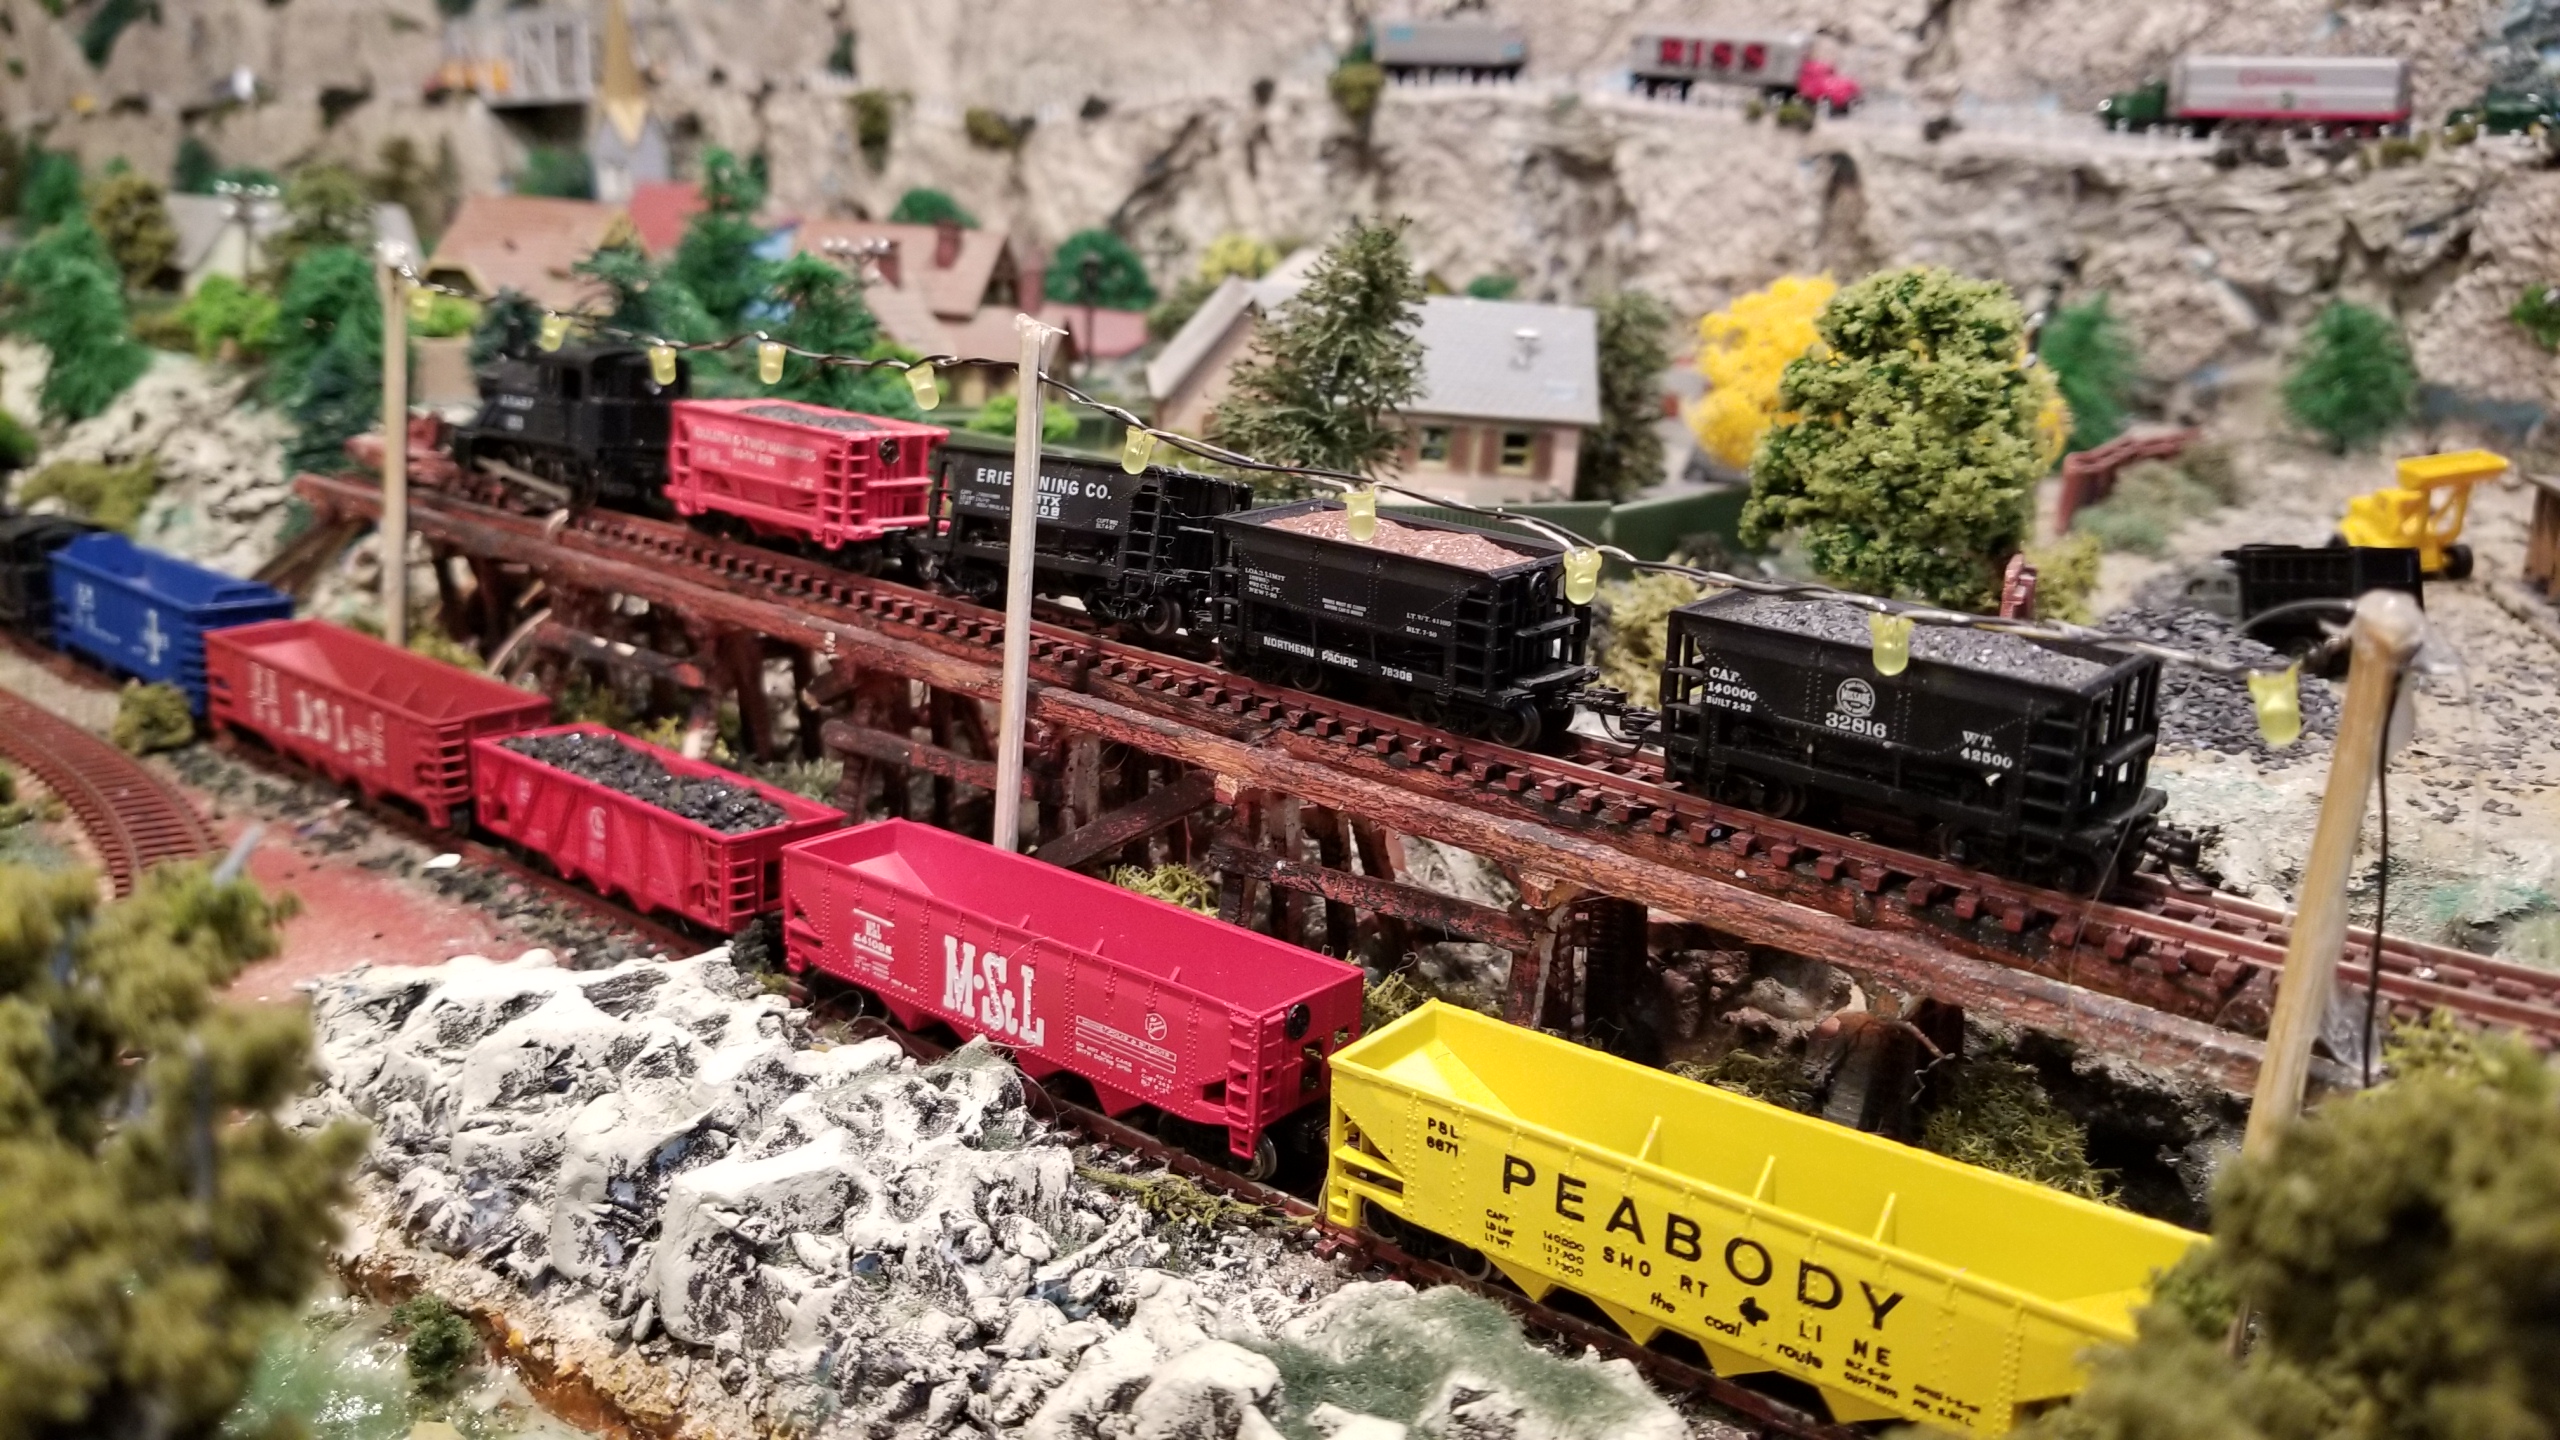
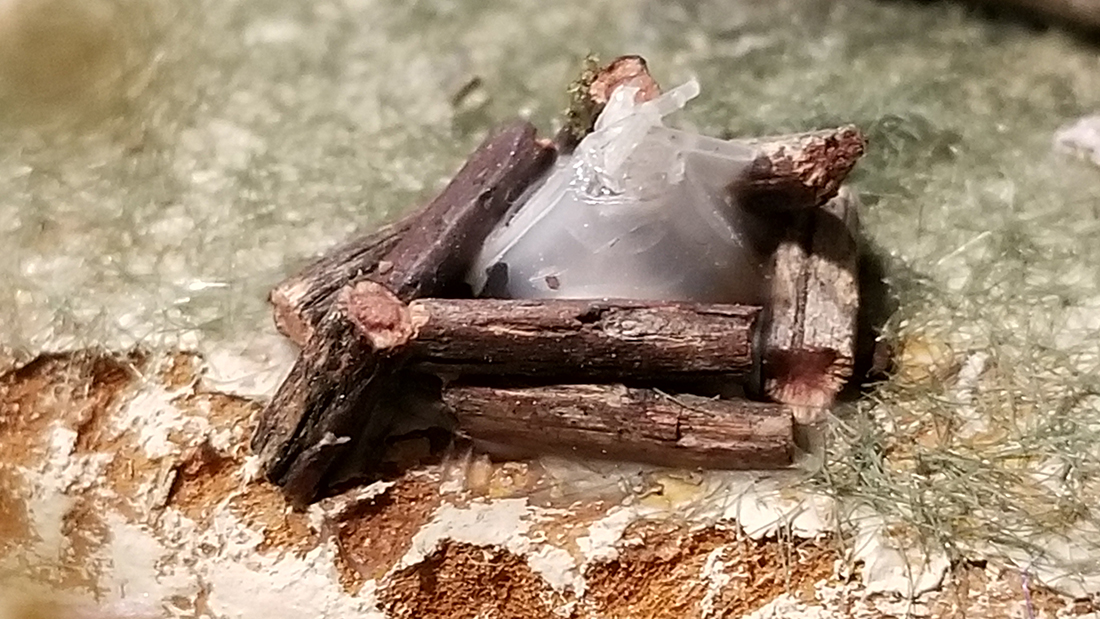
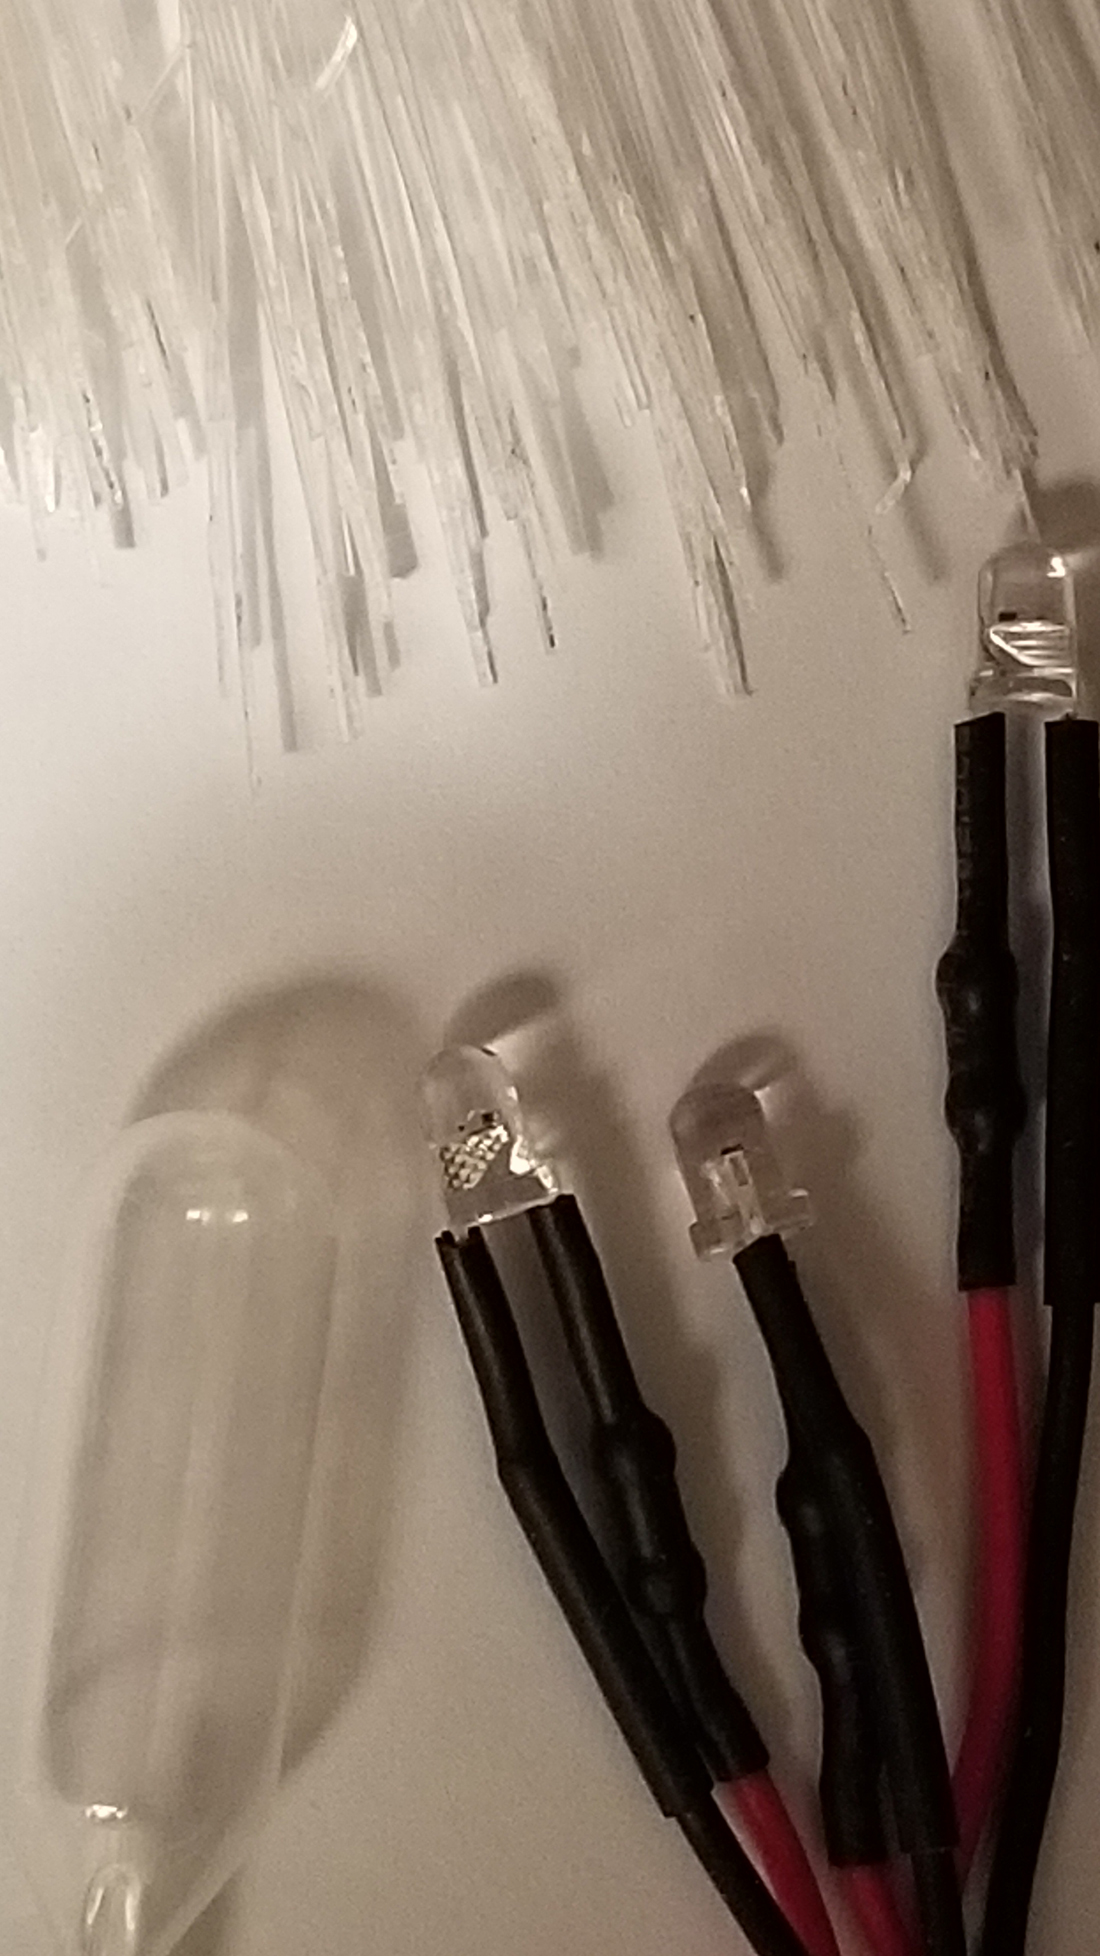
For the camp fires you need 2 yellow and 1 red blinking lights. The ones I use are 12 volt and the blinkers are built in. Wire them together to make sure there working.
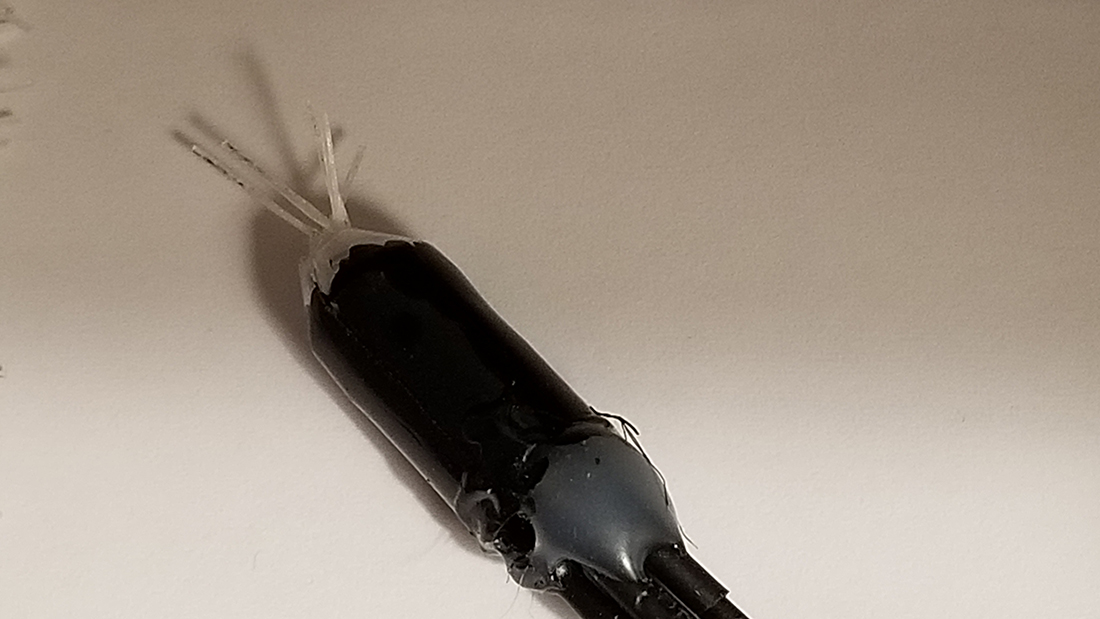
I hate to finish a project and find it doesn’t work. I’m always testing it as I am building it. The three lights go in a capsule. I used a top off of a clear eyedropper rand then a little hot glue to hold all together.
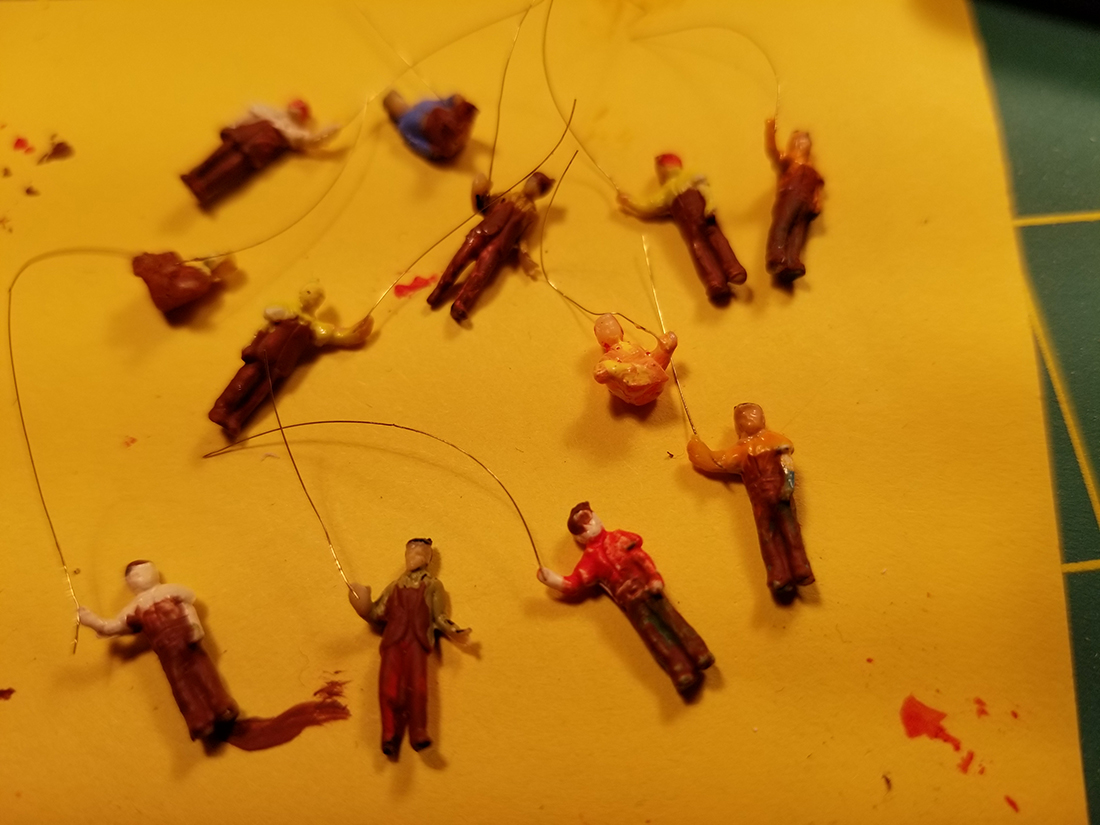
Some black paint to cover what you don’t want light to come through. Glue your micro light filament to the top. I only use four or five pieces of the filament. I had to buy a kid’s toy to get it. It’s expensive. I found that the rough end gives off more light. Look at the pictures.
I let the fishermen get in the water wherever they want after I cut their legs off.
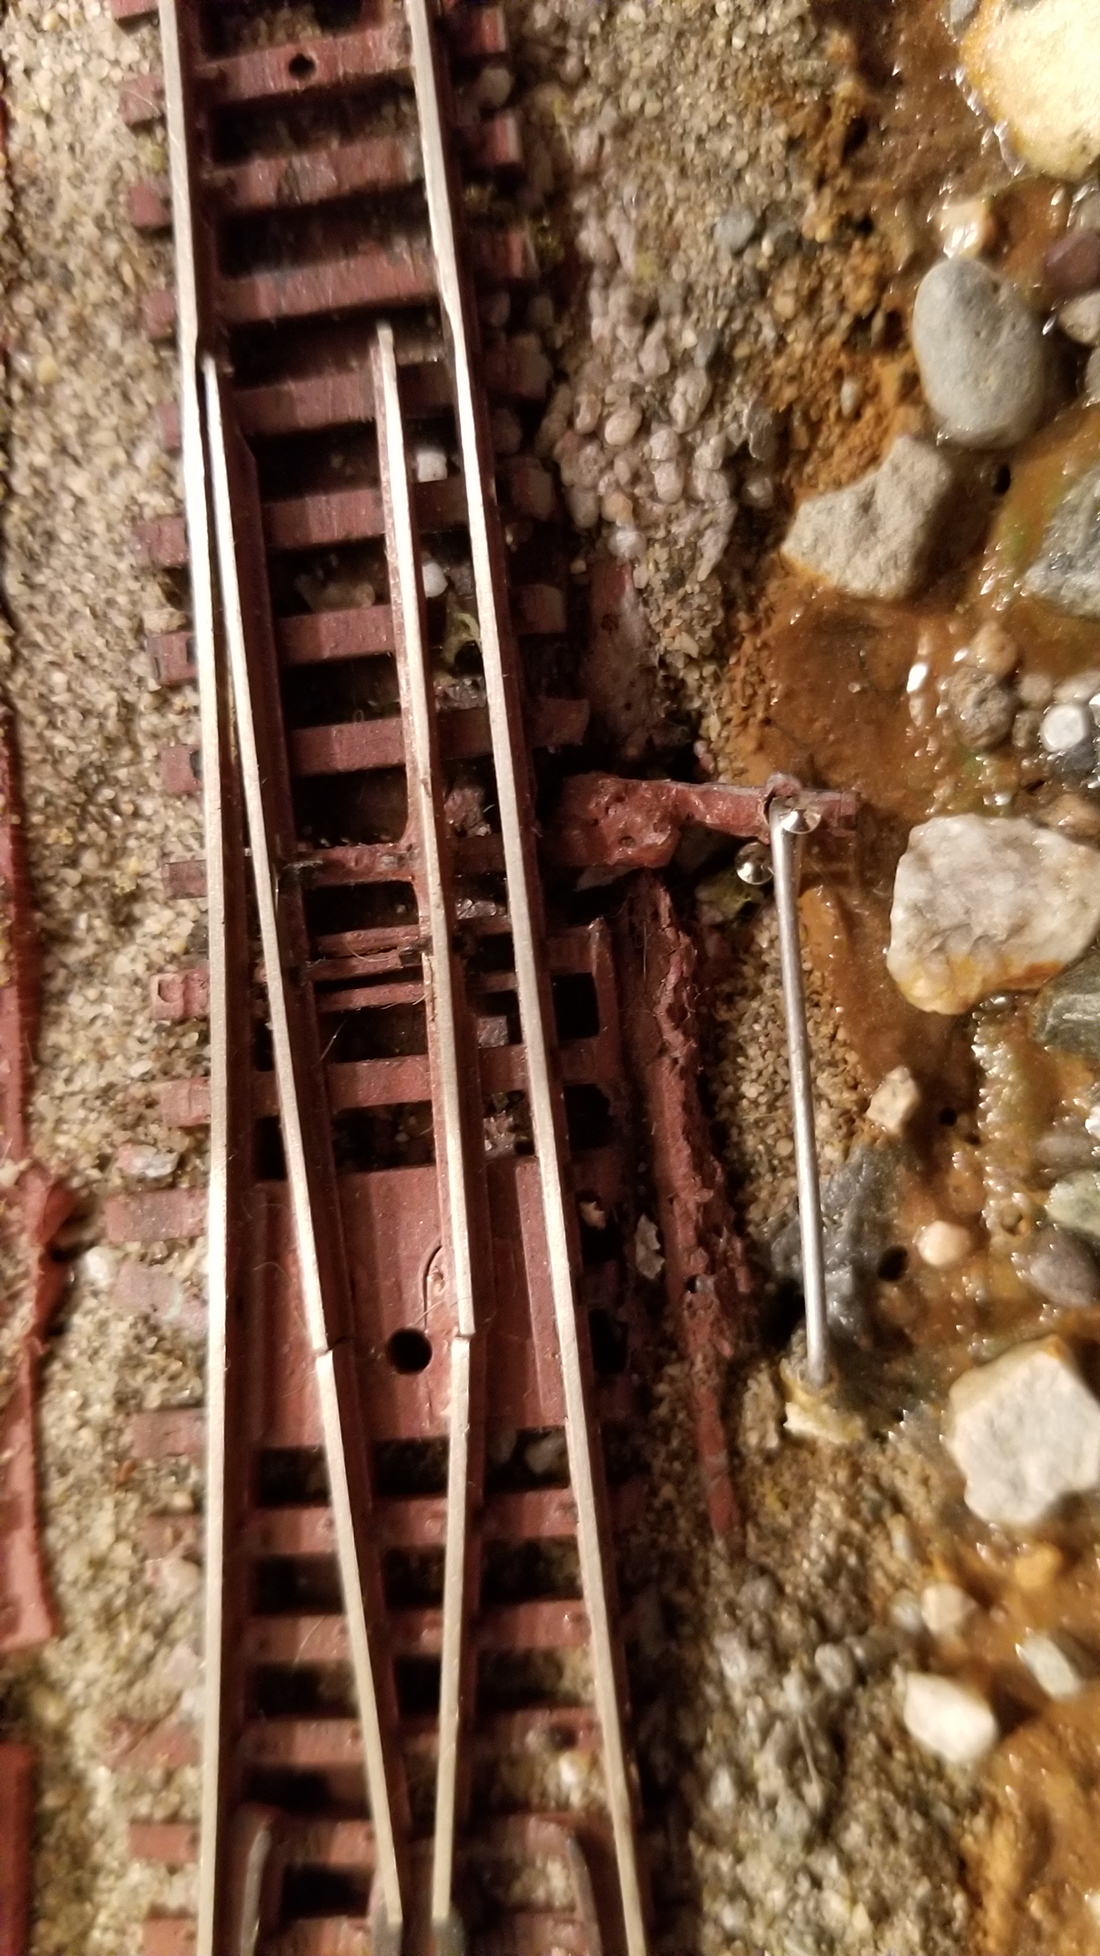
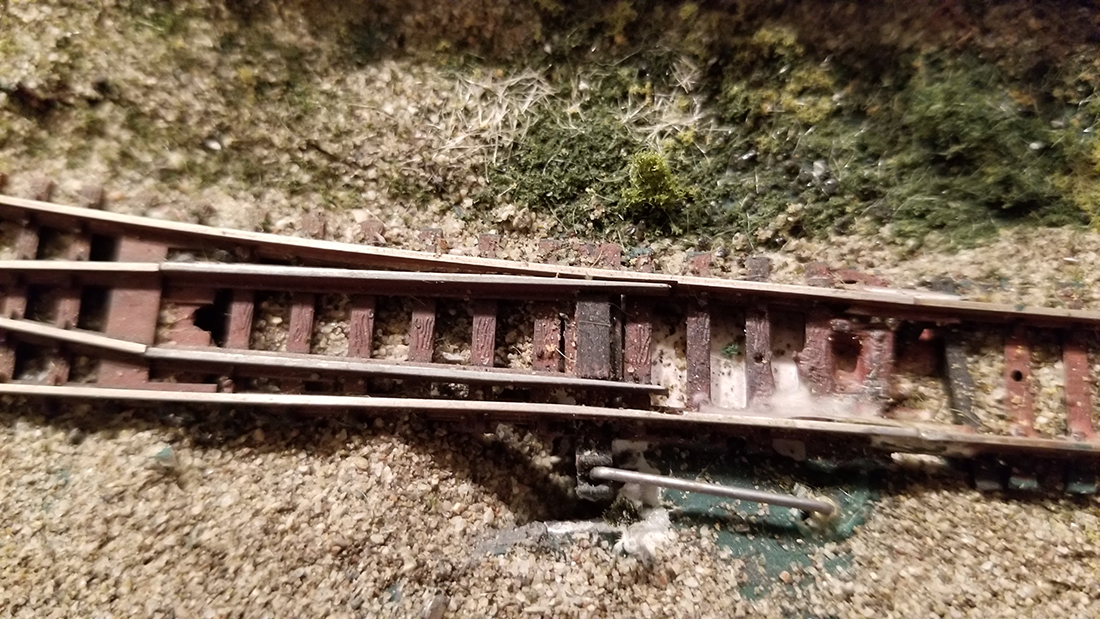
For the magnets I’ll try and get some pictures. I’ve been using what they call earth magnets. The ones I get are wrapped in rubber. I found that when I take the rubber off, they are smaller and stronger and also easier to work with. Use the screw to raise and lower the magnet which, is fastened to your building.
As for the new car look, I’ve been putting them on the front porch to weather, but they keep disappearing.
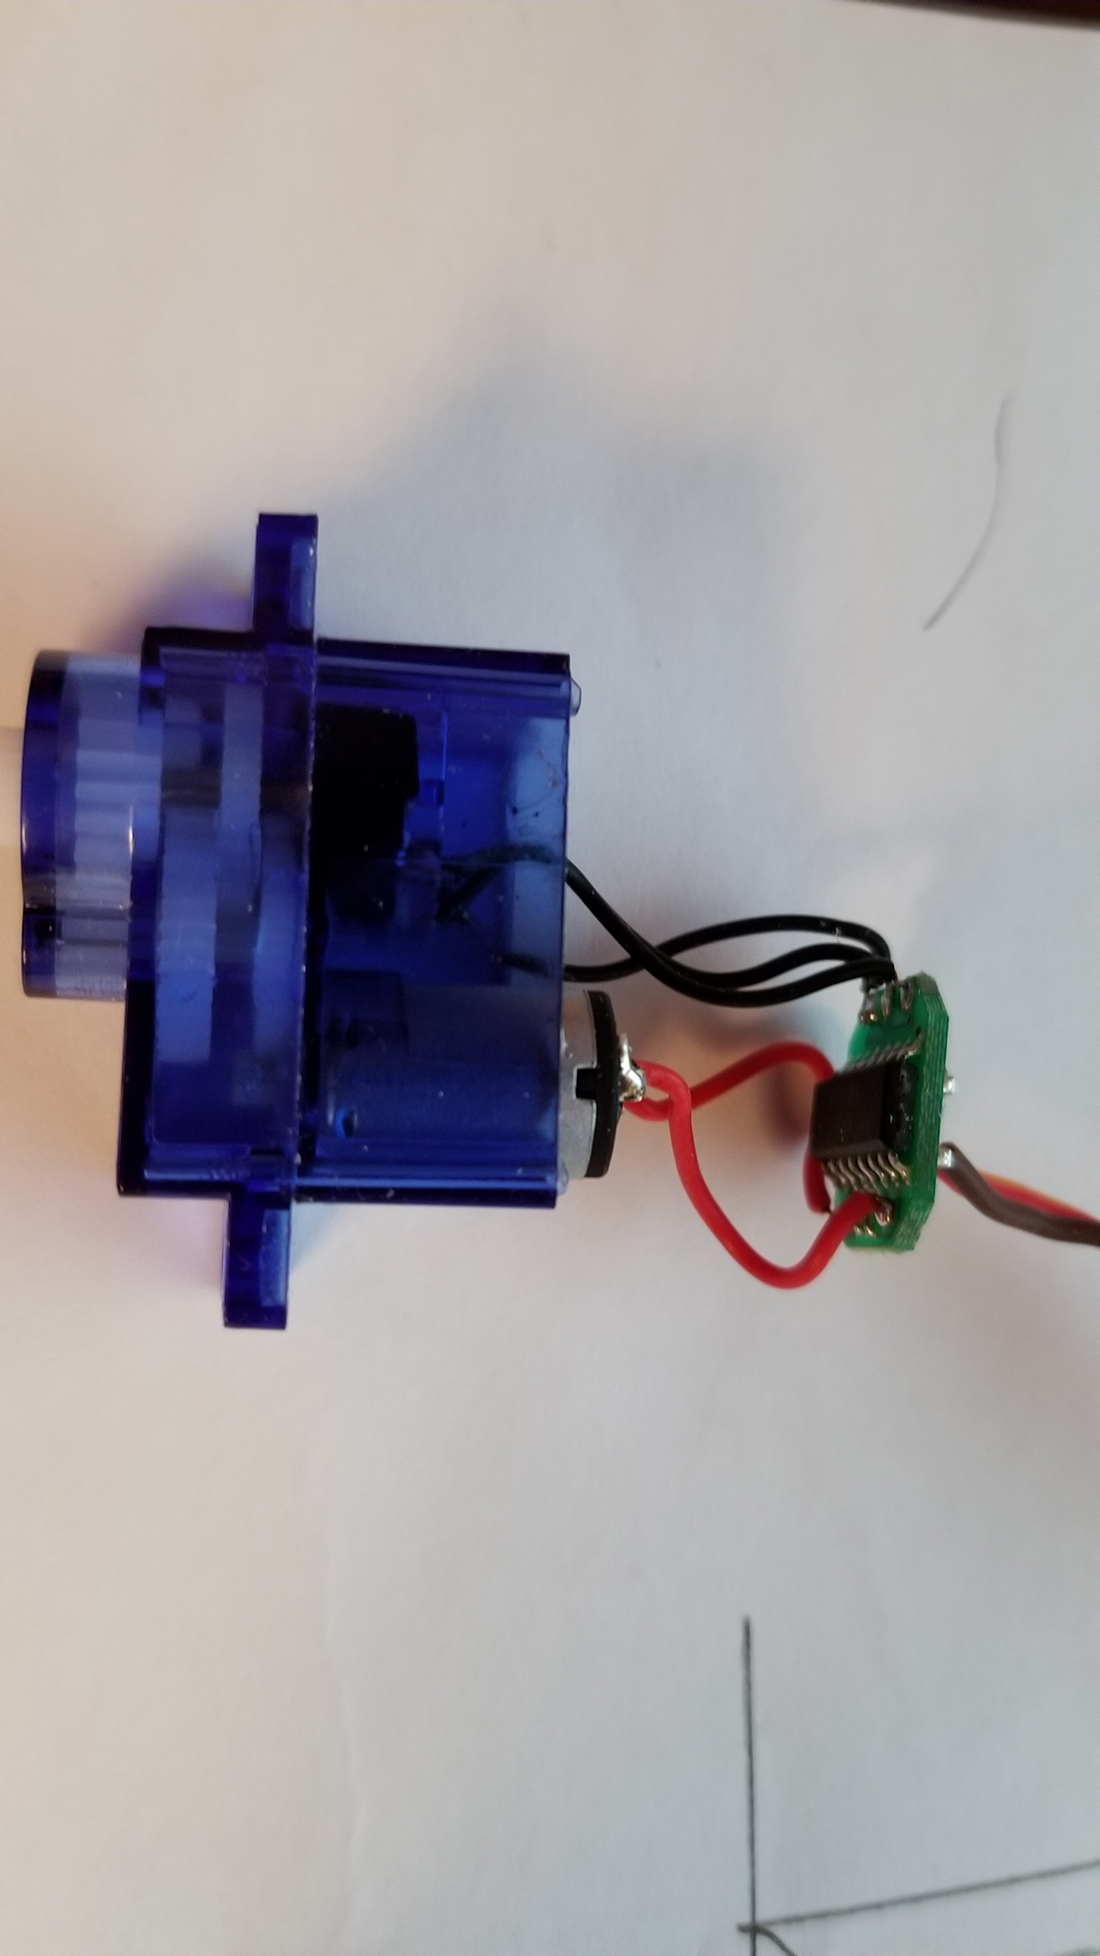
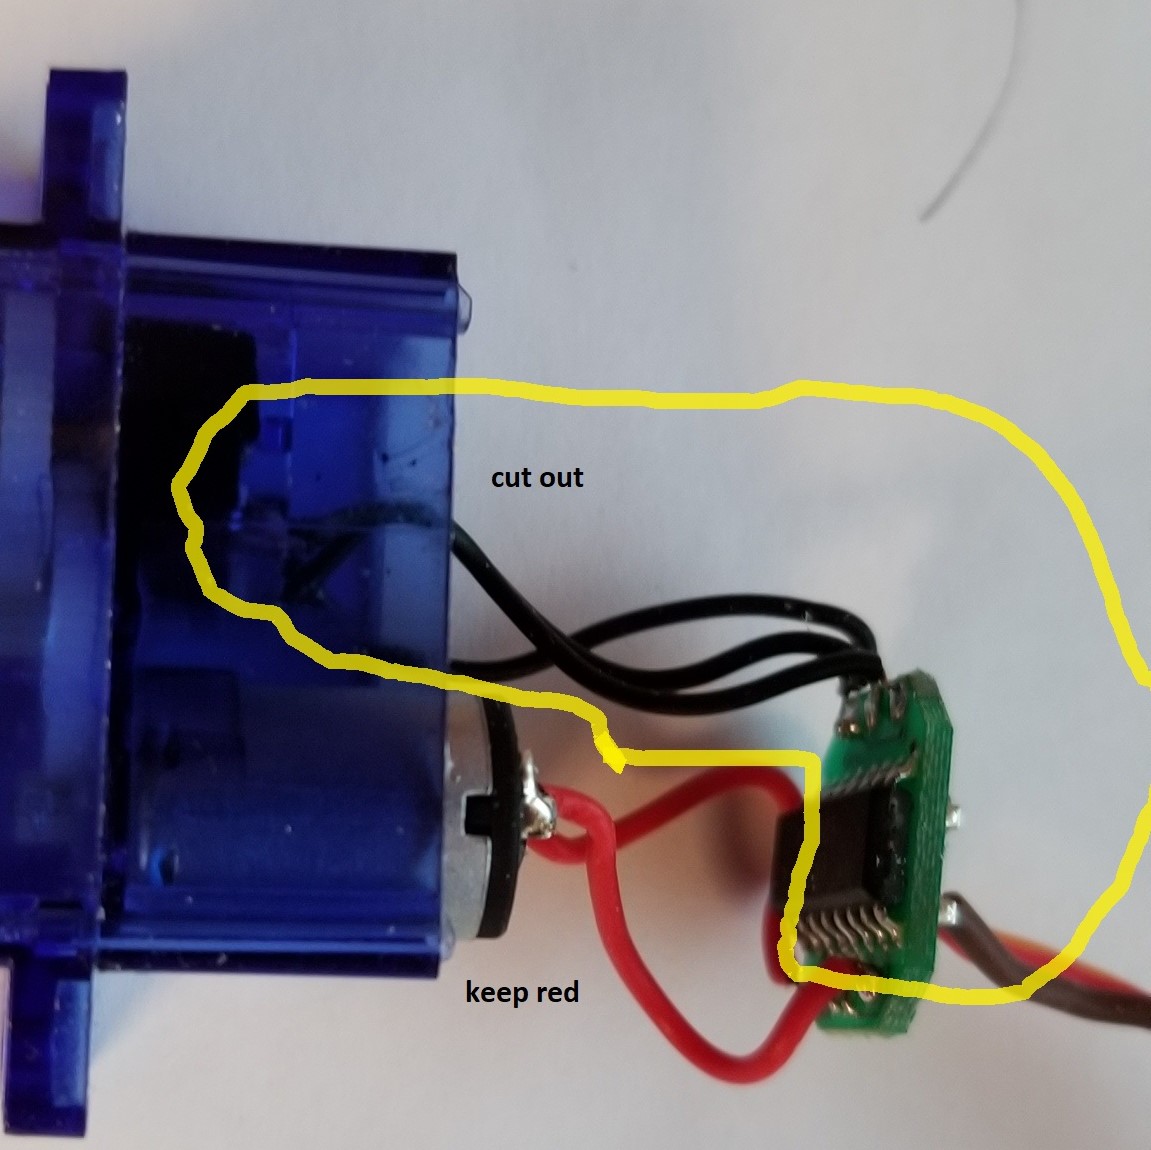
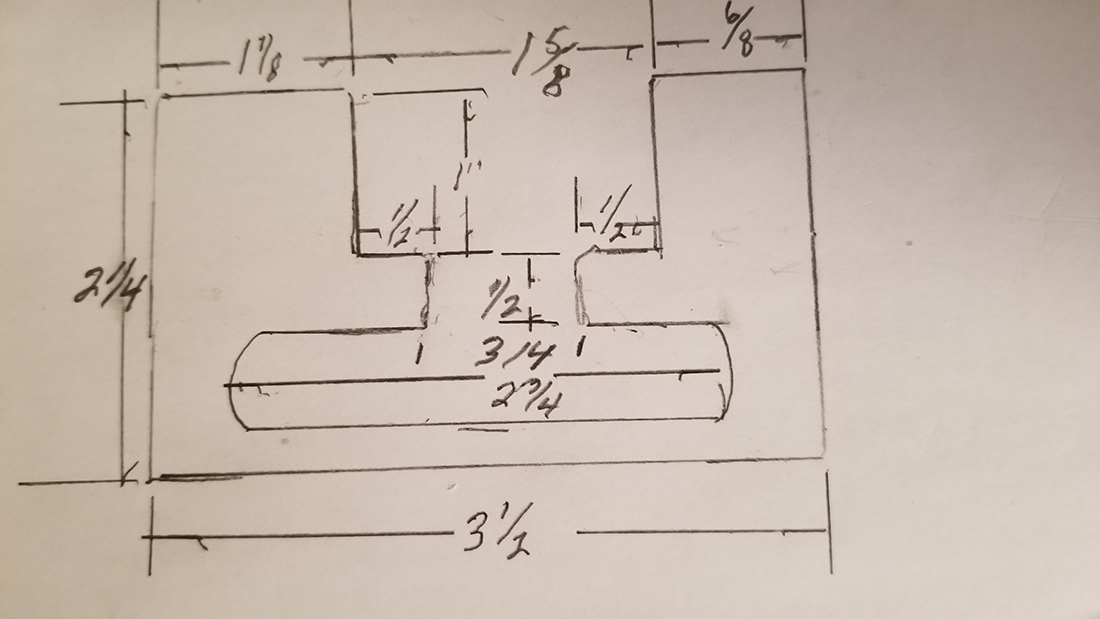
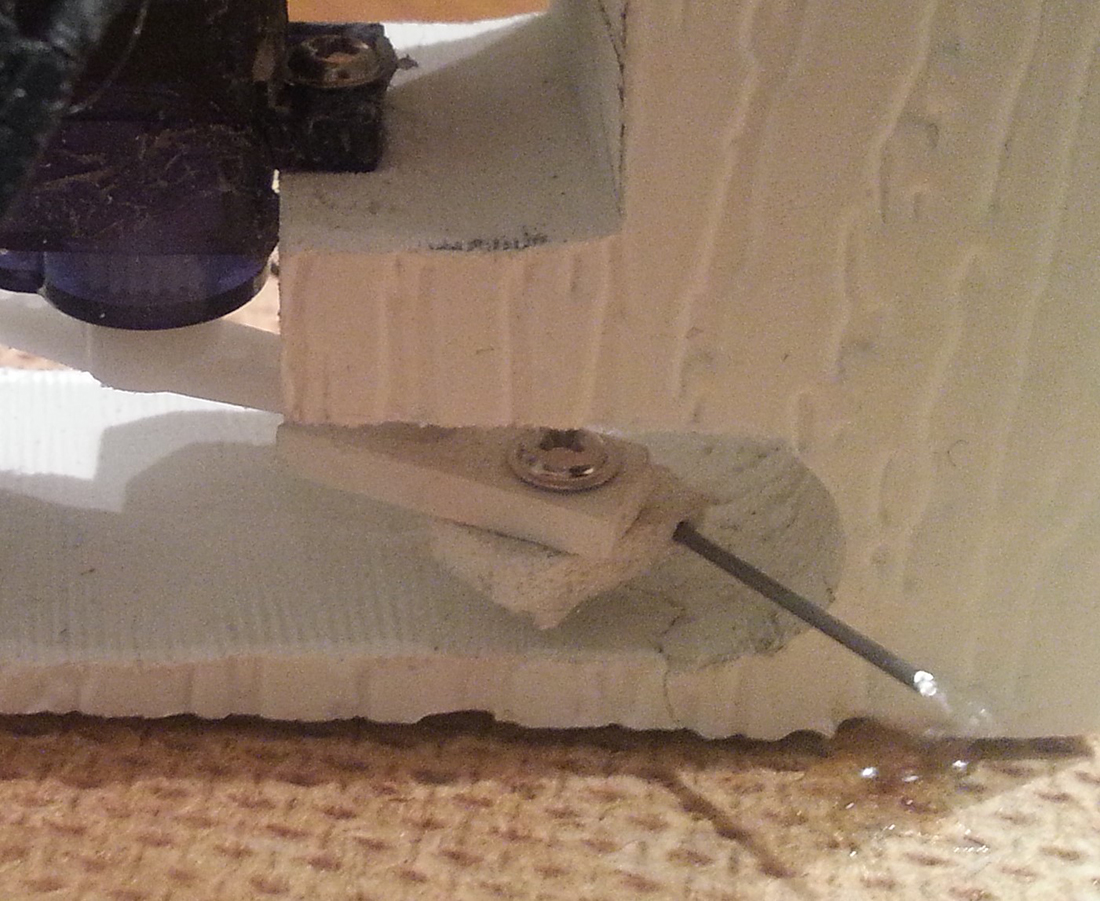
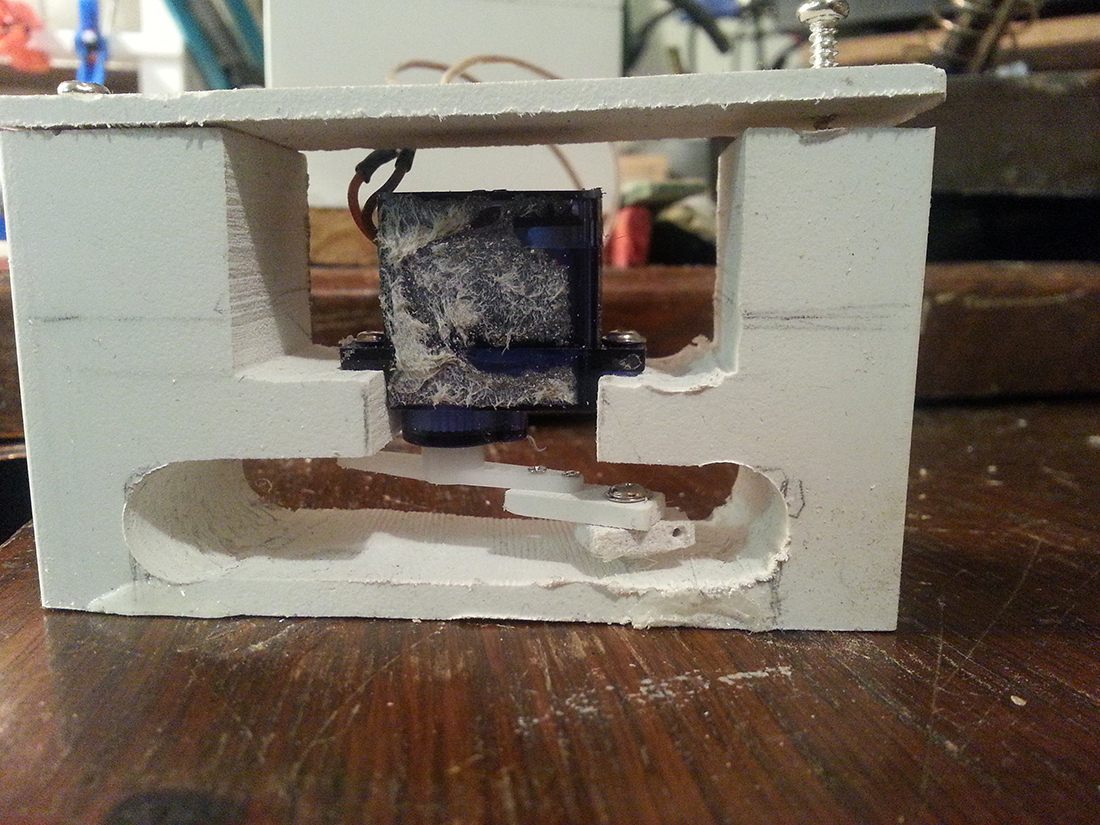
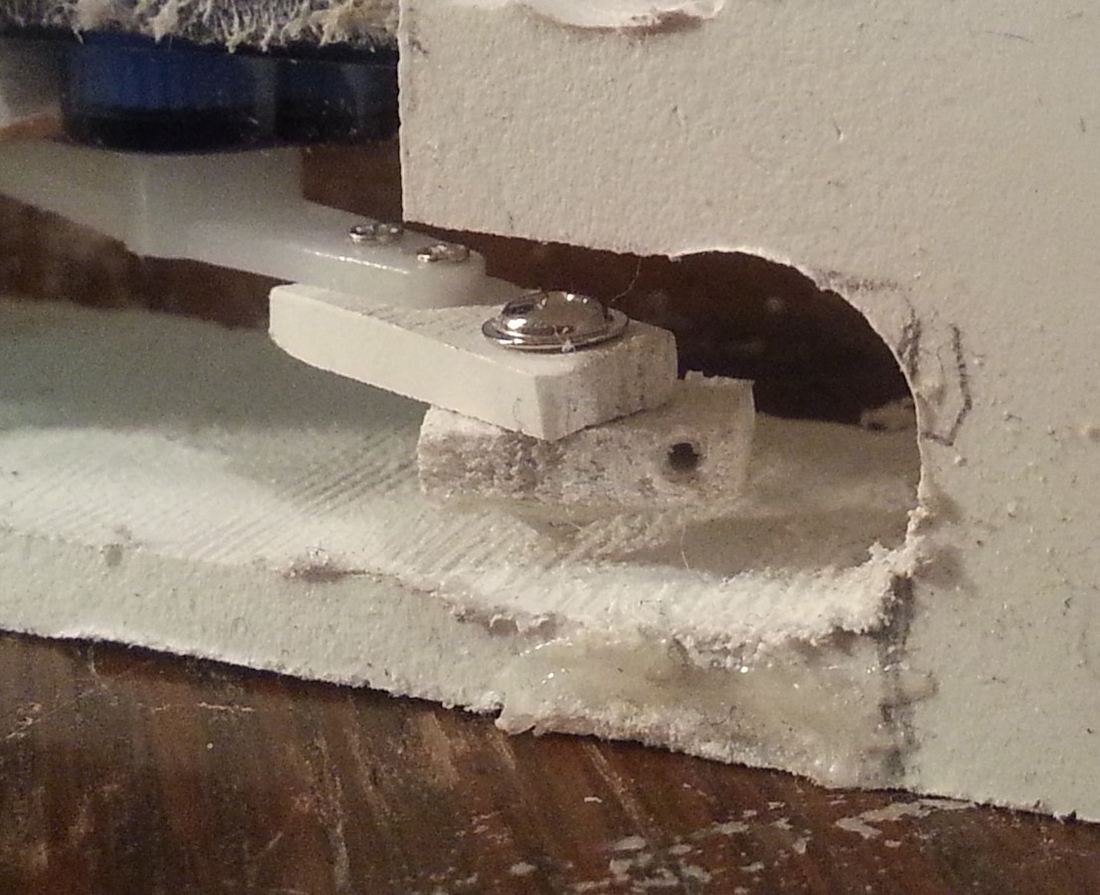
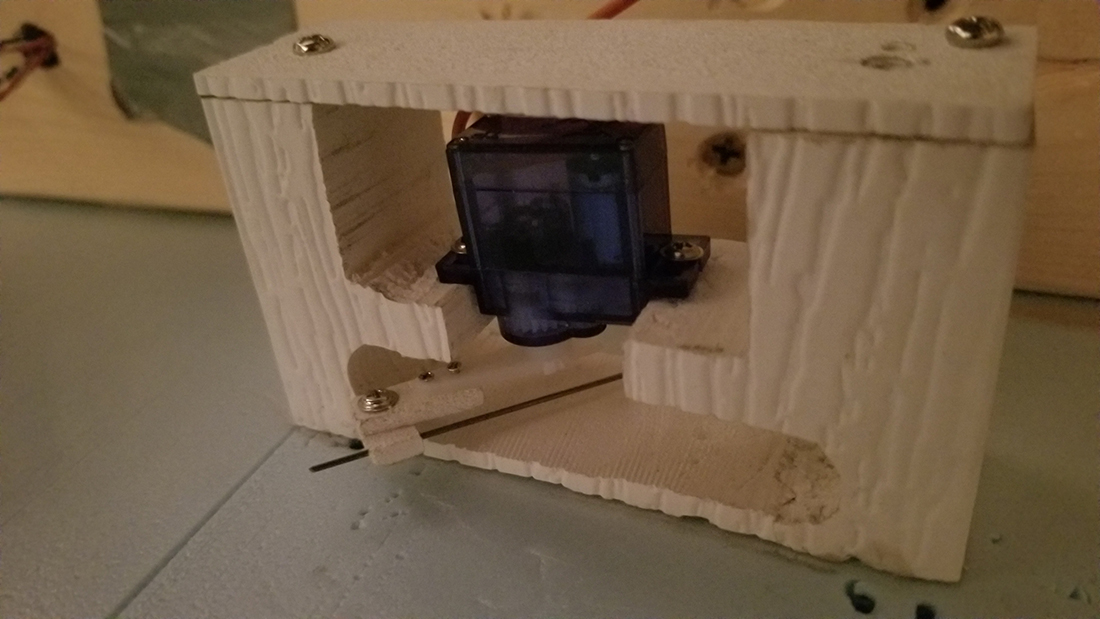
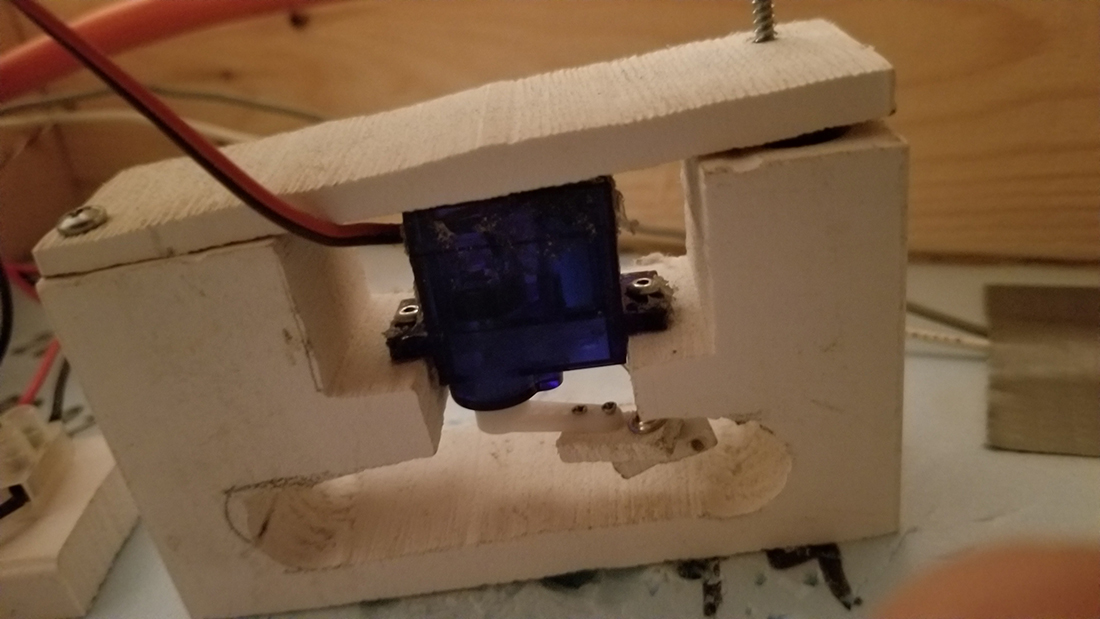
The switch motors, I’m thinking would work on N and HO. I think the pictures are going to say more than I can. Take the electronics out. Keep the two red wires to attach your power wires to.
There’s a notch in the lid for your wires. Close up the servo. The servo travel is a little over half way.
I hope the pictures help.
OLDTAZ”


I will get into Saw Mill next time! Thanks all for the GREAT REVIEW!!!
Happy Rails To You!
OLODTAZ Mt.”
Next on to Mike, who has made a good start:
“Hi Al:
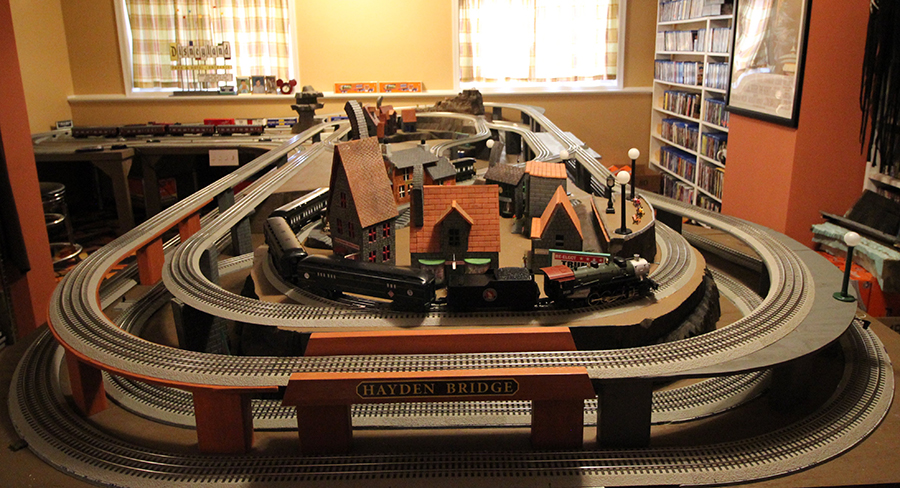
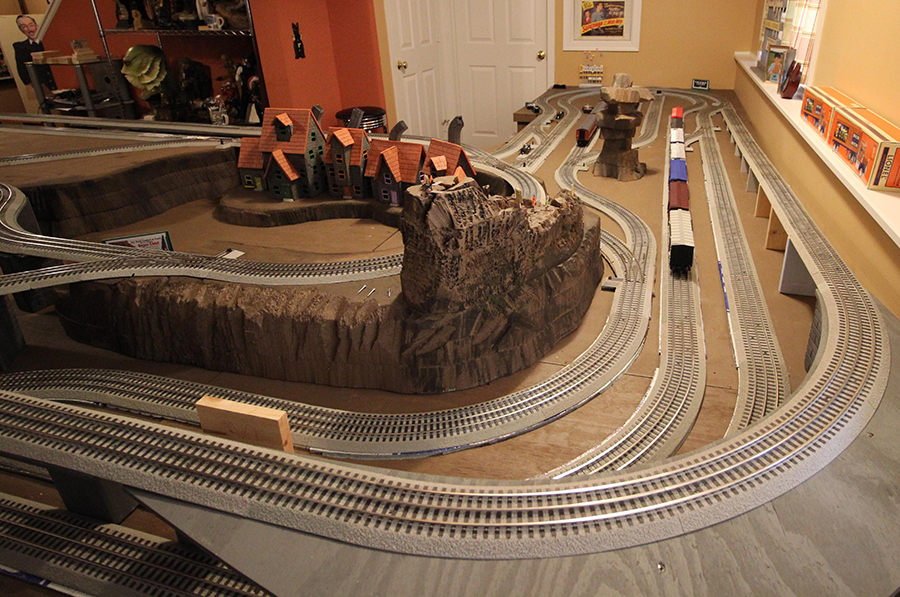
Been a while since relocating trains from 10×12 room to full basement.
I’ve finally settled on a final “L-shaped” track plan featuring three main lines on two decks, inter-connected with switches. Now I have a lot of landscaping to do. Cheers.
Mike from Michigan, U.S.A.”
Now on to Dave:
“Hi Al,
I am 74 years old and starting my first HO layout.
I’ve been enjoying your posts for several years and decided to just go for it.
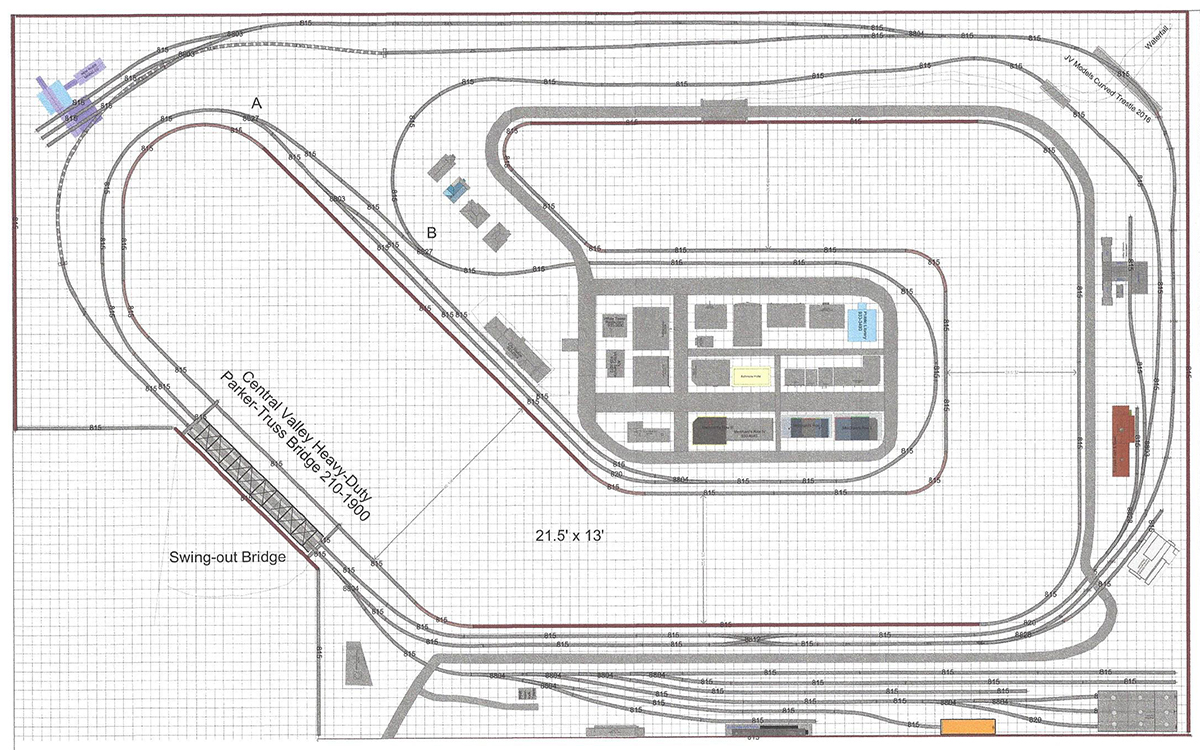
I have a room in the basement that is 22′ x 13 1/2′ and I used AnyRail to design a layout that will fit the room.
I will be using DCC for control. I think I have two reverse loops designed into the layout so I can turn the train around no matter what direction it is headed.
I bought two AR1 auto-reversers but I’m not sure how to correctly wire switches A and B.
Also, I am hoping your audience can determine if this layout is even feasible. I can use all the advise I can get.
David, Bloomington, Indiana”
A huge thanks to Old Taz for sharing his model train water tips, and who can help David?
That’s all for today folks. Please do keep ’em coming.
And if you want to make your start – just like David did – the Beginner’s Guide is here.
Best
Al
PS Latest ebay cheat sheet is here.
PPS More HO scale train layouts here if that’s your thing.
Need buildings for your layout? Have a look at the Silly Discount bundle.

Hi David,
You have to make sure on your reversing loops that they are totally isolated from the rest of the layout as polarity will change as the track comes back on itself. I have 4 reverse loops on my layout and I am using manual switches for now but I will eventually switch to auto reversing . With dcc polarity is key. If polarity is switched at any point your system will not work.Be careful on switches and isolate the inner points, a switch motor like the tortoise can change polarity of the frog so locos won’t stall.
Enjoy,
Chuck
You don’t need to do anything special with the switches. Isolate the track from A to B with plastic rail joiners at both ends. The auto reverse Board will do the rest. You only need one AR1 for this. Your diagram only has one reversing loop. The second one could be added making B a double slip switch and running track behind the depo to its passing track. Or you could add a second switch next to B Again isolate the connecting track and add the second AR!. Try to make the isolation tracks as long as possible. IE: rotate A CCwise to make that longer.
Hello,
What good photos and description.
Thank you all for this nice information.
With best regards,
HC Treintje Belgium.
I can visualize reversing the direction of a train if it starts out running clockwise around the layout, but I don’t see any way to reverse it if it’s running counterclockwise, except by backing the train through turnouts A and B. One possible solution is to install another turnout just southwest of turnout B, with new trackage running from there southwest through the station (oops, may need to move the station) and connecting to the mainline on the south side of the town. A train running counterclockwise would then go through the new turnout, around the town, and proceed clockwise from there.
David, I may be slow, however I only see one reversing loop. Could you tell me more?
David; another way to add a counterclockwise revering loop: you could add a turnout north of the highway bridge and run a parallel track on the inside to B. Then east of B add a crossover and run this route behind the station to connect with the siding. By isolating this track, it will give you nice long run for your AR2.
I am also using AnyRail 6 to design several options for my next layout.
Mike, good looking layout. As a fellow third railer, that looks like a lot of fun. Nice looking legacy passenger train as well.
Taz, glad to see another model railroader using Woodland Scenics realistic water and successful with it. You have done a great job. Well done.
Brian – the HOn3 guy from Knysna RSA
Some excellent talent showing up continuously on here. Wonderful work.
.
Very nice layout. Good set of interesting points of interest. Not to overly crowded with houses / businesses and such. Plenty of room for nice scenery. And nice points to do switching tasks. Bravo.
Mike and Taz, you guys did a great job on your layouts love them both!! Hopefully I can start building mine you guys gave me a lot of good ideas thank you for sharing your pics! Chris from Michigan