John has been in touch with a question on model railroad track soldering.
As always, if you read the comments at the bottom of the page, you’ll see lots of replied to John’s question – probably because it’s something we have all had to think about at some point.
“Al.
I am writing to you to get some helpful direction from all the guys that communicate with you that are so knowledgeable of all aspects of model railroading.
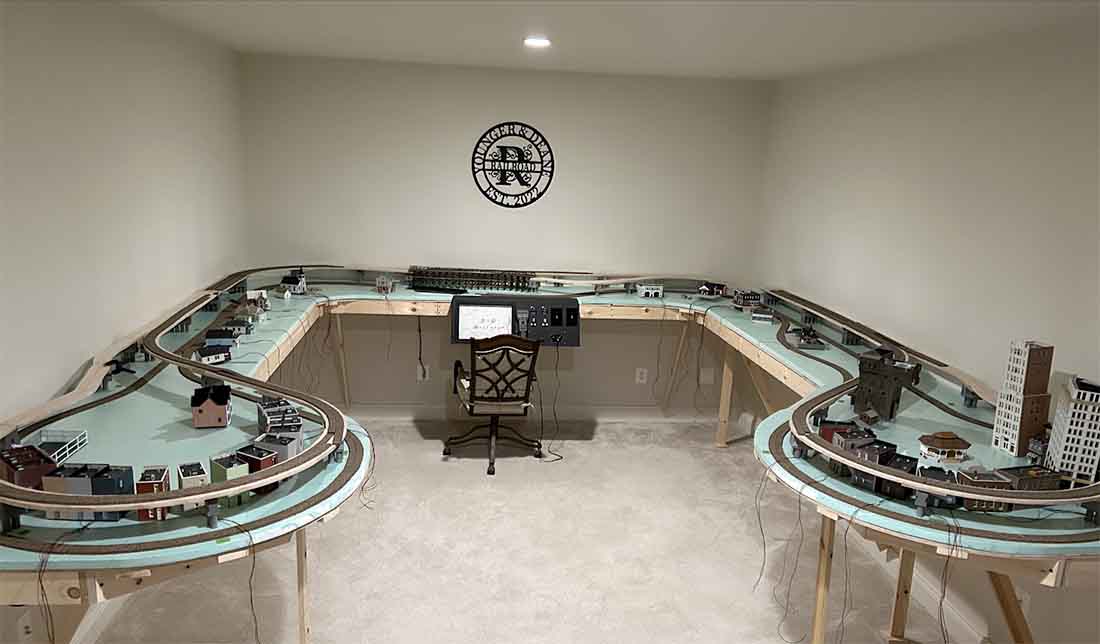
I have attached a picture of my layout in progress.
I’ve got myself in a dilemma and I need help in which direction to go.
The dilemma or problem is I have or will have track that runs very close to the back wall which I find almost impossible to solder feeder wires to.
I have thought about soldering the wires to the track before installing it. That would not be easy because I’m using flex track.
Another solution may be too purchase one of those ladders (sold in Micro-Mark) that allow you to lean over top of the layout. I’m 84 years old bad knees and back and my days on a ladder is not what it used to be.
The final solution I can come up with is to redo my layout the way it should have been done in the first place.
Presently I have buildings (which are just sitting there for when family were here at Christmas) located at the front and track in the back. I could reverse these putting the track in front.
My design is two separate tracks that run independently in a loop in which two trains (one on each track) never have to stop.
One track , the “Red” line passenger train has cork already surface mounted on the styrofoam base.
The other “Black” line freight train is elevated on dowels supports going through round holes cut in the styrofoam to the plywood base below.
To redesign the layout I would need new styrofoam and additional cork. If someone can come up with a better idea I’m all ears.
John”
We all discover, sooner or later, that layouts have a mind of their own…
Please do leave a comment below if you can add to the suggestions to help John with his Model railroad track soldering problem.
Even when a layout has been tamed it’ll never stop taunting you. All you’ll hear in your head is “Do another one!”
And that’s exactly what Steve is doing:
Here’s his previous post where he is having fun on his layout:
 .
.
But now? Have a look:
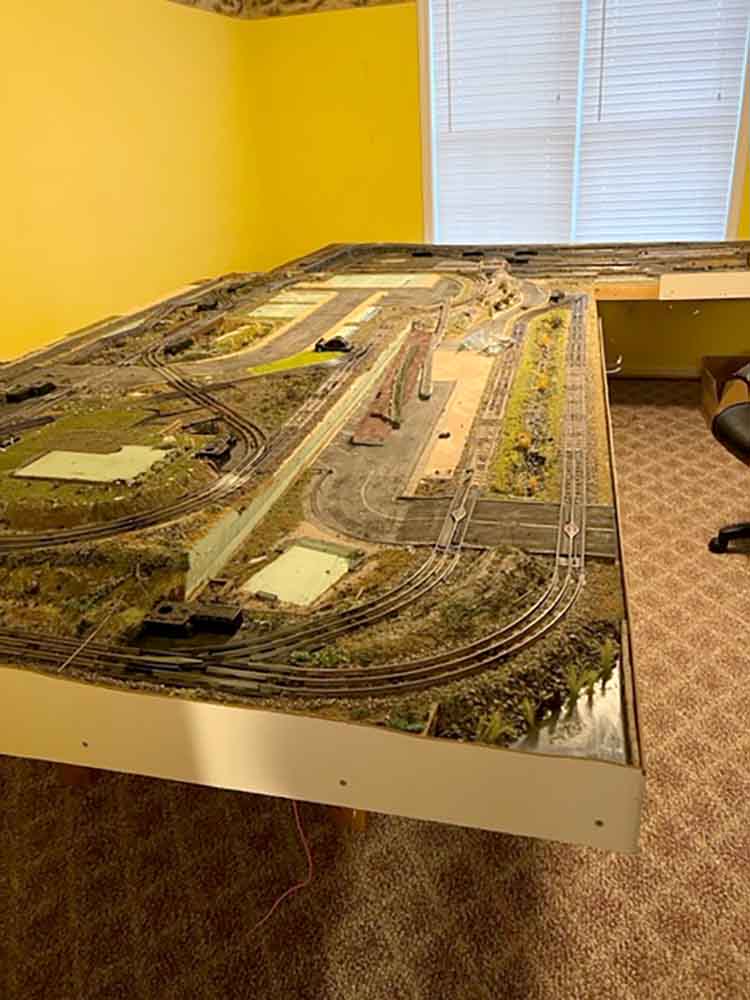
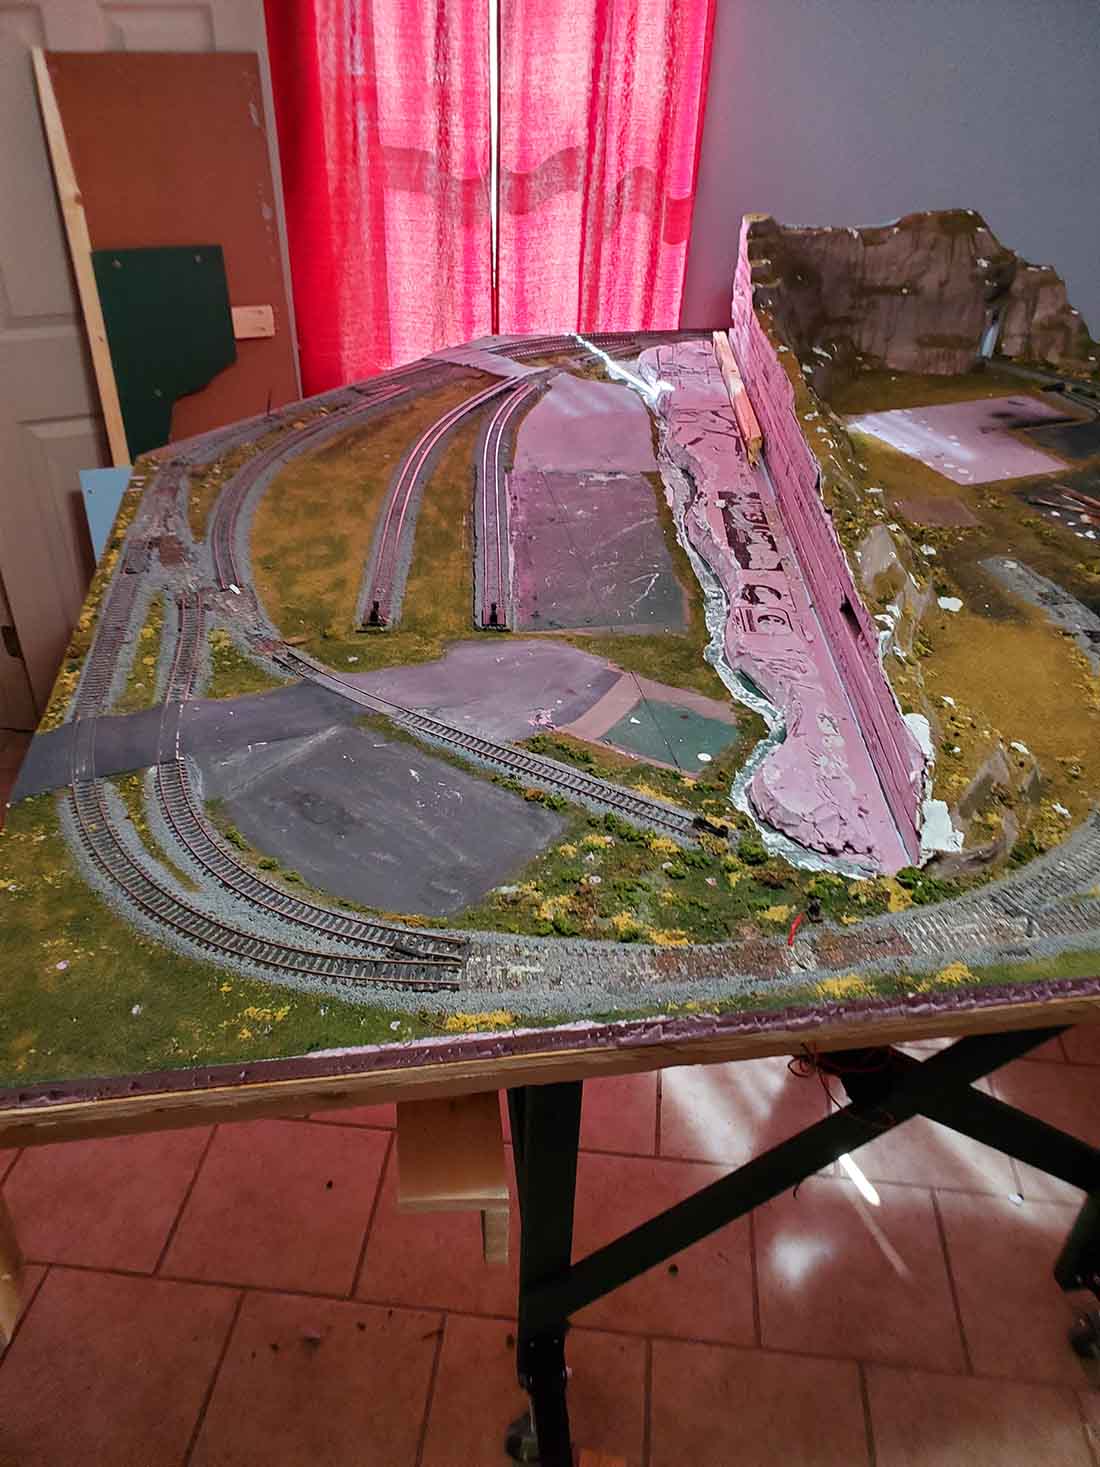
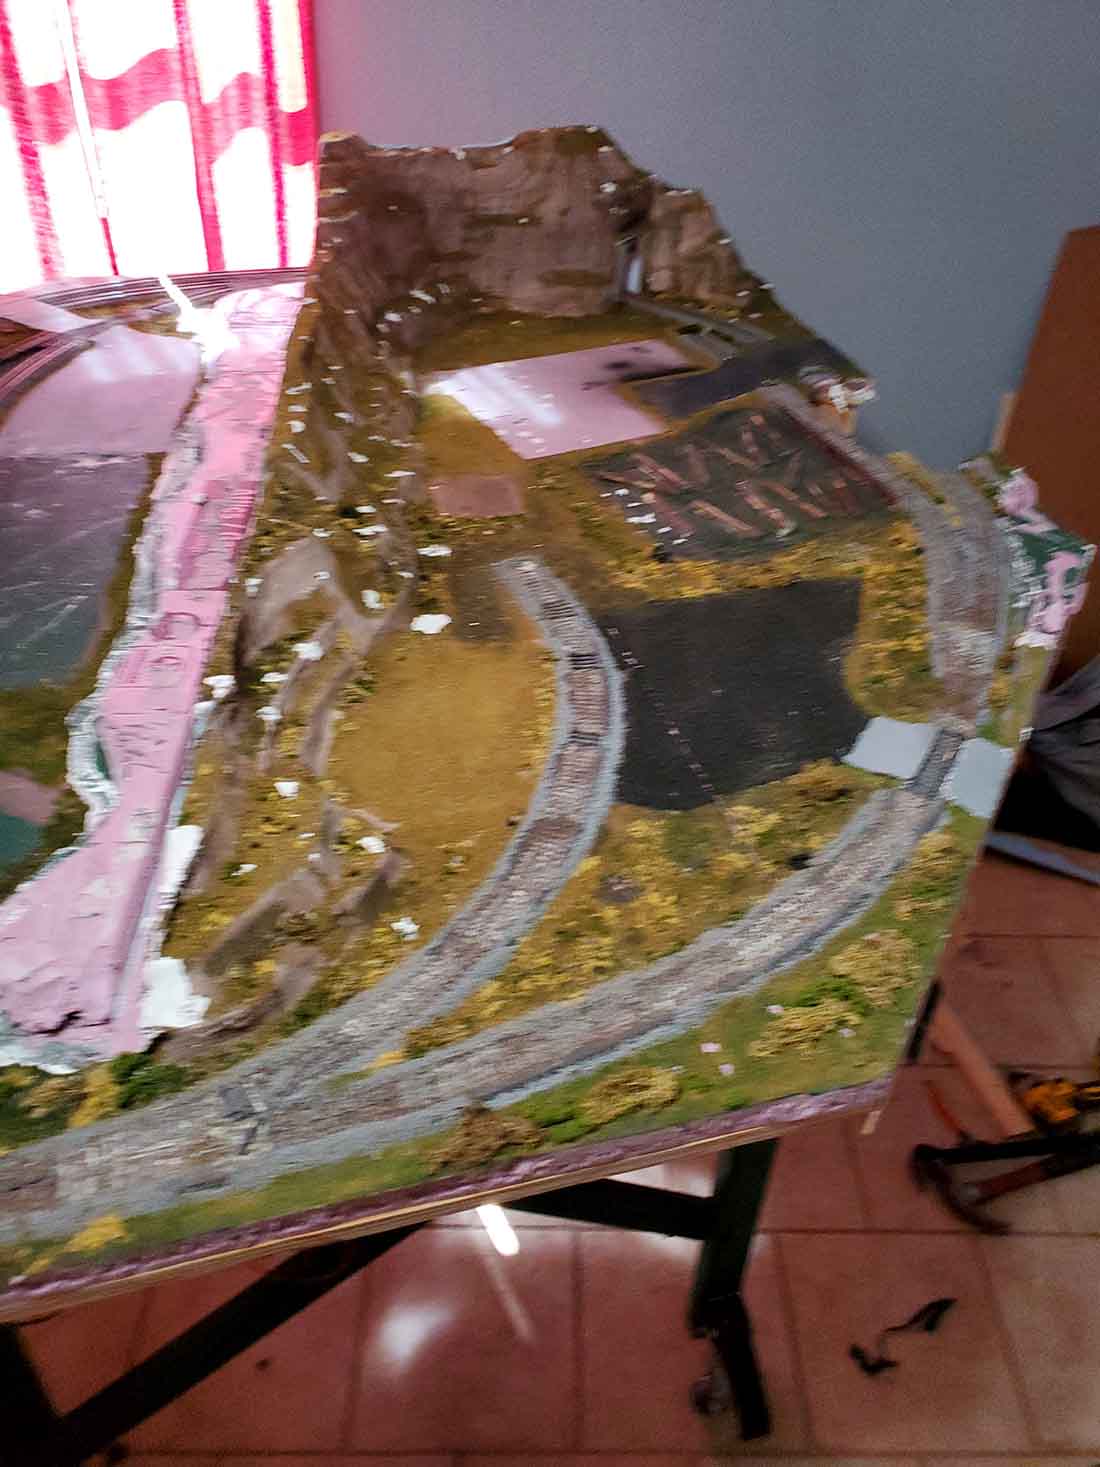
“I have everything in boxes and I can’t believe how much stuff I have accumulated over the years.
I cleaned off the table of as much as I could but with the stone and ties glued down with a 50-50% glue water the tracks are not coming up. I am going to build a new layout so I guess it doesn’t matter.
It was strange ripping things off the table that I took so much time and effort to get just right.
I have to admit that I am excited about the idea of a whole new layout.
I am sending some pictures of what the board looks like now.
Steve from Toms River”
It’s the excitement of a new layout that makes the pain of dismantling bearable – as Richard also knows:
“Hi there Al… Richard here from Tuttle, OK.
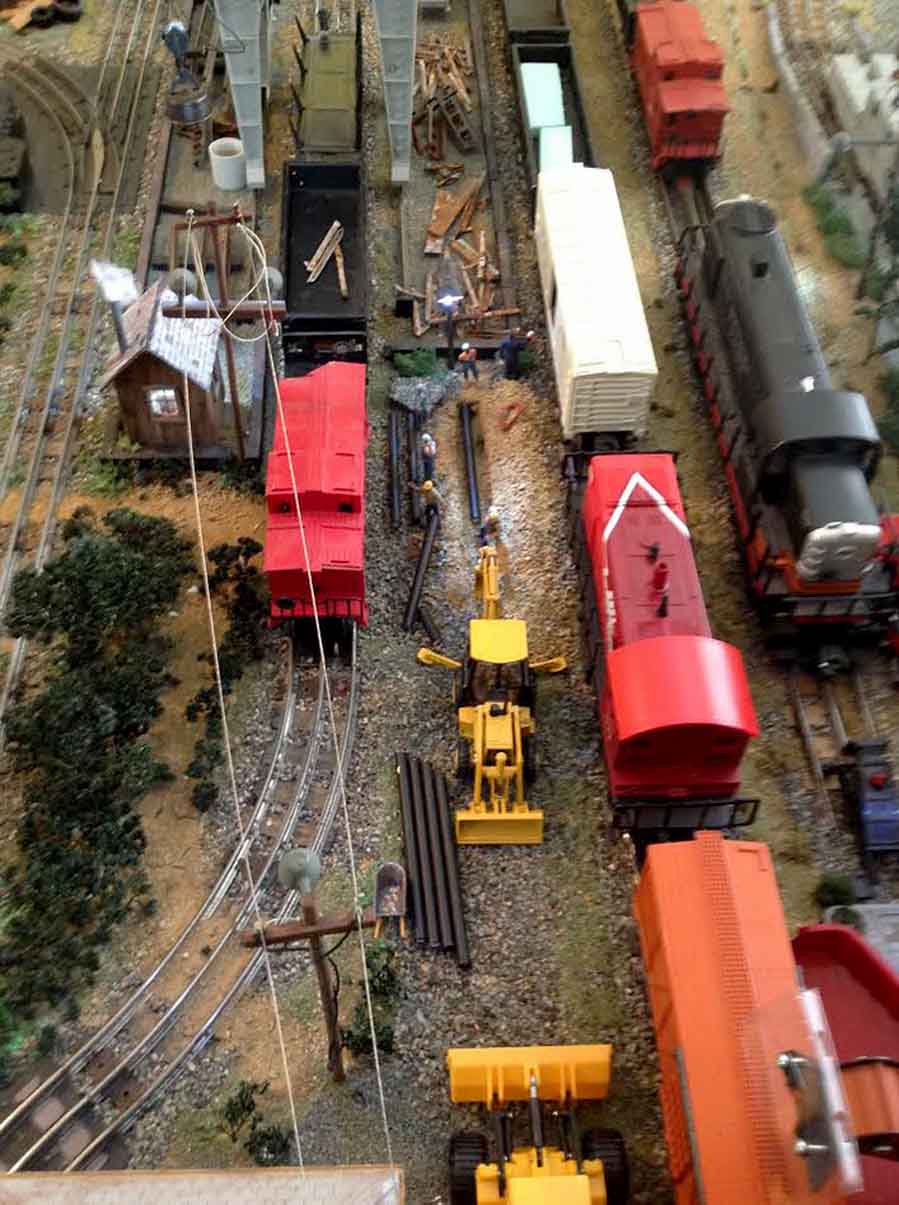
As they say, all things come to an end… so be also the R & K Logging RR… we’ve sold our house here in Oklahoma and are relocating to Arkansas….
so that being said the end came to my layout…. as you remember it was a 6′ x 6′ layout Logging theme….
dismantling began 2 days ago, saving what I could… buildings, trees, turnouts and some track…
Here are the before and after pics…
But don’t worry, I’ll be building another and larger layout once we’re settled in…
I learned alot from this layout and plan on using the experience to build a better layout…. as always…. there is never an end to building a layout, just improving it to your desires….
thanks for all you do Al….
Richard of Oklahoma”
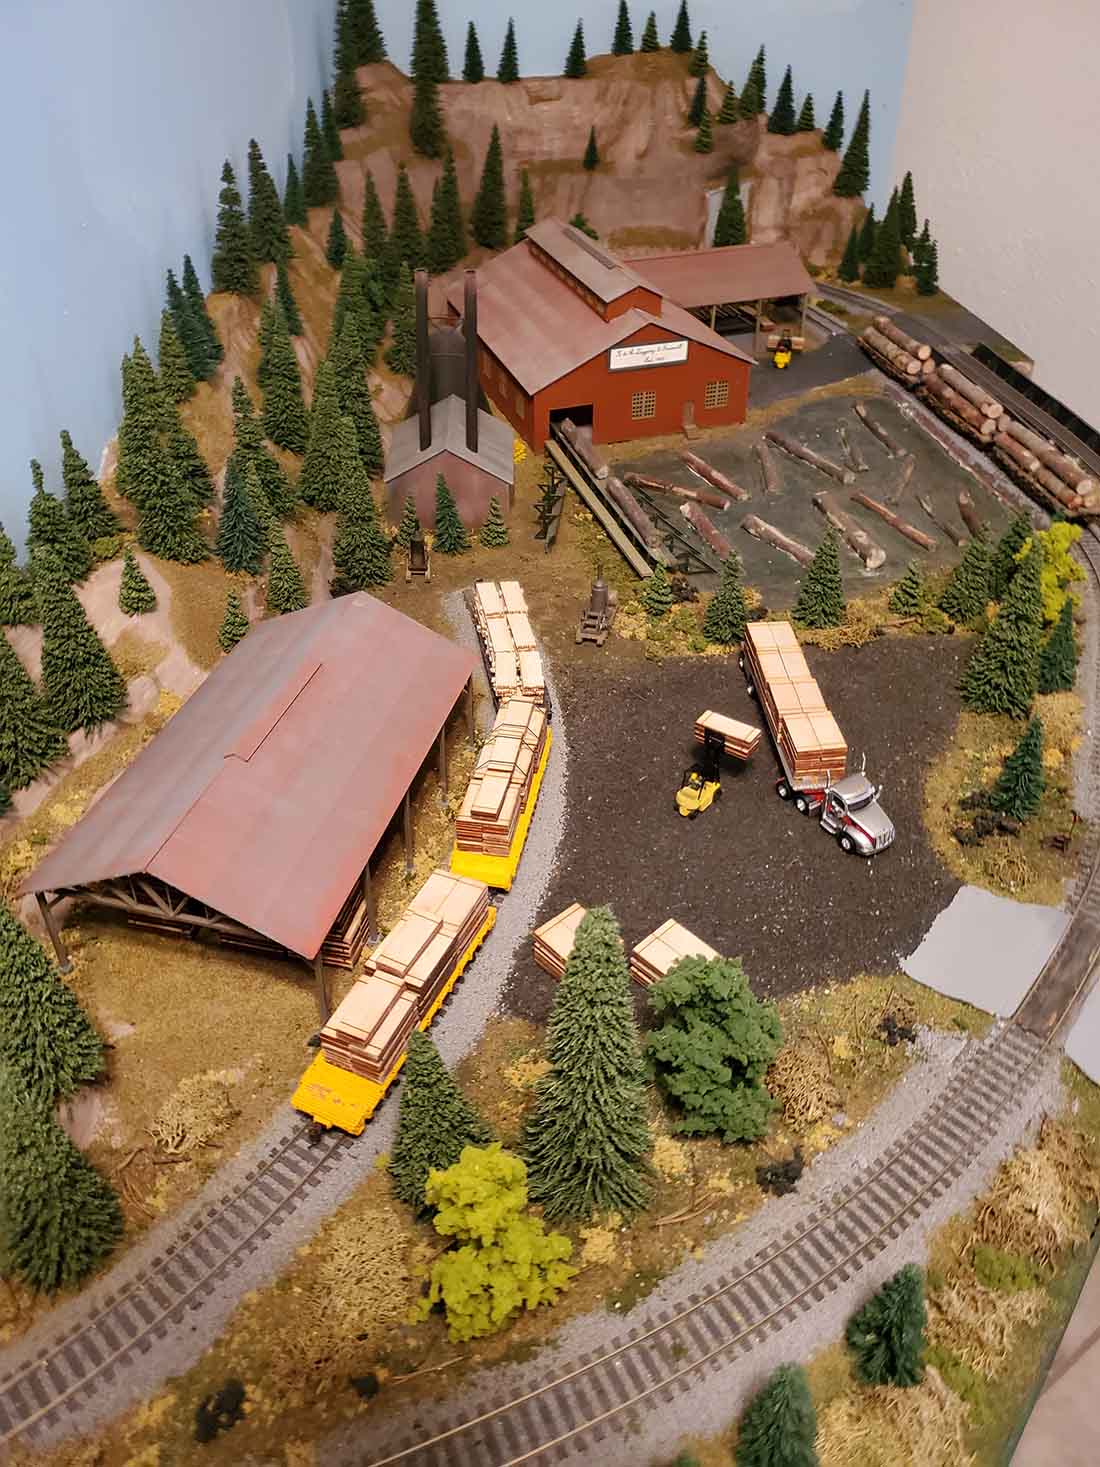

I did take a sharp intake of breath when I saw Richard’s dismantled layout, because I recognized it instantly:
It’s this stunning HO layout build
But that’s the wonderful thing about this hobby, it’s an endless march of fun.
I’m really looking forward to seeing Richard and Steve’s new layouts.
That’s all for today – but please don’t forget, who can help John?? Please do leave a comment below.
Keep ’em coming.
And if today is the day you join the ranks of Richard, John and Stephen and have some fun, the Beginner’s Guide is here.
Best
Al
PS Latest ebay cheat sheet is here.
PPS HO scale train layouts here if that’s your thing.


I assume the need to solder wires to the track at the back is to have a feeder to each length of track and avoid corrosion at rail joiners reducing the current. To achieve this another way, could you join two yards of flexitrack together off the layout, soldering up the joints round the joiners nice and solidly, give the joints a good clean to get rid of flux residue, then install. This might bring both ends of the section within reach to make the joints to the existing track.
A number of possible approaches come to mind. Firstly, could the baseboards be built as though for a mobile display and when track and wire added and connected to a bus underneath they would be moved into place and fishplates join the sections by sliding across. Another one is to solder wires to each fishplate and as track is joined, drop your wire through the baseboard and work underneath. Finally, and a bit similar, before finally fixing the cut sections and you know where they will be nailed or glued down, solder droppers into the web of rail at the centre, Kay the rail back in place, drill holes for the already soldered wires and drop easily through the drilled holes. Hope this helps. John
PS I made a lean-in for working on hard to access areas but trying to do accurate work like soldering or pinning track is not easy and very expensive and hard to store!
Is if practical to create an access hole and a resulting lift-out panel?
Have you got room for self adhesive copper tape. Lay it either side of the track, solder your track feeds to that and cover the tape with ballast. Extend the tape to a point where you can add power feeds to it.
One thing I can tell John from experience is don’t solder flex track in a curved section already installed, it can and often will go out of gauge at the ties where you solder unless it’s ultra low temp. Any soldering in my experience , to flex track needs to be where it’s relaxed and relatively straight. Then you can bend it for turns. That said I’m in favor of and a fan of the lift out access hole..
For track connections, I solder a length of wire to each rail joiner while still joined to the ‘stick’ of rail joiners. Then break off the rail joiner and use it to connect the track sections, drilling a hole under each rail joint for the wire. Bend a small L in the bare wire end, and use flux. I have never had one break. I run a feeder like this every 6 feet or so. With Kato track I just use their wired joiners.
I would agree with Chris… solder feeders to rail joiners and install as many as you need… Good thinking Chris… I’ll USE THAT IDEA ON MY NEXT LAYOUT… THNXS
John, my entire layout is flex track. After cutting, if necessary, and test fitting pieces, I did all my soldering on the bench, attaching feeder wire to the underside of the rails. I then set the track in place, marked where the holes were needed to drop the feeders through the baseboard, drilled the holes then permanently installed the track. So as mentioned by others, it can be done, and this method basically hides the feeders from view, even if you don’t apply ballast. Having said that, Murphy’s Law dictates that if you ever have a derailment, it will occur at the point that is hardest to reach, so something to keep in mind as you move forward. Good luck, and have fun.
Stephen and Richard, have fun with the new builds.
Thanks to each and everyone of you providing solutions to my issue is soldering one track that is near the wall. I am leaning toward the suggestion of soldering the wires to the track before it’s glued down and then dropping the wire through a pre drilled hole. If it works, great. If it doesn’t I haven’t done any harm. I will work with two sections of flex track connected together at a time. I’m a twin so I plan to ask him to help. Thanks again. John
Have you ever thought about buying one of those overhead creepers that they use in the automotive field a lot of guys have bought those so they can reach over their table and I’ve seen guys put a mirror behind the track so they can see what they’re doing when they’re trying to solder
Hey, John,
I use flex track everywhere I can… and I use terminal rail joiners, which come with 10 inch wires soldered to them. That way, I can lay down the track, nail or glue it in place, and then drill a small hole next to the wire and feed it through from the top. You can even face the wire tab inward so that once ballasted, it’s virtually invisible..
One way I dealt with this problem is that I used wired rail joiners at ever other connection so that no section of “flex” track was without a wired connection.
So far I have had NO problem with lack of power to any section of my layout.
Also my layout is 32 feet long and 4 feet deep almost the entire length.
So I did purchase one of those overhead ladders and LOVE it. I am 72 years young with both bad knees and a bad back compliments of the US Navy in 1972.
And I love that ladder makes it so easy to reach the back wall of my layout without much strain.
Hope this helps.
John,
You can solder your feeder wires to the rail joiners, then drop them through holes in the baseboard to be connected later. If you want to also solder the joiners, just make sure the feeder wires are held in place with some upward pressure as they might come undone due to the heat of soldering the joiners.
The best solution, and not the easiest, is to redo your layout as you suggested and put the buildings in back with the track in front. This will give your layout a sense of depth and make your trains more accessible. Moving the track out of the corner may also allow you to increase the track radius, which is another advantage.
As for soldering in restricted space…..Don’t! Take a look at PECO PPCPL80 leaded rail joiner, already has the wire attached. $13.35 on Amazon
What happened to the beautiful pen and ink drawing? I would purchase one.
Could you print the email address/contact info of the individual so that those of us who wanted a copy could contact him?
The more I think of it David’s suggestion maybe the best way to go. I don’t know if Al is a me to add a couple of pictures I sent him or not. One the pictures shows the dowel supports for the elevated track. They are 3/4 inch dowels with a center hole for feeder wires. In some cases there is only one track and thus only a support with two dowels needed. The max is when two tracks are side by side requiring four dowel supports. These supports are already in place which as currently designed dictate’s where the wires need to be soldered probably making a redo more since.
John, Lots of good suggestions in previous comments. Atlas makes track connectors with pre-soldered wires and I plan to use those everywhere when I make my layout. It might be a bit expensive but I feel that it’s worth it to reduce the amount of soldering needed. 3M also makes “suitcase”(?) connectors that attach to the buss wire penetrating through the insulation so they do not need soldering to power the track and I plan to use those.
i have an old office chair that sinks all the way down and allows me to lean back a little and slide under the layout.