Ed has been in touch with some very clever model train wiring tips:
“Some Uses for old 9V batteries.
One of my favorite aspects of the Model Railroading community is the common desire to “Let nothing go to waste.”
I also love the fact that projects that are both innovative and money saving are made from items most people consider trash.
With that in mind, I offer a small tip.
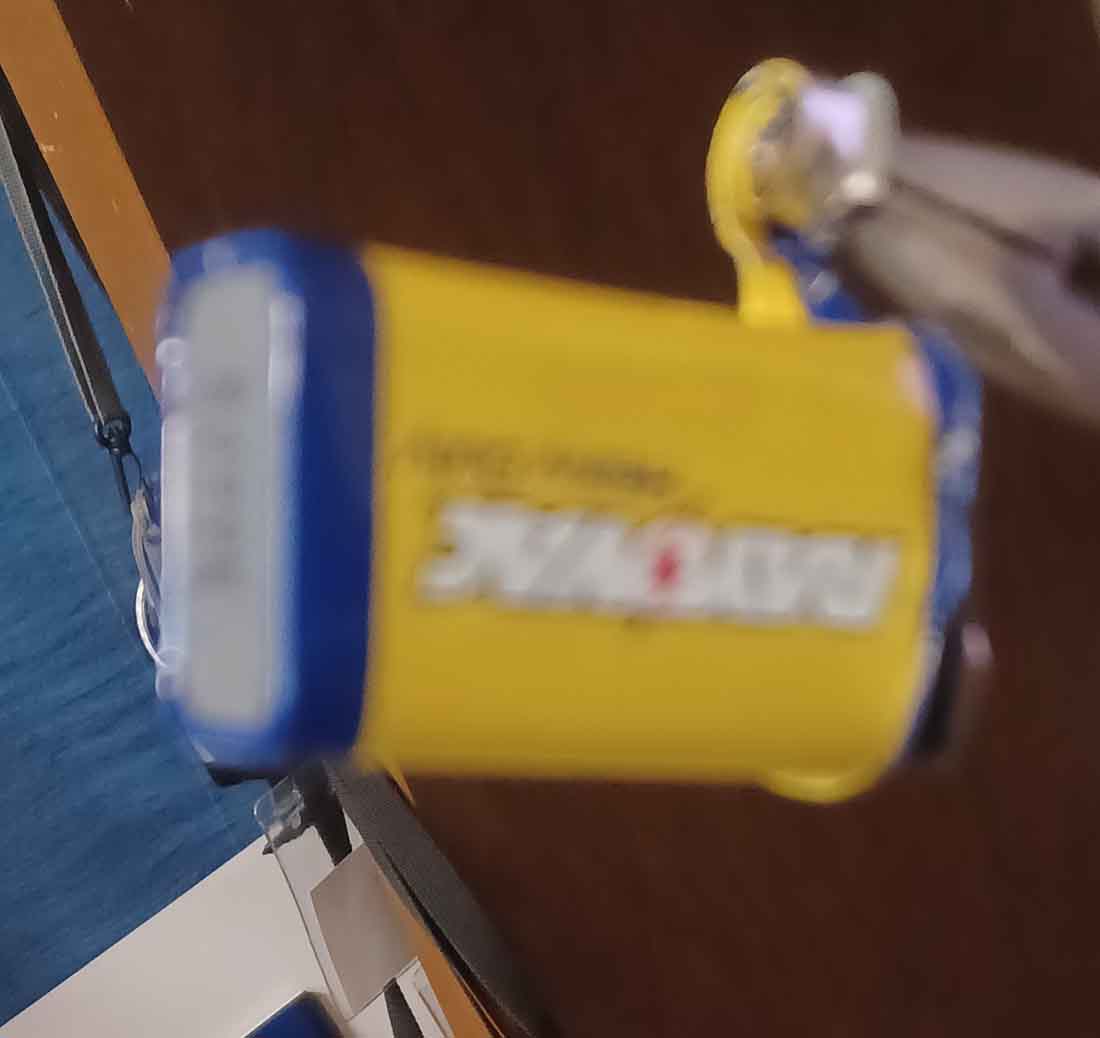
Here is what I do with old 9V batteries (usually collected when I replace the batteries in my smoke alarms).
Note: Sorry for some of the blurry pics; but you should easily understand the concept.
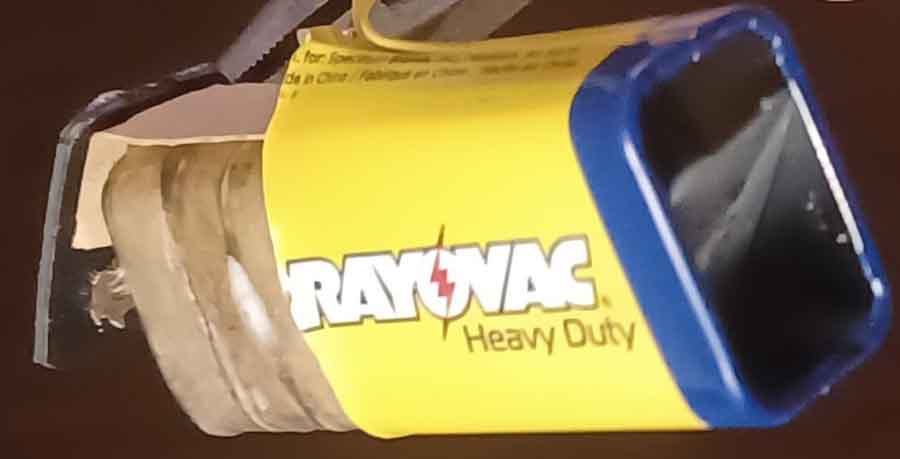
Use needle-nosed pliers to start peeling the case.

Just peel back the case by rotating the pliers (sorry for blurry pic).
(Kind of reminds me how coffee cans were opened back when I was a kid)
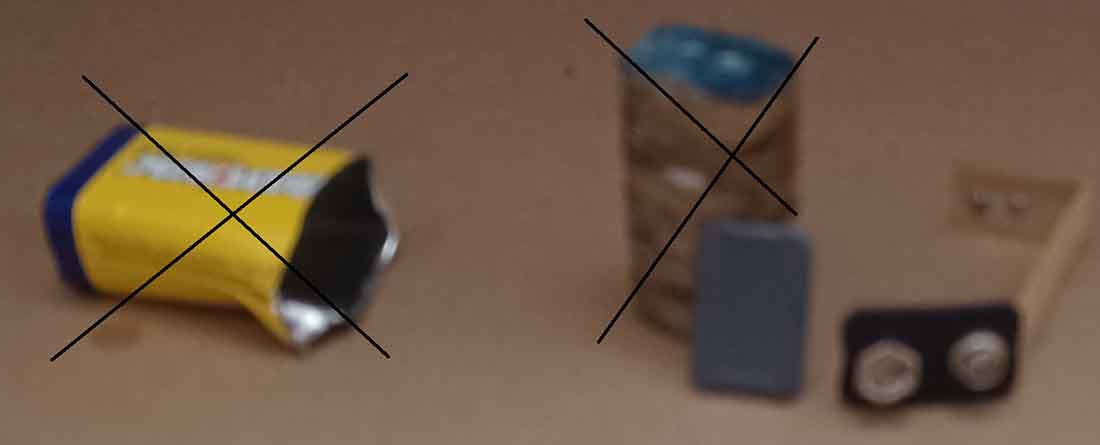
Once the top portion is peeled back, the insides can be easily removed.
Of the four pieces, discard (recycle properly) the case and cells. Keep the connector & bottom insulator.
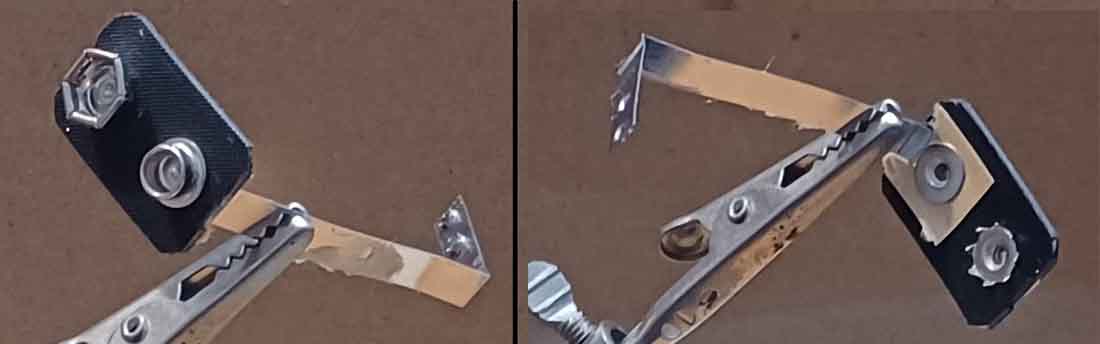
Different batteries use different techniques for their connectors. Below is one type of connector. At times, solder will not take to the metal strips.
Nevertheless, I have always been able to solder to the back of the connectors.
Note: solder quickly, as the plastic frame can easily melt.
Once wires have been soldered to the connectors, you can hot-glue the insulator (from the bottom of the 9V battery) to the back. You now have a connector suitable for 9V batteries.
Using these connectors, I have constructed several simple devices which serve as useful tools.
The best part is that these devices (tools) are powered by the 9V batteries that are too weak to power a normal device (such as a smoke alarm, or a multi-meter).
Some of these devices follow.
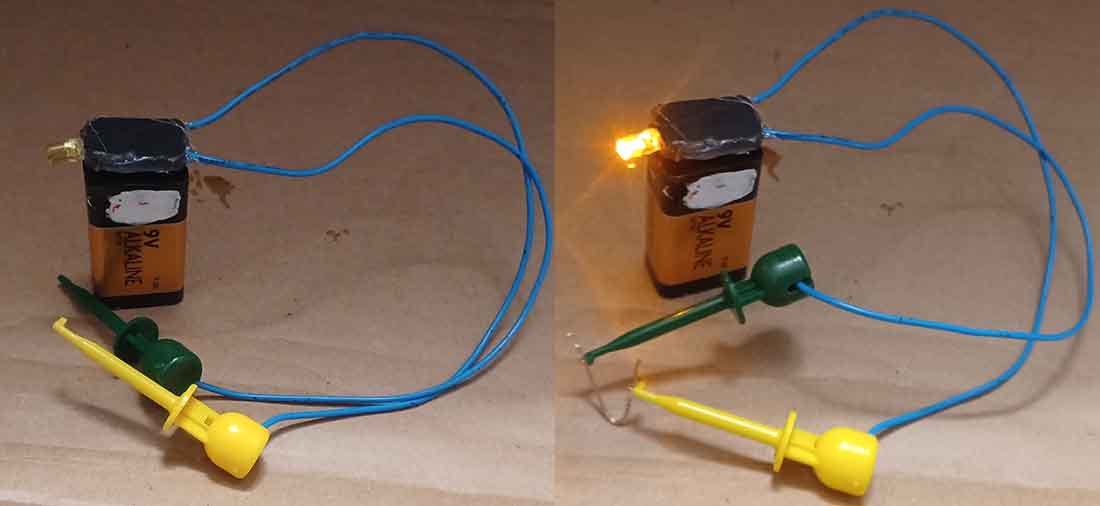
Below is a simple continuity checker. The light is an LED from an old Christmas light string. Underneath the top insulator is a low-watt resistor (1/6 or 1/8 W; most likely 220Ω). Make sure the polarity of the LED is correct before soldering & sealing the device.
Note: I put “white-out” on batteries that are at the end of their useful life (or, just write “LOW” in permanent marker). They are typically too low for the device from which I “rescue” them (the one in the picture is somewhere around 6V). Even so, the LED shines bright.
Here is a good reason for having a light vs beeping continuity checker. At times, I am up late working on a project. My wife, who has already gone to bed, does not take kindly to being woken by a beeping continuity checker.
I strongly believe the next device should be in every modeler’s tool box.
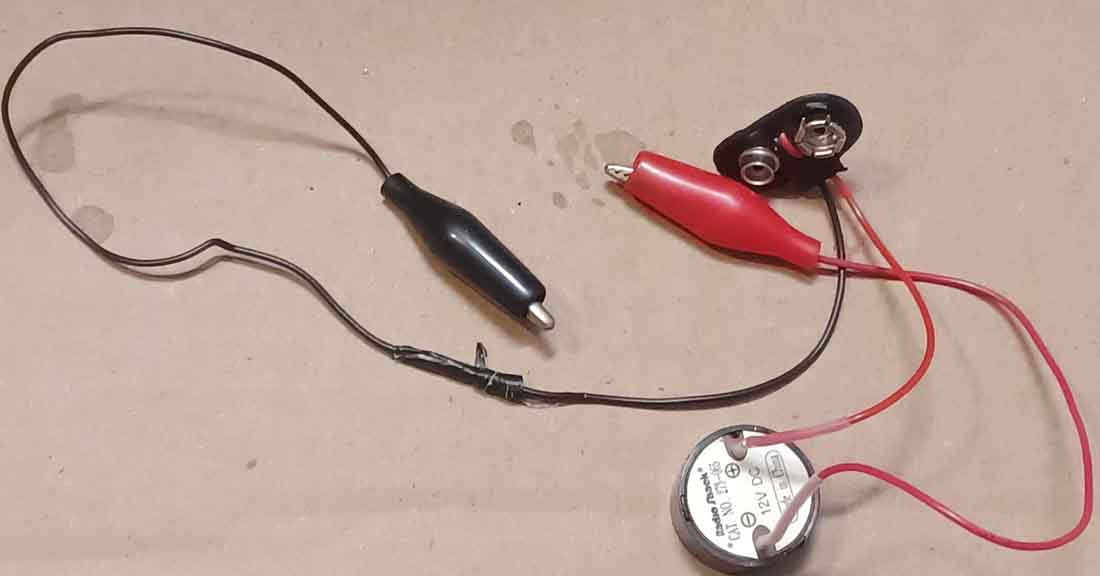
This is my version of a “track wiring checker”, which is no more than an audio continuity checker.
Having this checker saved me from making a track-wiring error that would have taken many hours to troubleshoot (story below the picture).
I made this by connecting a Piezo Electric Tone Buzzer Alarm and two alligator clip leads to a 9V connector (again, make sure the polarity is correct).
I had the alarm in my box of parts. Similar alarms are readily available from multiple interned outlets.
Use this device whenever you are soldering feeders from track to power bus. Once connected to the 9V battery, simply connect the alligator clips to the rails (one to each rail). If you happen to connect a track feed to the wrong power bus (opposite polarity), the alarm will immediately sound.
True story: Working way past my fatigue point, I pushed to finish soldering feeders to over 300 feet of track.
Sure enough, I connected the “A” track feeder to the “B” power bus. As soon as the feeder touched the bus, the alarm sounded. Of course I was startled; not so much by the alarm, but by the fact that I could make such a mistake on such a basic wiring job!
If not for the alarm, I would have soldered & insulated the connection. Of course, once I turned on power, my DCC command station breaker would have tripped & the alarm would be screaming “YOU BIG DUMMY” at me (my translation of the alarm sound). Fortunately, this simple device saved me from that indignation.
If I had made that error, I’m certain the subsequent procedure to find the “short” would have caused me to tear-up a large portion of my wiring project (perhaps even ruining some of my track-work as well). It would have been a frustrating few hours.
In the below device, I put the schematic on the cap (the insulating cap covers a small, low watt resistor). The resistor connects to the negative battery terminal clip, then to the green test lead.
The orange/yellow test lead connects to the positive battery terminal clip
Note: convention would have the resistor on the positive terminal; but electrons don’t care where the current limiting resistor is (I wired this up quickly many years ago).
I use this device to test an LED for both operation and polarity (especially for salvaged LED’s; something I love to do).
I also use this device to test LED modules I build (prior to connecting to permanent power). This device easily illuminates circuits containing several LEDs; even given the fact that power is supplied by a 9V battery at the end of its useful life.
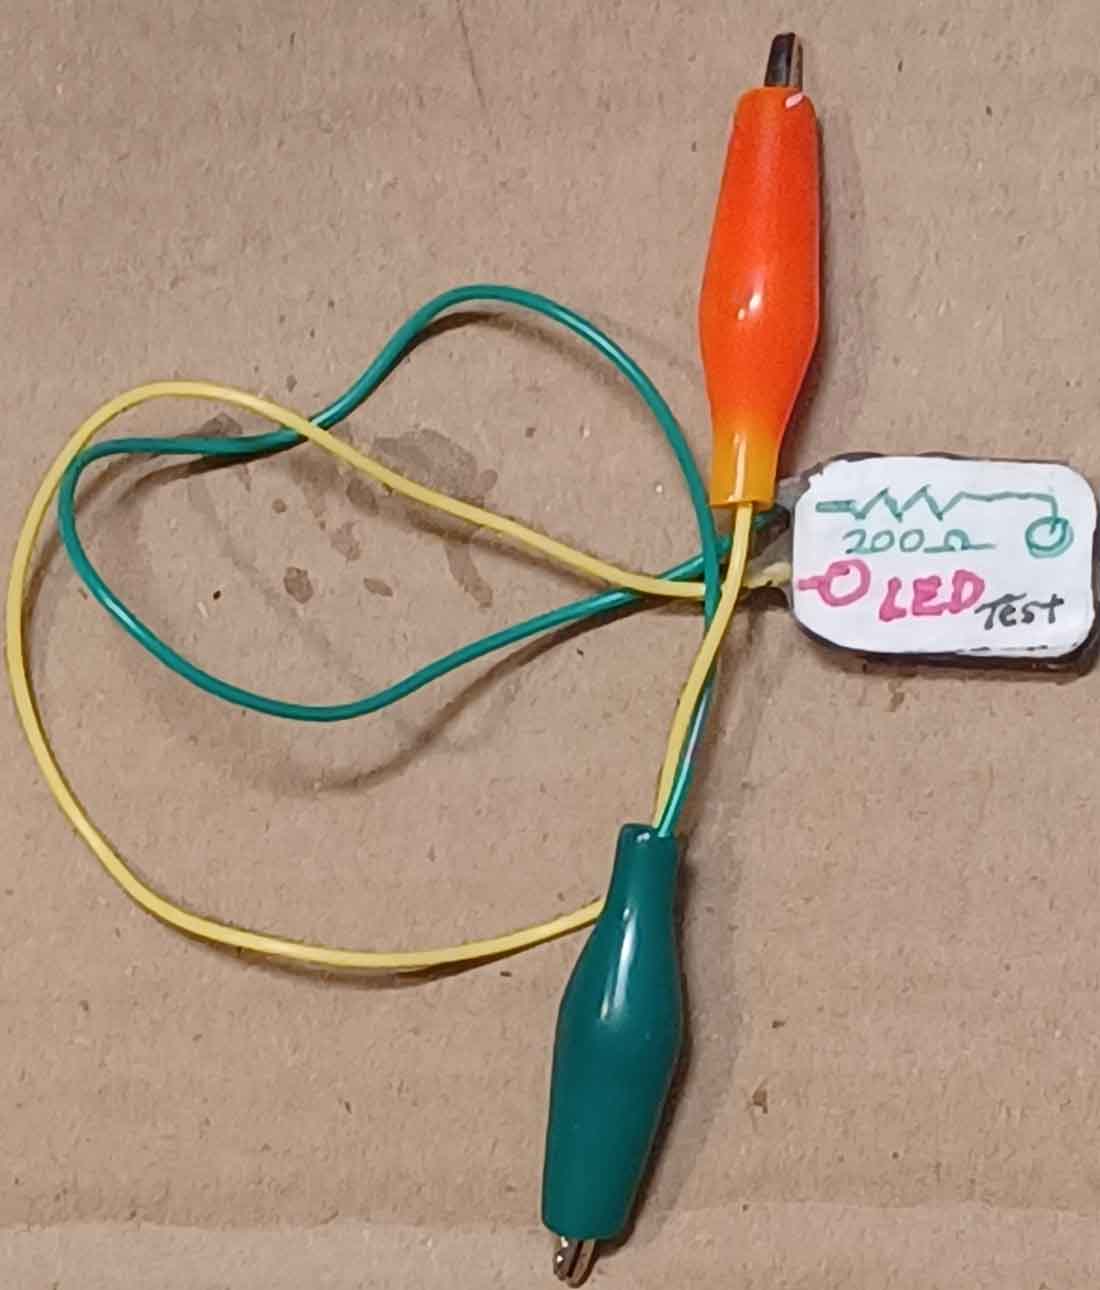
Note: remember, for new LEDs, the longer lead connects to + side of power).
Ed”
A big thanks to Ed. Some very clever and resourceful stuff.
When it comes to wiring, I always think of Rob’s post:
That’s all for today folks.
Please do keep ’em coming.
And if today is the day you send boredom packing and join in the fun, the Beginner’s Guide is here.
Best
Al
PS Latest ebay cheat sheet is here.

No derogatory comments intended but seems to me this might be only a good exercise to sharpen electronic skills. I have too many Simpson 260 and Flukes galore. So you have a dead battery and use for diode and LED, transistor (what are those?) testing that goes really dead, unknown- what then?
Also very carefully do any soldering with lithium and wafer batteries… have nasty habit of exploding if shorted. I’ve just done all these things already is why I know of such. Lucky nil voltage on the 9 volters also. Have seen arrays used to ignite camp fires in emergency conditions, play safe…
Regards, Rich
Ed
Very clever stuff here. Those connectors have many applications and they were always thrown out- Not now. Thanks
Thanks Ed, now I have a use for the dozens of 9v batteries we remove, barely half used, from wireless microphones because we don’t want to risk a dead battery during a performance!
Hi Ed,
I like the electric checking devices you have constructed. I believe it would be easier to purchase on EBAY (20 pieces) 9V battery cap with leads for $7.49 with free shipping. Unless I am missing something you will not have to take the retire 9V battery apart. I feel this makes the entire quicker and easier.
Very interesting article, ed. I have to agree with Frank’s post that tearing apart old 9V batteries to salvage the connectors seems a waste when you can buy them on eBay, Amazon or Walmart for less than $10 for 10 to 20 connectors. They do vary in quality: some only have a bit of soft vinyl as insulator for the battery clips while others have hard plastic two-piece ovals that would stand up to heavier usage. Still, I appreciate your detailed instructions and photos. And, of course, finding a use for low but not totally discharged 9V batteries is very cool! Thanks for sharing!
ED….great idea……. nice work….. will try and use
food for thought
My old Radioshack VOM uses a 9v battery. I occasionally rotate it, and recycle everything else.
nice info.
This is a good tip. Salvaging the connectors for 9V batteries would not have occurred to me. I will remember this; someday, I can use it to give new life to all the fire alarm batteries I discard every fall. Rob
Ed, that was a great example, using the Piezio emitter to catch the wiring fault!
Thank you for the information on the 9 volt batteries.
Great information Ed.
I will be getting stuck into those old batteries from now on with extra gusto.
Some really good ideas there.