Jim’s been back in touch, with more details on his ho scale train shelf layouts:
If you missed his last post, it’s here.)
“Hi Alistair. Jim from Cape Breton again.
In response to the fellow who wanted to know more about my layout, here are some facts.
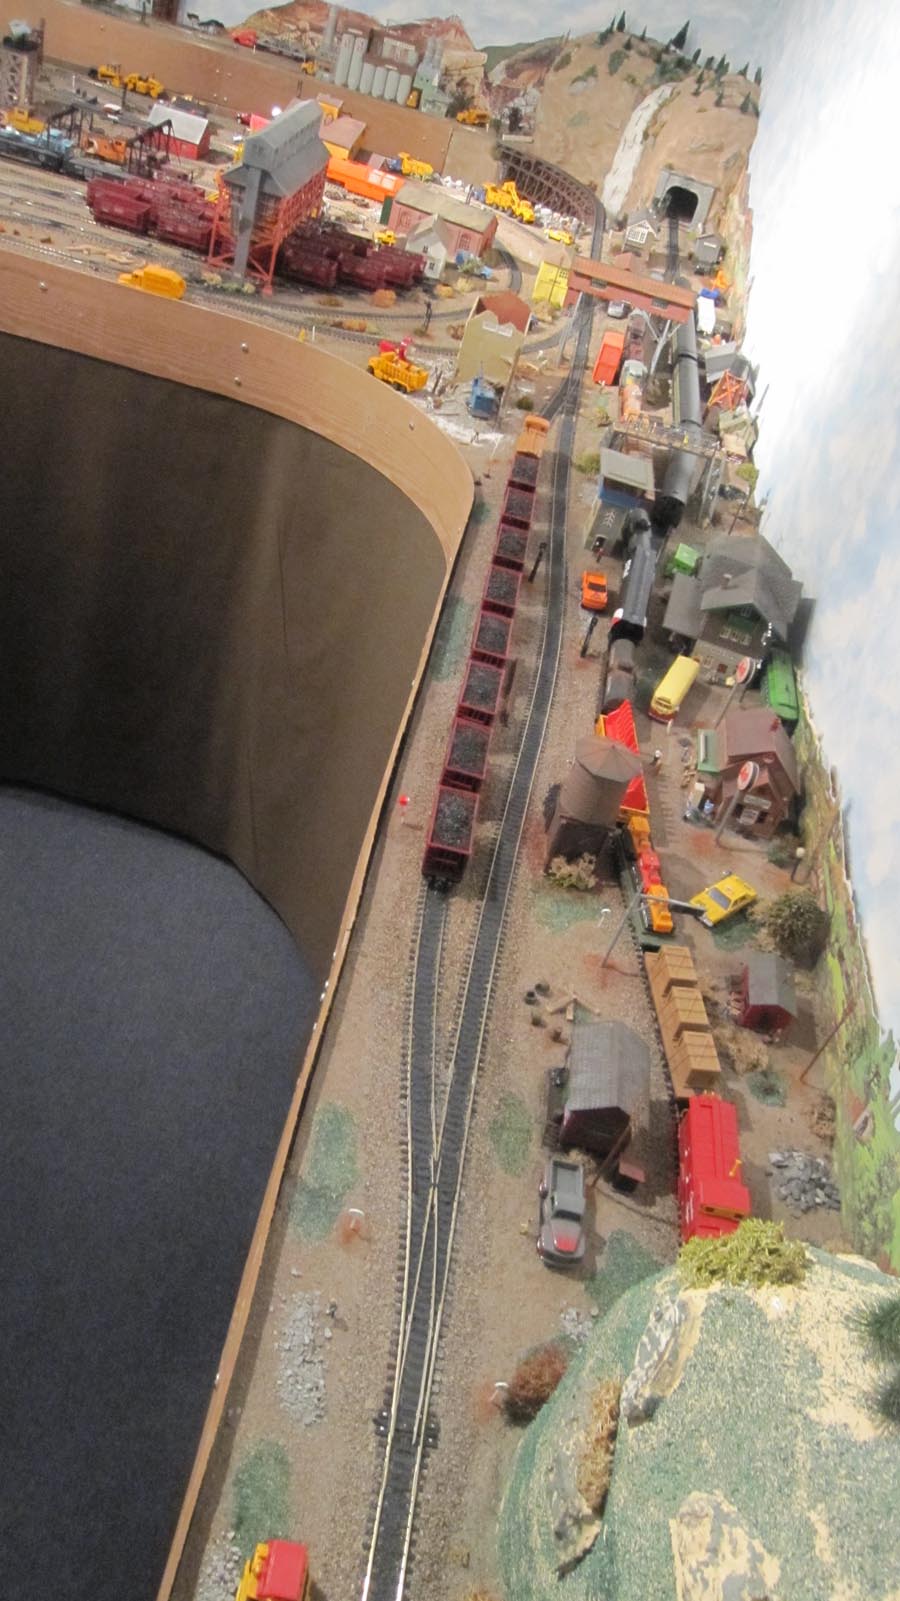
The layout is in a 12’x14’ room.
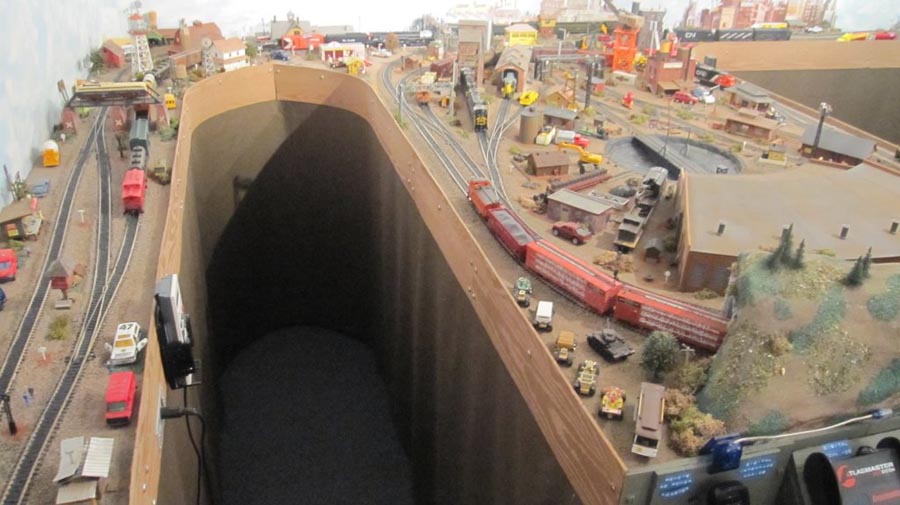
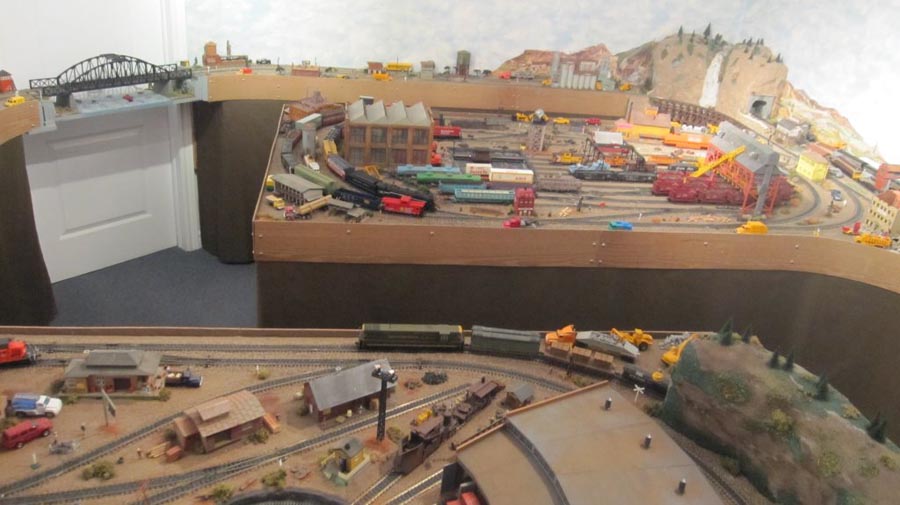
There are 14” wide sections running along the 4 walls & two 4’x8’ sections, joined to the 14” sections, coming out perpendicular from the 14’ walls, offset & opposite each other.
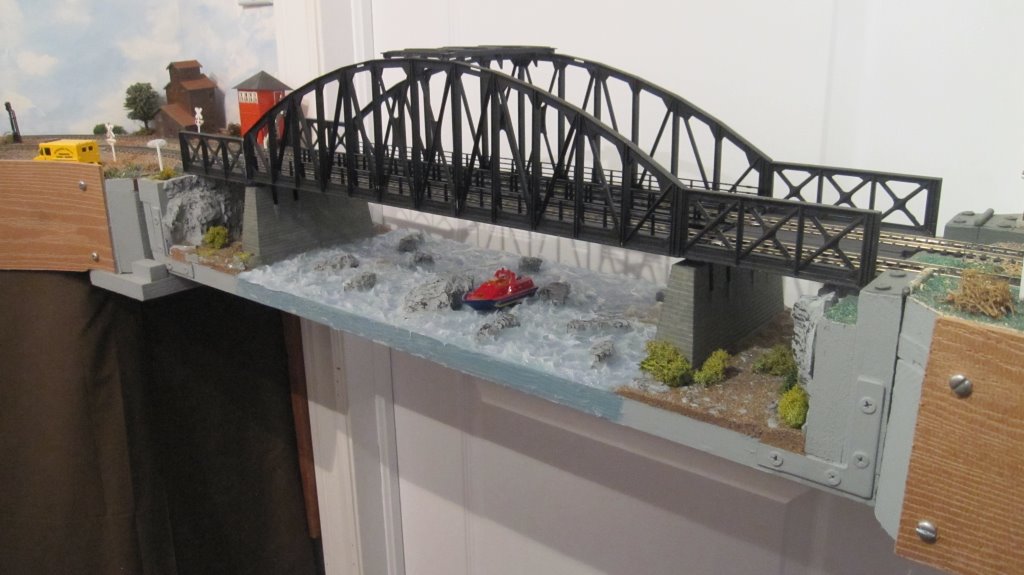
A 2 track bridge, hinged on one side, at the room’s doorway provides entrance & egress.
The access walkways around the layout are from 26”-40” wide.
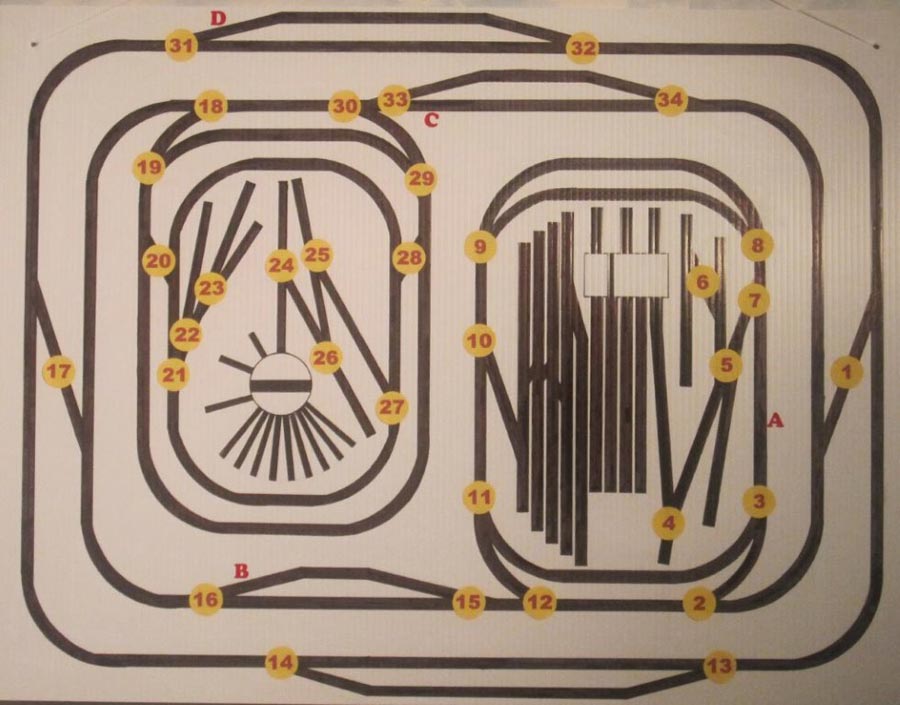
The track plan diagram shows the location & number of the various turnouts & electric de-couplers.
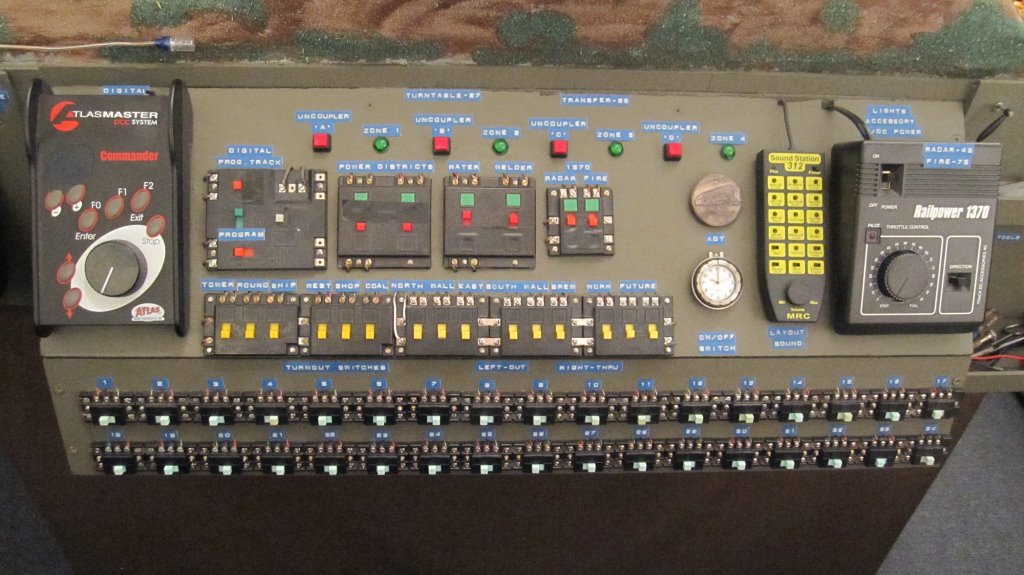
The control panel is pretty well self explanatory. I originally started out with the Atlas DCC Commander system & eventually expanded with Lenz DCC, which manufactures the Atlas components.
There are 4 plug-in controllers at different locations & one cordless telephone controller.
The locomotives are sound equipped & the layout buildings are wired for night lighting & the room has a dimmer switch for it’s lighting.
Thanks.
Jim.”

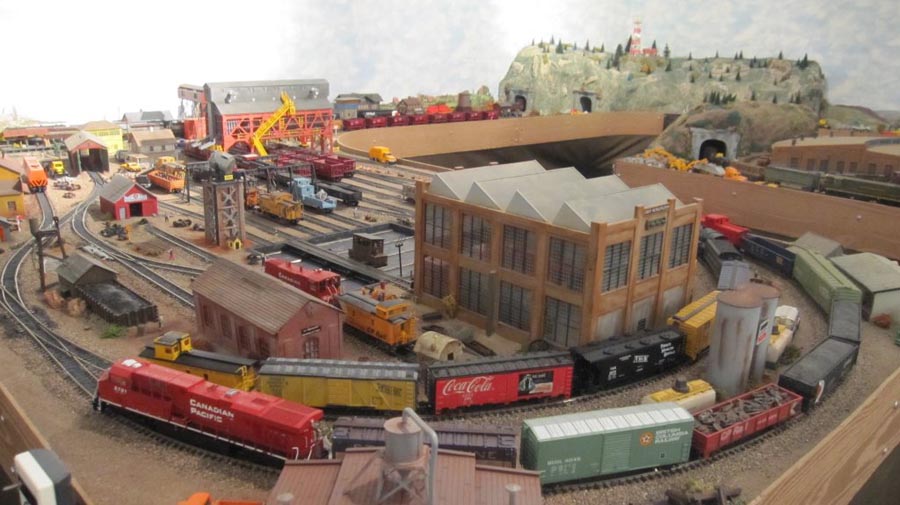
HO scale train shelf layouts:
A big thanks to Jim for taking the time and trouble to answer those questions, and adding to the HO scale train shelf layouts.
If you missed his last post, it’s here.
And if it’s given you an itch to get going on your dream layout – here’s a great place to get started.
If you have a video you’d like to share, youtube is your best best – then we can all see it!
That’s all this time folks.
Please do keep ’em coming because it’s getting a bit thin on the ground this end again.
Best
Al
PS Latest ebay cheat sheet is here.
PPS More HO scale train layouts here if that’s your thing.

Great work. Could you share a rough fix on the cost?
Thanks
Sundaram
unfortunally email was only designed for text. it can;t handle modern video files . upload them to youtube and email a link.
How does the bridge work? Track alignment, etc.
Jim, very nice layout . The control panel is exceptional ! Nice work.
…………………………………………Fitz, from near Philadelphia PA US.
groovy layout
keep em runnin fellas
st john in long beach
What an inspiration the finished layout is. It’s easy to figure out the traffic pattern. The whole layout leaves nothing to question. Smashing work! U.S. Tom,
Nice layout, loved the control panel.
Paul
Hi there,
Great model railway!
Could you tell me how you did the bridge lift-up with hinges?
Will have a spare room soon, but like you will need a lift out or hinged entrance part to my layout.
cheers,
John
Nice. One should always appreciate having the space and feel good for making the best of it. And you have. Great work.
Jim AZ
Very impressive layout Jim, lots going on to keep you busy. Love the details, thanks for sharing. Cary from Maryland
Great layout………….great scenery detail and I love that control board………really nice job.
I would like to know what the minimum radius is.
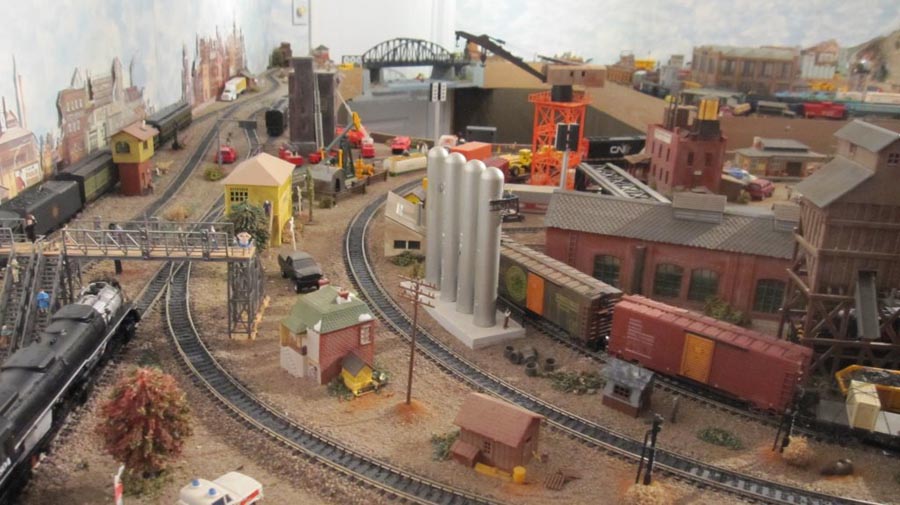
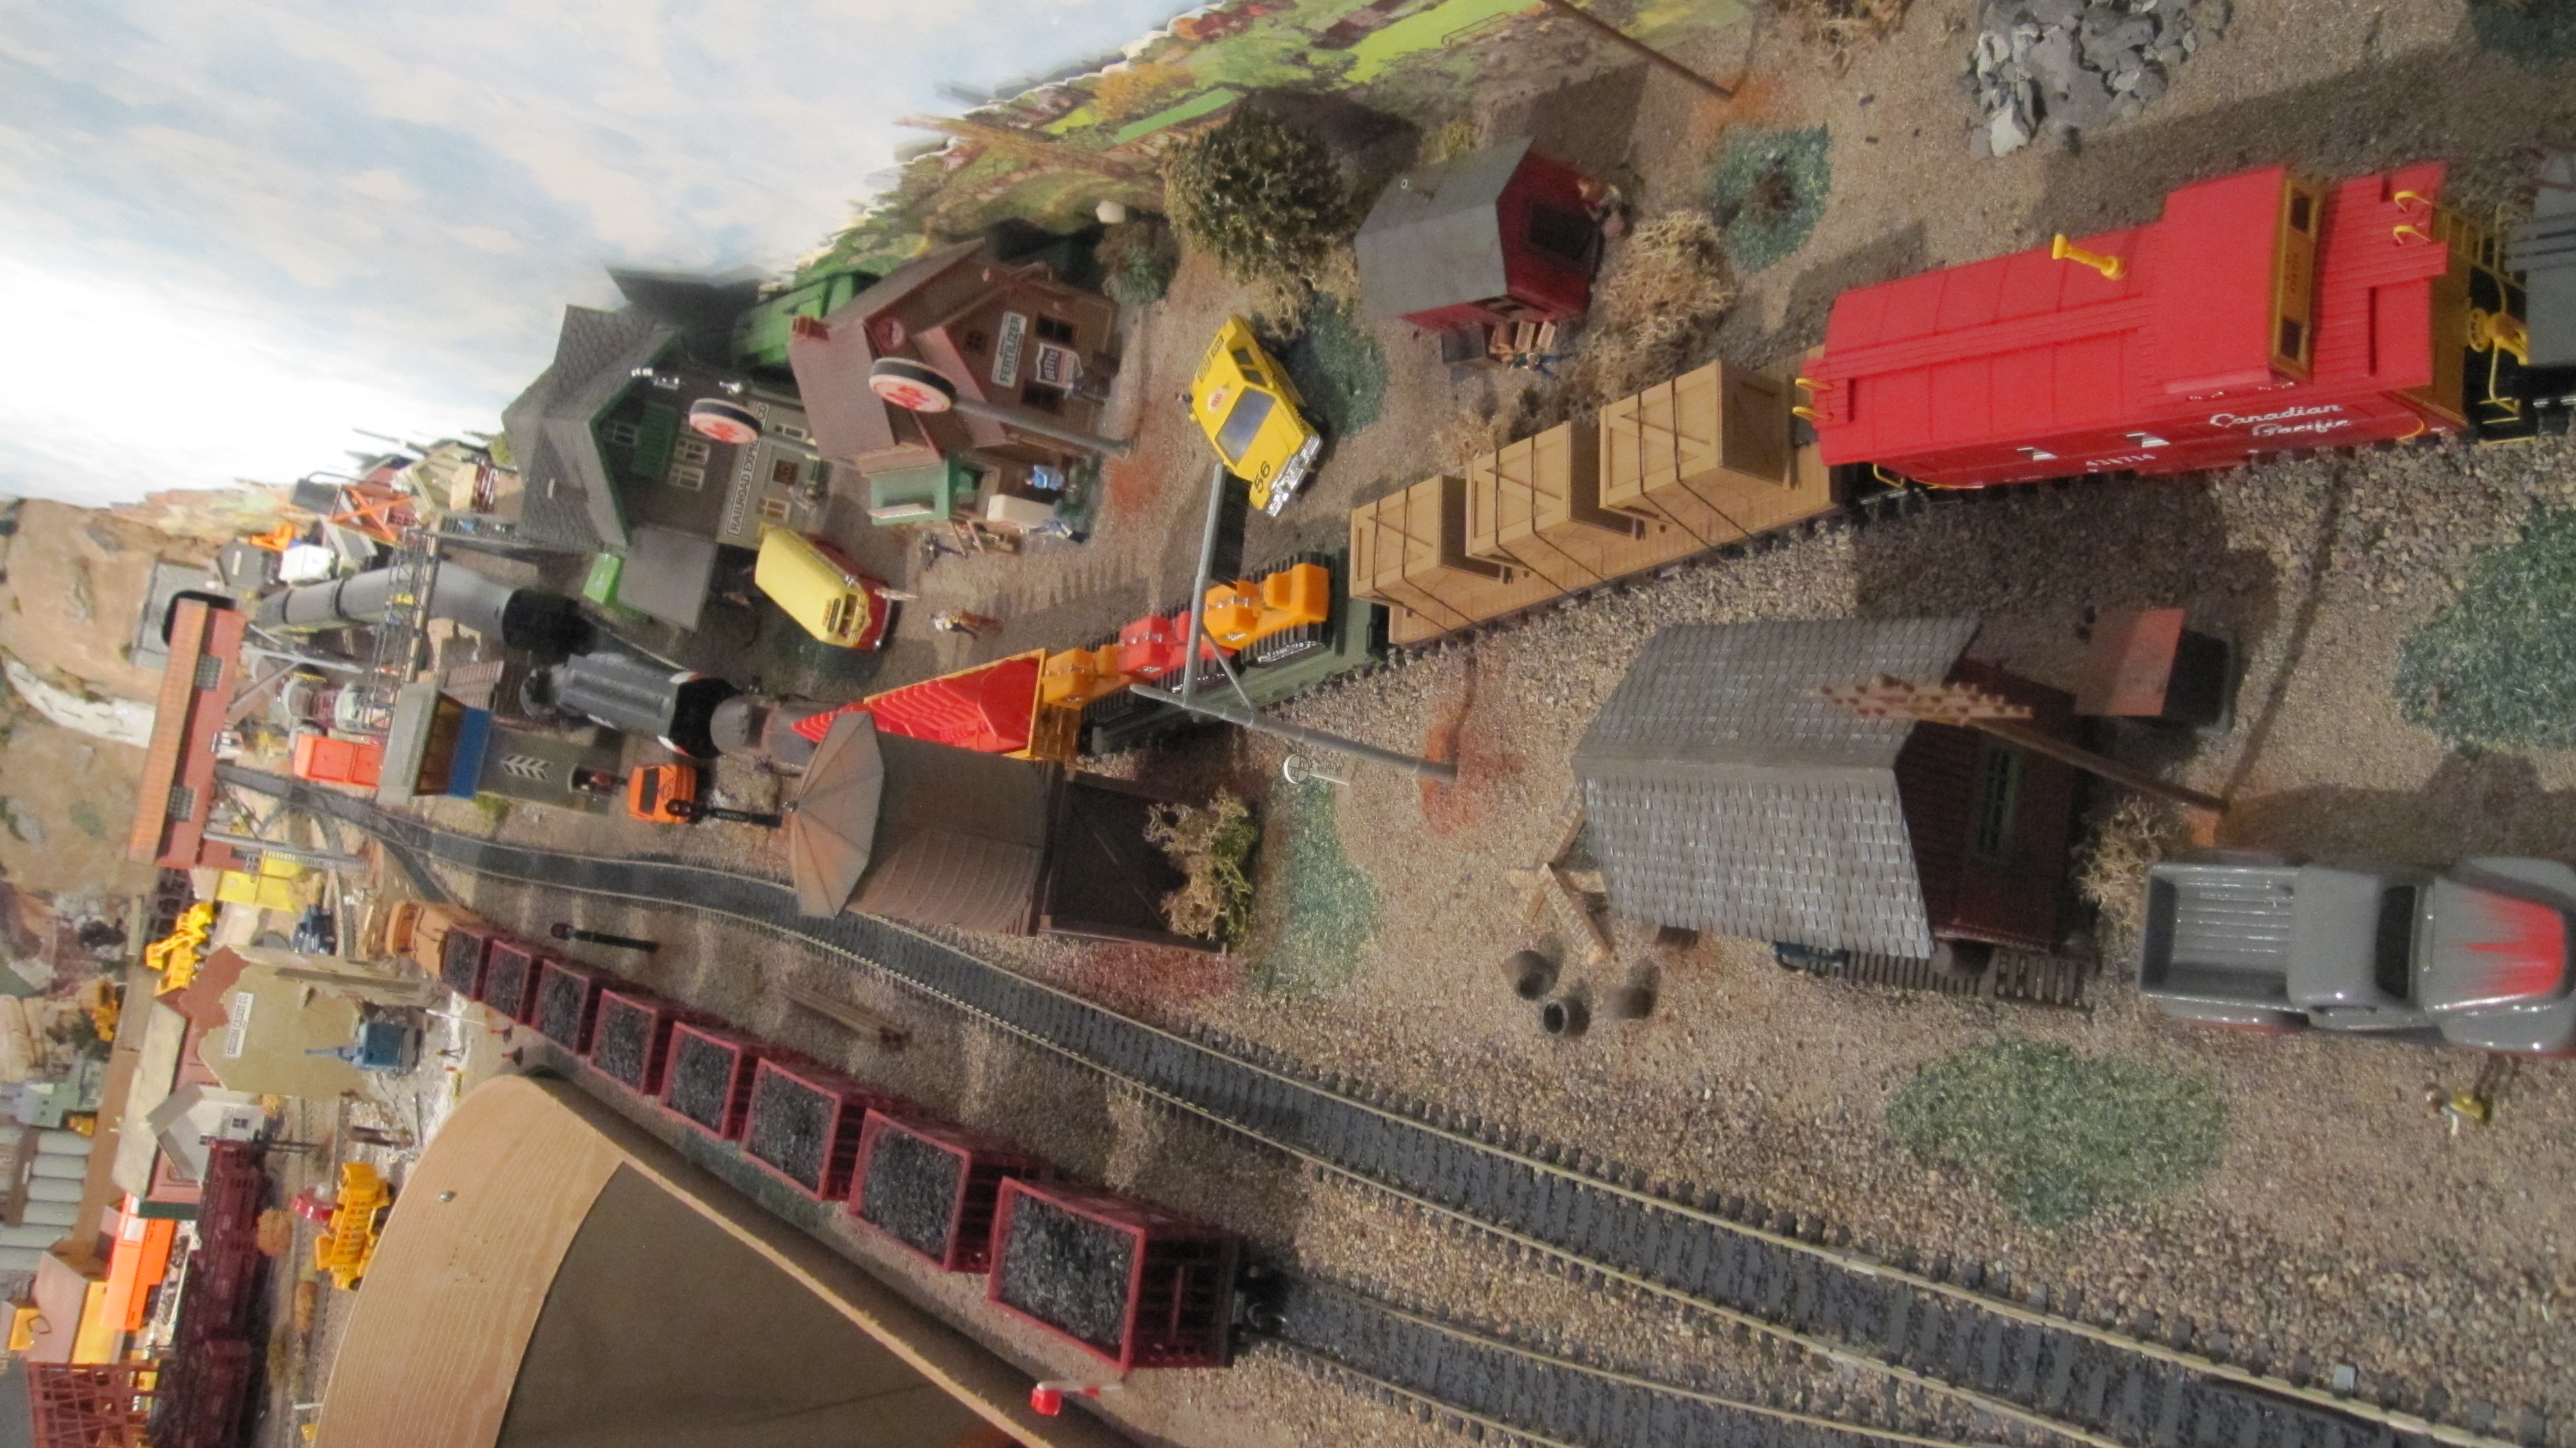
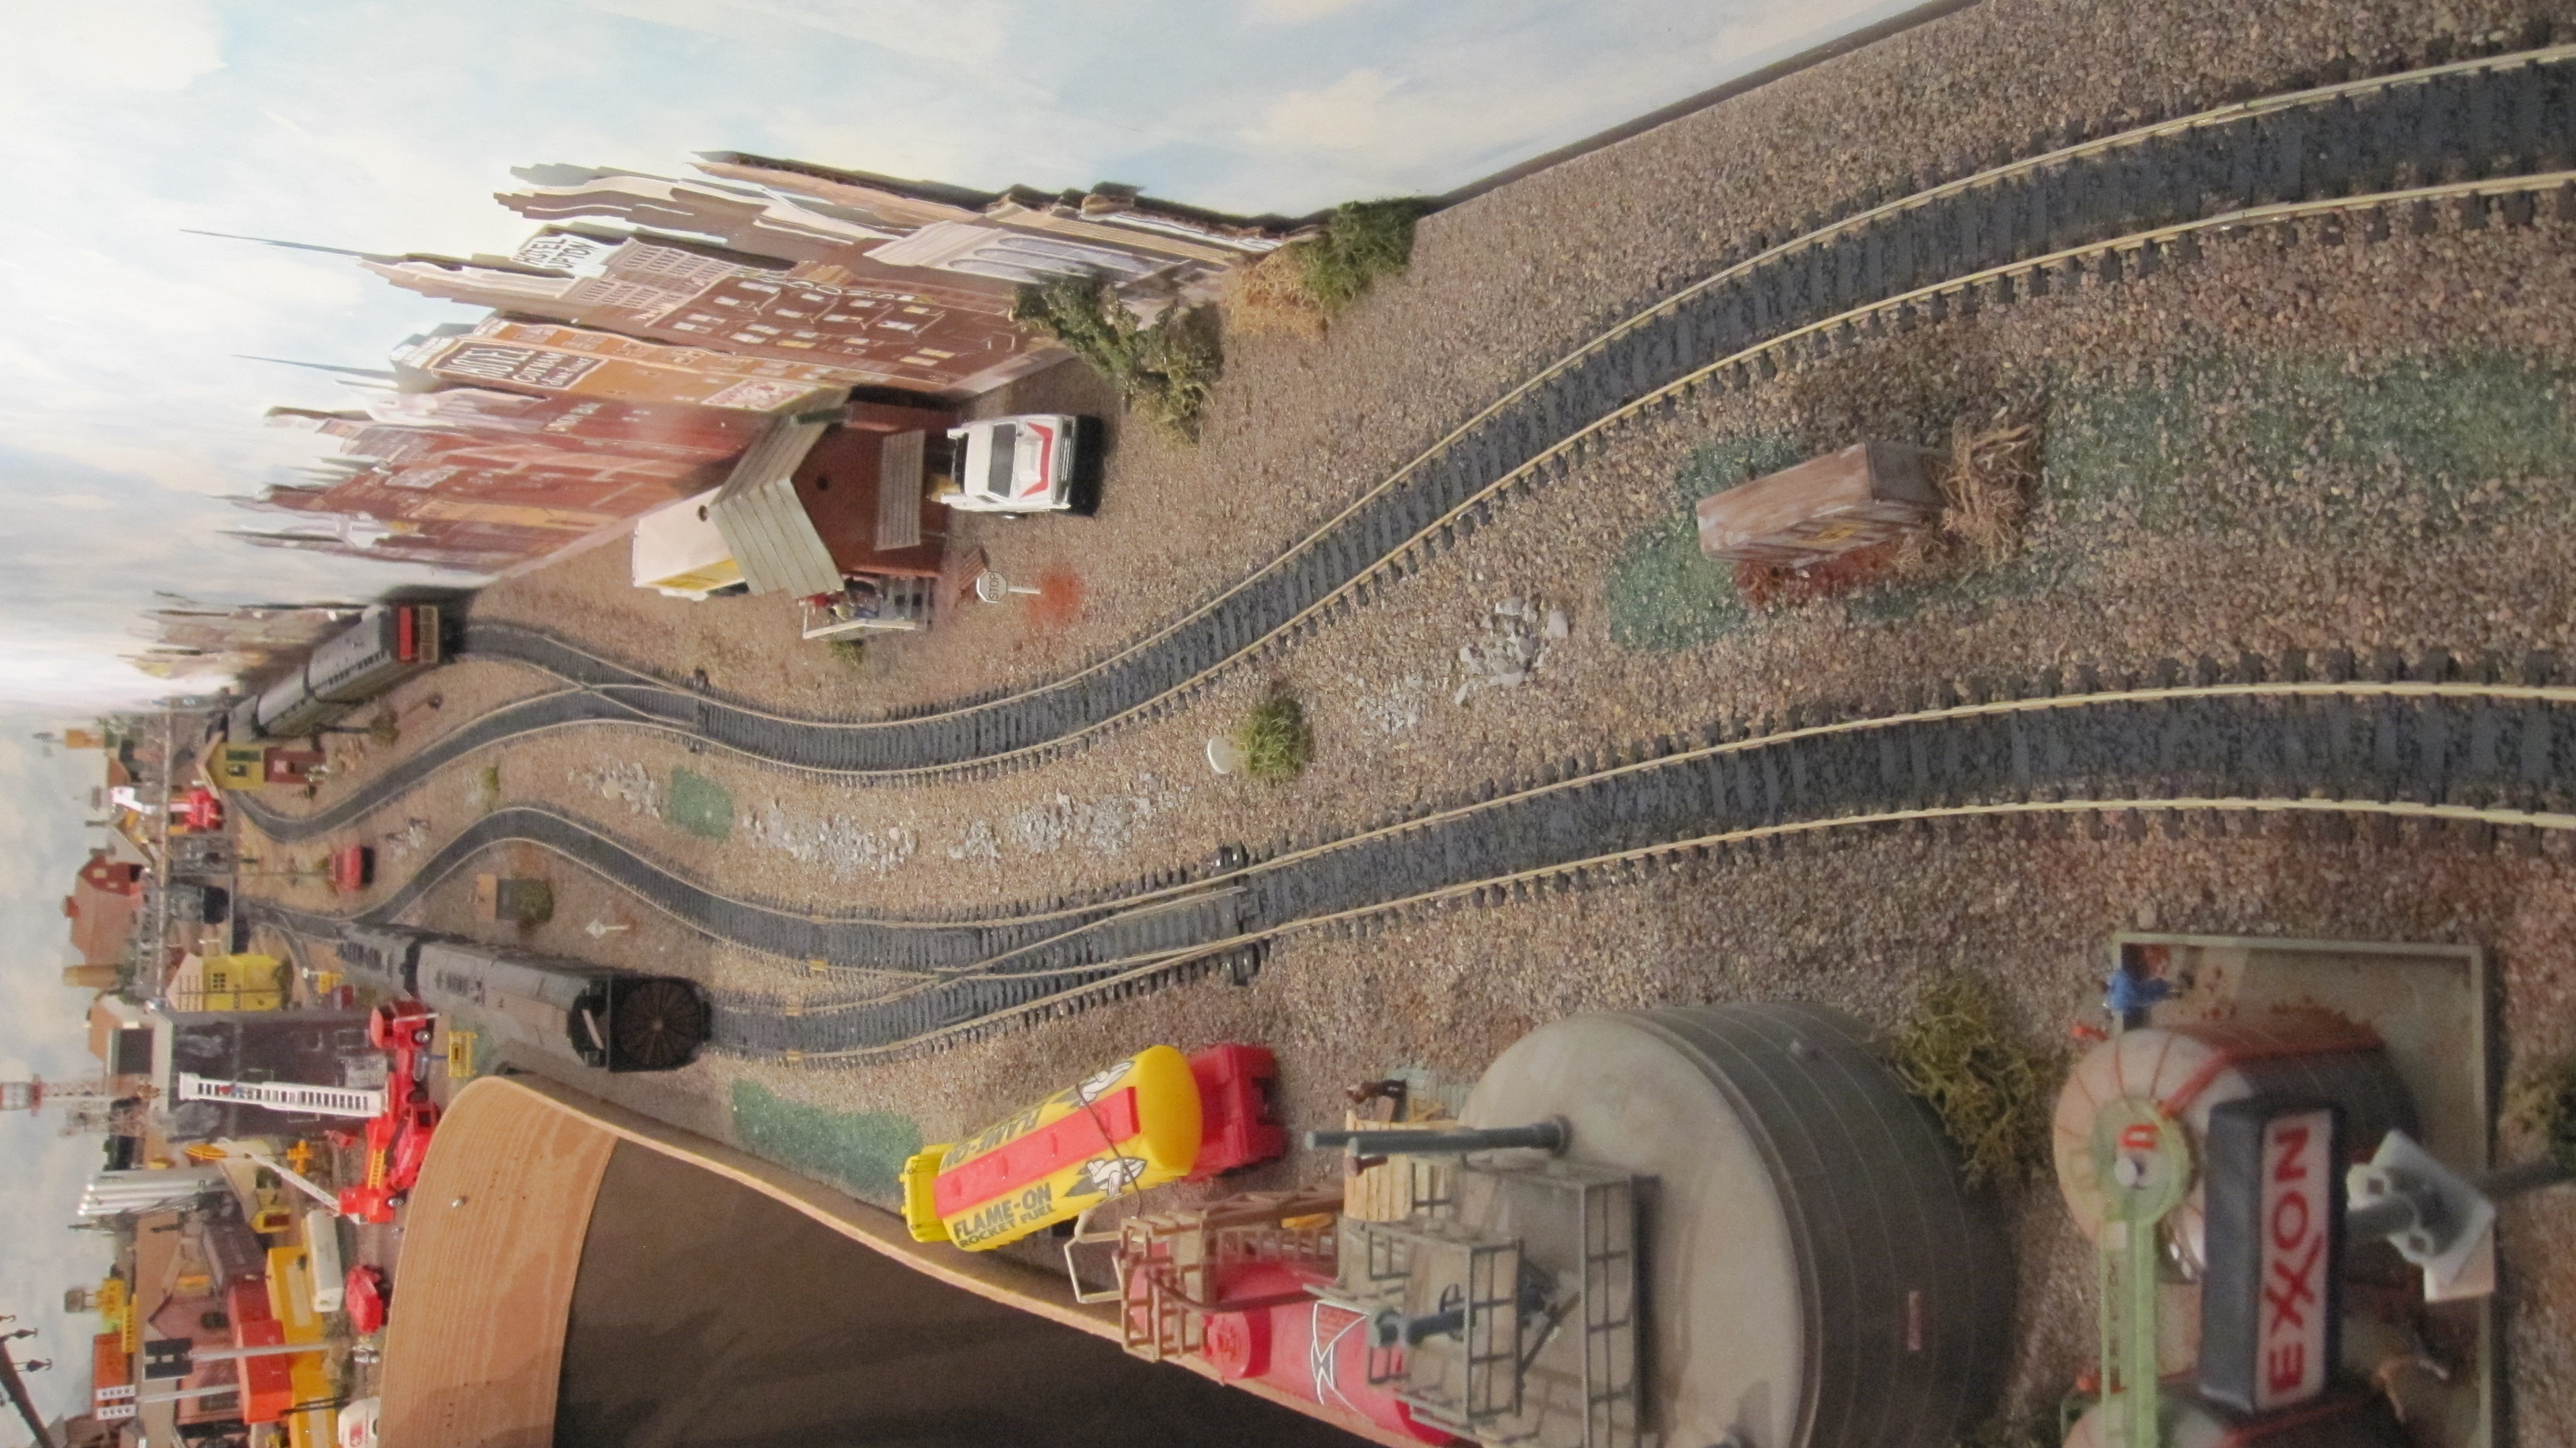
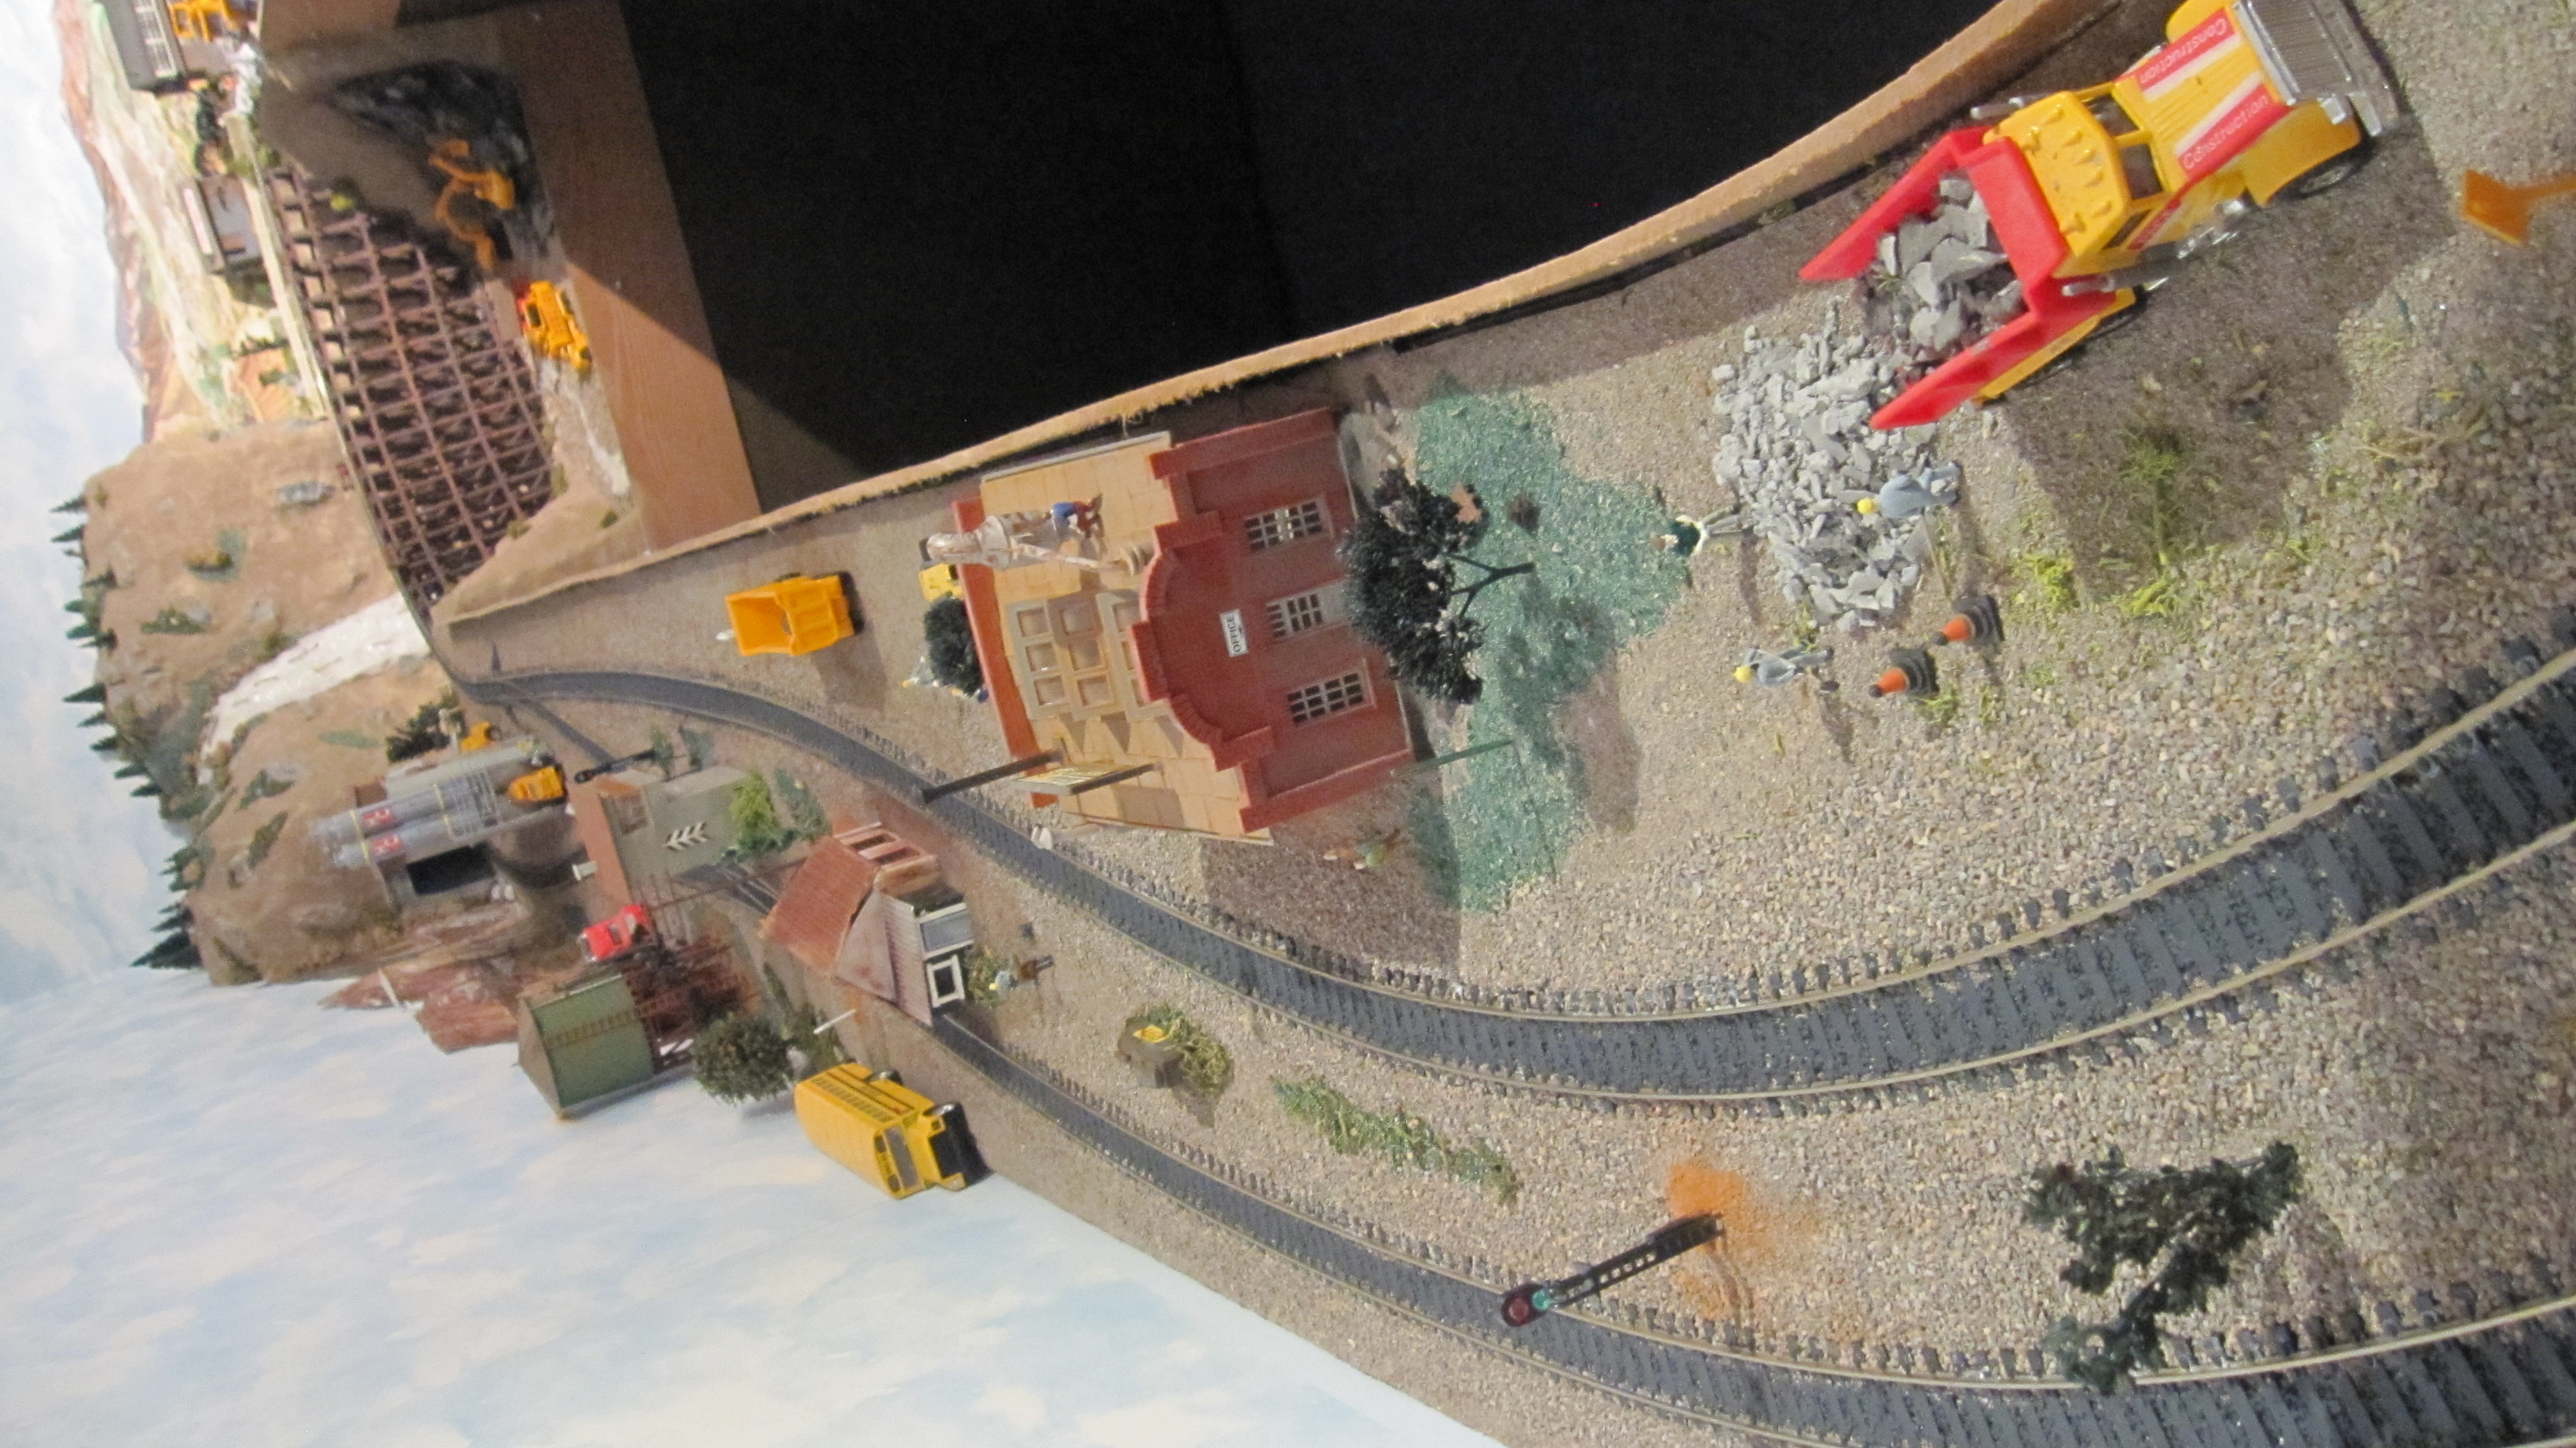
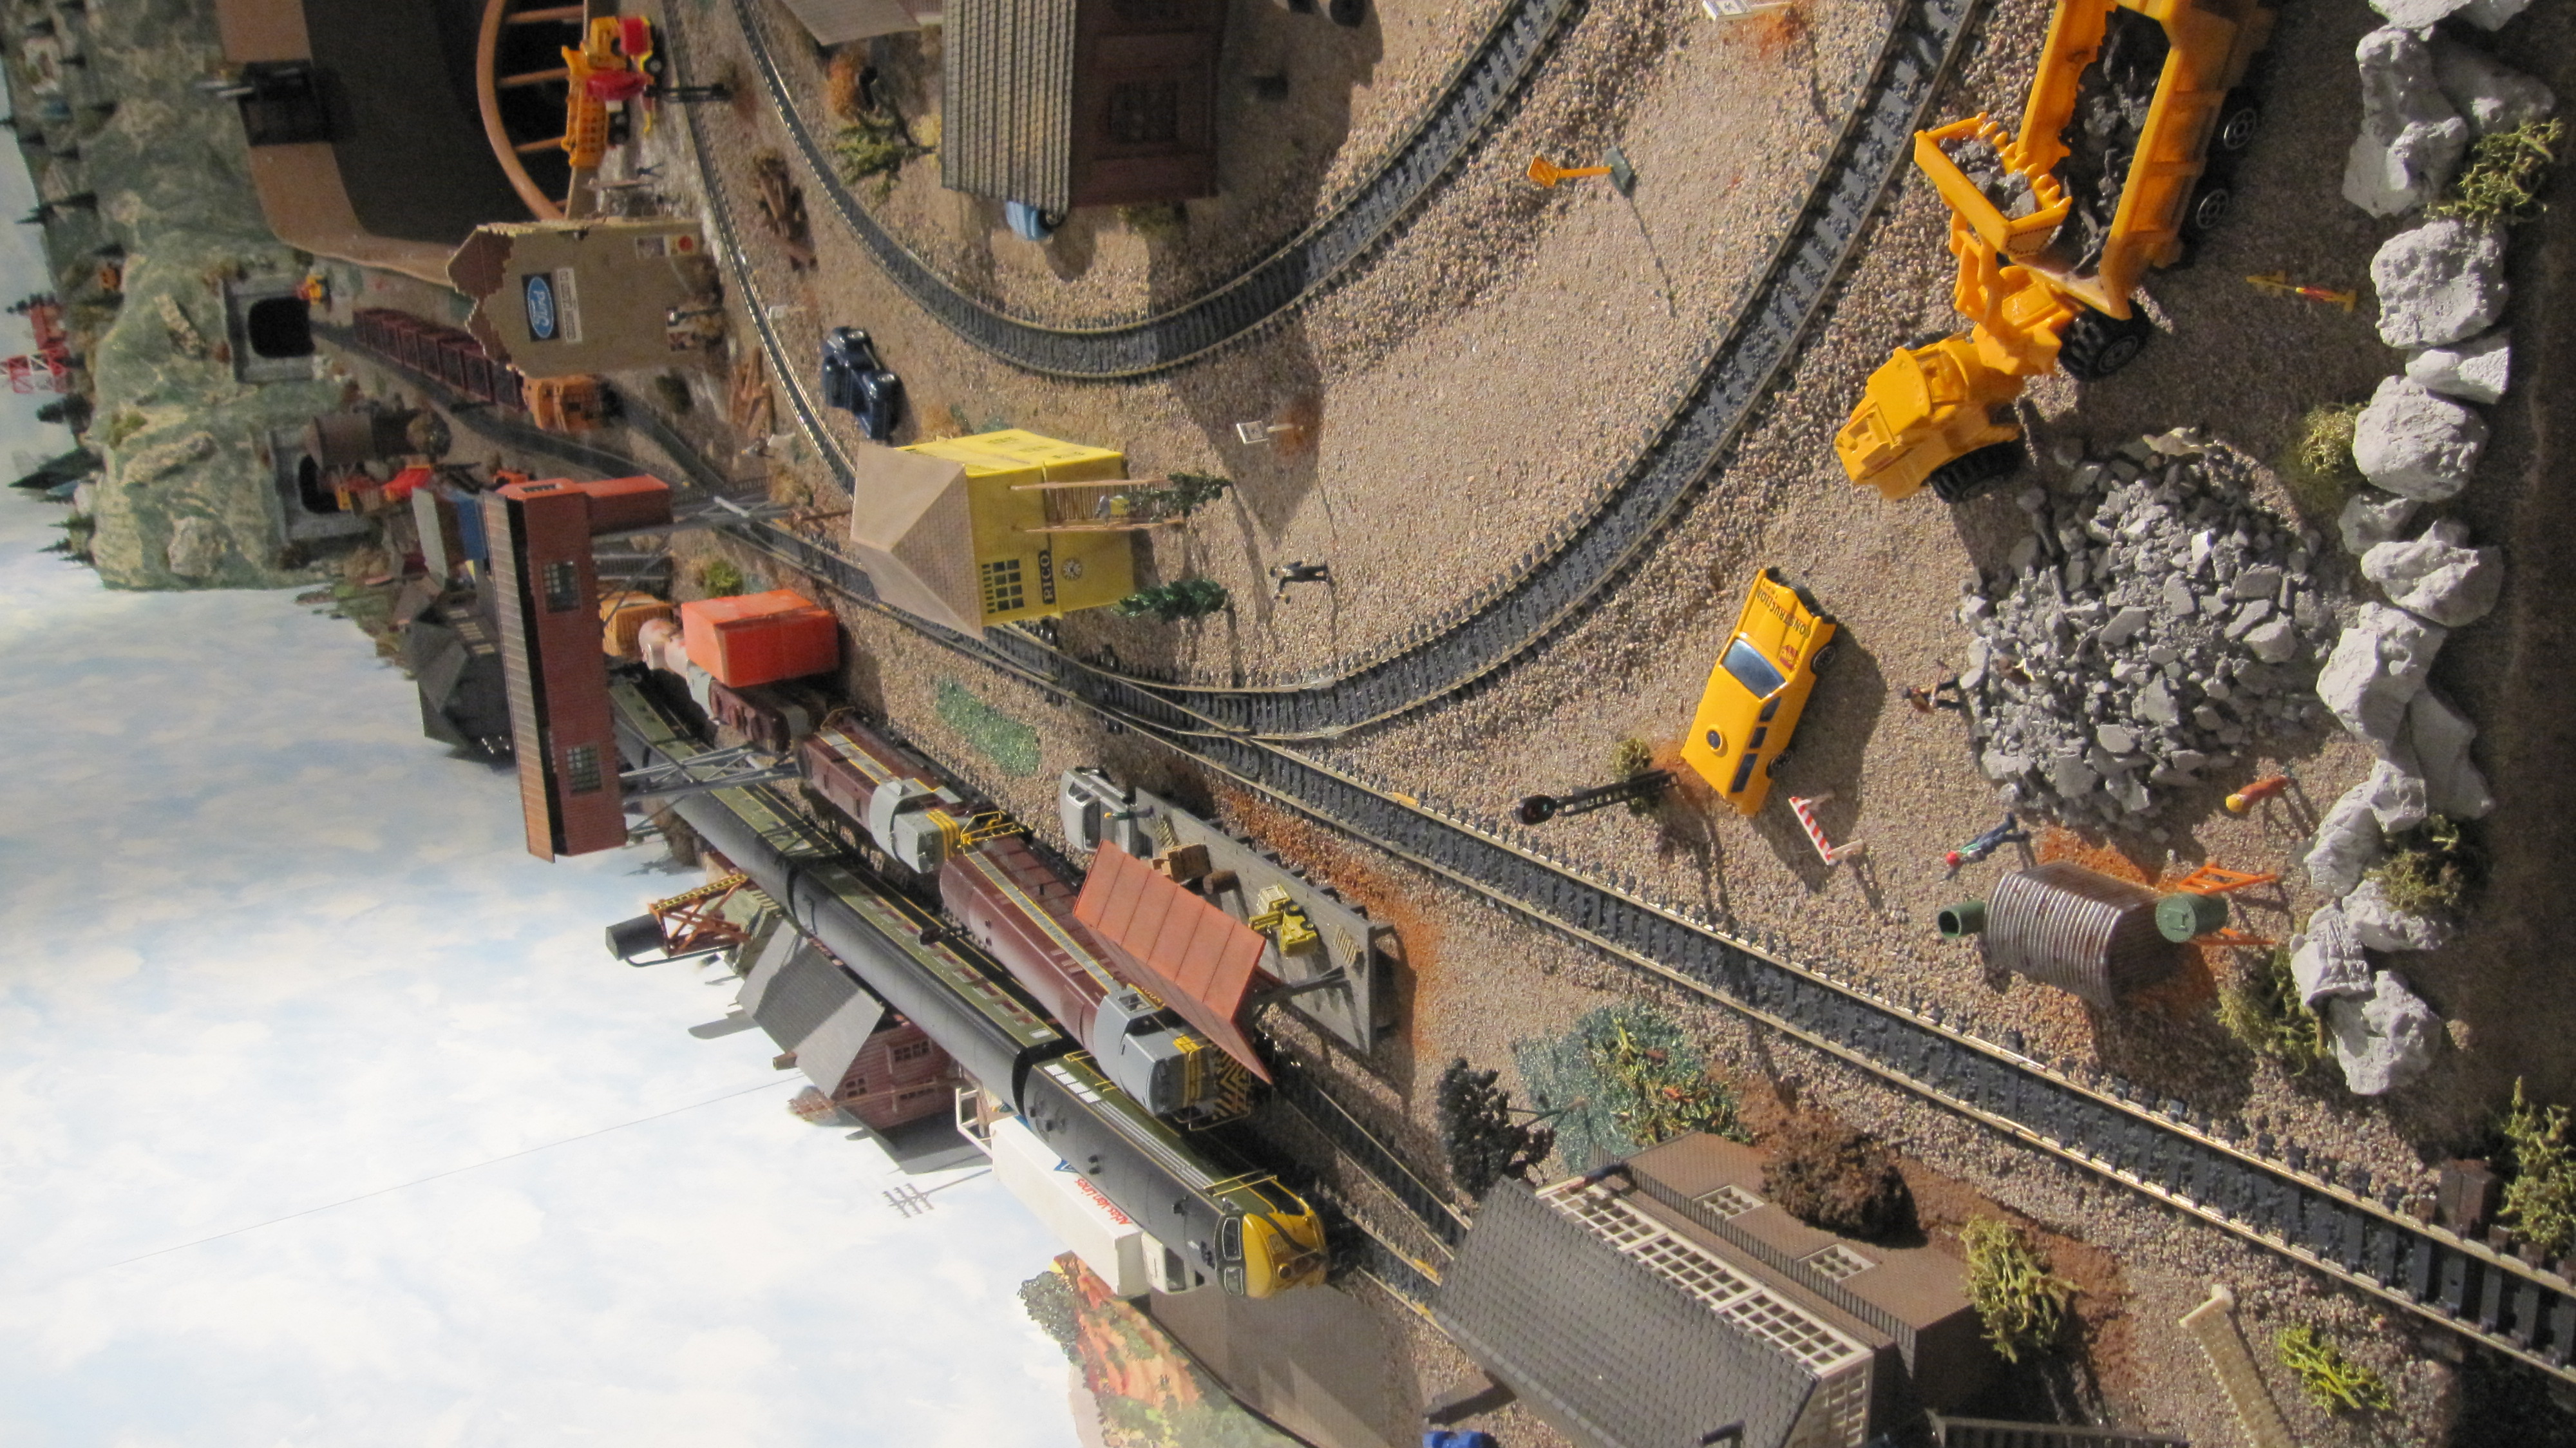
Great Layout! And Photos.. Covers various industries that would generate a lot of tonnage traffic. As well as passenger service.. Guess he is using CTC System for the Railroad, as there is only one main line. As with many of us, looks like he is using Atlas Brass Snap Track. If you had tunnels, suggest using Nickel Silver Track for better electrical connection issues. The Curves by looking at the provided photos appear to be at least 22 deg rad. As that is the min. passenger cars would take if they are the traditional full length. The Control Panel is one of the best I have seen using commercial Atlas products. A diagram next to it would help with the switch controllers though. The 8th Photo down, shows a bridge over the railroad tracks with an Interurban Car stationary. It would convey more detail, if you had a City backdrop that showed a Station or Tunnel / Street Trackage the Interurban would have continued on towards; instead of a blank wall. Could accomplish that view using 3 D Flats as you have done in another part of the layout background.
Forgot one thing. The Bridge that spans the Doorway… It could be a straight Lift Out Bridge.. as I didn’t see any Hinges. I have the same bridge and bridge wings here myself. I plan on doing something similar. Either Spanning the Opening for any doorway further than the Width of the door,, as a have a large German Shepherd Service Dog… Or I thought of building a Narrow Shelf Layout, that would be higher than a four drawer file cabinet.. so you could “duck under” it, avoiding a swing, drop or lift out bridge section. If you were to go between rooms, you could make either a Curved Section or a Straight Section that would go between the door way to the adjoining room to continue on with a layout. If you had tall bookcases, you could build a Narrow Shelf Layout that could go along side a wall or even around a room. Then make it either a Point to Point RR extension. And have a Harbor Scene, with a Car Ferry to “shuttle” Cars between layouts if you didn’t or could not “bridge” between two rooms. Even could have DCC in one Room and regular DC in another room, Using a Shuttle, or Car Ferry or Barge to Ferry the Cars across a “River” to another layout with a different Control System to continue the service. Just a few ideas to share.
Jim, You have squeezed a lot of model railroad into a 12 x 14 foot room. The track density is truly amazing! If I have one criticism, it would be the lack of negative space in the layout. Every square foot of layout seems chock full of structures, track and details. Real railroads travel though a lot of empty countryside between towns and industries. Don’t feel bad about that: I would probably do the same thing because I’ve got way more structures and kits for structures than I could ever use on one layout. And, in the end, whatever you enjoy should be what you build.
I’ve never seen an Atlas control panel so well done as yours is. You’ve done a beautiful job of putting it all together. I hope you’re still having fun running trains. I’d love to see a video of some trains running on your layout. Thanks for sharing your photos.
Mine is going to be looking something like that but on a short version.
Very creative all around.
All I can say is “Wow” – Jim’s explanation and track plane are innovative in allowing easy access to 4′ x 8′ without reaching- phenomenal.
Jim, I really like your idea for how to access the track with I minimum of discomfort. Not only is it practical, but as seen in the pics it makes the layout more intresting. I’m going to use some of your ideas in my layout.
Thanks for sharing.
wow what a control panel. i like it very much. not to be nosy, but, can you tell me how long, how much it all casts, and about how many amps it squeezes out.
Man, that track plan looks complicated!?
really nice layout, good job. id love to have that much room, but oh well.
Love the Atlas control panel, and the fact you have The DCC in there, it sure gives me something to think about;) Dan in Ontario