Lawrence has been in touch again with his Helix layout:
“Al
I started a new section of my layout. Been watching on UTUBE at the Helix videos. I decided I wanted one. I decided on a layered double track double helix layout input and output at the same level.
I wanted the helix to be separate from the rest of the layout but connected to it. And because I am not building a second layer over the first on the regular part of the original. The helix table had to be the same height as the rest and only go up about 26 inches. I started the research with the calculators on line.
Am using steam engines so the inner most track had to be about 20-inch radius. Using the calculators, I got six rings with an average of 2-degree rise. The Inner ring inner track is 23-inch radius.
The inner ring outer track is 25-inch radius. Needed room for the uprights to hold the rings and about 1 ½ inches for scenery. Now the outer ring inner track is 29-inch radius and the outer ring outer track is 31-inch radius. Now I know what size table I need – 63-inch diameter (left to right and front to back.
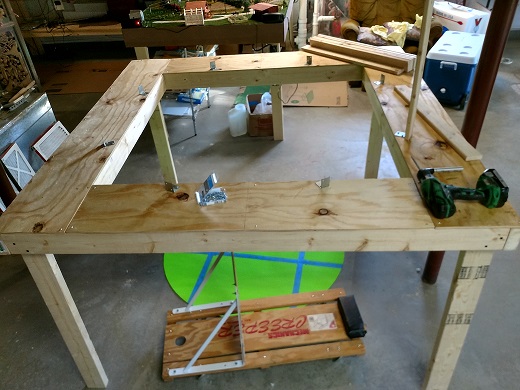
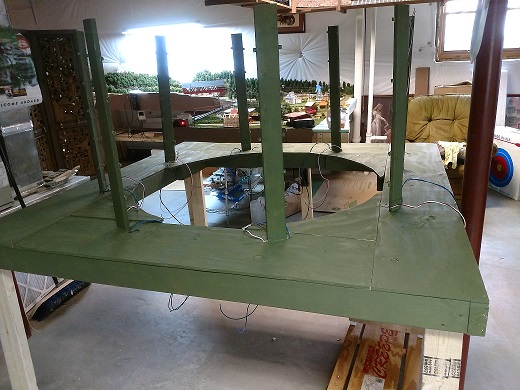
The first picture is the table to the right diameters for the outside and inside dimensions. Hole in the middle for working on the inner row. Notice the mechanics slide with backrest for under table work.
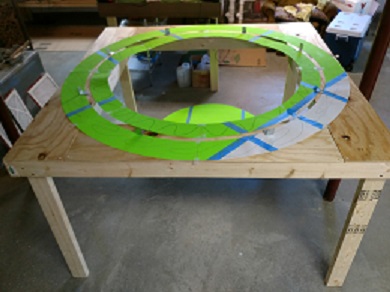
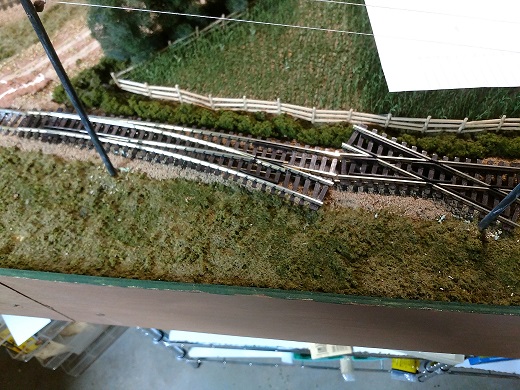
The second picture shows the cutout of cardstock of the two rings laid on the table to see if it will work. The inner ring has to be 3 inches wide for two tracks and base material. The inner ring hangs over space at the corners but fits correct at the sides. The outer ring has to be the 3 inches plus room for scenery so it is five inches. And of course, three quarters of an inch between them for the uprights.
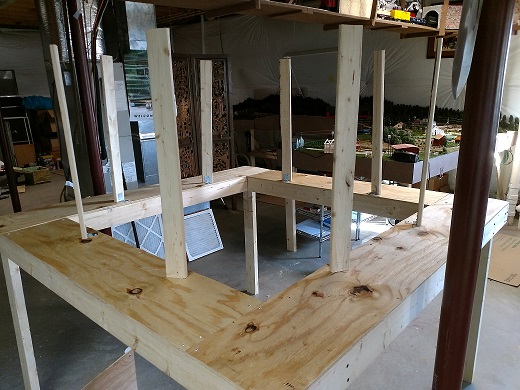
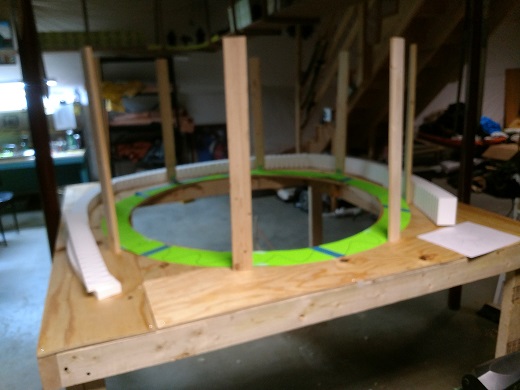
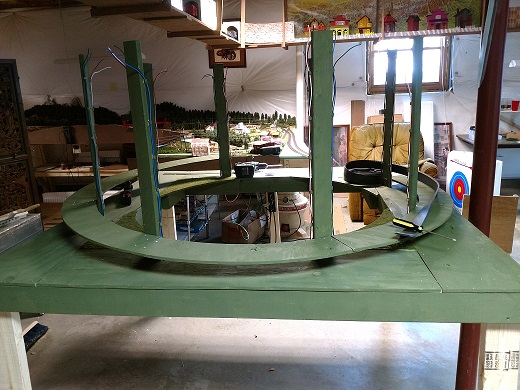
The next two pictures show the eight uprights in place and design verification in progress. All the helix I saw on line is a plywood helix next to a fantastic looking layout. I wanted more than that. In the next picture I painted it green and installed the wiring. Two wires to the right of each upright for the track power and two wires to the left of each upright for lighting. Later decided power only on four not all eight.
The entrance/exit of the helix is from either side of the farm layout. The right side comes in to the outer ring at table top level. The left side comes in to the inner right at table top lever but under the outer ring. Each ring rises one half inch at each upright for a total of 4 inches on the diameter.
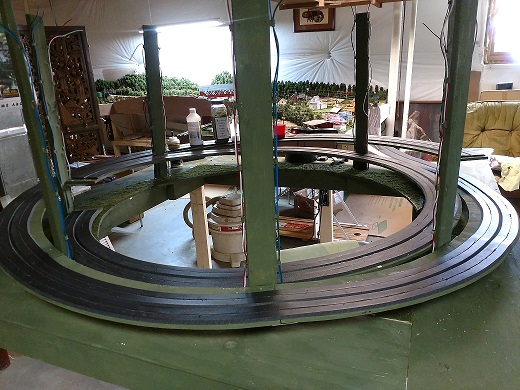
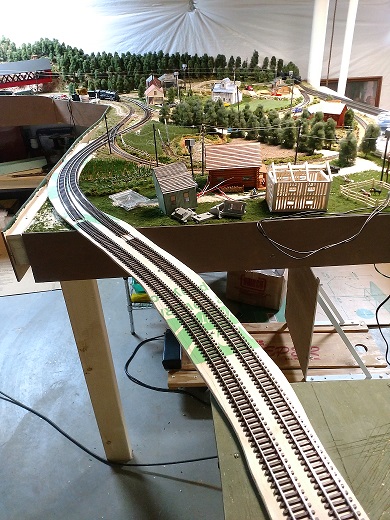
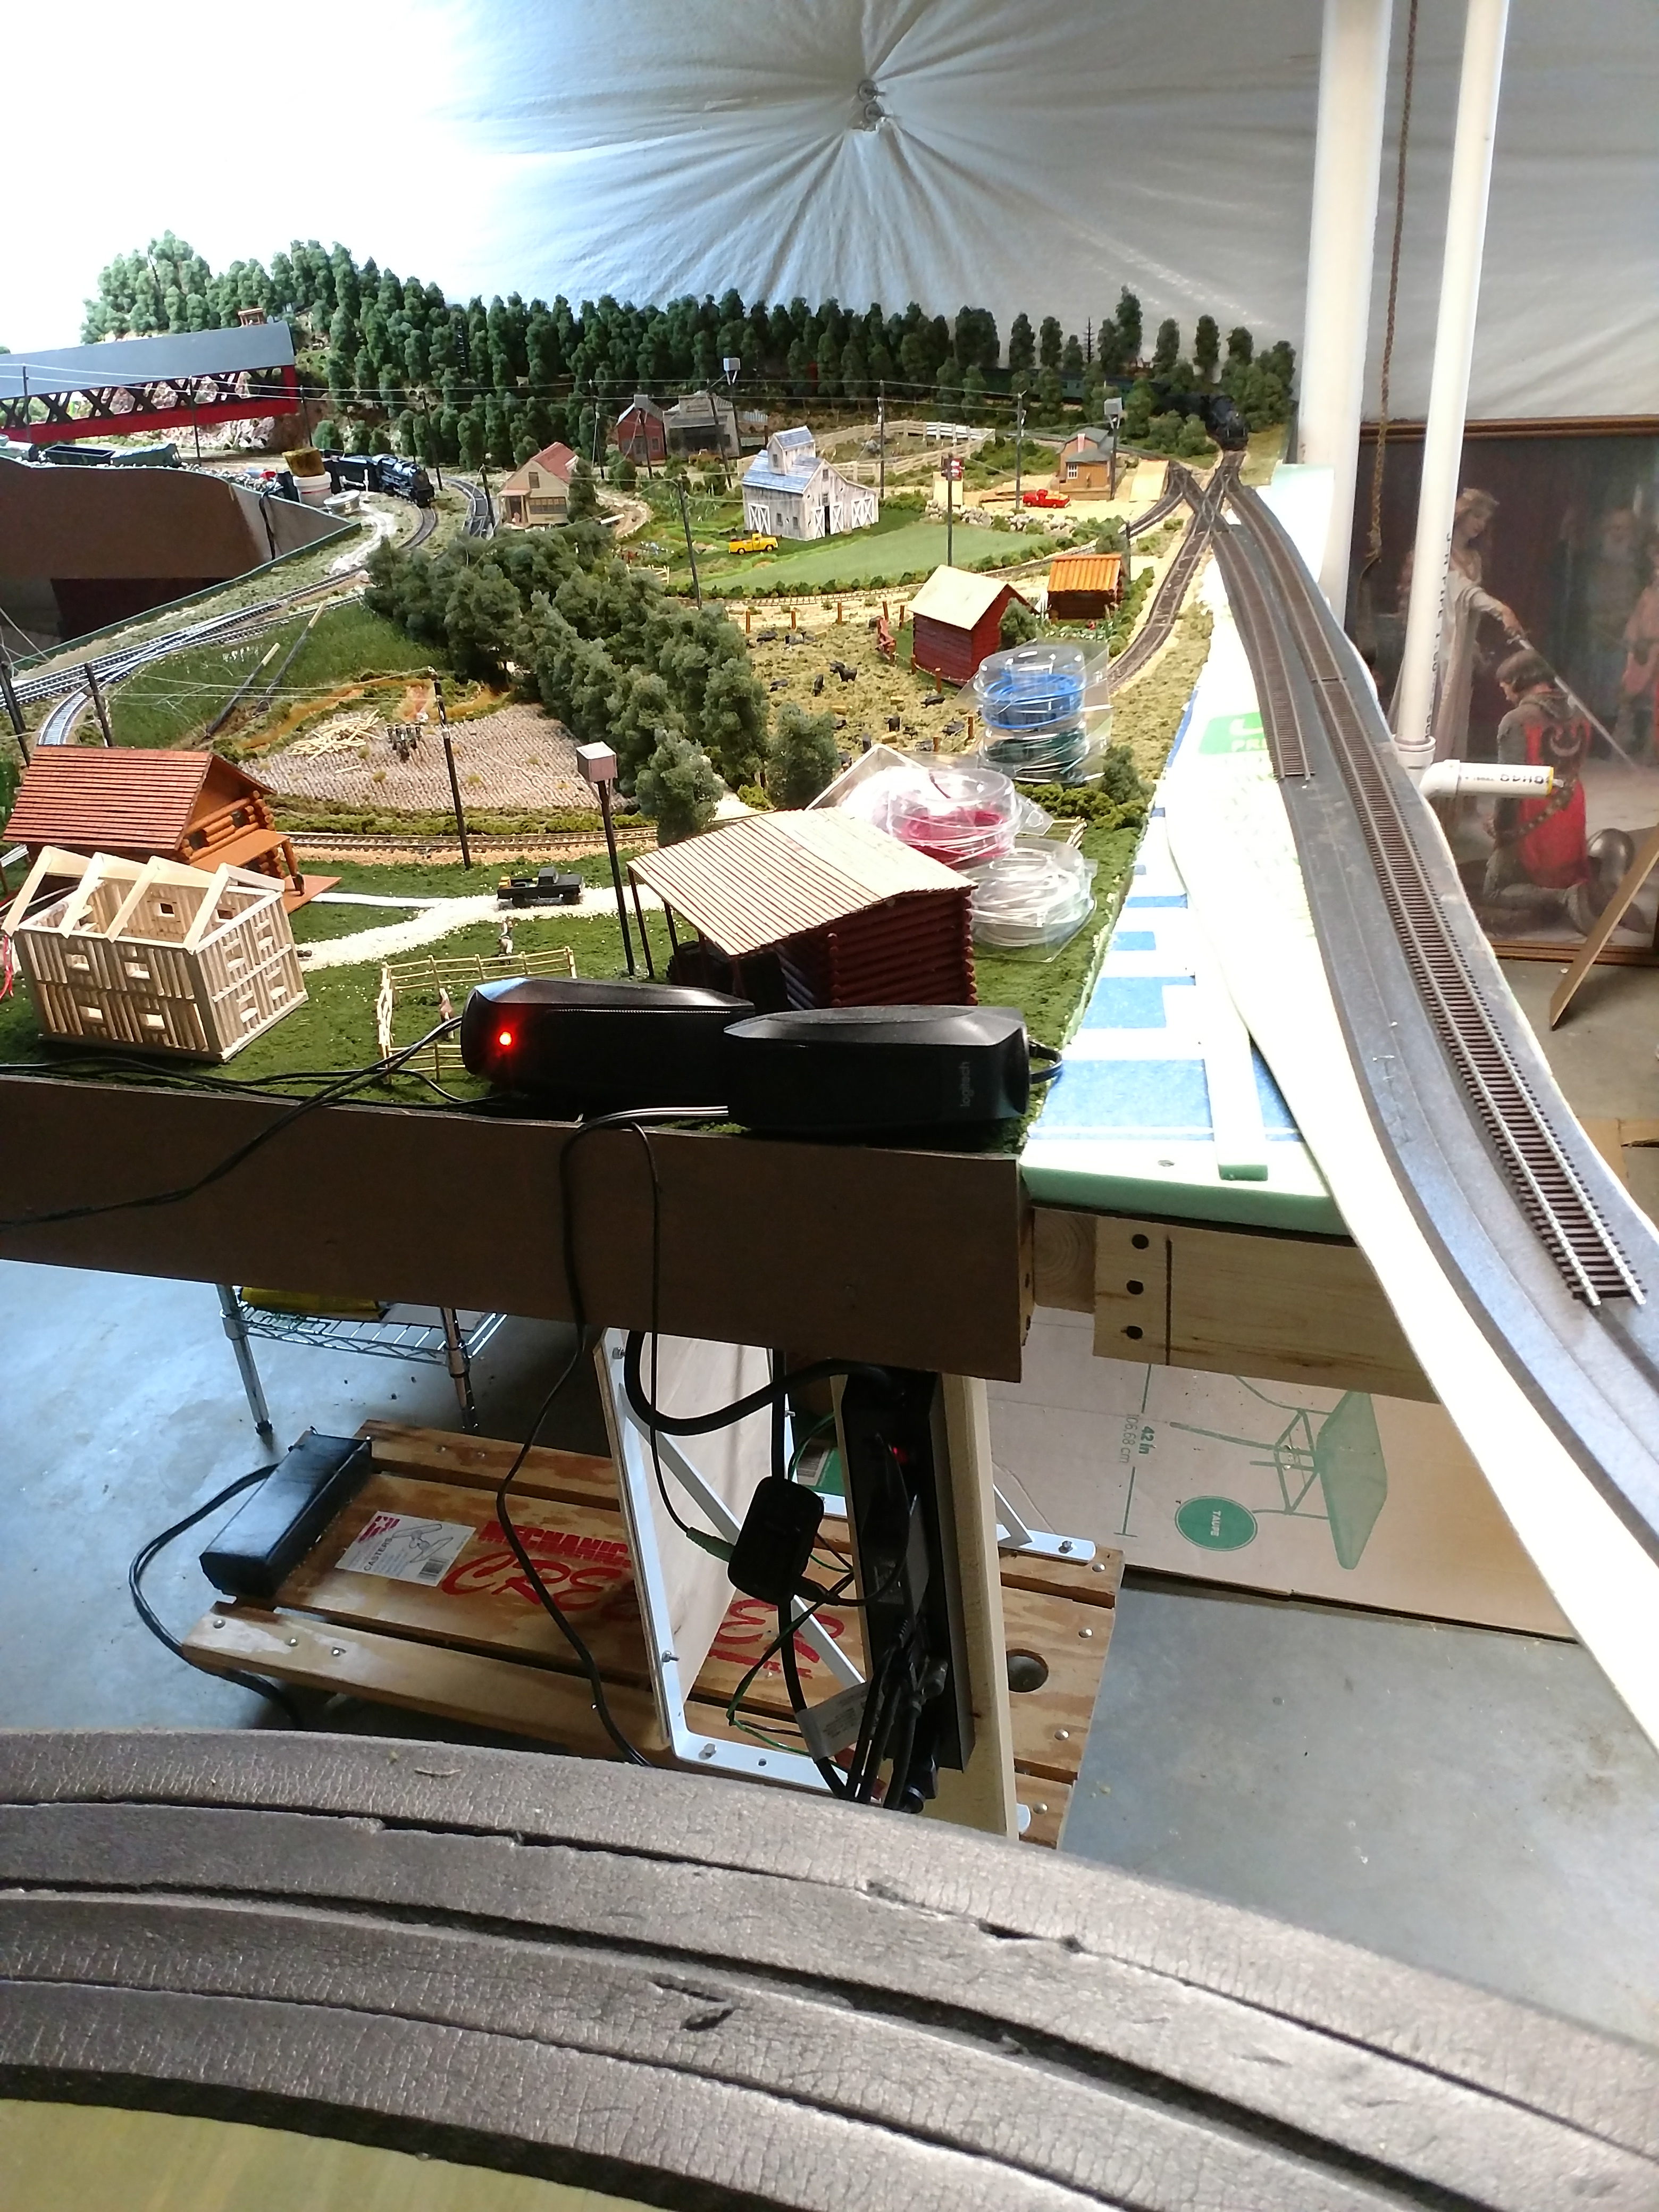
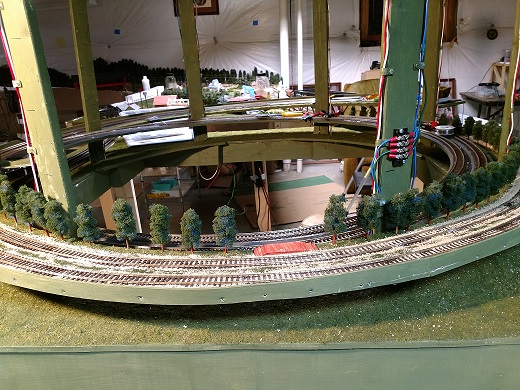
The next two pictures show the first row (inner and outer) installed to test if all the calculations worked out and start laying track. At each upright I used one eight-inch aluminum bars from Lowe’s and bend at 90-degree angle attached to the upright and under the plywood row base (each side of the upright). Keeps the look clean and easy to work.
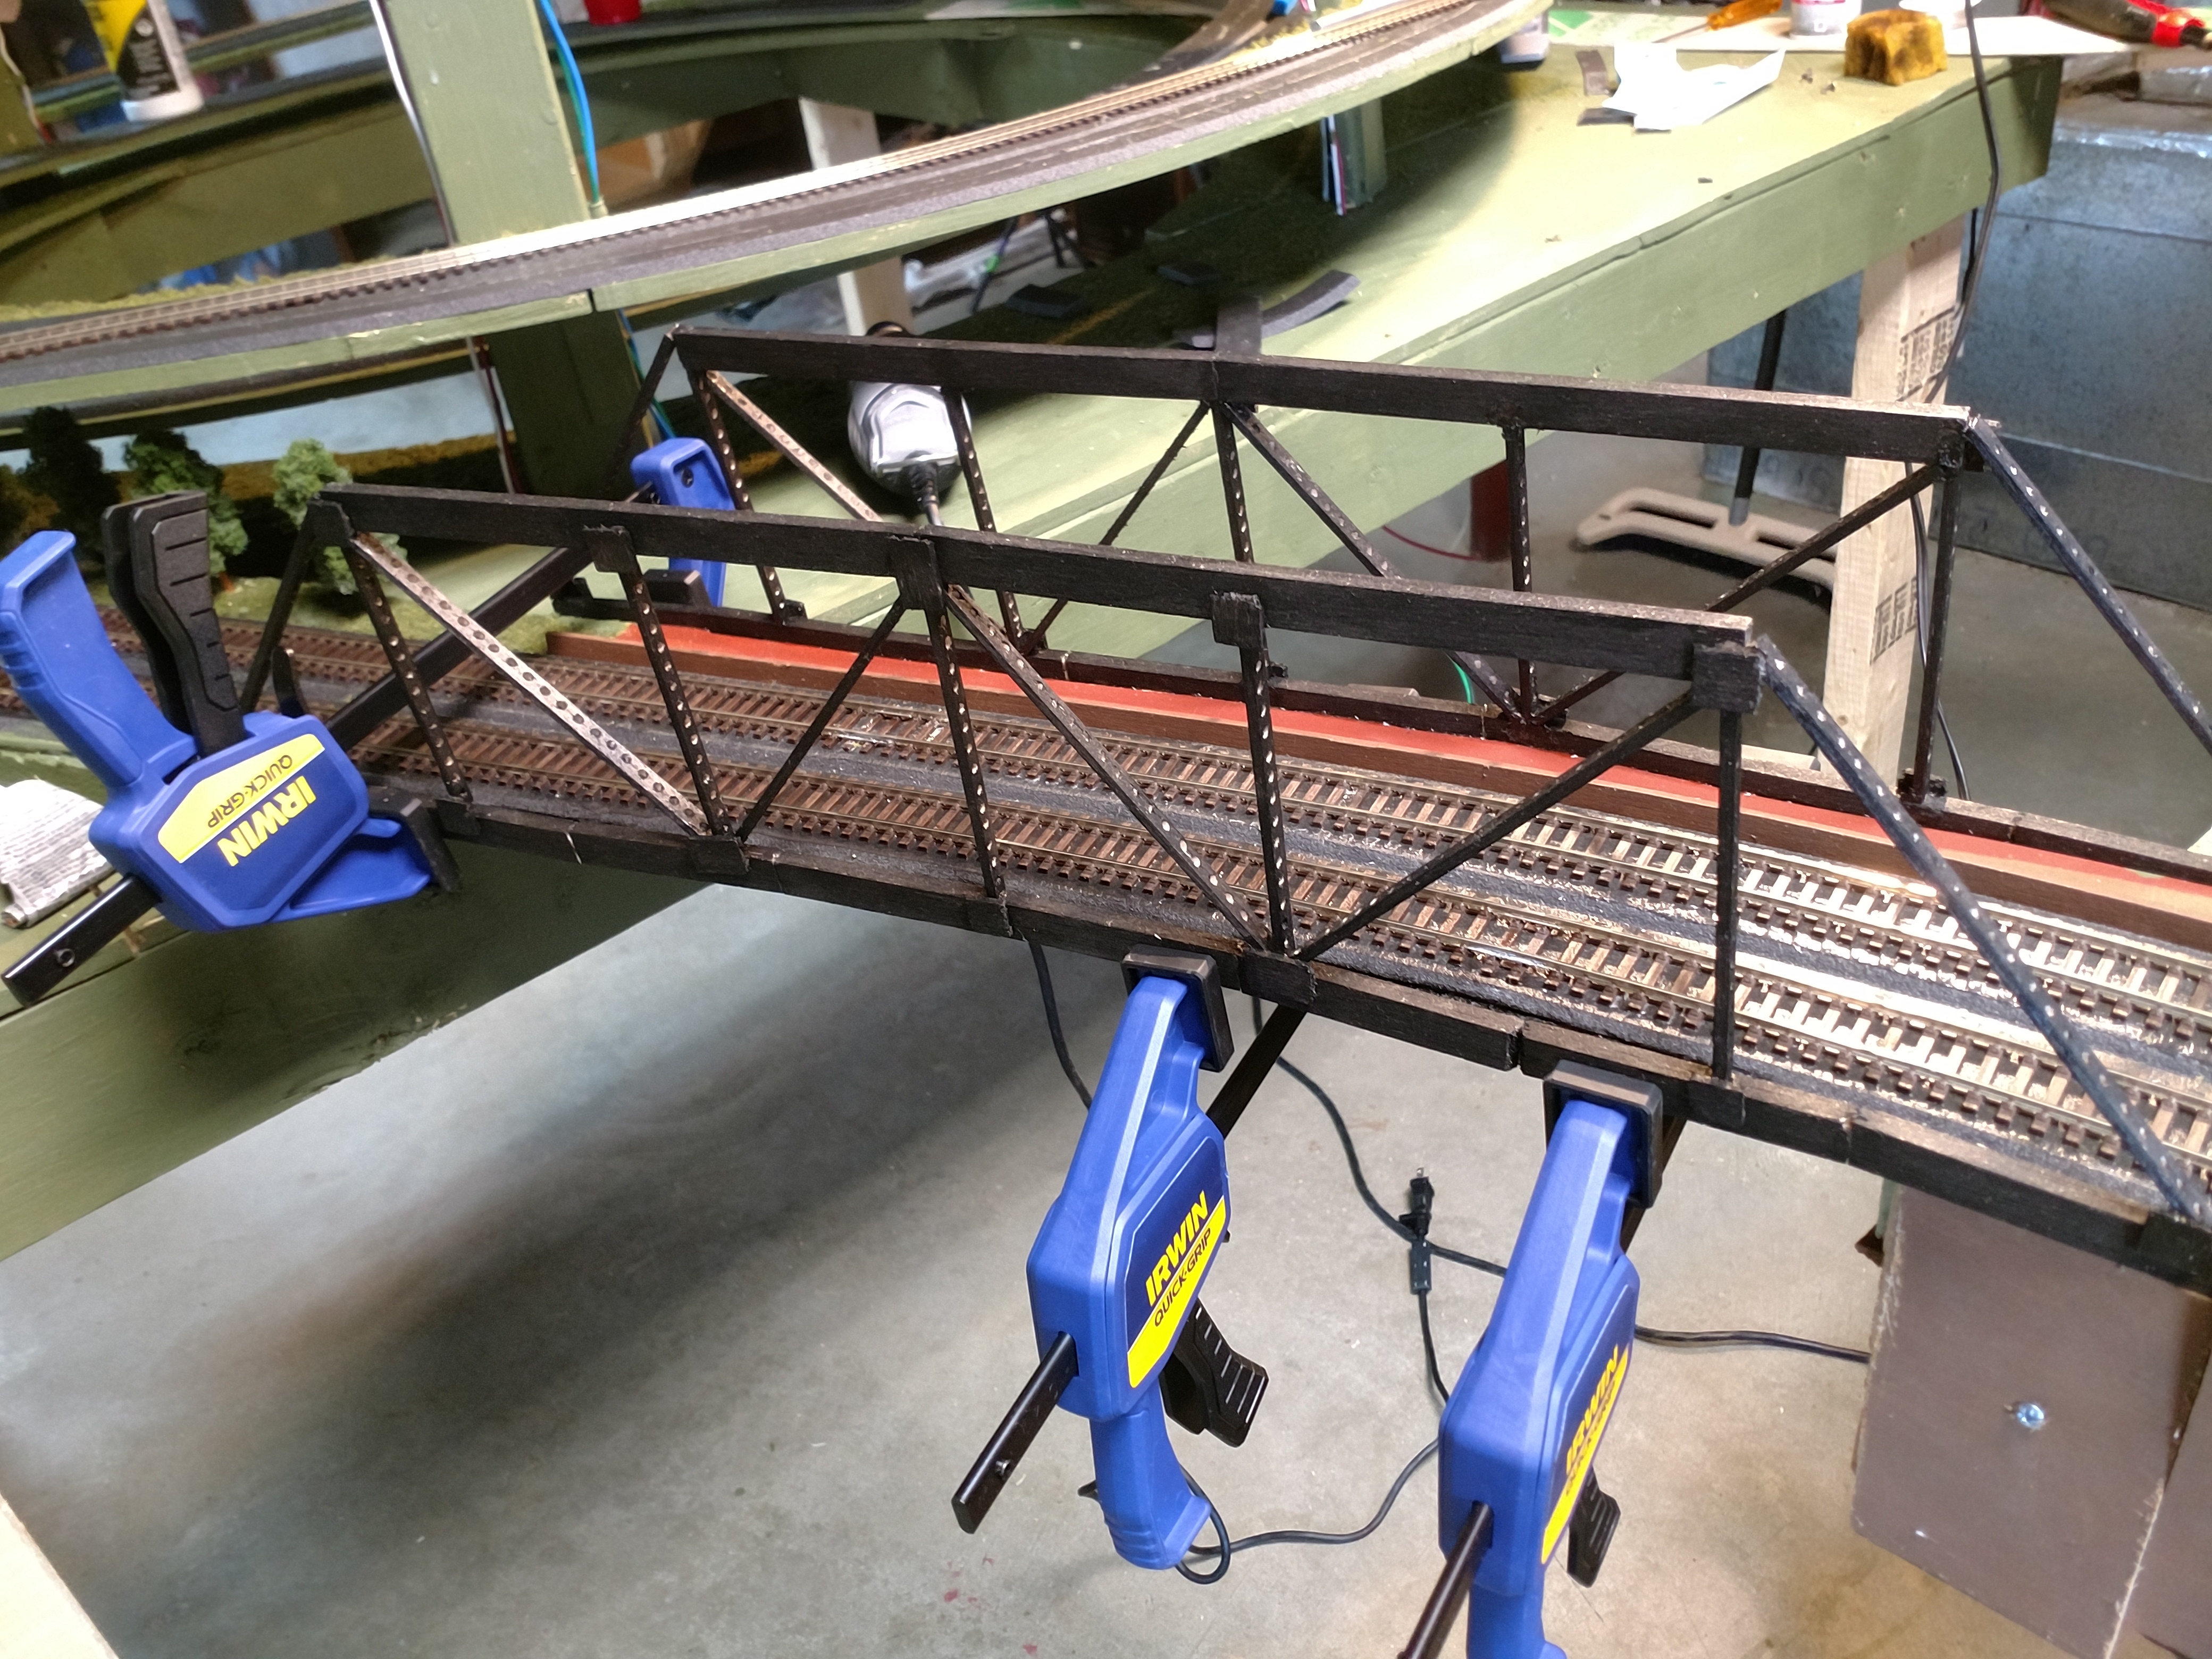
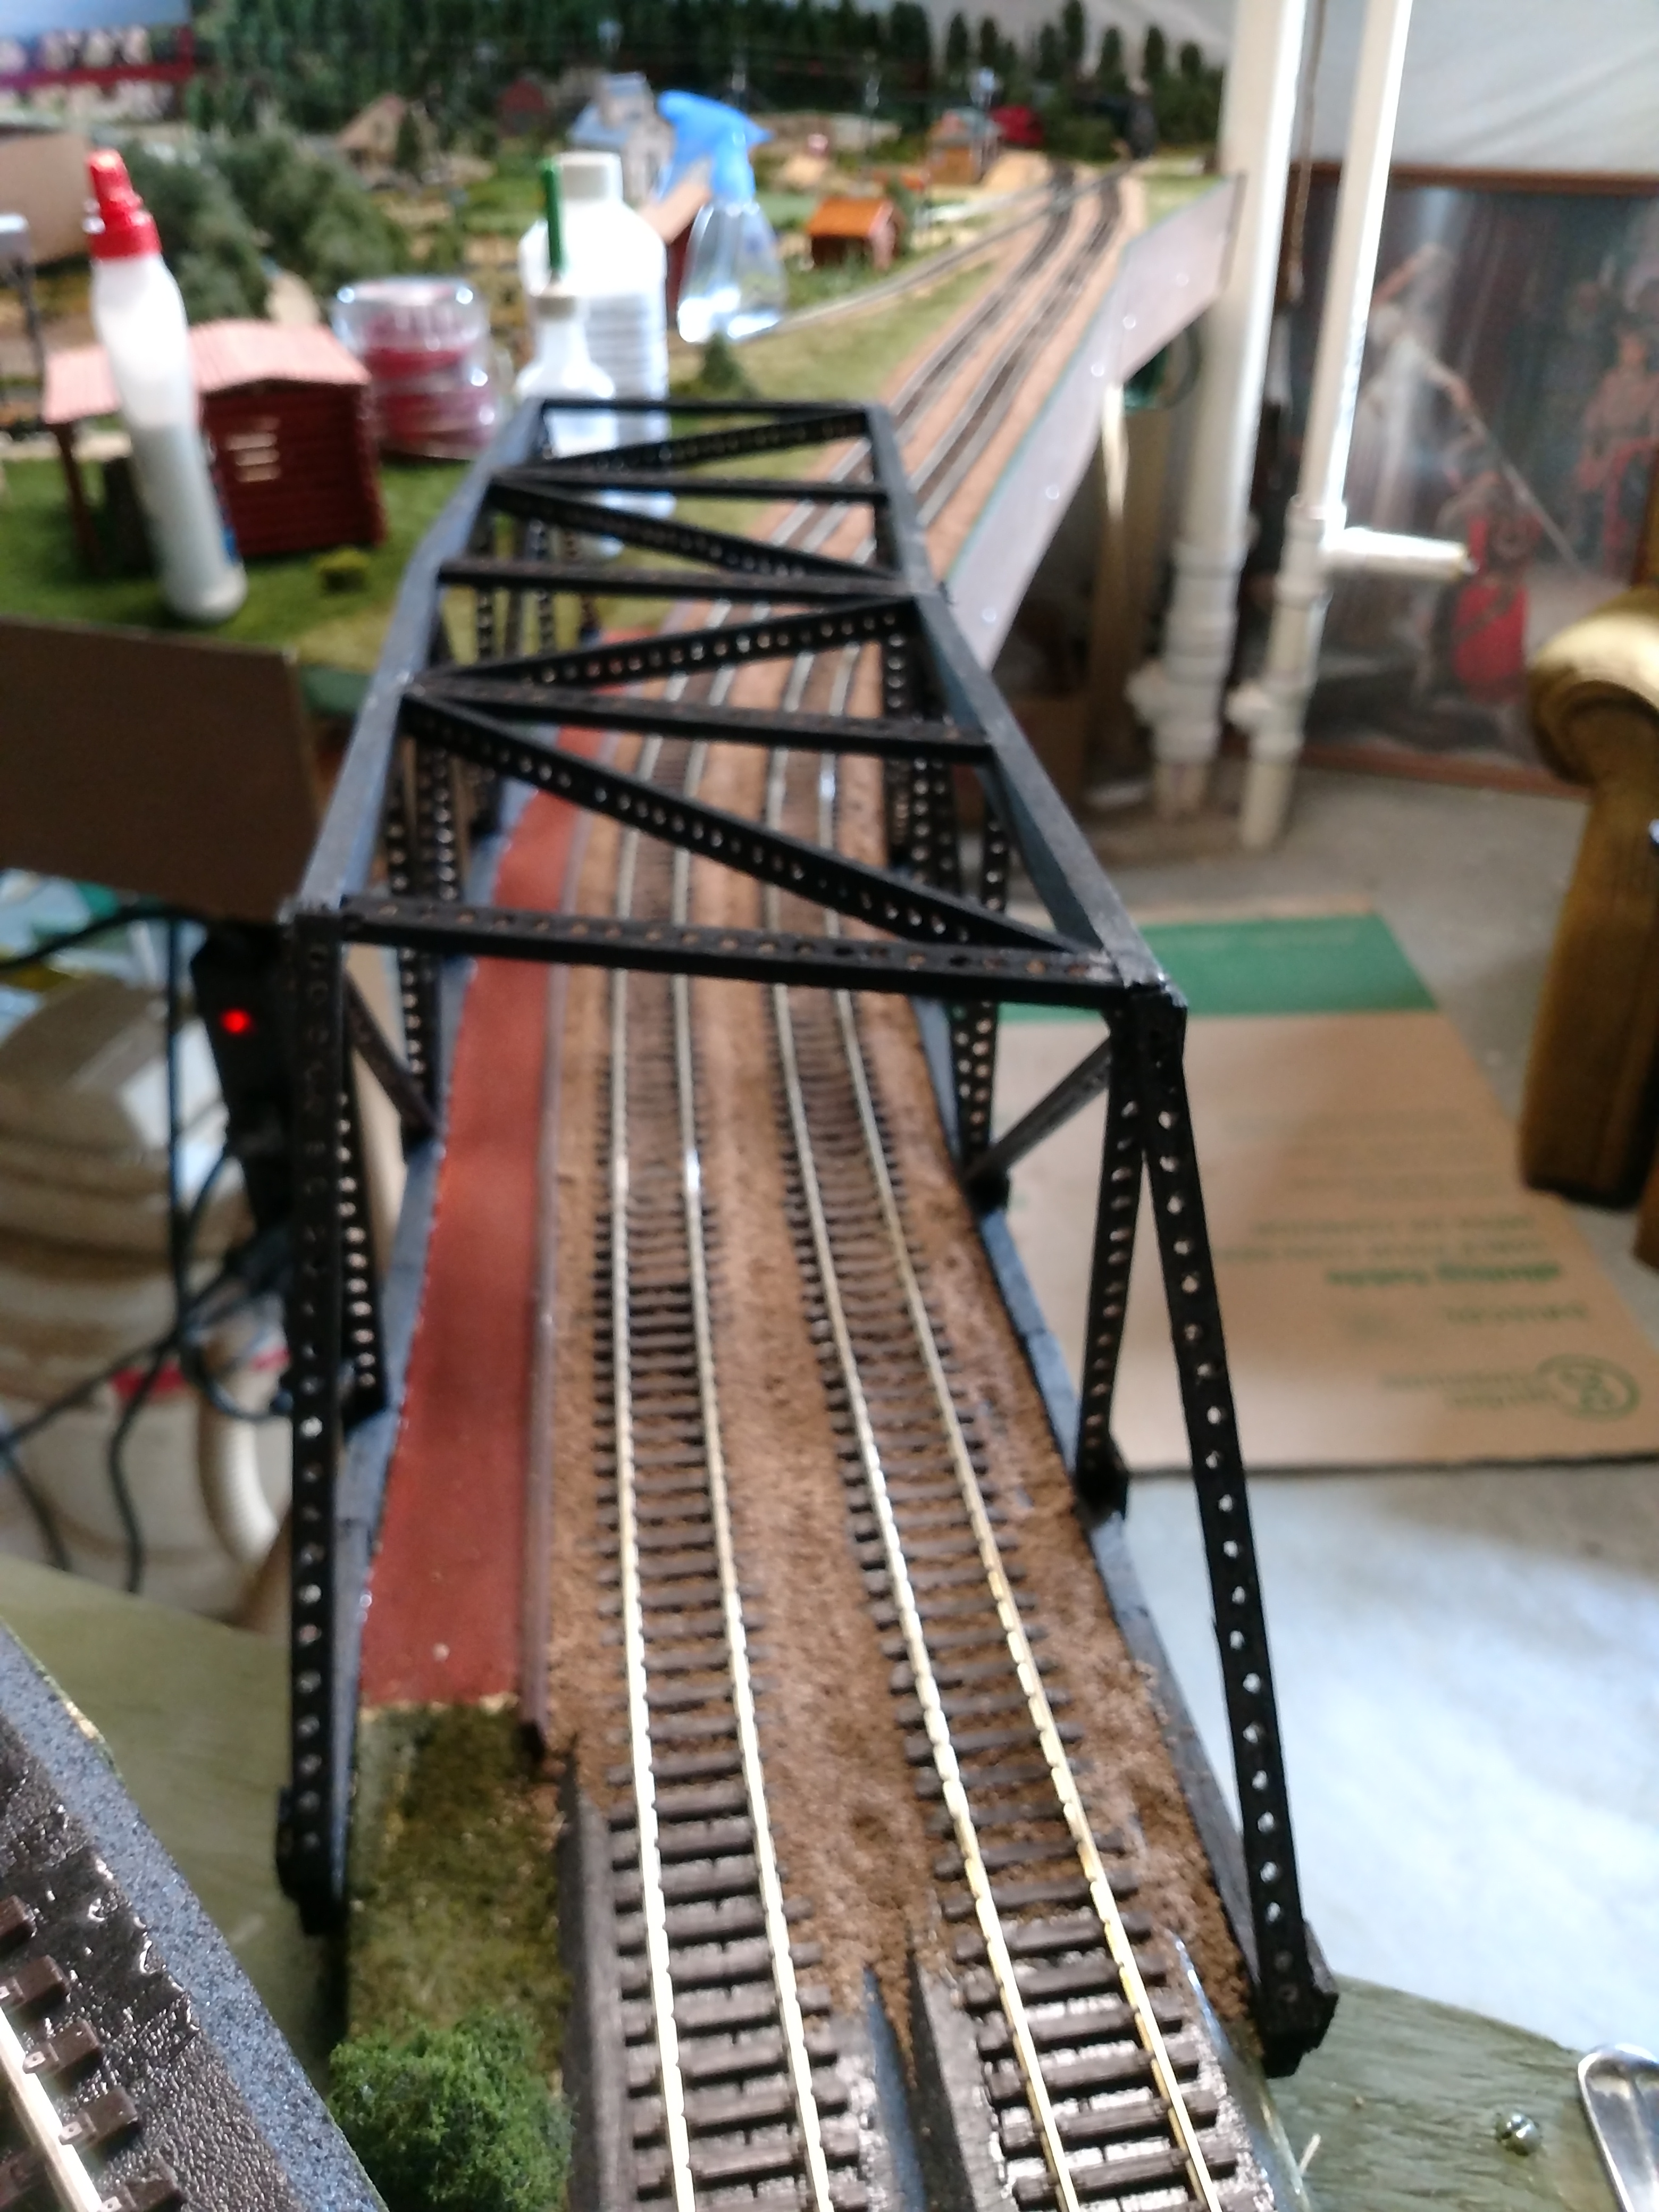
The next three pictures show the switches and crossovers needed so the two previous installed tracks can properly attach to the Helix. The following two pictures show the track needed to connect to the helix layout. Able to install these as now I knew where and how the connection can be made. I left about 18 inches between the helix and the rest of the layout for work space. At this point the track crossing over the 18 inches on each side has a distinct curve. I could not find a curved bridge so I build one out of balsa wood. The next two pictures show the construction and finished bridge for the track on the right side. The left side got another one just like it.
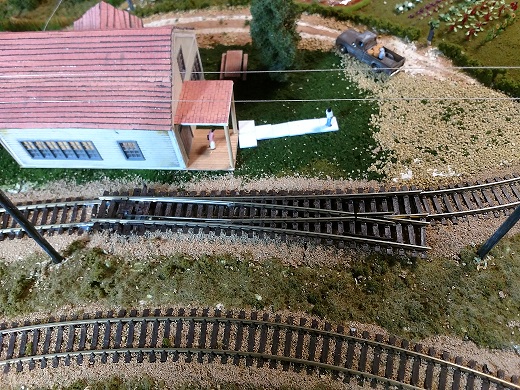
The last picture shows a segment of the outer ring mostly finished. Trees, train stops, out houses and people in the future. Also notice the connector for the train power, it is located directly above where the second ring will be located. Power for inner and outer first and second ring.
Trains are now running from the mail layout to the top of each ring row one. Videos to come in the future.
Lawrence”
.

Now on to John who has featured a fair bit on the site – mailed me the below. Can anyone help?
“Hi Al…
I need a little help please…
In a moment of inspired madness I have purchased one of Model Rail’s USA tanks in Green…
I am toying with building a quayside micro… Two Peco Setrak RH points. The total layout will probably be 36 inches long and 8 inches wide… Give or take. It will be an Inglenook…
I really like the looks of the little Peckett 0-4-0 locomotives (or a Pug)… And the little Ruston from Hornby… This brings up the first question — How well do they do on the Setrack points or should I go with the streamline electrofrog points? The choice of the electrofrog points might force me to increase the size just a little…
What wagons would be appropriate? I would like one of the Iron Minks and a highly inappropriate “Saxa Salt” wagon… But what would be more appropriate and who makes the “Iron Mink”?
Also, who makes a decent “Austerity” that I might also use?
I am looking for a good suggestion on an Ivatt 2-6-0 too.
Thank you…
John”
Please do leave a comment below if you can help John.
A huge thanks to Lawrence – that’s some helix layout!
I can’t wait to see his next update.
And please do leave a comment below if you can help John.
That’s all for today folks, please do keep ’em coming.
And if you want to have some fun, just like Lawrence, the Beginner’s Guide is here.
Best
Al
PS The very latest ebay cheat sheet is here.


Brilliant work! Just what I could do with for my layout to take the trains to the fiddle yard under the main deck.
That is very, very cool! I love the helix, and the switches are beautifully done!
What are you using for the support base for the bridge? It’s hard to tell because you can’t read the lettering since it’s obviously not a full sheet…
Thanks!!
Remarkable work Lawrence!
I`hm confused, I though a helix was to raise trains to another level? What does this do? Tom
Remarkable, Larwence
You have more go get um than I do for that amount of track work lately
hope it all works well for you guy . Be well and stay safe Sir !
George
Tom, I was puzzled too. Looks from a couple of those pictures as if there already is a stretch of upper level shelving with the odd tunnel mouth and some houses on?
But if it goes all that way up and down again just for the hell of it, fair enough, you could say much the same of the Settle and Carlisle!
Rod
great pictures you have put a lot of work in it I hope a lot of happy modelling to. thanks for sharing
I like your application of the support between the tracks. Neat and strong and uncluttered. It should be easy to keep your tracks clean! I’ve not seen this way of helix support. If I build a helix, I’ll use threaded rod and nuts to hold it together. Love your idea.
Pete
Excellent workmanship/craftsmanship. I like the bridge too.
Very nice, Lawrence. With two large telescopes and several drones sitting in my livingroom. That doesn’t leave room for my trainsets. I could hang them in the air.
Keep up the good work, Lawrence
Genius helix idea. Adds interest for sure, Nice work!
Great idea. Please send a picture of the Pug!
What purpose do the tall green upright boards serve? In my opinion it would be simpler and have a cleaner look to support the helix with risers from the bottom. Also, wiring underneath that’s hidden is more visually appealing. Obviously you went through a lot of work to create your helix, but I feel some of the work may not have been necessary.
WOW!!
Small locos don’t norm-ale perform well on set type turnouts if they are insulated
frogs but will normally be good on the smaller electro frog type !
Thank you George E Prinkey…
I was concerned that might be the case…
The 6 wheel ones should be O.K. but not the 4 wheel ones…
So much for the Peckett and the Ruston that I had my eye on!
Thank you again… I live “across the pond” and this is my first foray into British modeling.
John