“Hi Al,
One of the things I like about your site is you show work in progress. Here’s mine.
Thought you might like to see it because it’s made entirely from your new kit.
It’s not finished and nor will it ever will be because I’m just messing around.
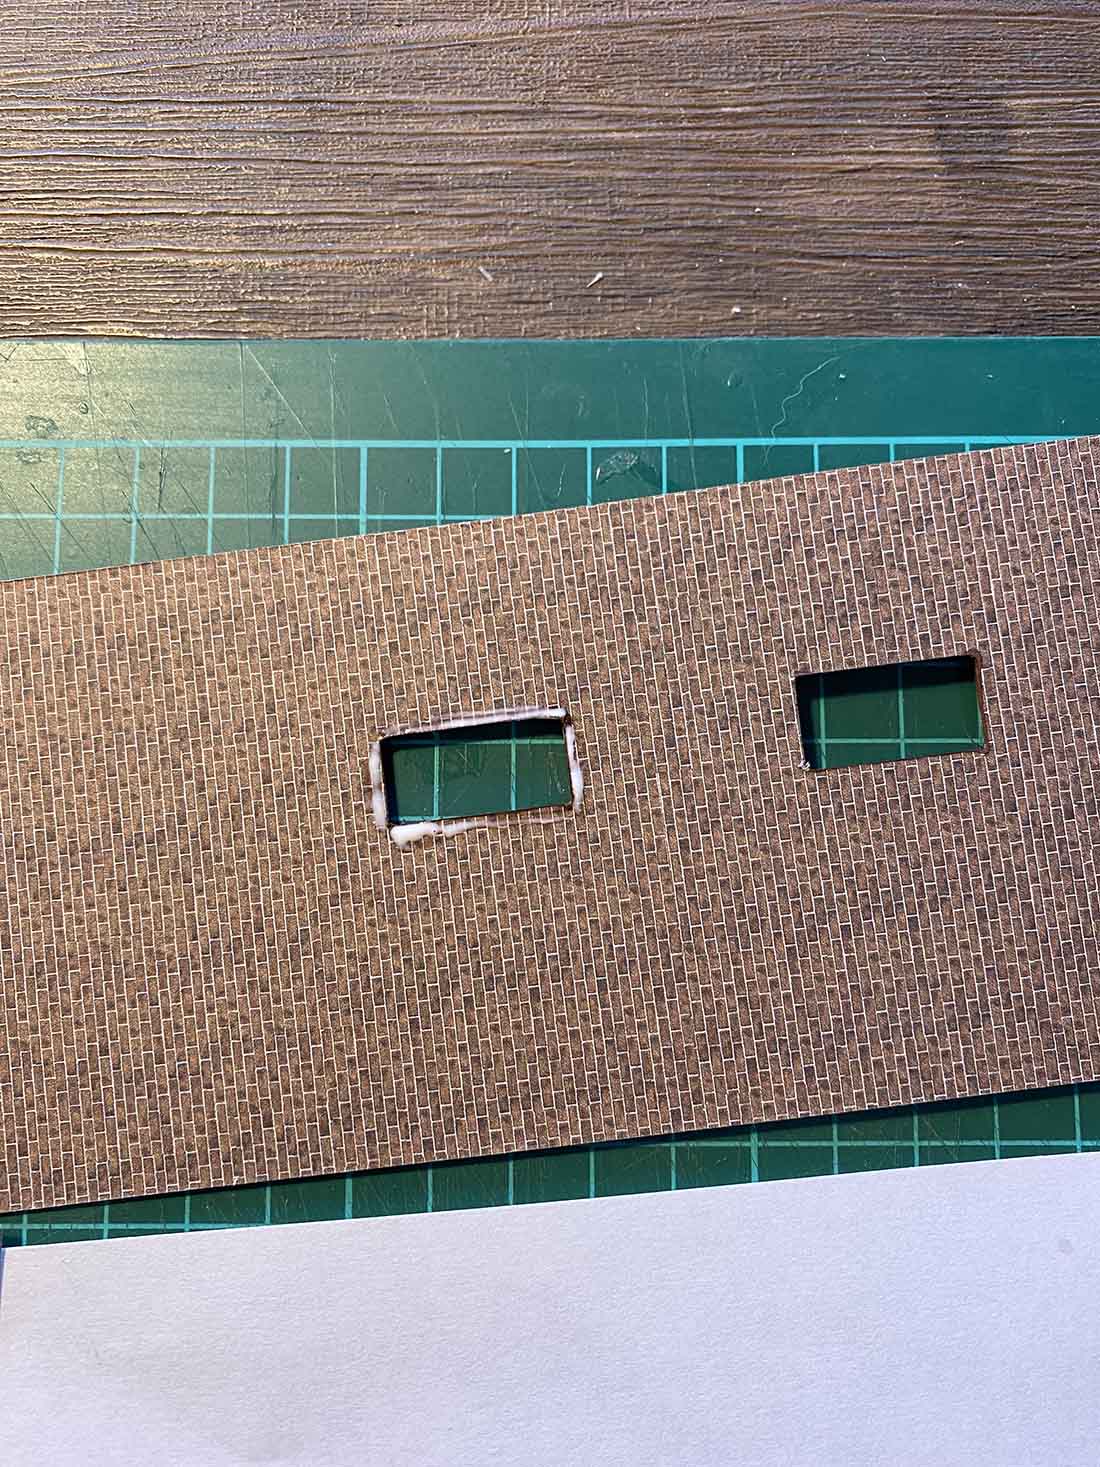
If youre scratch building never make the mistake of just jumping in and expecting perfect results.
Start with a prototype, one that you use just to find your feet and get ideas.
I’ve been thinking about a fire station for some time so thought I’d have a go.
One thing about John’s videos is he seems to play with the prints and just have fun.
I think this is the way to do it so here’s my first attempt.
I’ll get finished pics to you when I do the thing for real. I just wanted to see if the ideas in my head would work.
Pleased with the way it turned out.
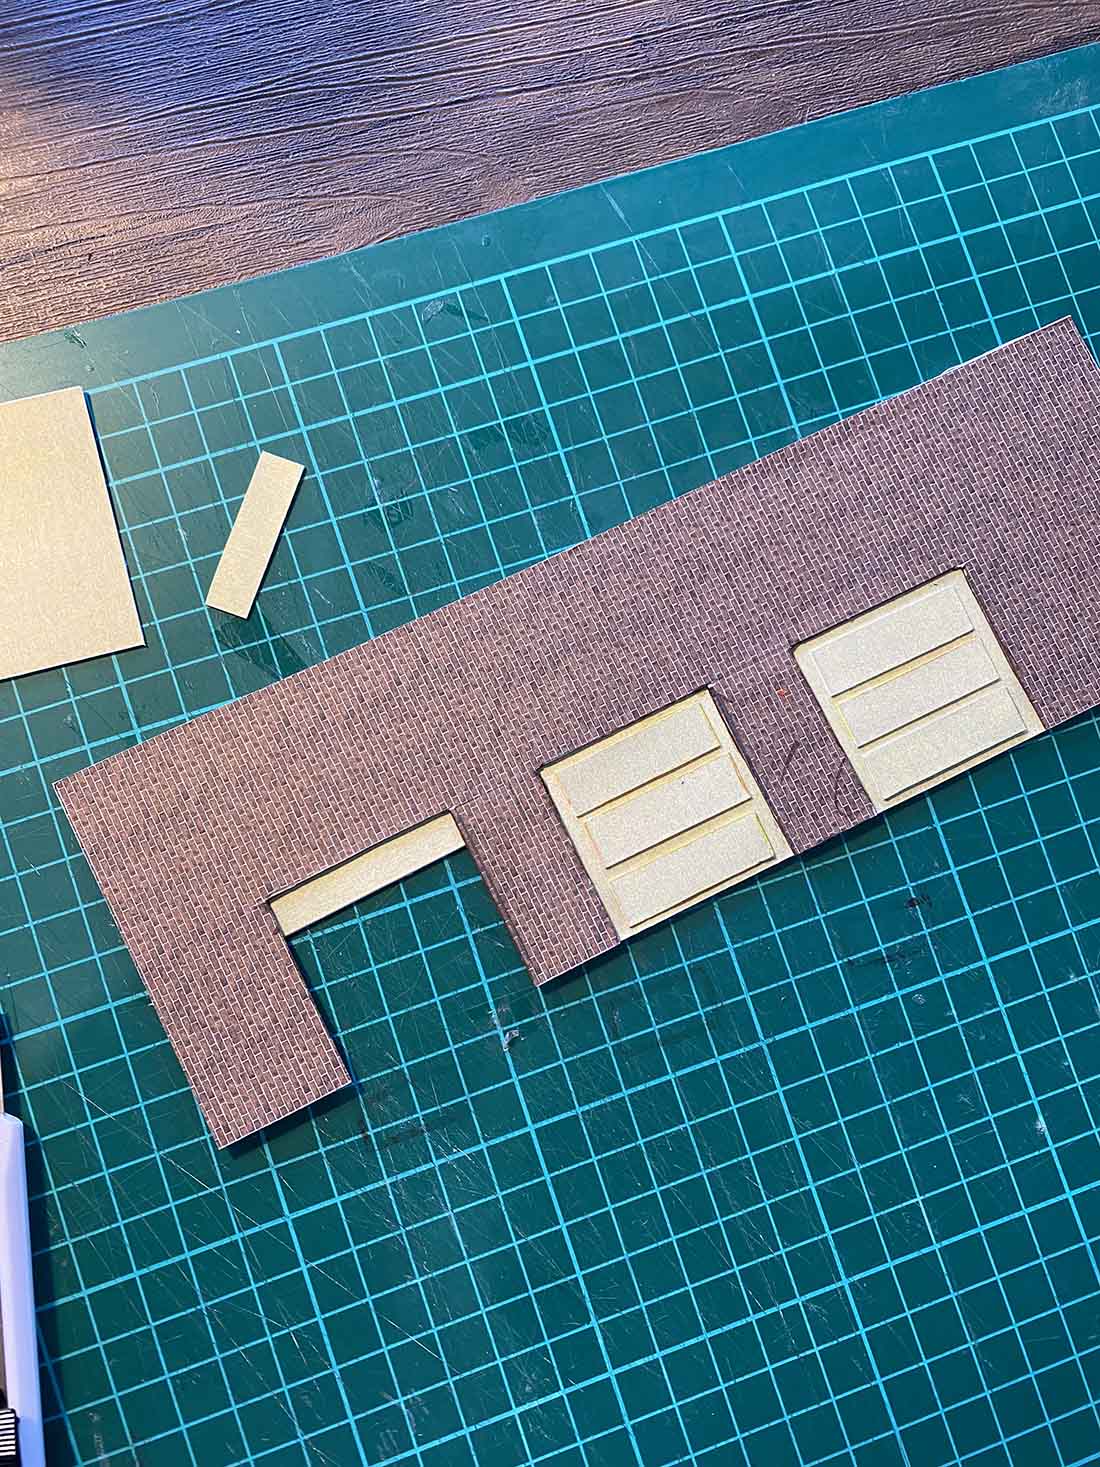
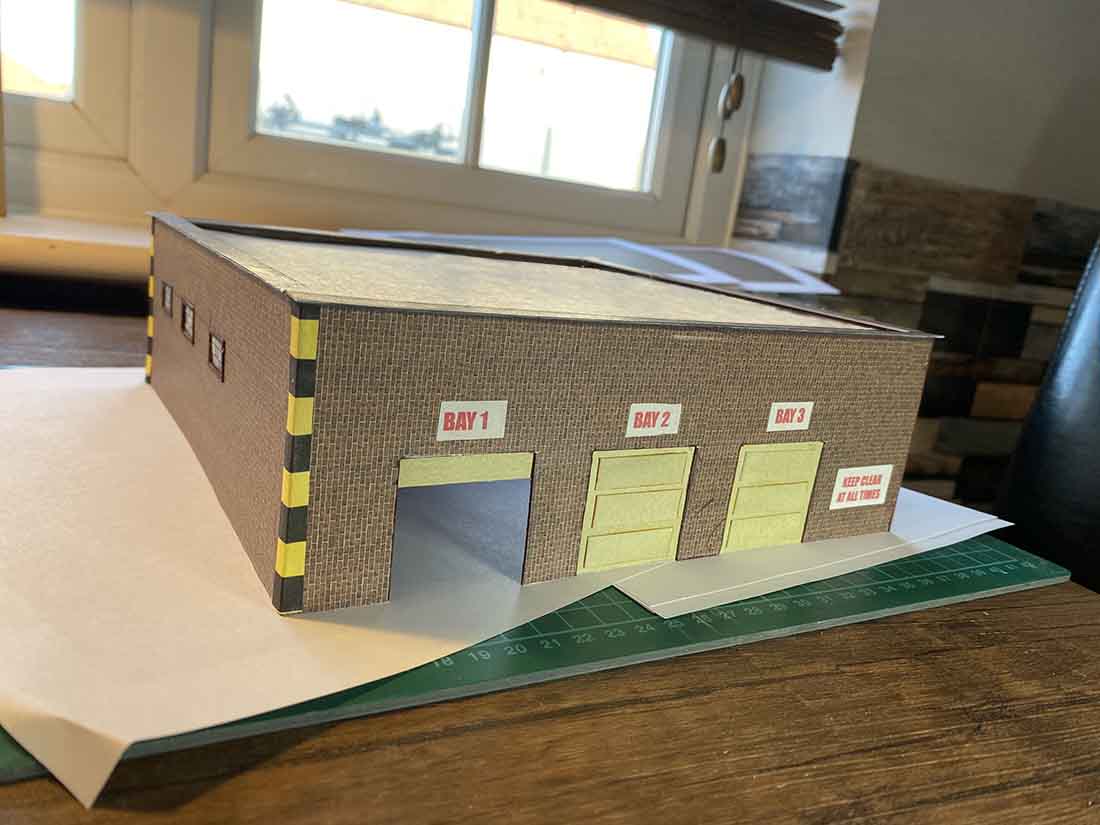
that’s the great thing about a prototype. It needs more shouty signs, i just printed them off in corel. There needs to be more ‘relief’ as John calls it on the doors. Some weathering will make all the difference. There’s lots I’ll change but pleased with it so far.
The doors haven’t worked out as well as I’d hoped. that’s the great thing about a prototype. Not sure how I’ll fix. I’ll probably use a different pattern from another kit but i wanted to see what I could do just with the latest one.
DId have fun and it got me thinking about what I can do in the final build.
I’m happy for anyone to comment on what I’ve done and how I can improve it.
Mike”
A huge thanks to Mike – absolutely love what he’s done – I think it’s a great start.
I do totally agree with him about John – he seems to play and have with fun with his builds.
And it looks like Mike has done the same with his prototype. It’s all from the latest kit too.
If you want to get your feet with a model building, just $9 gets you lots of them and the Beginner’s Guide.
But not for long – this sale ends soon.
Over the years, you lot have sent in some fantastic model built from the print out scenery:
Even more of your scratch builds
Things you’ve made with the silly sale
Perhaps the most popular model is the barn – lots of you have enjoyed making it:
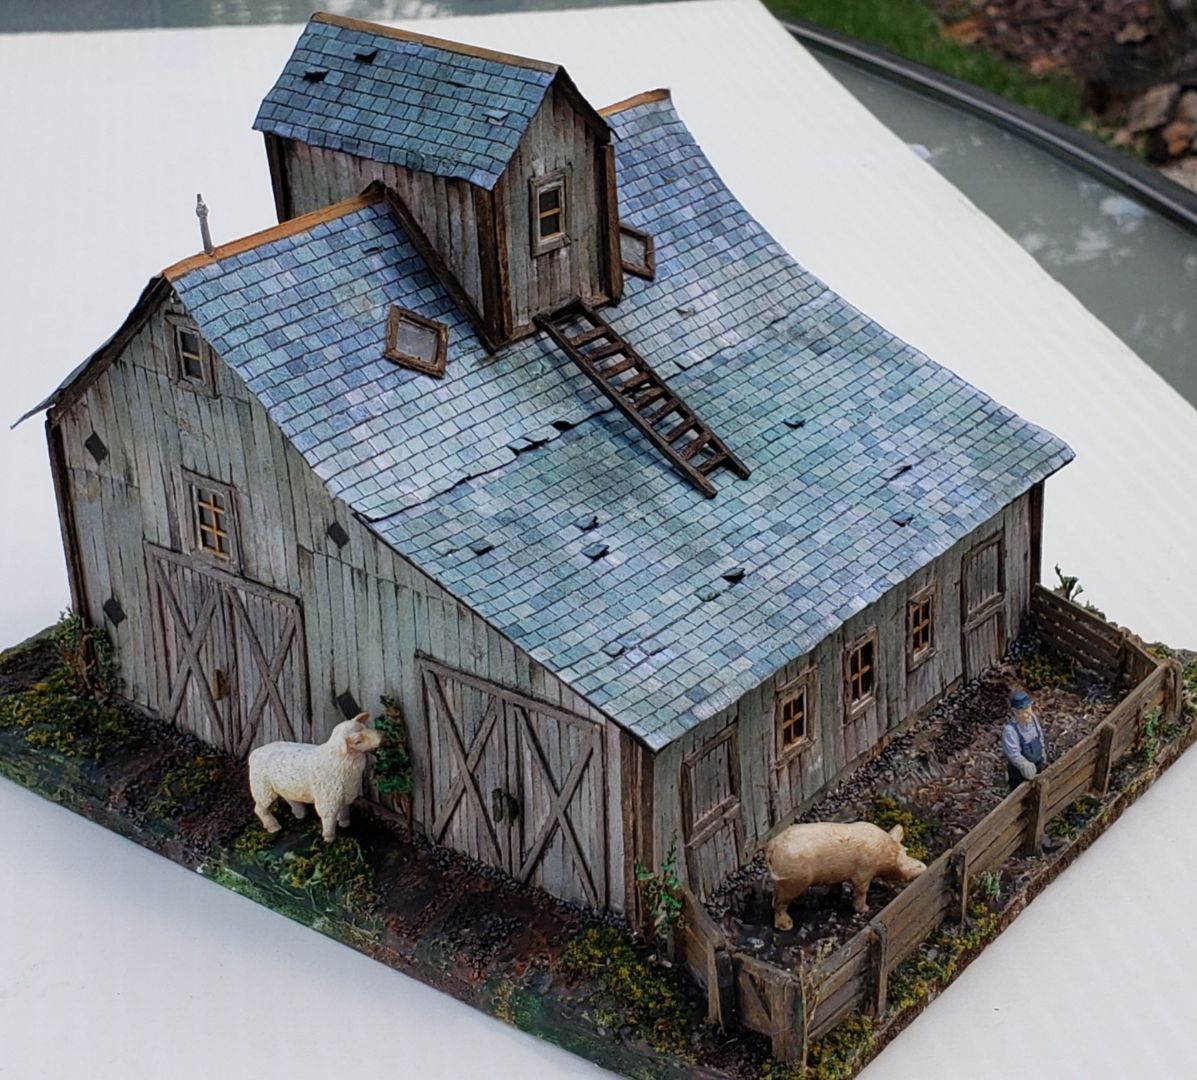
The barn is bundled free at the moment with the Beginner’s Guide and the scratch build kits.
In fact, all of the below are bundled free – but this deal ends soon. So please don’t miss it.
And then of course, there are the latest scratch kits:
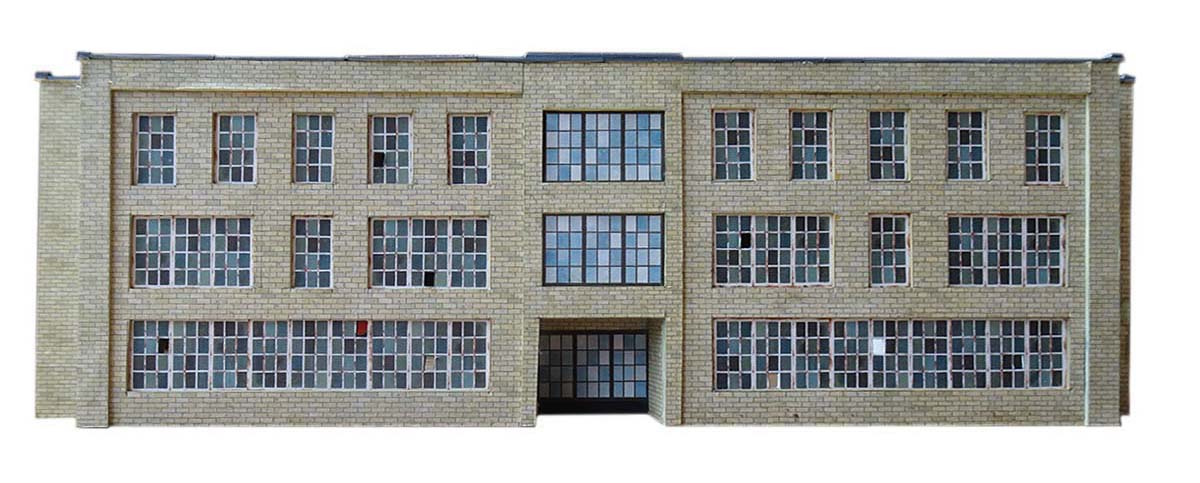

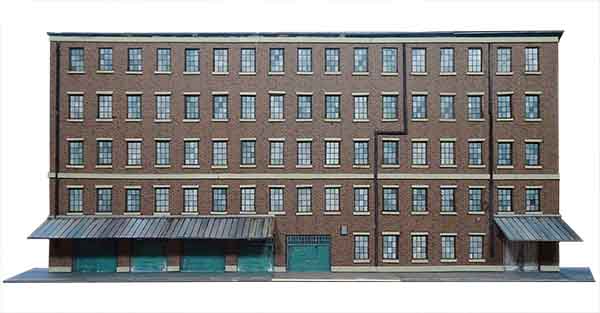
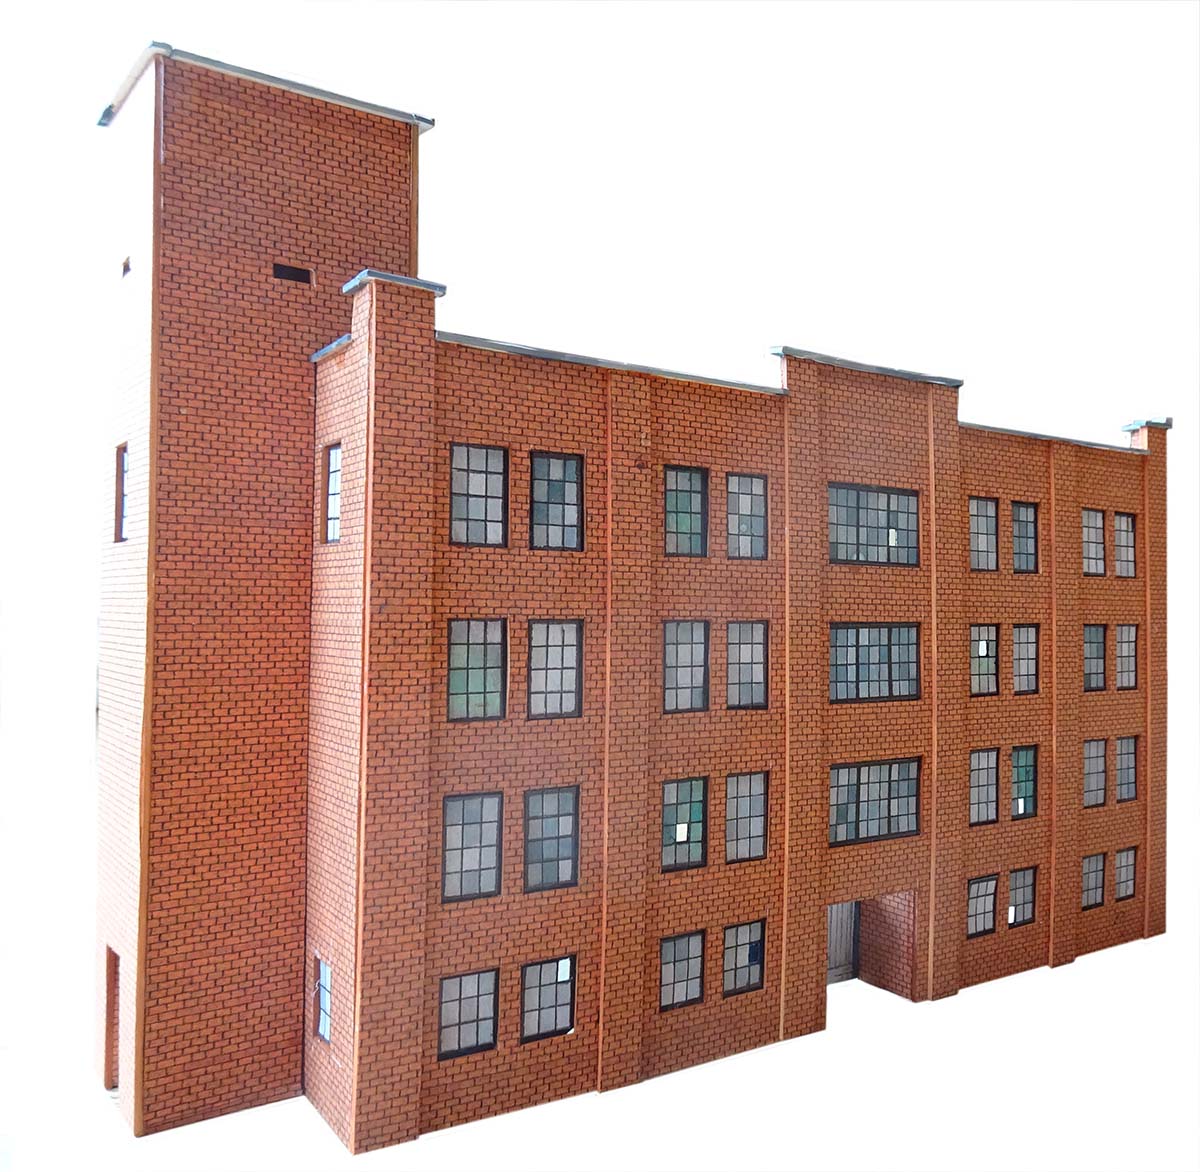
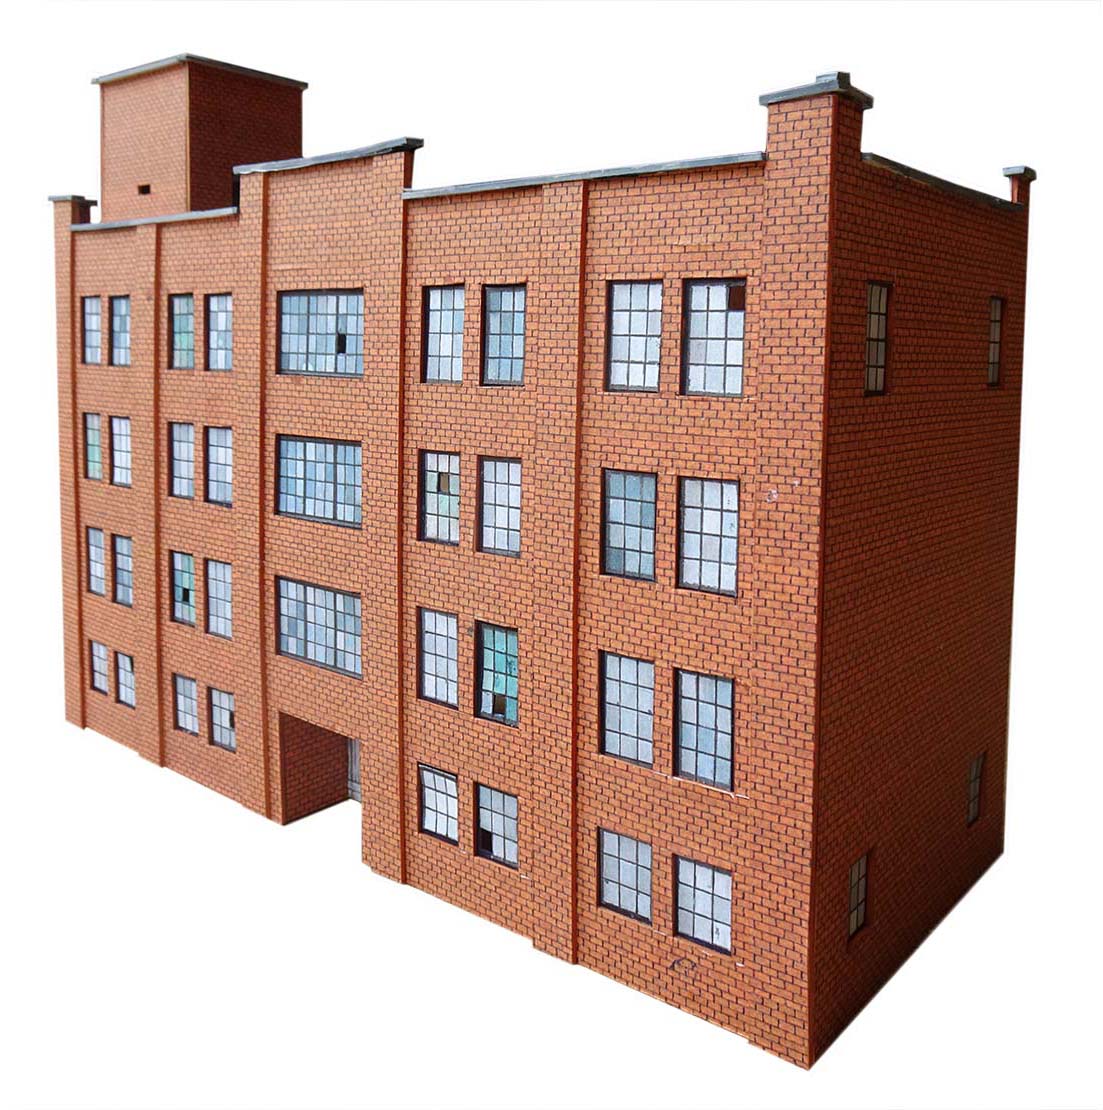
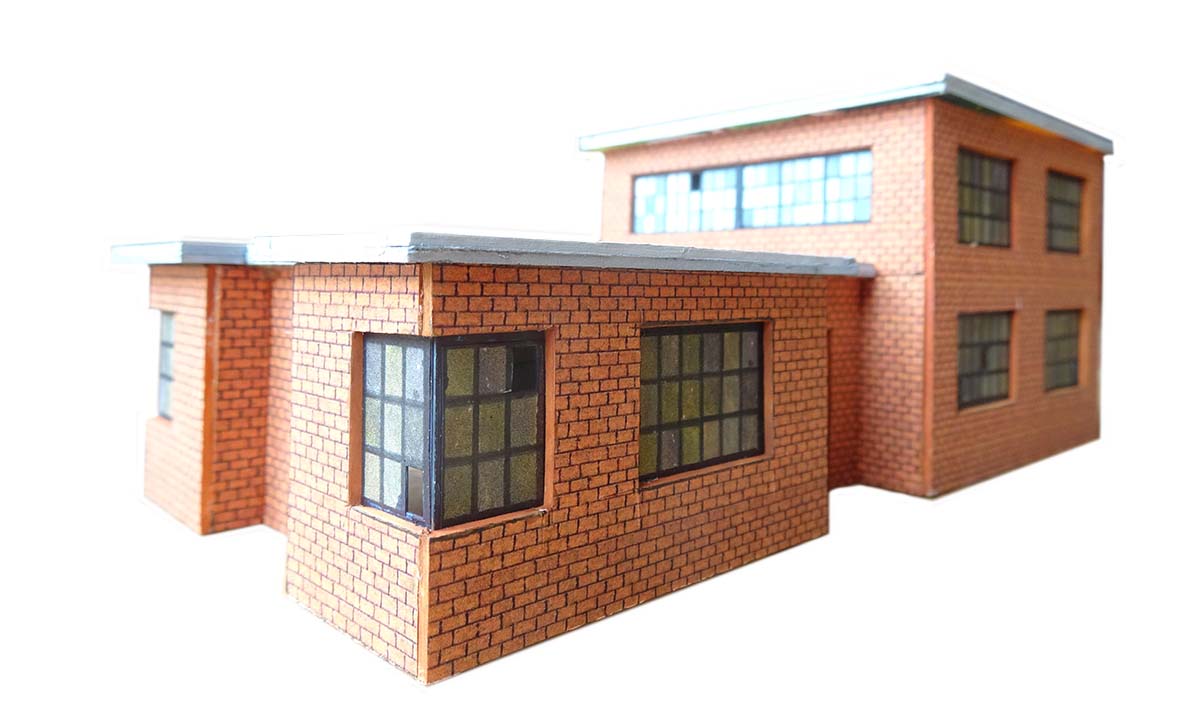
It’s unoriginally called ‘Scratch build kit 2’, but look what you can build with it:
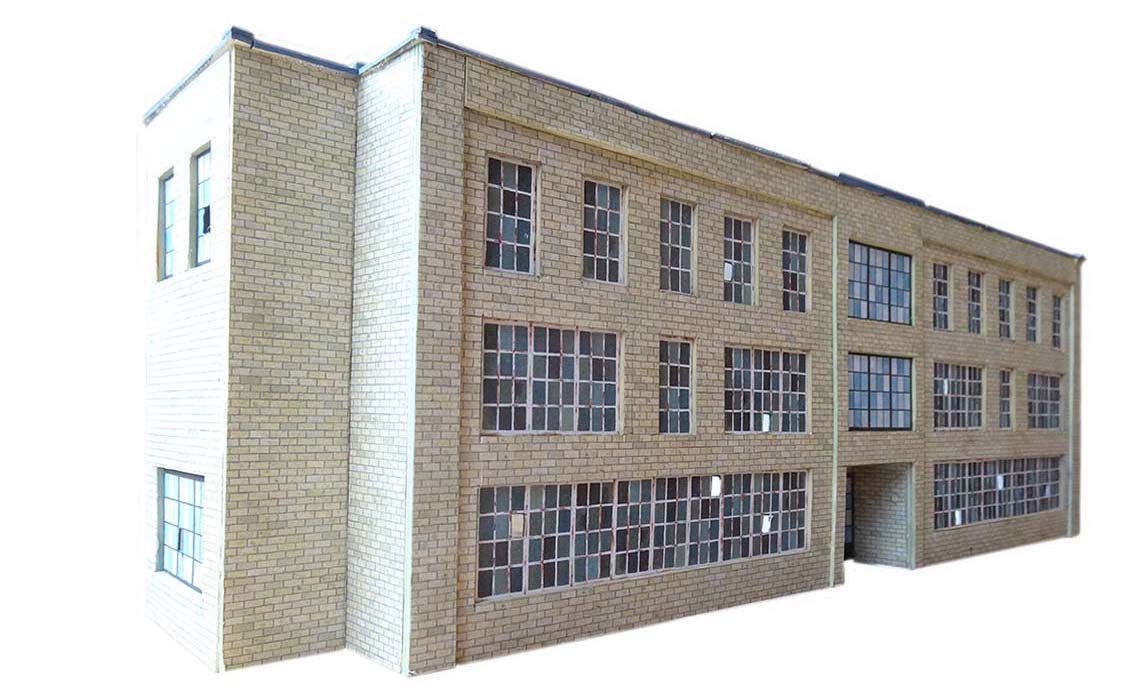
Here’s an example of the backdrops you can build.
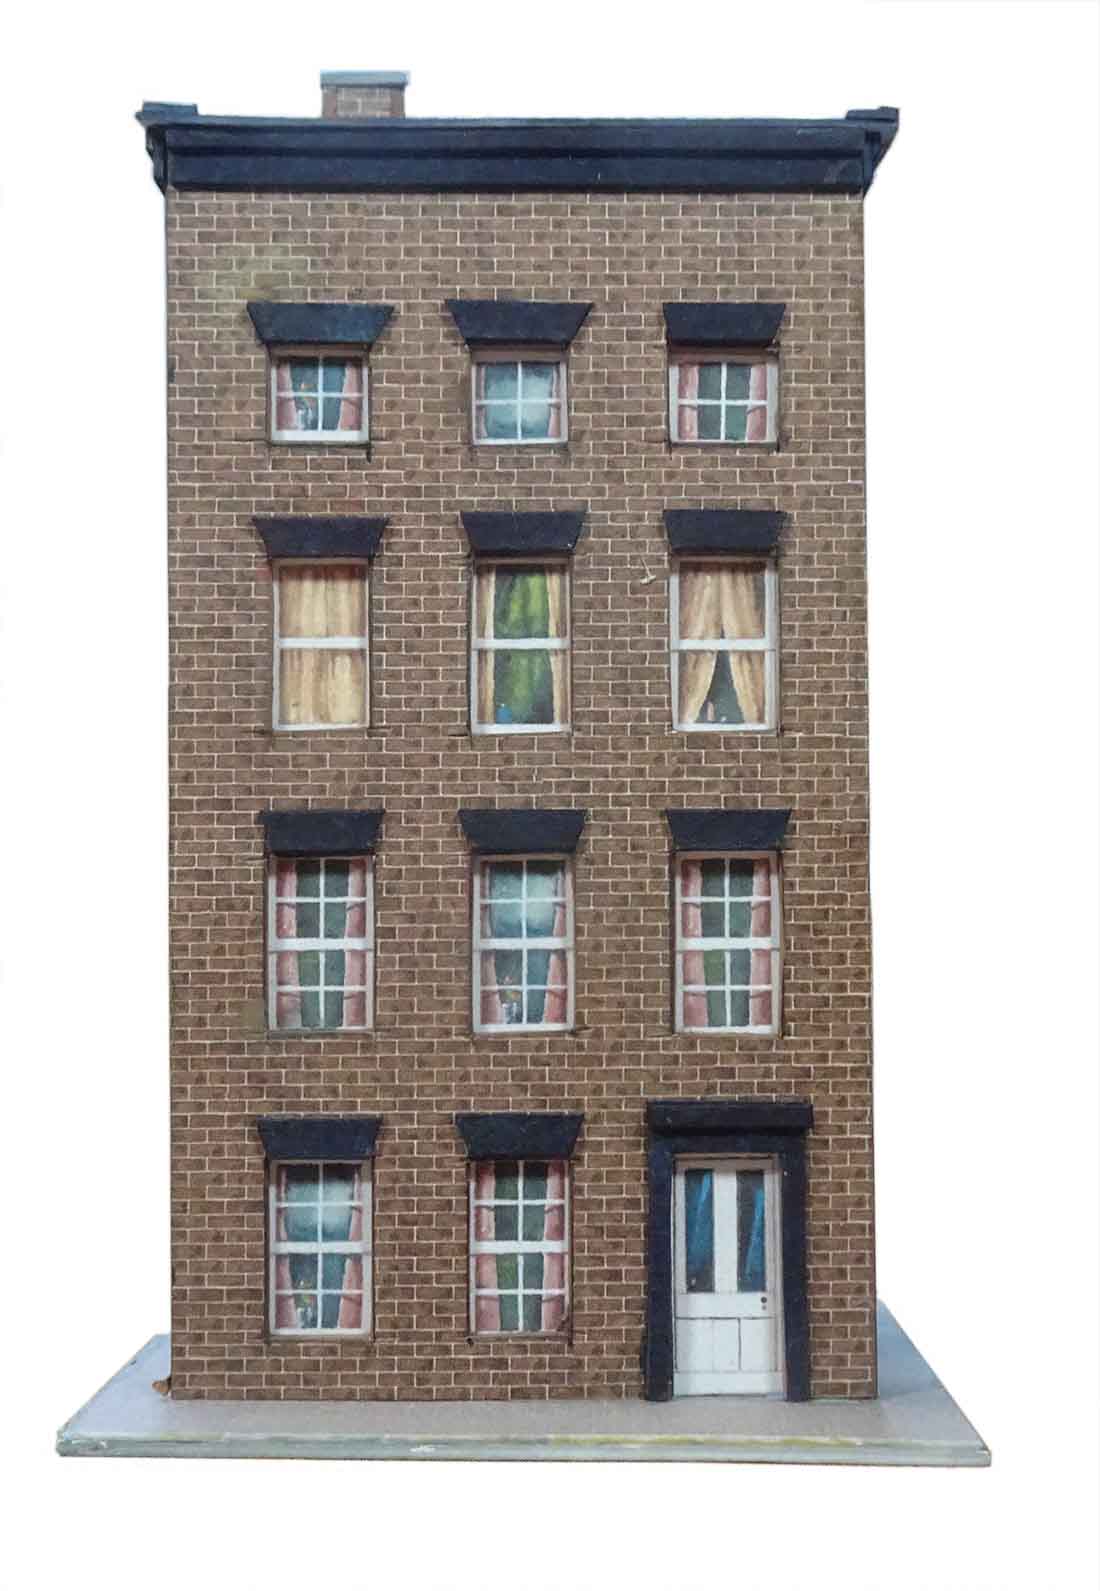
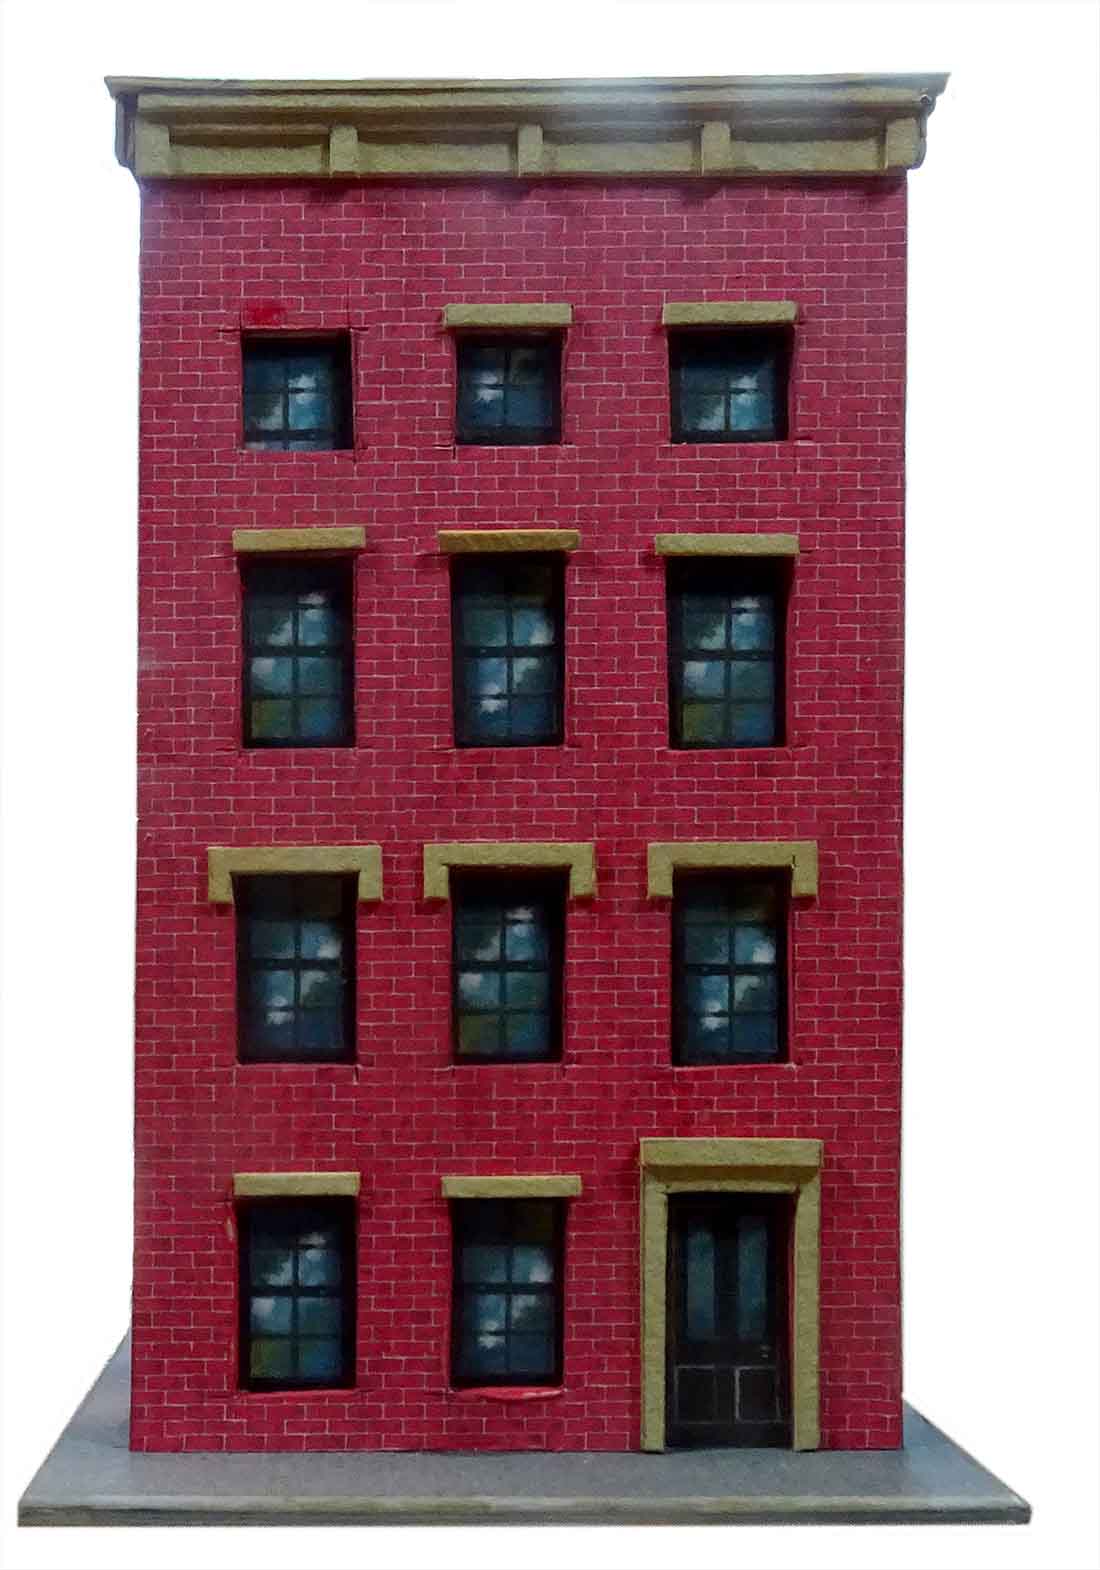
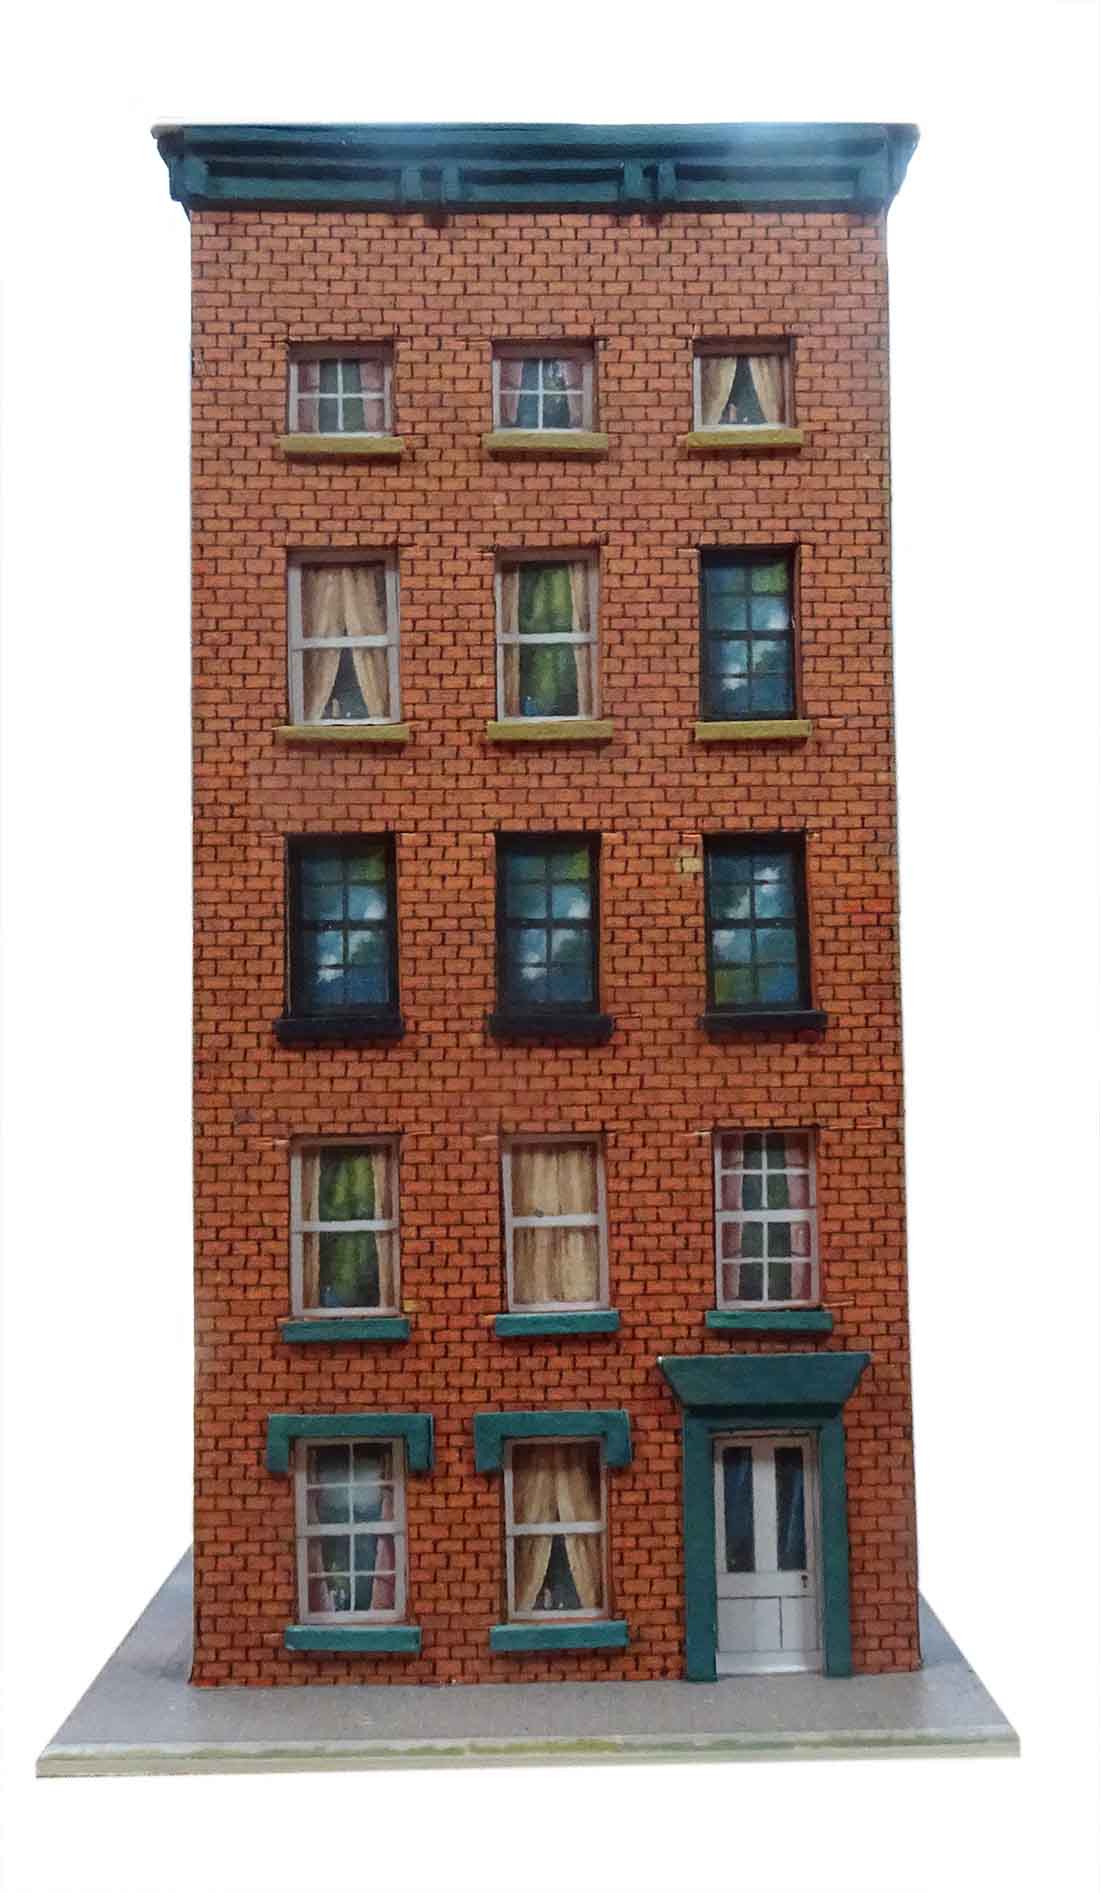
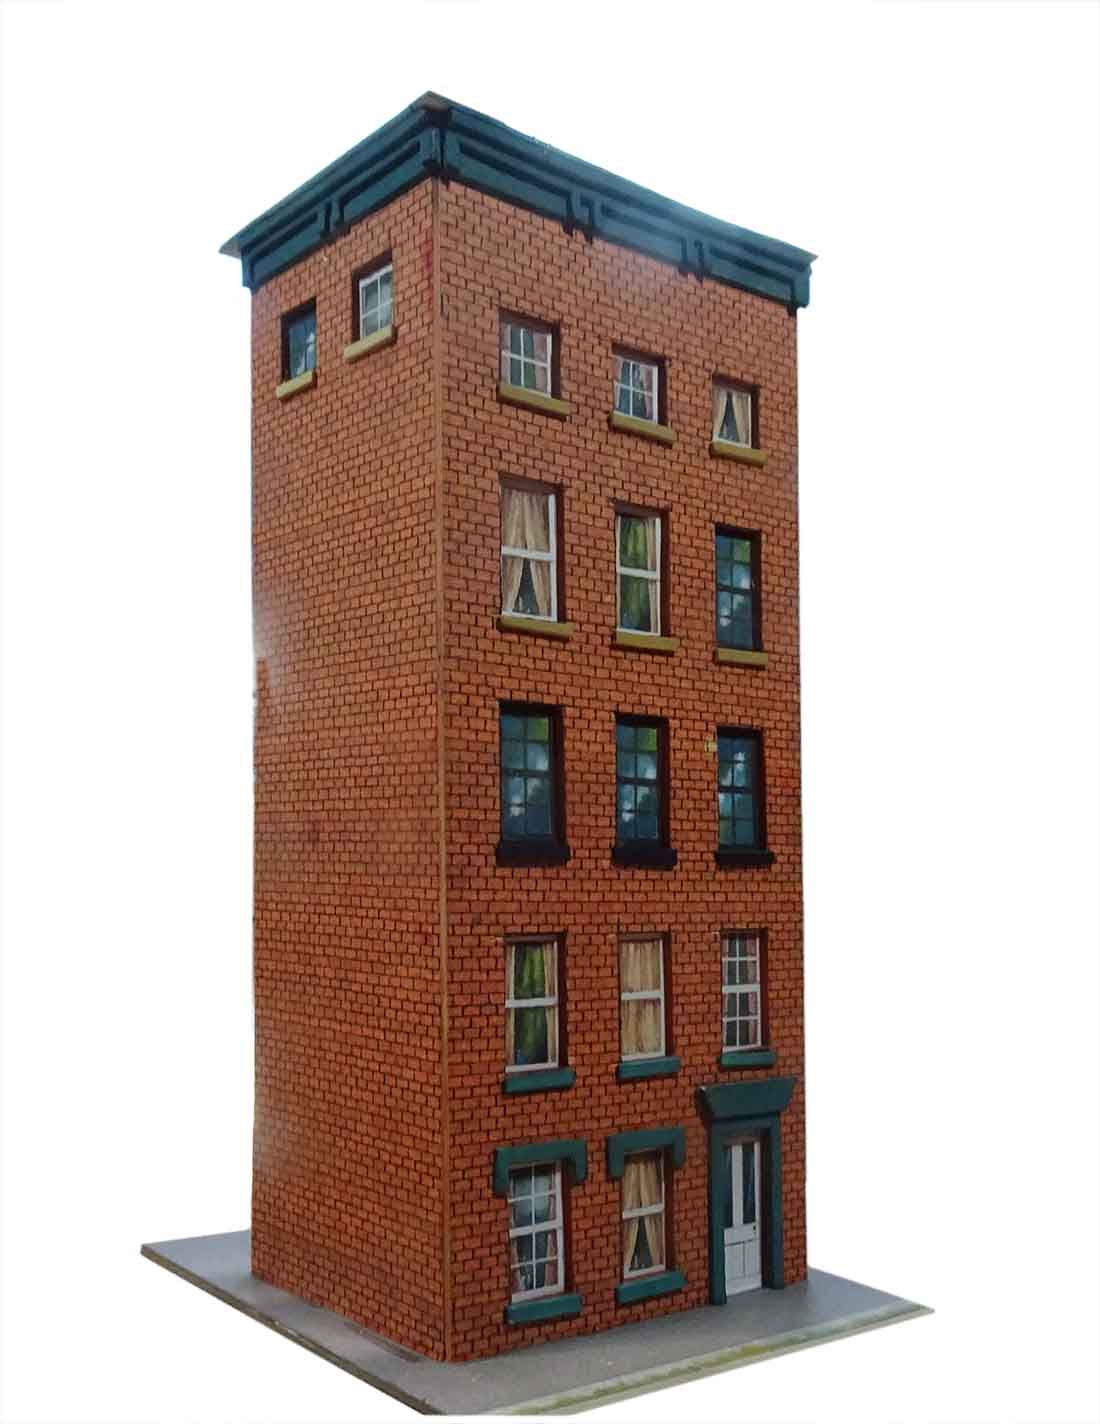
And have a look at the town houses:
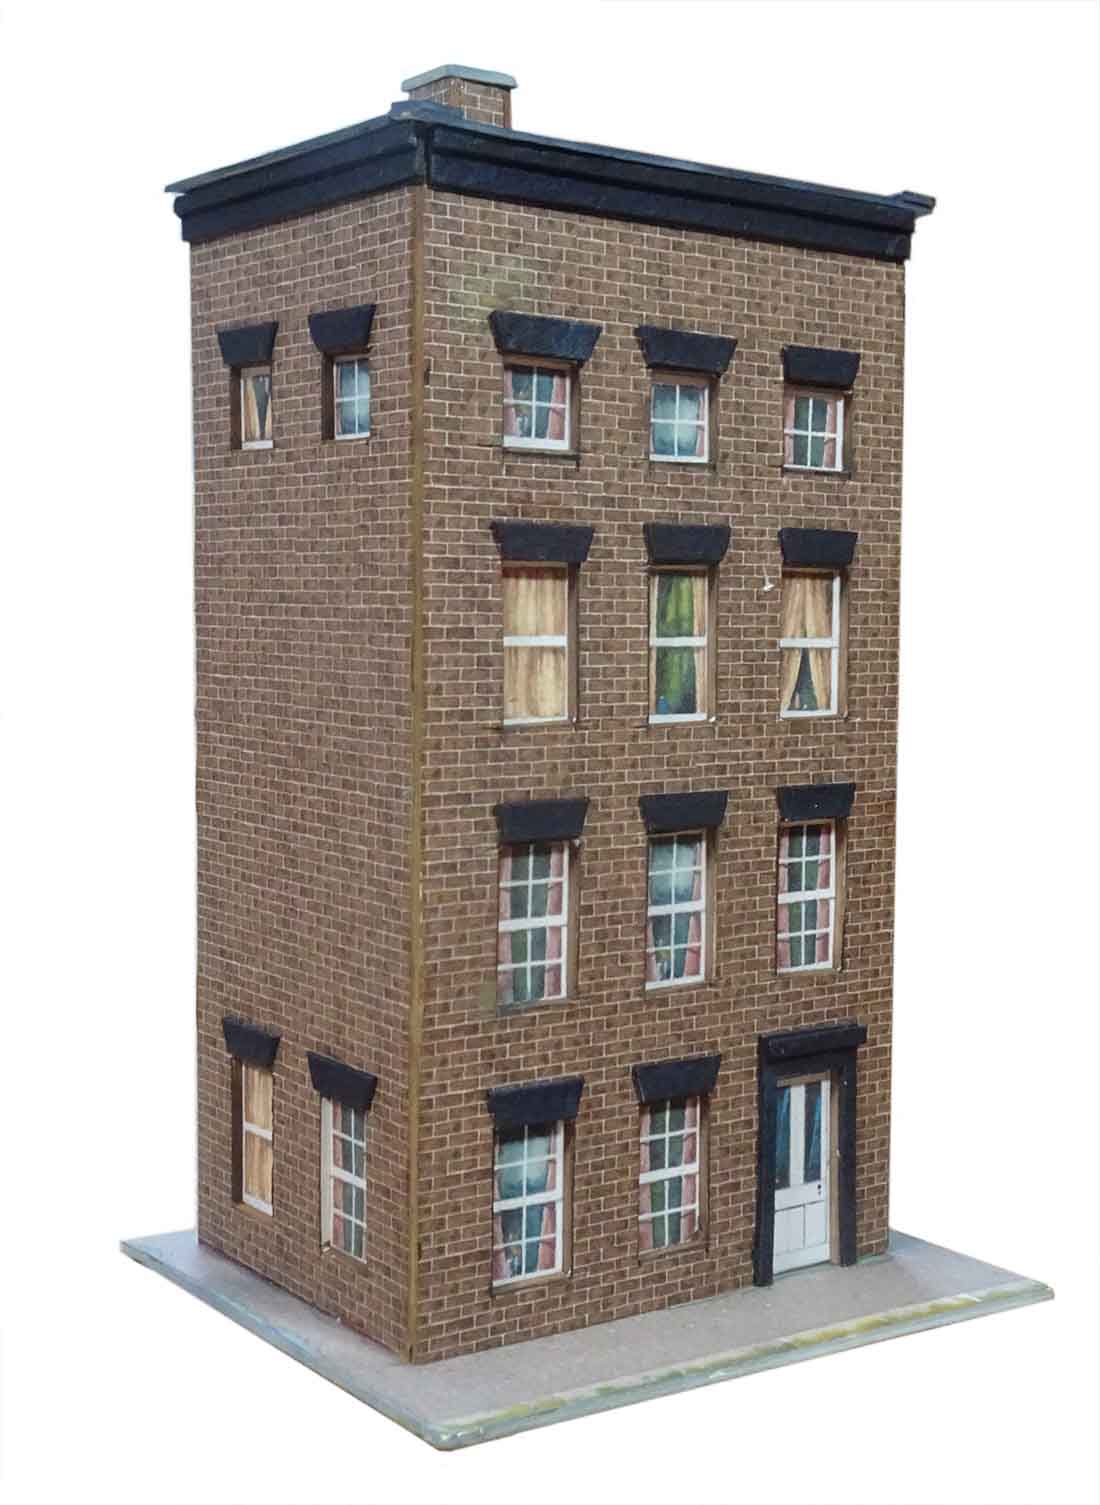
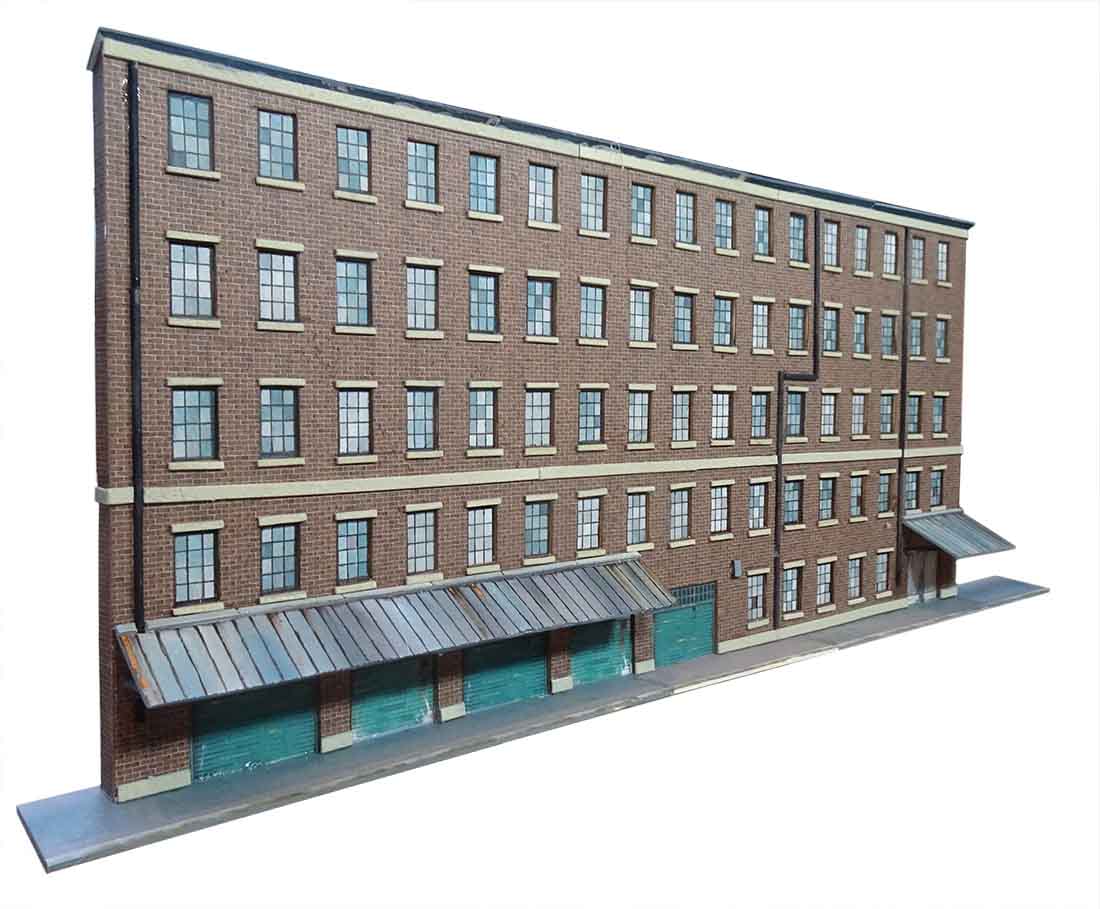
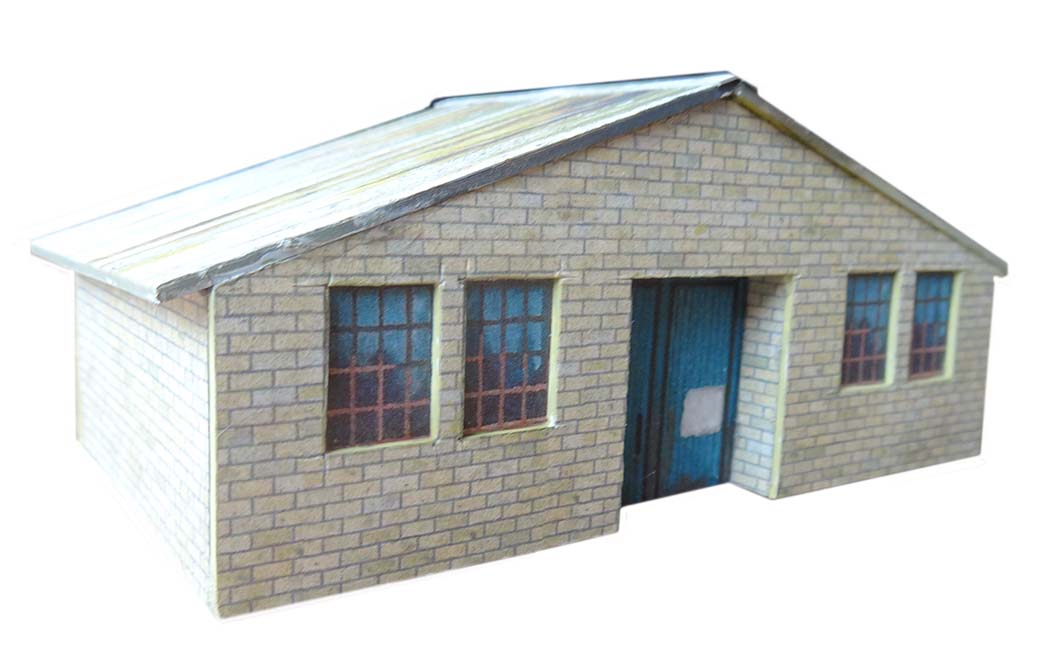
And there’s different brickwork prints too:
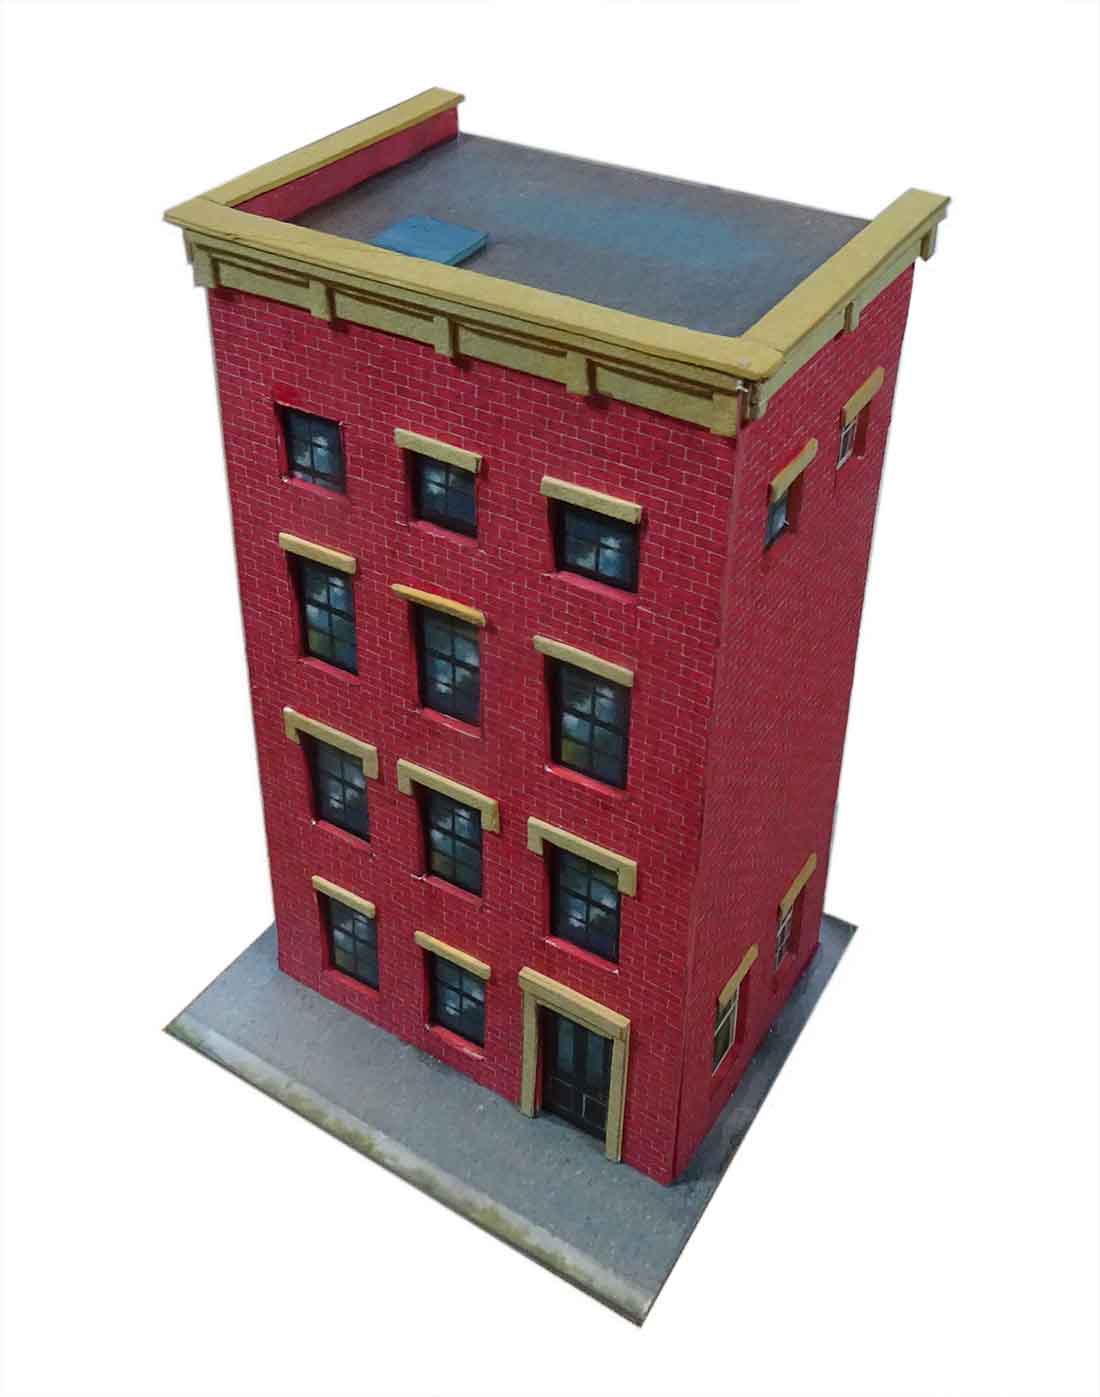
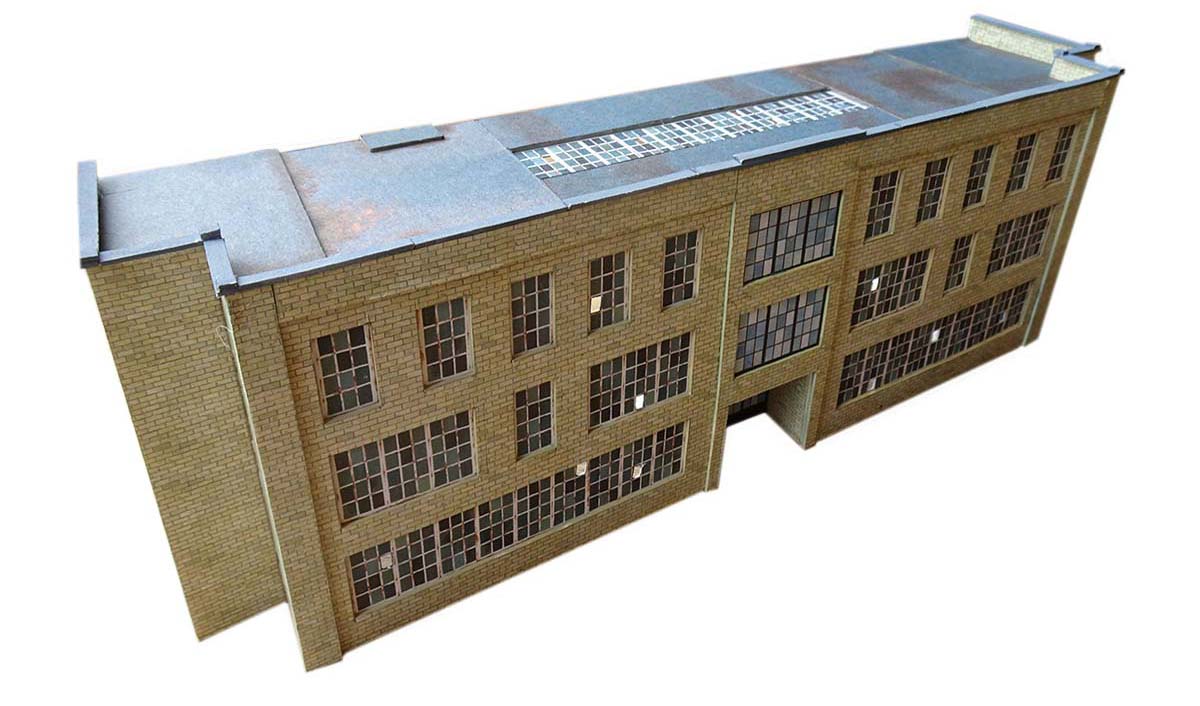
Side view:
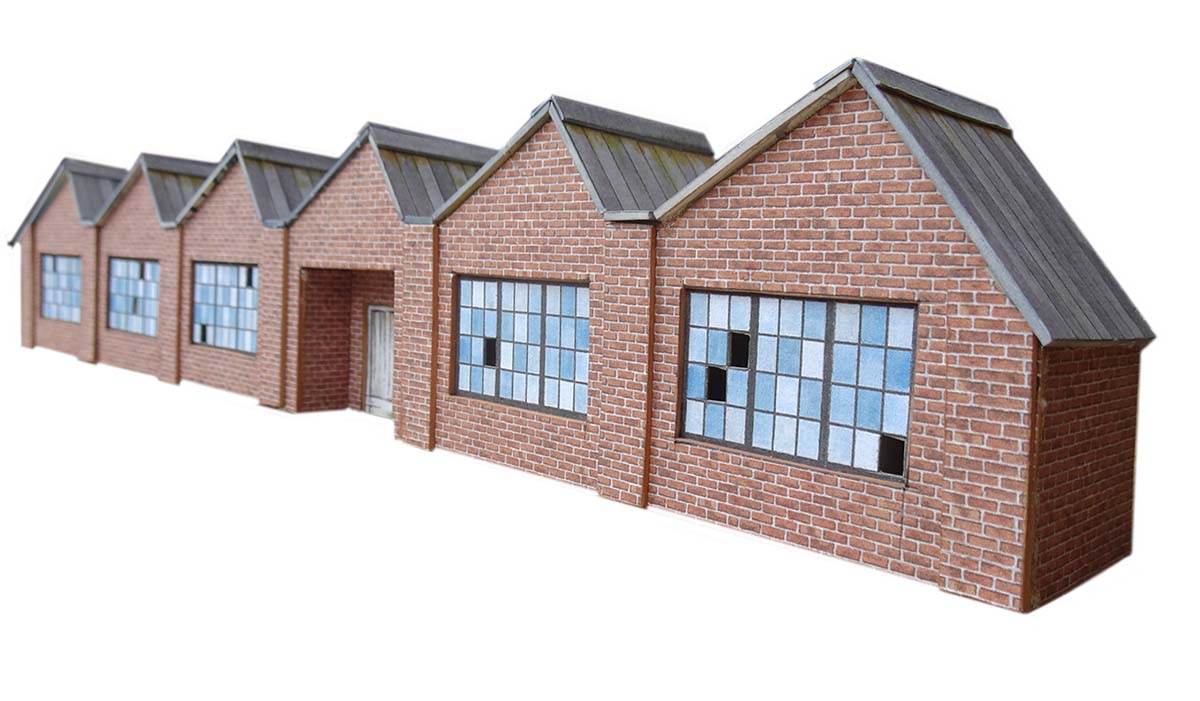
But perhaps the best thing about Scratch build kit 2, is that Scratch build kit 1 comes completely free with it.
So you can use the brick prints from that and make lots more:
Best of all, I thought it was about time a did another silly sale to help keep the site going.
So the new Scratch build kit 2 is just $9.
And don’t forget, you get Scratch build kit 1 completely free too.
The good new doesn’t stop there though.
I thought the best way for people to start tinkering with trains and layouts is to bundle the Scratch build kits with the Beginner’s Guide.
So this means you get Scratch build kits 1 & 2, the Beginner’s Guide and all the free bonuses that come with the Beginner’s Guide – all for just $9.
Of course I’m biased but it really is a proper silly sale. Ridiculous value.
I know many of you have the Beginner’s Gude and you are only buying it for the prints – and that’s absolutely fine.
So, for a few days only, you get Scratch build kits 1 & 2, the Beginner’s Guide and all the free bonuses that come with the Beginner’s Guide – all for just $9.
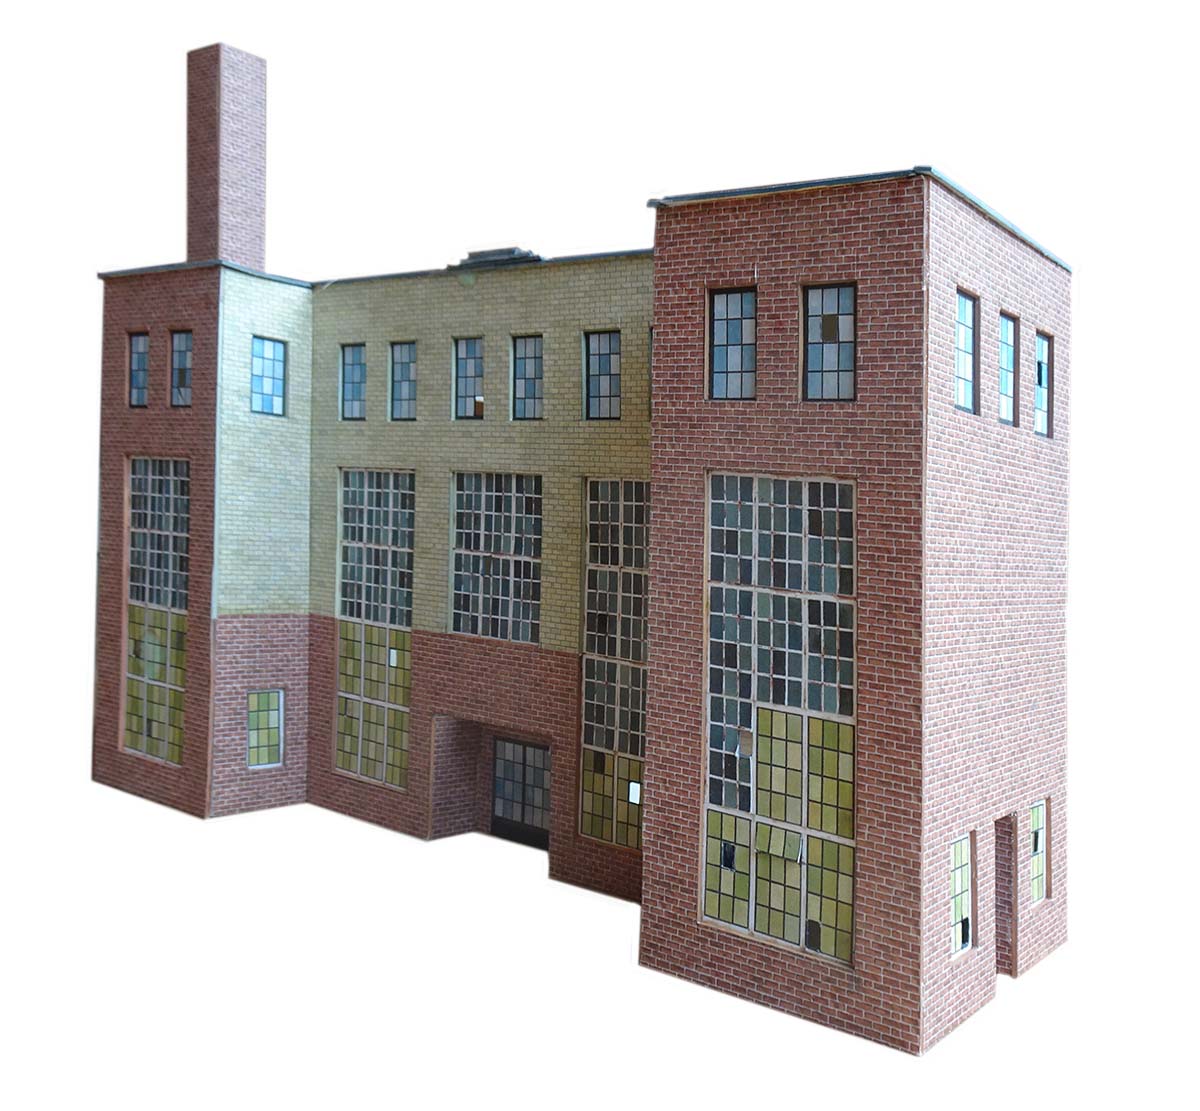
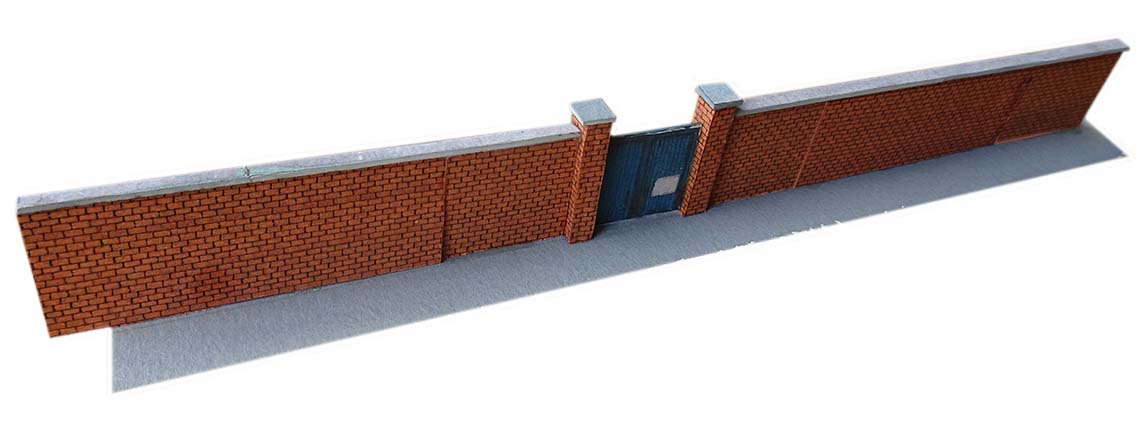
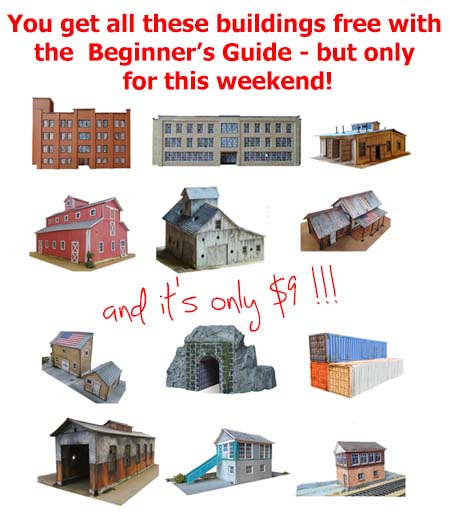
Here’s what you can build with scratch build kit 1 (which comes free with Scratch build kit 2 – and all for just $9)

You can see all the buildings here.
The whole lot is just $9.
And as I say, I know some of you have the Beginner’s Guide already are only buying it for the prints – that’s absolutely fine.
Hopefully you’ll agree it’s a smashing deal – and if it gets a few more of you into making models and laying track it’s all been worth out.
Please don’t hang about though – it’s only for a few days then it’s all back to normal.
You can buy the Beginner’s Guide and both the scratch build kits right now for just $9. But not for long!
Here’s John with another video on how to make these buildings:
All the prints are HO scale. For N scale reduce the print size to 54%. For O scale increase by 143%.
The entire package – everything I’ve listed – is just $9.
In a nutshell you are getting $135 worth, for just $9.
I do get a real kick whem somebody tells me they’ve started their layout because of the blog or the Beginner’s Guide. It’s just as satisfying when somebody sends pics of the print out buildings too.
And when I get both – some of my print out buildings on a new layout – well, that just makes me smile from ear to ear.
So I thought this package really should give a gentle nudge to all those who have often thought about making that start, or just want to make some buildings.
It’s $135 worth for just $9. If that doesn’t get you started, I don’t know what will.
With so much to gain and nothing to lose, I’m really hoping you’ll take the plunge, whether it’s for the Beginner’s Guide, the new building prints, or all the other freebies.
And you really have nothing to lose – it’s a one time $9 payment that also comes with a 60 day, no quibble, money back guarantee.
So here are the new prints (I hope you like them).
Here’s John holding the prints and a building he’s made from them:
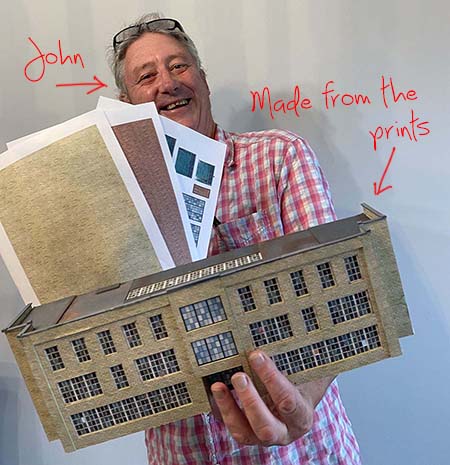
And here’s some more buildings John has made from the prints – have a look at the video below to see how he did it.
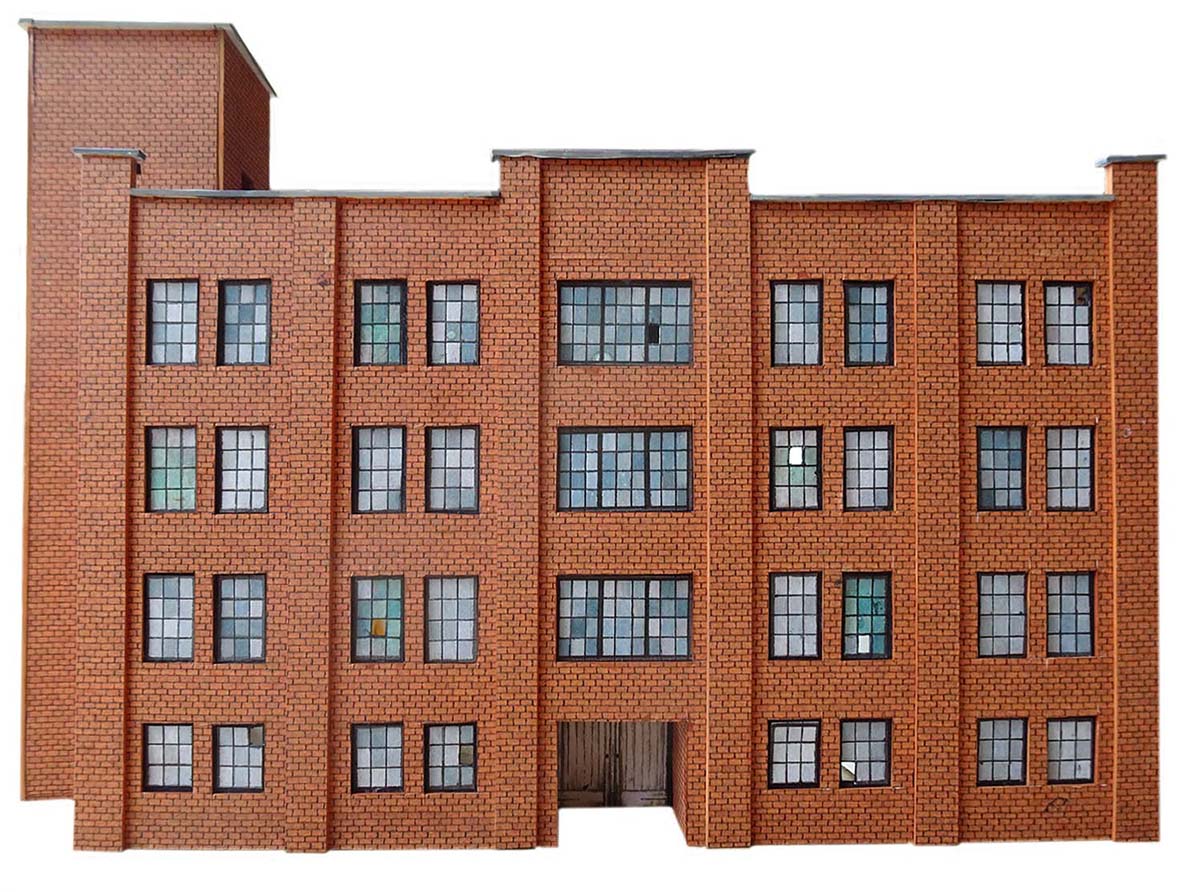

All these buildings are free with the Beginner’s Guide this weekend – and it’s just $9 too.
All of these buildings, and lots of others too, with the Beginner’s Guide for just $9.

Here’s a pic what you get in the new print collection:
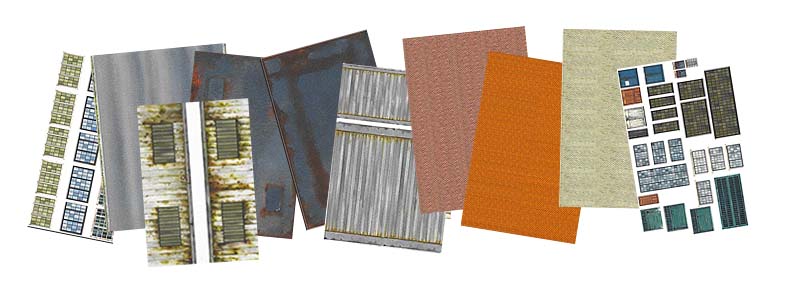
As you’ve probably worked out, you’re only restricted by your imagination, you could make as many buildings as you like, to whatever design you like.
It’s a crazy deal and I hope you like it.
I know some of you who aleady have the Beginner’s Guide will buy it again just for the prints – and that’s absolutely fine.
But remember – today is the last day – then everything goes back to how it was.
So if you’d like to grab $135 worth of Guide and prints for just $9, grab it here, right now.
Best
Al

I should know this but what is your recommended method to shrink the printouts to N scale, 50% I think is your instructions?
Nice start on the firehouse but shouldn’t the bricks be horizontal, not vertical?
LOL!!
Ref. to Mike’s firehouse….the signs should read Engine and Ladder and maybe Ambulance company numbers. Also, where is the regular door for the
firefighters to use to get in and out without opening the big doors.
In the masonry world those are called soldiers because they are standing at attention. Looks go, Have a nice Thanksgiving all!! And Thank You to Al for a great web site God Speed Al!!
Print on regular paper and glue onto wood or plastic sheets. But out windows and doors, then get the plastic windows and doors. Glue in place. Put lights and equipment inside. It will look more realistic.
I’m not a fireman, but you asked for suggestions and I was employed as an attorney in construction defects for a number of years and thus learned to look for problems:
The rollup doors need to be applied from the inside so they look like they can be rolled up. Each door needs more sections and one of the horizontal sections need to have windows. For the door that is open, again apply from inside to give it some depth, with the lower edge attached and the upper section angled towards the inside at about a 22 degree angle as if it is rolled up.
There needs to be a door for personnel to enter and exit without rolling up the big doors.
You need some sort of tower in which the firemen can hang their wet hoses to dry, and some roof vents/fans to exhaust engine fumes.
And, if you are modelling an area that gets a lot of snow — you should pitch the roof towards the sides from some peak to allow snow to get off the roof. Wet snow weighs tons
Al, thanks for this great site; like many others, I learn so much from it.
So many of your buildings remind of of working among the Railroads of LA, Calif.
Nice Mike trial and error, and look’n good. Dan
My engine house was built before modern design got in the way. There were two large swing out doors, opened outward by spring action, and closed manually.There was no provision for removing exhaust.There were eight windows on both sides of the first and second floors. I don’t recall the height of them, but, at five feet seven inches, I could stand up and my head would not touch the top of the frame. This I know because they were washed twice weekly.