Mike’s been in touch with how he solved his Kato turnout switch issue.
(You can see Mike’s original post here.)
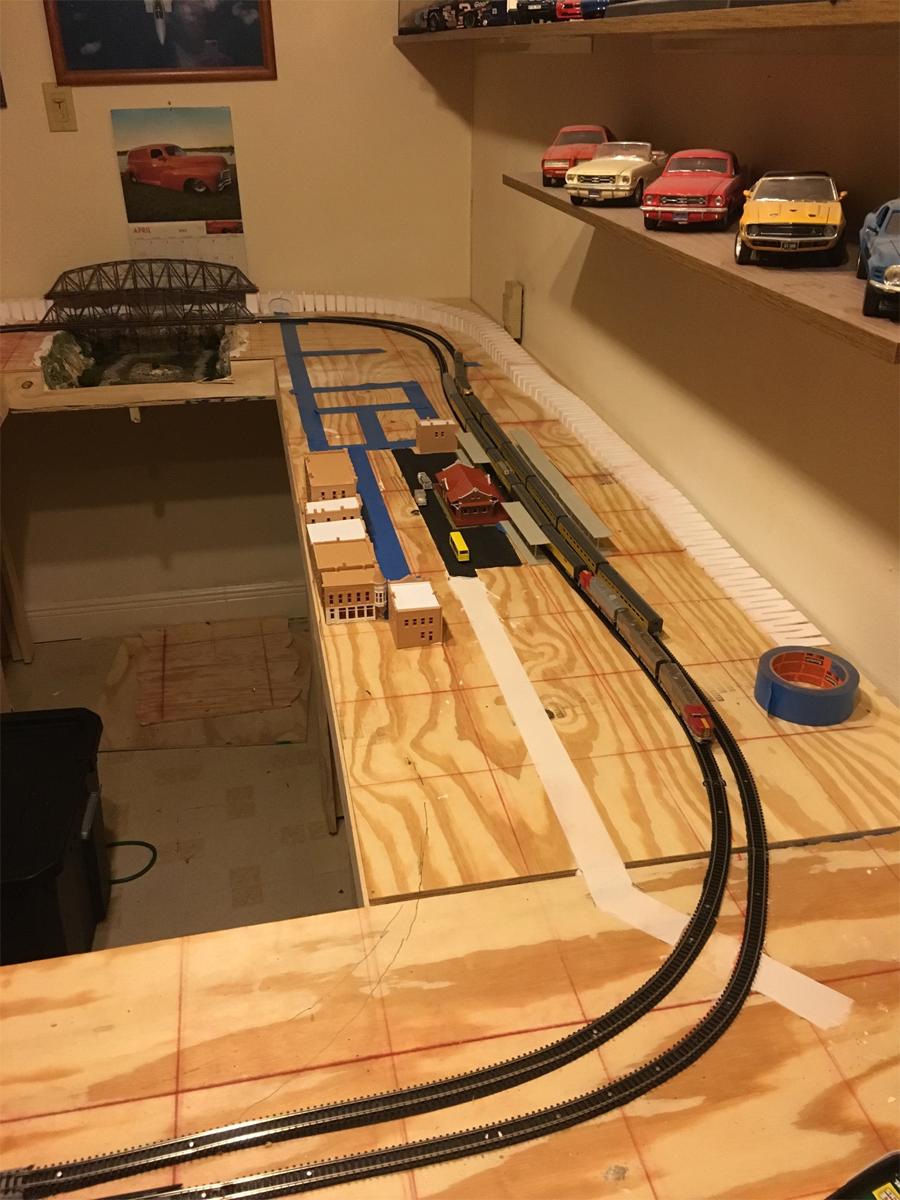
“I have started to place the town. It isn’t there yet but a work in progress.
The blue stripes are the blue painters tape at I am using to suggest the road ways.
I haven’t painted anything yet and still in “layout” mode. I took to heart cleaning up the board and it has been nice.
I can actually see what I need to do and what I am doing. I hope that you find these pics nice.
The switch in the for ground ( gray ) is the Kato turnout switch.
I had a lot of trouble in the engines and cars to go across that kato turnout switch.
It turned out the switch was 1/16 inch bent up. What I did was hot glue the switch down and it is now working with out problems.
Let me know what you think.
Mike”
Big thanks to Mike for sharing his Kato turnout switch problem – it’s all about rolling your sleeves, having a go and learning along the way.
Now on to Keith:
“Hi Al;
First I want to take a moment to say thank you for all you’ve done by giving modelers world wide a platform to not only share their own ideas, but to actually find answers to some of your own questions. I find myself using several recent suggestions by your readers as I build my basement HO layout.
I have a couple of my own ideas that are working for me. For my paved roadways, I am using standard tar paper. It can be cut into most any configuration, and it is quite inexpensive. Also if your layout requires a lot of detail, go to an auto store and you can buy pin stripping tape for cars, (in either white or yellow, or both) and use it for center lines and roadway edges.
I also have done a bit of scenery shopping at the local pet supply store and just picked up a small bag of tank gravel. It’s the right size and is washed. You can get it in almost any color as well. In addition, I bought a small package, to test on the layout, of some fake bottom foliage, plant life kind of stuff, and when I add my water effects, this should really look good.
Another good source of materials is the Hobby Lobby type store. There are so many feathers and artificial plants, that all you need do is apply some imagination. They also have a good supply of various paints.
I will add some pictures of my layout when it isn’t filled with tools and materials, and actually looks like something.
Happy modeling.
Keith, Lake Tomahawk, WI”
Next, I’ve had one or two email on the ‘Sleeping Giants‘ post too.
I can help with the answers on this one, because there was also a follow up post, which is here.
That’s all this time folks. A big thanks to Mike for sharing his Kato turnout switch issue.
Please do keep ’em coming.
And don’t forget the Beginner’s Guide is just a click away if you want to get cracking.
Keep ’em coming!
Best
Al
PS Latest ebay cheat sheet is here. Still going strong.


All Jim,
Isn’t it just Faller systems that moves the trucks?
Danny, Netherlands
Is it the angle of the photo you taken. The bends look not quite right
One thing I learnt over the past 5 years working with n-gauge any problem with
bends if there not right angles will show up with derailments
A tip about kato crossovers and points switch them back and forth 4 to 5 times
Before you run your trains
As this causes the coil to create a magnetic field holding the points firmly in place
Keep up the good work
Welshdodger
Well done Mike, really looking good. Have you given the layout a name yet? Is it on U Tube yet?
Keep up the excellent work, and keep them pictures coming, most enjoyable.
Kind regards.
John.
Nice work Mike. I particularly like your bridge and river construction. As for the vehicles moving on Jim’s layout, he probably has the Faller Car System – they have a large range of vehicles from different eras that run on their road system with a central controller. Pricey but very slick! Keep up the great work – Glyn
Hi Mike.
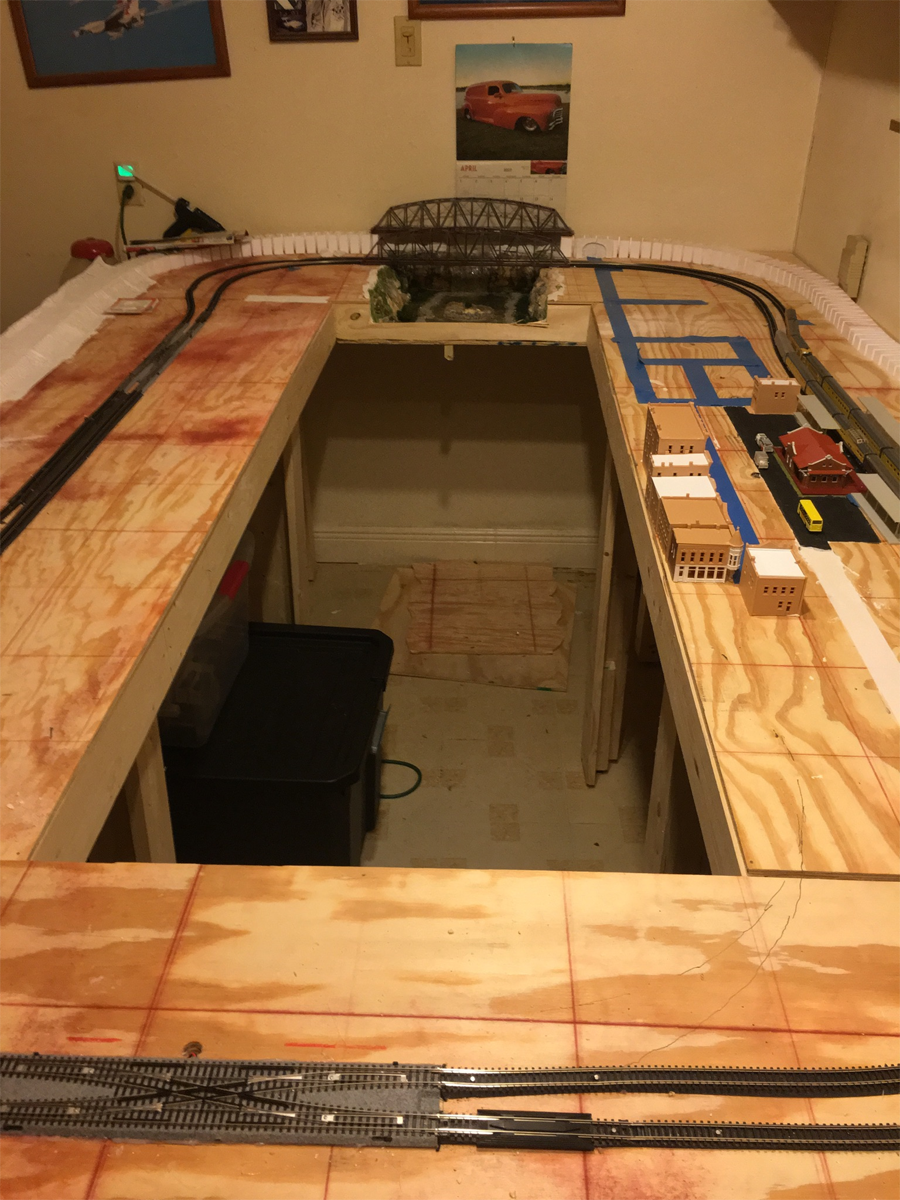
You have a good space for your layout and what you have done so far is looking good. I’m not critising but unless you add a decent spongy underlay below the tracks you will get a great deal of noise from the board itself, the best I find for minimising the noise is the gravelled underlay that Nock produce. It could also help with the slip as it seems there is nothing to support the track where it joins therefore causing your problems judging from the second picture.
Keep up the good work and look forward to seeing your next update.
Eric. (Leeds. UK)
I like the idea of ‘hot-gluing’ the errant double slip switch.
I have one turnout that is a pest so may try to ‘level it up’ using that method.
Mike,
I think you have a good road plan. It is always about making sense. Does your road make sense where it is at (e.g. leading to a station or industry). I like your grid system on your base, the good Lord knows I can’t draw a straight line. Looking forward to seeing your layout take form.
Nice work, Mike! You just have to respect a guy who rolls up the sleeves and has a go.
Re Jim’s trucks, could be the Faller roadway system. The trucks have tiny motors (& batteries?) on board and follow a guide wire buried in the road. A really cool effect.
I have a few suggestions on the roadway layout from a US perspective. First the white tape extension from the station parking lot looks odd. First it crosses the tracks at an acute angle where a 90 degree crossing would be dictated if feasible.Additionally there is a curve before thr track crossing. Allowing for commercial traffic the radii should be at least 100′ with 250′ or more prefered for low speed applications.
Second, the rest of the layout in blue looks fairly good. Old roadbeds often have two 8′ to 9′ lanes and 20′ radii in the fillets at all intersections. Current USA criteria where ROW is available is for two or more 12′ lanes with 30-55′ fillet radii depanding on truck size and mix.. Use 6-8′ parking lanes if part of the layout.
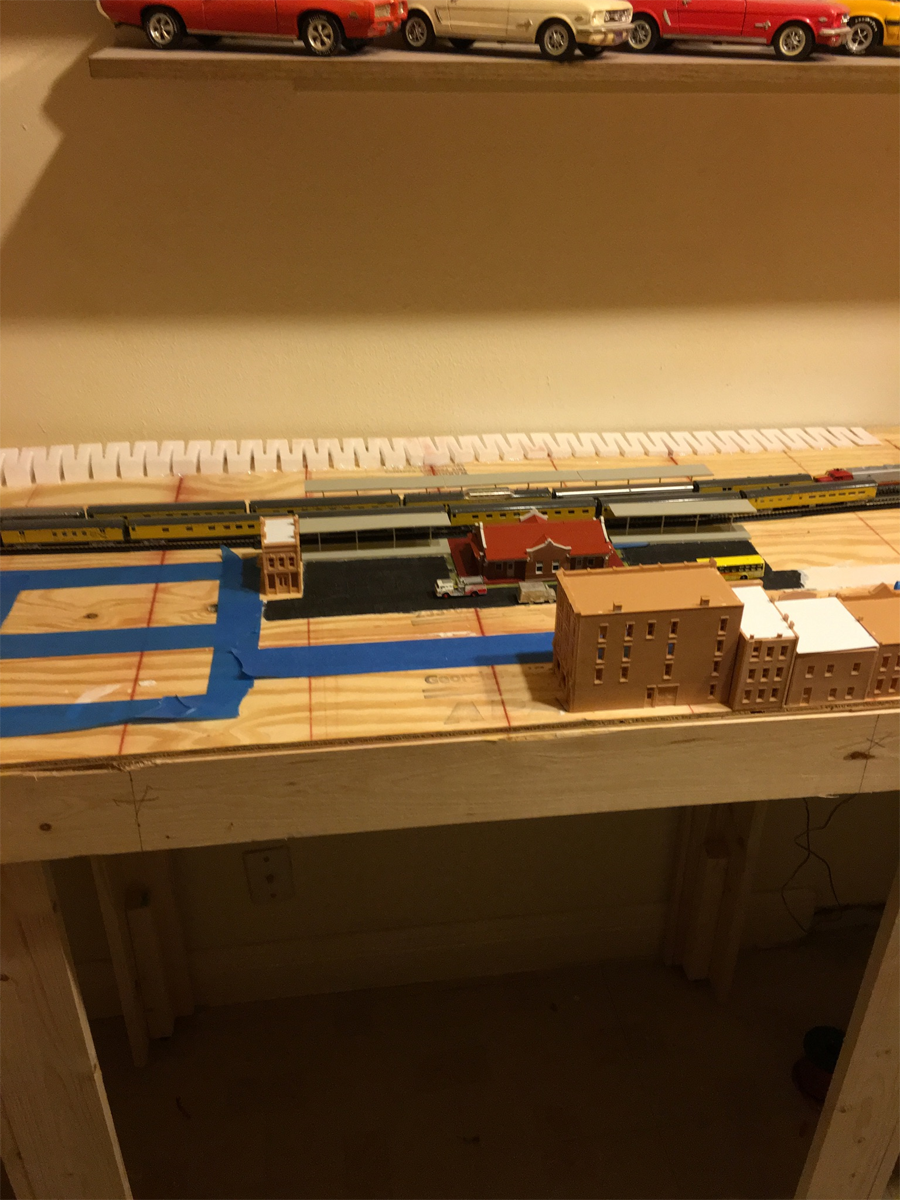
well it’s coming along. Next time show us pictures of the ‘Stang models on the shelf.
Hi Mike….I like your model cars too….Your road pattern is looking like an “Any-town” down town area grid which is what you look for…I would say that you’re right on with it….Have fun…This Mike…..
I would like to know also .I would bet it so simple it would makes all feel like dam dumb morons. when I saw that boat move ,I said magnets (to myself)?
Hi Mike, nice looking layout. I agree with Eric on the need for an under laying layer. I have been working with foam core poster boards. they can be easily cut and sanded to form the base for raised ballasted right of ways and gouged to create roadside ditches and other terrain features. I also like your street grid but have one suggestion. I would move Main street closer to the front edge so that the front of the buildings face the other direction and then widen the station road to create a drop off lane in front of the station with maybe more parking or delivery area behind the buildings. Looking forward to more postings. Tim
A great work in progress. Keep up the good work
Hi, Mike! I made a village similar to yours with the rear of buildings at the edge of the layout, fronts turned away from viewers and hiding the street. It didn’t work out well after it was all finished. Lost a lot of the character and action of a busy street through town. Ended up running an alley/access road next to the tracks, so the backs of the village faced the tracks and the front towards viewers. Put the street at the edge of the layout. Just a thought! michael
great update things are looking good.
Looks great…. Since I see you using the Kato double cross-overs, I have to ask – have you had any problems with trains at low speeds (<10mph scale – which means taking about 11 seconds to transit the entire switch track section)????
Wonderful freeform on the layout. I do have a few suggestions: As mentioned earlier, you may want to put roadbed under the track for a smoother and less noticeable sound. KATO switches in general have not provisioned with other companies over the last 30 years that I know of and therefore should have a viable product line. Had the opportunity while stationed in Japan to visit KATO in Tokyo several years ago. Their products go through multiple stages of substantial testing and if a production line series doesn’t pass, they will not release it to the public. Looks like you’re off to a great start Mike!
Track layout looks a bit minimalist, you soon get fed up of watching just the same couple trains go round in circles, I suggest a yard of two or three train length sidings on the far side from the station.
As to the roads, variety is good, from the very wide Main Street to mean little alleys etc. Crouch down and look along the lines of them, too, see what view you’ll have looking along streets at N scale eye level.
Rod
Hello Mike, love the look of the layout.
Cary from Maryland
Mike, seems you were further along on first post then you are now. Don’t listen to Bob, I did mine without road bed just ballast sounds more authentic with that clackity clack.
The Critic
You’re off to a good start, keep us posted as you move forward.