John’s been back in touch with his very impressive model train bridge:
“Hi Al,
As mentioned in one of my last missives, the layout move from the basement to the attic is progressing, all-be-it slowly.
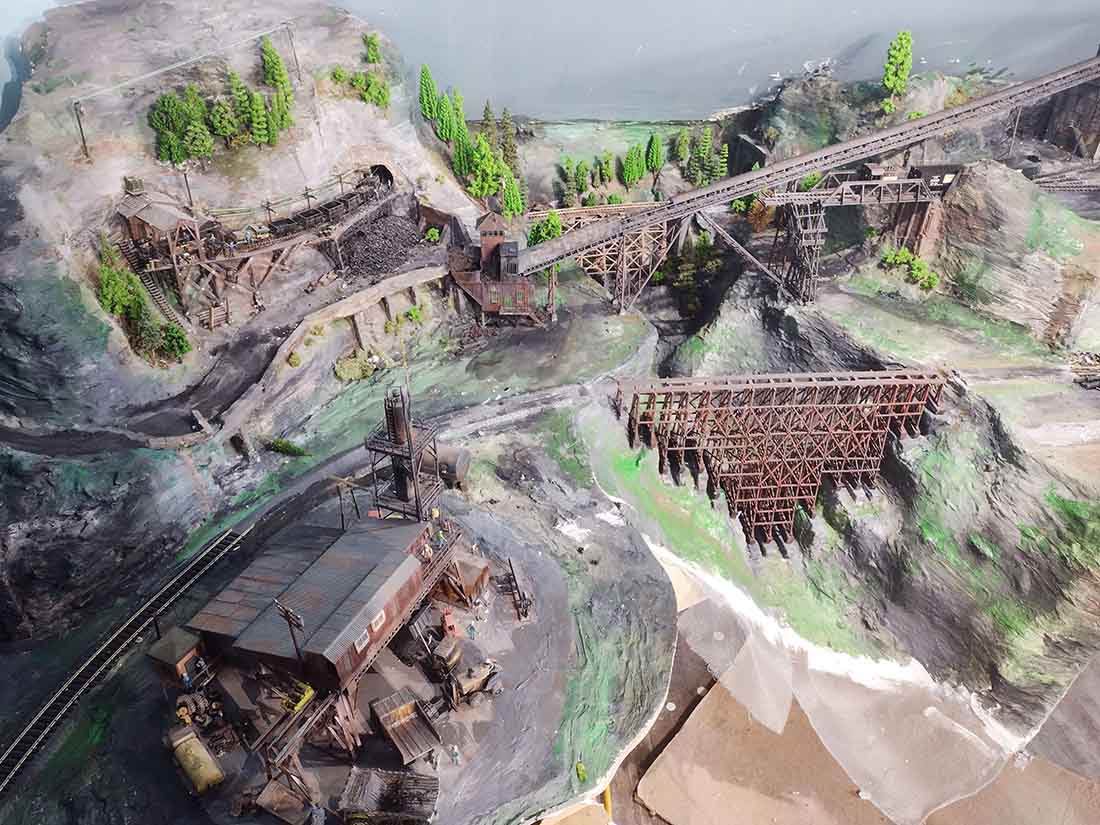
The last few weeks I’ve been working on getting the mainline trestle set in the new valley and river.
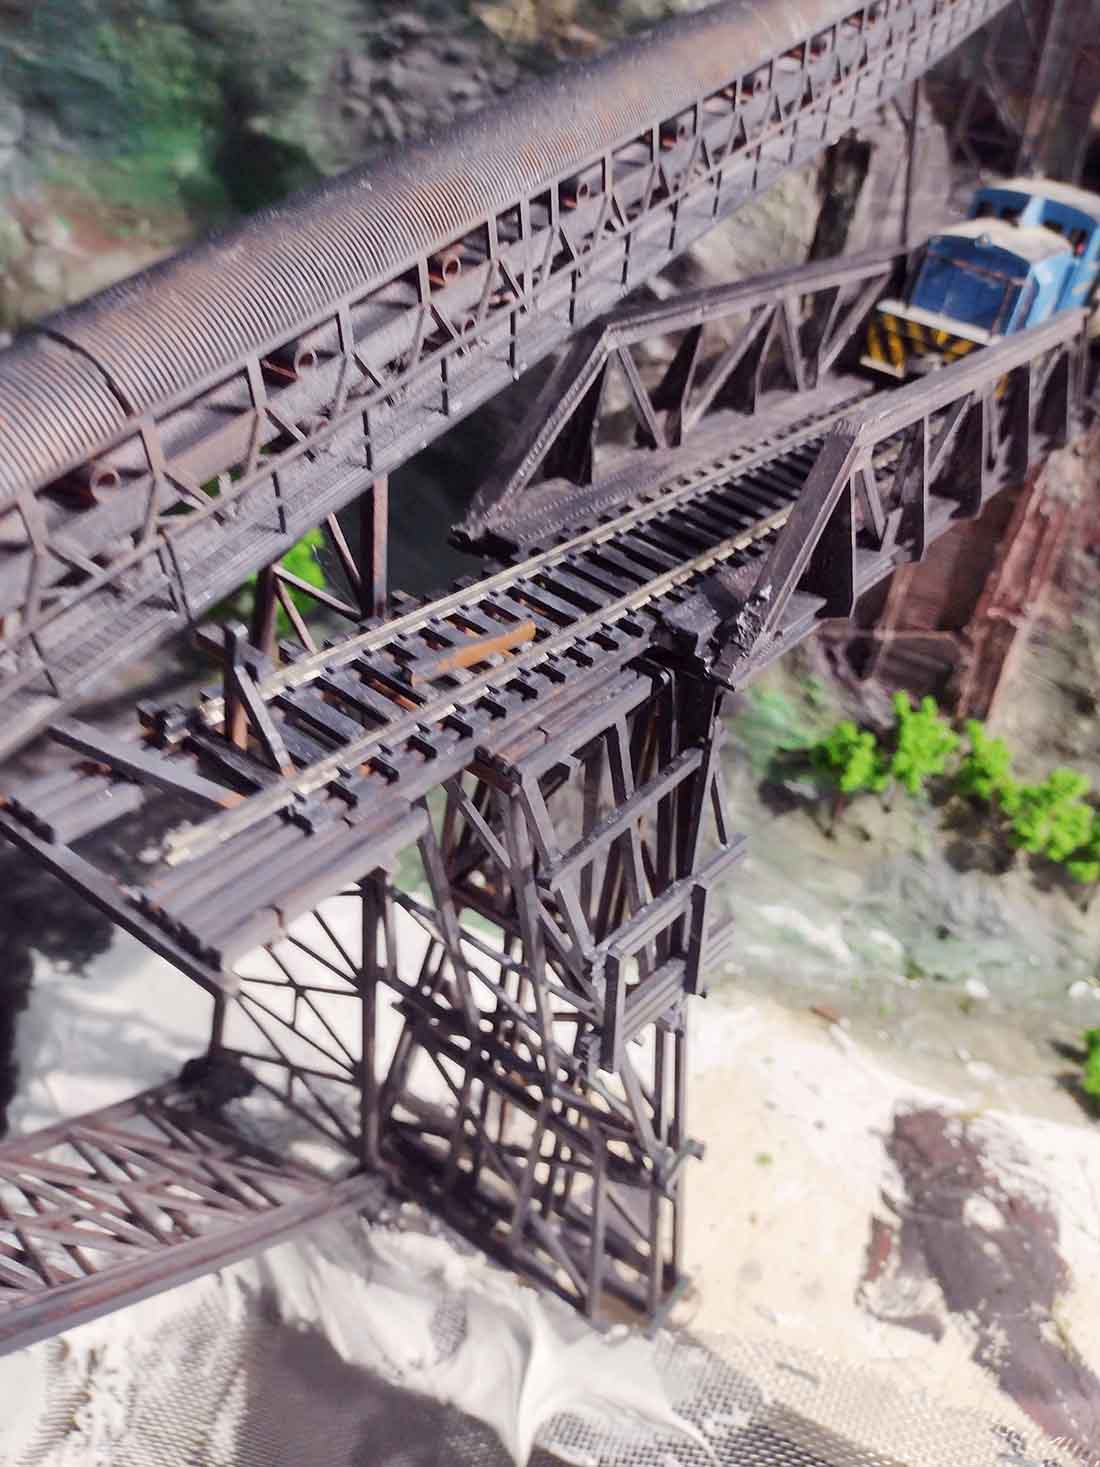
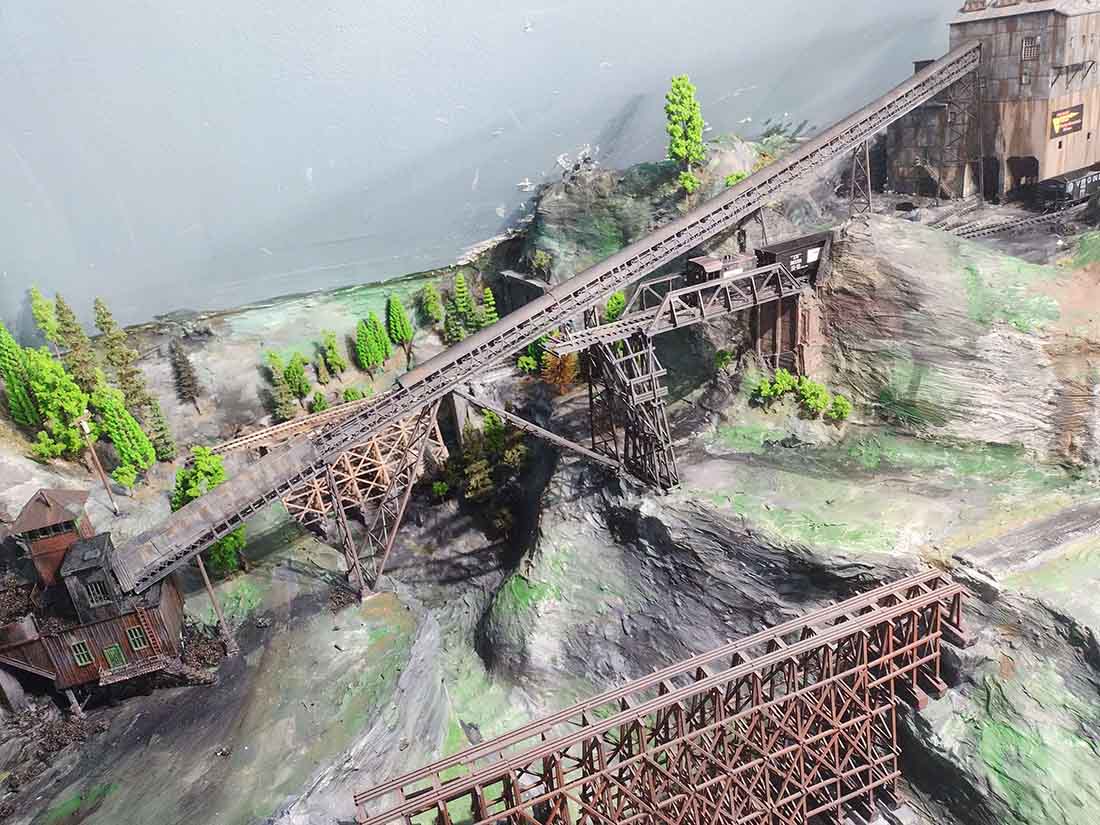
I also installed a long conveyor structure to take raw coal from the mines to thecrusher/loader. I think that detail came out pretty good, some pictures below.
I also had problems with the tracks around the big mine building, so I extended one out over the valley, I decided this will be an area where I can shuffle cars with a little yard engine, it’s long enough that it should allow the little engine and 2 cars.
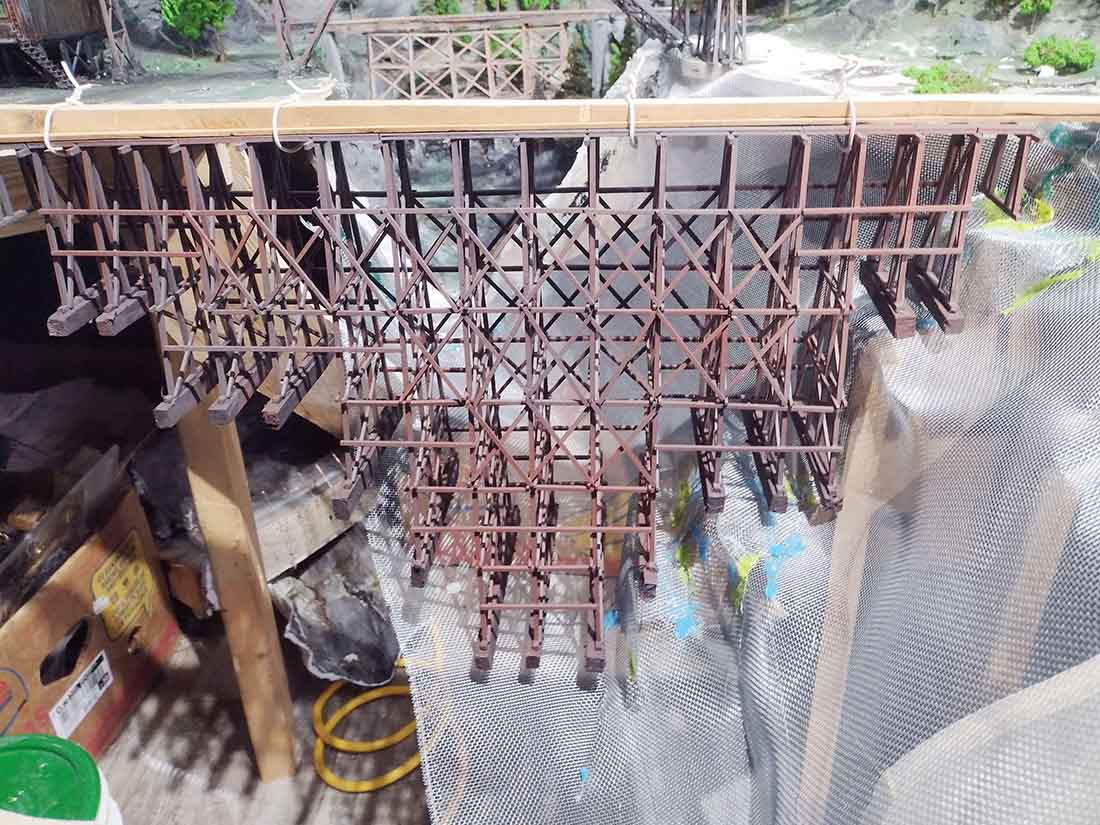
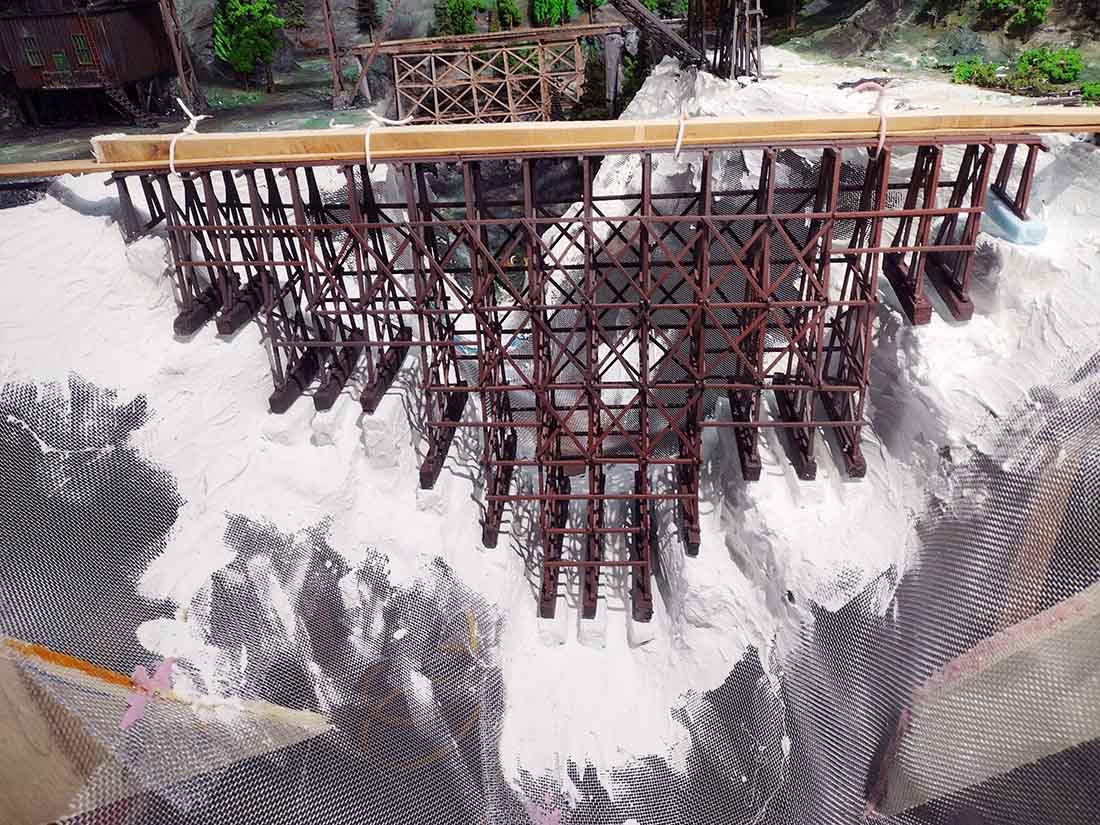
Back to the trestle. I got 2 kits from a successful auction bid and set out to make the bridge, I had an idea for the width of the valley to cross, and built roughly to that dimension. Having 2 kits allowed me to have different heights of bents (supports) than what the kit guys had in mind.
Once the bridge was completed, I added little dense foam “supports” under each bent. The reason is that in the picture on the kit box lid the kit guys simply showed the bottom wood on the ground.
I then spray painted the whole bridge rust then black, I’ll use this as a base for weathering the whole bridge after I get it in place and scenery around it.
I’ve found that weathering structures before placing them often results in weathering that appears out of place with the surroundings and needs to be re-done or at least substantially touched up.
With the bridge nearly done, it was time for the valley. I use a few tricks to place my bridges.
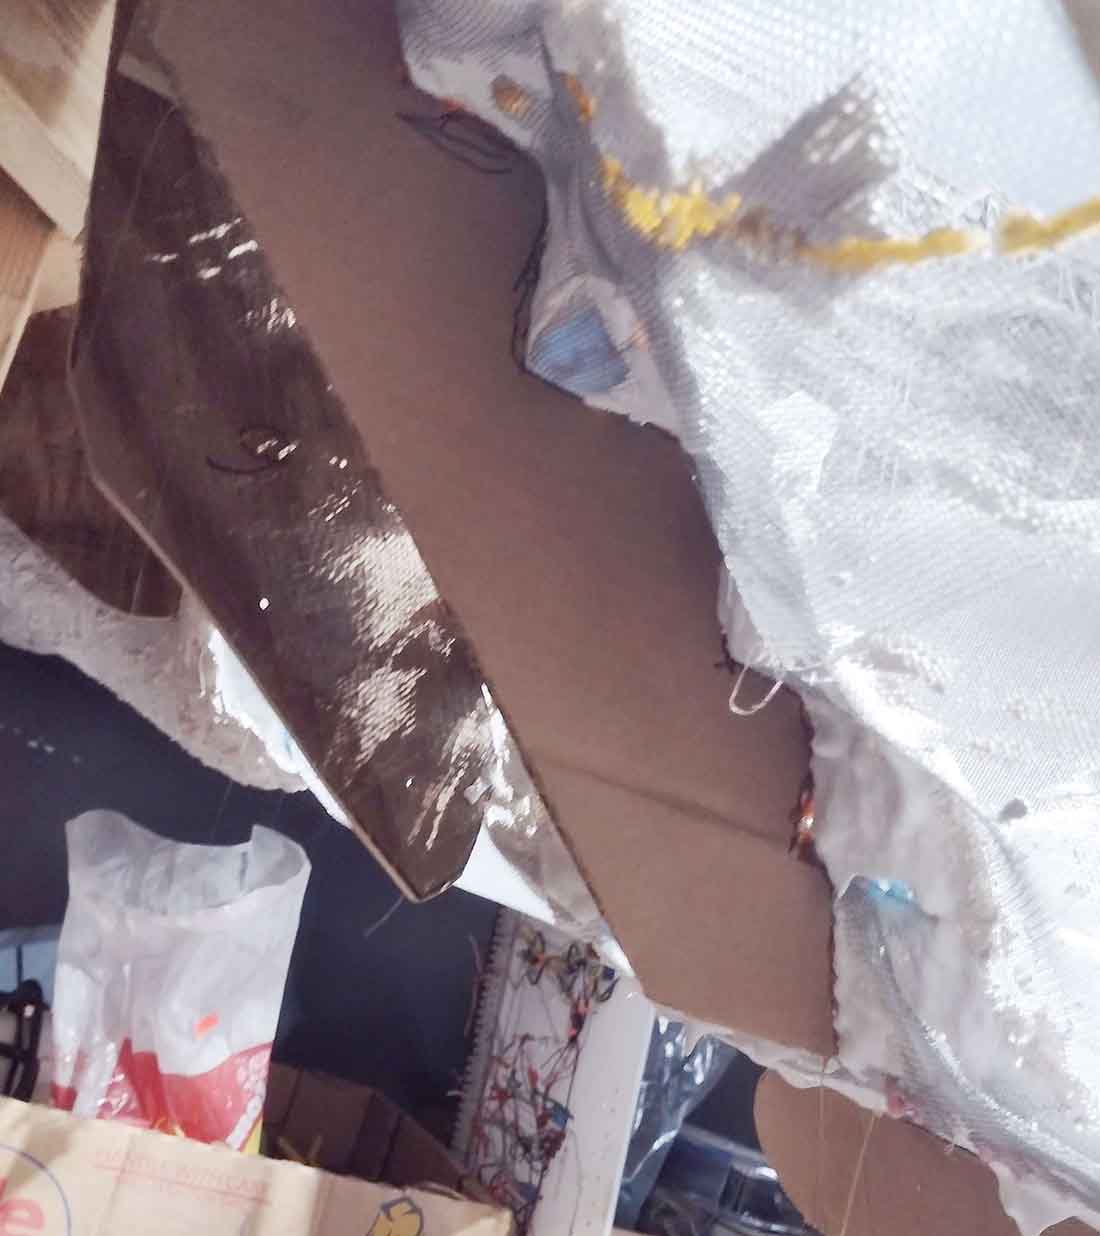
First is to attach wood with some wire to the top area where the track will eventually go, then place the bridge across the opening.
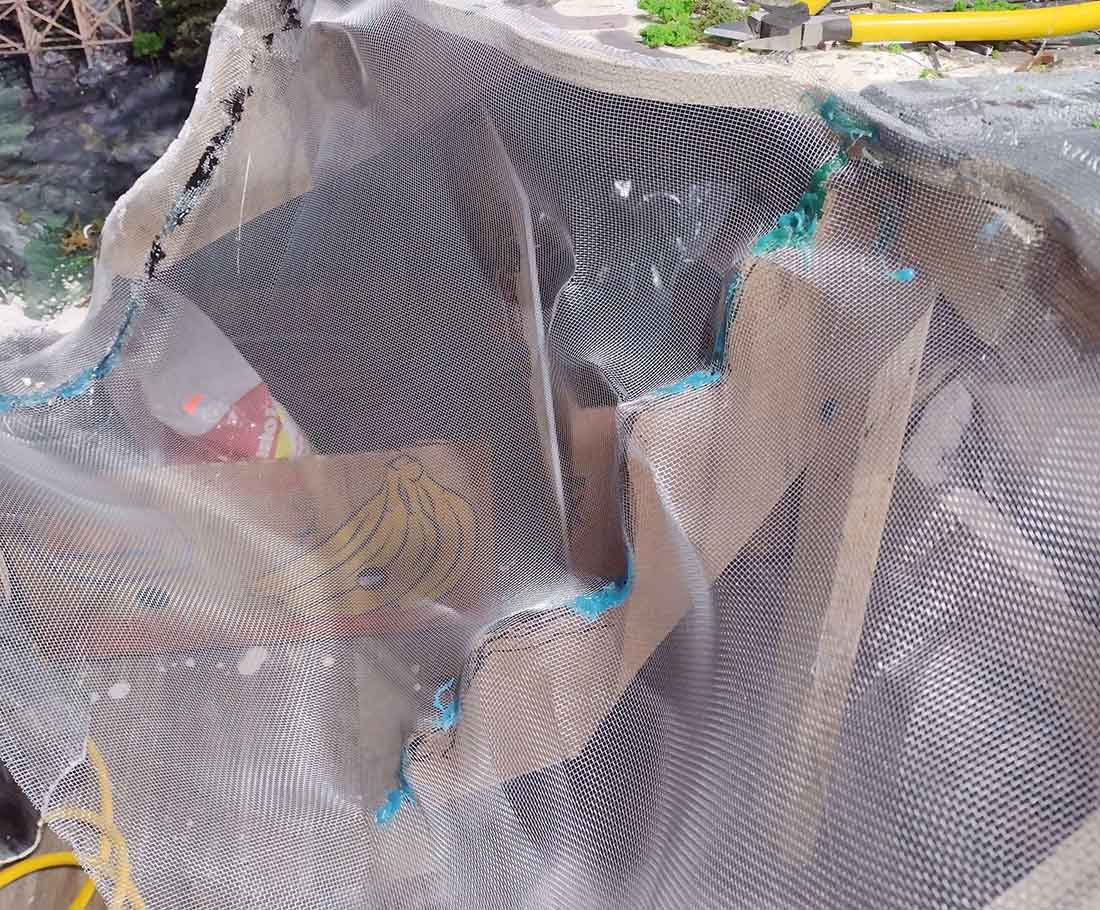
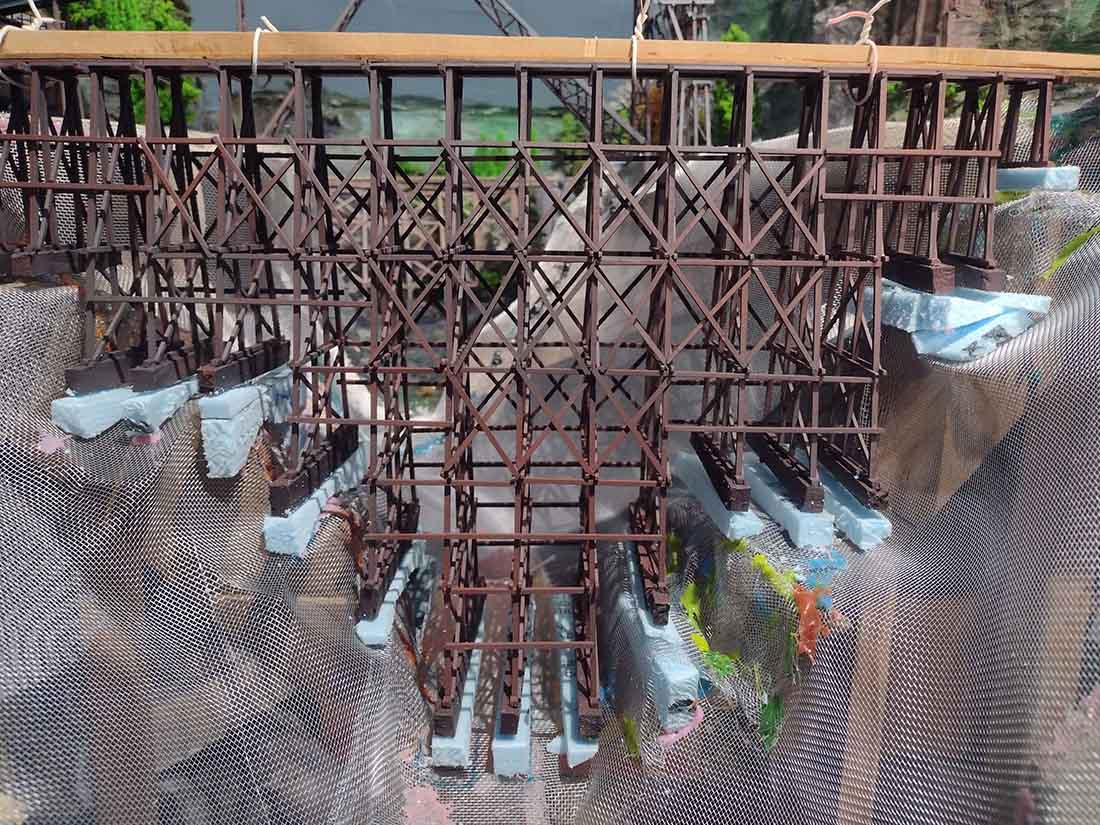
Another trick is in one of the pictures and shows how I glue the screen to a cardboard shape that’s cut to the shape of the bridge bents. This is always approximate because working with screen and plaster is rather… uh… imprecise.
I then have an idea where I need to place the foundation support for the bents. I use aluminum window screen as the base for the plaster hard shell, it can be stretched and formed pretty well and is relatively inexpensive.
Also don’t worry about the size of the screen pieces because it’s easier to attach screen on the framework leaving space for getting in close and being able move around.
Later, the other screen pieces go in to close any holes, I use hot-glue to sew them together.
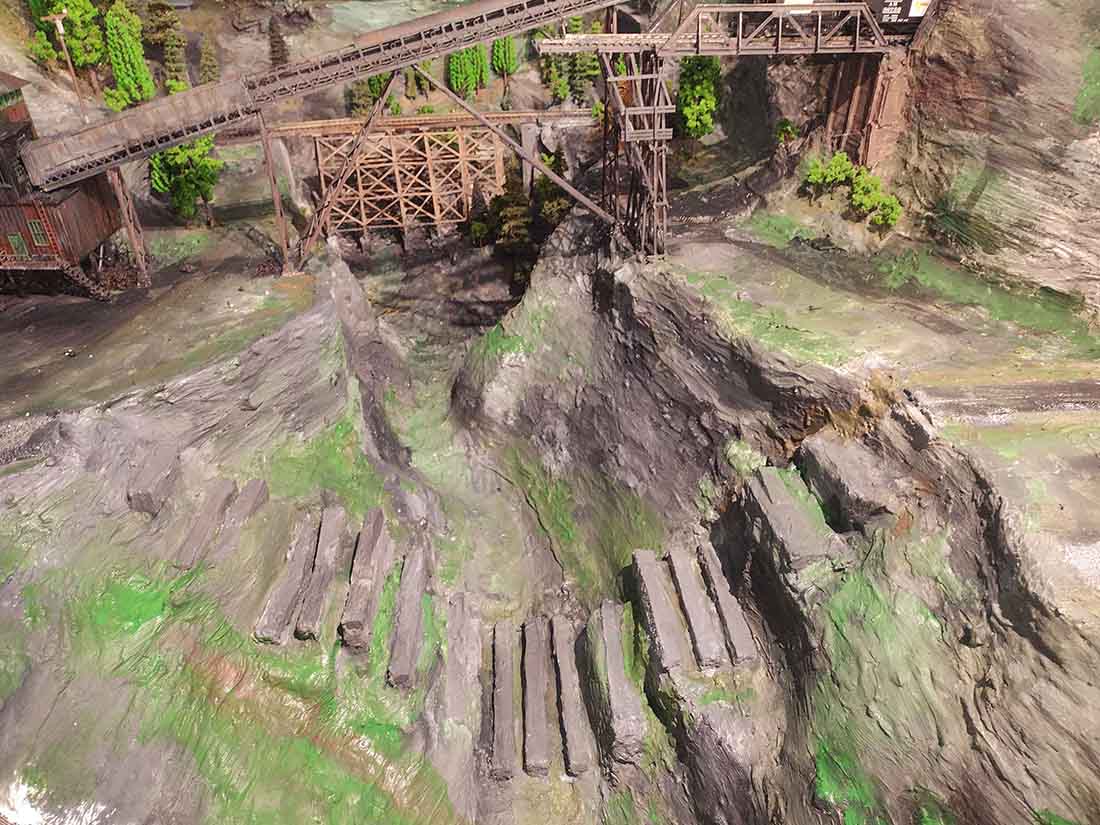
Dense foam insulation is used for foundations some walls and filler in placed where needed. It’s easy to cut to size, cheap, and takes paint well after a very thin coat of plaster is added at the same time the hard shell is being done.
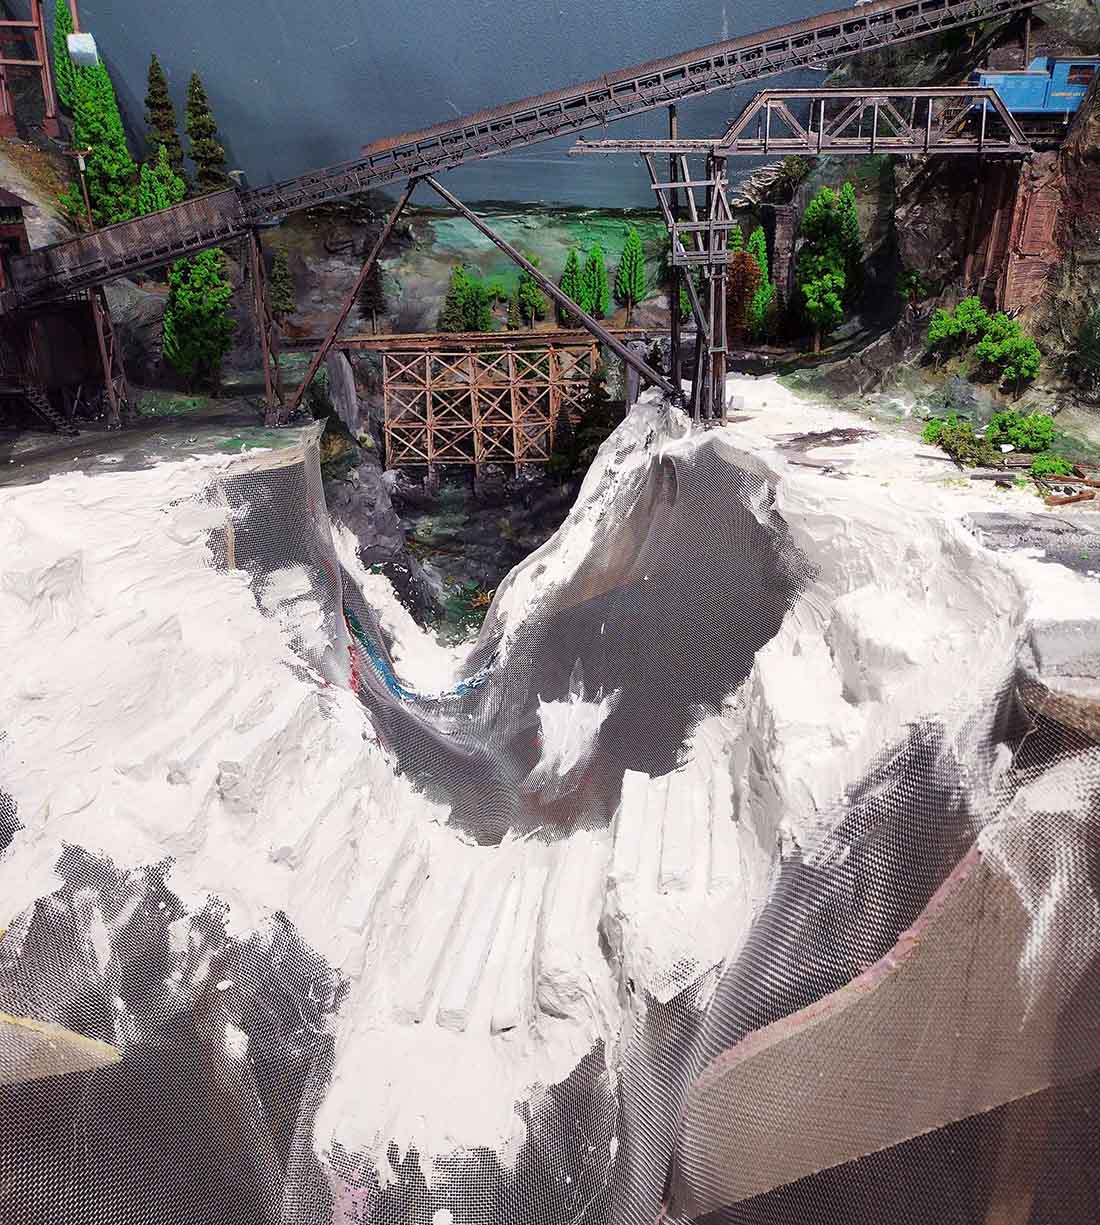
Once the foam “foundations” are hot glued in place on the screen I can start applying the plaster, which is premixed sheetrock compound with dry sheetrock compound added. This allows me to control how fast the stuff dries.
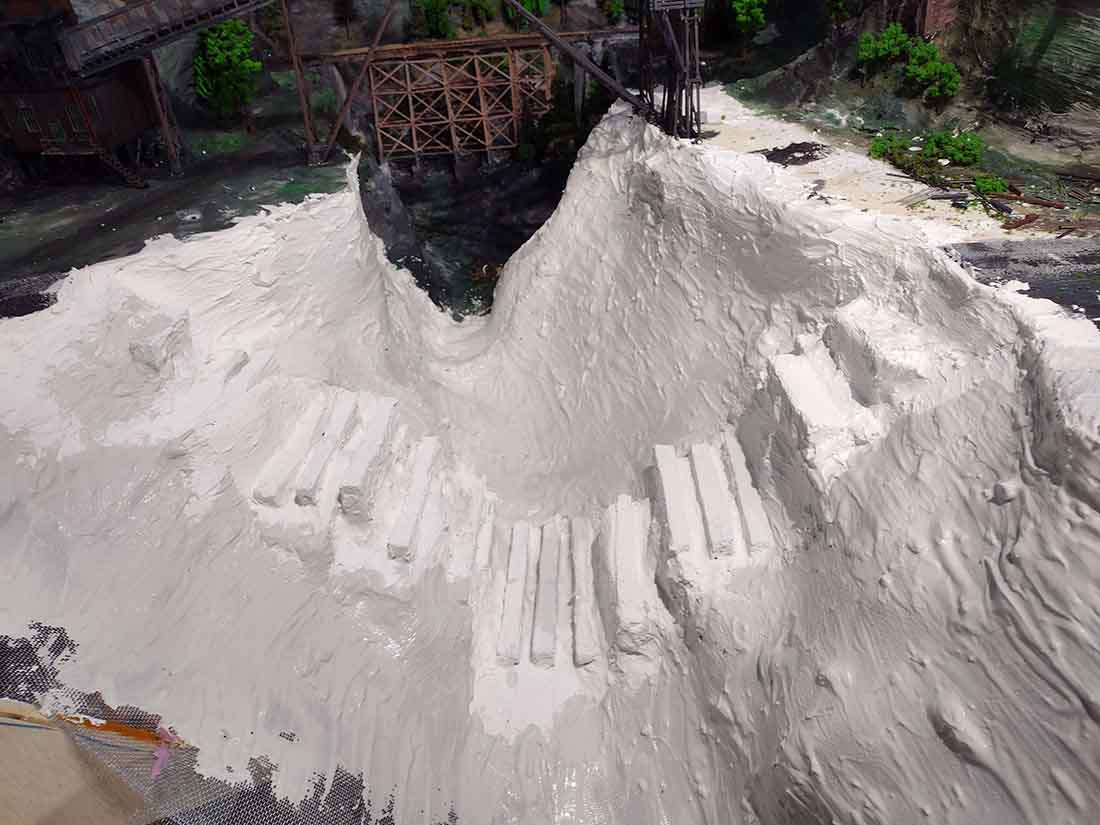
With some experimenting I have it figured out to be workable for around 20 minutes. I mix small batches and apply the compound with small artist 3/4″ paint brushes, this ‘forces’ me to take my time and actually do some crafting of the landscaping, cliff faces, structure bases, and hill locations.
By applying the plaster horizontally with the brush, the rock strata is easier to simulate, sometimes just painting works well enough especially when lots of trees are planted in areas where the “ground” is not as noticeable.
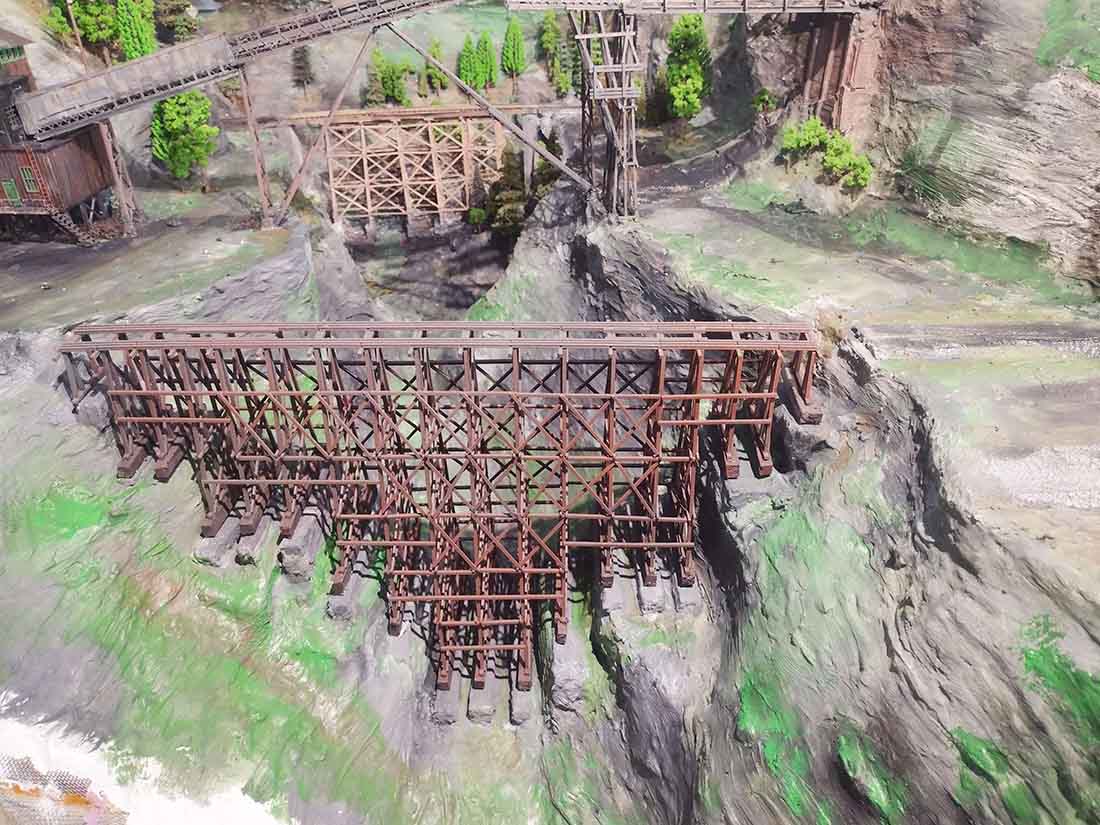
Having the hard shell done with the supports for the bridge allows the bridge to be removed for painting and landscaping. I made the mistake on an earlier layout of getting impatient and gluing the track to the bridge with some plaster and creek bed not completed so I could run trains, then had to stand on my head to get the scenery done! Never again!
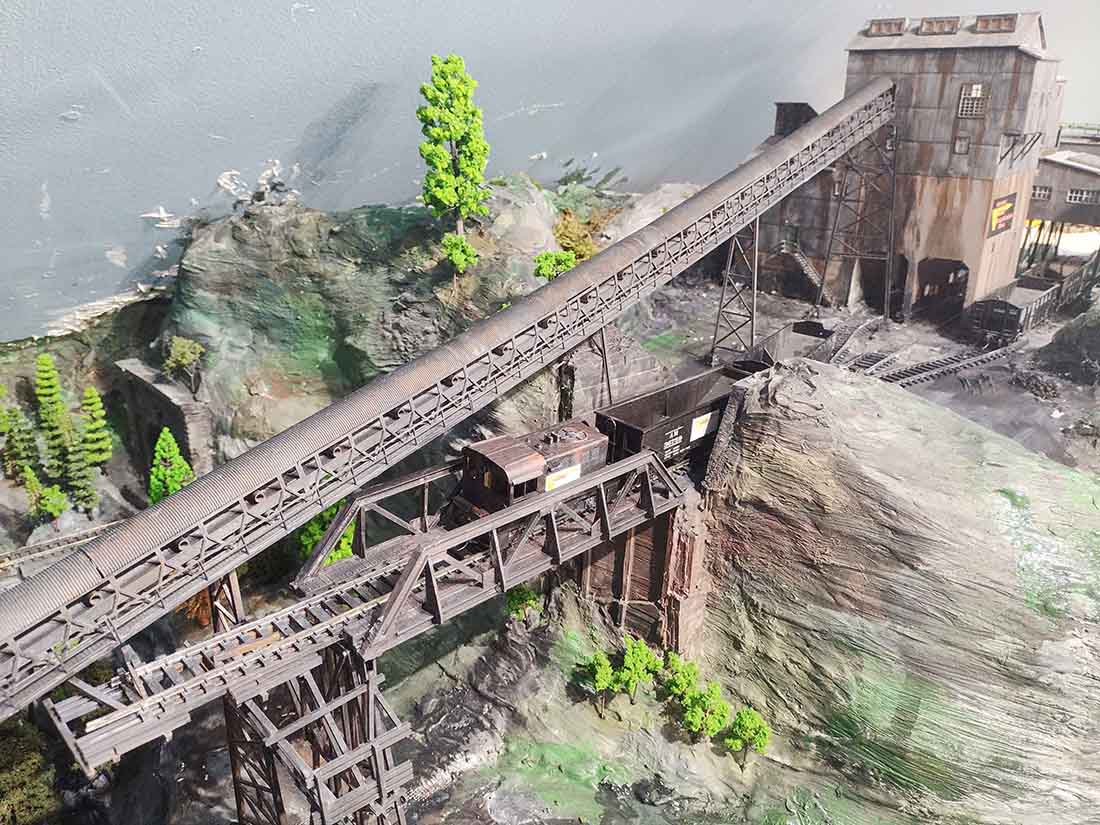
Anyway, the sequence of the pictures shows a more, shall we say, patient approach. This is particularly evident in the bridge in the background, as well as the conveyor system and all being completed before starting on the big trestle (but waiting was tough!).
Last pictures are the valley painted and the bridge set in place. Next is trees, scenery in the valley and water in the river. This project from the first pictures to the last of the bridge took about 16 hours, not counting the building of the bridge, scenery and track will be another 8 or so.
Thanks for all you do for the model RR fans across the globe!
John from Baltimore”

A huge big thanks to John for sharing his model train bridge build – he really is the gift that keeps giving at the moment.
If you missed his missive of tips, it’s right here.
There’s also the post on his lift bridge too.
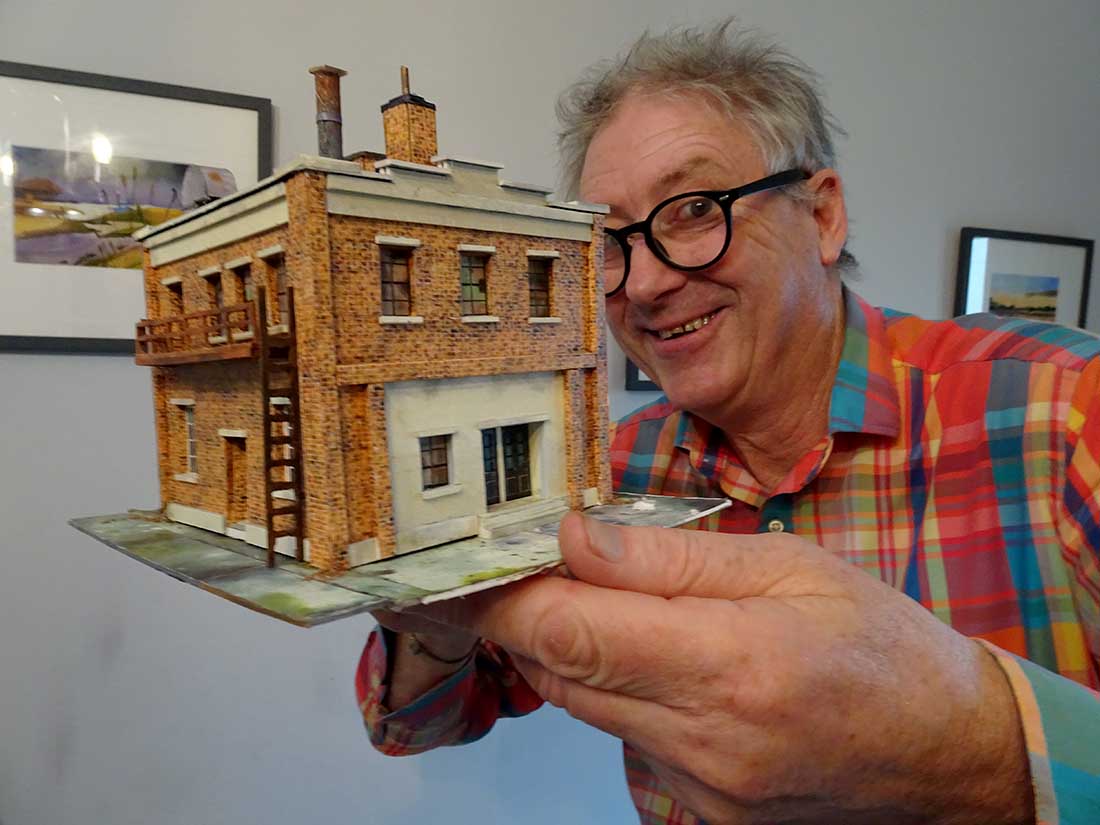
And now on to another John – Bonkers John as I call him:
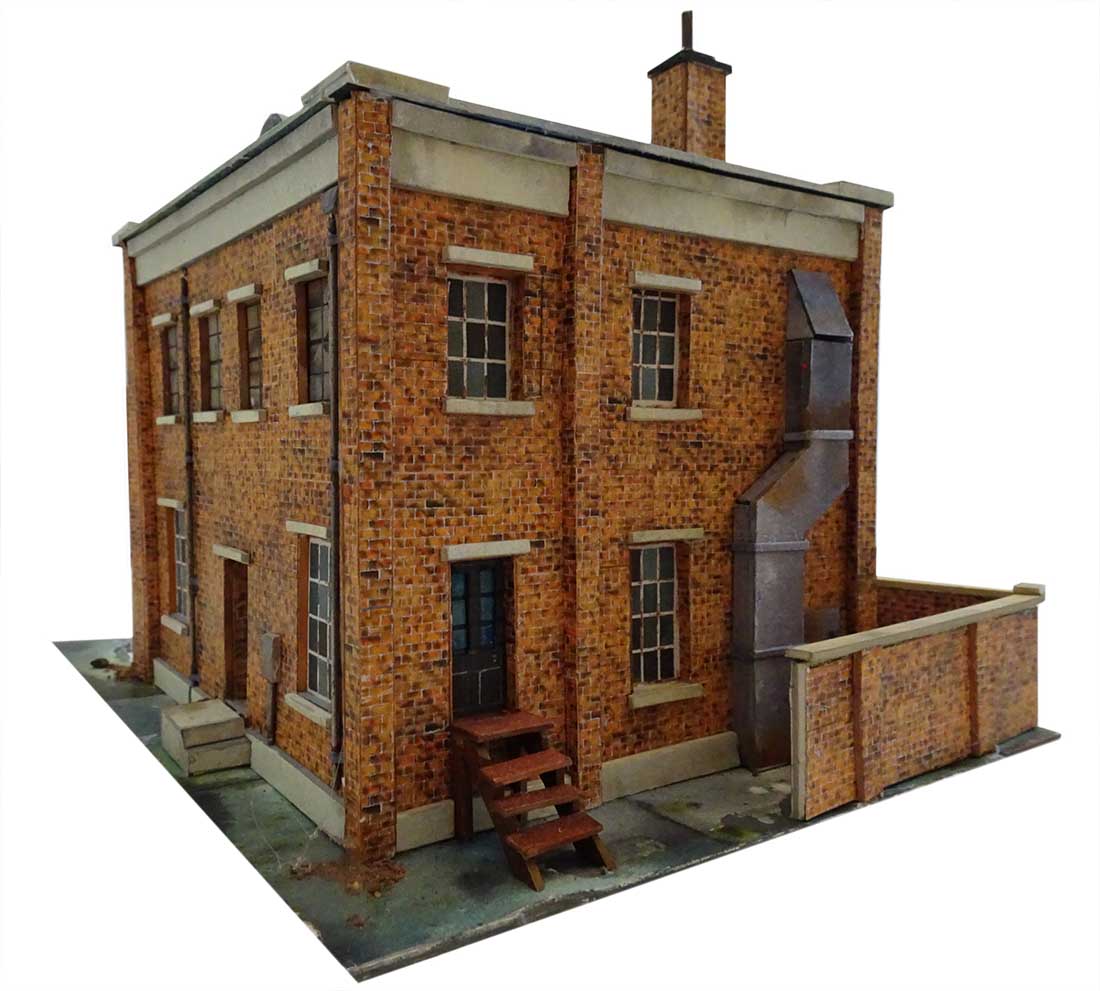
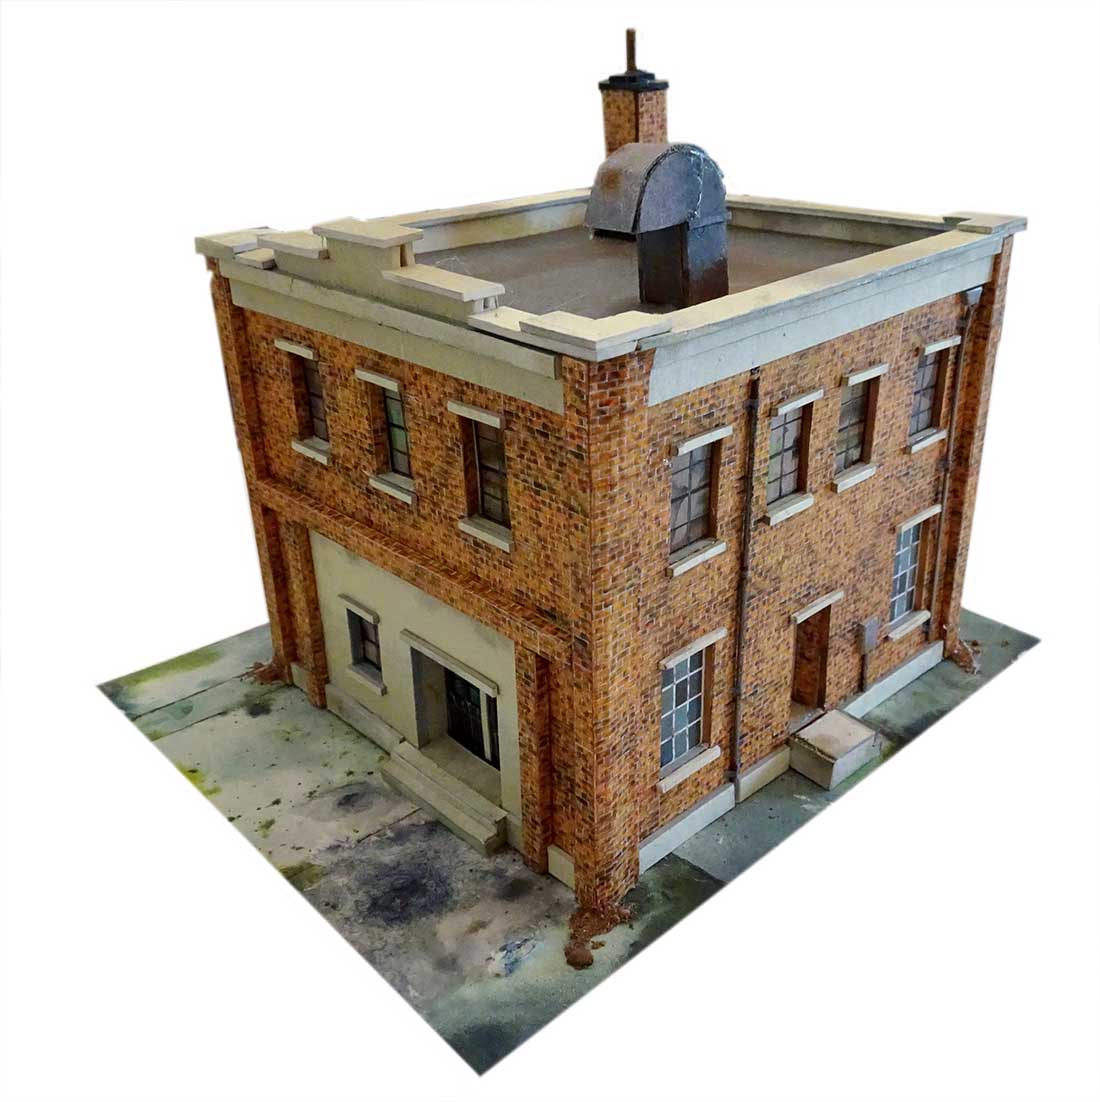
He’s been busy on the latest printable buildings, and as always, he’s done a great job of putting them together.
If you are unfamiliar with the printable buildings, you just download them and stick them together:
Here are the three new buildings:
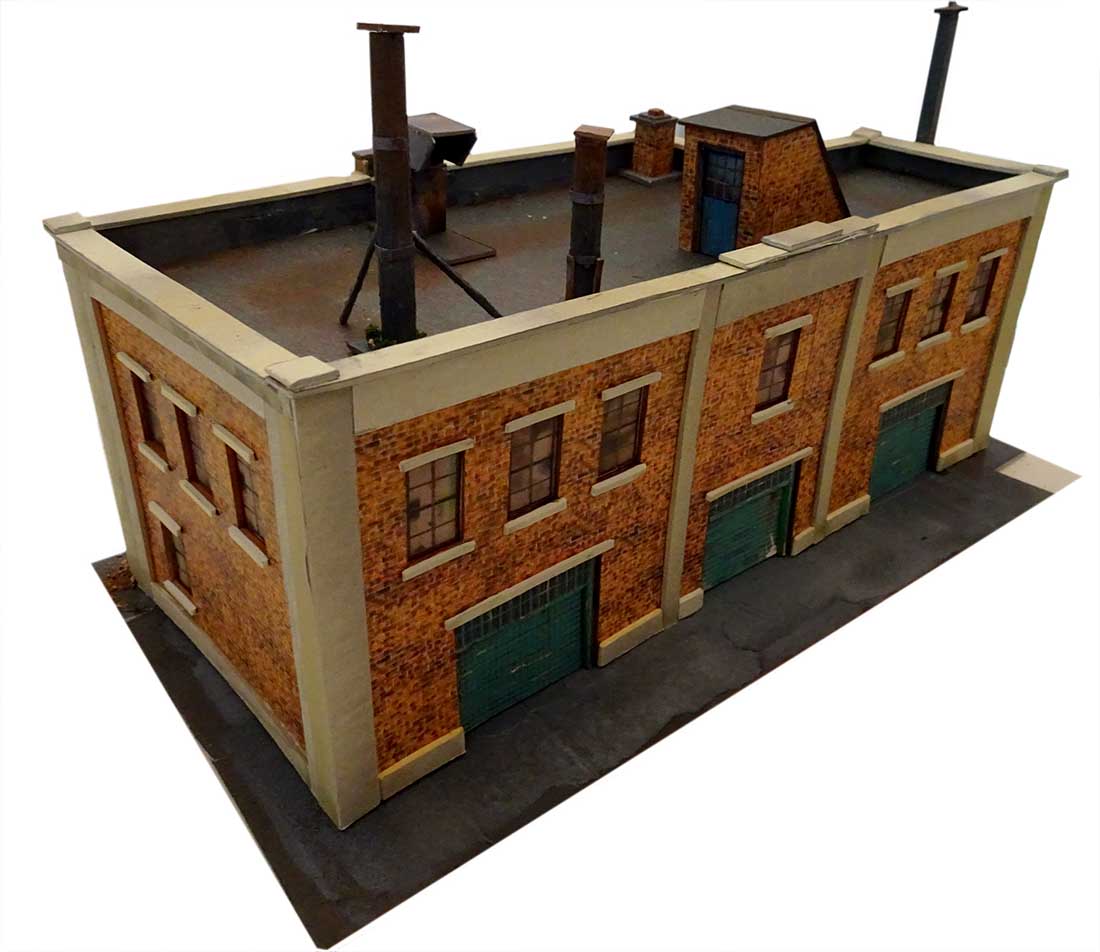
All the buildings are HO scale. Just reduce the print size to 54% for N scale.
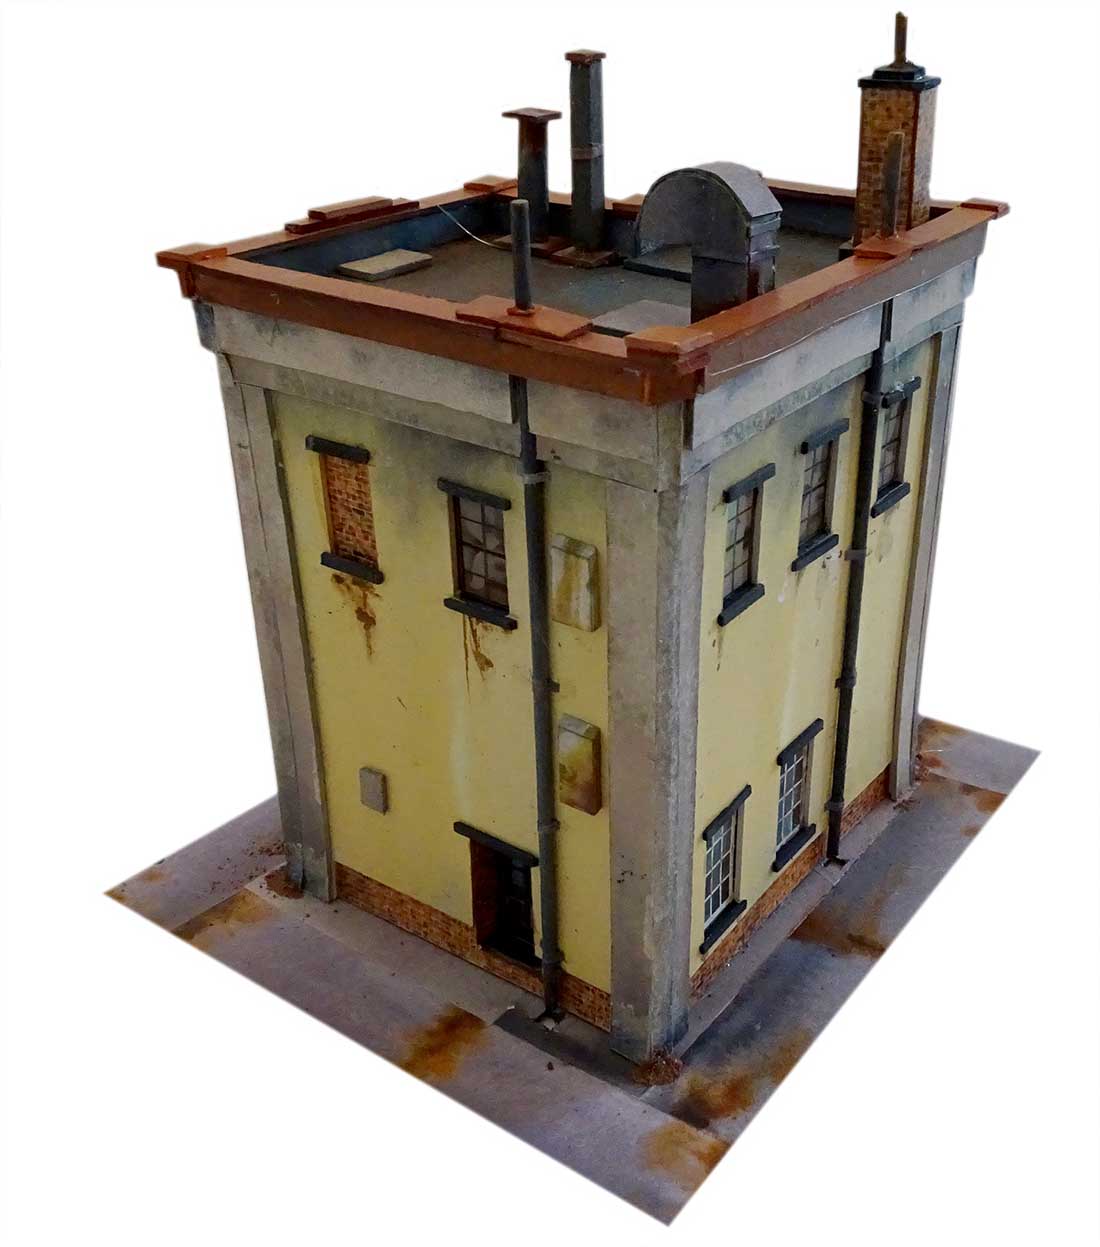
You can print as many as the buildings as you like.
When you mix and match the buildings, you can get some really nice effects.
And best of all, you can get these three new buildings – and the latest track plan PDF – for just $9 over the next few days.
Volume 3 of the track plans is made up of another 20 track plans – all new, and featured on the blog, with the links to the posts.
If you’ve enjoyed the blog over the last few months or years, please do help it out and grab the new buildings and track plans.
To keep things simple, I have bundled the new buildings and new track plans PDF with the Beginner’s Guide, so even if you’ve already got the Beginner’s guide (I know many of you have), grabbing it again gets you the new buildings and the track plans.
It just makes it loads easier for me to do it this way.
And of course, if you’re new to the blog, and you’ve not got the Beginner’s Guide and all the bonuses, now’s the ideal time to grab it.
You’re saving $20 on the Beginner’s guide, and $27 on the new buildings, and $10 on the latest track plan PDF.
That’s a whopping $57 saving, and you’ll be directly supporting the blog too.
So there’s big savings to be had, and you’ll also be helping to keep the show on the road too.

Don’t forget, there’s a 60 day money back guarantee on all of the products – the buildings and everything else – so you really have nothing to lose.
You can grab the new buildings and the new track plans PDF here.
Best
Al
PS More HO scale train layouts here if that’s your thing.
Need buildings for your layout? Have a look at the Silly Discount bundle.

Very good John, a lot of time, fore thought, patience and skill, resulting in a visually excellent piece of modelling. The bridgework and conveyer look really good and I particularly like the weathered workshop👍
John , I’m simply amazed at the results , you have certainly acquired some serious skills . Thank you for the excellent tips and insight , they are indeed very detailed and helpful .
Your layout is remarkable , thank you for the ongoing post and professions you’re achieving , will be eager to see this one grow . Great work , great dedication , you have taken this hobby to the next several tiers … I thought I was content just watching the train go round , but y’all inspire a person to want to keep doing … that’s awesome … thank you .
Very nice work on that Bridge John ..well done
Love how you bridged the gaps . Great work and patience. Can’t wait to see a video .
The Critic
John
Awesome people do awesome things.
What you said about placing the bridge before detailing, then laying the track to check out the run then standing on your head to finish was what made my layout look amateurish and I was not happy with the results. Better yet I could not process what the better way would be until you just taught us how. Shazam! Words from the master! Total enlightenment! You have no idea about the impact of your lesson was for me. Cant thank you enough!
BTW everything about your work and layout is incredible.
Big Al- Big thanks
John….. great work. A lot of skill and patience for something like that.
Thats some fabulous work you have there and very time consuming , incredible .
John –
First rate modeling – I love it.
Fred Gevalt
Spectacular work!
Excellent bridges and conveyor you have built. Really fit well into the overall scene you are modeling. Well done!
That bridge looks awesome John. Great job!!
John
Amazing talent and workmanship.
Amazing work… I was really impressed by your base preparation to build the bridge on. That shows a craftsmanship skill in itself. I do a lot of scrstchbuilding on a much more humble scale… What you are doing is worthy of praise.
Having moved my layout from one house to the new one, I can relate. I originally built mine (12 x 8 HO) as a modular layout for just that purpose.
I know how long it takes and how much ‘adapting’ is required to make it work again. Your trestle rebuild is incredible! Everything is a work of love and art.
Thanks for the pix.
Wow! – Superb modelling John.
Andrew in Oz
Love all the narrative in building the Trestle bridge and the construction of the hills & valleys. I have copied all the information and photos for future references.
Thanks a lot for the insight that goes into building such a great looking Railroad.
Fred form the land down under
Great stuff very good work. Like looking at a real railroad. Thanks
looks great
This is an incredible layout in progress! John, I have big one burning question. I did not see it on my second read of your post. Are you now, still able to reach to the back of this layout to finish the track work at the mine, paint or ??? It appears that it is at least 6-7 feet deep from the front of the new trestle to the far back.
Curious?
Charles,
The distance to the back is about 4 feet. I have used “forced perspective” and some color choices which make it look farther back than it is. it’s a little complicated for this response. Suffice it to say color choices in the distance are in general brighter than in the foreground which (from what I’ve read) tends to have the viewer “work harder” to focus on the nearest stuff…anyway thanks for the comment and question.
beautiful workmanship and concept.
Has anyone here been to “Northlands” in New Jersey? Amazing scale of bridges. Also some very fine use of mirrors and perspective forcing to enhance scale. I know it’s often criticized for lack of finesse, but the mass is impressive.
Wonderful
They are great – Can I still but them?
John,
Beautiful and clever construction method. Love that huge trestle! Wow! You could give John Allen competition for most impressive mountain scenery. Thanks for sharing your innovative construction method.
really nice bridges. love them. really goos work.
How do the choo choo trains get from one place to another. Are they just placed at a different location occasionally..?? Why can’t WE see the track run???
A very nice trestle and with a lot of detail. That took a lot of effort. Very fine work.