“Hello Al.
I have been tending to some of the minor improvement tasks on my N-scale “Mountain View Railroad” layout since my first post in early August which you so kindly published on your blog.
I have finally received several shipments of trees which were back ordered for what seemed like an eternity and this has kept me somewhat busy planting them. I now have over 6oo trees on my tiny 4 by 7 foot layout.
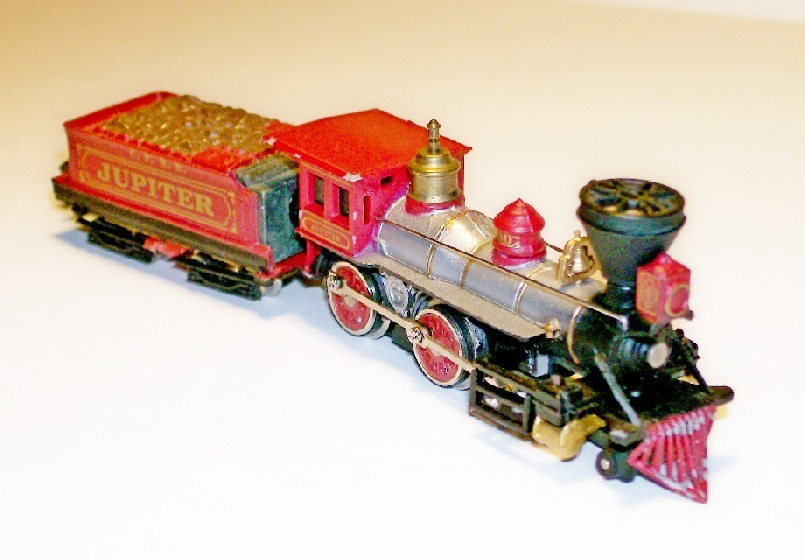
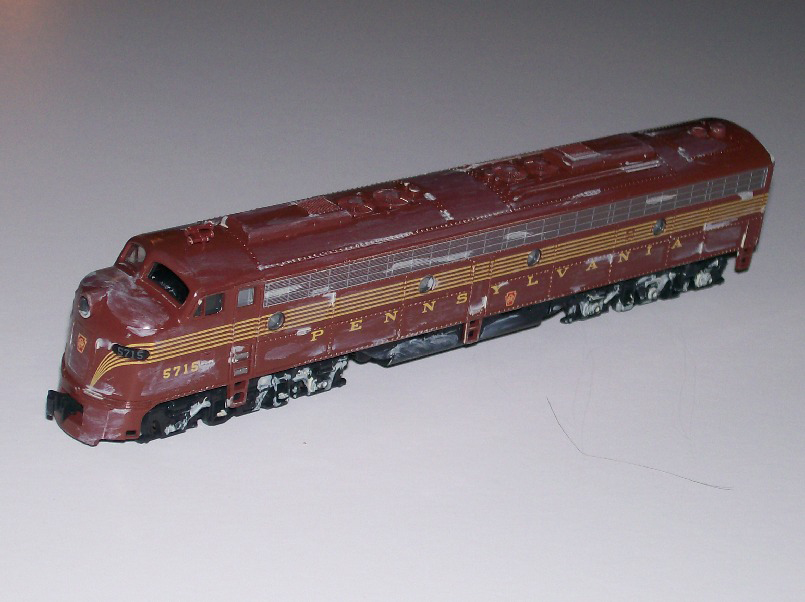
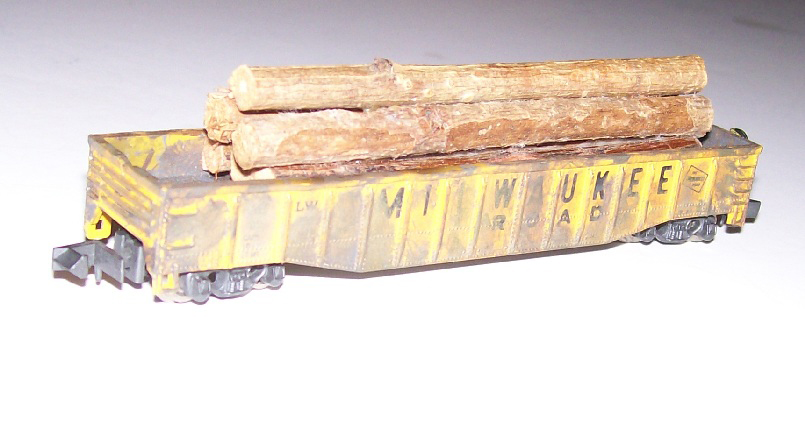
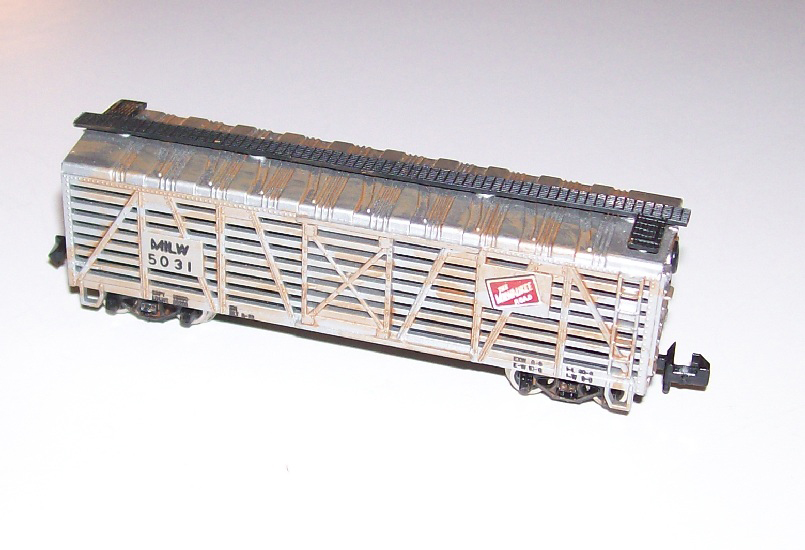
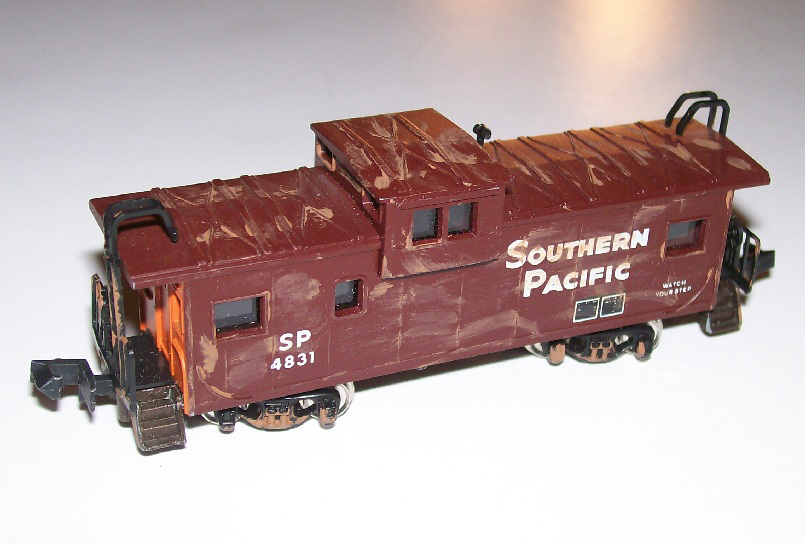
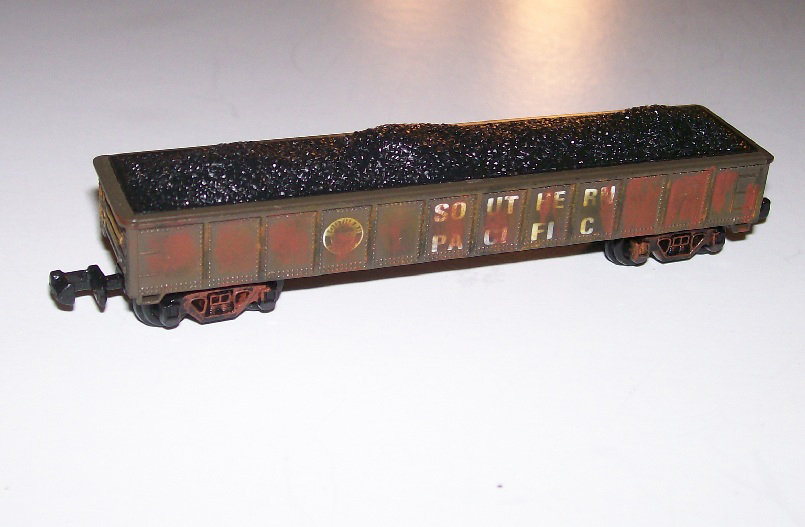
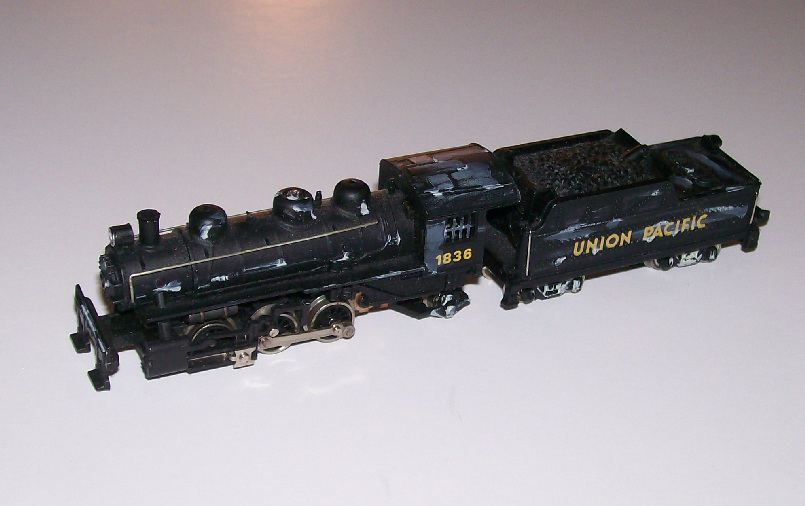
I have also been a bit busy weathering some of my rolling stock. See pics below.
In addition I have been placing additional N-scale persons and vehicles around the layout. I still need lots more people around “Merchant’s Row” and the train station.
My layout is broken down into 4 basic areas:
The “FARM” area
The “RESIDENTIAL” area
The “INDUSTYRIAL” area
The “MERCHANTS ROW and TRAIN STATION” area
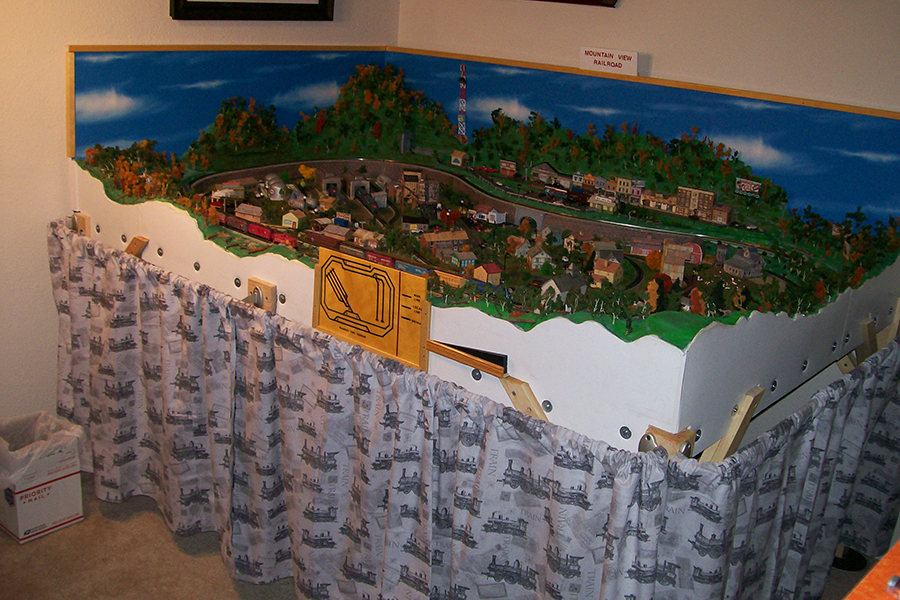
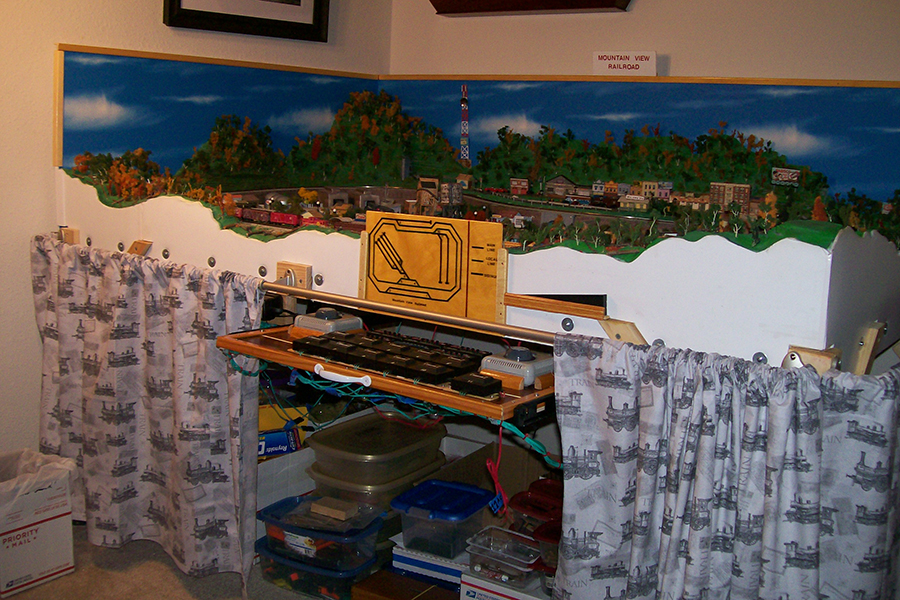
With my limited space of a small bedroom in my apartment, my work space as well as my storage space for my railroad “stuff” and tools was getting to be a bit of a mess. This necessitated purchasing some fabric with a steam locomotive motif print to hide the mess when I am not operating my trains.
My sisterI fabricated a “skirt” for the two sides of the layout that are not up against walls. There are two fabric panels which provide access to the stored “train stuff” and the engineer’s control panel which is mounted on a set of ball bearing slides designed for a computer keyboard allowing me to slide it beneath the layout platform when not in use.
Here’s a couple of pics showing the skirt and the layout in its current state.
Some stats of the layout are as follows:
Approximately 64 feet of Bachmann E-Z track with integrated ballast
6 each right hand #6 Bachmann remote E-Z track turn-outs
5 each left hand #6 Bachmann remote E-Z track turn-outs
7 each Bachmann E-Z track siding bumpers
67 Buildings and other structures
32 Steam and Diesel locomotives
170 Freight and passenger cars
106 automobiles and trucks
30 Street lights
Here’s a few of the weathered rolling stock (there are over 150 more to be weathered) *LOL*

Now that winter is on our doorstep I hope to get a bit more accomplished on my layout………Still lots to do, but it is getting down to the tedious chores that sometimes really tax my patience requiring me to take occasional breaks to maintain my sanity. *LOL*
Thanks for all your hints and tips. Without them I’d be lost. You certainly have done more than your share to support this great hobby. Keep riding the rails.
By the way, do you know of any firms that sell an N-scale powered hand car?
Regards,
Richard
Maryland
USA”
Now on to Dave:
“Hi Al
I have just uploaded a new one showing and demonstrating the new Hornby magnetic couplings.
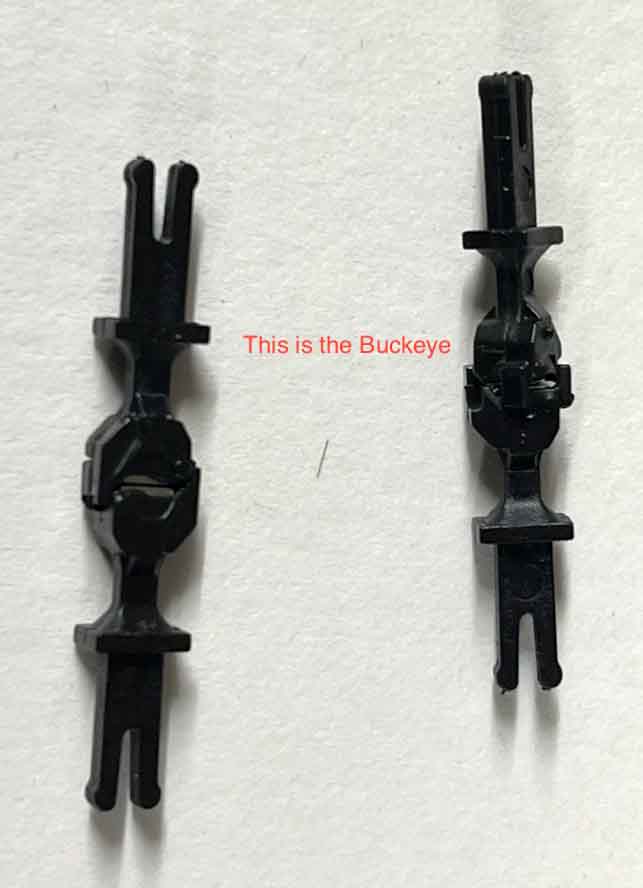
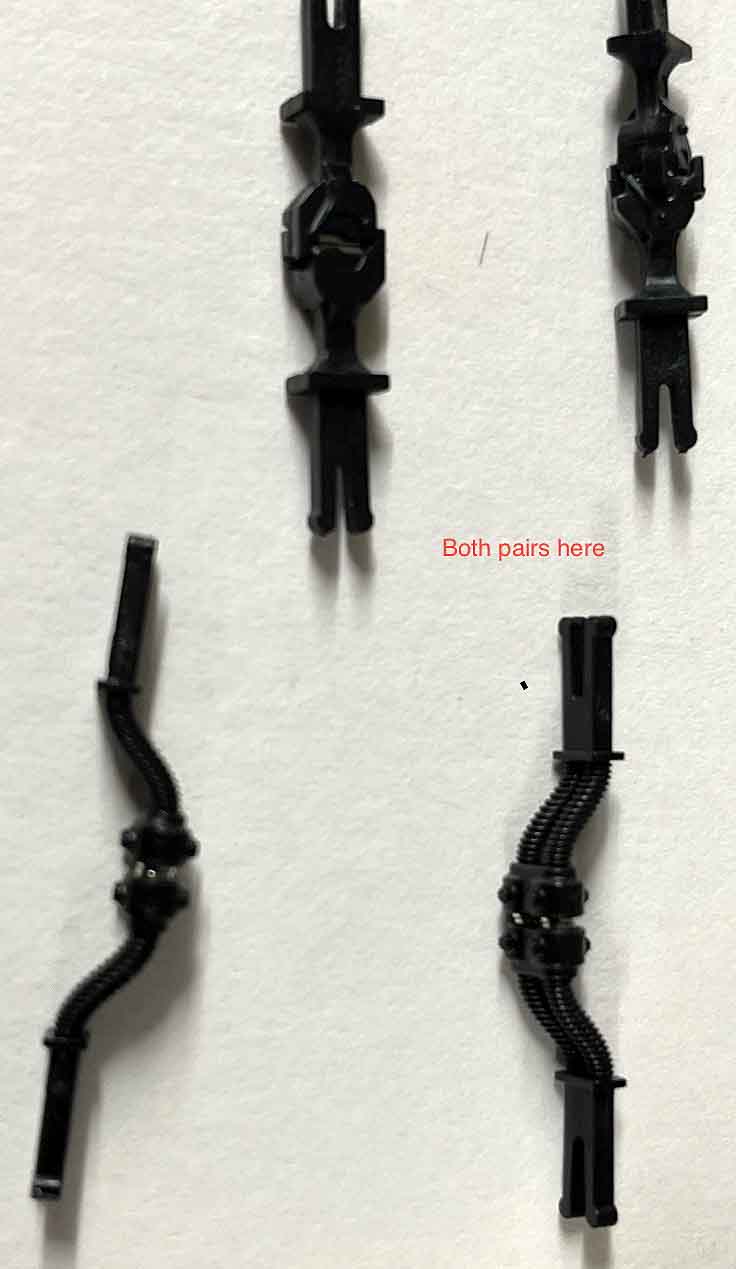
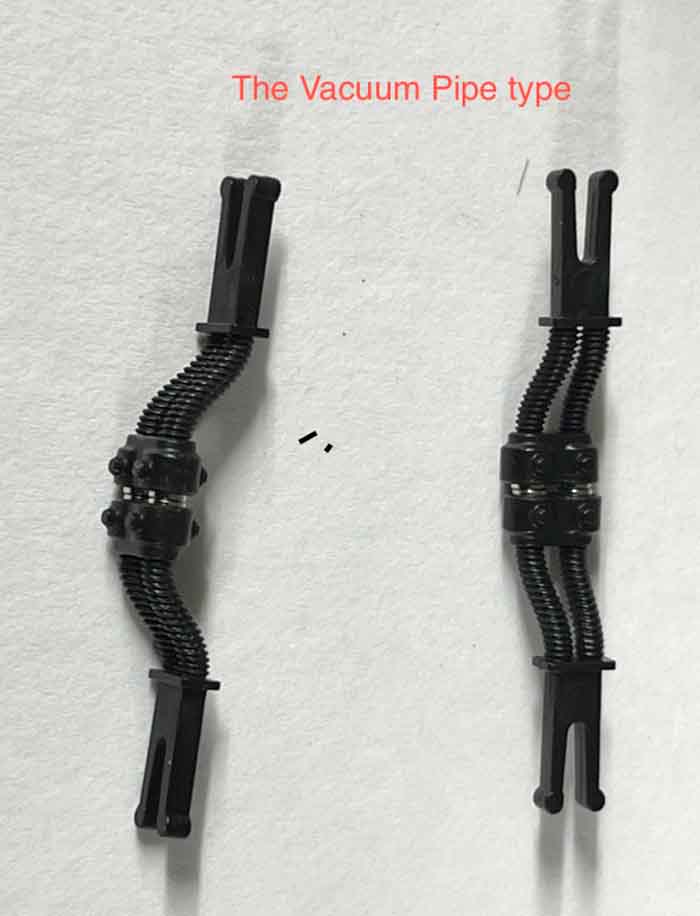
There are two types the Vacuum Pipe and Buckeye type, the vacuum type is the longer of the two, and to my mind is the best of the two.
They look so realistic and with having double magnets are so much more powerful and look the part, the video has gone down very well so far with a lot showing interest in these.
I have now ordered 2 more packs with 8 sets in a pack, they to me are the best of these types.
I did show some years ago from another manufacturer, but were no way as good a quality as these, you can see from the start of the video how powerful they are using a Deltic and 5 coaches without power being pulled with a truck with these fitted.
I also have included a bit of a running session and the smaller coupling fitted to a DMU.
Regards
Dave”
A big thanks to Richard and Dave.
That’s all for today folks.
Please do keep ’em coming.
And if today is the day you get started on your layout, the Beginner’s Guide is here.
Best
Al
PS Latest ebay cheat sheet is here.
PPS More HO scale train layouts here if that’s your thing.


Great as well as informative from Dave.
Earlier – Small bedroom with 7′ x 4′ layout! – wow!
And as always Dave’s the Master and I the humble pupil… a few things I learned about weathering:
1) everything goes from top to bottom, not sideways except exaggerated splashes.
2) artist chalk works best:
a) seems to have a contained grease that once put on, not rubbing off. Why are some clear-coating after application?? Not needed at all.
b) using as a Q-tip or small medical wipe sticks to weather with.
c) any color rust, soot, chemical/oil spill hues can be attained.
d) can add or change colors just by blending together and-over.
e) never can be over weathered, as far as complete removal??? Can’t say but something that doesn’t melt the plastic lmao.
Many don’t know about fine sandblasting structures either. Removes shine and ages instantly. Any bad glueing, will completely remove it without damage. And what about streaks and stretches of Elmers glue with sprinkled grass particles for climbing ivy (different shadings)? Also a realistic cement grain can be achieved by blasting wood. Just lightly, brings grains out like variations and steps of poured concrete using forms.
Just sayin’, Rich
Wow. Such a beautiful lay out. Very informative.
Rich…….. Great job considering your space limitations. Shirt looks really good. Send some pictures and video with the trains running on the layout.
Dave….. I never get tired of looking at the pictures and videos of your layout. Love your attention to detail.
How many cars do you think the magnetic couplings will handle?
FORGOT, most important thing using chalks is you rub chalk on piece of coarse sandpaper and use the powders with small cotton or sponge applicators even. Now think wife uses those for makeup? A brush isn’t going to provide enough of the material or pressure to adhere to anything…
Rich, nice job of weathering. Send in pics of your layout, would like to see more!
Dave, as always a really nice video. Thanks for the information on the couplers.
Richard, I believe I will incorporate your brilliant idea of the computer keyboard tray for controllers as I resurrect my old ’60s RR.
Noting my engines and stock have a myriad of couplers which cause derailments and other hangups, Dave’s magnetic couplers may well be the solution.
Thanks Rich B for reminding us of Dave’s weathering tips (now I don’t have to hunt).
Thanks Al for keeping this invaluable forum open.
Jim in SoCal
Hi, I’m Bob from Bucks county Pa and new to building my first layout in more 30 years. You have a great site and plan to follow along as I go. Have one question, I absolutely think Dave’s back drop is great, is there any way I can fine out where to get it..
Keep up the great work, Thanks Bob
The backdrop for my layout is from Gaugemasters , maybe if you google there site you can see them and maybe order from them , as for how many trucks can you pull with the magnetic couplings , anyones guess , but you can see from the video how strong they are
Dave, call me a pedant but you only have one vacuum pipe between vehicles. Pity they didn’t make the other a steam heat bag, which are smooth and lower hanging.
very nice work. love the backdrop. a really nice layout.
Nice layout. You made good use of your limited space.