Dean’s been back in touch with part 4 of his N scale scenic ridge layout, which is a kit from Woodland Scenics.
“Al, this is the forth submission, in an 8-part series, discussing my construction of the N-Scale Scenic Ridge layout (kit from Woodland Scenics).
The series is aimed at a beginner model railroader, but I hope there are a lot of hints for those with more experience. In this session, I cover putting together and finishing the outer foam board walls and three fascia boards.
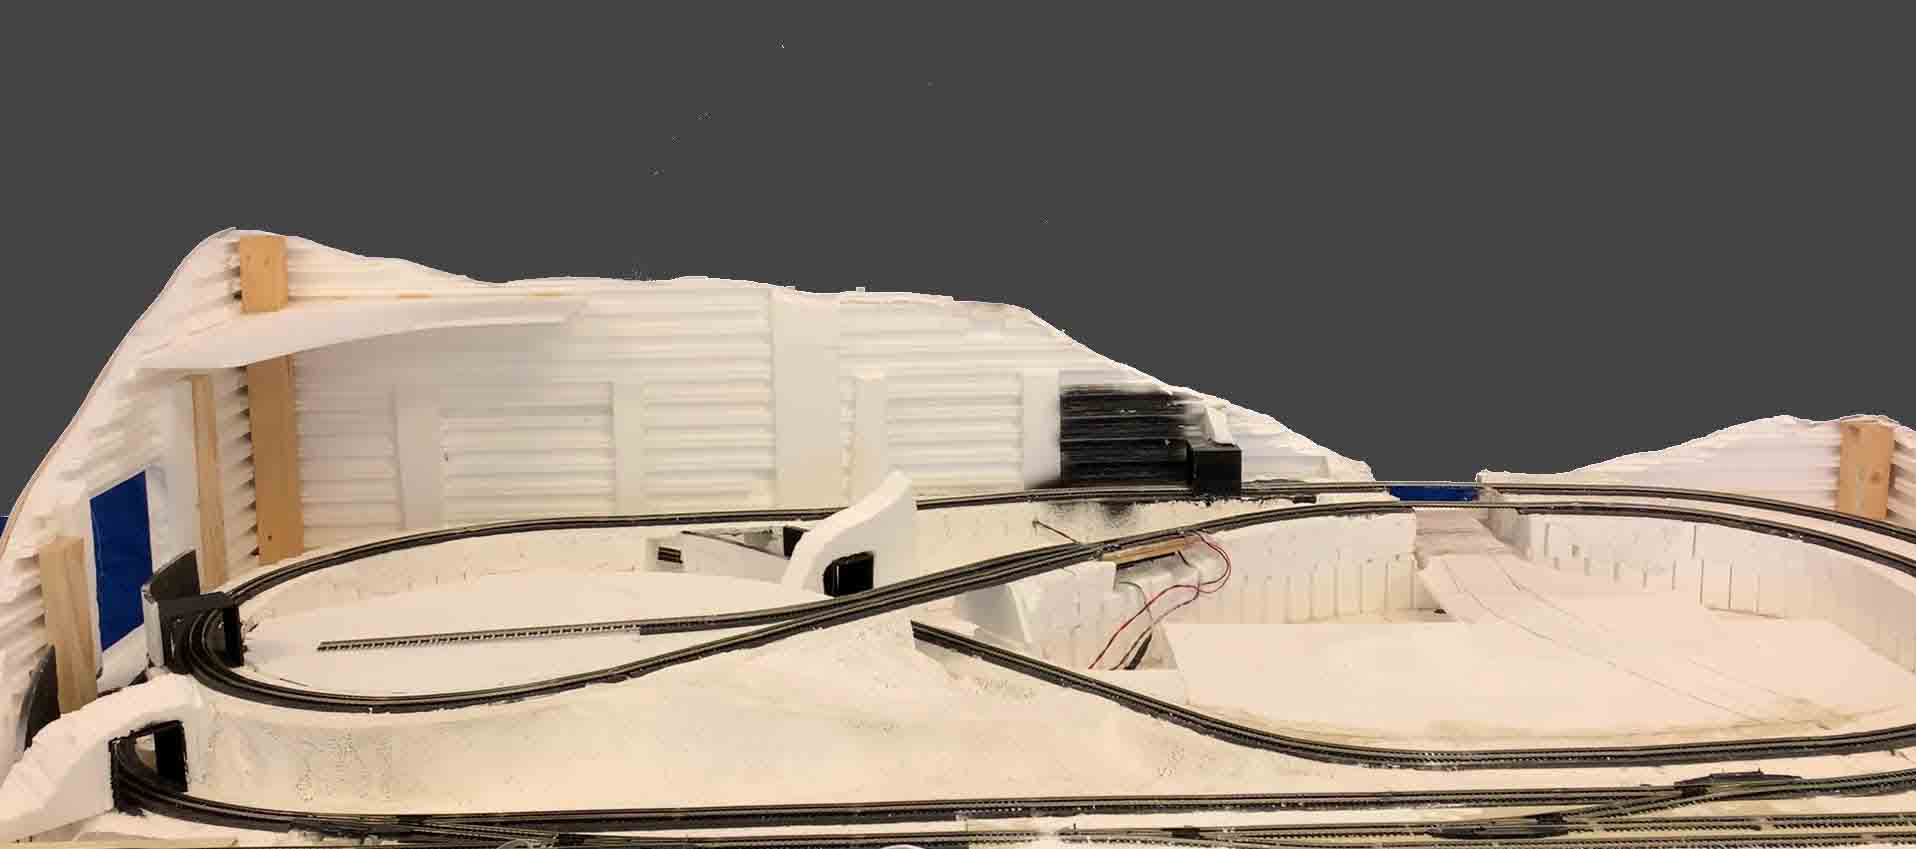
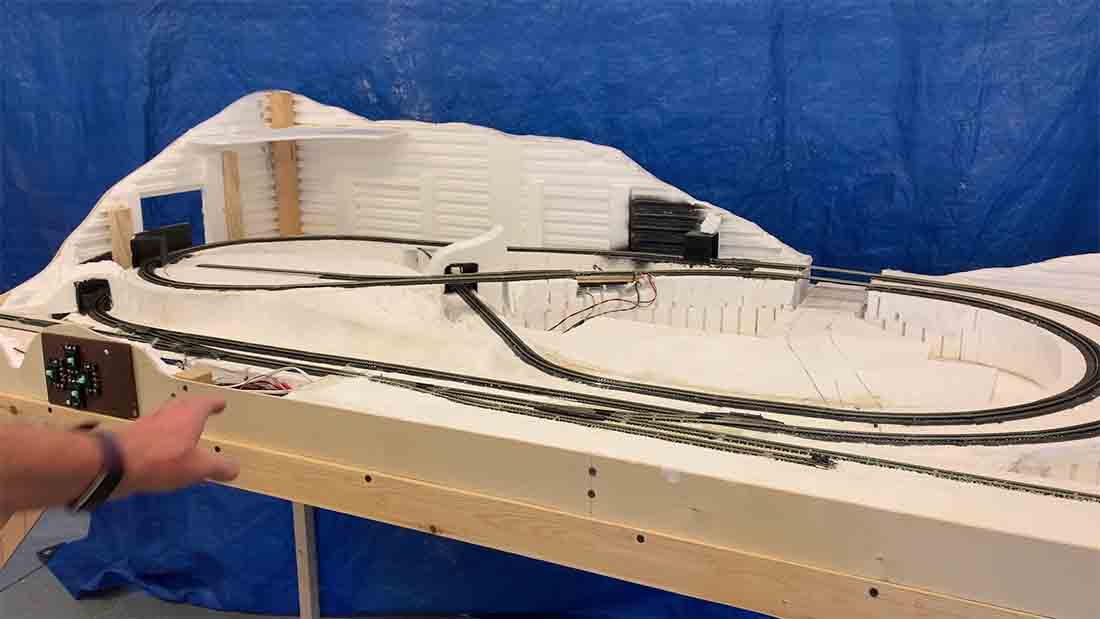
The foam board outer walls were cut and attached following the instructions in the Scenic Ridge manual. I added a ¼” horizontal foam board to help support to the left and back walls, as well as 2×2 boards at the corners, and 1×2 boards as shown to hold screws for the fascia boards.
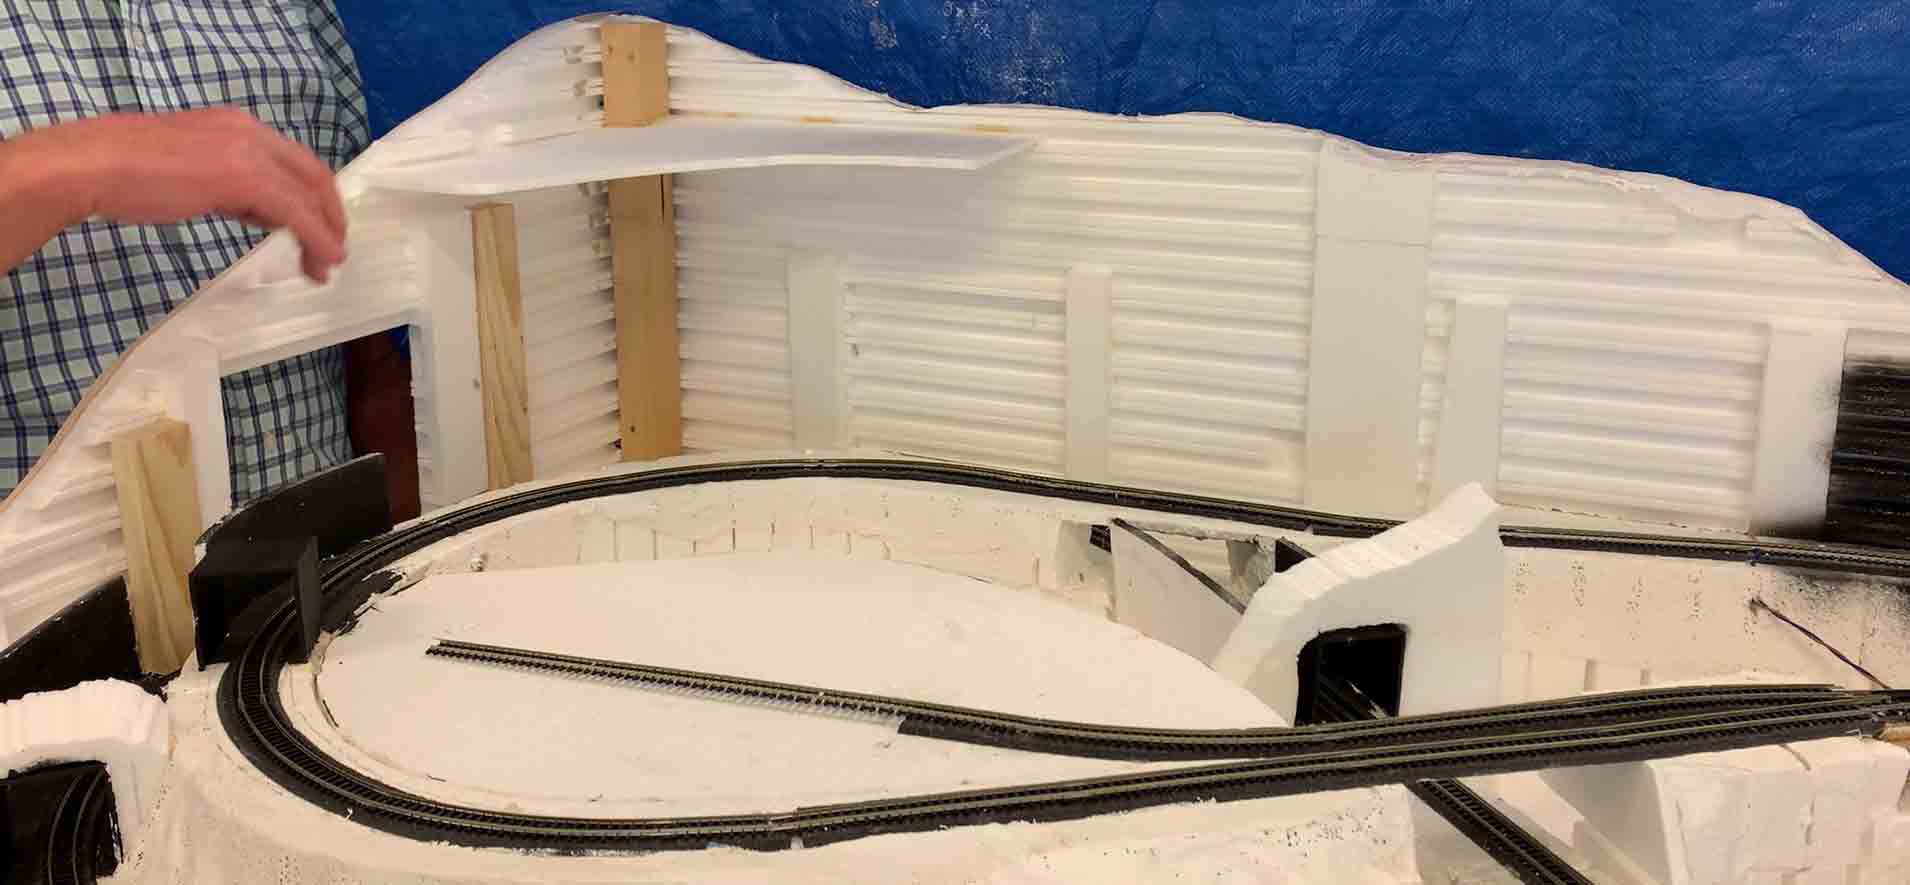
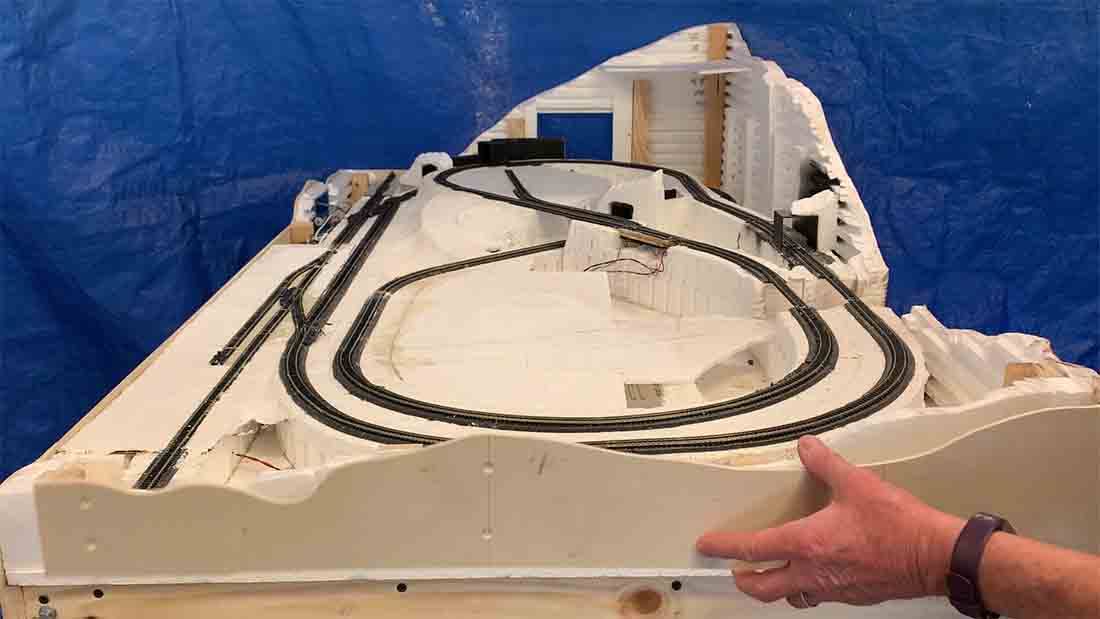
Another photo of the supports and walls.
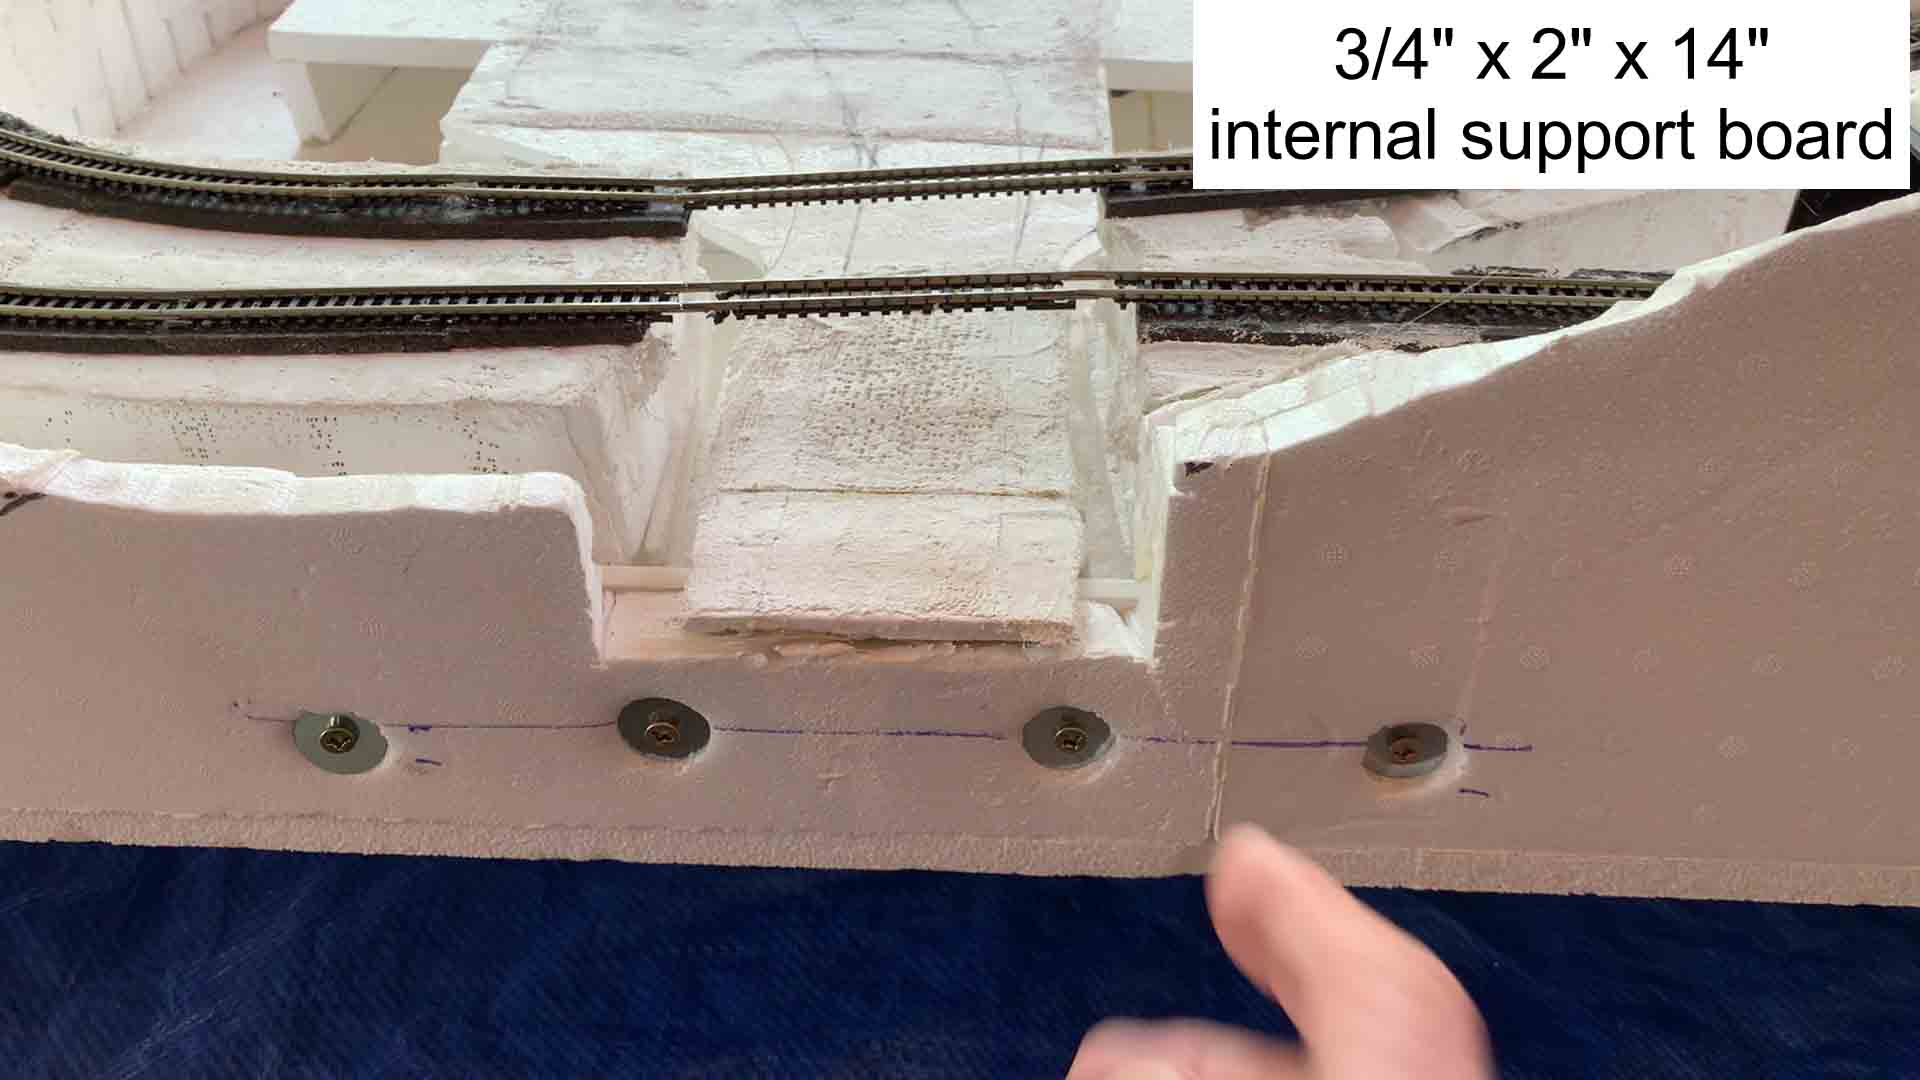
This shows the board and four supporting screws I added to strenthen the foam board I cut where I plan to run a road. The track will be repaired later.
The back wall was covered with plaster cloth to strengthen it.
After rolling out the plaster cloth, it was wetted heavily with water, then cloth was smoothed out.
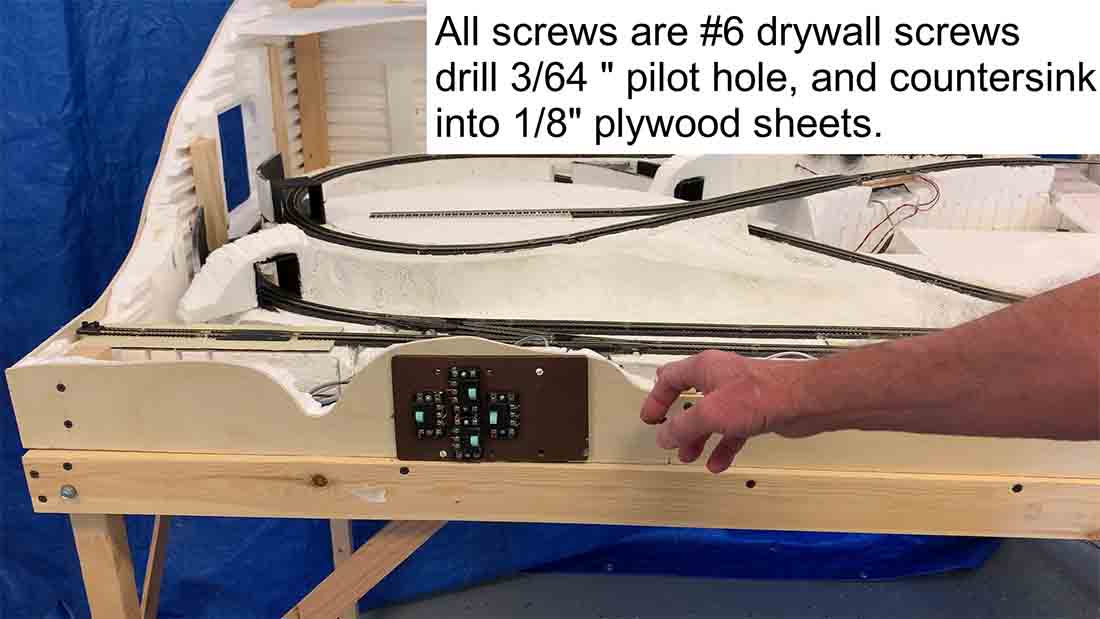
The next shots show how I made the 1/8” (actually 3/16”) plywood to form the fascia boards for the three remaining sides. In all cases, the foam board walls were cut to the desired contours, then the plywood was cut to match the contours. The plywood was sanded smooth, then painted with matt, black paint.
Two more shots showing more info on fascia boards:
The front (in two pieces), note how the switch control board helps to hold the fascia straight.
The right side

The left and front side facia boards finished and painted. The DCC control panel can just be seen in its tray on the right.
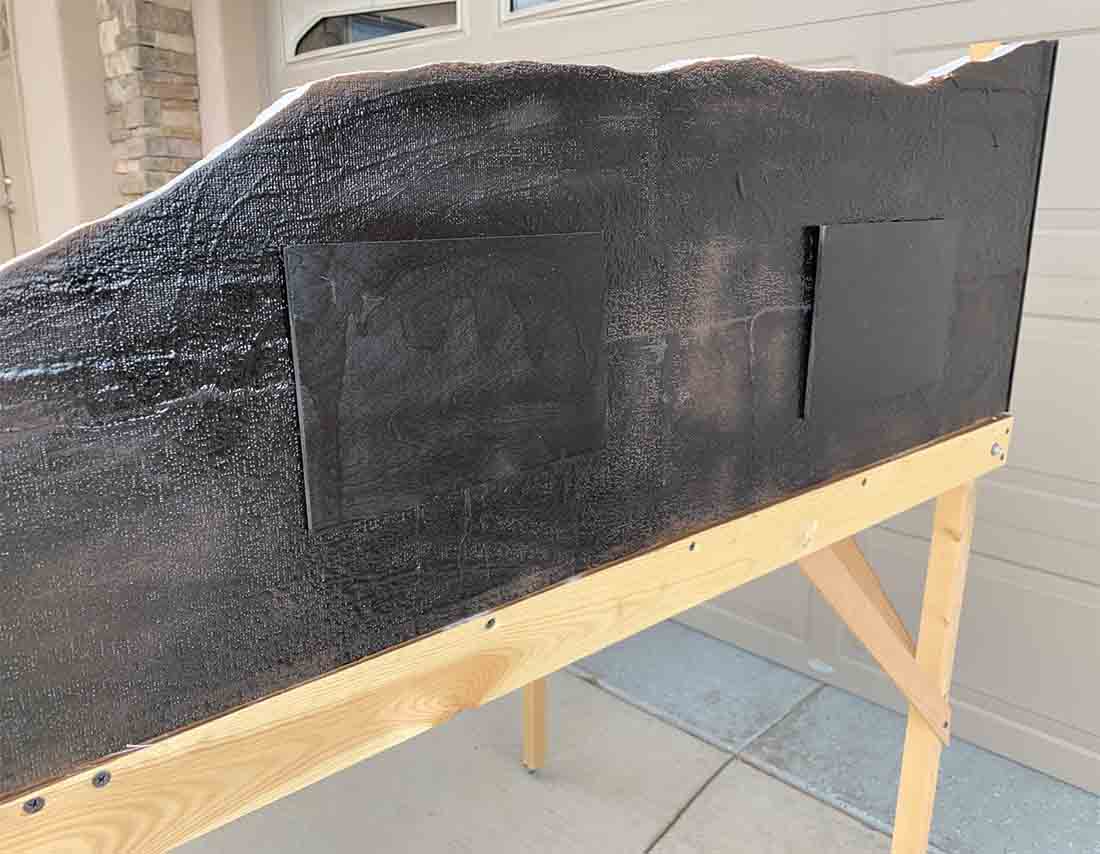
The rear wall painted.

Finished front and right-side boards.
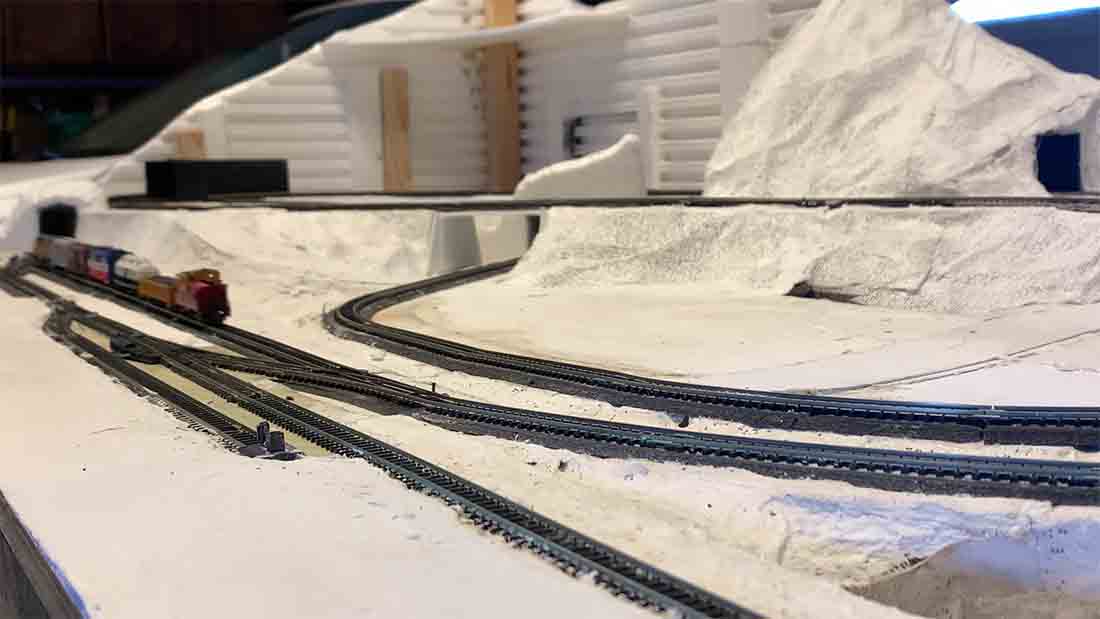
Bye, bye train.
And finally, here’s the youtube for my N scale Scenic Ridge layout:
A big thanks to Dean – if you want to see his previous post on his N scale scenic ridge layout, it’s here.
That’s all for today folks.
Please do keep ’em coming.
Don’t forget the Beginner’s Guide is here. Is today going to be the day you make your start?
Best
Al
PS Latest ebay cheat sheet is here.


Hi Al, I am very impressed by Dean’s method of using the plaster-cloth, very efficient and great for extended areas.
The man is a genious.
Pretty Kool.!!!!
Great narrative and detailed information. I plan to review his previous videos.
Thank you, Dean for your effort!
I am waiting to see the finished layout. So far looks good. A lot of planning.
Dean’s video is very instructive particularly for a beginner like me. I plan to watch all of his previous videos and learn before I start my project.