Eddie’s been in touch with his 00 Gauge model railway scenery – and it’s a great example of the most important part of this hobby: making a start!
I often say it, because I know so many folk on the newsletter think about taking the plunge – but it just never happens…
So why am I saying this (again)?
Here’s why. Have a look at what Eddie’s done, but first have a look at his first post, which is here.
Now have a look at what he’s done:
“Hi Al,
I got in touch with you in March to introduce my loft railway.
I have made a bit of progress on the landscaping front since and I thought I would share it with you,
I have named the layout ‘Tarry Mill’ after the farm my mother was brought up in in Scotland.
I started the landscaping down on side, and I am about a quarter of the way down.
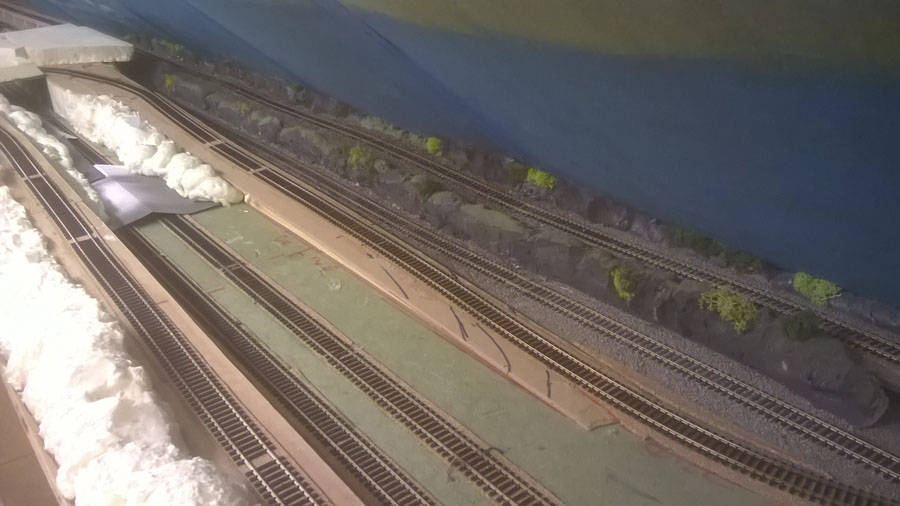
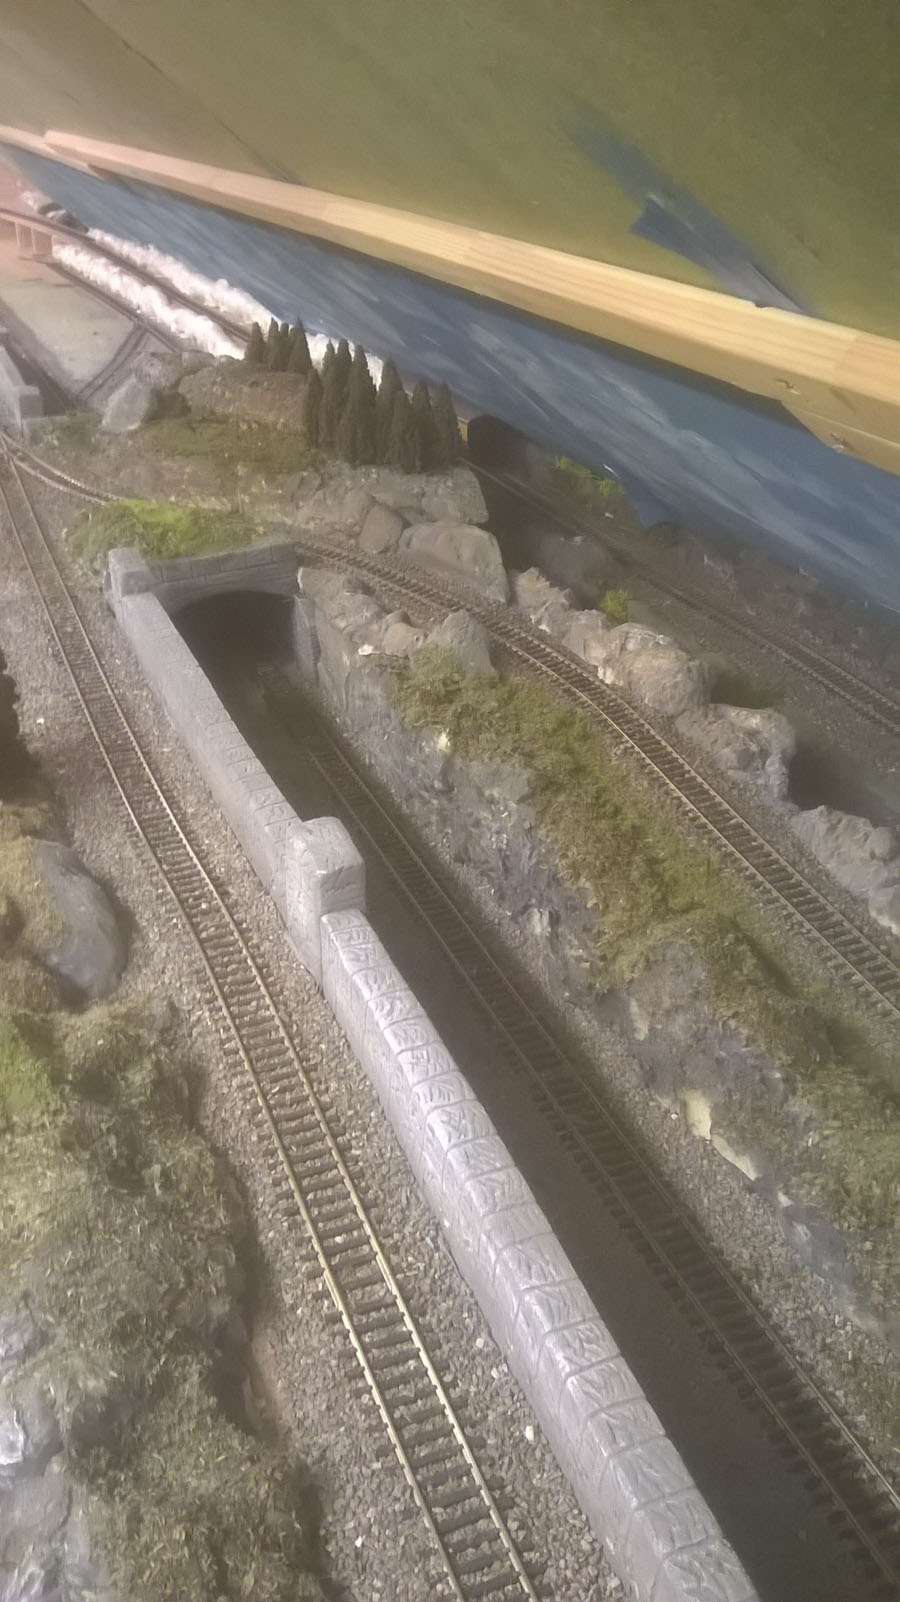
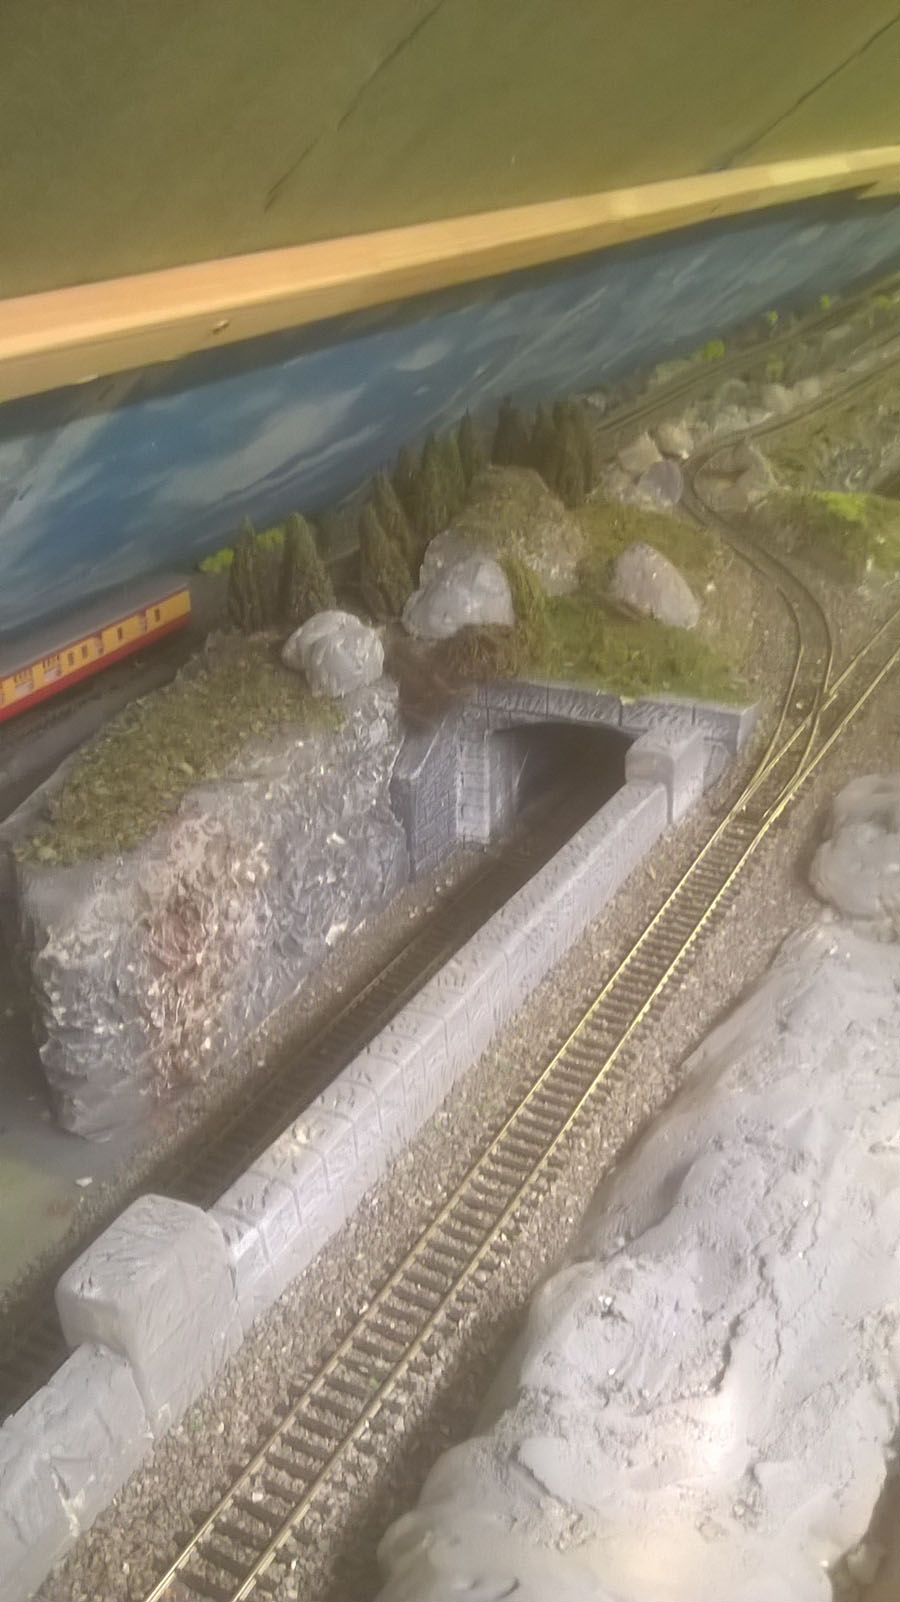
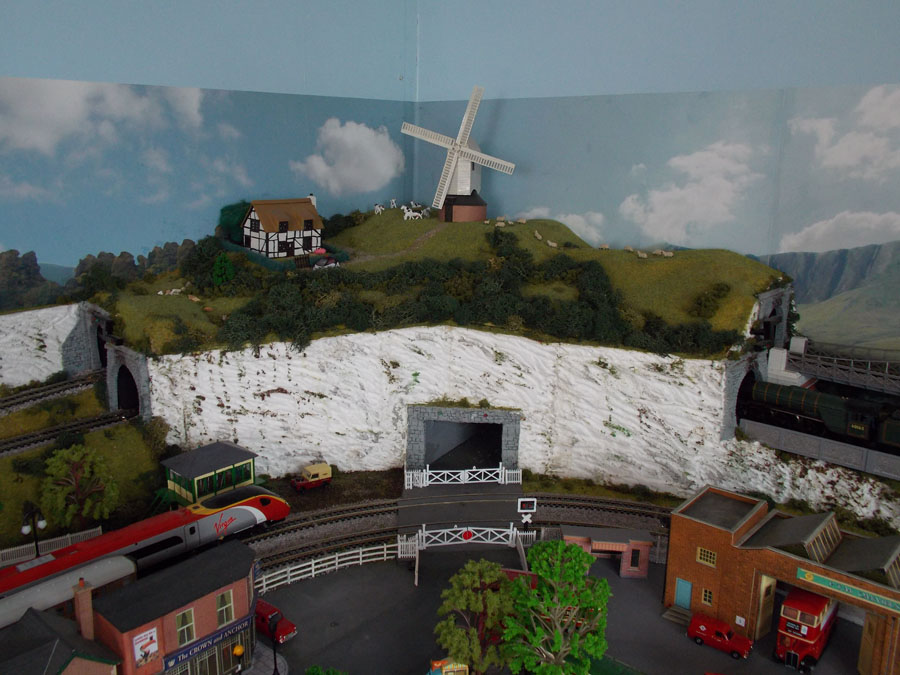
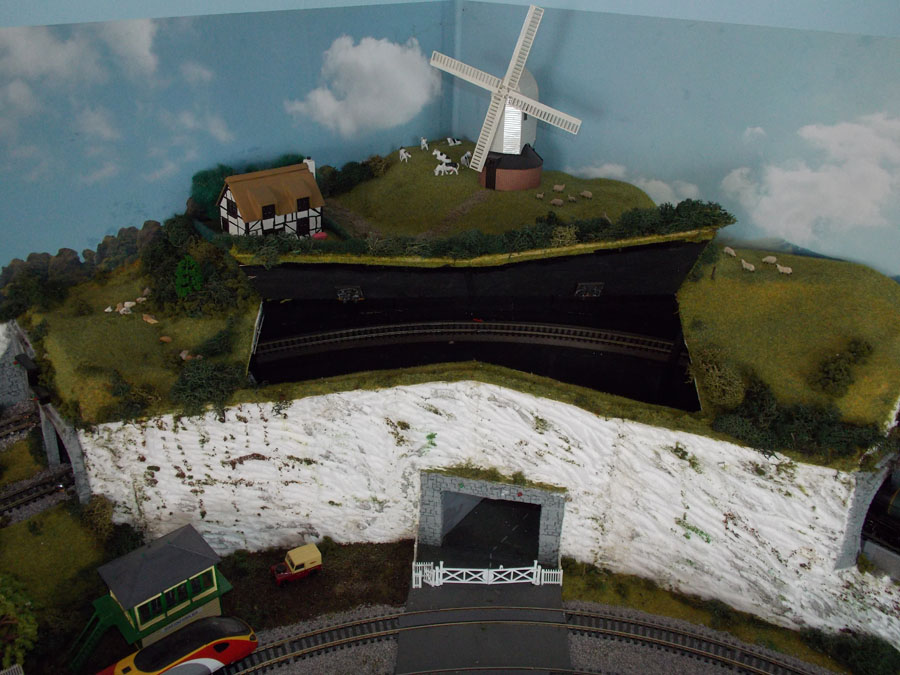
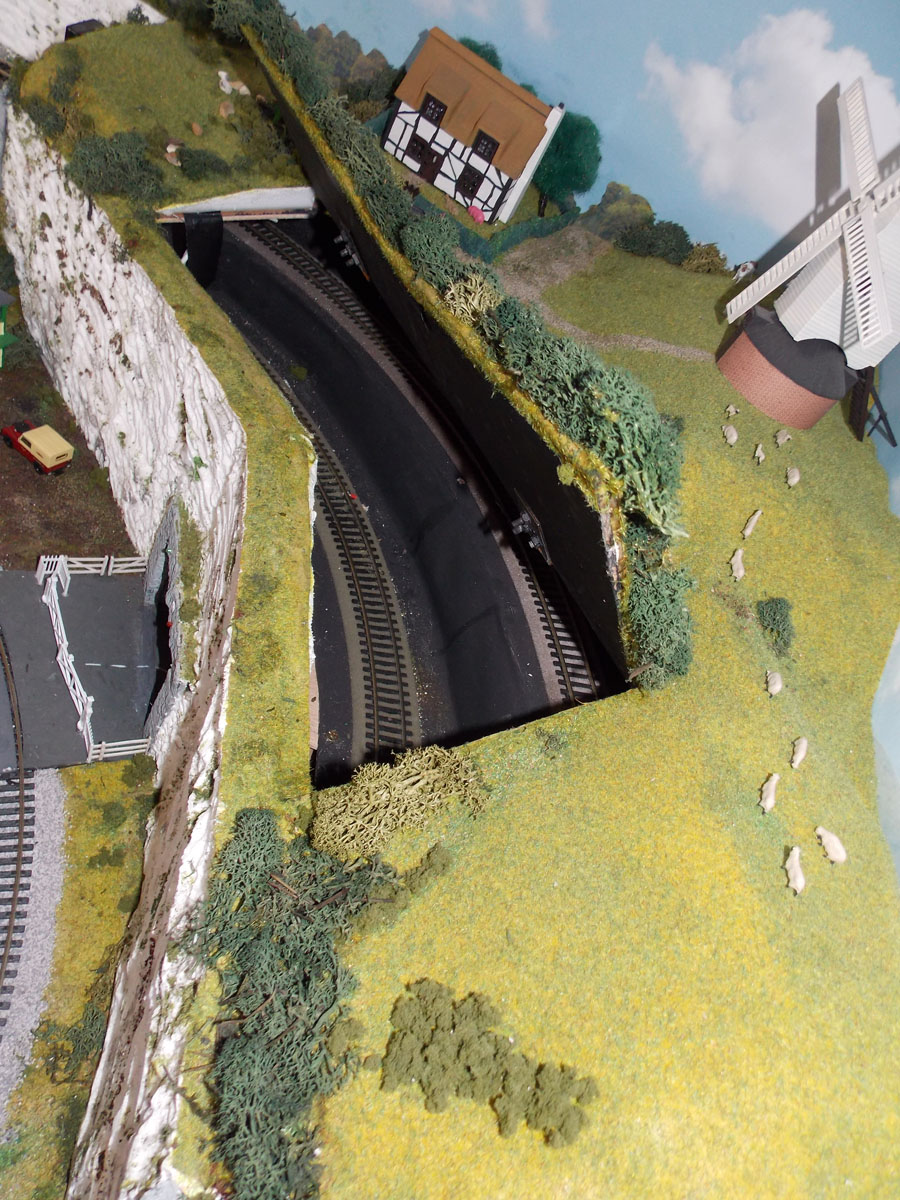
It comprises of two inclines, raised section and one tunnel portion. I used expanding foam filler for the surrounds of the inclines and foam insulation board for the hill and tunnel section.
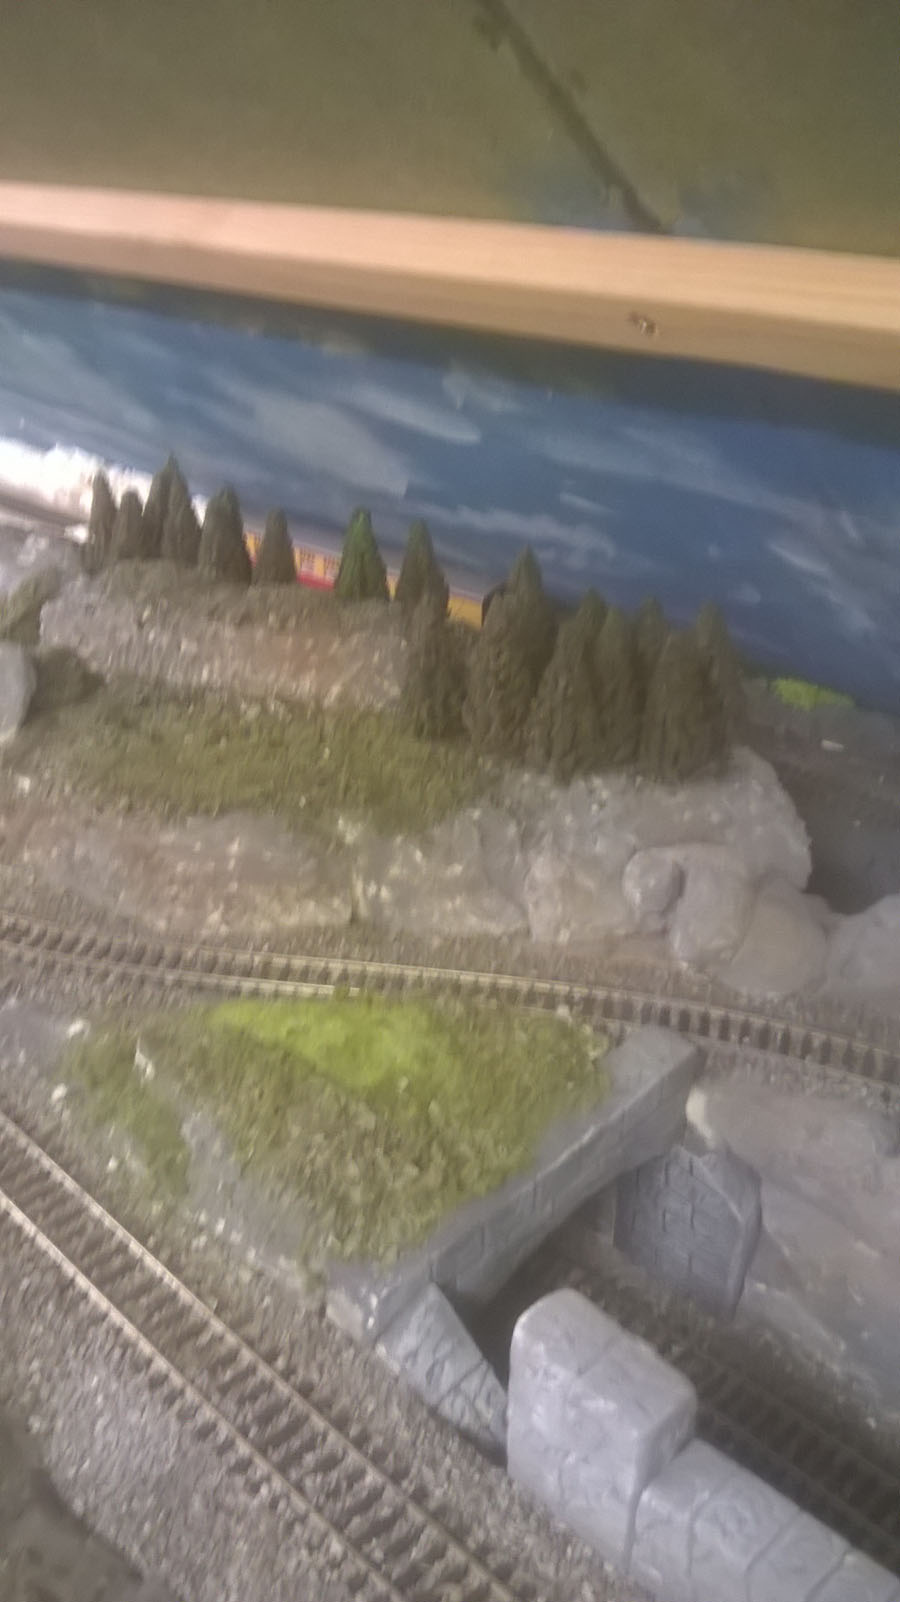
The tunnel mouths and wall sections are made from foam insulation boards. I scored it with a pencil to give a stone block effect and textured them with a small blade, once painted and a quick dry brush with white to highlight looks not too bad.
I have used sawdust and wood shavings for ground cover. I dyed it green, dried it then put it through a blender to fine it up. I also used Javis scatter to highlight some areas.
I have enclosed a few photos, I hope they are good enough to publish?
Keep up the good work
Eddie”
Just goes to show what a little vision and a little work can do. And of course, making a start…
Now on to Paul. And he’s also got some good advice too. (His last post is here.)
“Hi Al
Thank for publishing my last submission to you, I had a lot of nice comments from around the world.
I gained a lot of useful ideas from your contributors whilst building my layout. Here are a couple of tips from me.
I have a colleague who started his layout before me. He built a tunnel. Then he had a derailment in the tunnel and had to knock it down to get to the trains. So learned from his bad fortune and realised that you must have access to all tracks, wherever they are. So I incorporated a hinged flap into my tunnel allowing access. Saves a lot of future problems.
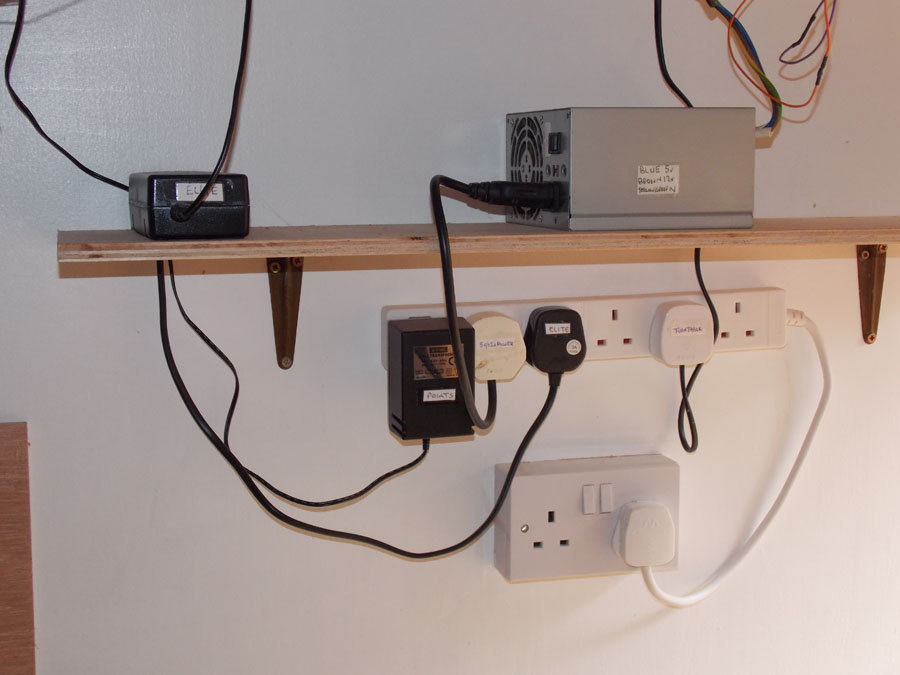
I saw that one of your contributors suggested using the power source from an old computer for lighting etc. this is exactly what I did. I can confirm that it is an excellent idea and gives plenty of power.
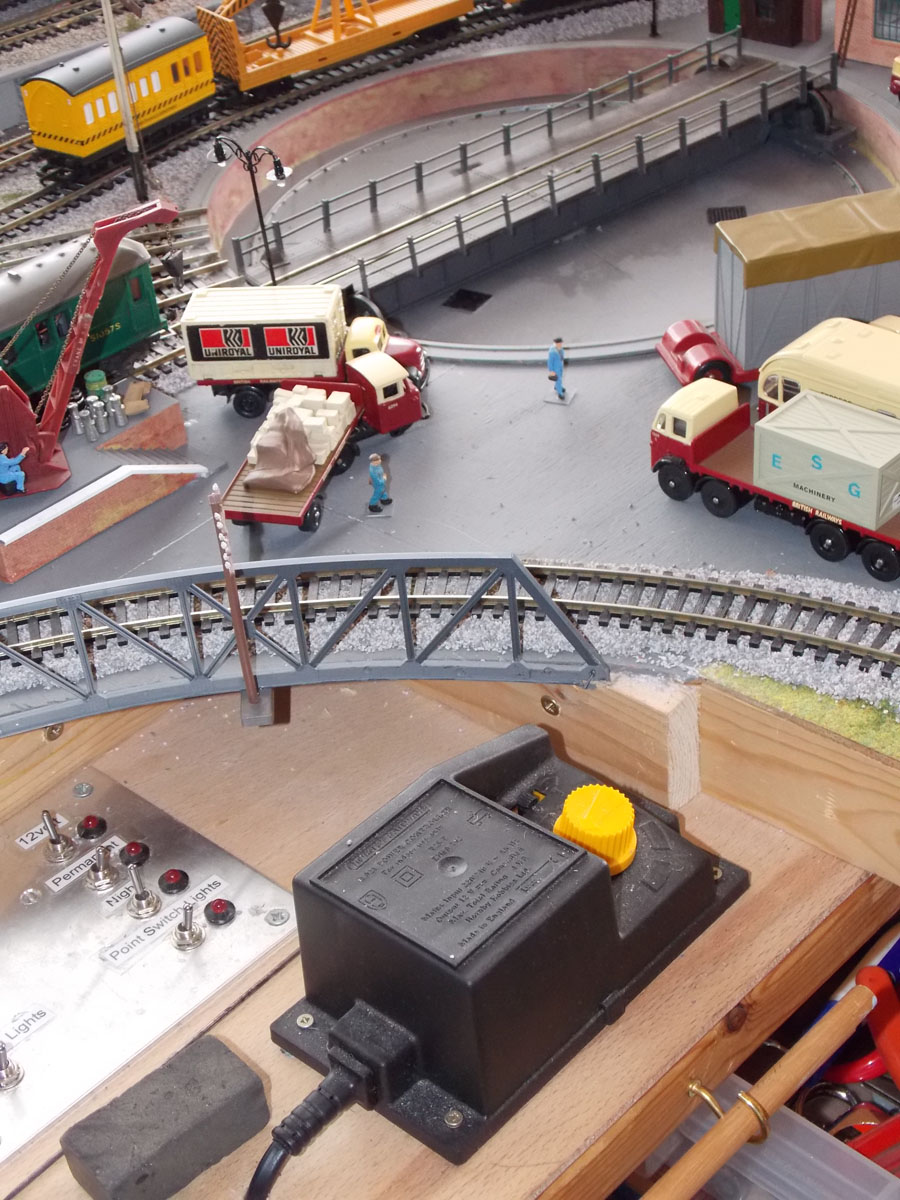
Another tip is to use an old analogue controller to power the turntable. I have also used an old Hornby transformer for the power to my points.
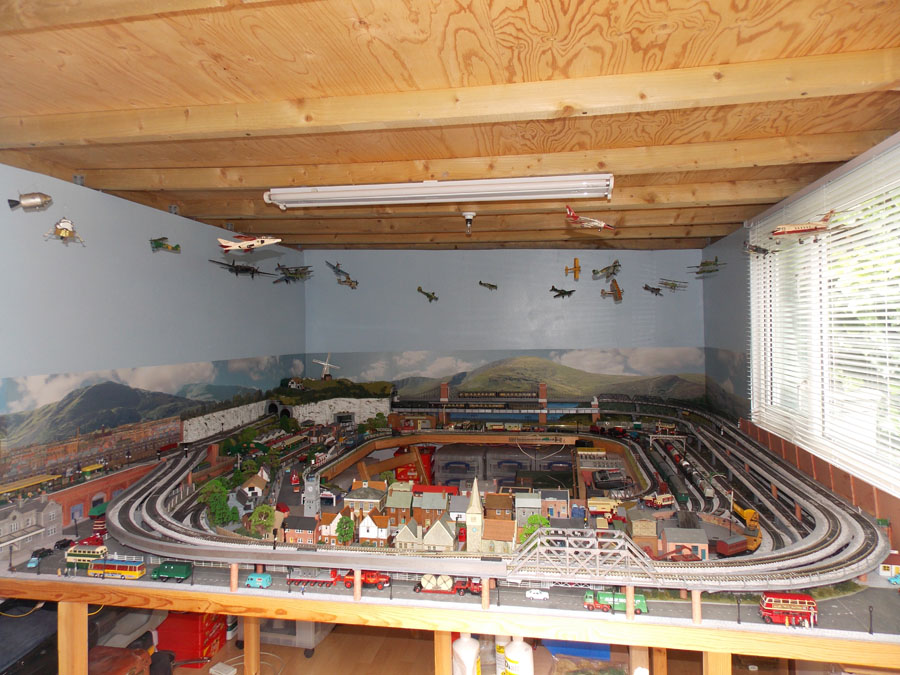
Just a little extra. I came across my old Airfix planes from the 50s and 60s. ‘Never throw anything away’ is something I believed in even then and had kept all the unused parts and decals from them. So after a great deal of refurbishment and rebuilding I decided to add a little extra something to my train room.
Hope you like the photos.
Regards
Paul”
A big thanks to Eddie for sharing his 00 Gauge model railway scenery, and to Paul too.
That’s all for today folks.
Please do keep ’em coming.
And if today is the day you get started on your layout, the Beginner’s Guide is here.
Best
Al
PS Latest ebay cheat sheet is here.
PPS More HO scale train layouts here if that’s your thing.


Nice work, Eddie. Your foam wall looks great. Wouldn’t have thought of using it for a stone block wall.
Patience.
Al,
Thanks so much for keeping the posts coming. Eddies loft layout is an inspiration to get my layout going. Very nice work Eddie.
Also loved the video from Dave, he never ceases to amaze me with his layout and the garden footage was great.
Cary B Maryland USA
HI Eddie — very nice job on the scenic development and blending of natural and man made terrain elements. Keep at it. You’ve come along way from the start. And the journey is beautifully underway. — Arnie – Staten Island, NY
Dave has a great garden in his yard. I wish mine look have as good.
Do the fish stay in the pond during the winter and is it heated?
Hi Dave i think your normal cam you use is way better the go pro seems to be out of focus most of the time or has this fog to it yes good under watter but on whole not as good as your cam just my 2 pence worth
all the best paul
Great e mail.
Trying to start @ age 92.
Are there a few beginner layouts for small places gratis?
Thanks.
Irving M. Blatt, MD
Thanks for small layout help.
Really looks nice, Eddie. I like the use of the expanding foam.
Obviously Dave does more than build a spectacular layout. Enjoyed seeing more than one dimension of a regular poster. Keep ’em comming, Dave.
Dave, if that’s your back yard, why are you into HO? You should be doing garden trains. That’s a wonderful back yard. Think of the garden trains that you could have there.
very nice work
Looking at Eddie’s work…
Amazing! Absolutely Fantastic!!
Impressive!!!
Hi All,
Thanks for you positive comments. They inspire and reassure me. Hopefully I am on the right track.
I will keep posting updates for your review, and they might even inspire others,
That would be a bonus…
Eddie
Hi Great progress Eddie. I think your layout will be a great success. Please take my one comment the way it is meant. Your tunnel wall blocks appear to be way over scale. Each one would weigh tons and would need very deep foundations in real life. See Dave’s Tunnel entrances and Viaduct walls for realistic scale sizes of stone blocks.
Dave again well done always exciting to see what your up to. I have a gopro and it is great for any adventure work. swimming cycling etc. Your underwater shots are very good. I assume the boss, wife , looks after the garden if not how do you get the time to do it all. Keep the post coming
Thanks
Wow!
Dave’s garden is as beautiful as his layout.
Well done Eddie …its a Hobby that once you start there is no boundaries …
Re my Pond ..yes we keep the fish in during the winter but cover with polycarbonate sheetings covers , also have a heater to stop it freezing ..the KOI go in to semi Hibernation …and well my wife occasionally helps in the garden , she does the dead heading …Dangerous Dave
Beuuuuuuuuutful. Thanks for all the ideas and magnificent work. I will be watching so keep it coming down the pike. You guys are marvelous.
rick from southern Ontario Canada (markham)
Just GREAT!!! Well done Eddie and Dave.
Hy, just a comment about the turntable, if you purchase a seperate decoder, you can power a turntable with it and then control it like it is a loco. This eliminates a lot of extra wiring. I also put a dual red/grn Led in series and then you can see which way it will turn. The Dcc decoder allows for changing the speed too.
Great work Eddie….I hadn’t thought of the expanding foam idea and will use it on my project. Also like the fact that the rr is (almost) named for me! LOL
Terry Mill(er)
Idaho UA
I like the idea of the expanding foam, Instant scenery!
Dr Blatt, if you can make a start at 92, it makes me hopeful I can do it at 78. Thank you for your post!
Absolutely beautiful, outstanding workmanship. Gave me a lot of ideas.
Respectfully,
Terry
Hi everyone, regards the use of expanding foam. It is a great product, BUT, some brands come in different rates of expansion! Use the one that expands the least. Test it out off the layout first. Test twice, use once, as the old carpenter saying implies. Use with good ventilation, of course. Otherwise, it’s fun stuff.
For Mr. Blatt. If you look up free layout plans/(what your scale is)/small spaces You should get plenty of info to get you started. Lee