Bob’s been in touch with his Tinplate model trains:
“My tinplate collection was sitting up high on the railrax in my Hirail room. It was hard to get a good look and they were becoming shelf queens because they don’t run well or at all on Gargraves track and Ross switches.
A few months ago I invoked eminent domain and had the BR furniture in the loft BR moved to the first floor. I had the rug replaced with simulated wood vinyl flooring.
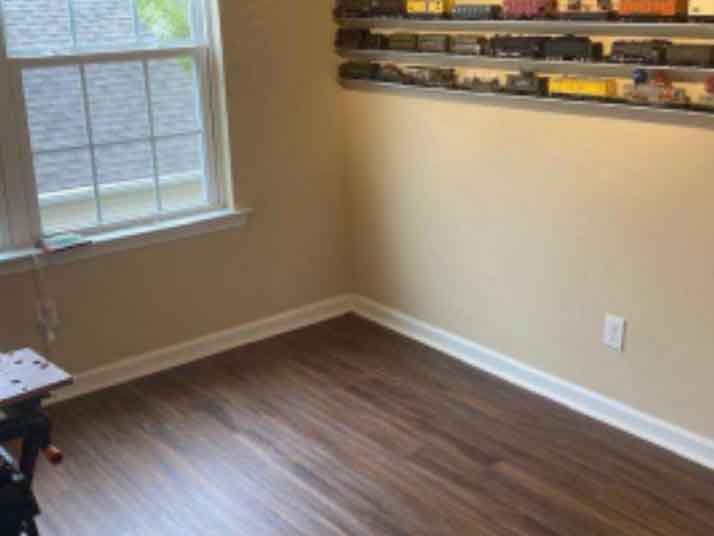
The room is 10×10. I decided that I could make a small tinplate layout with 072 curves.
I ordered a 6’6” square bench work from Mianne bench work.
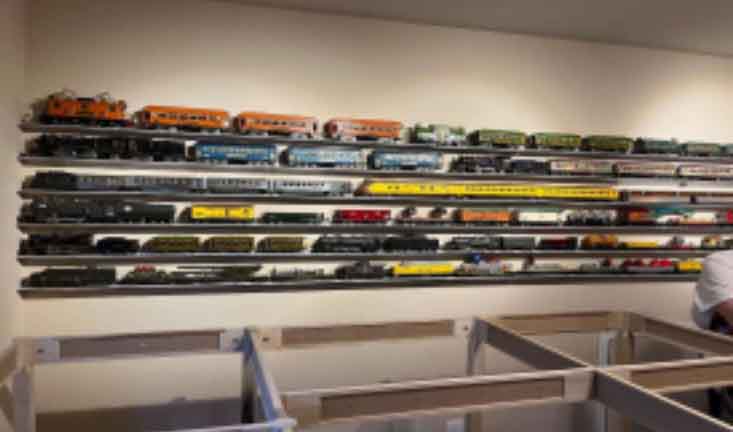
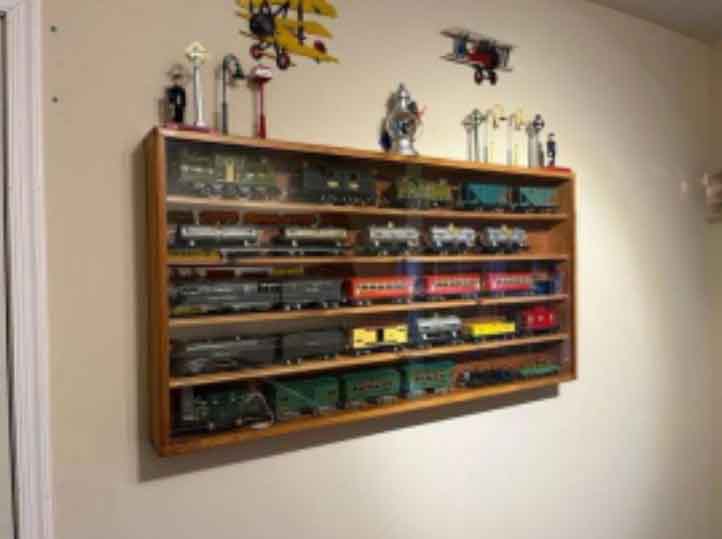
While I was waiting for the bench work; I installed railrax and a sliding door shelf; which just about took care of all the tinplate and two KMT DC sets. My friends provided the shelving.
After putting the bench work up I covered it with some scrap plywood and then used Homasote on top of that. The table is on casters so it can be moved to the corner or moved out to access the shelves.
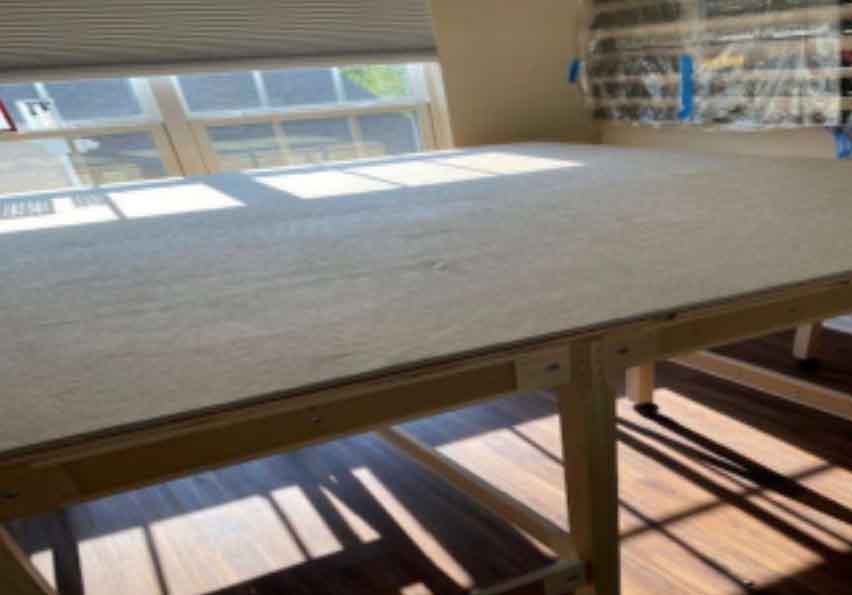
I painted the whole table a chocolate brown.
I didn’t want to go under the table; so I used self-adhesive copper tape to run a loop for lights. The tape was connected to the 14V accessory post on the transformer with 18 Gauge wire.
At the joints I folded over ½” so I has two clean sides mated; then I covered the joint with a short piece of the same tape to secure it. At the T I separated the leads with two layers of electrical tape.
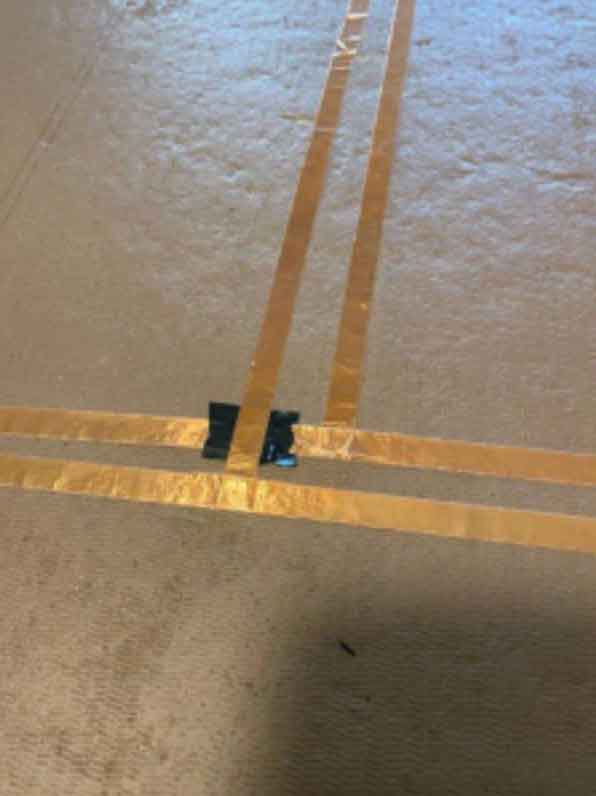
I made an excavation under each house to connect the wiring. I was concerned that the heat from the soldering gun would be dissipated by the length of tape so I used a wire staple gun to attach the wires to the tape.
I covered the connection with a piece of copper tape on each leg.
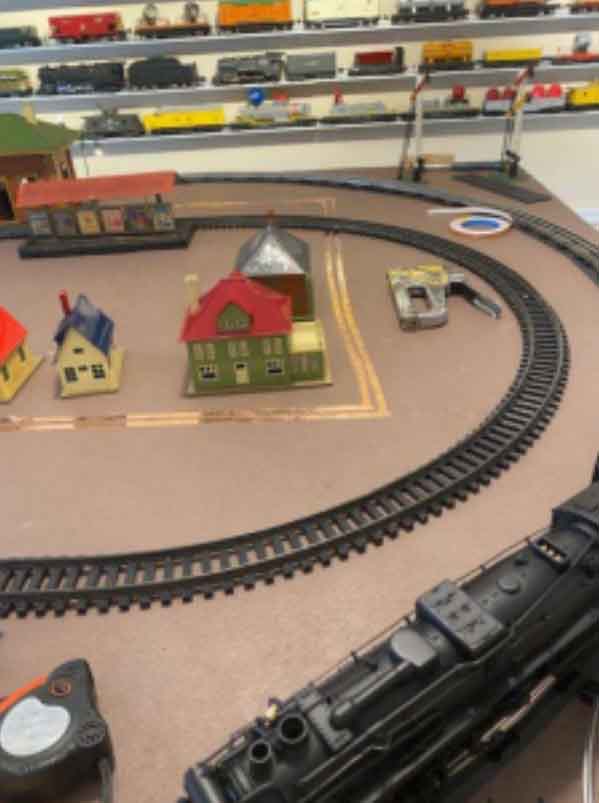
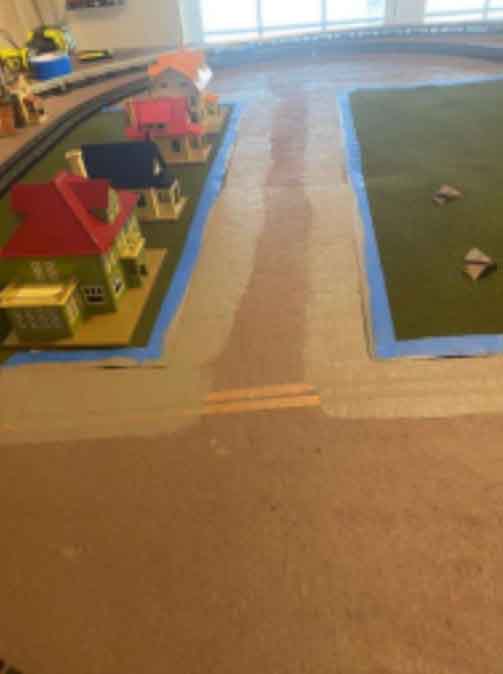
I picked up a set of MTH villas and picked up two original Lionel at an auction. I put down two simple loops; the 072 and a 2 rail DC loop.
Here is the first test of the lighting circuit.
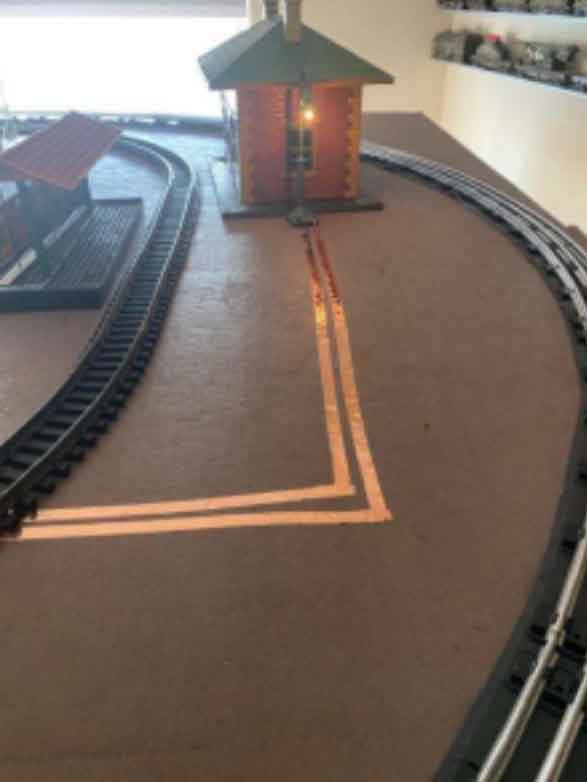
My son brought over this station (no name) that could be standard gauge but it works for me.
I brought in the station platform from the Hirail layout. It’s from my childhood; I’m not sure if my dad made it or picked it up somewhere. It’s made out of wood with some kind of wire mesh. I think it looks better in here.
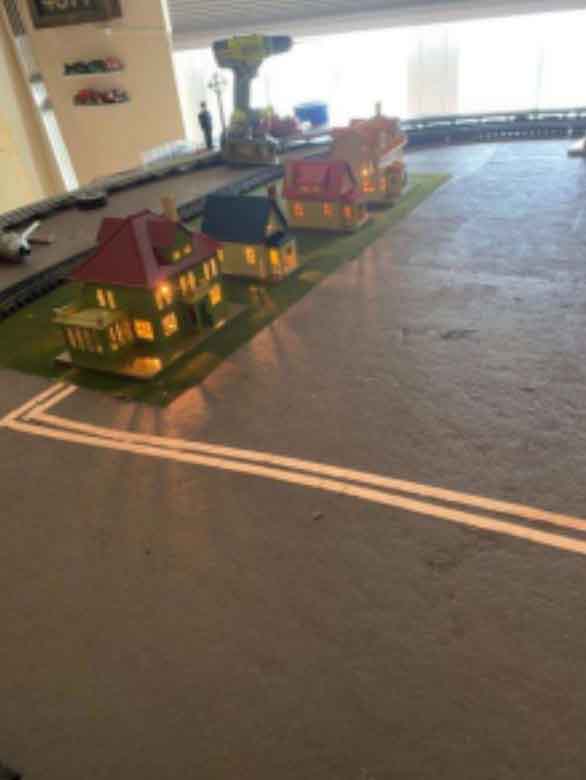
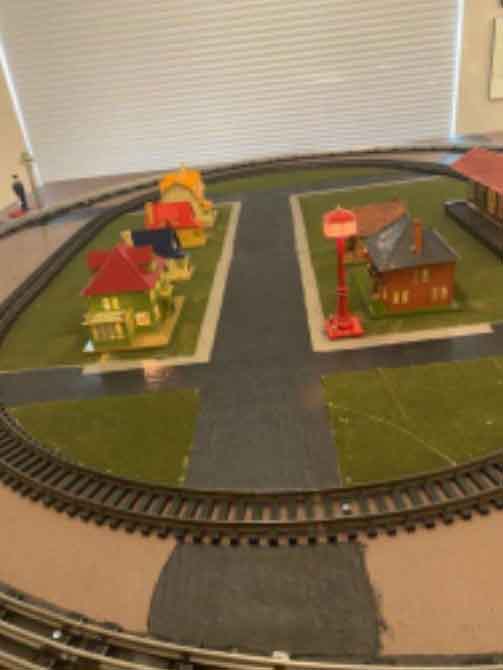
I painted streets and sidewalks, then I used a roll of grass for ground cover. I am purposely not using scenery techniques used on the Hirail layout.
The flat black that I used for the streets was actually shiny; so I went over it with diluted India ink.
The jury is still out where to place the JEP windup set.

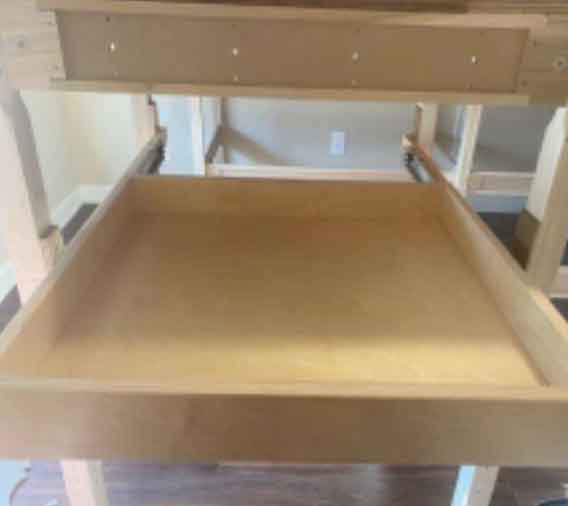
I installed a drawer under the table for the power packs.
With the track down and the lighting completed; I ran several sets of the tinplate and the KMT space train.
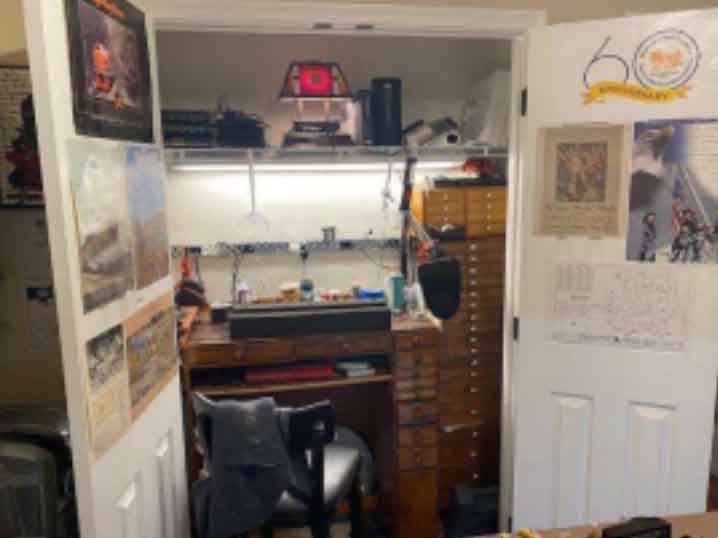
I also realized that the clockmaker’s workbench that was in the Hirail room (the loft) would fit in the double door closet in the tinplate room.
This freed up space in the Hirail room and made it more comfortable for visitors.
Happy collecting and running.
Bob”
A big thanks to Bob for sharing his tinplate model trains.
That’s all for today folks.
Please do keep ’em coming.
And if today is the day you get started on your layout, the Beginner’s Guide is here.
Best
Al
PS More HO scale train layouts here if that’s your thing.
Need buildings for your layout? Have a look at the Silly Discount bundle.

Never thought of lighting ‘wire’ as tape before, looks so easy and effective – what a good idea, thanks.
I really like the copper tape thing, will definitely be using that idea when the re-assembly of my layout gets in high gear (after the Summer).
Bob
Lucky is the man that can exorcise eminent domain. Your man cave- happy place- and memories are all yours.
“A few months ago I invoked eminent domain…” 😂
Great job. Inspiring.
Bob…..great job…..nice work with the copper tape.
Great job and layout. The Mianne Ben work is worth the expense, just call them, tell them the size and shape of your layout and done. It may seem to be expensive, but it saves the trip to Lowe’s to buy stock, then cutting and measuring, not to mention your time and hassles getting everything home……… I recommend it highly, and it reduces conflict with the senior engineer (wife). Enjoy your layout and thank you
Looks great? but it is to short of a run.
Nicely done. Great to have space no matter how large or small. Modeling is what works for you and what you want.
Jim AZ
I’ve used the copper tape wiring for several projects and have found two problems with it it that both have easy fixes.
1. Oxidation over time will turn the tape brown and ruin your connections. It is always safer to solder the joints.
Yes, the tape will dissipate some heat, but not enough to ruin a joint. I found that using a tiny dab of soldering paste and a very small length of solder placed between the layers at a joint, then heating the top layer until the solder melts gives a solid, clean joint. You do have to clean the glue off the underside of the top tape.
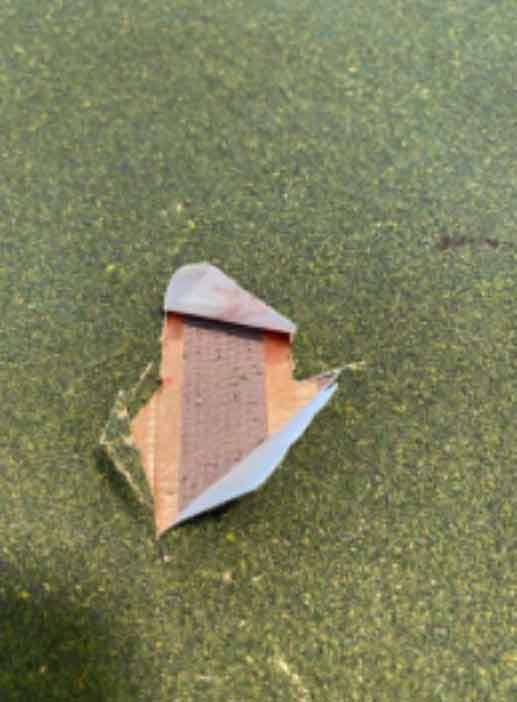
2. Corners can be a problem, but to keep from having to solder each one try this trick: Stick the tape down to a little bit beyond your turn point, Fold the tape back on itself so that the free end is upside down on top of the run. Fold the tape at an angle in the direction of the new run carefully bending it on top of itself again to form your corner. Continue the run to wherever you are heading. A piece of wide packing clear tape over the turn when you have both runs down will keep the corner flat and protected.
I don’t have any copper tape handy so my pictures are made with a strip of paper. The copper works just as well.
Charlie
Al:
Pictures in following email
I enjoyed your copper tape ,,ideas,, And reminded me of a suggestion of my friend Clem,,About using old or unused track( two rail or 027) to put on the underside of the layout,,Then fasten to bottom with screws ,,And you can basically, have a running live buss bar,,That you can tap with track pick-ups,,or solder wires off the track to top side ,, For lighting or fixed voltage assys Thanks for the article n tips ,, Frank
Nice Very smart. Like the closet area with the desk. Well done.
All, Thanks for the comments, appreciate the soldering tip.
I had links attached to show the tinplate sets running; but they didn’t make the cut.
Bob in NJ
different ideas good work
The copper tape can also be used to apply to streets so that lighted automobiles can be placed anywhere on the tape in the streets to light up, this way the autos don’t have to always be in the same spot on a layout. The tape can be painted over so it doesn’t show. The autos can use a small nail or pin or whatever to poke through the paint and connect with the tape.
That loft sure makes for a nice model railer’s cave..
Perhaps the windup could be on an el running above through town.
Nice setup Bob.
Did you order the bench work from Mianne with the casters or did you drill the legs and insert the casters? Also, did you need all the legs to have casters or certain ones? Thank you.
That’s the spirit!
Great step by step description of your process . I think the tape is a great idea . Looks like it wasn’t too involved . Mostly though I’m curious as to how old are your trains ? They look wonderful . Hope it all brings you joy and fond memories . Thanks for sharing
Very cool tip with copper tape👍
I’m in awe of the way everyone in Al’s community overcomes the various obstacles, and this is no exception, and the way the solutions are shared.