Dean’s been back in touch with his Union Pacific N scale layout:
“Al, greetings from Dean in New Mexico.
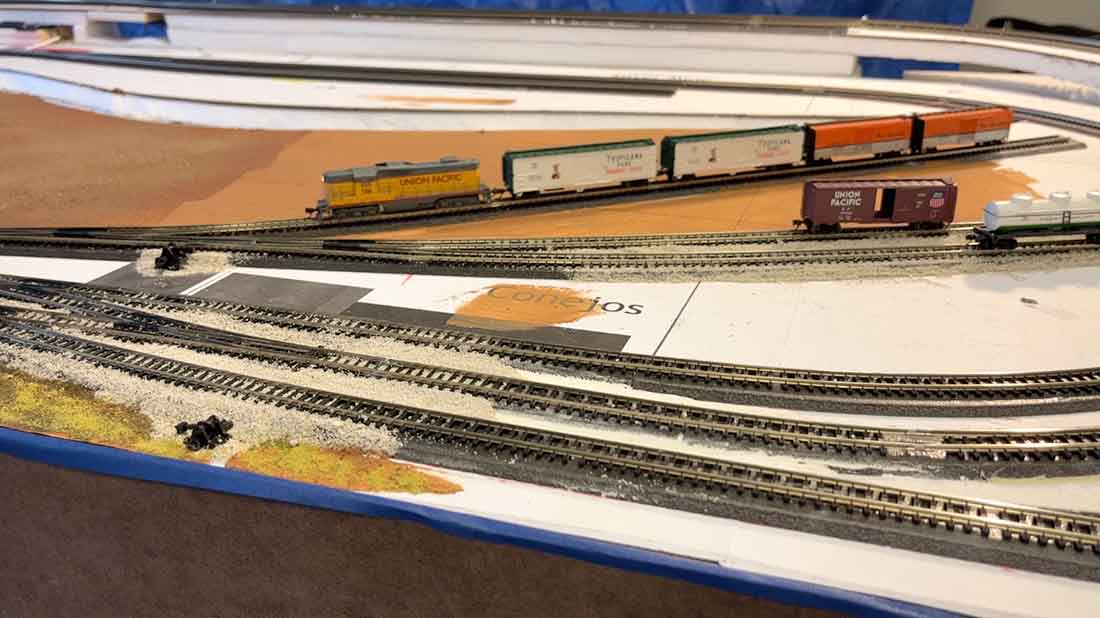
Here’s my latest input on my Conejos Valley Railroad, a 32” x 80” N-scale railroad designed for two train running as well as switching operations.
At this point, the table and baseboard are completed, and all the track work has been constructed.
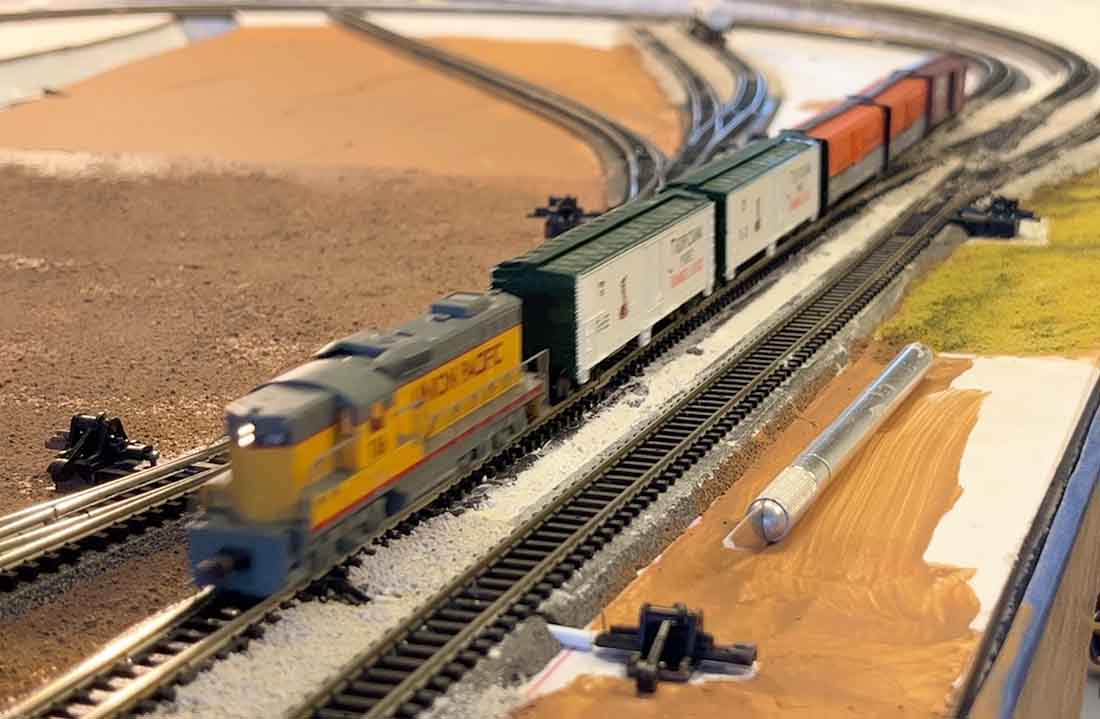
I wanted to check out the operations of the track with a typically sized train before I moved on with scenery. Movement in and out of yard leads, cross over from the inner to the outer loop, etc. was completely tested and shown below in the photos I’ve included.

Note that as you can see, I’ve begun to test out colors and methods of scenery construction.
Also, ballasting. I’ve standardized on an acrylic paint color and material for texturing the surfaces (sifted dirt from my front yard) and you can see that in the photos. This will be discussed in a future report.
Remember, the track was laid on a sandwich of three layers of white Styrofoam under a 1/8” sheet of Masonite. The outer loop was raised 2 inches and the Masonite gave a solid base for the flex track I used.
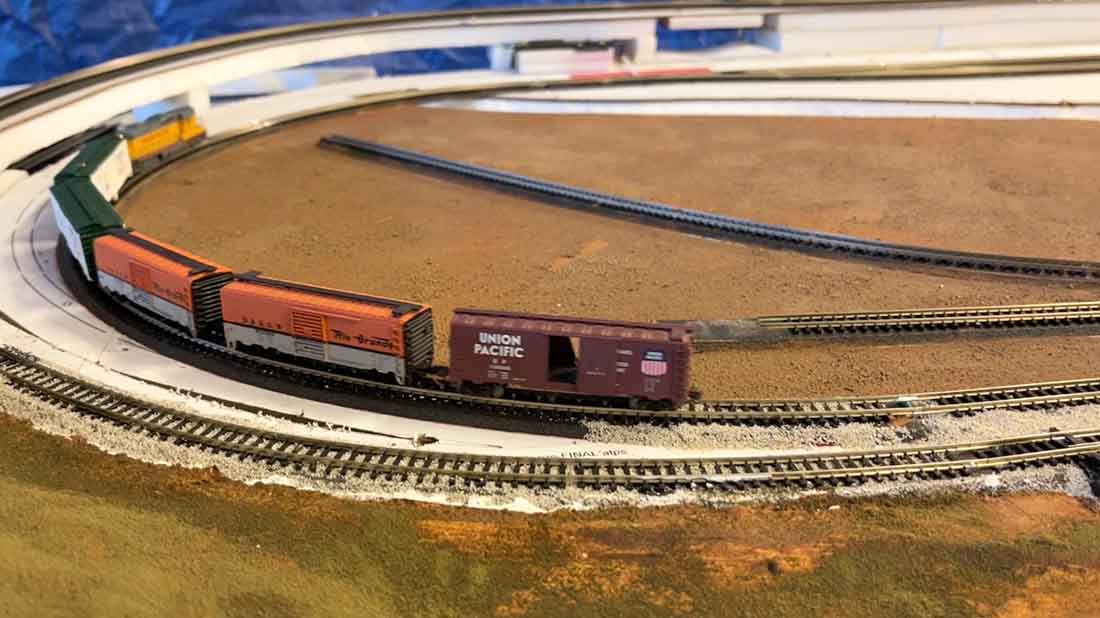
First, I made up a train by putting together cars in the yard.
The freight train moves on
Below I show it successfully crossing over from the inner to the outer loop.

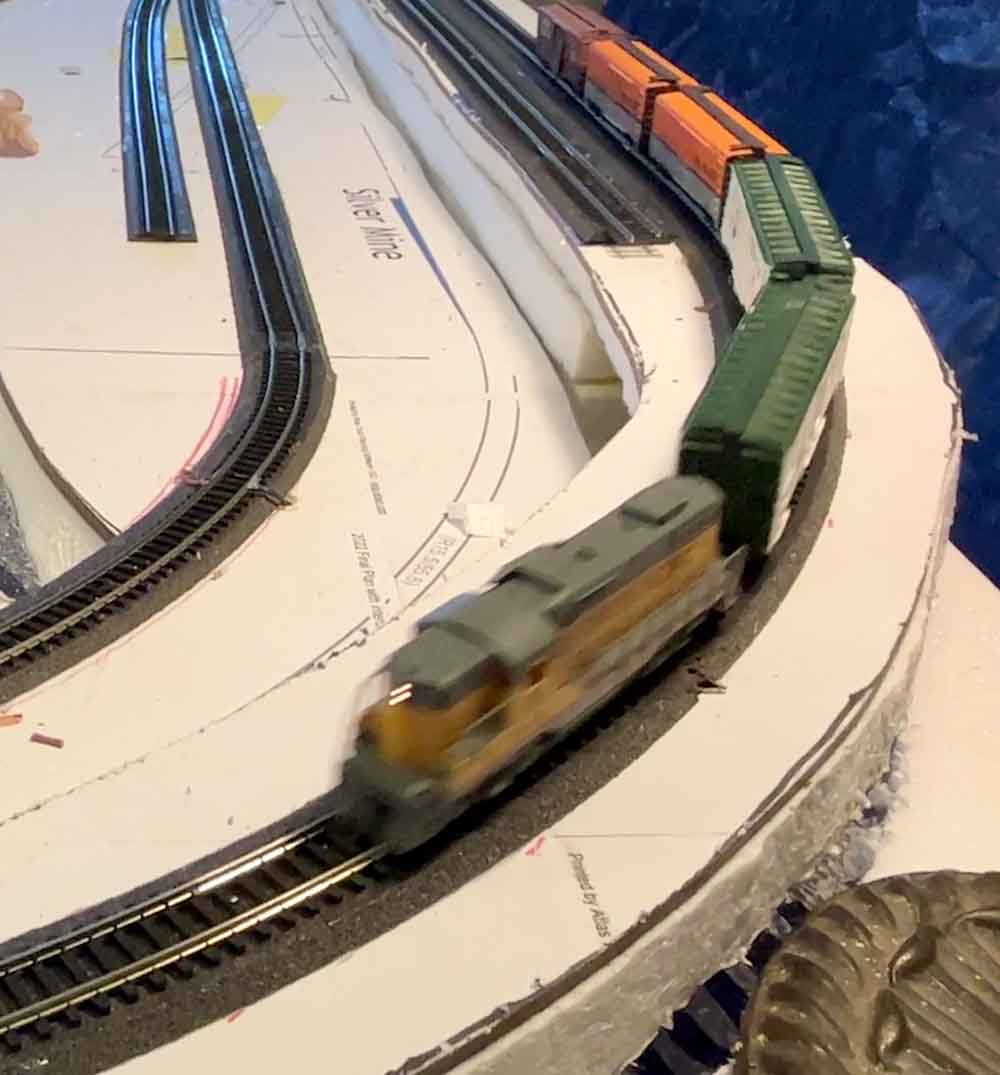
Finally, I backed the train though the complex double-S set of switches into the yard for the night.

The video shows all the operations:
That’s all for now.
Cheers, Dean”
A big thanks to Dean – his layout reminded me of Andrew’s: Union Pacific N scale
And if you want to see Dean’s last post:
Lastly, Keith has sent in this question that I thought worth posting:
“Hi Al –
I’m a beginner and am doing a 4×8 layout. I’m doing a layout loosely based on the Florida East Coast Railway. I feel good about benchwork.
However, as I look forward, I am concerned about laying track.
I would like to use roadbed, thinking cork. But, as I lay track, what do I nail the track into? The cork?
If so, what type of nails do I use? Do I use long nails to reach the plywood below?
Thank you for your help.
Keith”
Who can help Keith? Please do leave a comment below, I’d love to hear your thoughts on this one.
That’s all for today folks.
Please do keep ’em coming because it’s jolly quiet this end. Tomb like, in fact.
And if today is the day you get started on your layout just like Dean did, the Beginner’s Guide is here.
Remember, it’s the start that stops most people.
Best
Al
PS Latest ebay cheat sheet is here.


Nice layout you have there Dean
Hi Dean. Your layout is progressing nicely. A couple of items
In your video. When switching to the outside track the 2nd white boxcar appeared to jump the track. As all others appeared to pass over without any problem.maybe worth just checking out the wheels, spacing etc of the car. Also, it appears in you’re video that the train is struggling to climb the slope up to the upper level. It does look like quite a sharp climb. Maybe something you could look at. Keep up the good work
Keith…
We were all “Beginners” or “Rookies” at some point as well. Glad to hear that you are starting a train hobby, for it will bring many Joy’s. I delved with trains as a boy for several years and then, like others, they got put up or lost over the years. I started back and doing my bench work just this past December. And just like you, I have many questions… we all do. Have ya ever heard of YouTube? YouTube will be your best friend!!! This is a conglomeration of All kinds of videos, but you can search for Anything….seriously!!!! Just type in your question and YouTube will bring up all the videos related to your question. The cool thing about YouTube is that you will get a chance to see things done in all kinds of different ways. So you can compare ways of doing thing and choose the way you want to work on your layout. Soon, I will be sending pics to AL so he can share them with all that are subscribed to this forum. And all these guys here can give great advice. However, YouTube is much quicker with its responses. Most, if not everyone here, has spent countless hours in YouTube, getting answers to their questions.
Hope this help, Keith. And good luck !!!!
David
ps….I would also recommend Al’s Beginners Guide. It is an awesome detailed book to read and goes through everything you need to know about getting started.
Dean , wonderful posts of your progress , great job . I’ve just completed an HO display and my wife and I are beginning an N scale display next . Thank you for insight and tips , it appears that N scale is more tricky and tedious to work with than HO so having your videos and posts will be very valuable guide… thank you .
Great display , awesome detail and craftsmanship.
Dean, Nice layout. It is a good size for n scale. You have room for a few industries it would appear but it is not overwhelmingly big and awkward to have around. You’ll no doubt have good fun adding scenery to it.
Rob McCrain – Farland Howe
Keith,
I second Dave’s suggestions, especially Al’s Beginners Book. I iuse the cork roadbed which I adhere to my plywood base with “dots”of hot glue every 6” or so. I have a center-line and put one complete side of the roadbed down on the line, then the other side. After painting the roadbed to look like ballast, I simply use standard Atlas track nails to hold the track, they get into the wood maybe 3/16th of an inch at most. I find having nails that deep allows them to easily be pulled if an adjustment is needed. I also have a little “thumb drill” or pin vise to add extra holes/nails in areas where the flex-track seems to want to go back to straight.
John from Baltimore
I glue all my cork roadbed down. Let it dry, then glue my track to the cork. I use Copy Dex for the glue. The problem is that it is expensive in the US, cheap in the UK. (I picked up a couple of bottles when I was over there.) I only glue track and not turnouts. That makes it easier to replace bad components or make modifications. Using track nails can cause problems. They are placed in the center of the track, if pounded in too tight, easy to do, the distort the gauge by pulling in the rails.
nice
Thanks Earl and John on the suggestions! Helpful knowing that I’m going into the plywood underneath. I have looked on youtube for answers to some of my questions and the challenge with it is there is SO MUCH information it’s almost too much and confusing as everyone is doing things differently. I guess the solution is, choose one way and go for it! That’s my plan. Benchwork is in progress. It’s a small layout as I’m just staring, but after I get through it, I’m hoping to expand and build on the small one. Thanks again.
I always use my largest locomotive and cars (in this case long passenger cars) for a clearance test on all track. This works well. Except….. when I reached the point of being in the mountain in order to save space and not thinking used a smaller radius track and not testing. NOT a good idea.