Rob’s been back in touch.
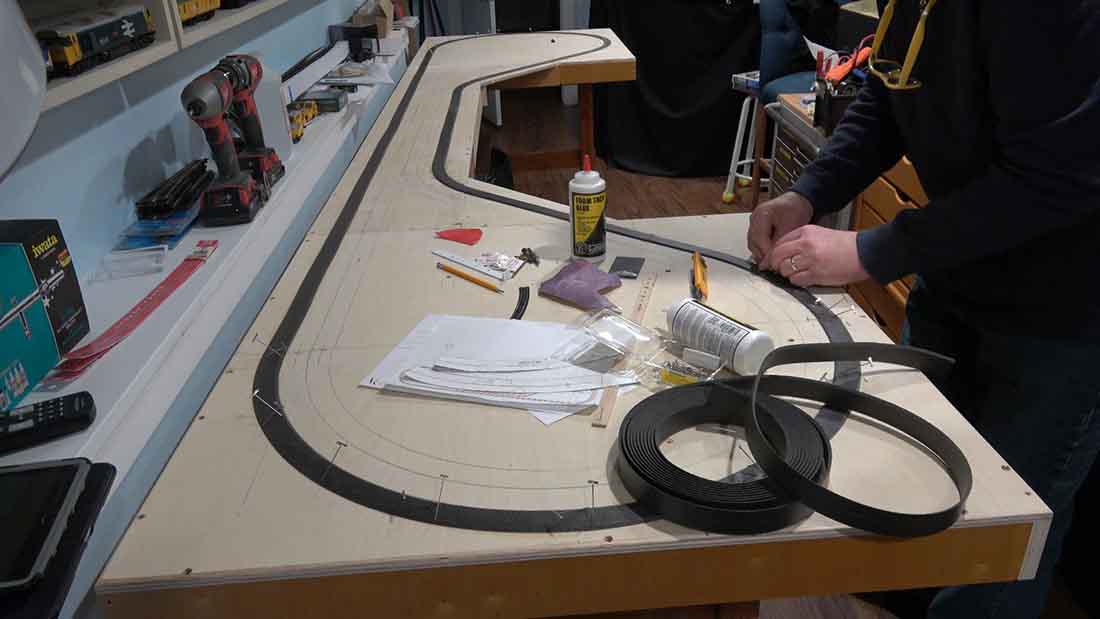
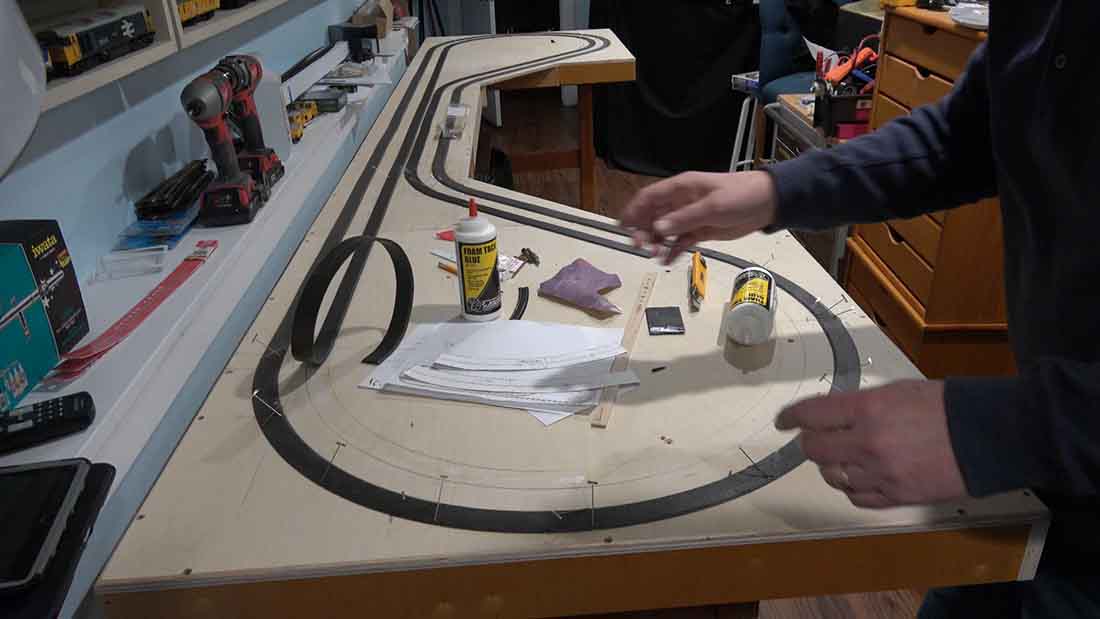
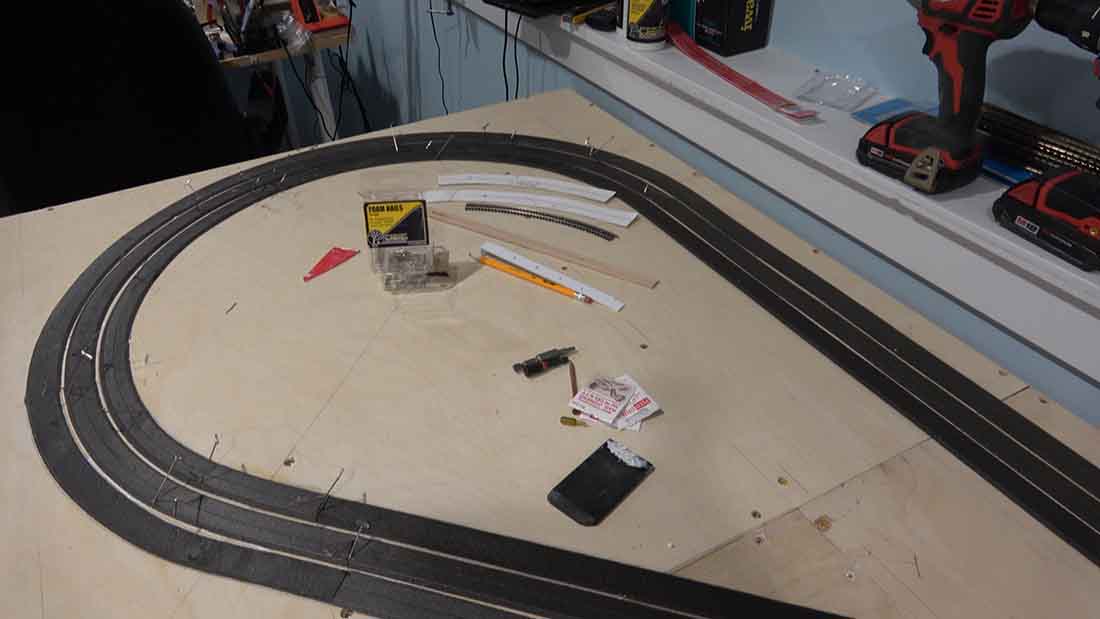
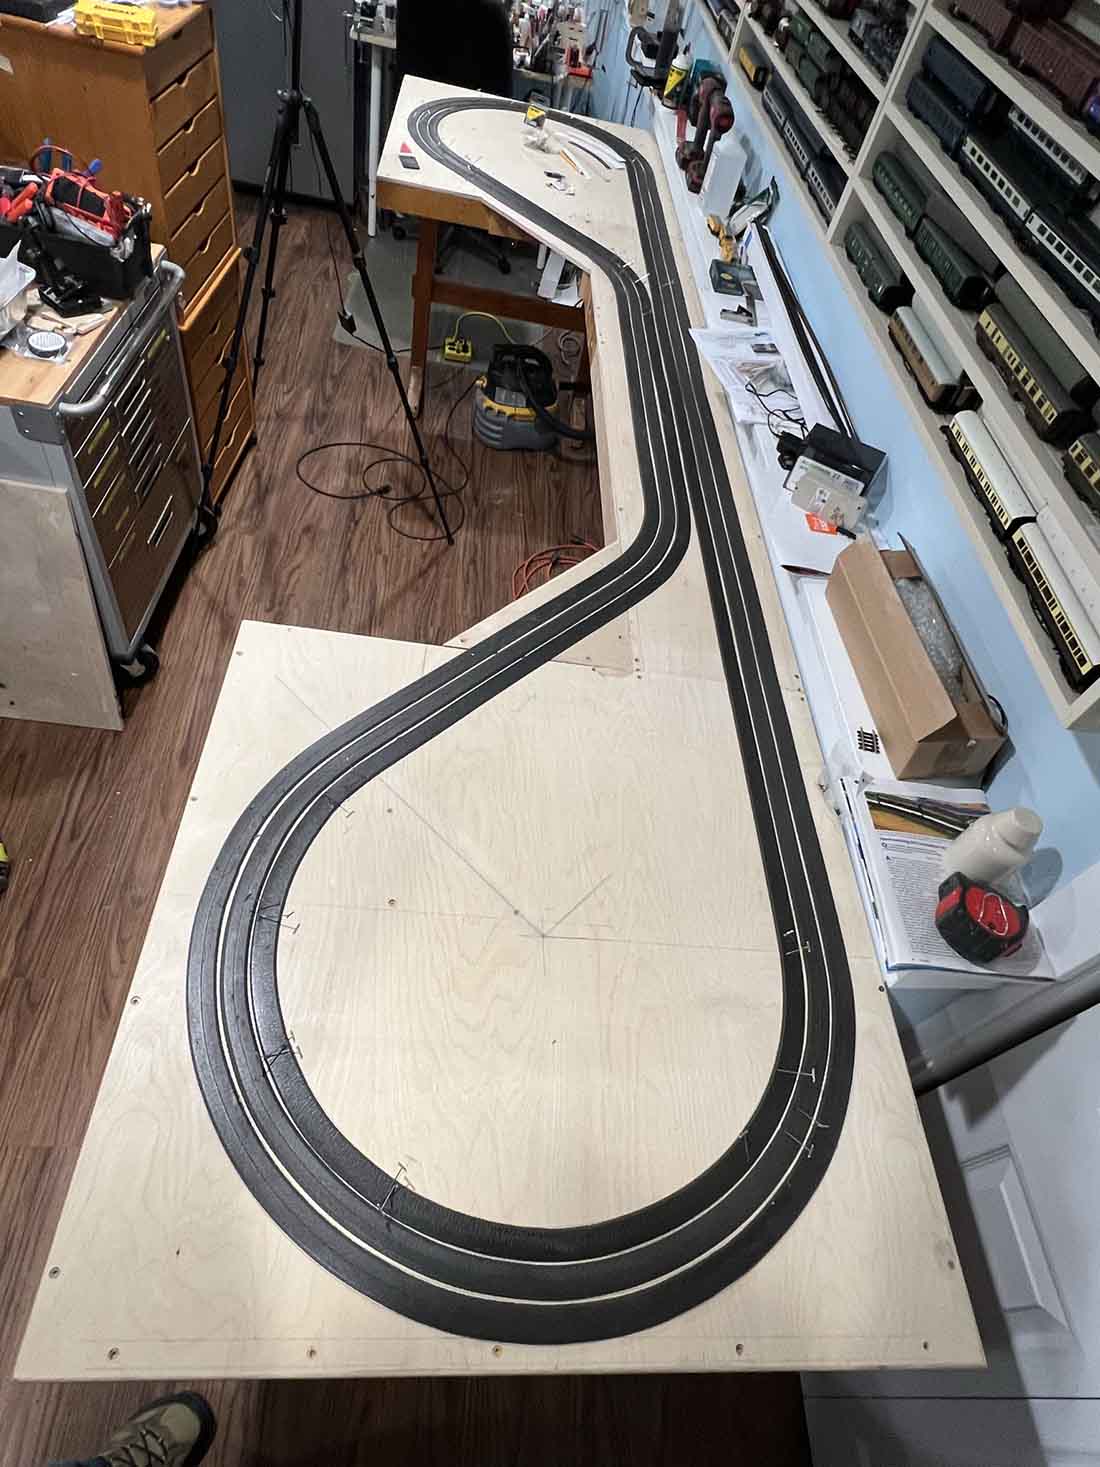
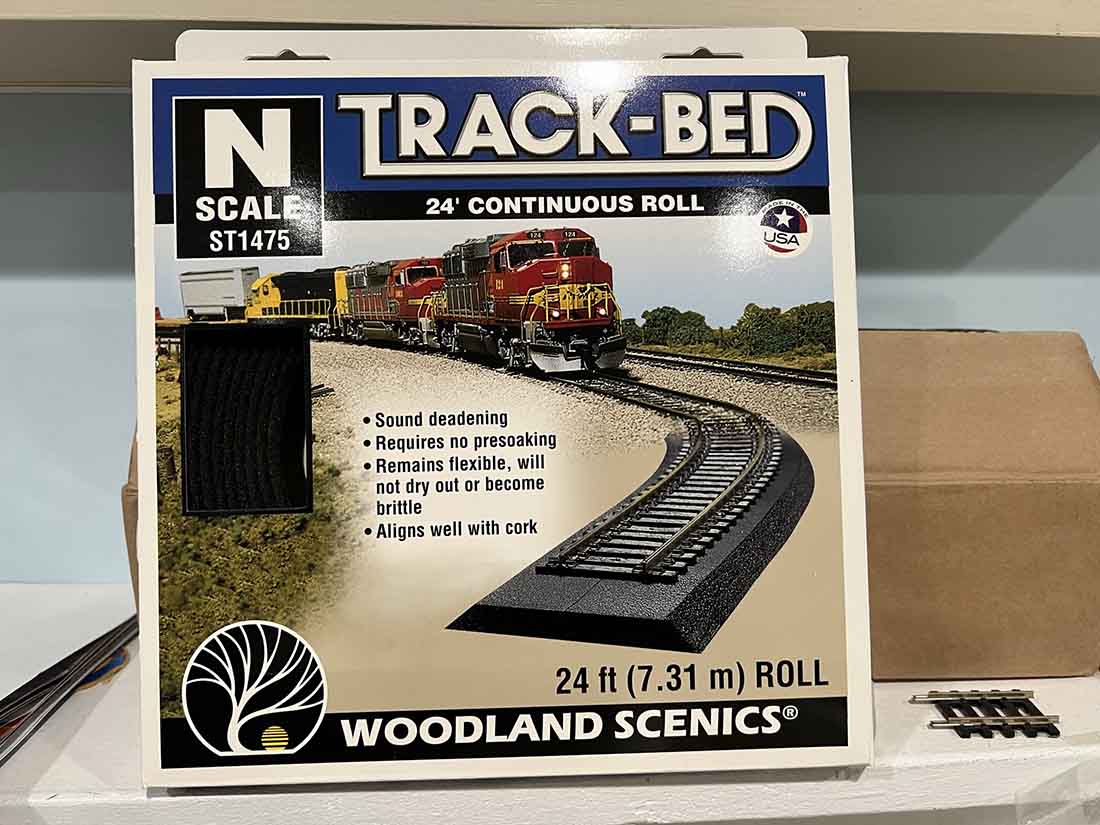
This time he talks us through using Woodland Scenics foam track bed, and why he does it:
“Hi Al,
This is video 2 of my 3-part series on building a simple and inexpensive layout for running trains. I am working on part three now and it should be ready for you soon.
These instructive videos are meant for the novice who would like to have a little layout but does not really know for sure how to proceed.
Over the years I have developed several methods that have proved themselves to be very reliable, easy, and relatively inexpensive. I would like to pass them on to the new guys and girls so they won’t have any excuse left not to start their own layout.
If a layout such as this is started it will build the skills needed to create more complex layouts and track plans later on if one wants to go on from here. Practice is what raises skill and knowledge levels after all.
As I said before on the earlier n scale layout submission after I sold my Colorado and North Western layout (CONW), I found myself with a considerable collection of (1:160) N scale engines and rolling stock but I had no place to run them. This little compact layout will solve that problem and allow me to run my little gems again.
The video below is about how I glued down the Woodland Scenics foam track bed underlayment. It takes about 3 minutes to watch and took me an hour to glue down.
I like the foam track bed because, (A), it is fast and easy, (B) It provides an acoustic barrier between your board and the track. Without this sonic barrier, the sound of the trains is transmitted into the board where it reverberates and makes it sound like the trains are running across a cello top or guitar top.
I prefer to only hear the sound of the wheels running on the rails. (C) Many people use cork which is fairly cheap, but many times must be cut to the correct width and is not as flexible as foam.
(D) In addition to this, it is not as good of an acoustic isolator as foam. I will usually take more effective, faster, and better over cheap, slow, and ineffective any time.
I am so appreciative of all you do for the modeling community around the world.
Thank you, Rob McCrain – Farland Howe”
(Rob’s last post – on curve radius – is here.)
Now on to Jim
You’ll remember him from his HO scale Santa-Fe layout.
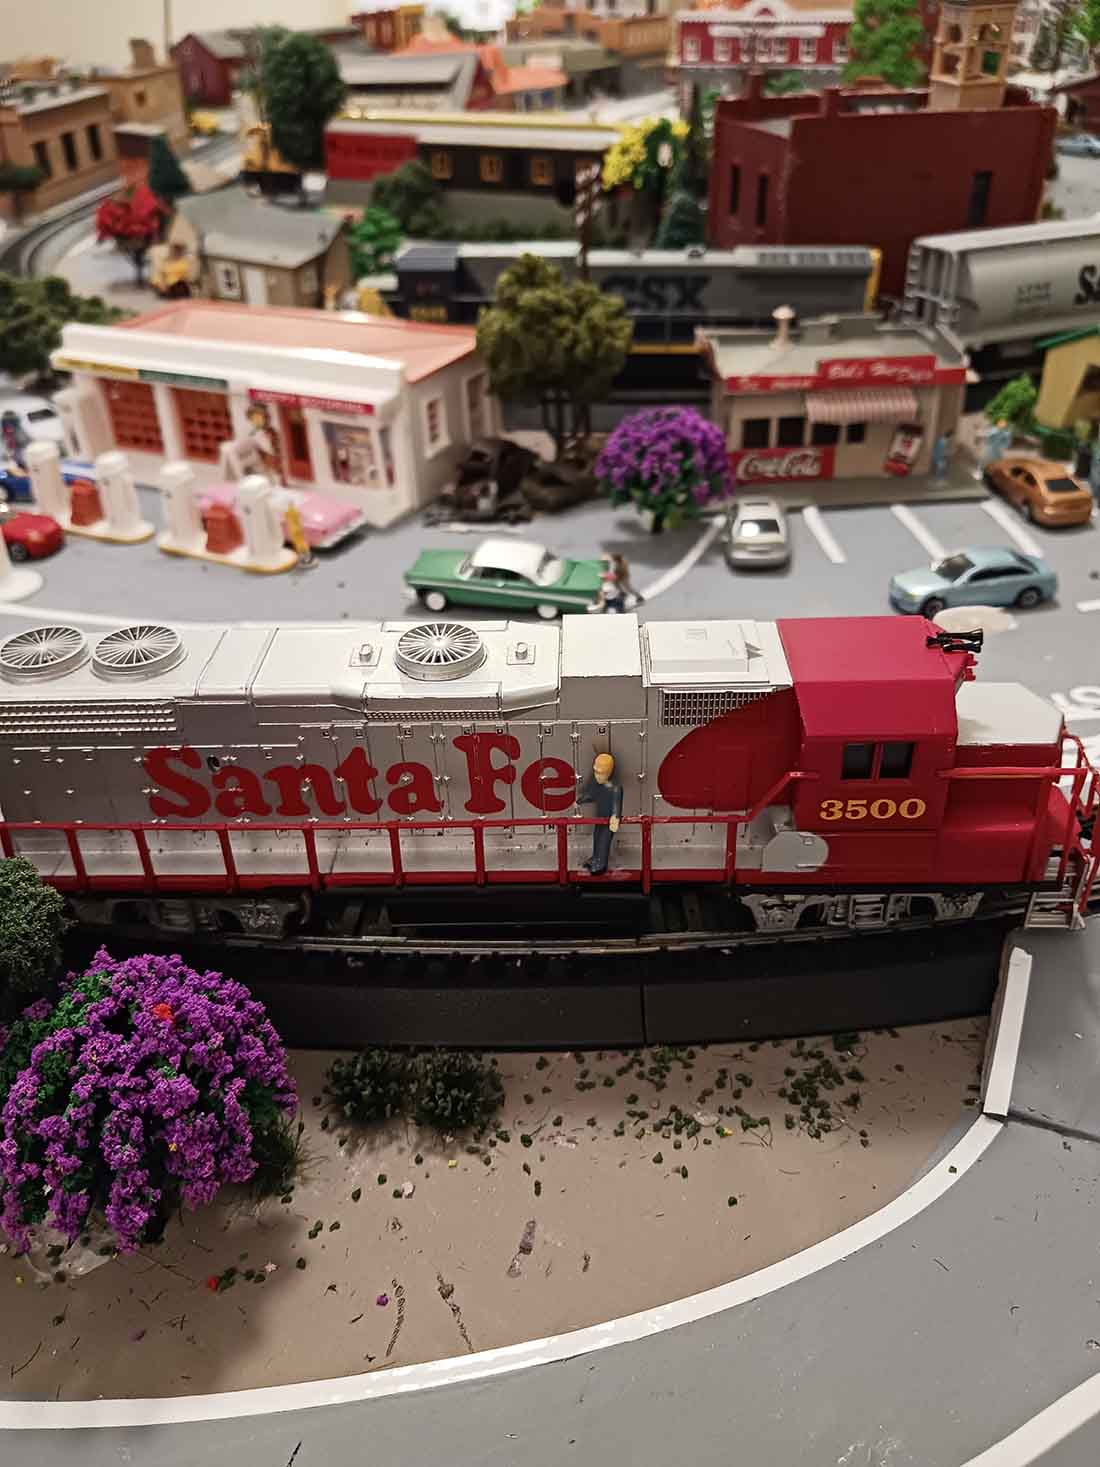
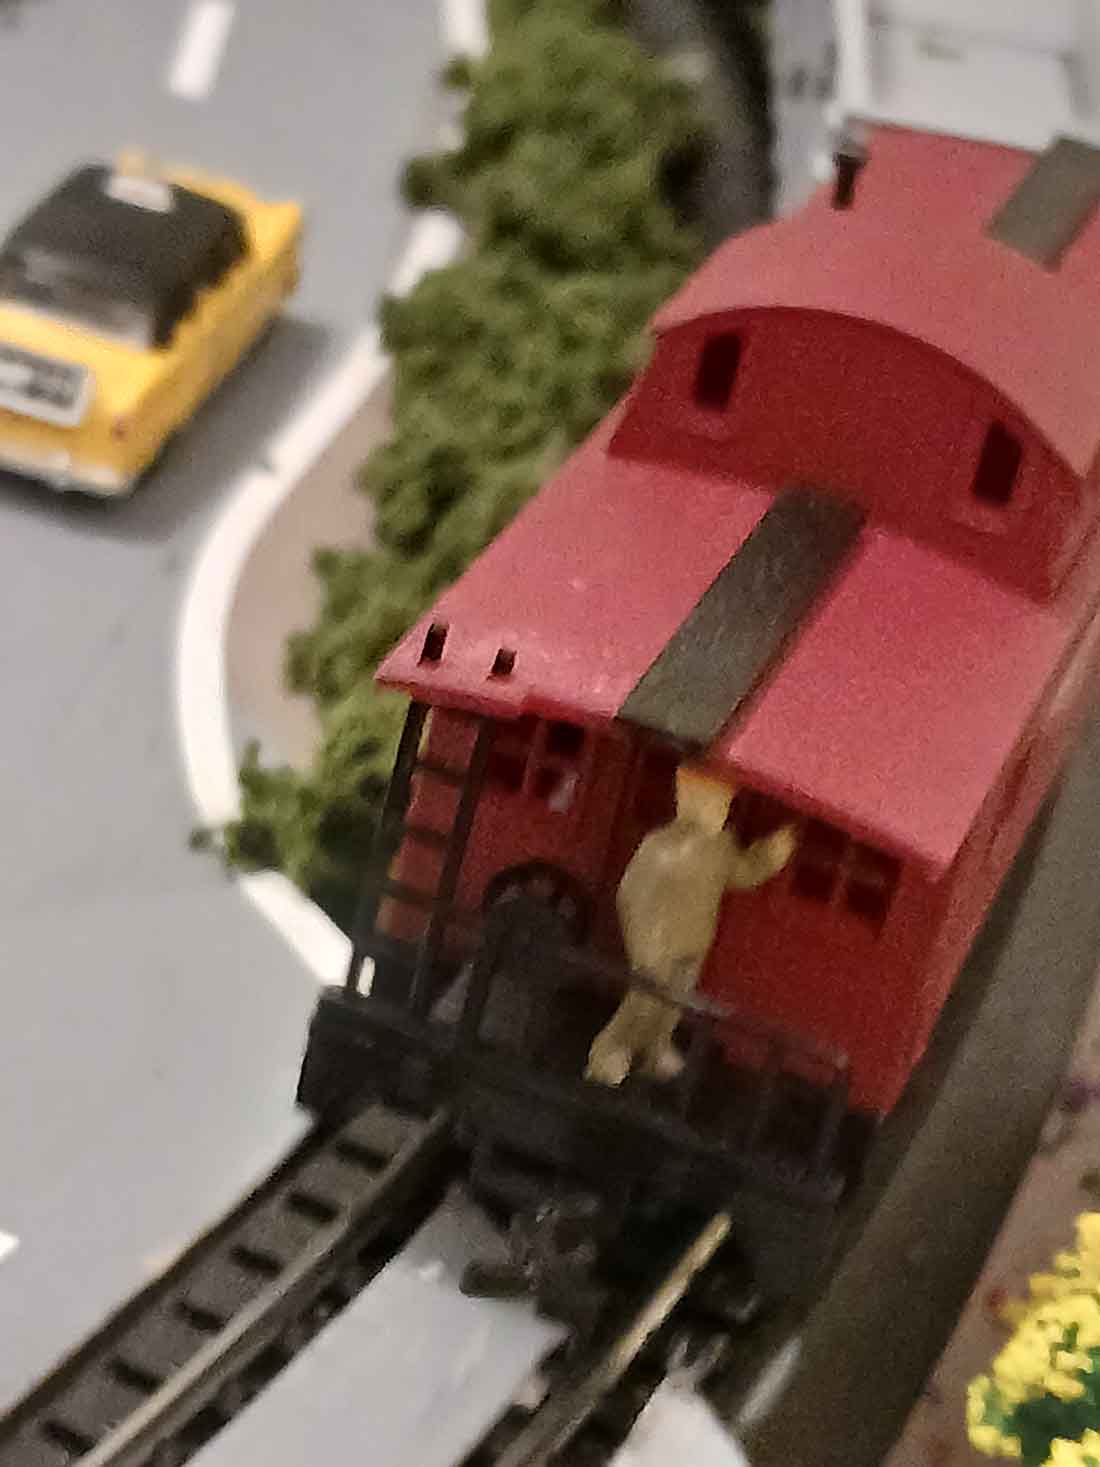
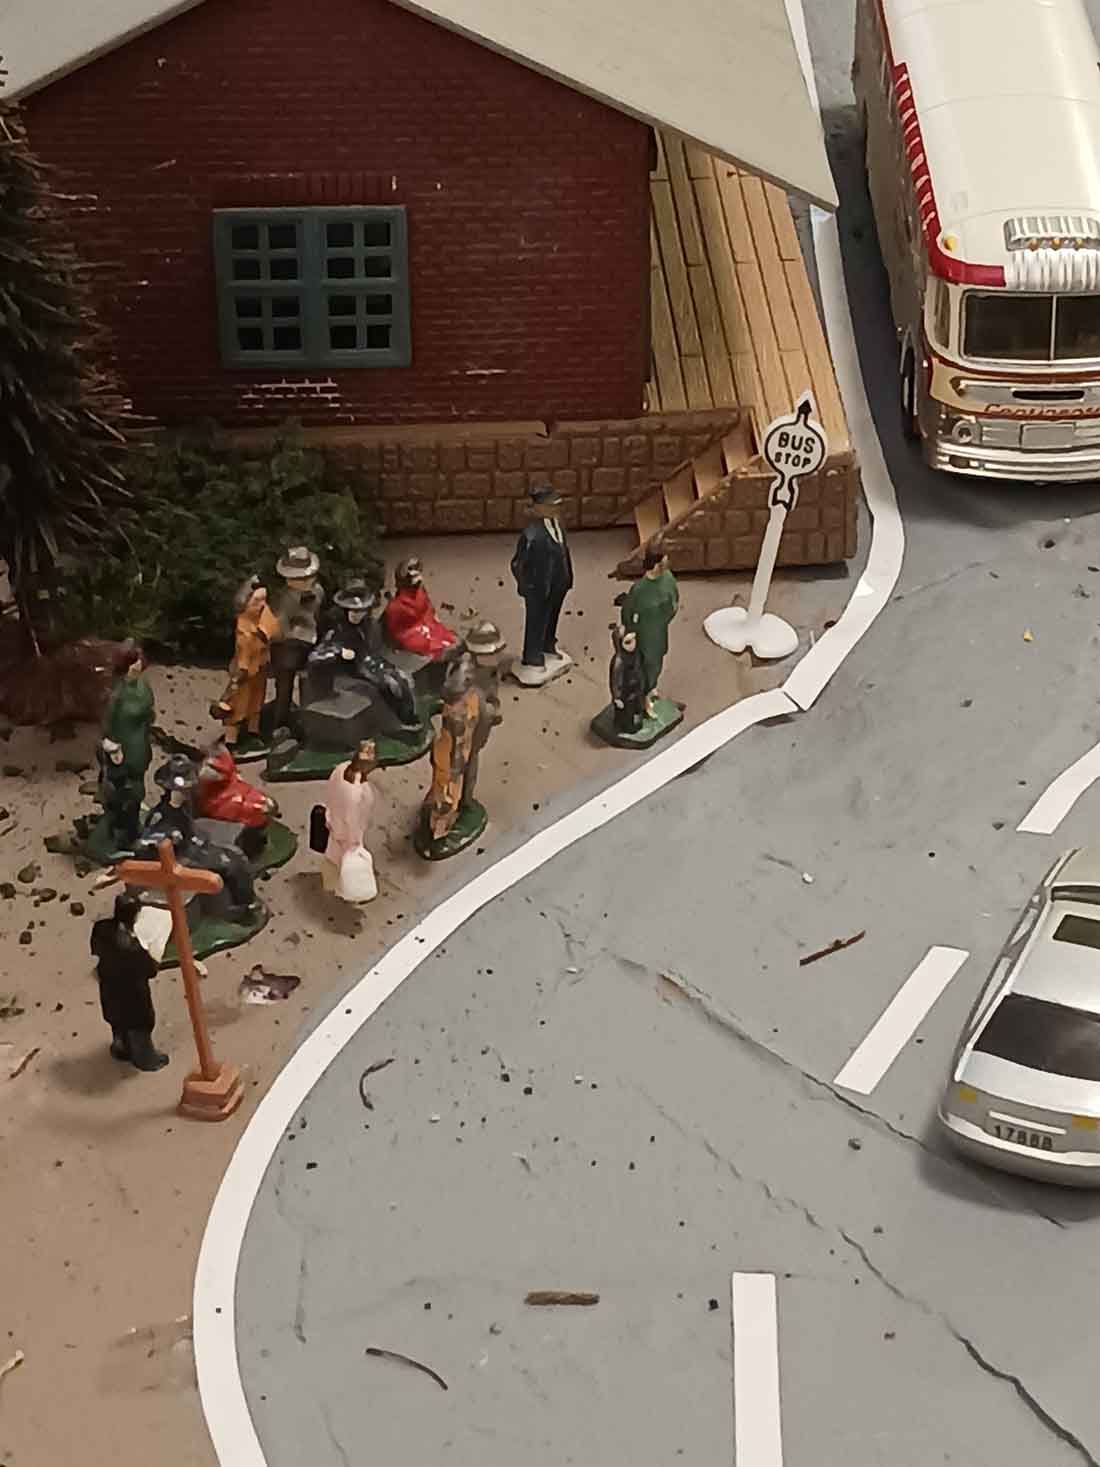
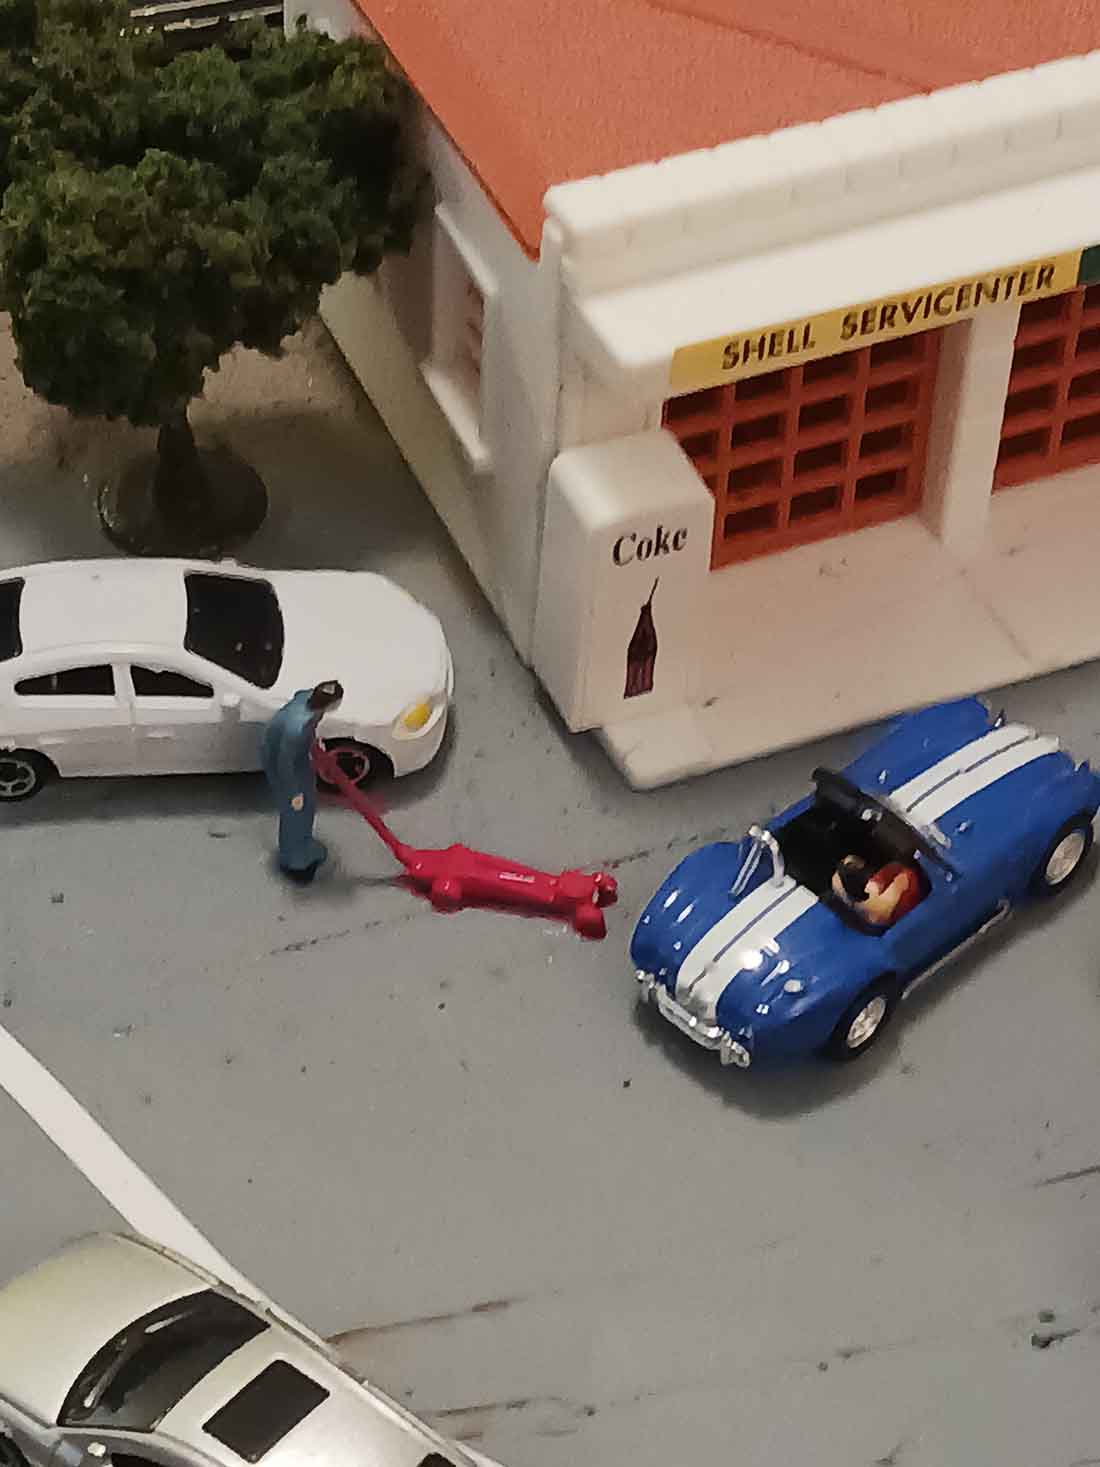
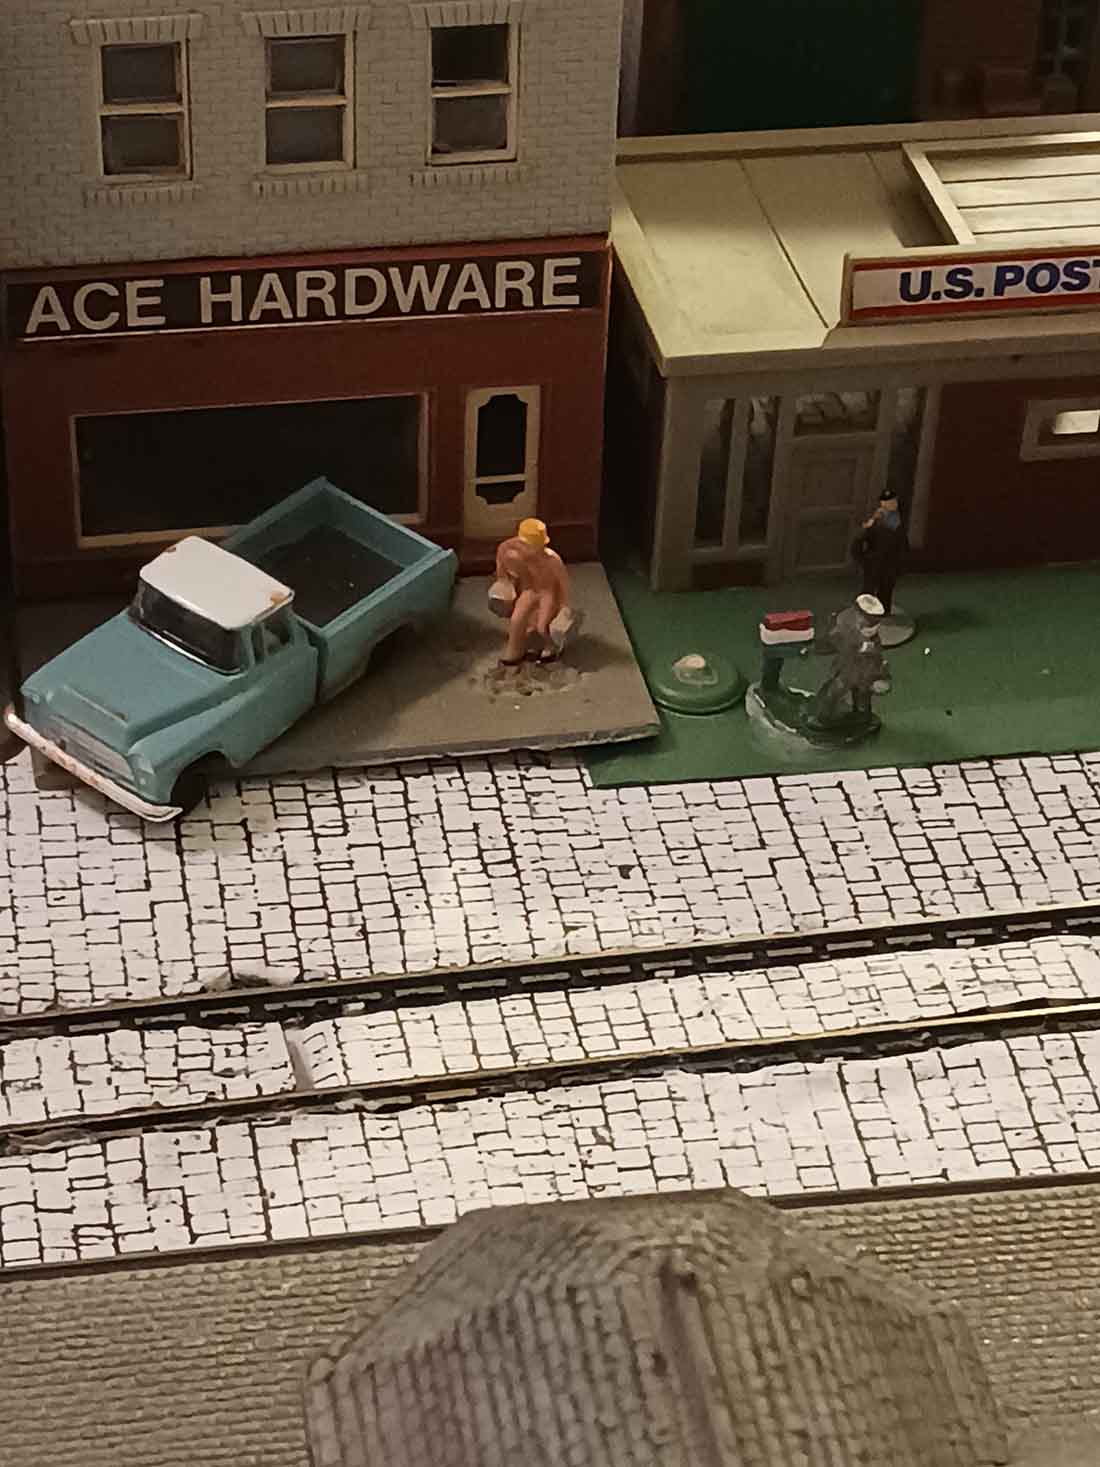
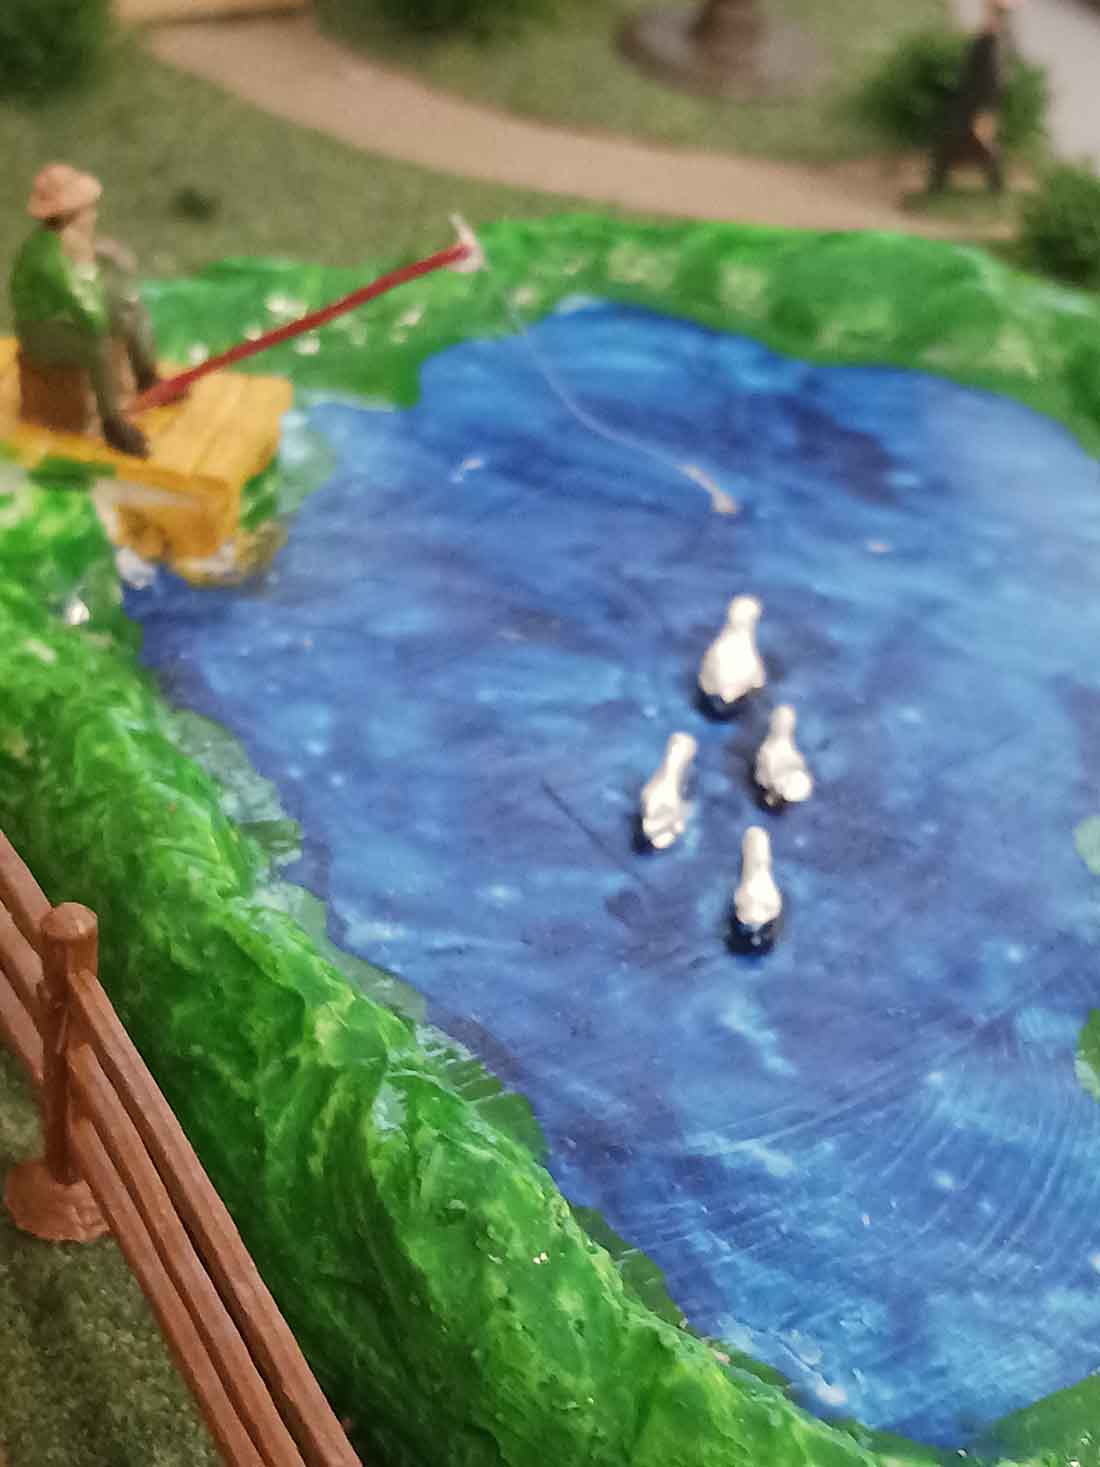
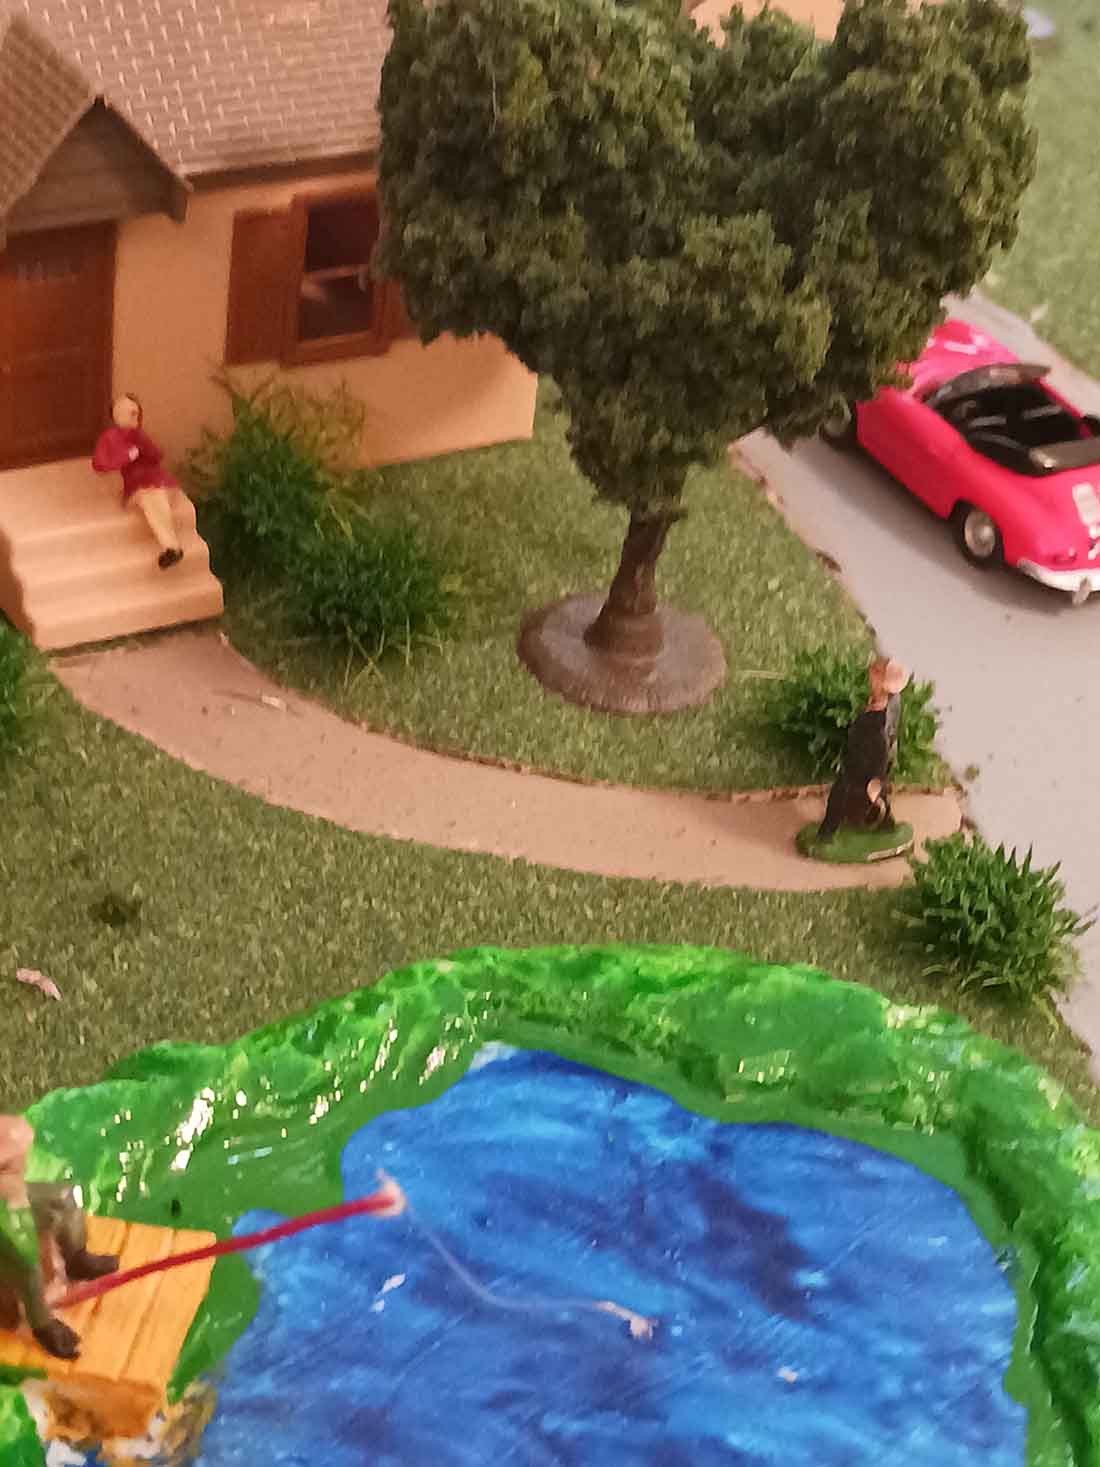
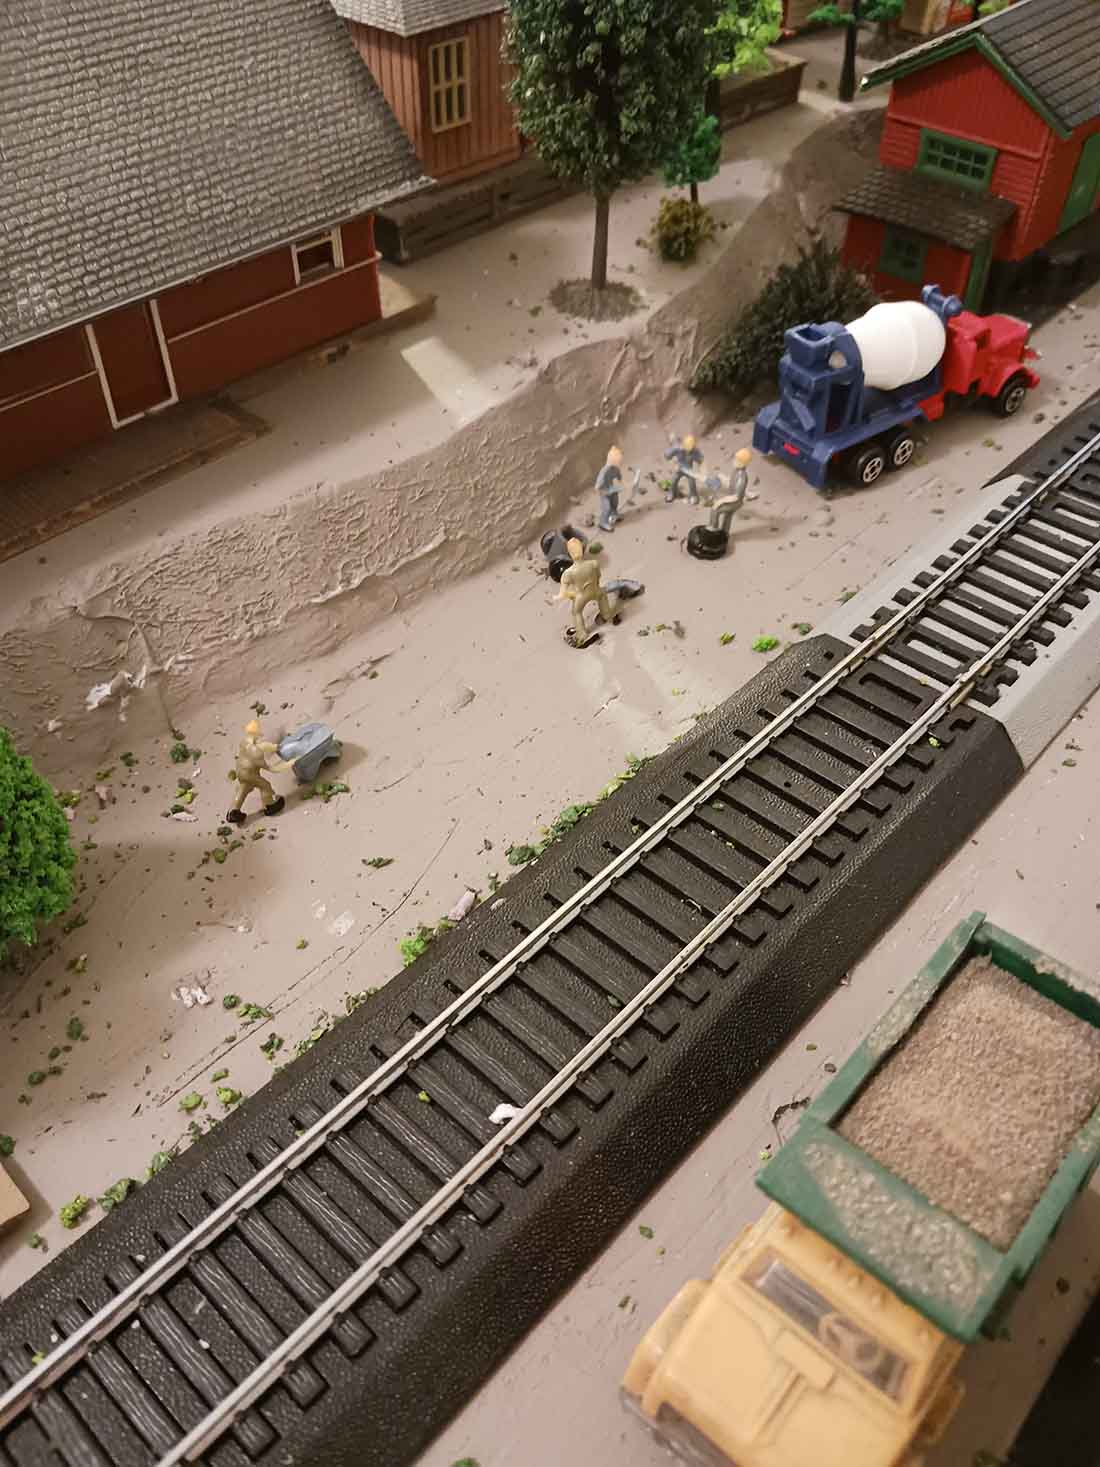
He’s sent in some latest pics with a very conscise narrative – but it’s hard to disagree with:
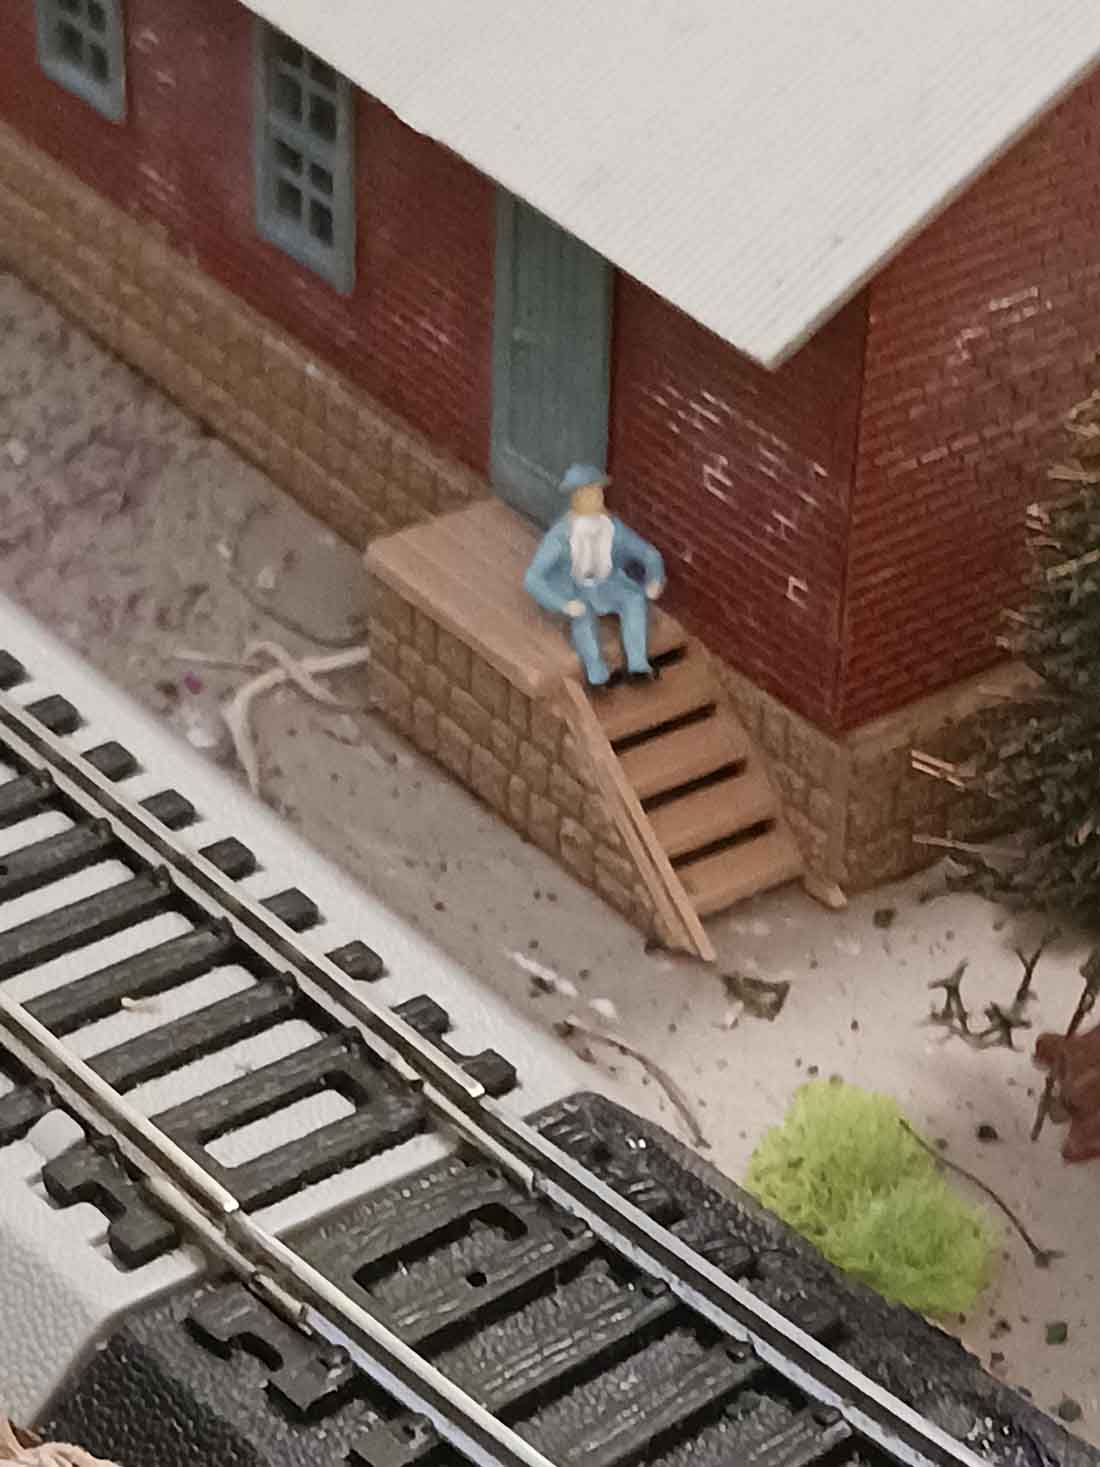
“All railroads need people.
From Santa Fe Bob in Florida, USA”
A huge big thanks to Rob and Jim. Please do post at the bottom of the page if you’d like to comment.
That’s all for today folks.
Please do keep ’em coming.
And if today is the day you decide to stop missing out on all the fun, the Beginner’s Guide is here.
Best
Al
PS Latest ebay cheat sheet is here.

thanks for this information. My question to you is How did you construct the base for the train.
Rob
I agree with what you are saying on the rubber track bed. The other advantage of using this is that if a change is required it can be lifted up carefully and repositioned using the same stuff as has been put down. I have one track that runs on the one-inch foam and three tracks that run directly on the plywood. I see no difference in the sounds from the trains.
I have the same gas station as shown in the Santa Fe pictures. I got it during my teen years. The gas price on the sign is 27.9 cents (32.9 for premium) on the other side. Shows how long I’ve had that station. The old “Plastic Ville” pieces. I think they were made here in Baltimore, Maryland back then. I’m thinking it is more than 50 years old now. It has shown up in several displays I’ve seen on this and other sites. Nice layouts.
I watched the track bed video with interest especially in the wiring, but I was confused on one point, (it doesn’t take much to do that 🙂 )_ Are you powering the track in more than one location? If so, how does this work?
I also use their foam in HO. You do need to slice it at the center perforation when making curves in HO. I use cork sheets in yards and industrial areas, 1/4 inch thick. 4X8 sheets are available on Ebay.
Hi Rob,
Thanks for taking the time to post your vidio. However I must say that it was very hard to gain much insight as to how you accomplished laying foam bed down especially on the curves since that is my major problem.
The foam bends easily. I used Woodland Scenics foam tack glue spread as thin as I can manage so it sticks when you put the foam down on it. With a thin application you also gain easy removal after the glue sets up and the foam bed can be reused if you want to move it. As far as bending it around a cure, I suggest you watch this video too
https://youtu.be/2sgGVlK9wIU
Rob McCrain – Farland Howe
nice
100% of the roadbed on my 12 x 8 HO layout is W.S. foam. the smallest radius on it is 34″ so ‘bending’ for the curves was not an issue.
I had used cork on a previous layout (with 24″ radius curves) and it was difficult on those curves.
I too prefer foam roadbed and over foam substrate as well. In addition to sound deadening, I believe that combination reduces expansion and contraction for the entire track system. My layout is in my garage with no ac nor heating and here in southern AZ the temperatures are extreme and usually have daily 25 to 30 degree fluctuation. Dust and wind are my main issues.
love it. especially the car jack. never saw one before.
Jim,
Is that red car in the drive a 356 B or C?
Tom in Mississippi
It’s a C
I’m working on an N Scale layout (6.5′ x 12′) and need help with identifying and wiring Reversing Loops. I’m using Digitrax for DCC and have Boosters that support Reversing Loops. Can you or someone in your network help me out? I can send pictures of the layout to anyone that can help. Please advise.
Best regards,
Jim Raleigh
Rob, Nice tutorial on laying WS foam Trackbed. It looks like you’re gluing it to a plywood base which makes it a bit harder to pin down the curves. I prefer to lay it on a 1″ or 2″ foam base where the track pins work better. With a 2″ foam base, I can even use 2″ beading pins to hold the track in place atop the Trackbed.
Jim, I’m always happy to see more people on model railroad layouts. I don’t know if it’s the angle of the photo or not, but the cement truck and work crew look too small compared to the track next to them. Also, your figures would look more realistic if you removed the bases (depending on what material they’re made from.). If they’re plastic, a hobby knife or Dremel tool can cut off the base. Then they can either be glued in place on the layout or, you can drill a small hole into the leg(s) and insert a pin or wire that can then be inserted into the layout base or scenery. That allows them to be easily relocated should you choose to change the scene.