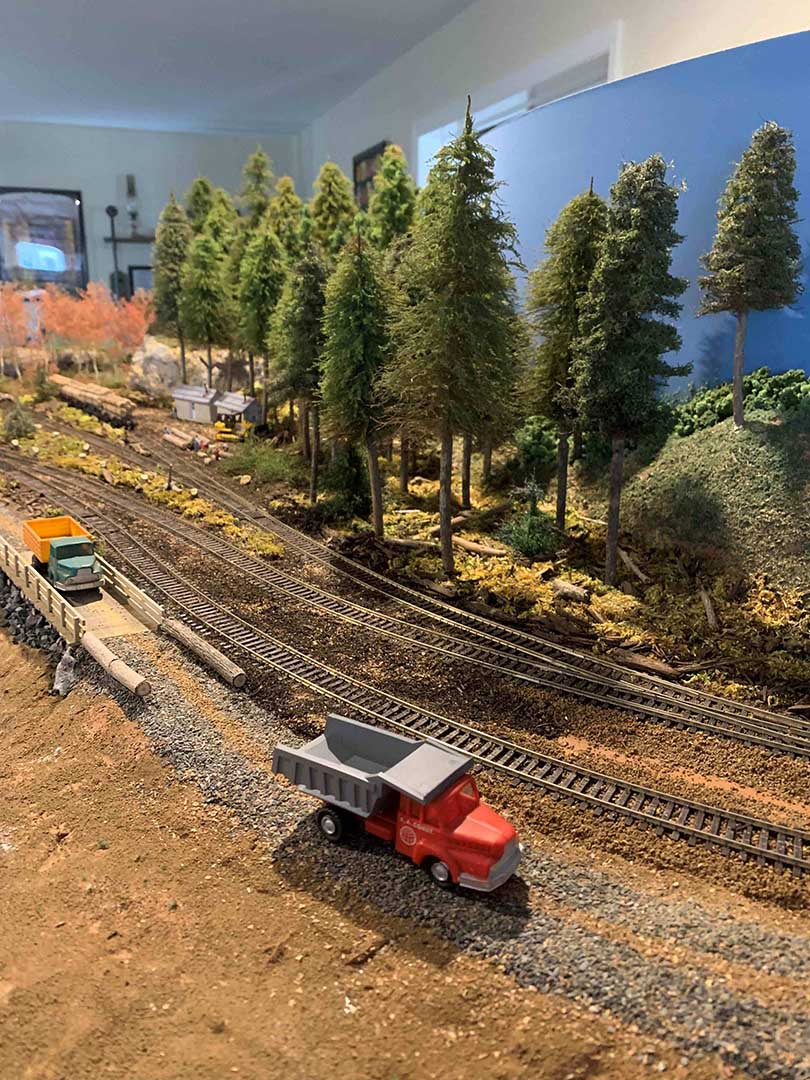
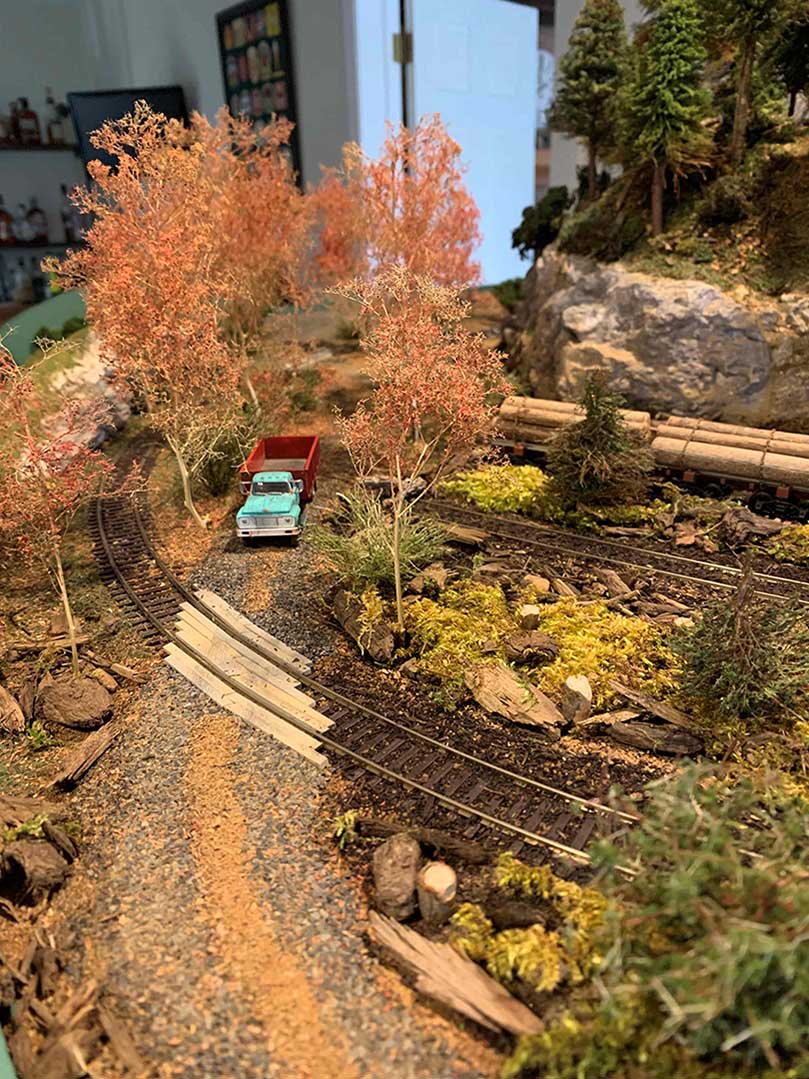
Boyd’s been back in touch with his HO scale logging camp.
What an addition! Have a look at what he’s done:
“Hello Al,
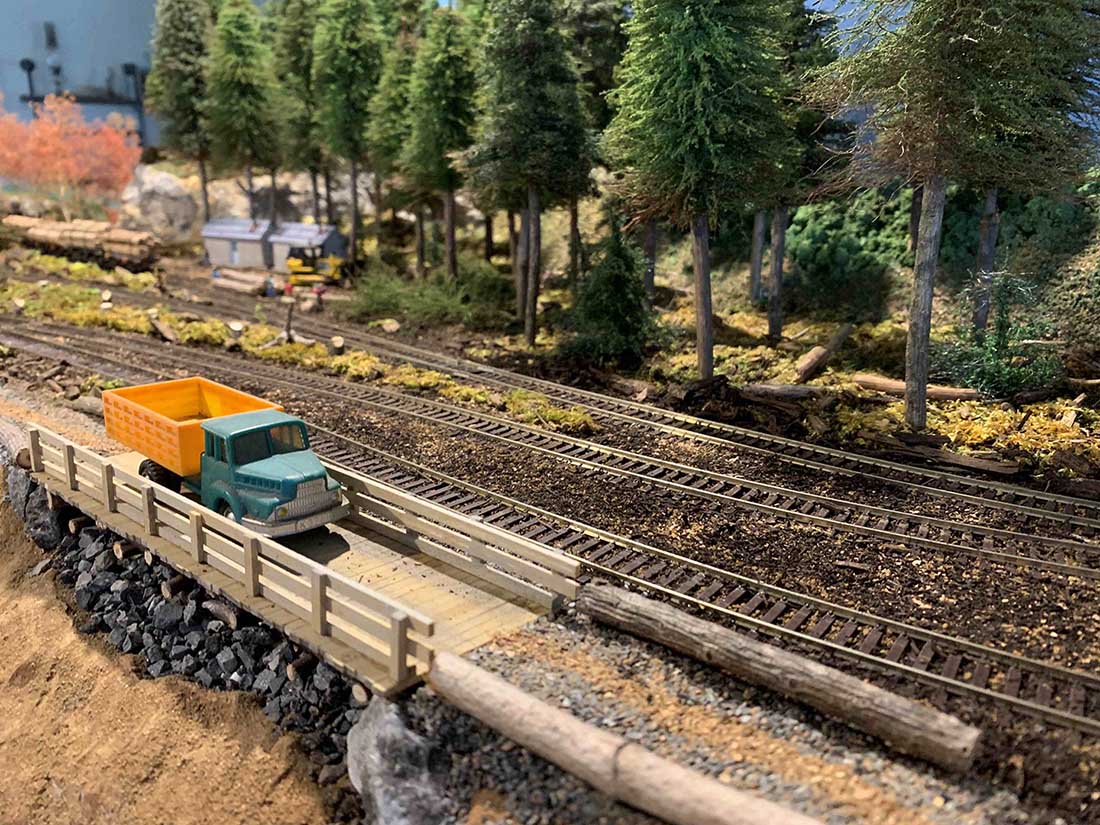
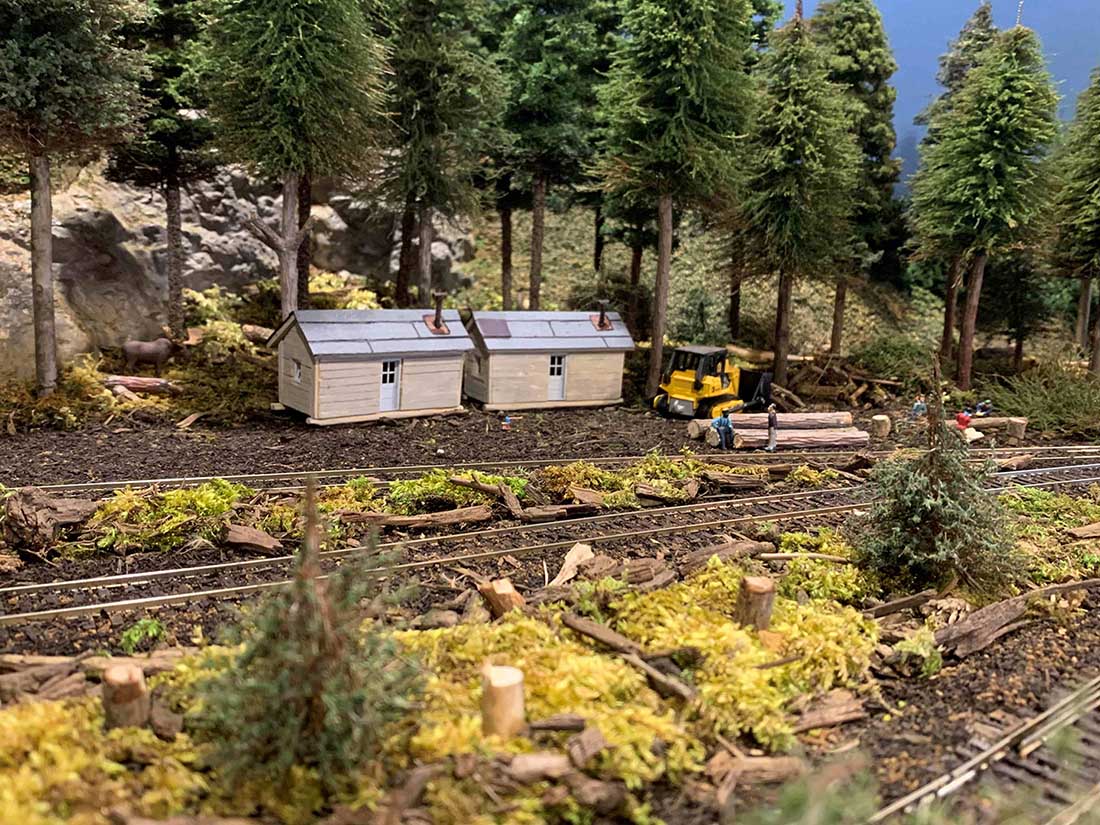
In my last post I mentioned I was starting the logging camp area.
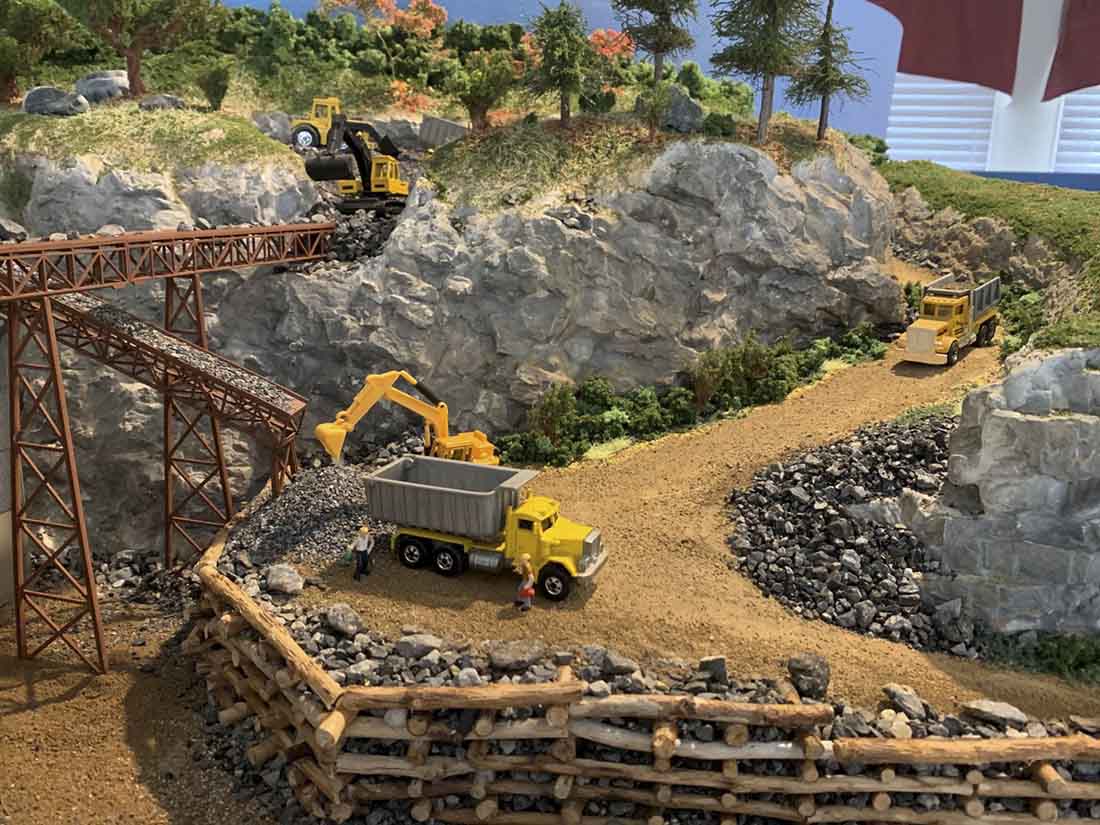
Still have many details to add, but thought I would send in progress so far as I will not be getting much more done until late fall due to outdoor activities, summertime hobbies and travel.
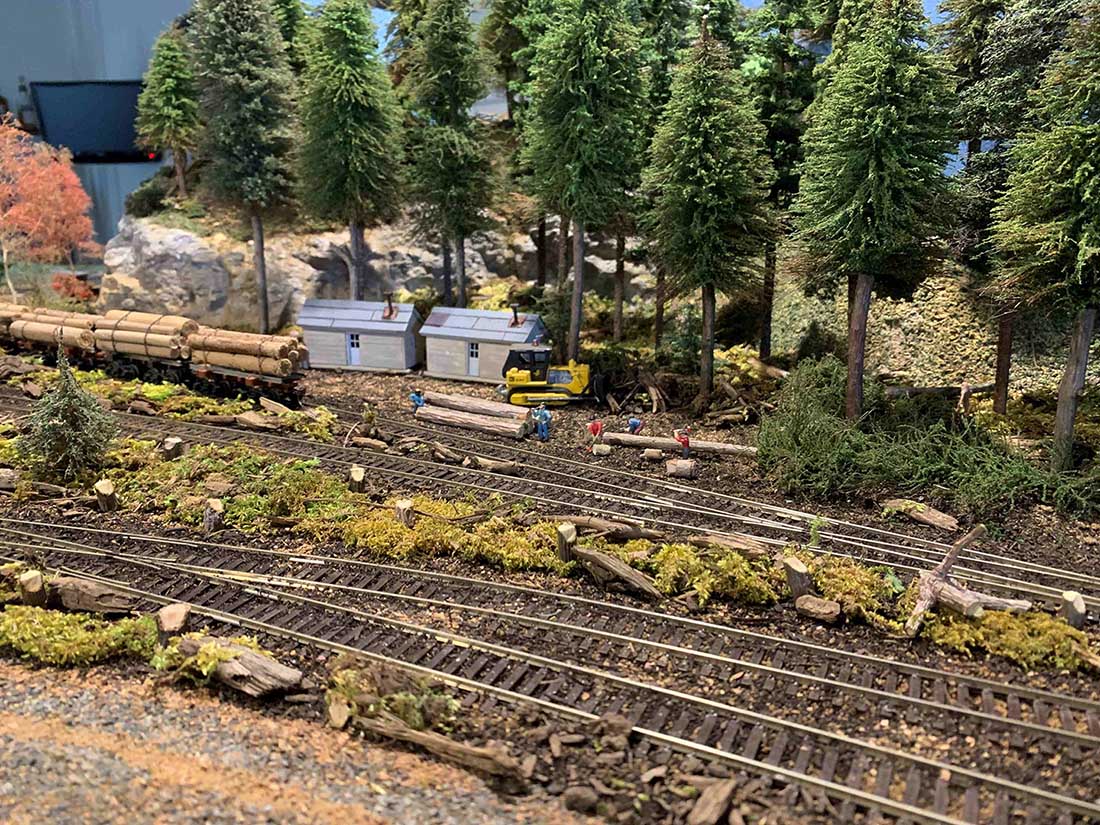
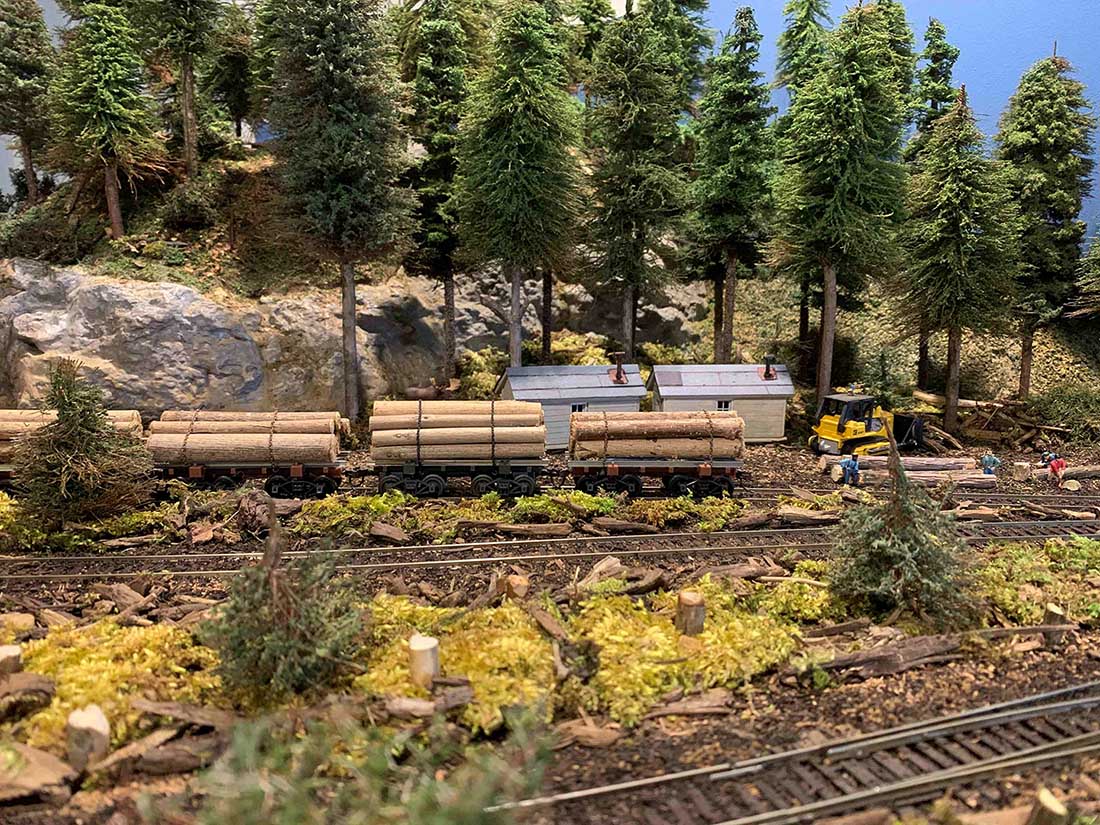
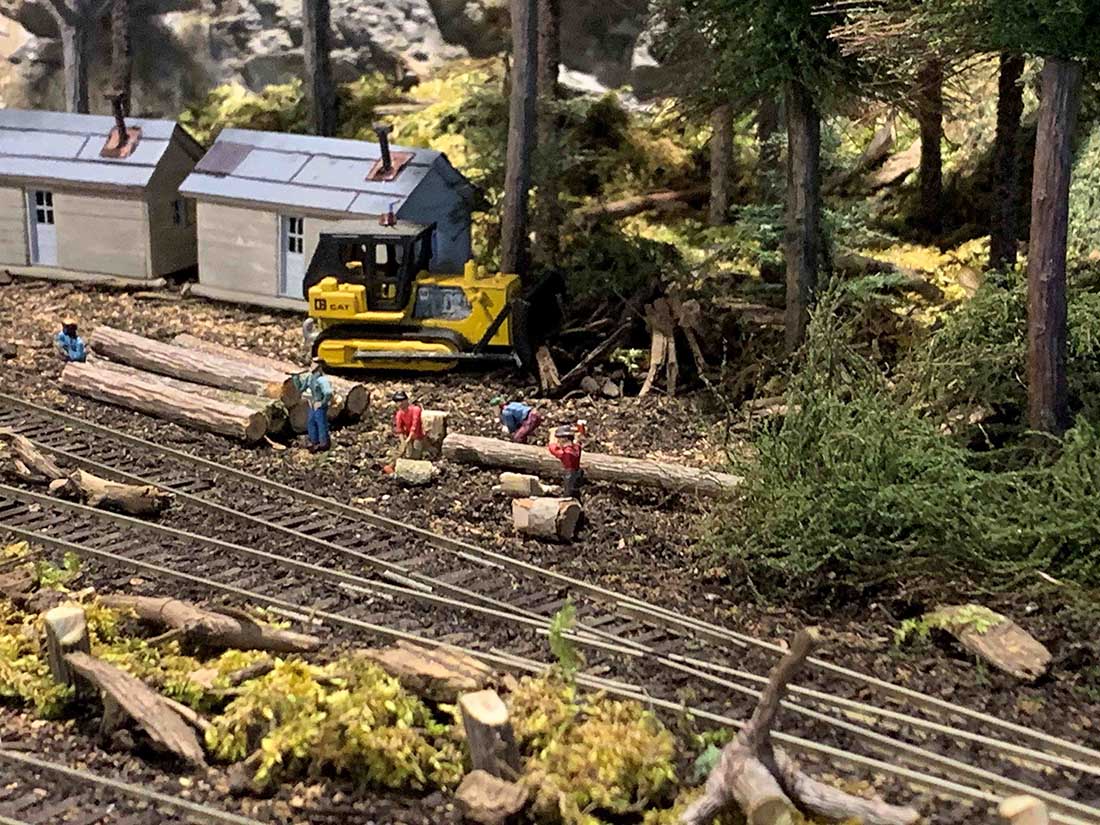
I am having great difficulty finding HO scale chain saw operators, so manual labour with axes will have to do for now.
Also have a skidder and loader kit to build and add, along with a cookhouse/storage building.
I made the bunkhouses from scratch, and as before, all landscape materials are homemade or yard pickings.
As always, thanks for all you do to support the hobby.
Boyd”
A HUGE big thanks to Boyd for sharing the latest on his HO scale logging camp.
If you missed his last post it’s here: HO scale DCC
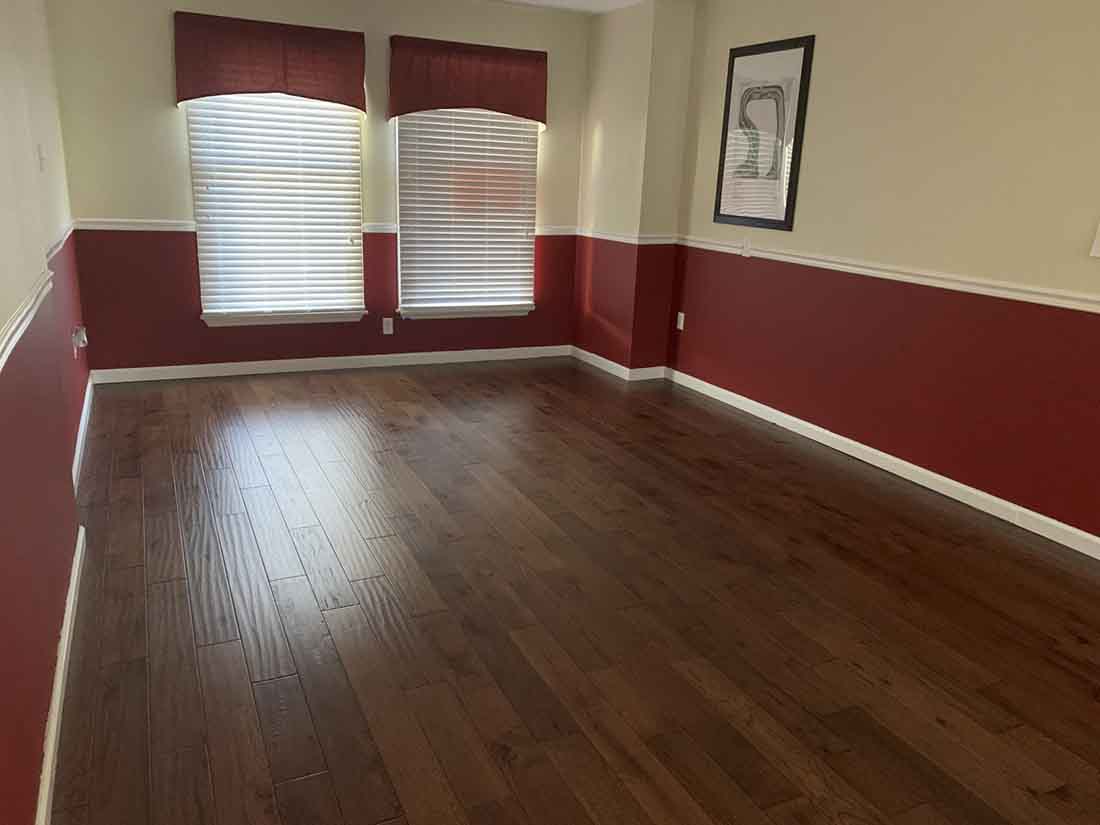
In Boyd’s first post, he went from this empty room:
To this ‘finished’ scene:
In fact, here’s the link to his first post if you missed that too: Model train hobby.
Thanks for posting my plans. There were some questions that folks asked that I thought I should respond to.
Greg Marples – Yes, it was sad to let the Caddy go but we know it went to a good home – a Cadillac collector that we know who will give it a good home.
We’d had it for about 30 years and it won several awards in local car shows.
It was just time to move on from that part of our lives. I also appreciate the insight about architectural engineering tables. I’ll look them up!
Rob McCrain – Thanks! Your YouTube channel is VERY helpful!
I’ve been working on the track plan for about 4 years now. It evolved based on your and other members’ posts that made me think about what I was trying to do with the railyard, the idea of point to point passenger and freight service, etc.
As for access to the back, I purchased a vertical creeper such as truck enthusiasts use to get into the engine well. That part of the layout has puzzled me for some time.
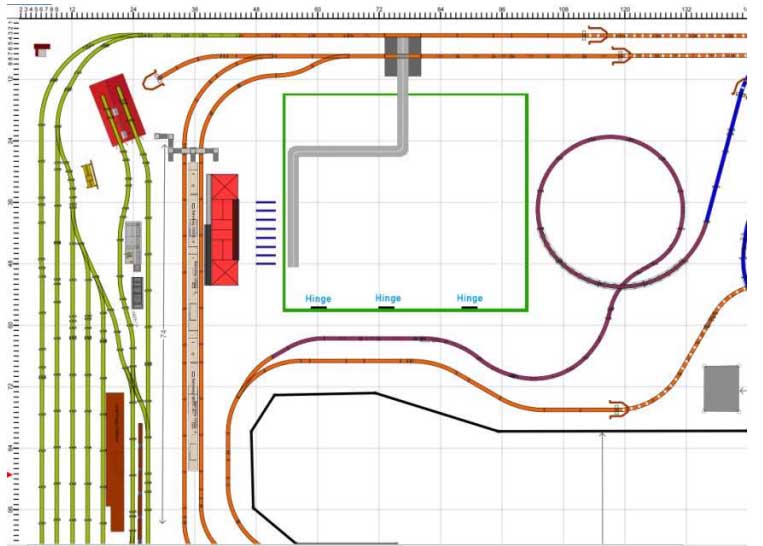
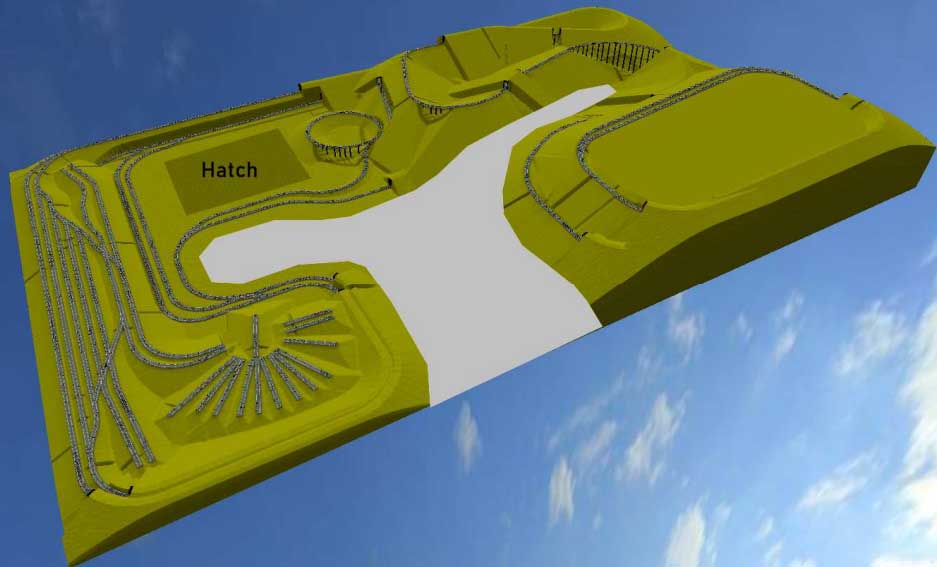
I think the solution is to build a hatch:
Access Problem #1 – 7 foot span from edge of table to back wall. Vertical creeper won’t allow deep enough access. This area is supposed to be very flat or gentle slope with cattle grazing pastures.
Access Solution #1 – Hatch outlined in green, approximately 4 feet x 4 feet. The hinge placement allows it to lift out of the page and arc toward the bottom of the picture. Disguising the transition might get tricky, especially around the Kriesviadukt embankment, I suppose.
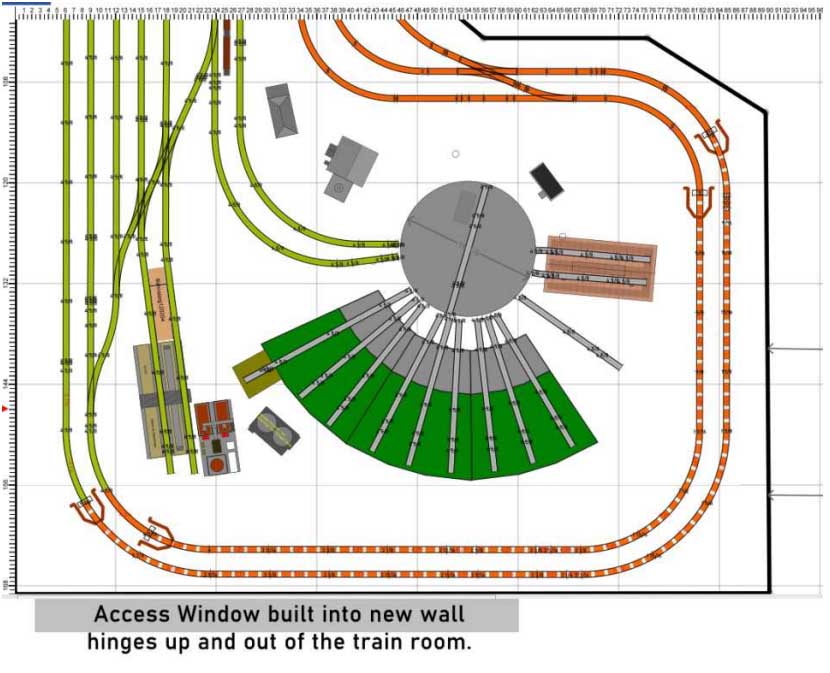
I realized some time ago that there would be difficulty accessing the furthest reaches of the Roundhouse and adjacent diesel fueling station. I’d planned to build an access window into the new wall. It might be a double sliding plexiglass window or I might just start with a hinged panel that swings up outside the new train room.
The trick will be making the scenery / backdrop integrate seamlessly, so I guess I’ve just talked myself out of the plexiglass window.
A horizontal board that can be supported by chains around the opening will allow me deeper access to the railyard, similar to the vertical creeper, because there is a stairway right outside the access hatch / window where the creeper can’t go.
I should still be able to reach deeply enough into the roundhouse area with the vertical creeper.
George Zaky – I had difficulty using the AnyRail spiral feature, so I resorted to using a combination of short straight tracks with decreasing radius curves to represent the spirals.
I also tried to make sure that the “X-Crossover” switch beneath “Filisur” has a flat 1-foot approach on the same plane as the crossover switch at each of its four entrances. I did the same with all of the other turnouts on the layout.
I was trying to keep the grades at 2% but found that difficult to accomplish with my desired 24” height differential within the confines of the 18’x24’ room. My research revealed that Marklin HO locomotives can handle up to a 4% grade because they’re equipped with rubber tyres on each side of the driving wheels.
I’m certain I’ll need to make height adjustments to accommodate the catenary on the spirals. Thank you for the input!
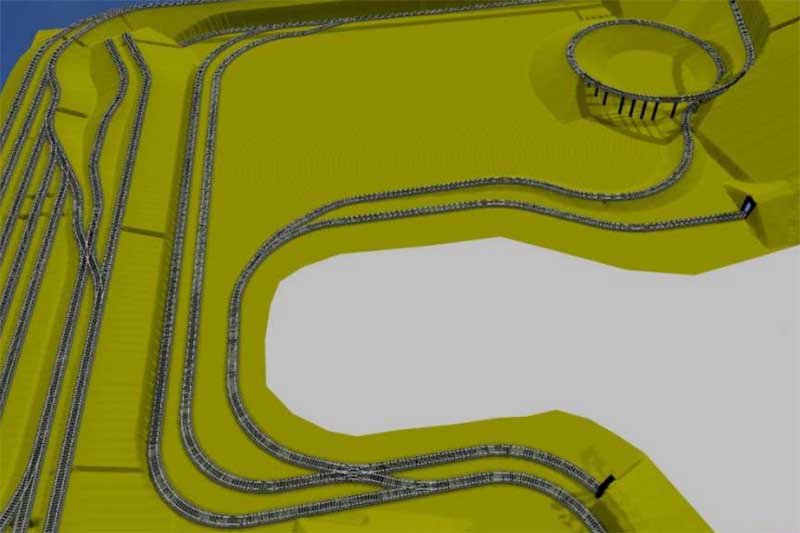
I’d intended for my original post to include an image of the entire planned layout in 3D. I either forgot to send it to Al or perhaps he couldn’t make it fit as he put together the webpage. In any event, here’s another try. If anyone has ideas or suggestions on how to redesign for these obstacles, please just mail Al!
Thanks for everyone’s kind comments. With luck, I’ll be able to post another update before the end of the year!
Jerry”
A big thanks to Jerry the model train track planner for answering your questions.
I thought I’d post now while it’s still fresh in our minds.
I have no idea why, but Jerry’s post reminded of Bill’s:
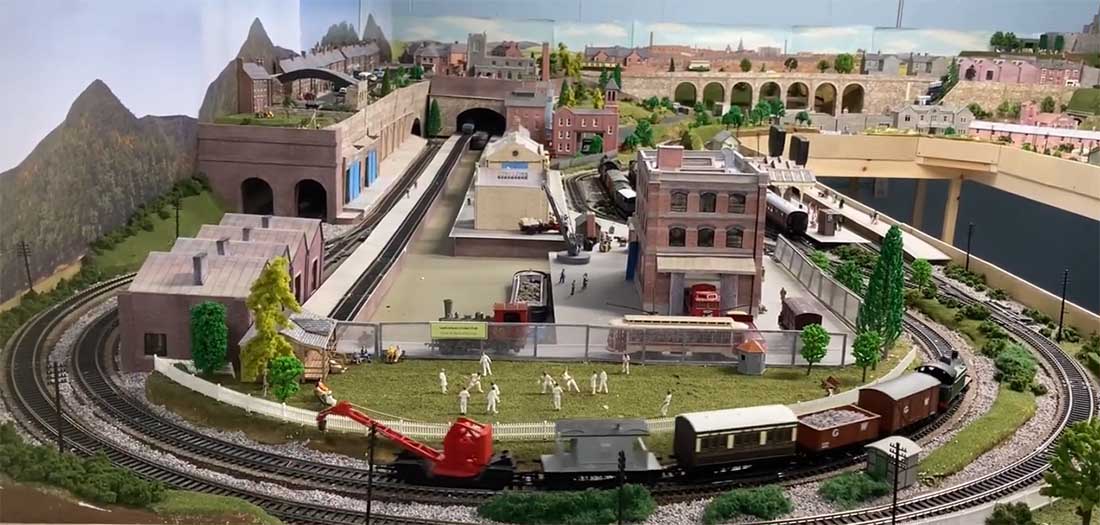
Brian has been back in touch with his layout that has its own model cliff railway.
You may remember because he’s a Brit living in New York who sent in this post: Canal layout
Now he’s shared a video of the layout.
I loved seeing the barge pulled by the engine – and the cliff railway too:
“Hi Al,
Its been about 1 month since you posted my model railway on your blog.
I must say I was very flattered by the comments which were made, what a wonderful bunch of people the model railway hobbyists are!
I must thank one contributor, Thomas Strangeway in particular. I had commented that I could not work out how to have my barge pulled by an engine; he suggested using Lego wheels. It works perfectly so thank you Thomas!😊
My other challenge has been how to send a video. With a little help from my daughter, not only have I managed to link together 4 video clips, I also learned how to download it onto Youtube.
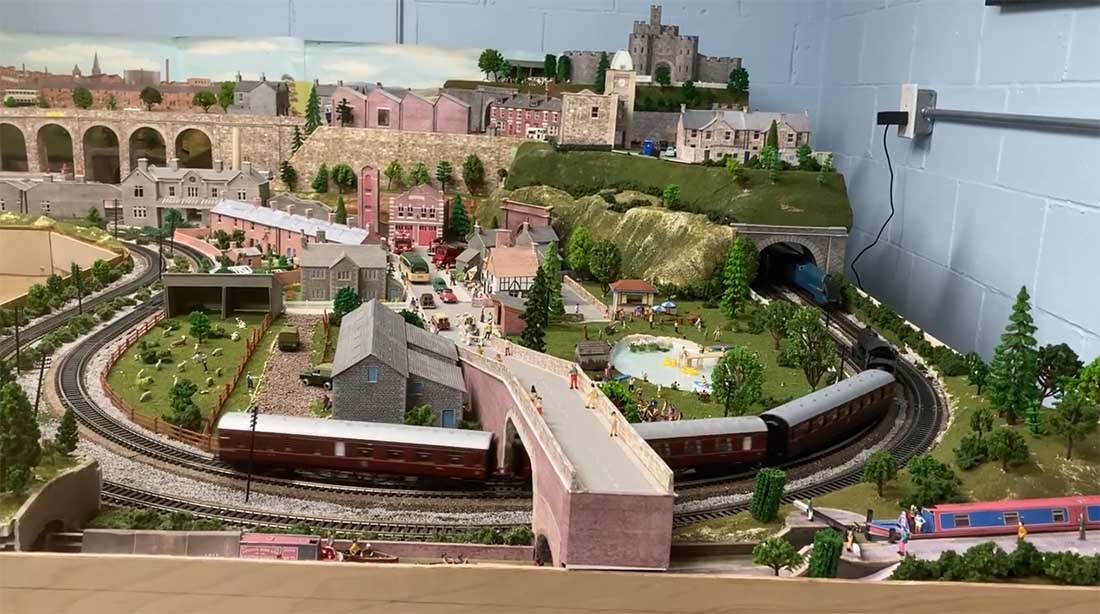
In the 1st clip you will see the barge moving down the canal, with the help of the Lego wheels, in the 3rd you will see the Funicular (cliff railway) and in the 4th clip with the farm and park you will see at the bottom of the screen another canal with canal lock and 2 barges.
I hope you think this is good enough to post,
I much appreciate what you do for this wonderful hobby,
Best Regards
Brian Hopkinson
(Brit living just outside of New York!)
And now on to George, who always puts a smile on my face with his blog comments:
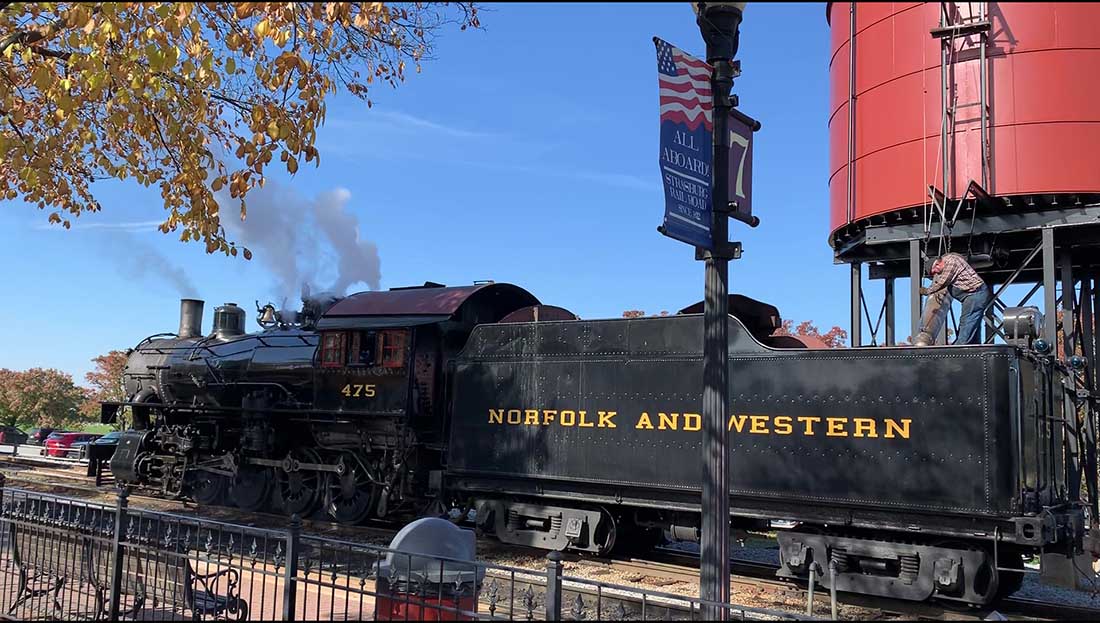
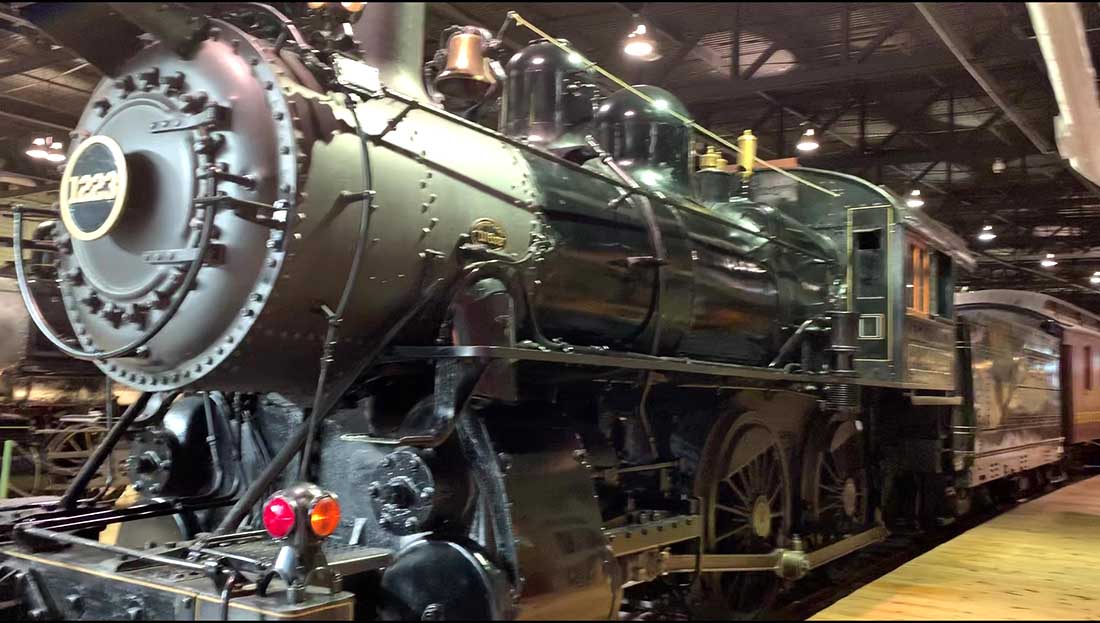
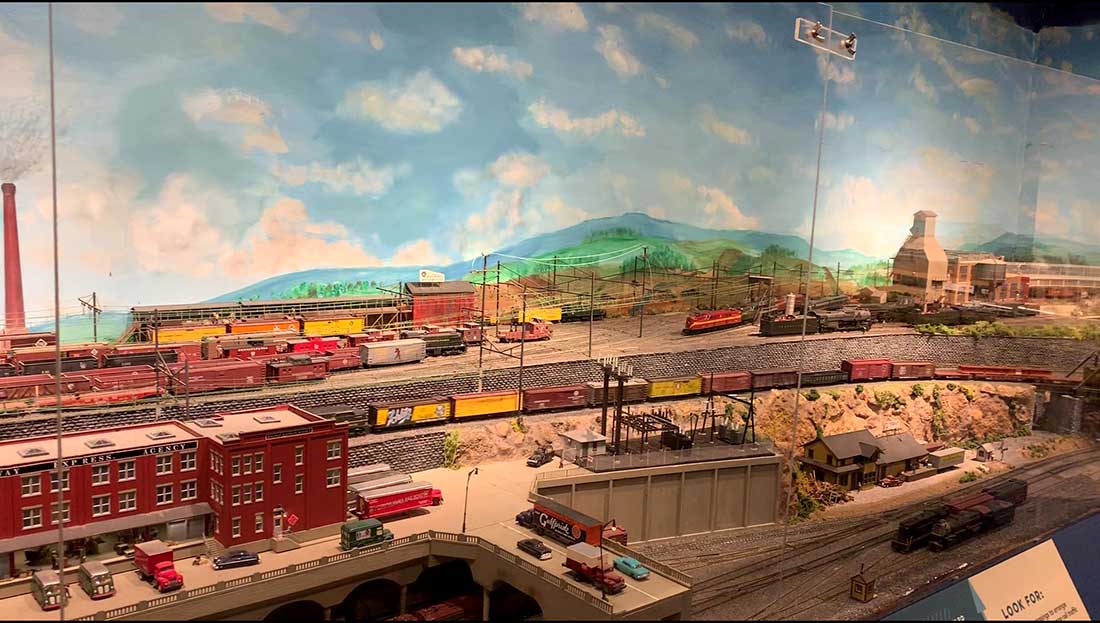
“Hi Al
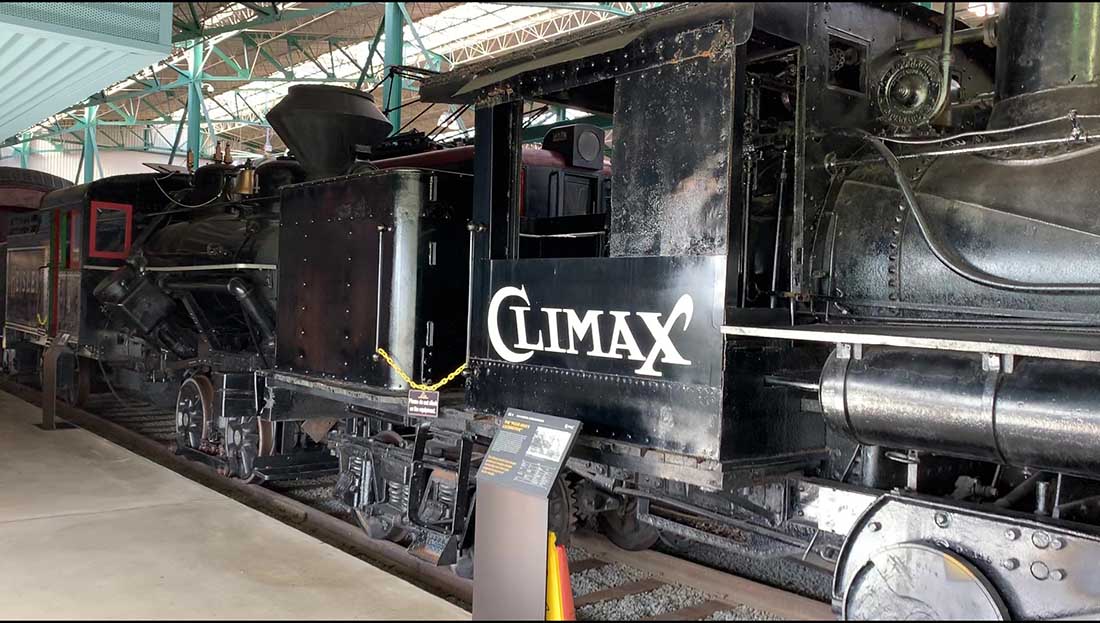
Some of my pics from the Strasburg Pa Museum. I was elated when they had a Shay, Climax & Heisler engine for me to see since they are my favorites.
The layout is a small model layout at the museum and I think they have a larger display that I will see soon.
Best
George”
And now on to Jim who is after some advice:
“I am having trouble deciding on bench work size to run N scale. I have been told 4×8 is too small because of radius.
But I have read that size is a good starting point particularly if you’re going to run Kato freight locomotives and cars, no passenger at this point.
Can someone help me with some suggestions?
Jim”
A big thanks to George and to Brian for sharing his model cliff railway.