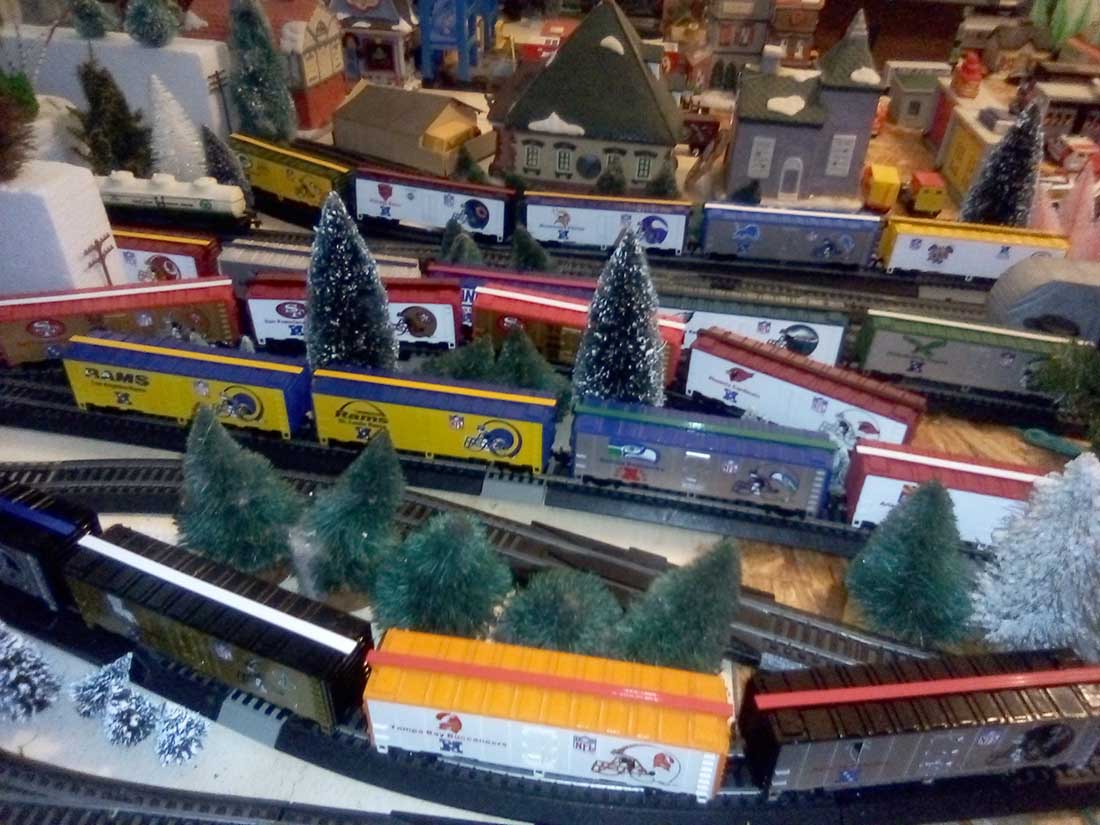
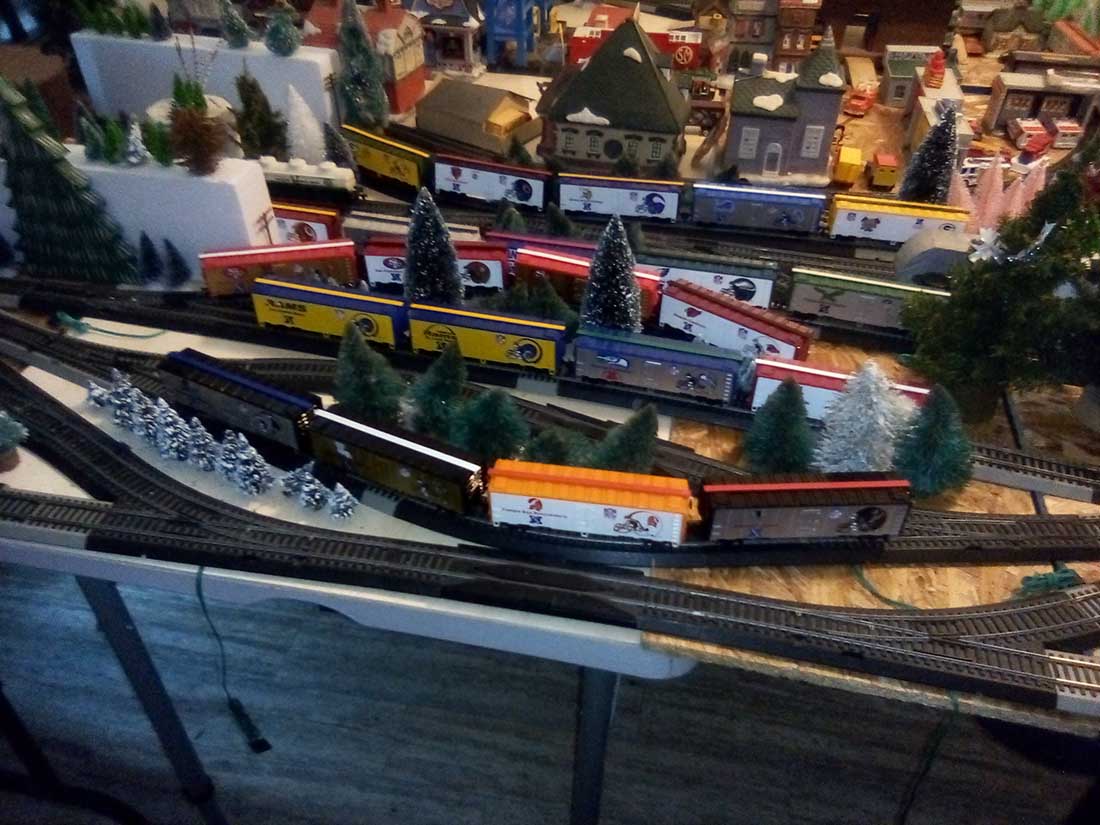
Jerry’s been in touch and added to the collection of large HO train layouts:
He’s been busy planning his model railroad, spurred on by memories of the past, and of course, you lovely lot of people:
“Hello Alastair,
After seeing Glyn’s post about his Marklin HO trains, and seeing that he’s a mere 100 miles up the hill from me, I figured I’d best get cracking and send you a post!
I’ve had Marklin 3-rail HO trains since the mid-1970s when my parents thought they’d be a good way for me and my younger brother to figure out how to get along.
He soon lost interest in doing anything other than crashing the trains, so I inherited the lot. My first layout was a framed 4 foot by 8 foot plywood board mounted on pipe legs and flanges.
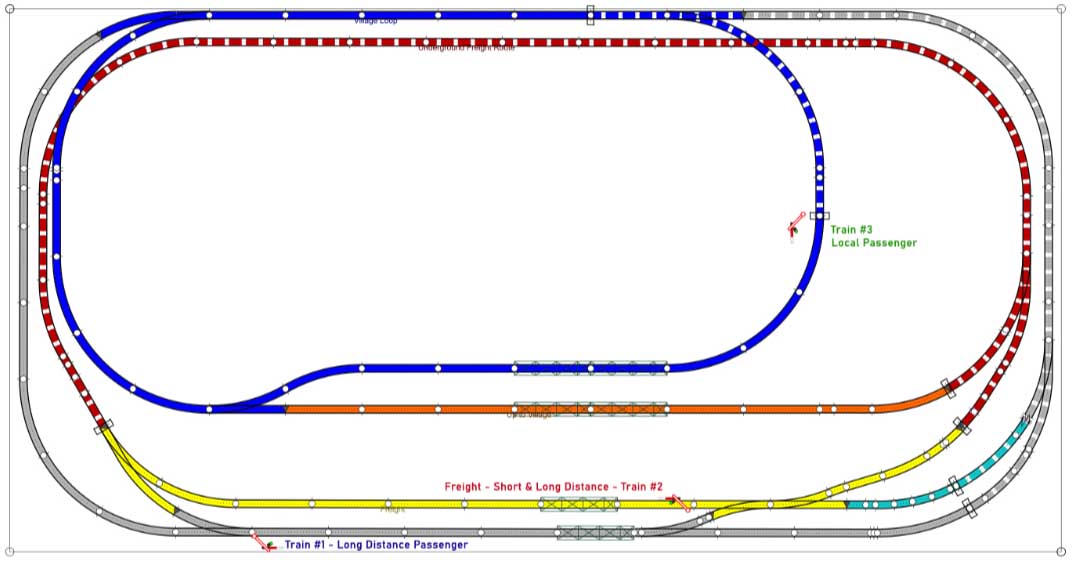
Here’s a track plan for the layout. Solid track pieces are above ground and the dots on those pieces indicate the track joints for the Marklin M-Track. The dotted red, grey and blue track is underground.
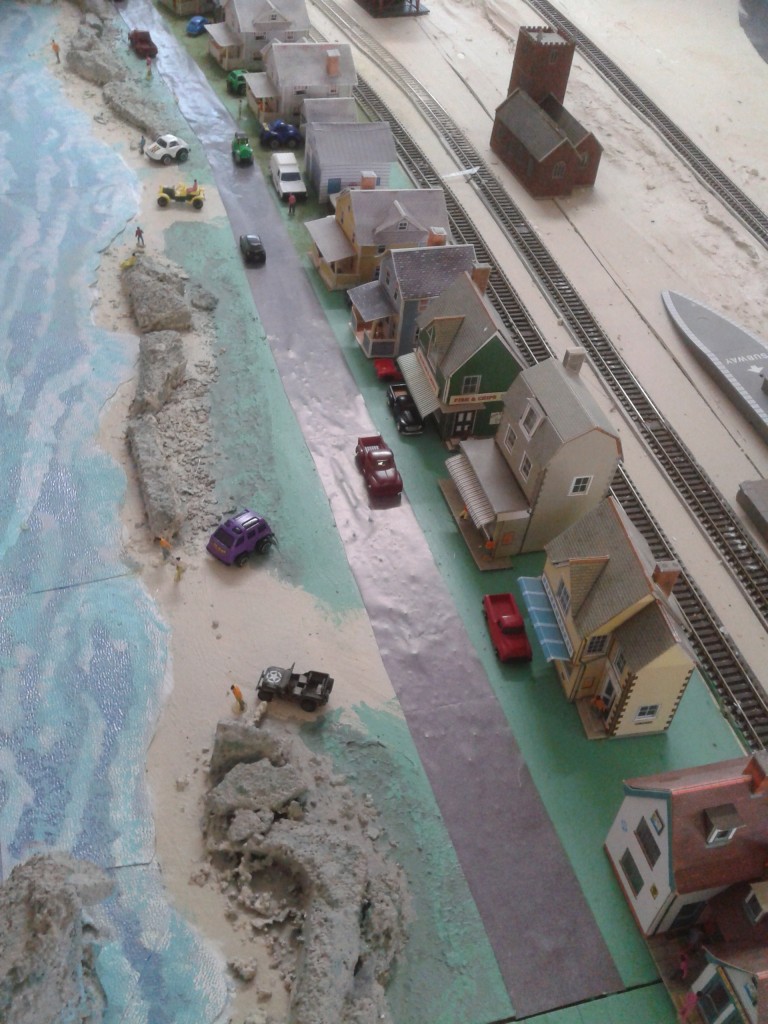
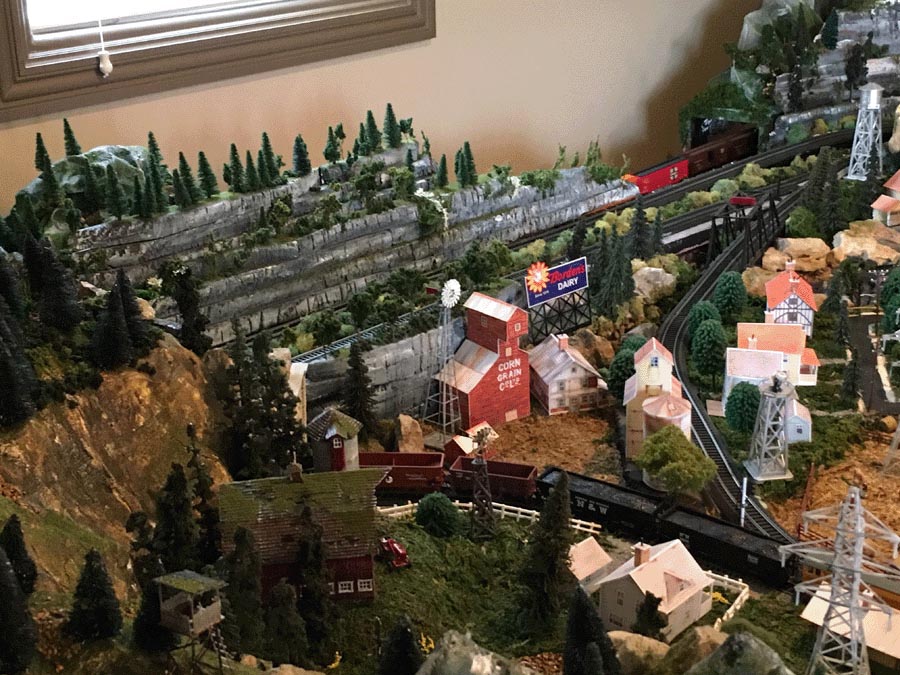
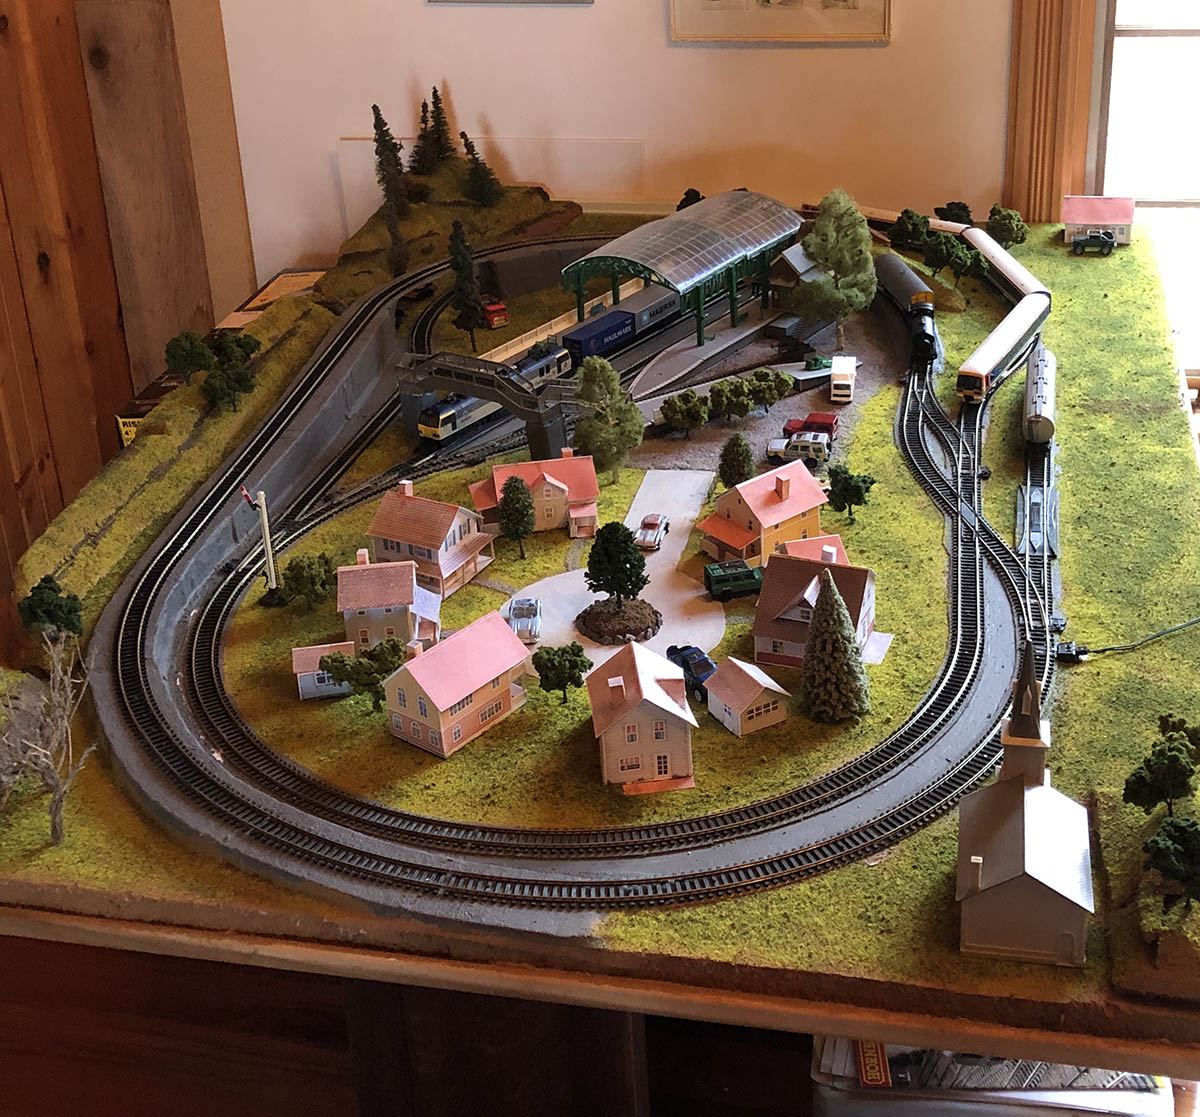
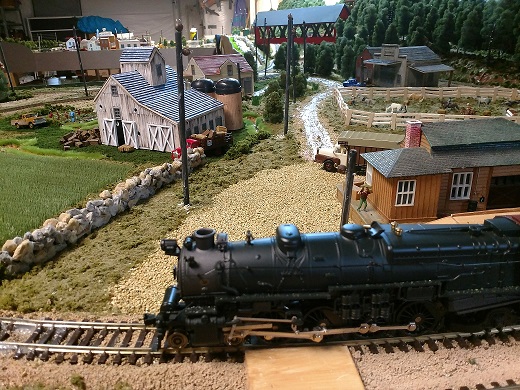
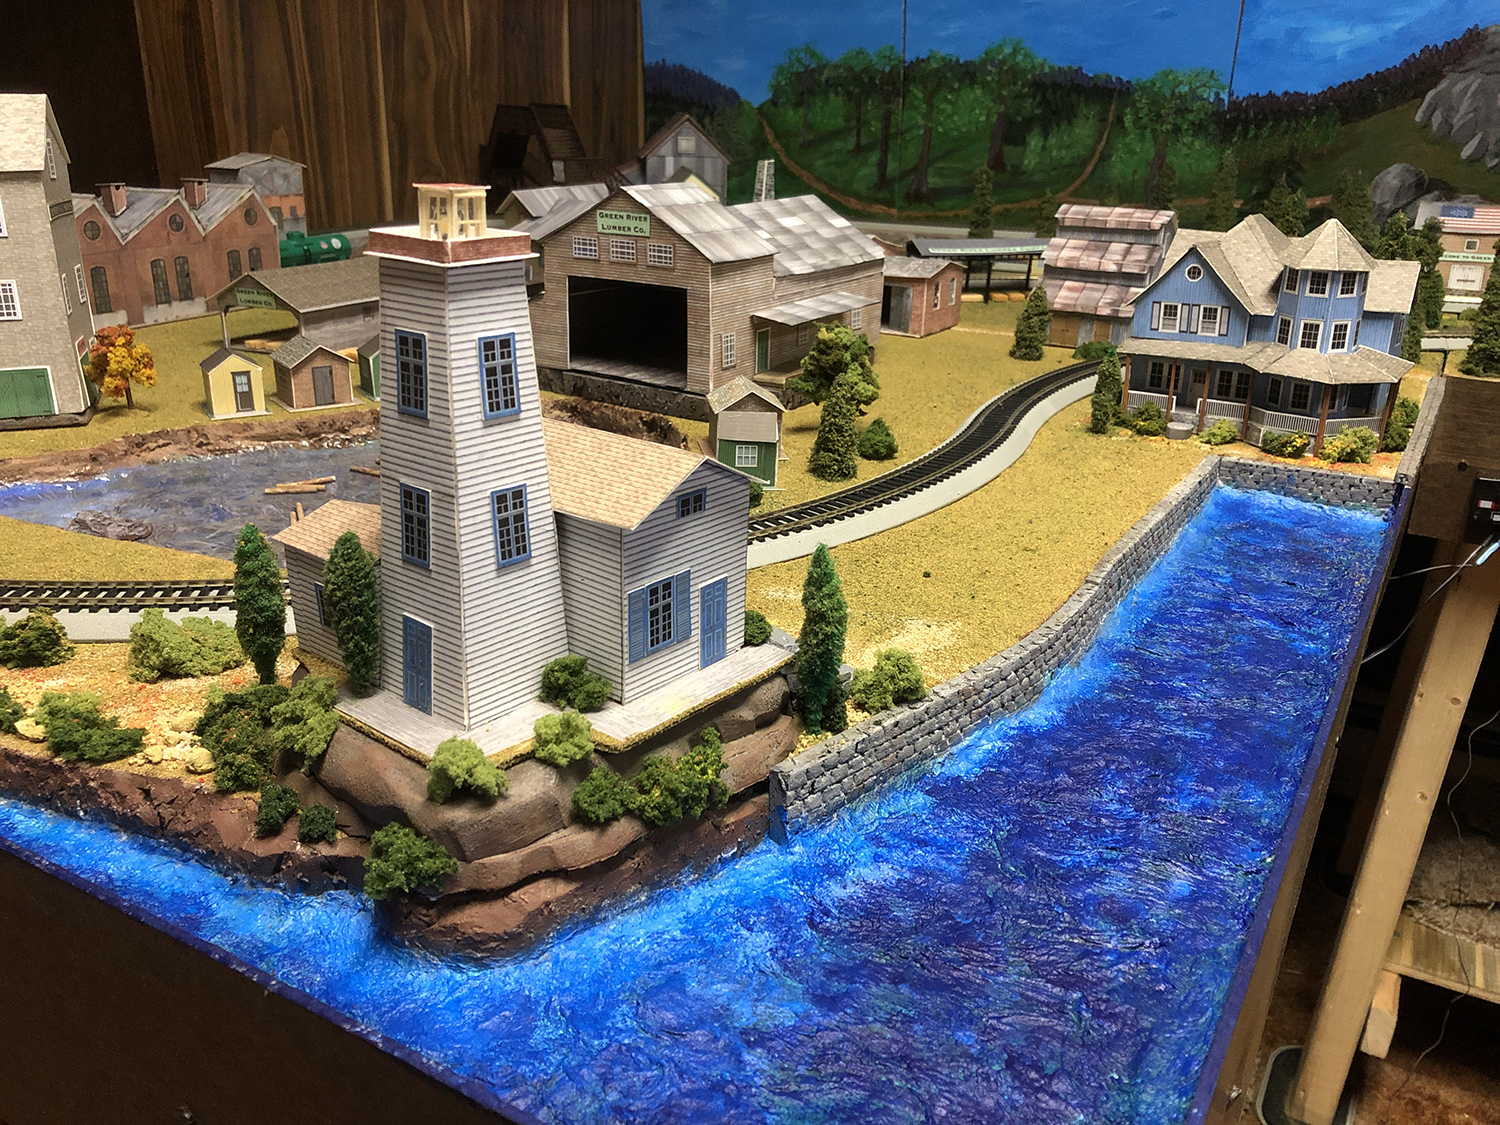
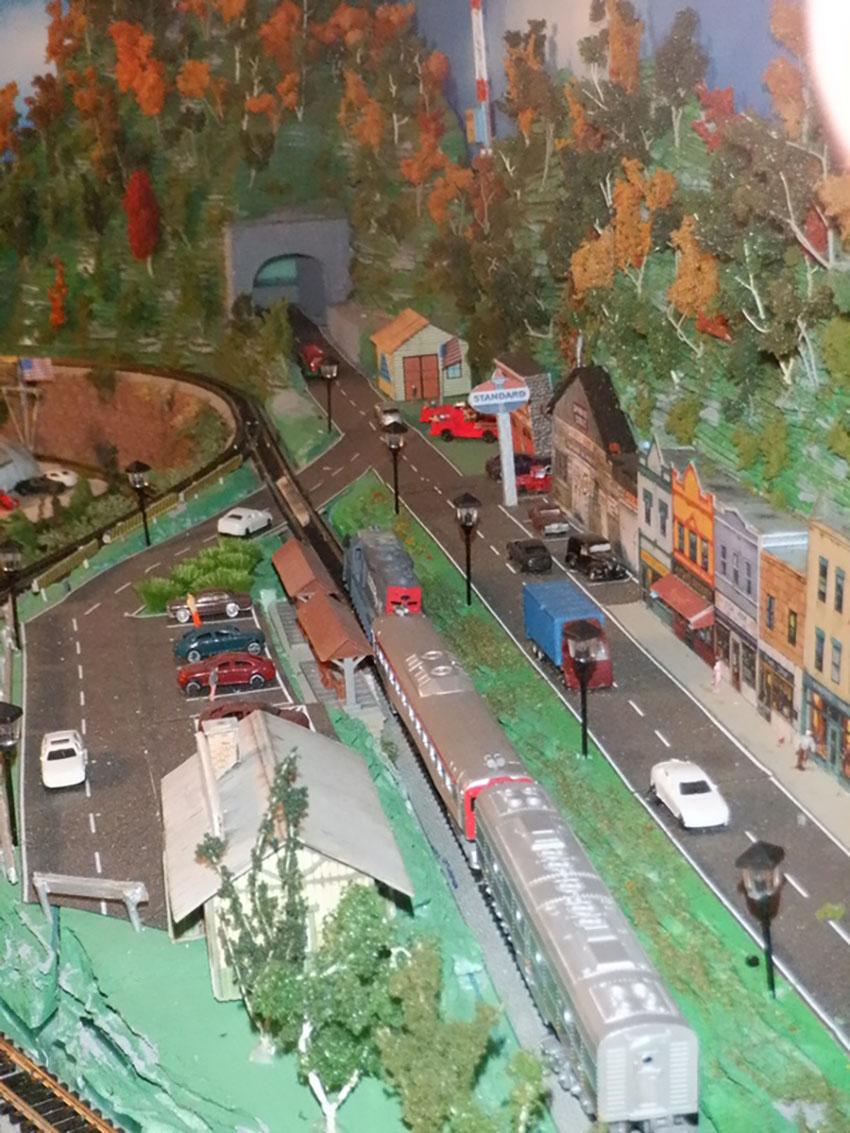
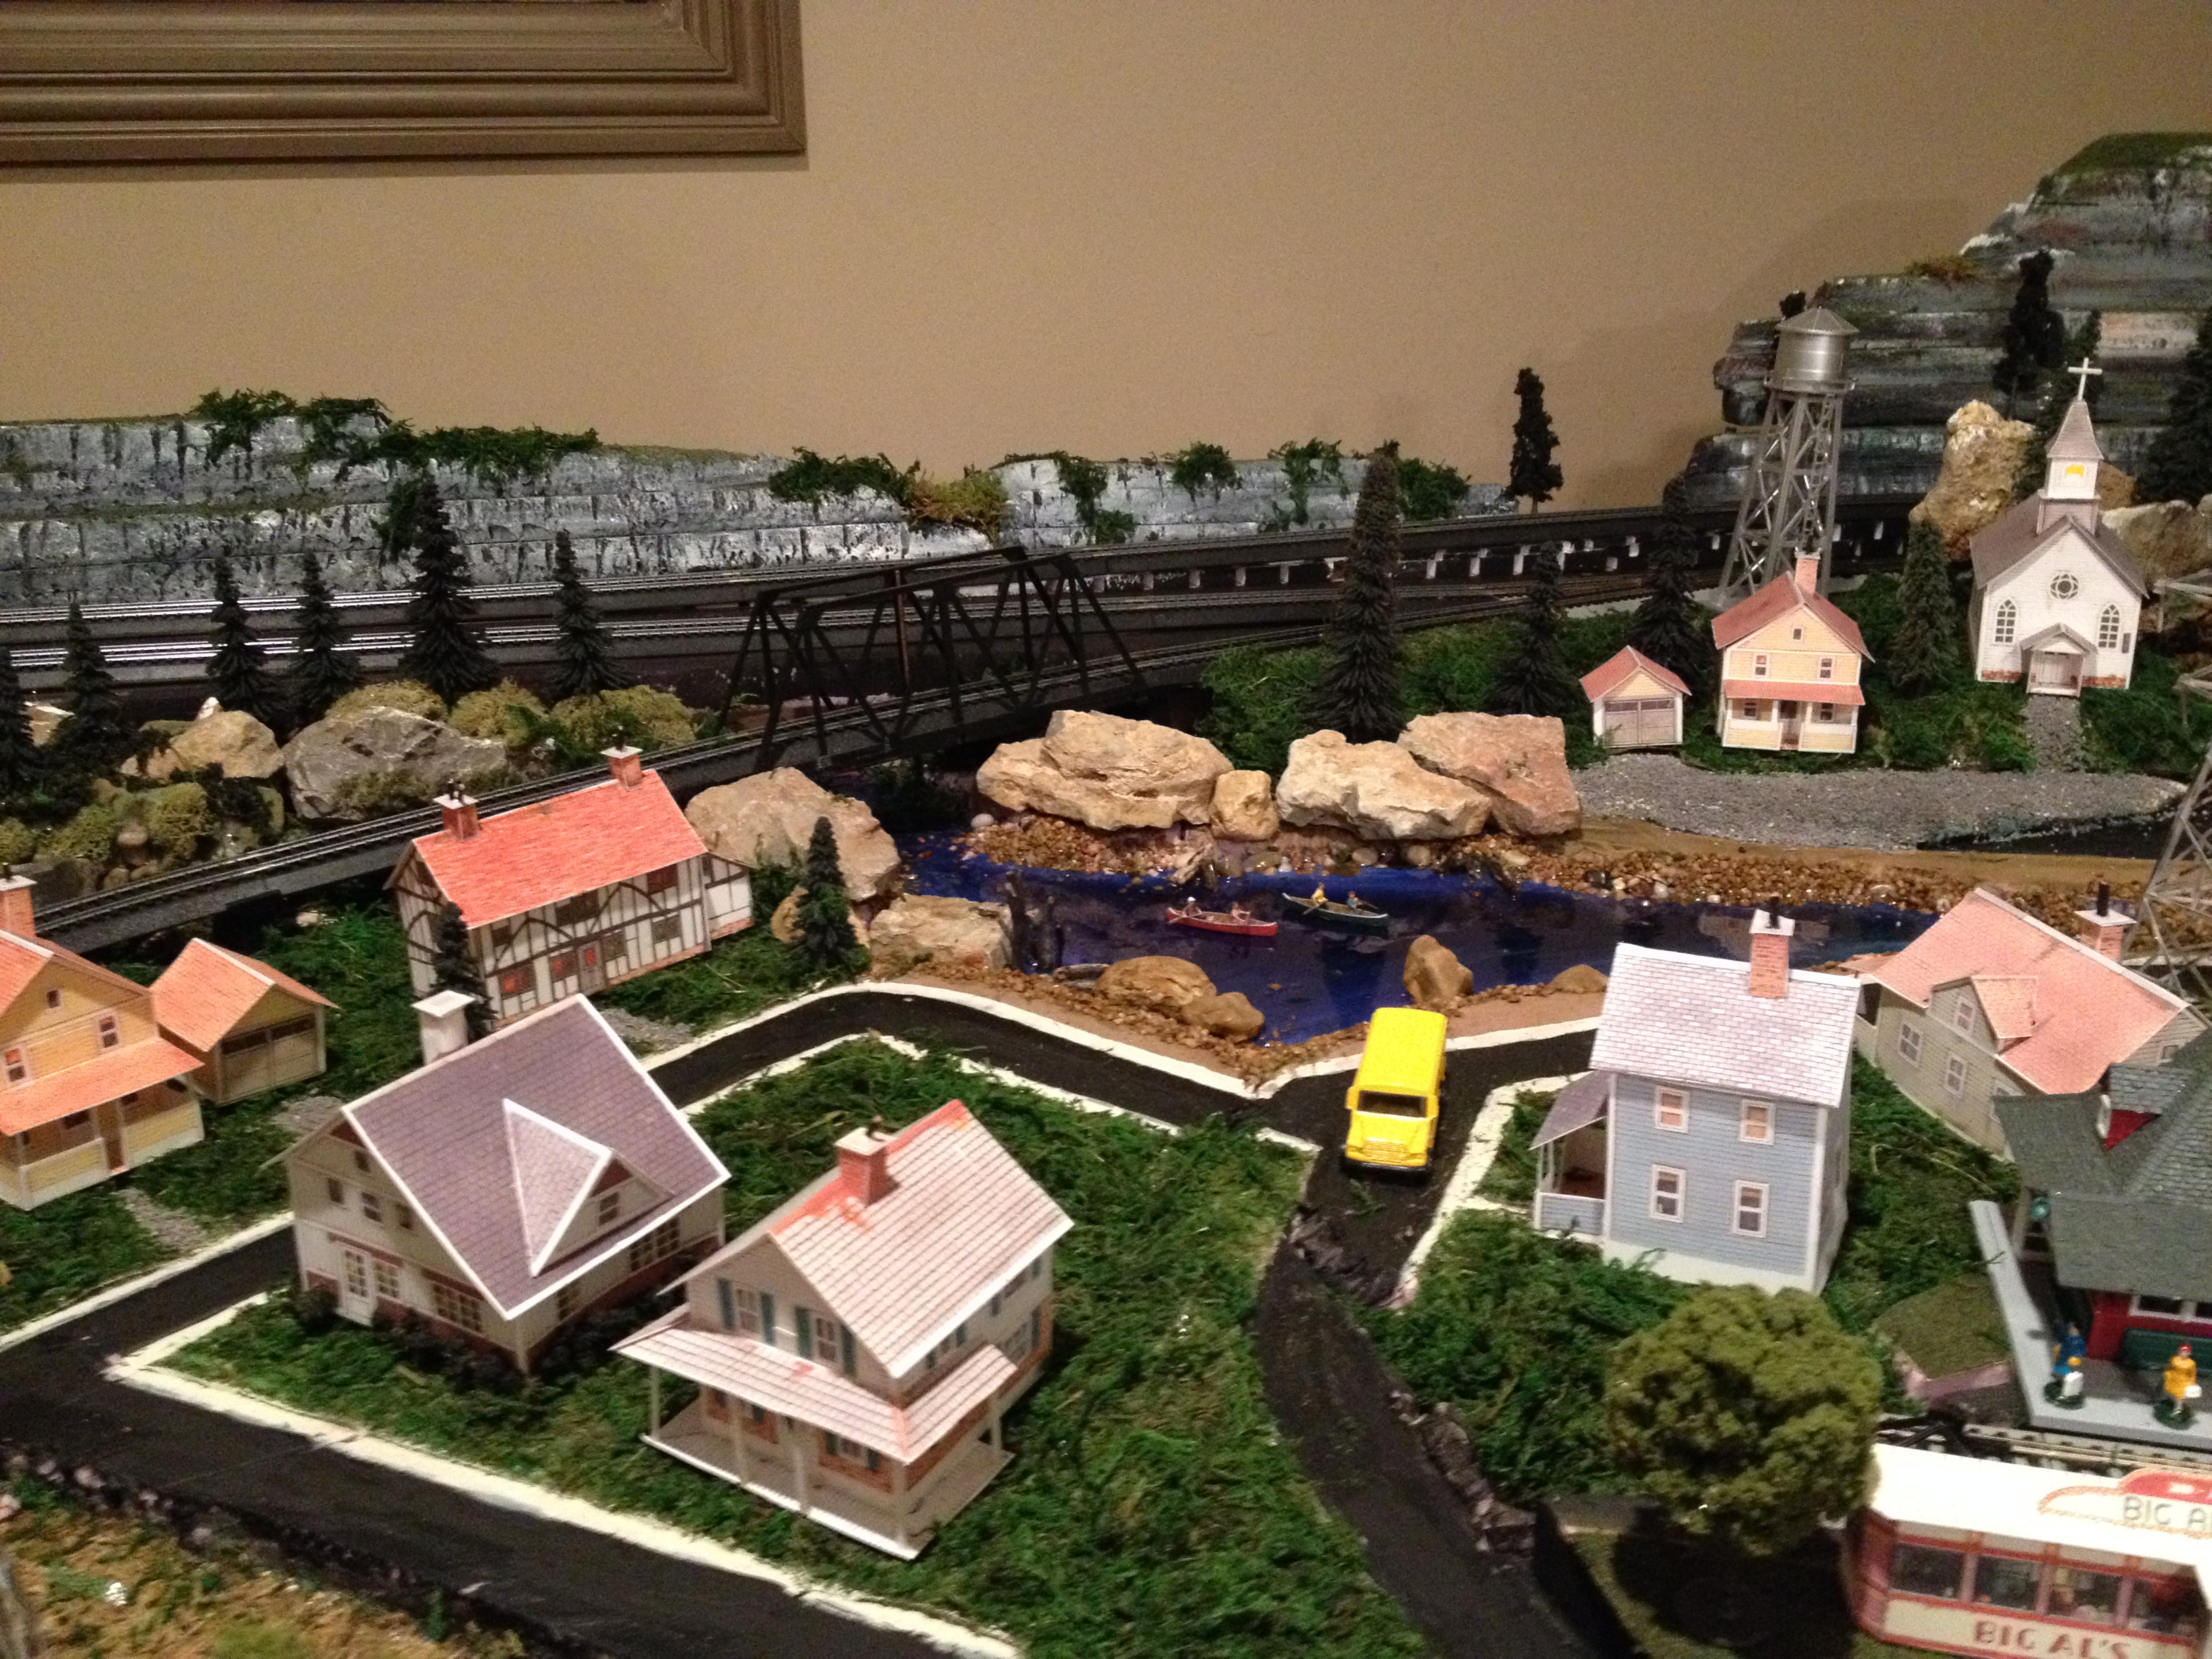
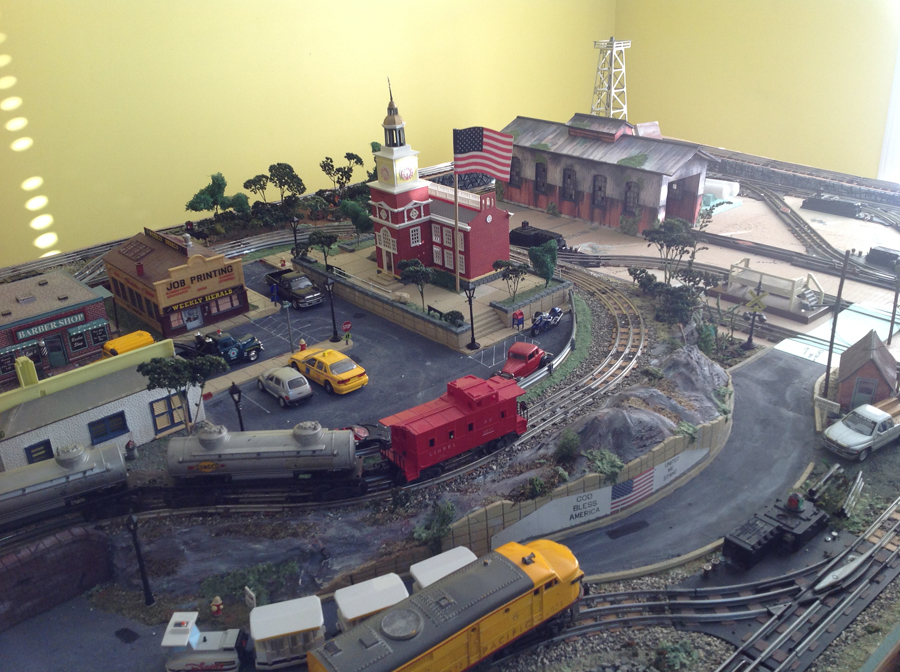
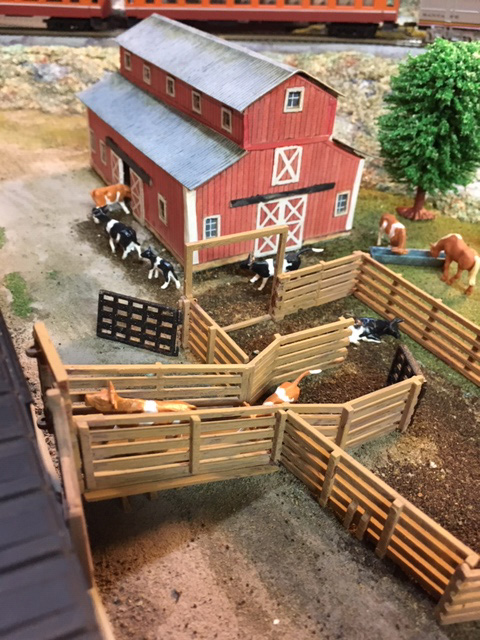
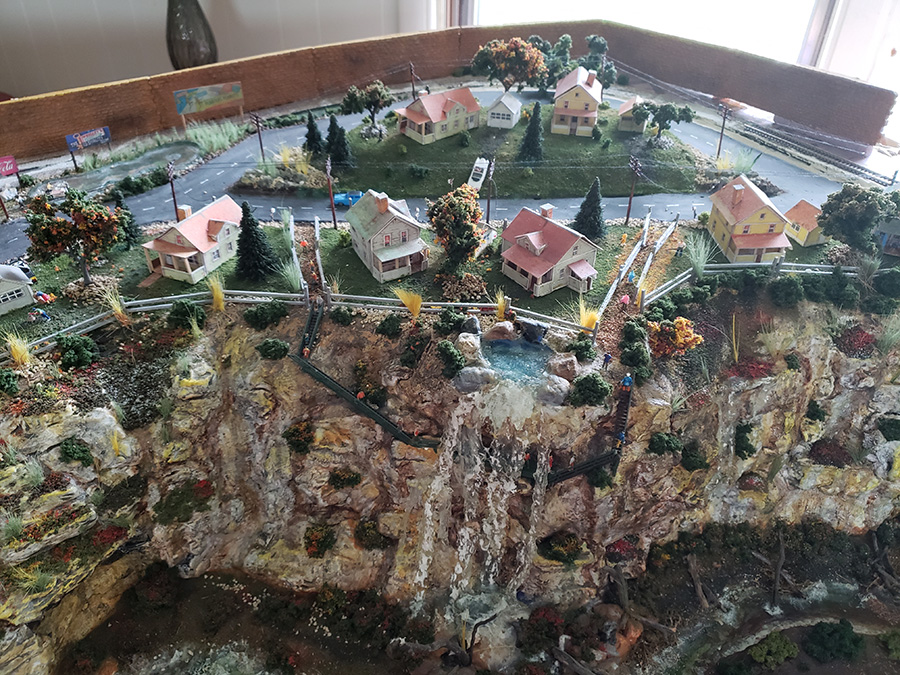
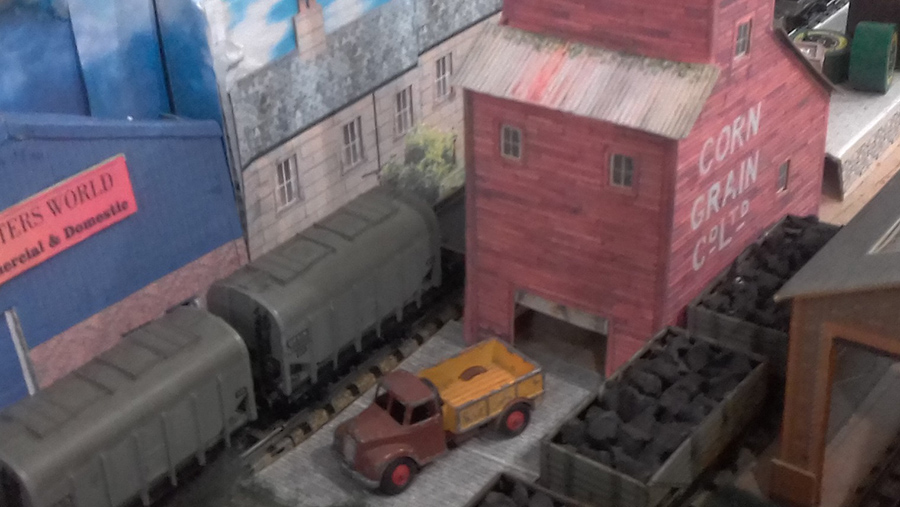
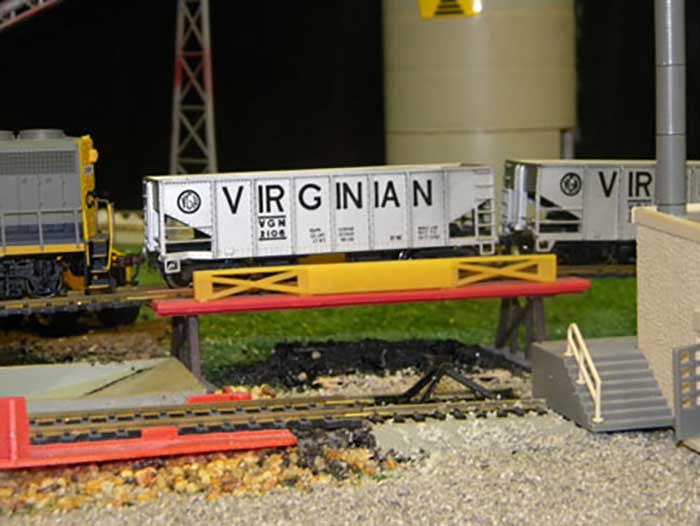
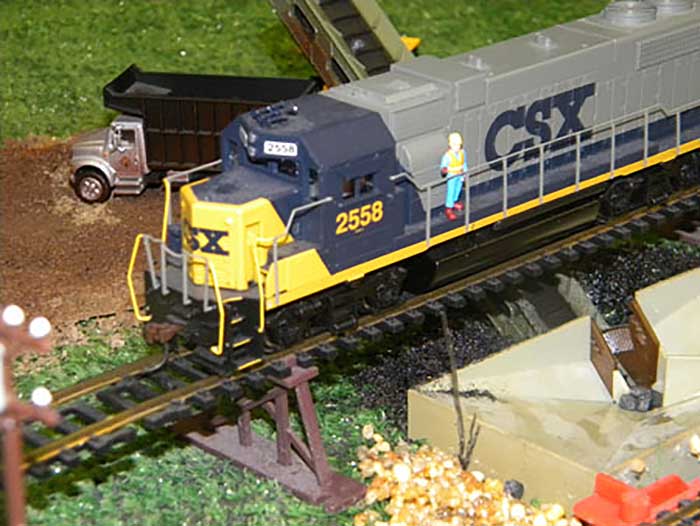
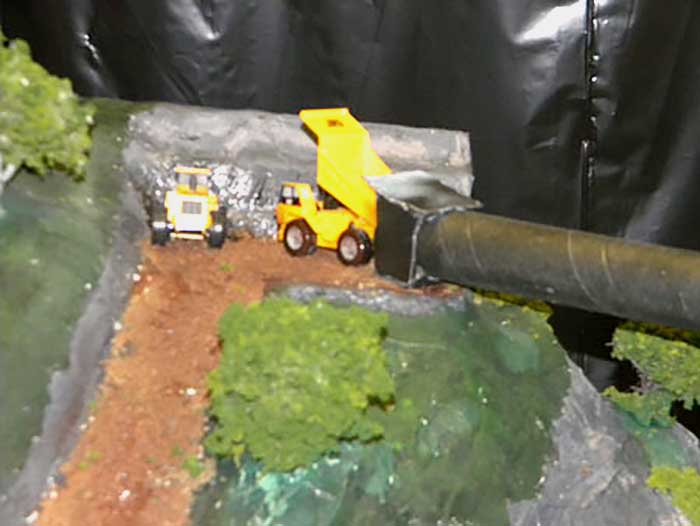
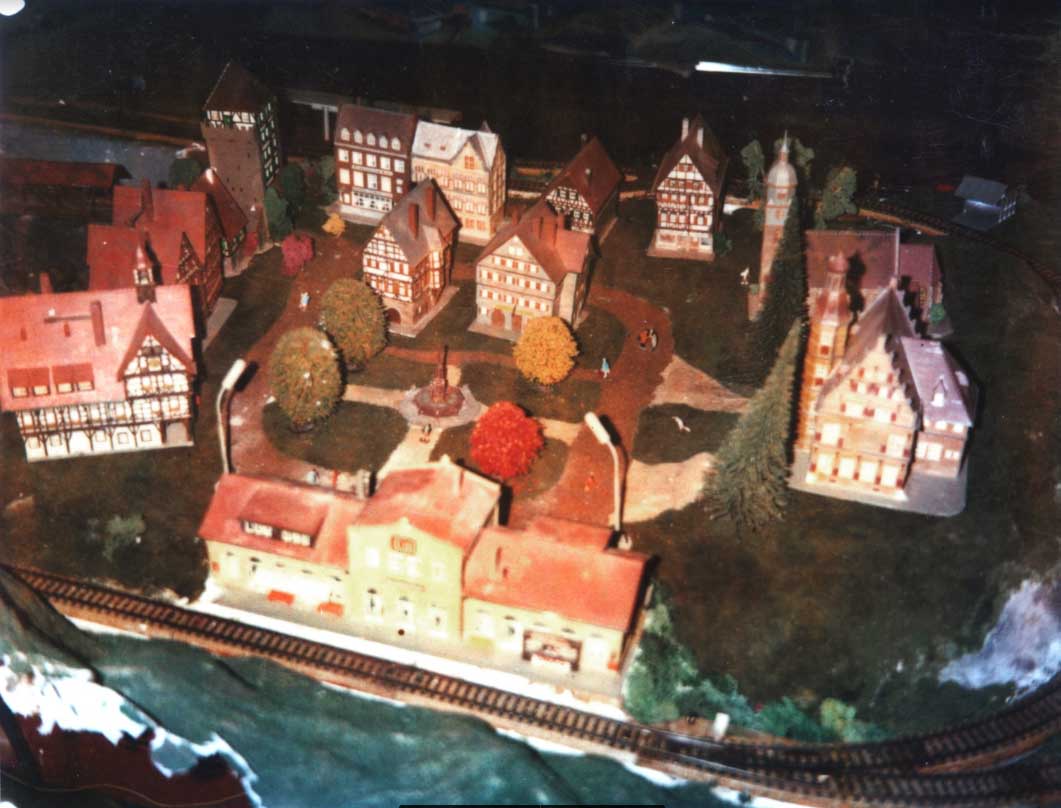
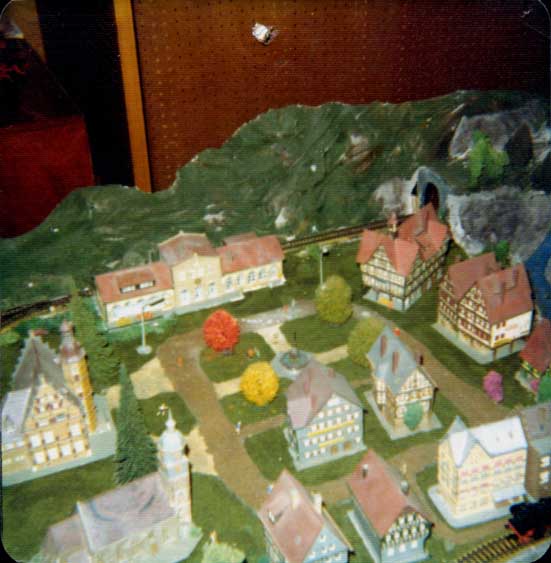
And here are a few pictures of the first 4’x8’ layout I built. The photos are almost 50 years old, scuffed, faded and scratched, so I had to retouch them with Photoshop (a little artistic liberty for the backdrop.)
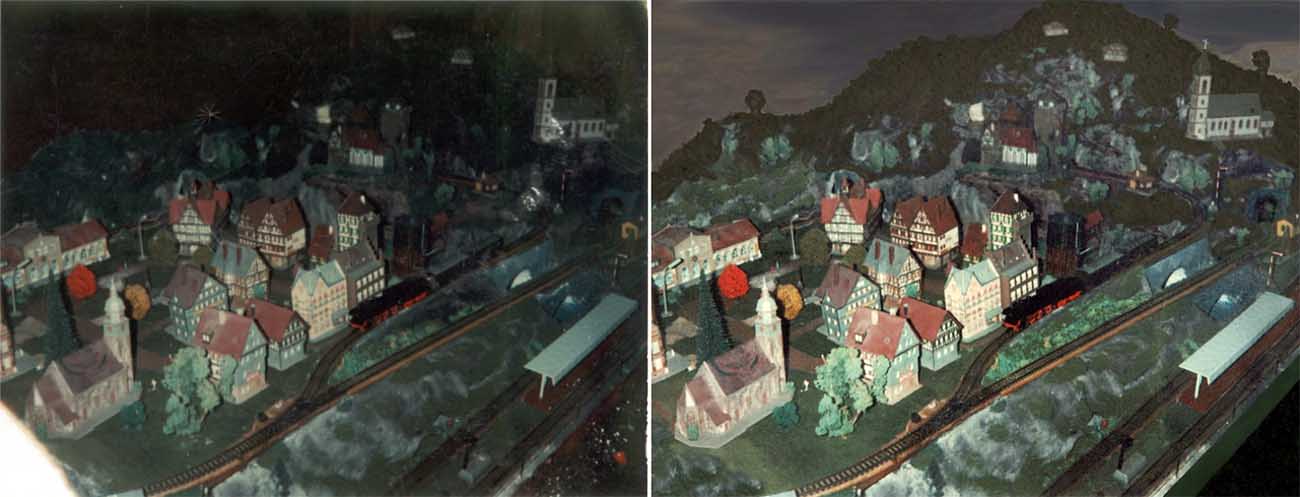
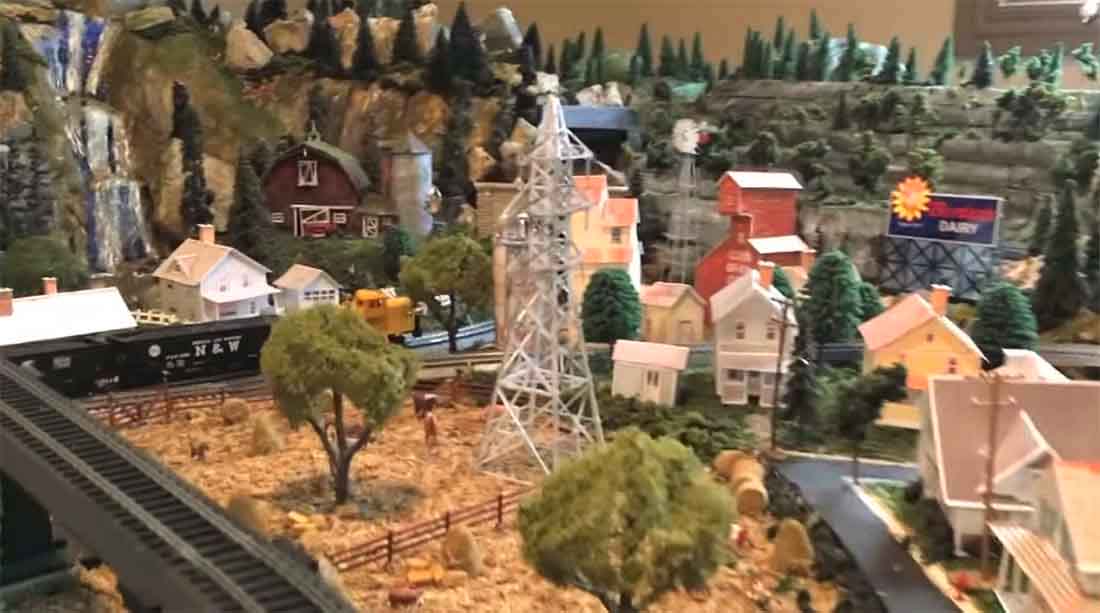
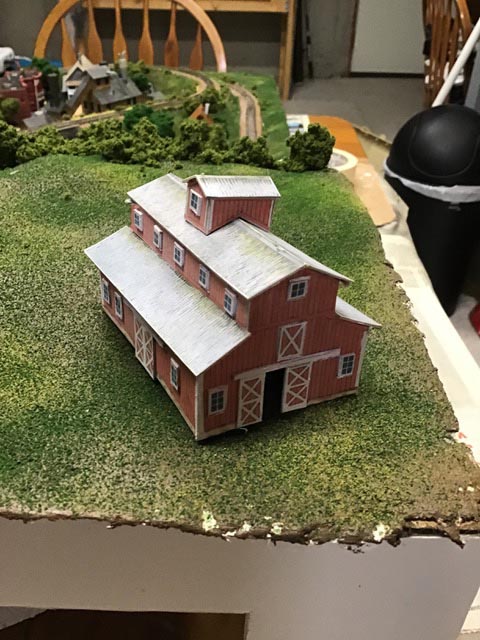
The general idea was to have an Alpine village with a stream, waterfall, and mountain lake that became a rushing river and divided the Castle from the village.
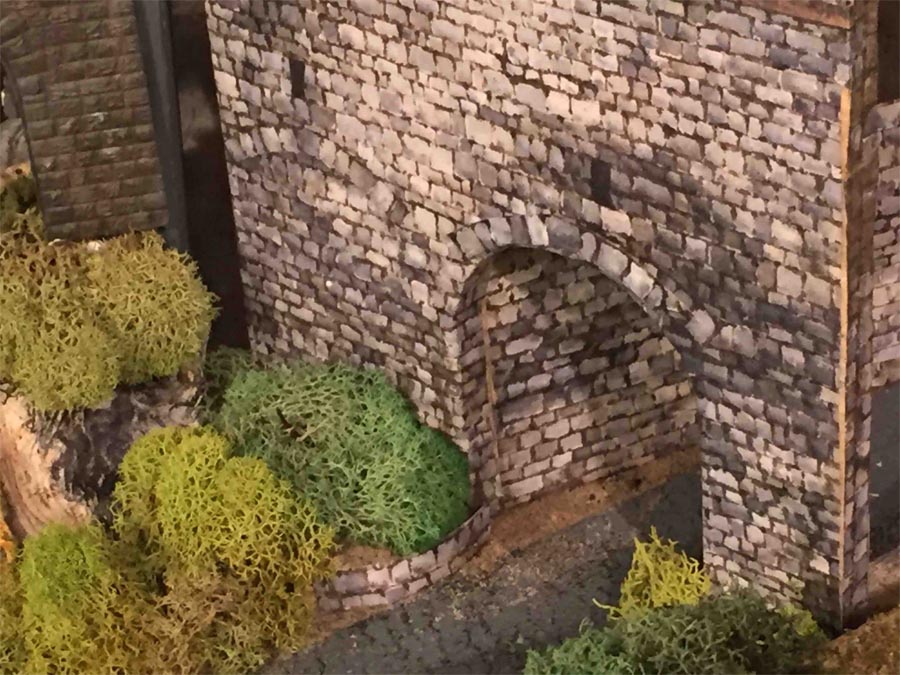
The Castle sat at the edge of a granite cliff, overlooking the rushing river.
Three trains could run automatically on simplified routes with block control, using switches built into the tracks at different locations.
The wiring for each block was run to both signals and turnouts in a way that allowed for two trains to run at the same time without colliding.
Train #1 would run into the at the left of the layout and along the red dotted underground loop, then exit the tunnel and climb the orange grade up to the village. As it climbed the grade and after the last passenger car had cleared the underground switch, it tripped a toggle that started up train #2.
After pausing at the village station, #1 would circle under the mountain on the grey line to return to its home / starting platform.
The freight train (#2) (simplified route) would run into the tunnel with the red underground loop and return to its home / starting platform.
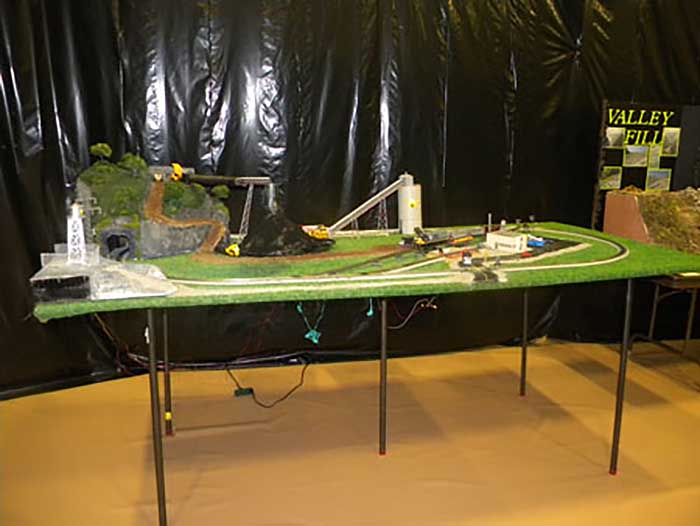
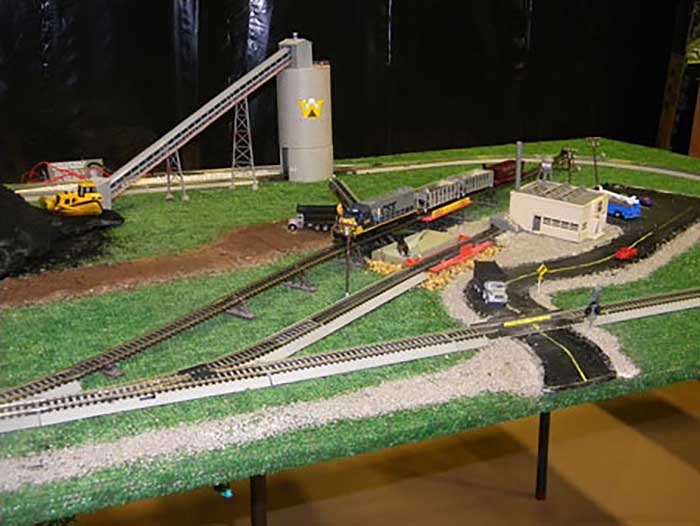
Large HO train layouts:
A more complex route was to cross onto the turquoise / grey line, climb under the mountain and around to the village where it could either loop around the village or descend the orange slope to the red underground line and then return to its home / starting platform.
Train #3 would simply loop around the village (for the simplified route). Of course, it could descend the orange line, loop around the red underground, then climb back up under the mountain (after stopping at the platform) and return to its home signal where its passengers could hike up the short slope to the castle or the cathedral.
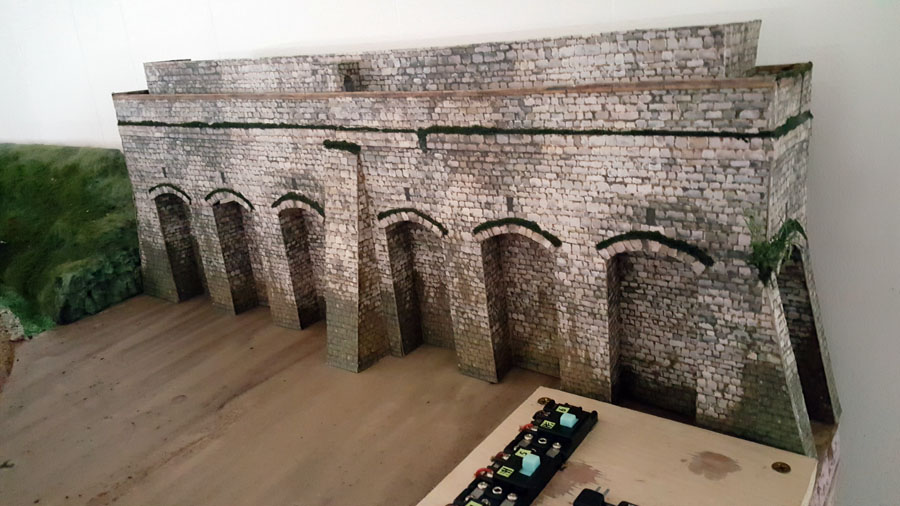
The power for each block / signal could be manually controlled with a series of switches and separate transformers mounted on a shelf toward the right front side of the track plan.
These are the only photos that remain to me.
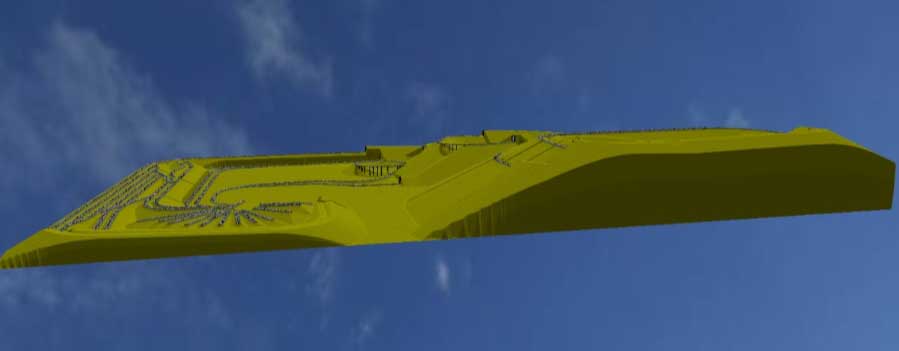
However, the Anyrail software that I used to recreate the track plan has a 3D visualization feature that can give one an idea of the overall dimensions and geography of the layout.

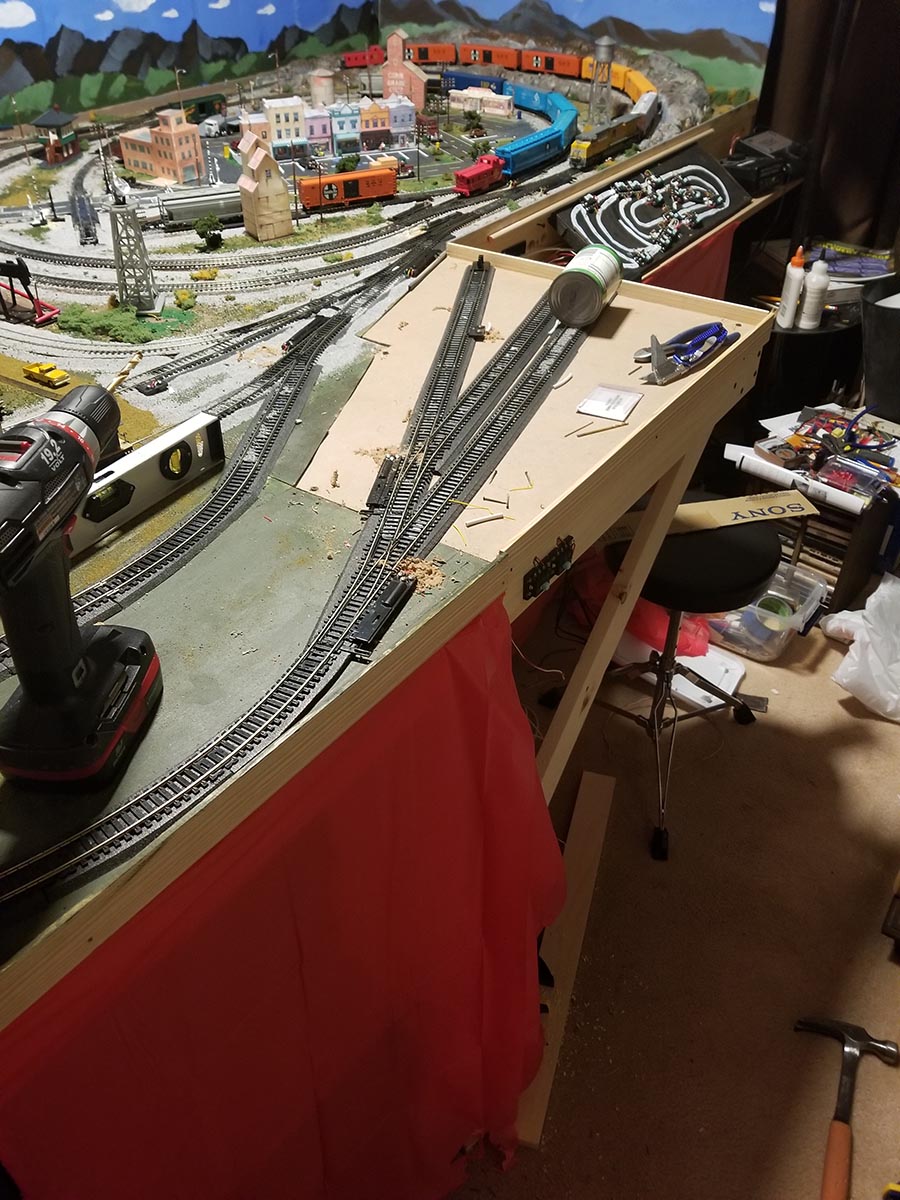
I’m now planning a layout measuring 18 feet by 24 feet (large HO train layouts). I have to build the room first, and that might happen this year. I’ve already purchased all the materials for construction. I just need to start chipping away at it.
It’s a bit of a challenge because one of the walls is meant to stabilize the floor of the guest room upstairs. I haven’t quite mastered Harry Potter’s trick of levitating objects like the 12 foot length of lumber that will span the joists of the guest room floor, but I’m working on it!
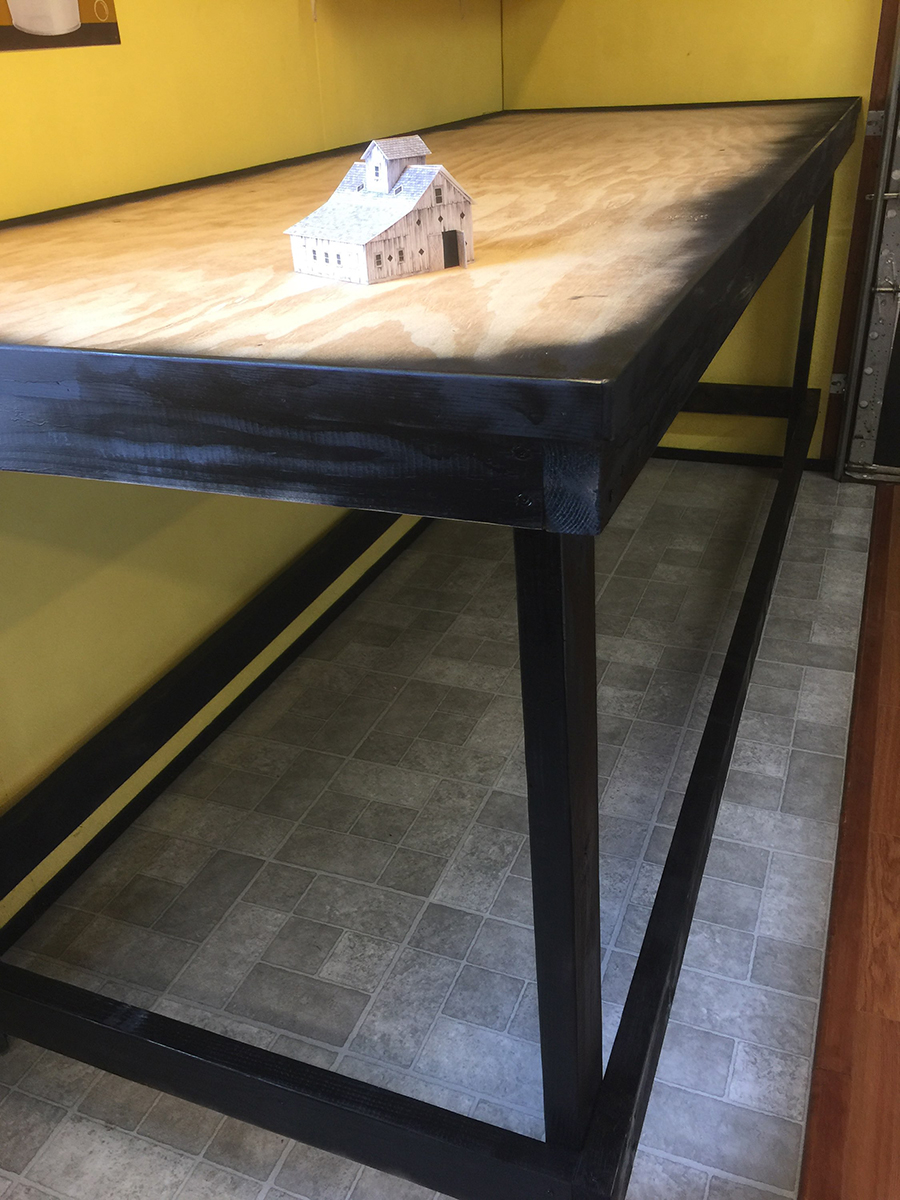
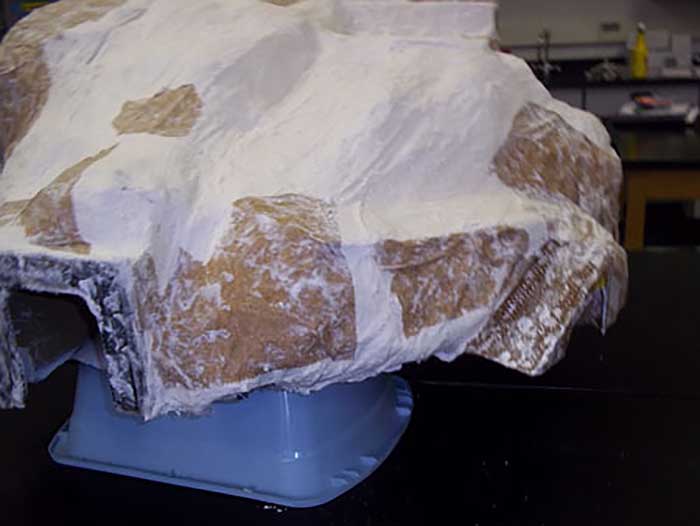
Here are a couple of photos of what I’m working with:
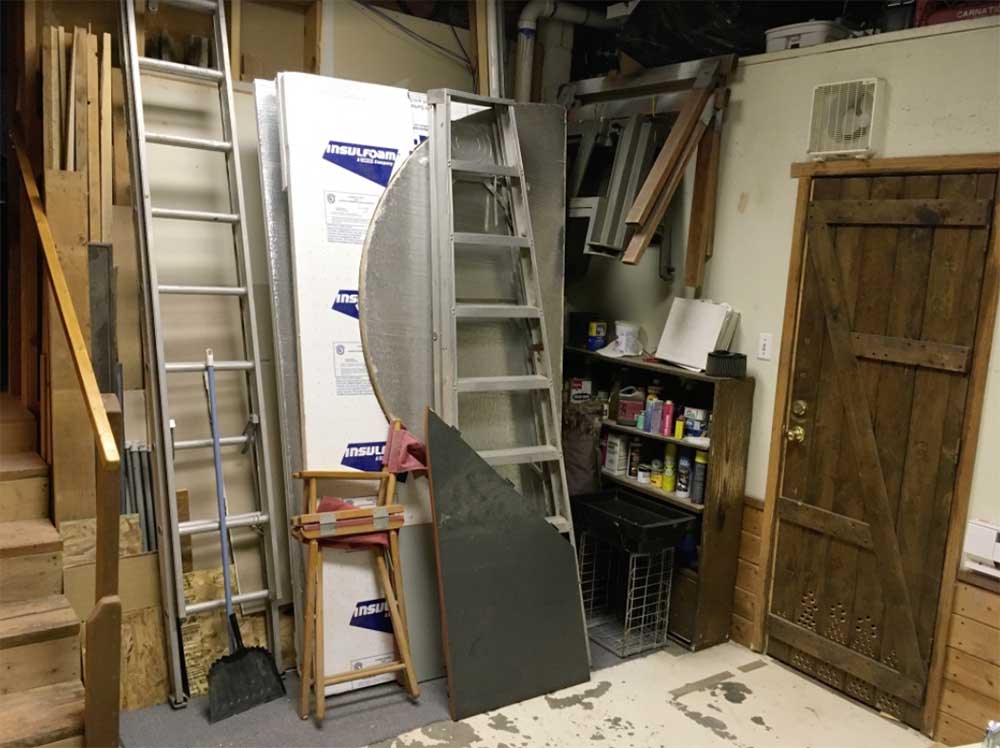
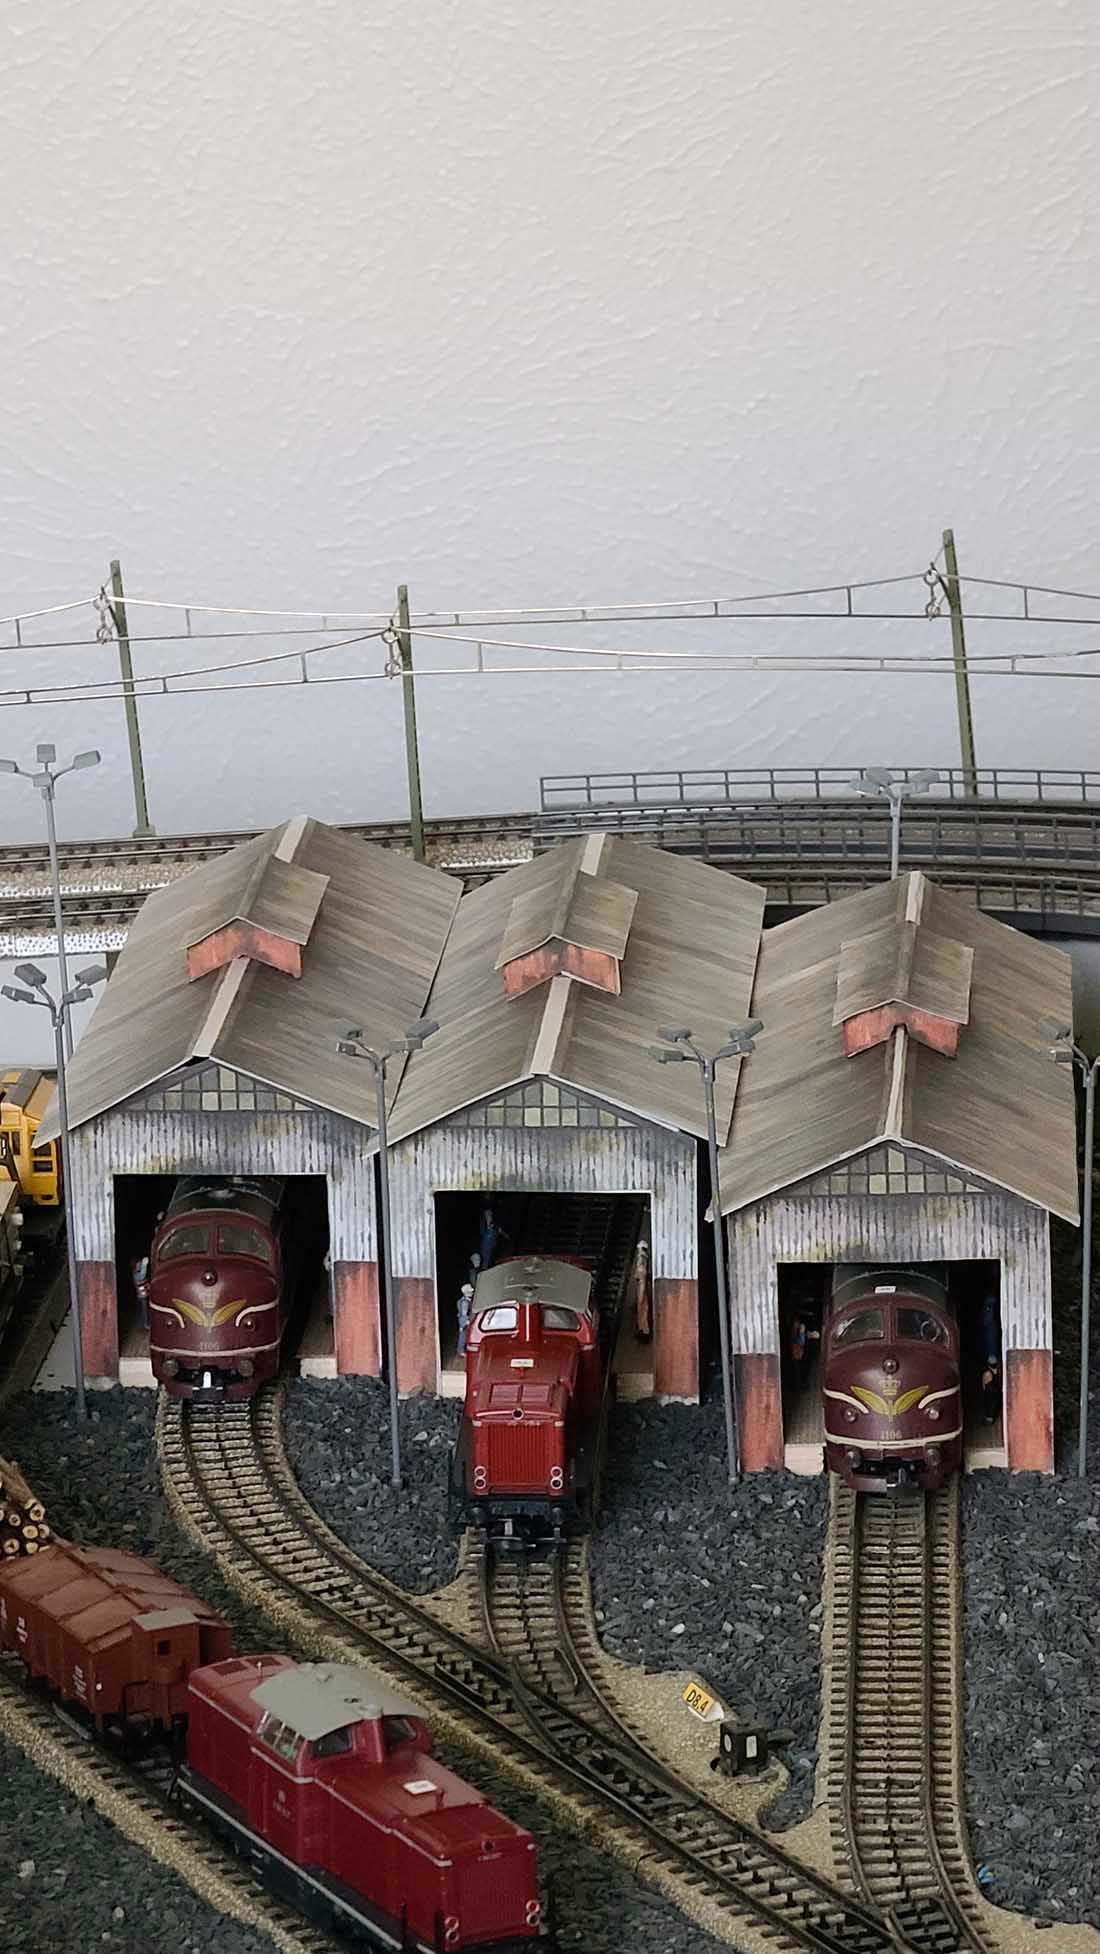
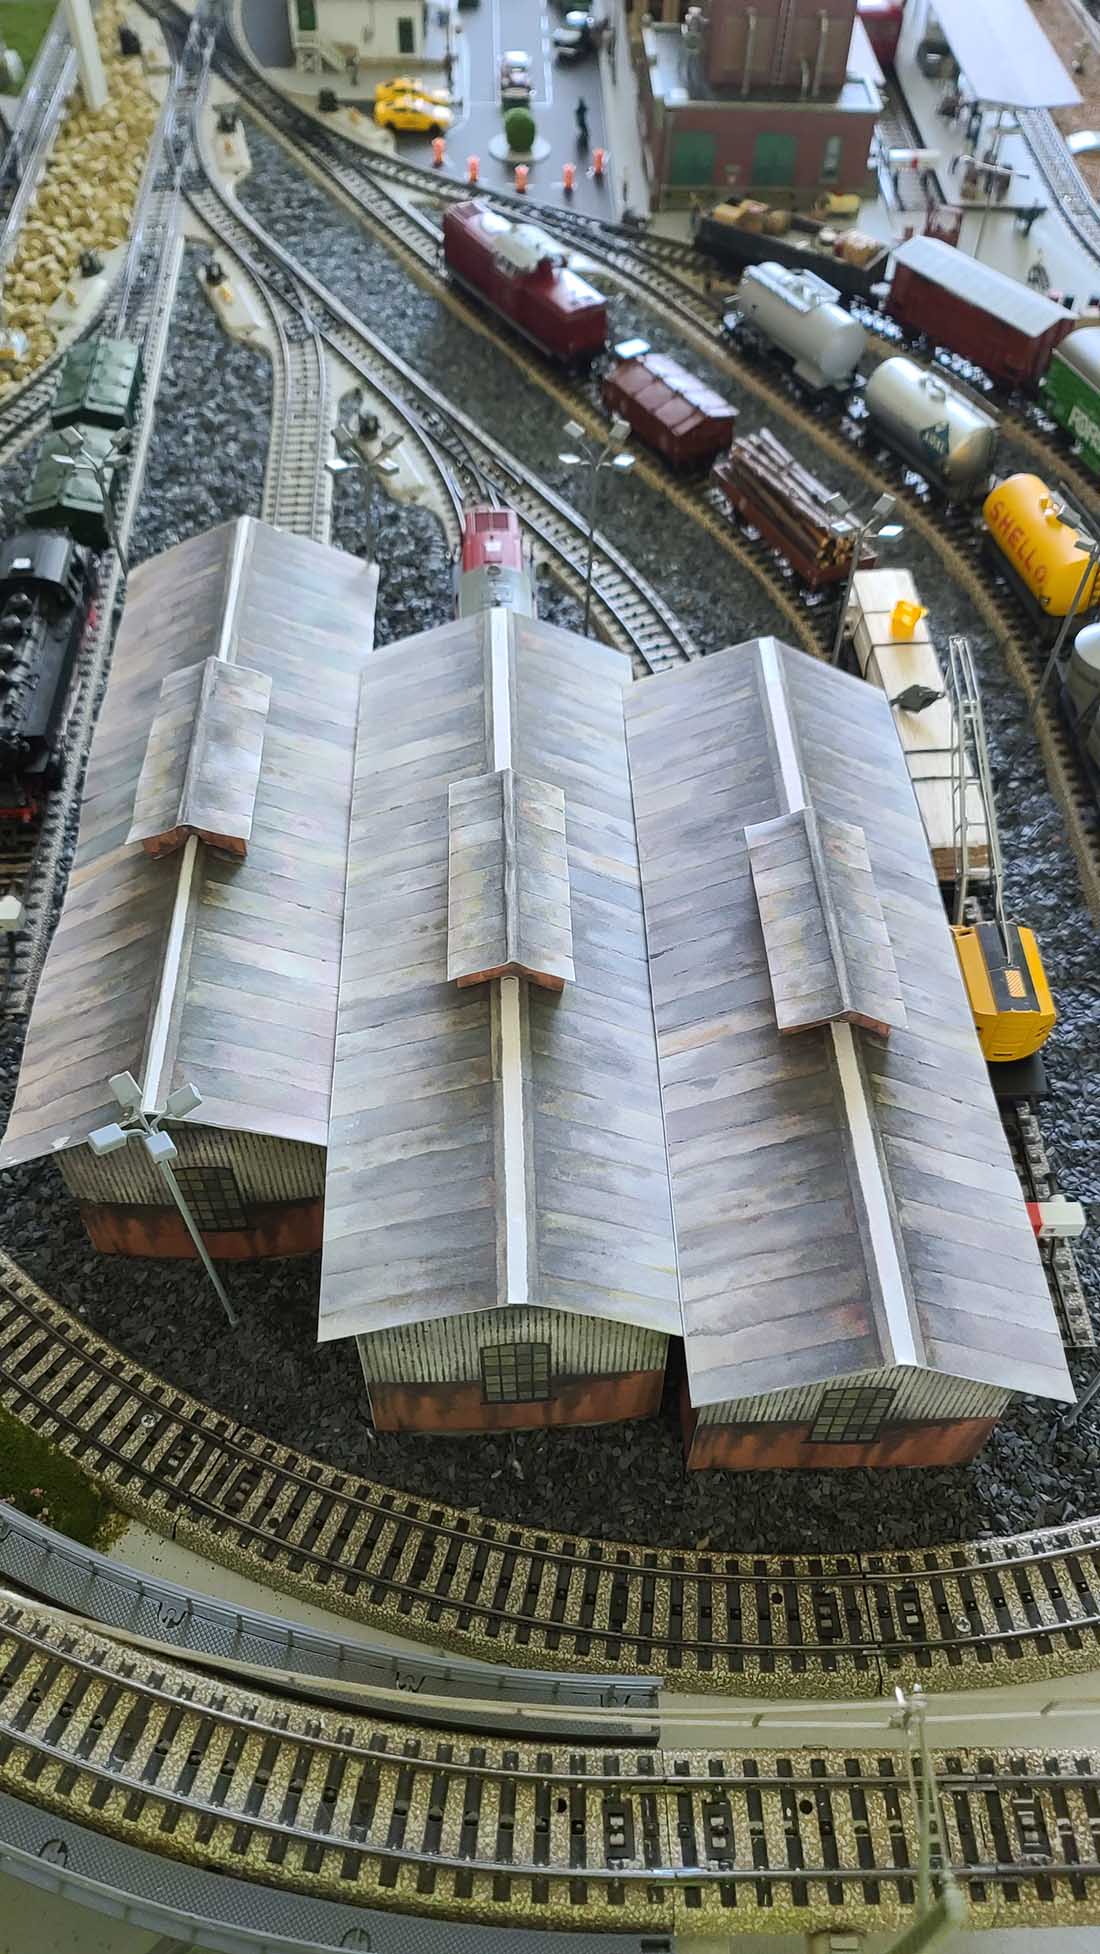
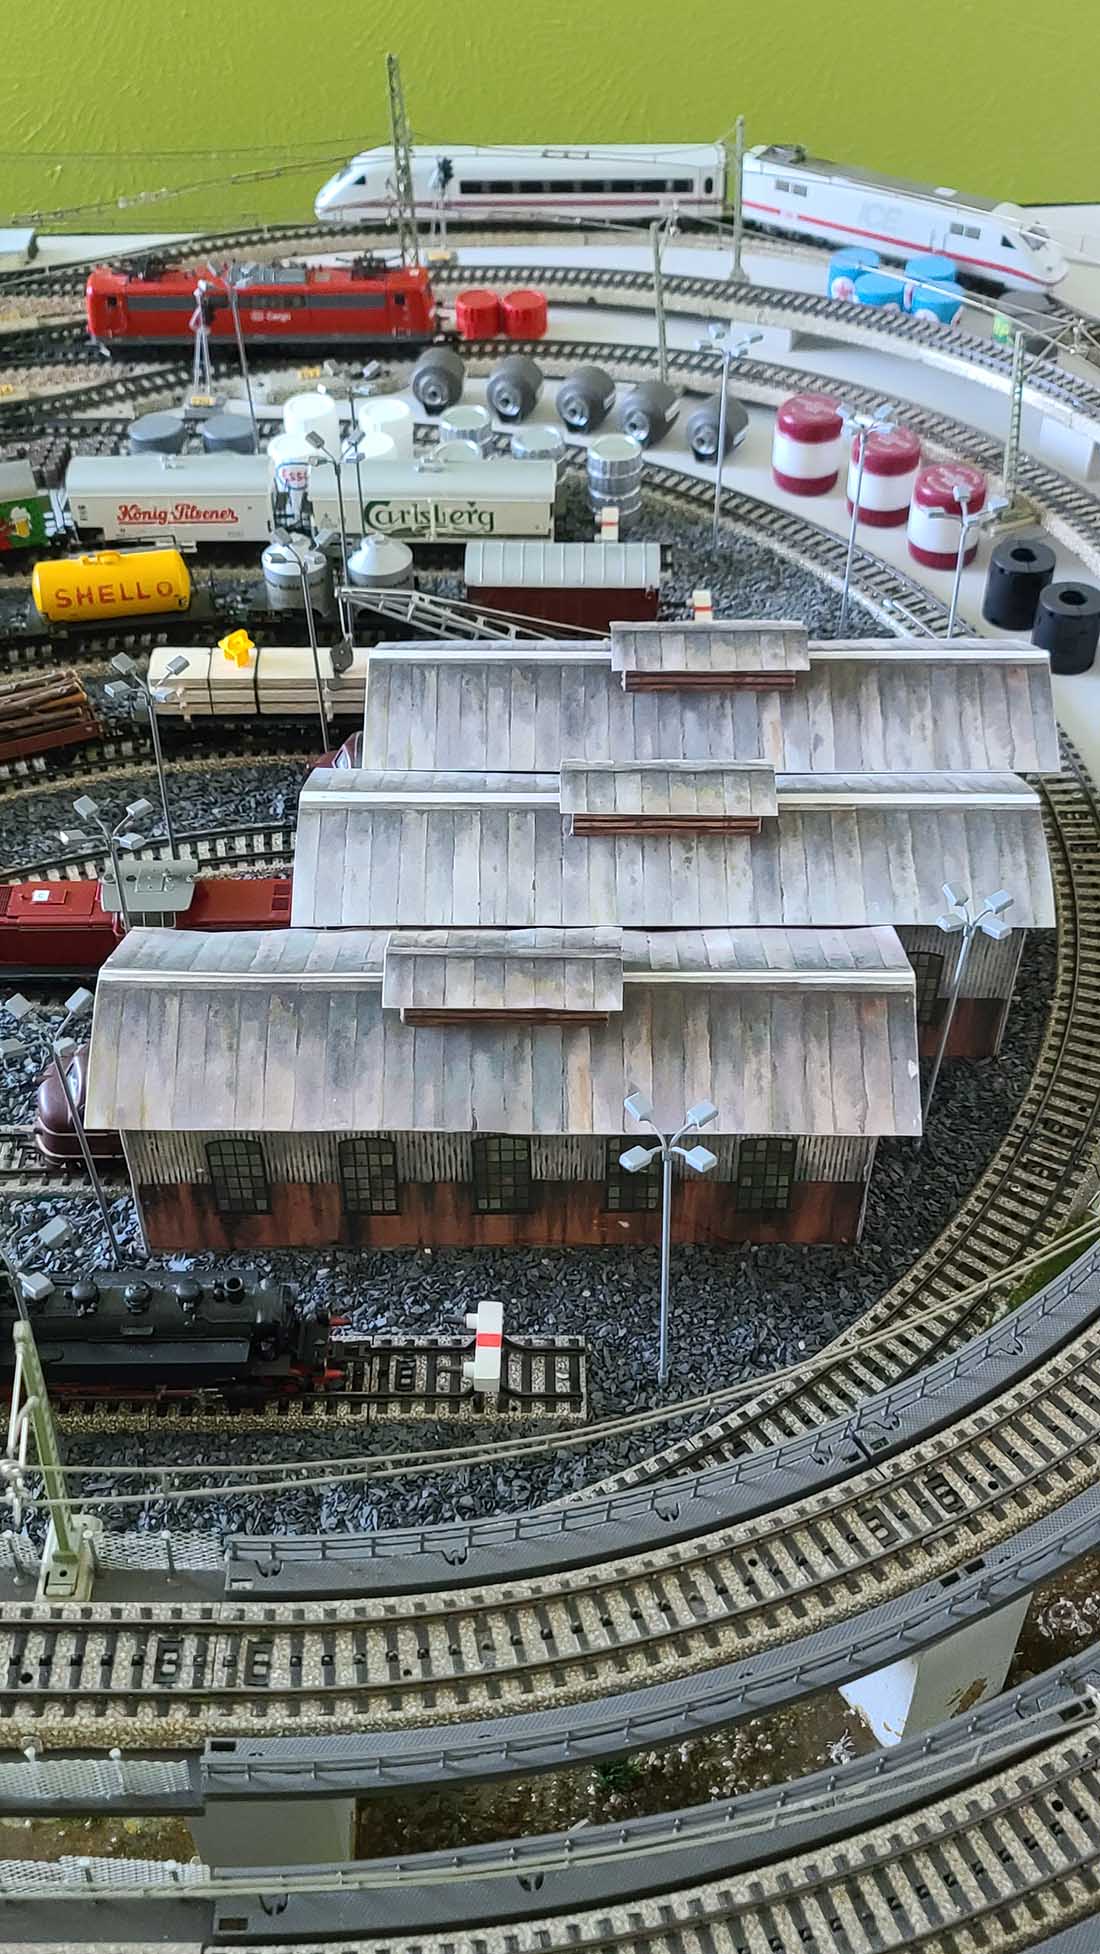
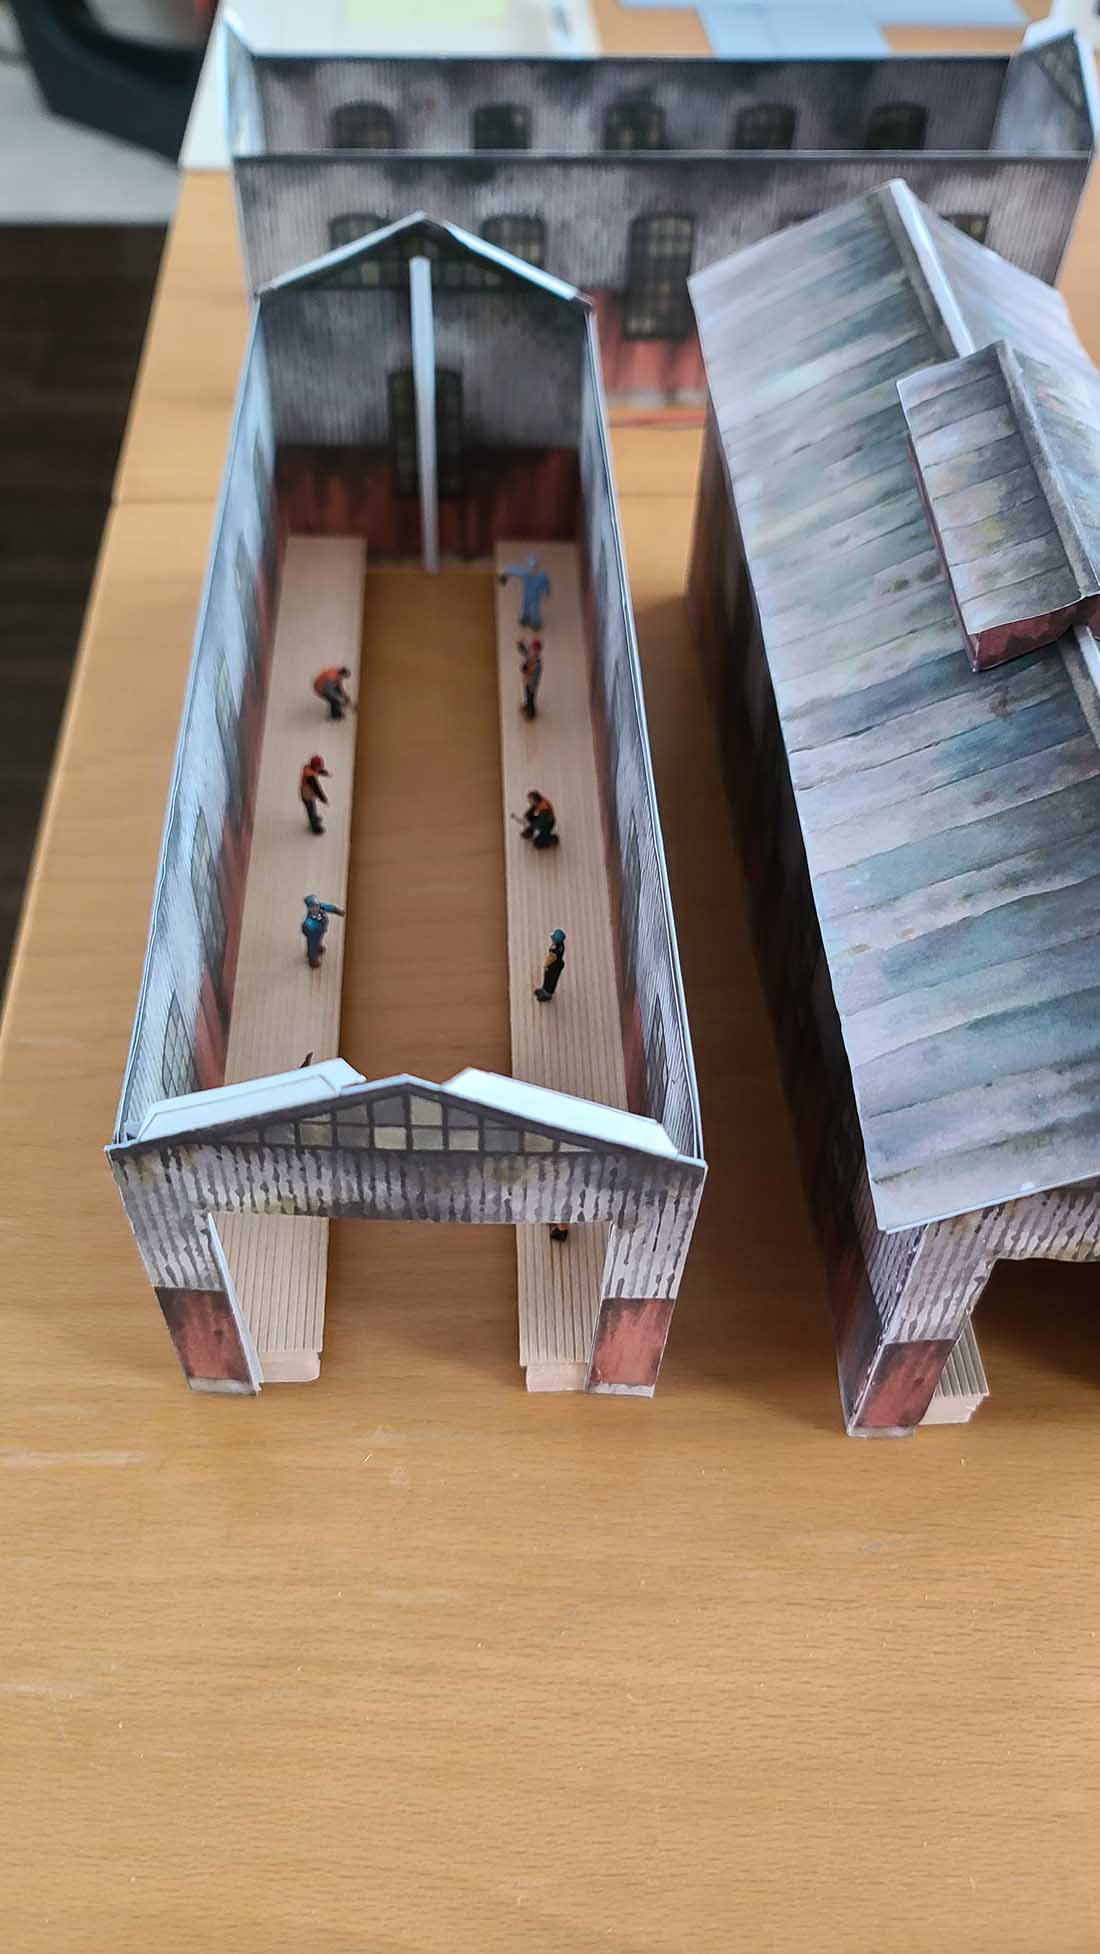
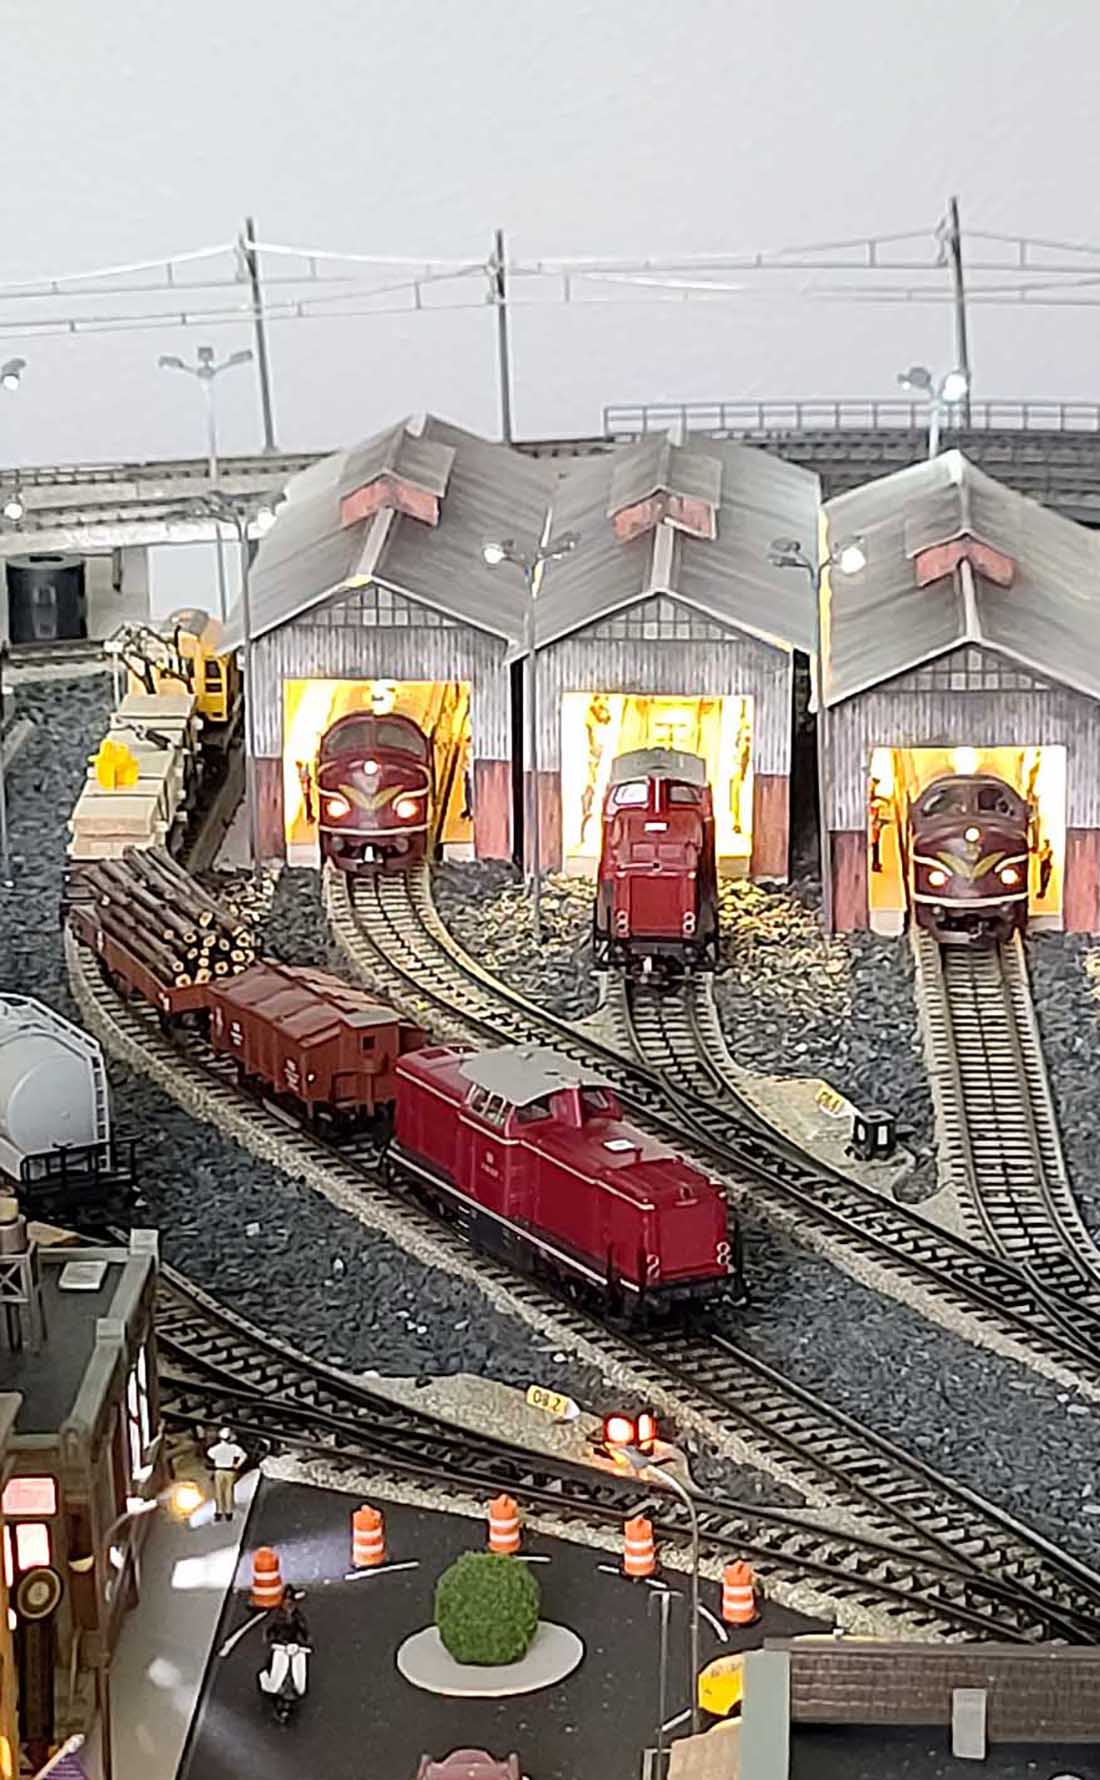
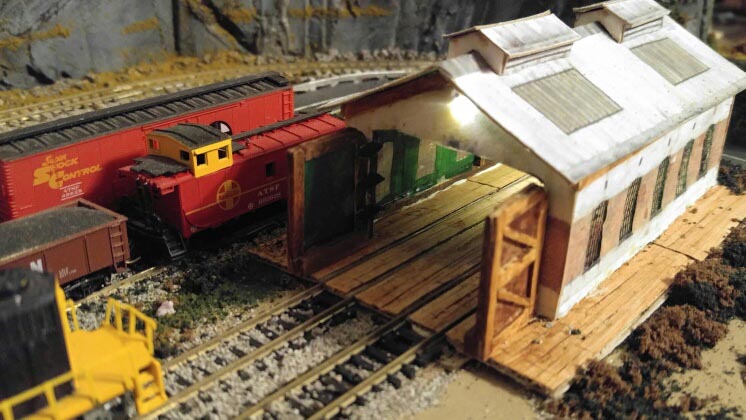
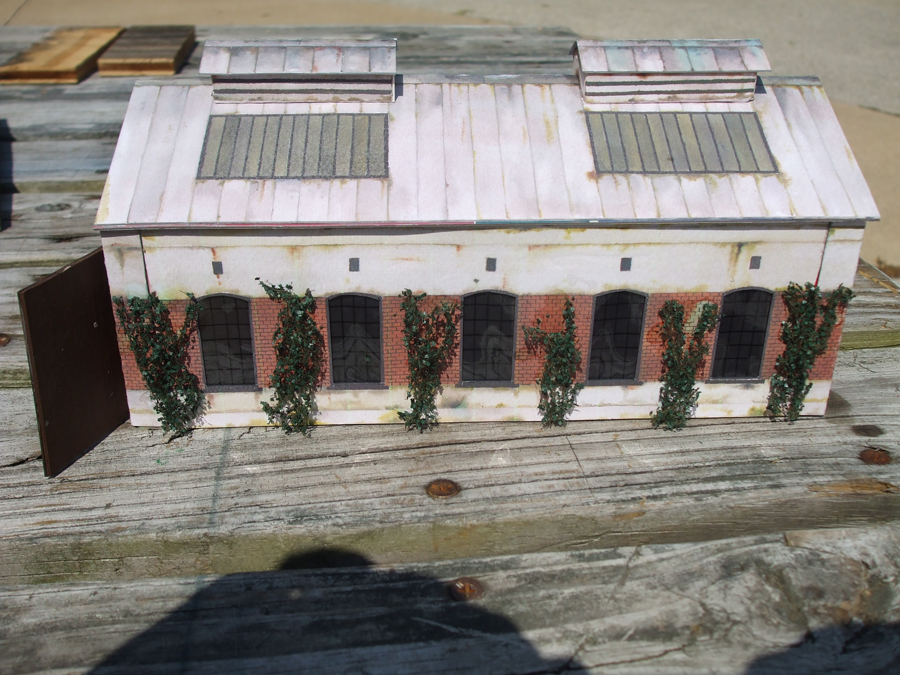
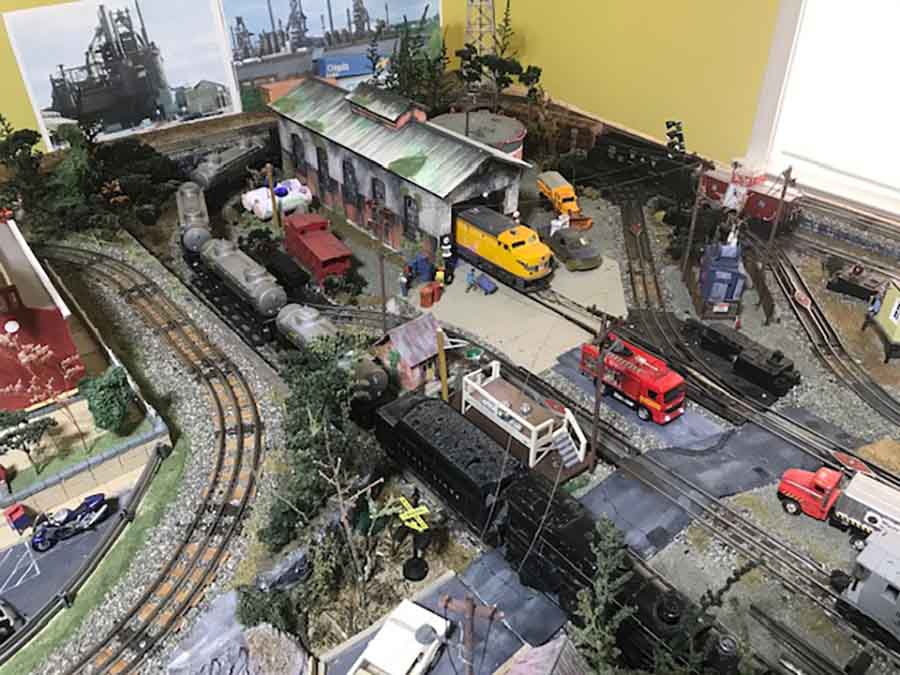
The door will go away and I’ll have an 18 foot span (from the wall behind the door over to the handrail for the stairs) for the railyard with turntable, 9-bay roundhouse and maintenance sheds for steam, diesel and electric locomotives.
It will also include freight loading docks and the ever so essential coaling and watering stations for the steam locomotives.
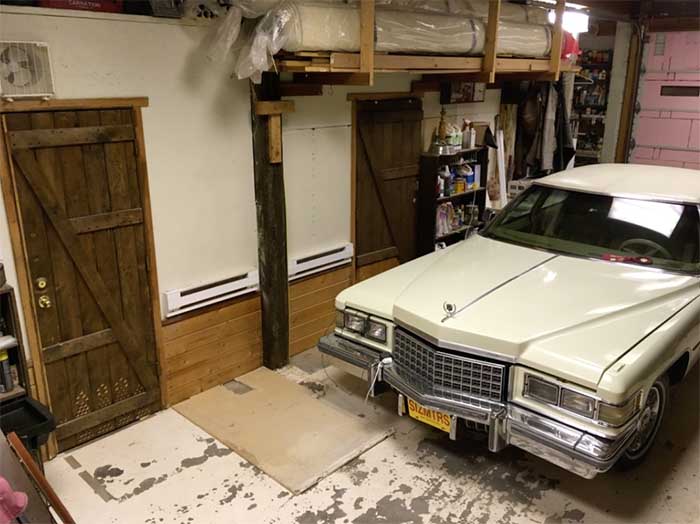
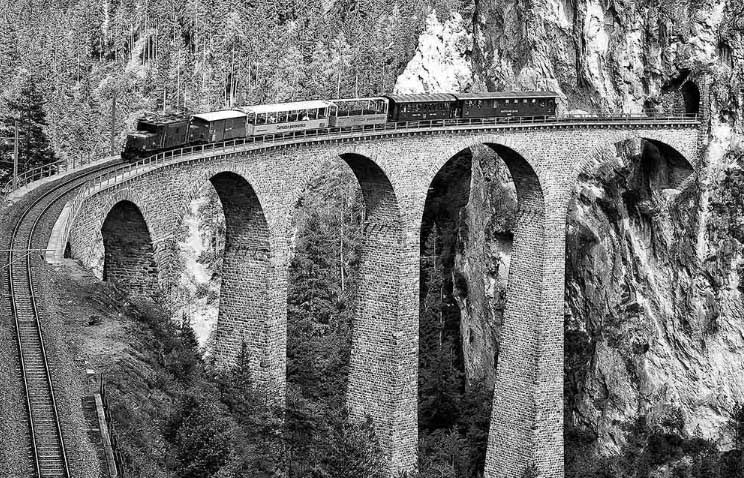
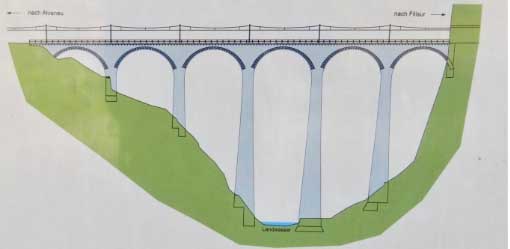
Now that I’ve sold the 1976 Cadillac Fleetwood to a collector, I have the room to build the large space needed for a scaled down version of the Landwasser Viadukt on the Rhaetian / Albula Railway in Graubunden Switzerland. That’s the route that runs the famous “Glacier Express.”
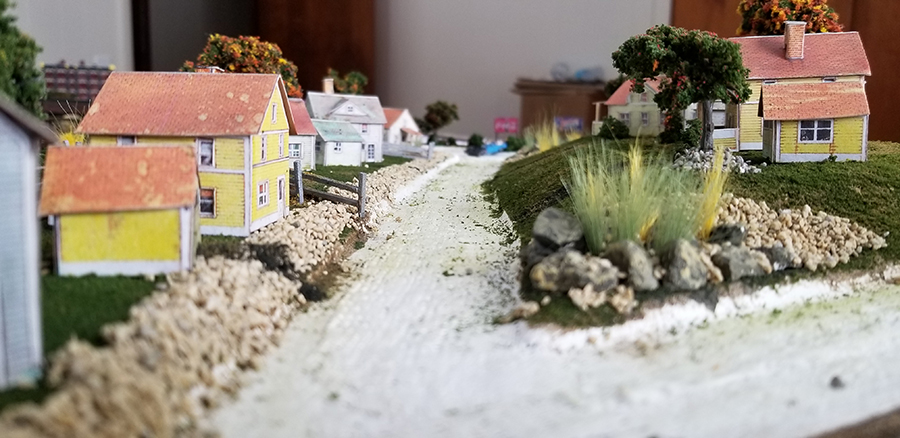
I’ll also have my alpine village named Filisur, which is just the other side of the Viadukt.
Here is a copy of the track plan and a few photos of the various notable railway features in that area of Switzerland that I plan to model.
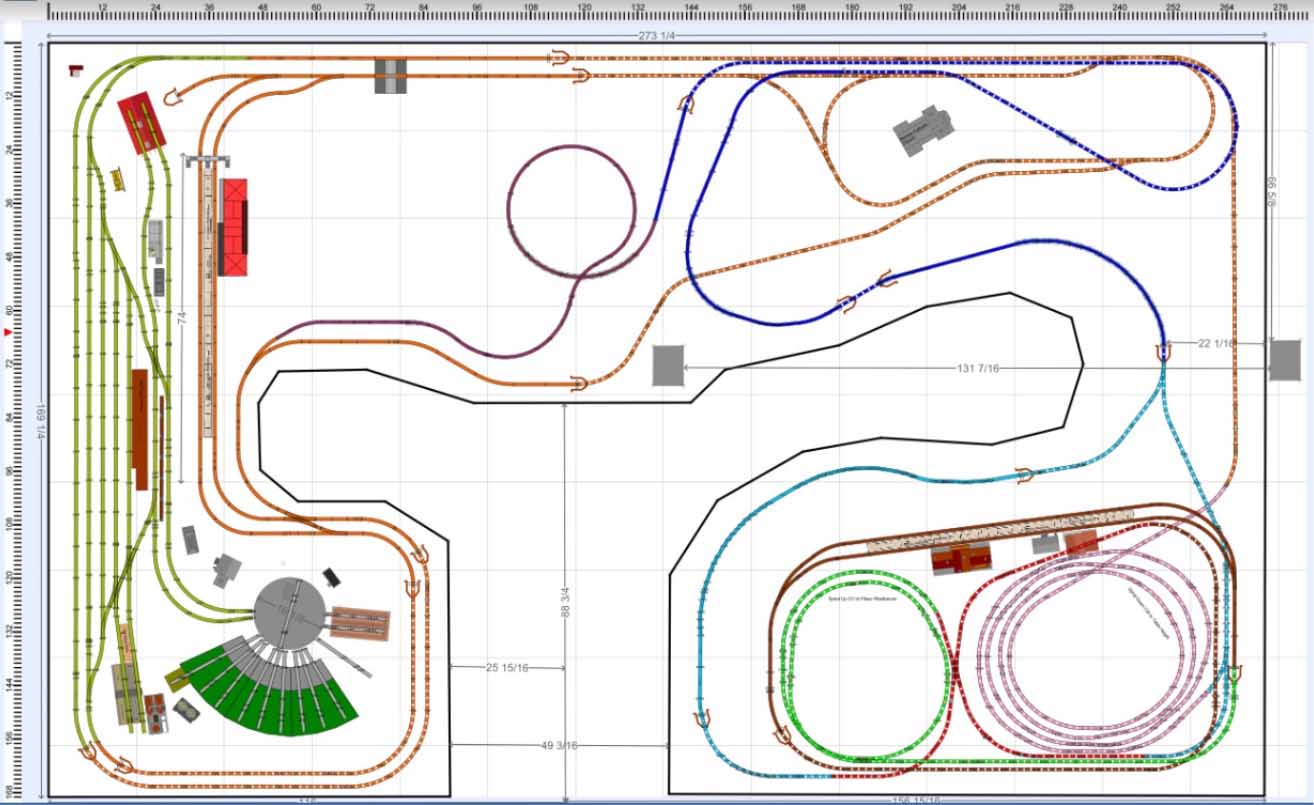
The layout will have a 24 inch difference between Filisur (on the right) and the base track layer.

To properly scale the height of the Landwasser Viadukt in HO, it would have to be 5 feet 6 inches tall from the base of the tallest pillar to the track. Even if I use open benchwork for that part of the layout, I think I might have to decrease the height a bit.
Here are a couple of photos of the Landwasser Viadukt:
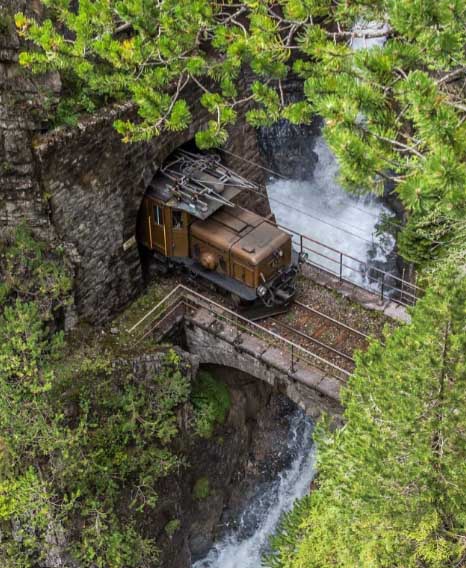
Here is a Photo of the Kriesviadukt:

And here is a photo of the “Bear Step” bridge:
One of the advantages of the Marklin 3-rail system is that you don’t have to worry about polarity changes if you’re running the layout in analog AC mode. I’ve converted most of my locomotives to ESU DCC LokPilot controllers and I’ll be using the ESU ECOS command station to operate the trains. I hope to be able to operate five trains at a time when the layout is complete. I’ll keep you posted as I progress.
All of the members and contributors to your website, and you especially Al, have inspired me to dive back into my model railroading. The model railroad industry had changed so much since 1977!
Everyone here has posted something that has taught me and given me insight. Over the past six years since I joined the site, I have learned so much and it has forced me to re-think the first sketches that I made of the track plan that I’ve shown in this post.
Thanks to everyone for your contributions! Happy Model Railroading and modeling to all!
Jerry in Belen,
NM USA”
A big thanks to Jerry for adding to the large HO train layouts on the blog. Very much looking forward to seeing this one take shape.
If you want to see a ‘finished’ HO scale, Bill’s springs to mind: Large HO scale layouts.
That’s all for today folks.
But please do keep ’em coming – it’s so quiet at the moment.
And if today is the day you stop dreaming and start doing, just like Jerry, the Beginner’s Guide is here.
Best
Al
PS Latest ebay cheat sheet is here.
PPS More HO scale train layouts here.
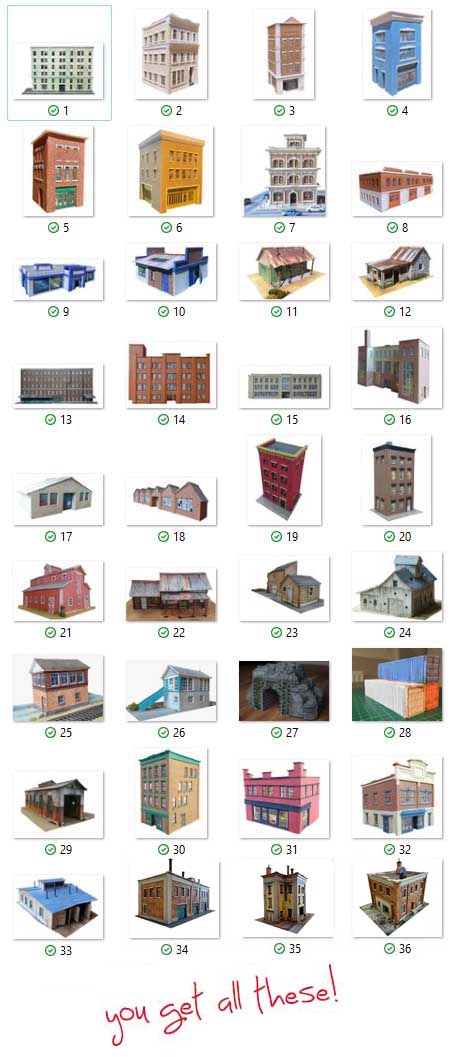
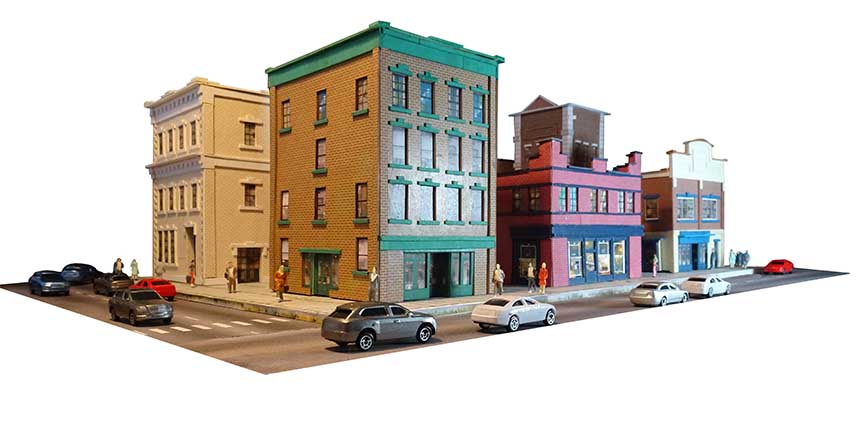
Need buildings for your layout? Have a look at the Silly Discount bundle.