Dean’s been in touch with a fabulously clear ‘how to’ on something that is always popping up on the blog: wiring a model railroad.
“Al, greetings from Dean in New Mexico. Thanks for all your good work supporting the hobby!
One of the bigest bugaboos of people starting out in model railroading is wiring.
So this is a short tutorial on wiring the track, testing it out, and soldering.
To start, I recently was asked “why do you use so many feeders in your model railroads. I’ll begin there.
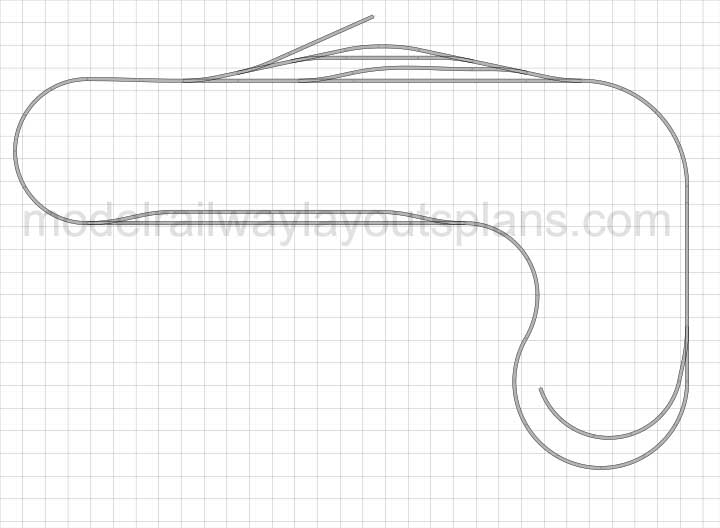
Here’s a simple loop layout. One of the two rails of the track is black, the other, red and the blue slash lines indicate rail joiners between the track sections. The circles with arrows represents a voltmeter measurement and they are green idicating correct voltage at any point you might measure.
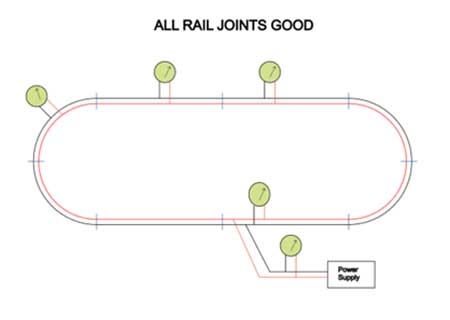
A bad or loose rail joiner will limit power to some parts of the layout, but with one bad joint you still get power everywhere.
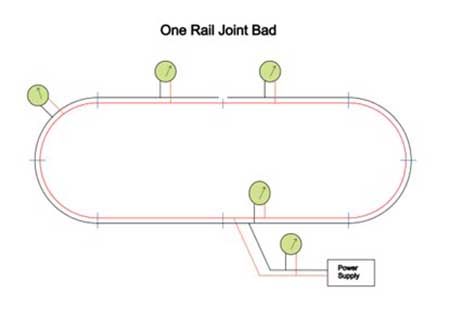
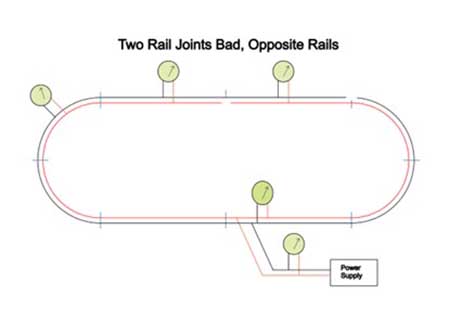
You can have up to two bad joints if they are on different sides of the track. You can see that in the diagram below–all sections of the track get power from one side or the other.
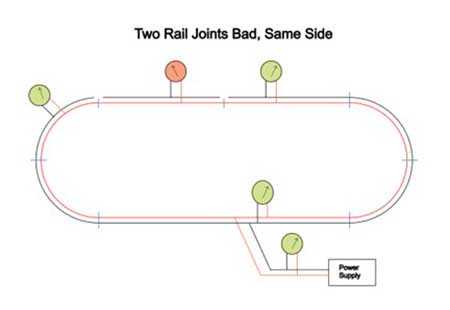
But, if you have two bad rail joiners on the same side of the track, you will get lower voltage (loco will slow down) or even no power (loco will stop) in the section in the middle (indicated with a red circle).
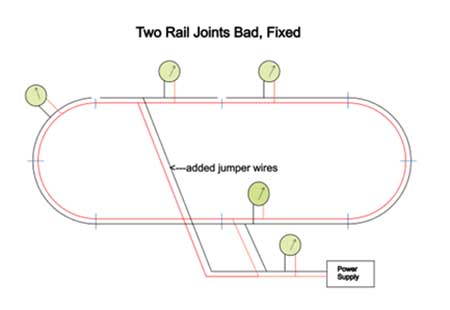
You have two options to repair the track: You can solder the bad rail joiners, or you can add a set of feeders, or jumper wires to the bad section.
People have different philosophies on how many feeder wires to add. Some go as far as to add a feeder to each section of track.
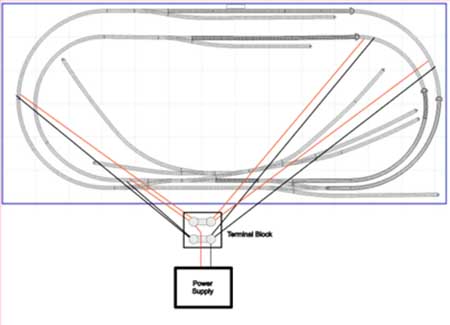
In my current Conejos Valley Railroad, I’ve put in four sets of feeders as you can see.
Then if a siding or other section of track goes bad in the future, I’ll add a feeder to that section.
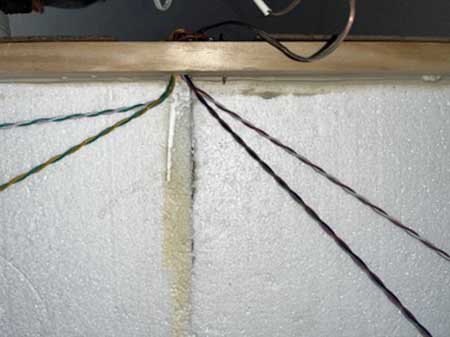
The photo below shows the four sets of feeders coming back to the same point. I chuck the two wires in a drill with the other end held in a vise, then run the drill slowly to twist the wires together.
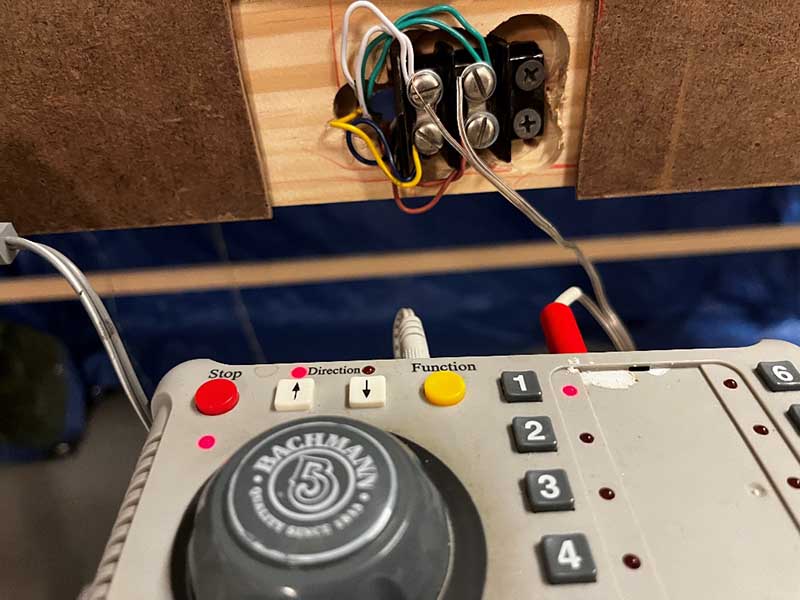
Here’s the terminal block where the sets of wires are connected to my power supply.
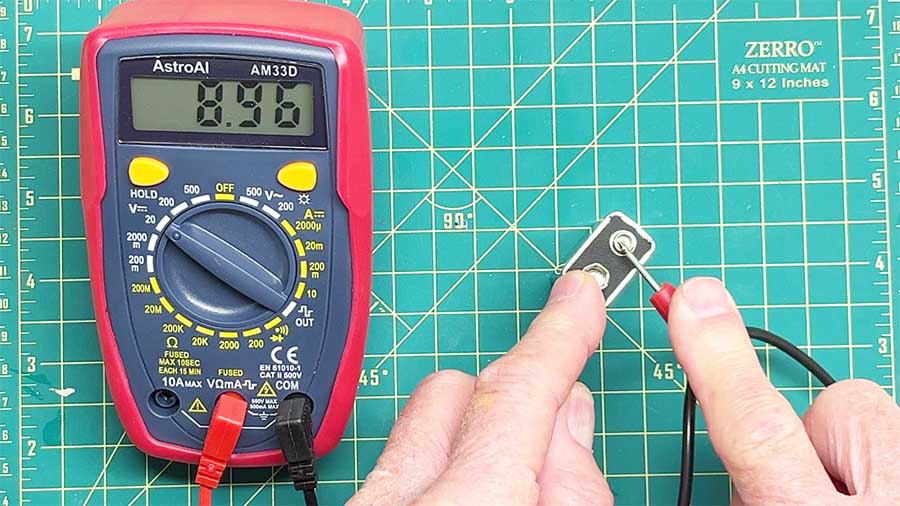
Testing the track. Here’s an inexpensive voltmeter that you can buy on Amazon for around $12.
If you are running DC power, set it as shown on 20 volts DC. I’m testing it out with a 9-volt battery, but you can measure your voltage easily at various points on your track to look for bad sections.
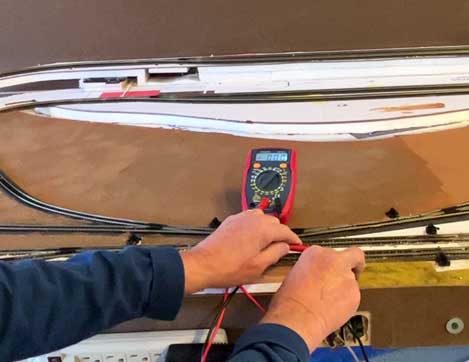
My railroad is DCC powered. DCC is actually alternating current, so for that set your volt meter to 200 V AC.
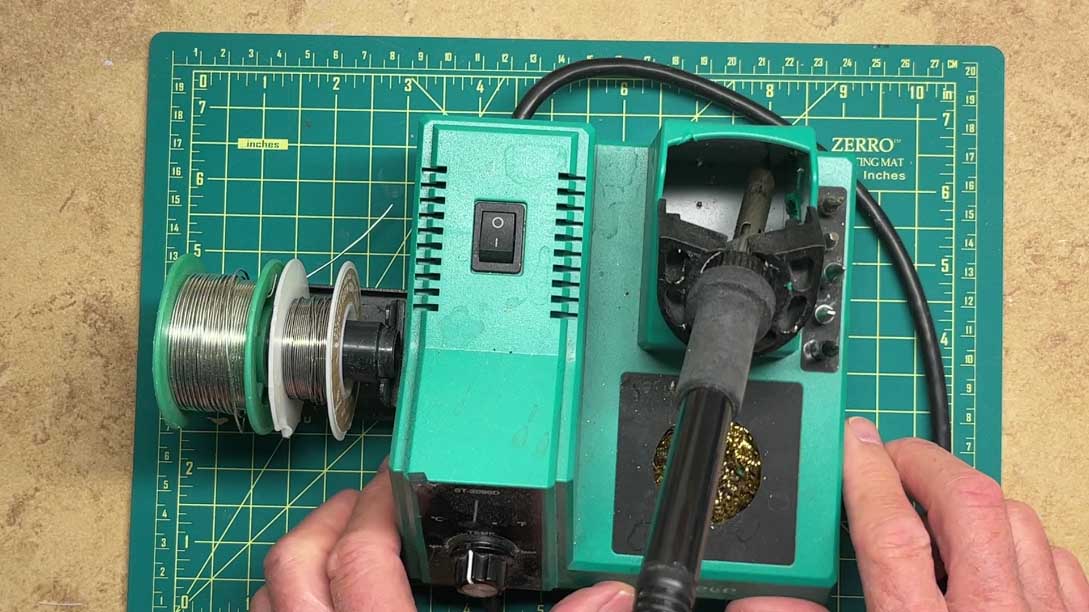
Soldering is easy if you have the right tools and solder.
You can get a soldering station such as the one below for $40 to $50 on Amazon.
You can vary the temperature of this one (I use 200-220 C) and it comes with rosin core solder that is safe to use for your track or wires.
The rosin in the core helps the solder to eat away corrosion on the metal. Don’t use acid core solder which will eventually corrode the metal.
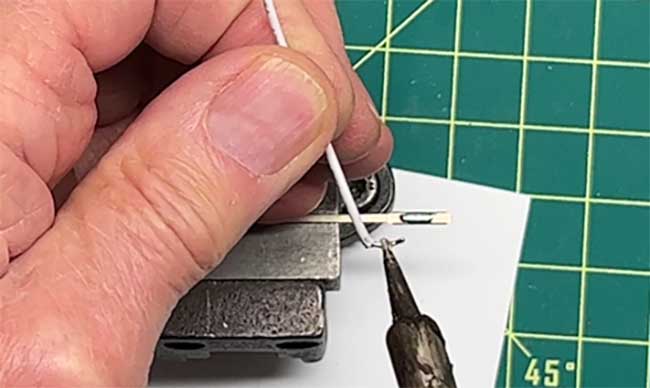
To solder anything, first “tin” the solder point by touching the hot tip to the end of the solder wire.
This coats the point with a thin layer of liquid solder to help heat transfer. Then heat the metal and after it gets hot enough, feed the solder to the metal.
If you’re careful, you can add jumper wires to existing track after it is put down.
But the best way to add jumper wires to a layout is while it’s under construction – as you lay the track you can add hidden wires to the rail joiners.
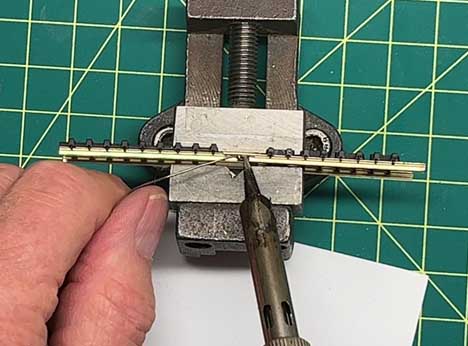
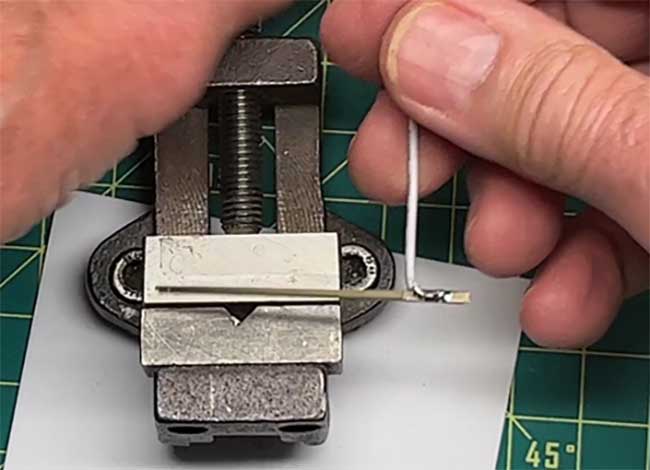
The wires can be soldered onto the rail joiners at your workbench by holding them in a short piece of track. Solder a blob of solder to the joint, tin the wire and then solder it to the joiner.
Test the finished assembly to make sure its sound, then slip it onto the rail end as you lay down your track and pass the wires though holes in the track support.
I’ve put out a YouTube video that shows all of this in more detail:
Hope this helps.
Cheers,
Dean”
A huge big thanks to Dean for sharing his ‘how to’ on wiring a model railroad.
I have to say, I think it’s a wonderfully clear post on wiring.
You can see more from Dean on wiring here: How to run a model train bus wire.
Please do leave a comment below, I’d love to hear your thoughts on this one.
That’s all for today folks.
Please do keep ’em coming.
And if today is the day you get started on your layout, the Beginner’s Guide is here.
Best
Al
PS Latest ebay cheat sheet is here.
Need buildings for your layout? Have a look at the Silly Discount bundle.