The talented Boyd has been back in touch – this time he’s added a model railroad lumber town, complete with a Jurassic Park, which I absolutey loved.
It’s the theme and the personal touches that make a layout!
“Hello Al,
It’s hard to believe that another year has passed since my last email. As mentioned before, I pursue outdoor activities and spend several weeks up in Nova Scotia throughout the warmer months, and only work on the layout over the Winter.
As usual, I did not get as much done as I planned, but did commit to getting a good start on the next section.
If you recall, there will eventually be a section dedicated to each of the grandkids, and this year’s goal was to get in the basics of Jaxonville.
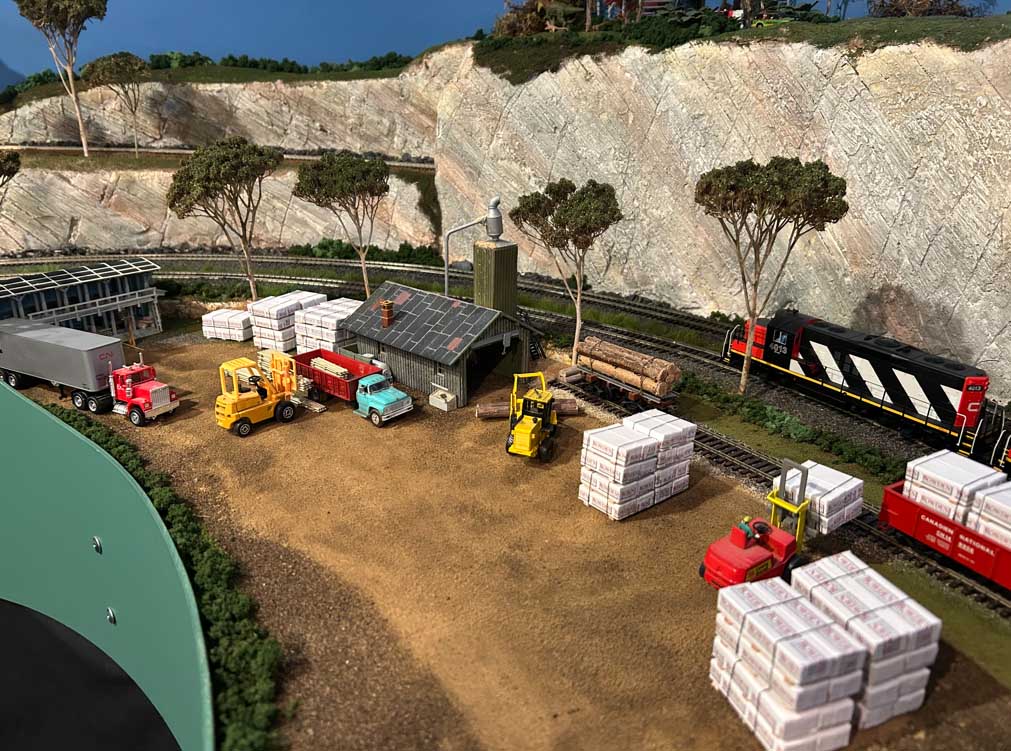
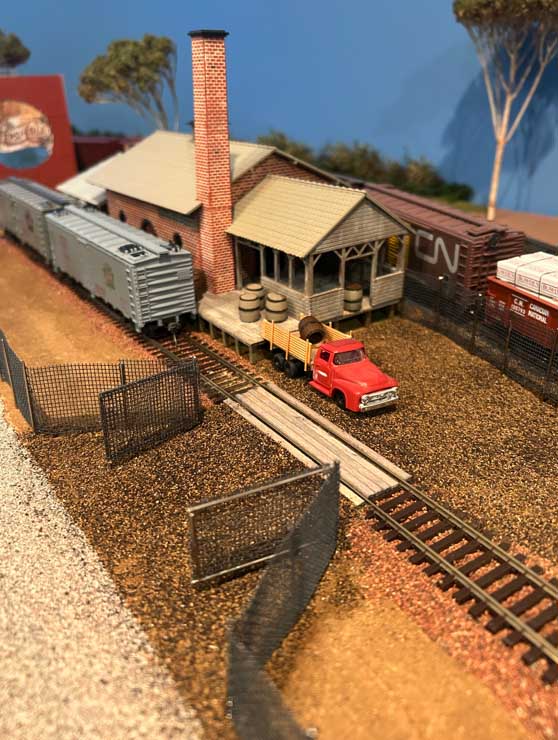
The scene begins at the bottom of Mila’s Mountain with a small family operated lumber mill that processes the timber from the logging camp up on the mountain. There is a siding to bring in the logs and take away the packaged lumber products.
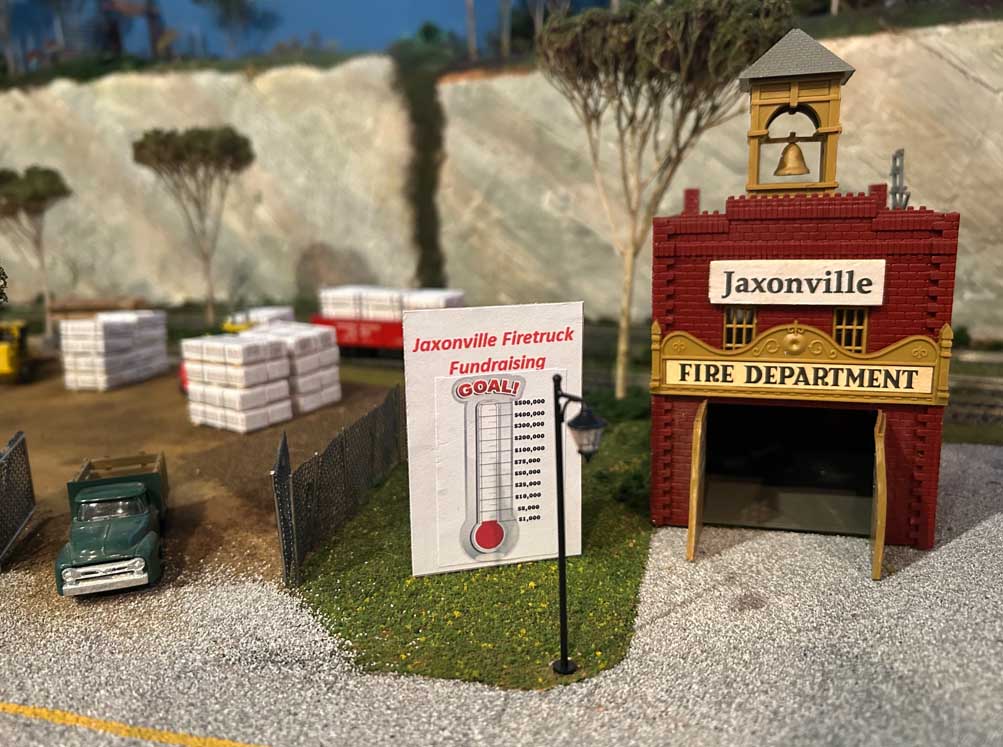
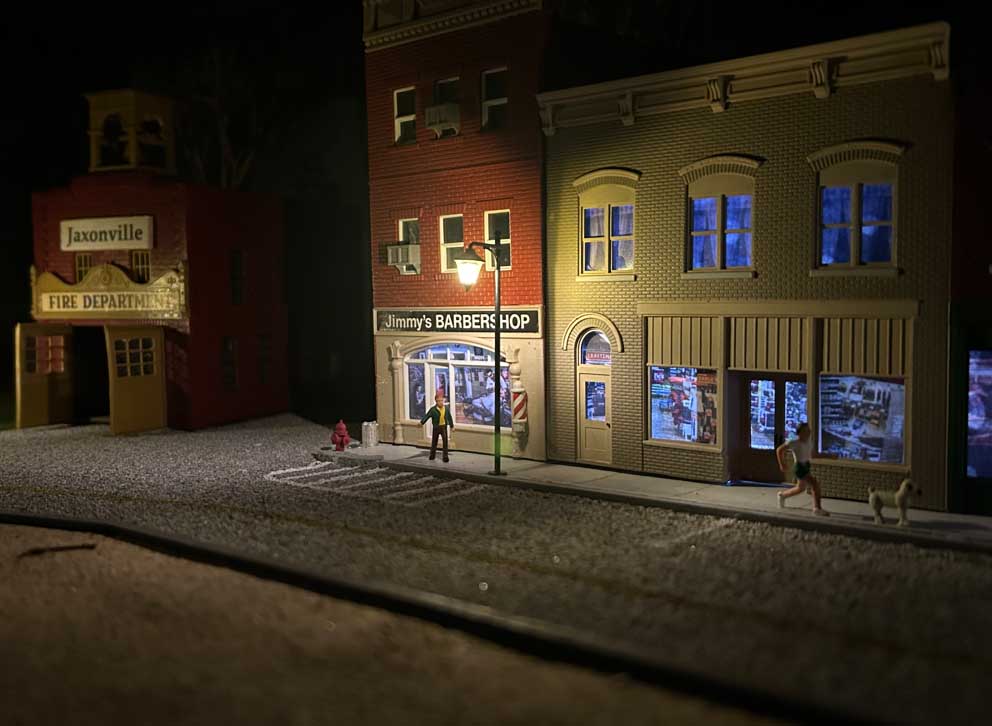
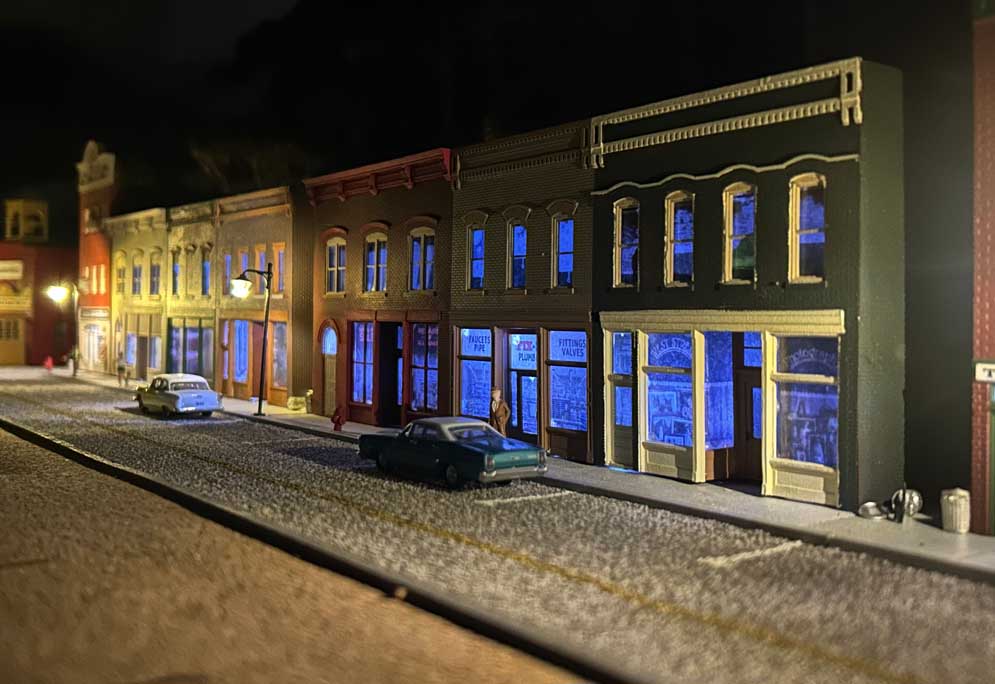
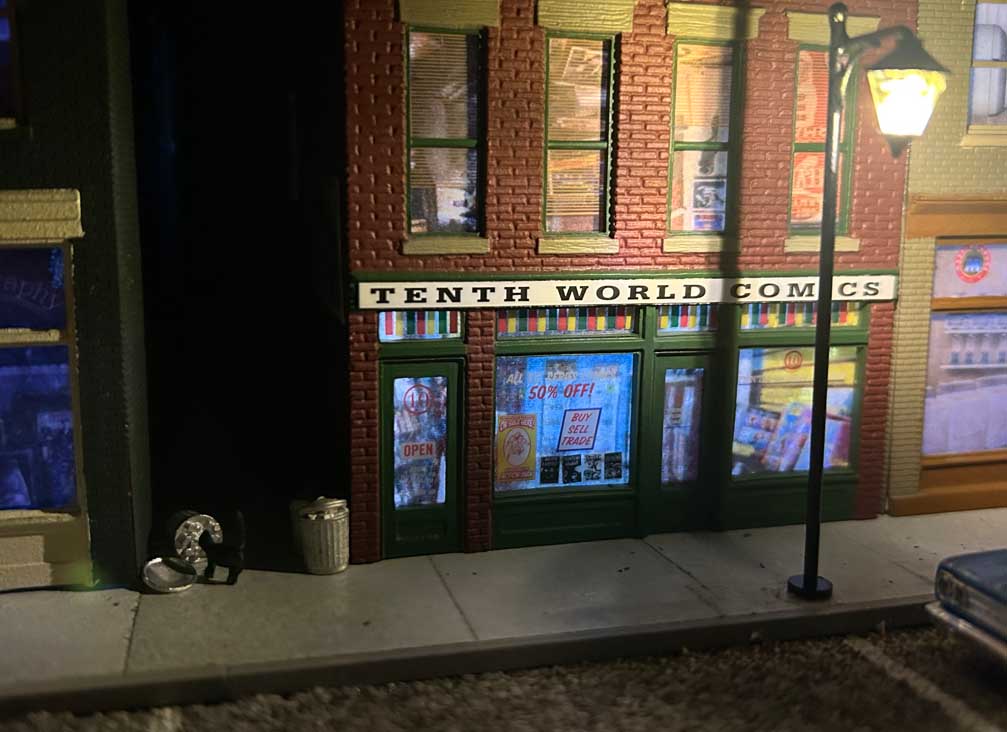
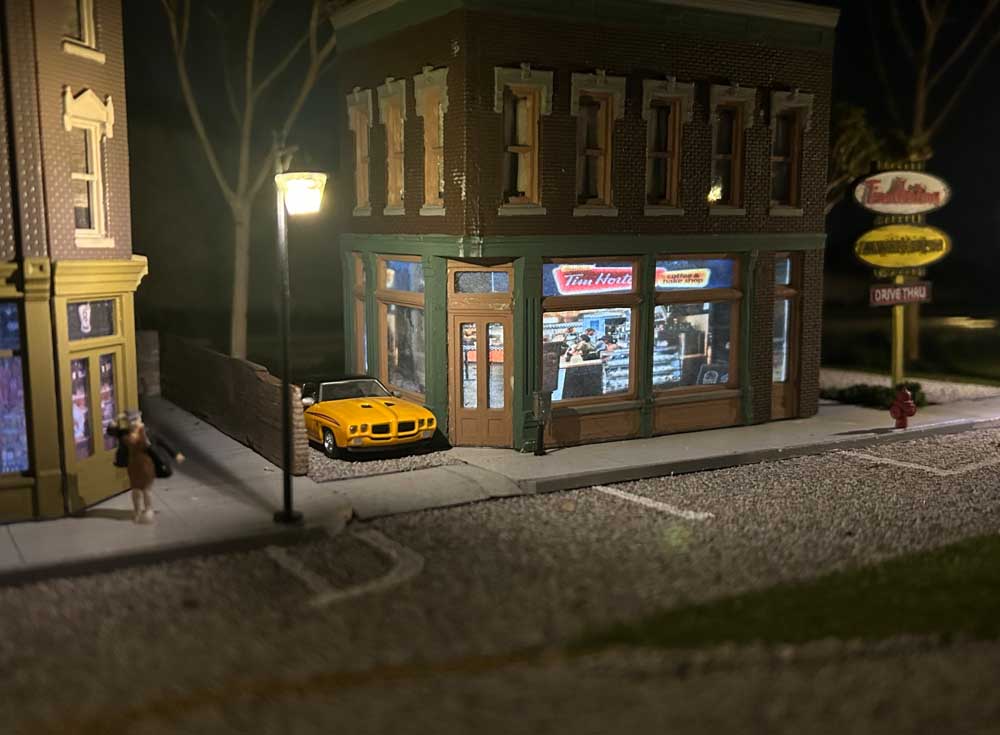
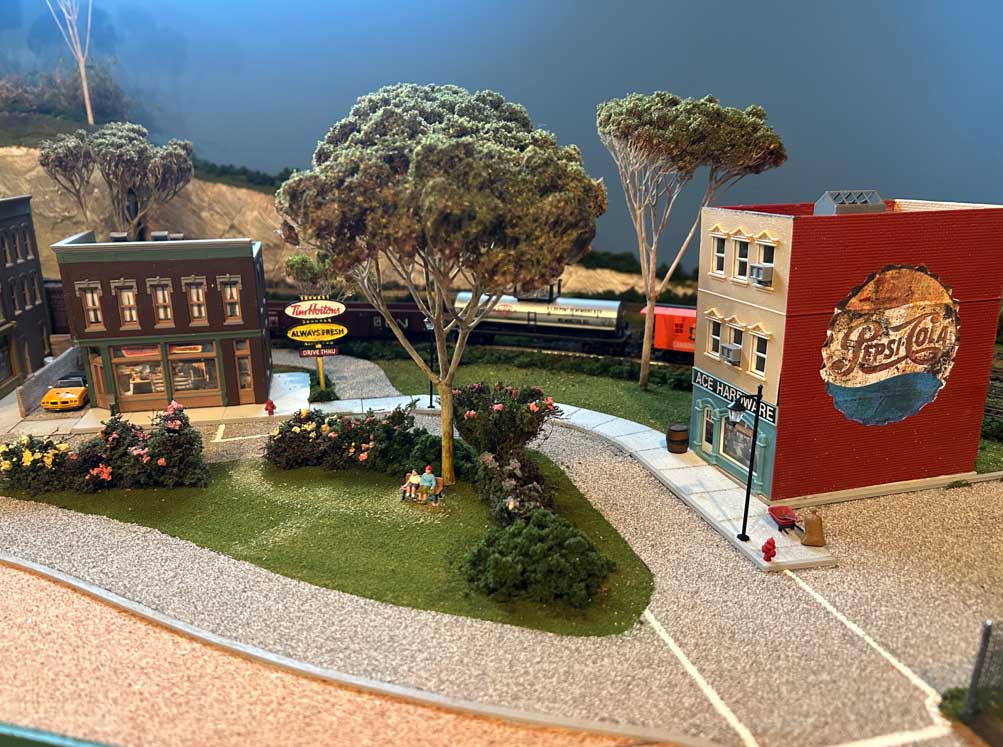
As you pass the mill and head into town, you first pass the firehall ( there is currently a funding campaign underway to purchase a new firetruck, but it appears to be off to a slow start ), then there is a section of retail stores, a Tim Horton’s drive through ( I was born and raised in Canada ) then the scene ends with a brewery, which also has a siding to bring in raw material and take away the brew.
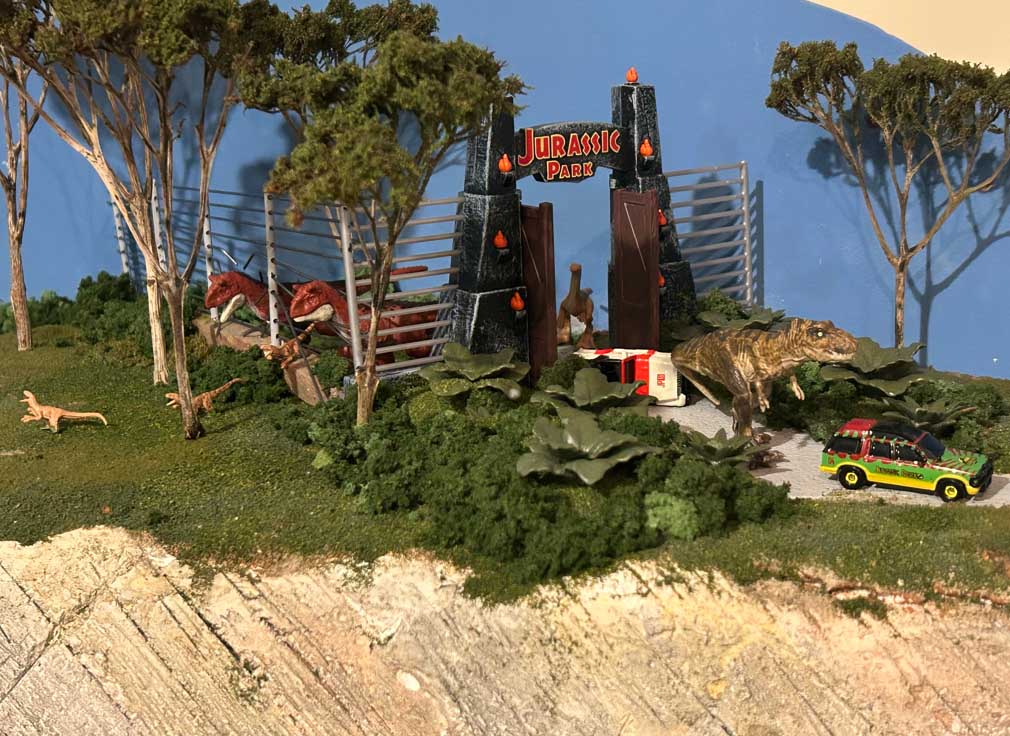
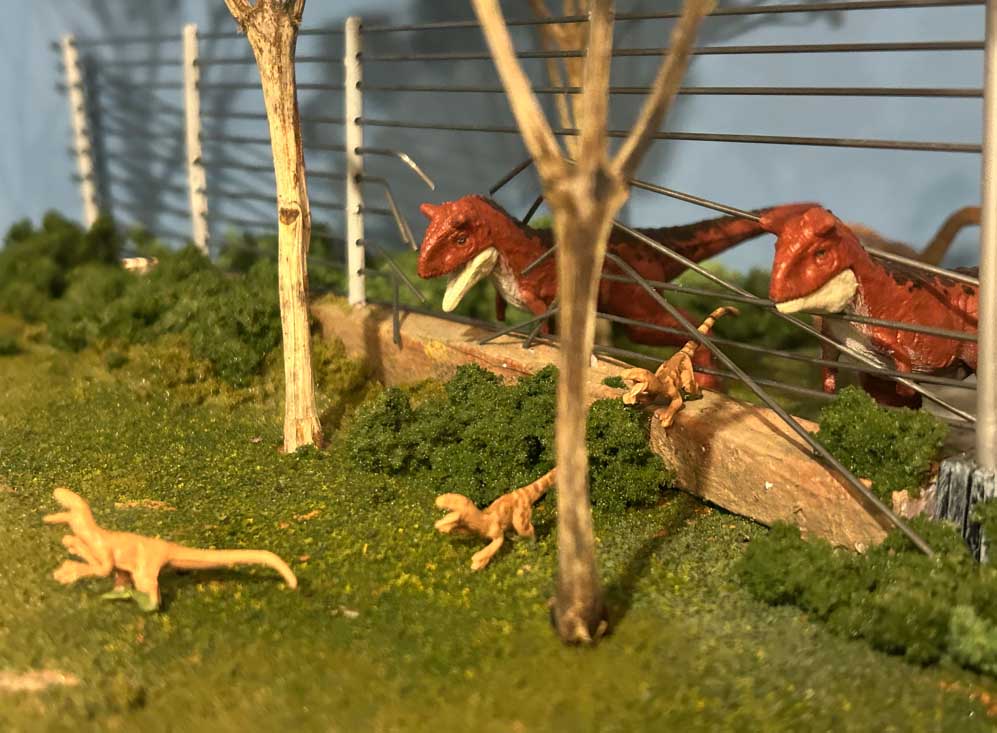
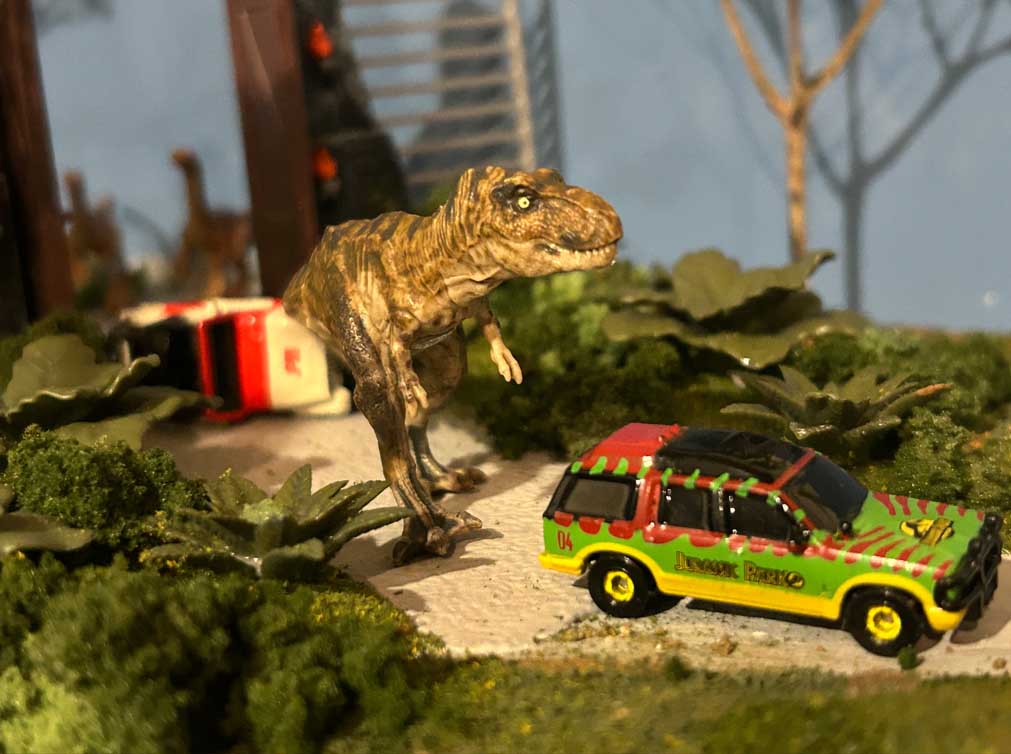
Above Jaxonville is a Jurassic Theme Park to reflect one of Jaxon’s main interests.
Each of the stores has interior lighting, and there are streetlights along the main street. The wiring was a new learning experience, and took some time, but I think the end result was worth the effort.
There are still many details to fill in, more people, vehicles, etc., as well as a playground and park to finish out the foreground. That won’t happen until next fall, so I thought I would send in progress to date.
I will also send a video showing some trains as they pass behind Jaxonville, it is not the greatest of quality and runs a bit long, use as you will.
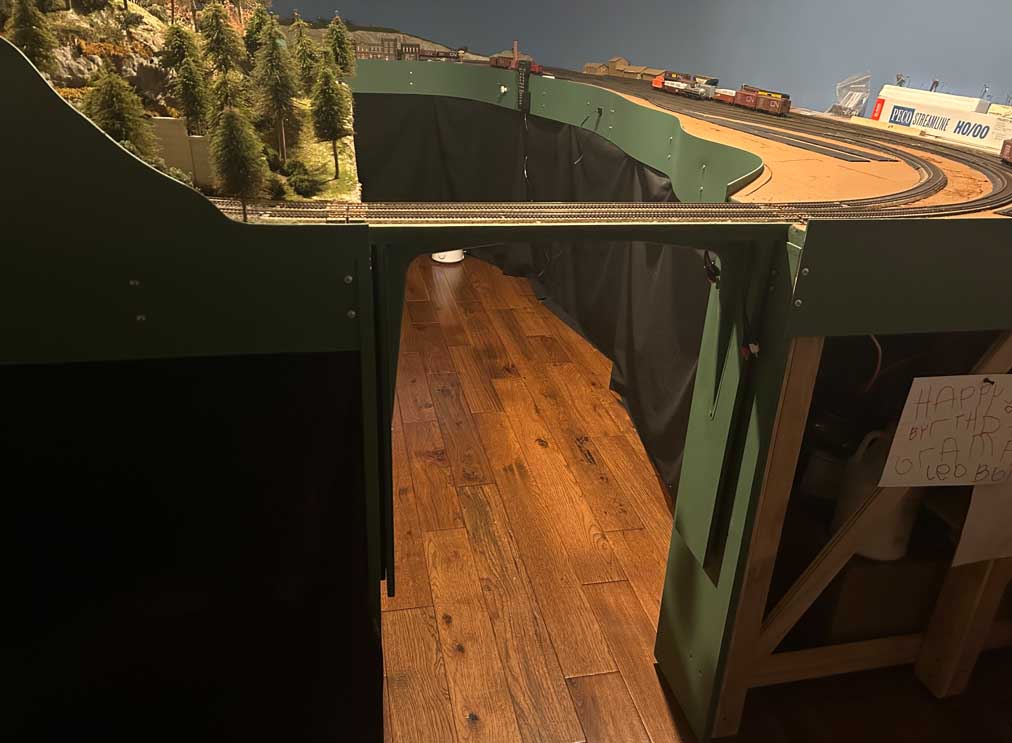
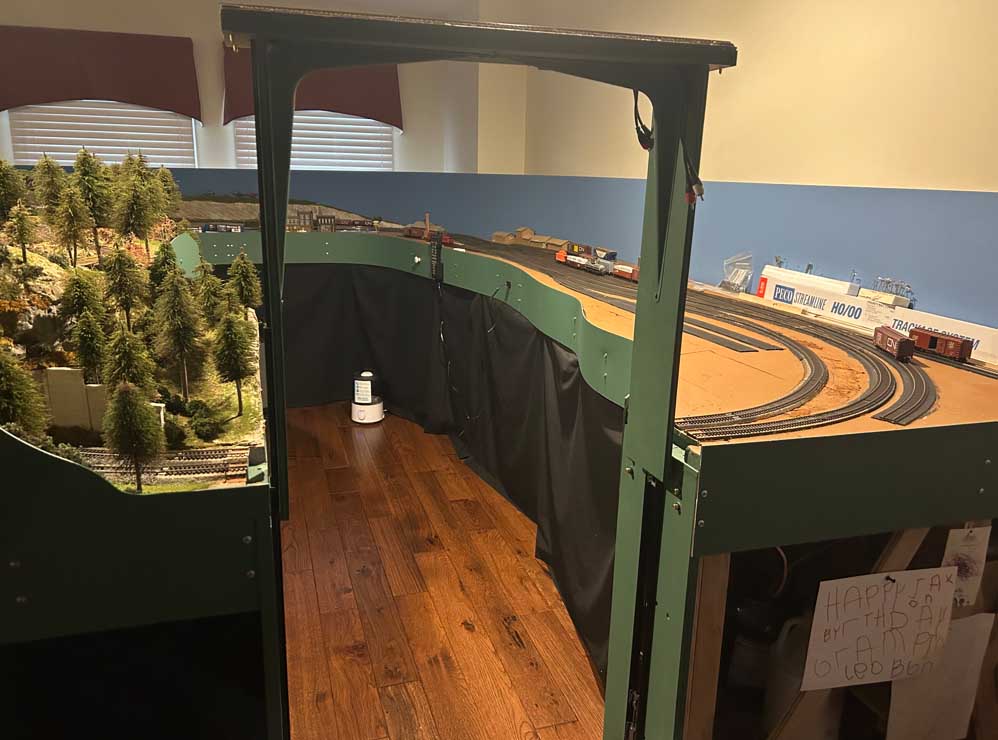
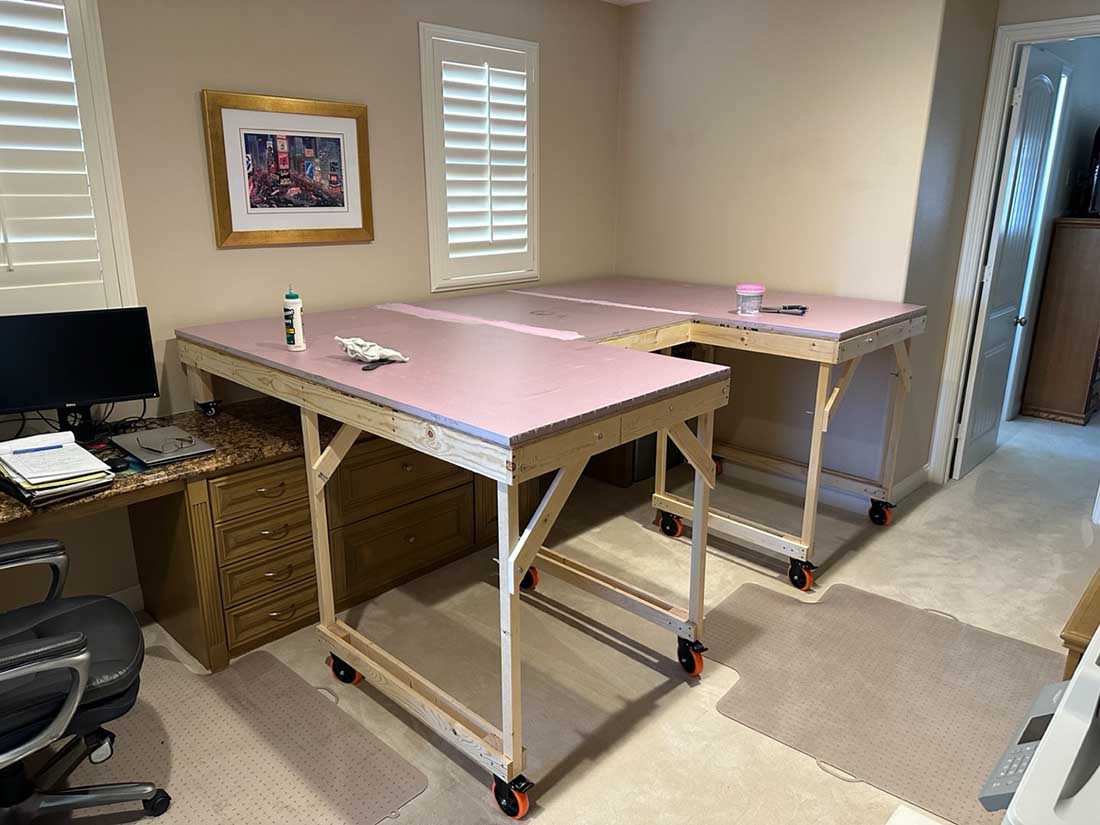
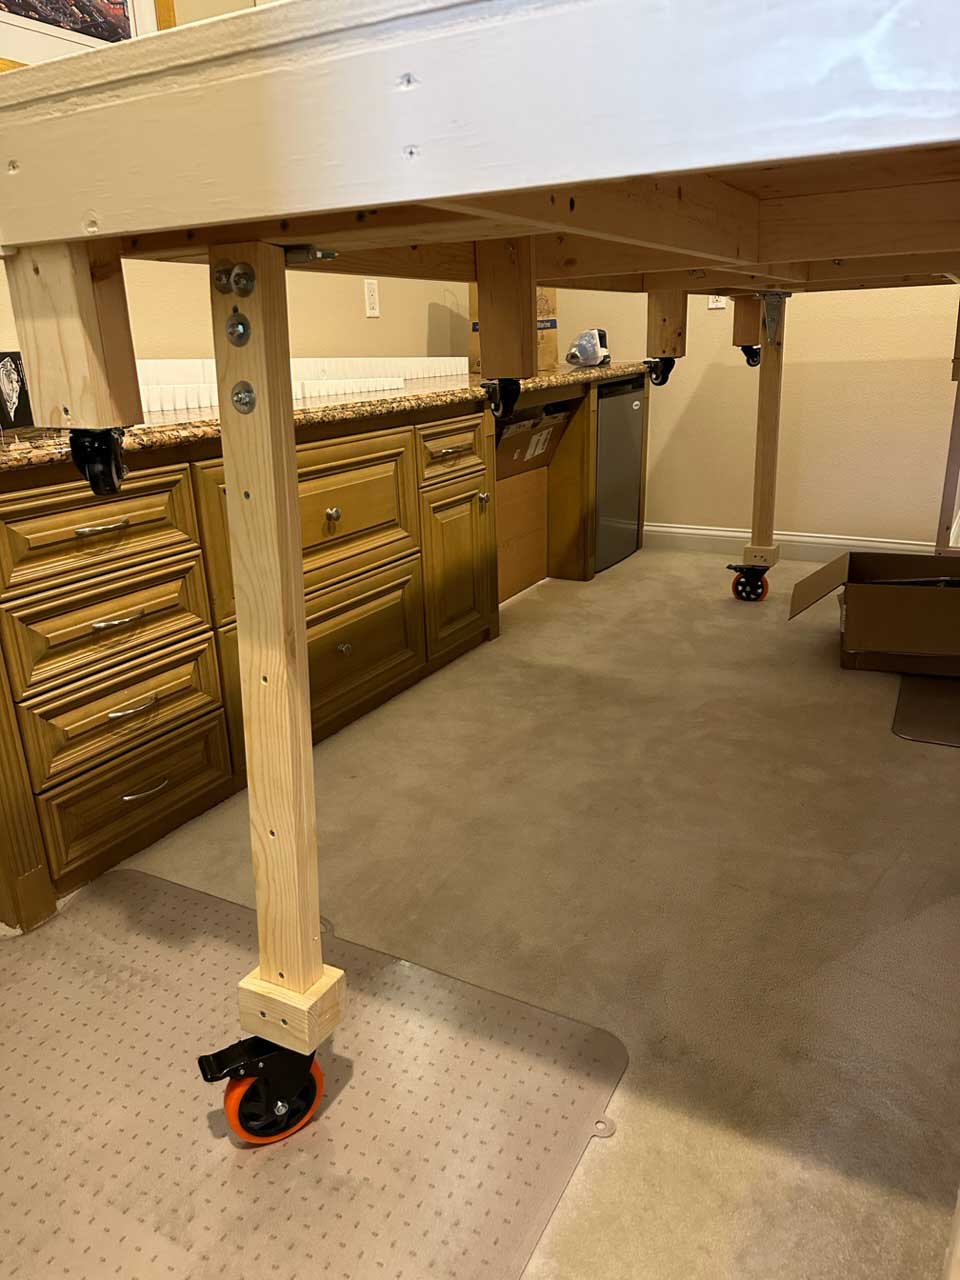
One other note, my layout originally had a duck under to access the interior space. I knew I would probably tire of that eventually so I had a temporary bridge in there until I decided which direction to go for the final solution.
I stumbled upon a Youtube video of a fellow who designed and built a lift up section using drawer slides, and fashioned a similar unit for my layout, I’ll attach a couple pics of that as well. It is not as professionally finished as his, you can see his video here.
Lumber Mill area
Jaxonville Fire Department
Jaxonville retail area
Brewery
Jurassic Park
Duck under and glide up solution
A continued Thank you for all you do to support the hobby.
Boyd”
A big thanks to Boyd for sharing his model railroad lumber town update.
His layout is one of my faves on the blog. Here are his earlier posts if you want to see it from the very start:
Boyd’s update also reminded me of Paul’s Jurassic Park layout.
Recently I’ve been a bit despondent about the blog, I think this is because it’s really thin on the ground at the mo, people have stopped sending stuff in. And then I get something like today’s and I remember why I do it.
Hope you enjoyed it as much as me.
keep ’em coming.
And if today is the day you get started on your layout, the Beginner’s Guide is here.
Best
Al
PS More HO scale train layouts here if that’s your thing.
Need buildings for your layout? Have a look at the Silly Discount bundle.
