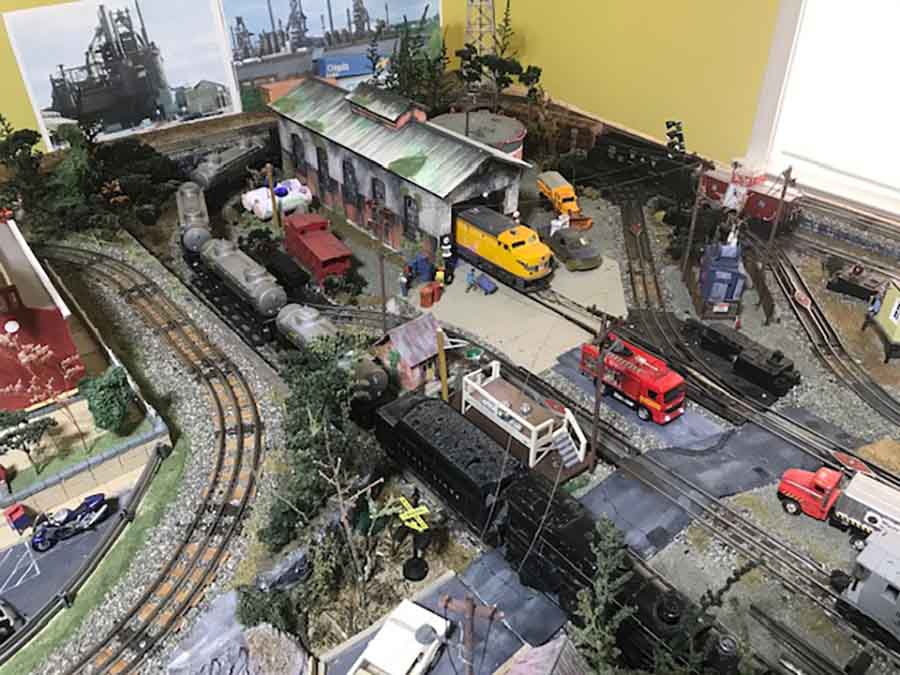
Yanni’s been back in touch with more pics of his stunning layout – it really does show off the HO scale detail parts.
(If you want to get up to speed, his last post is here.)
There’s no narrative with this batch, but that’s fine because they are stunning pics. So I thought I’d put my own ramble under them.
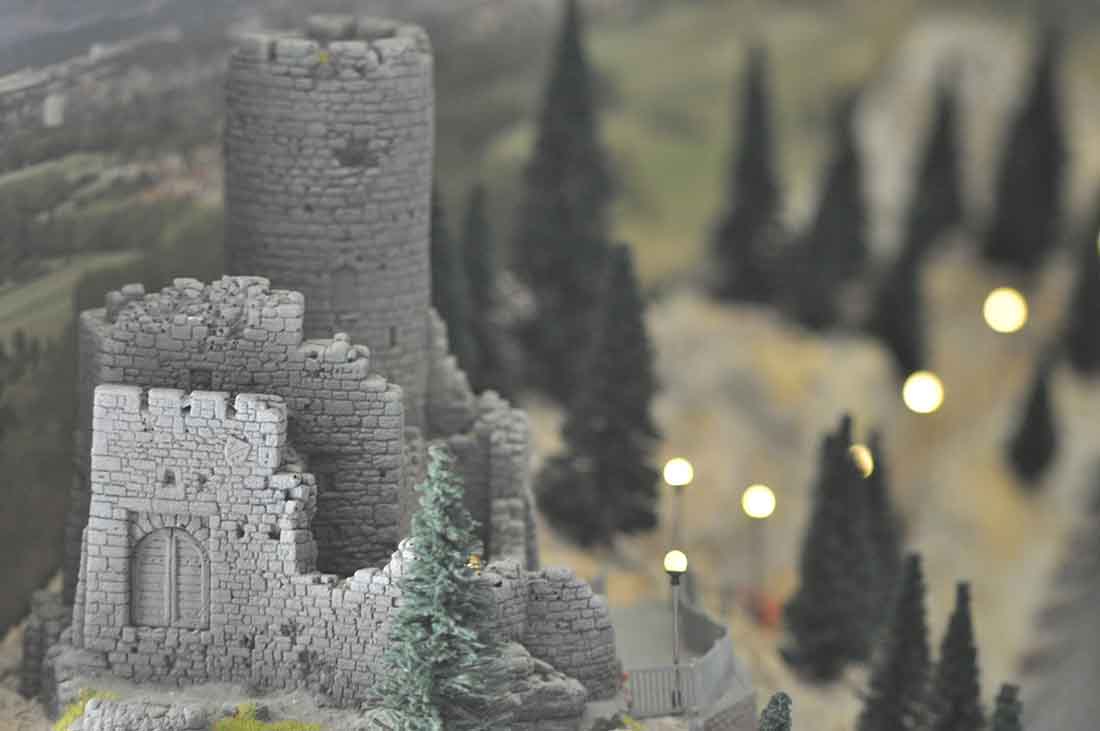
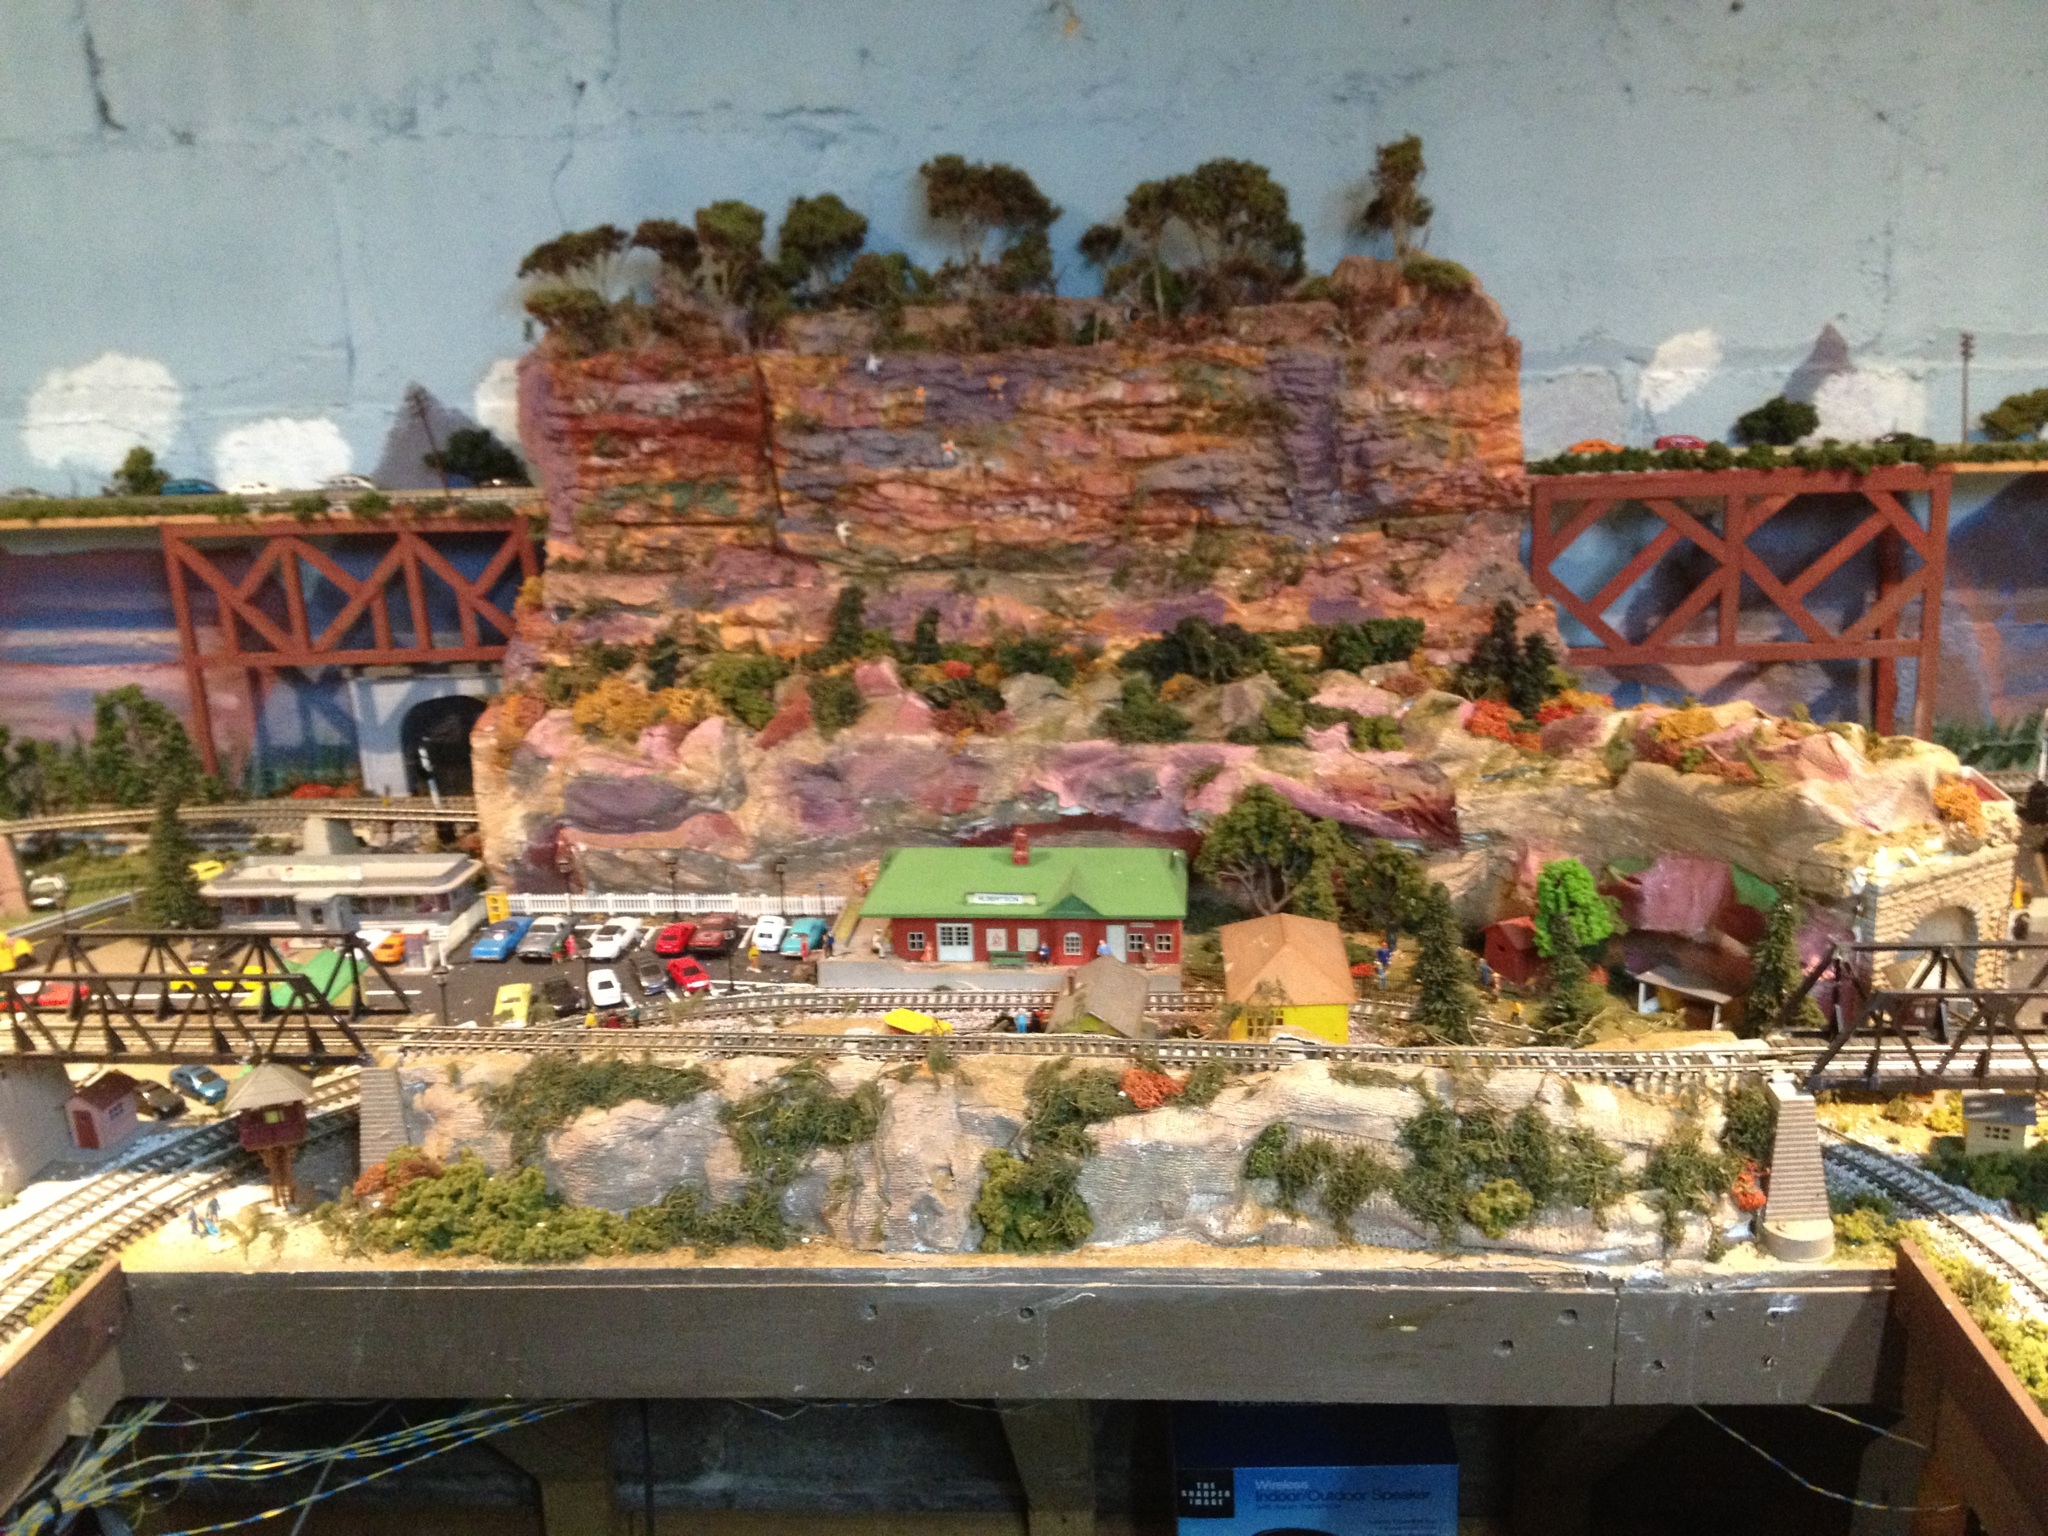
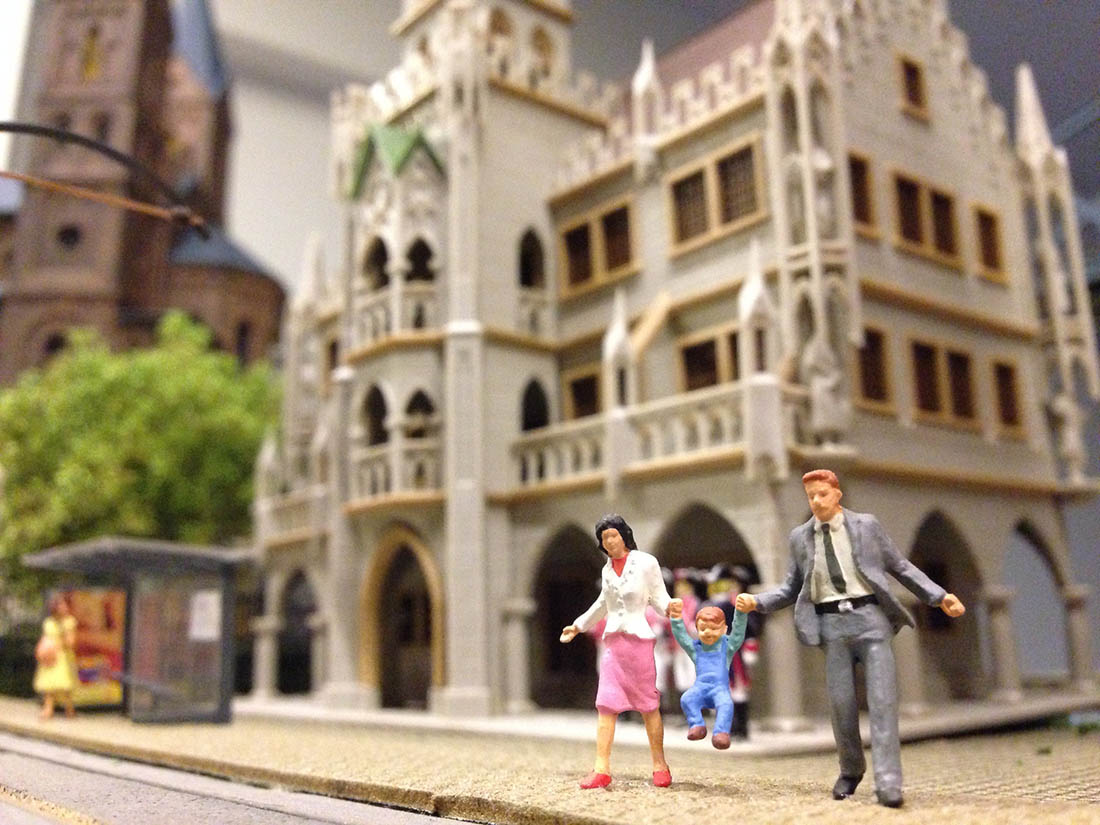
It’s surprising how many layouts do feature castles – there is something enchanting about them and they add a lot of interest to a layout.
When ever I see a castle I’m reminded of Bob’s layout: Bob’s layout
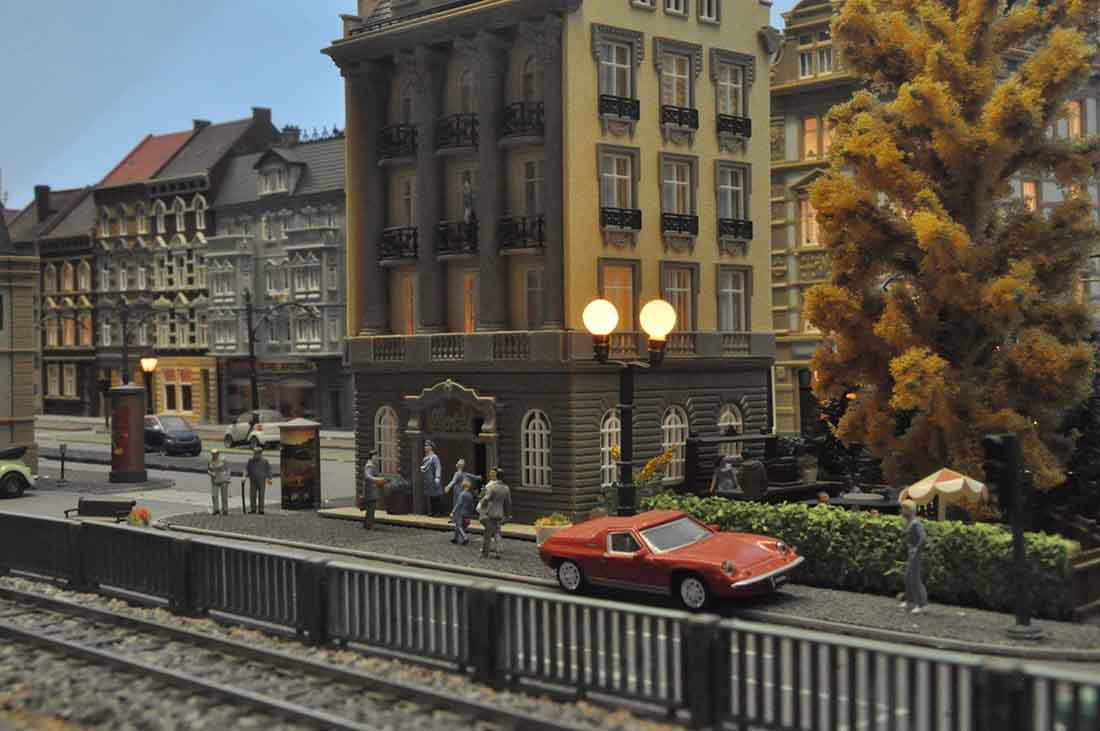
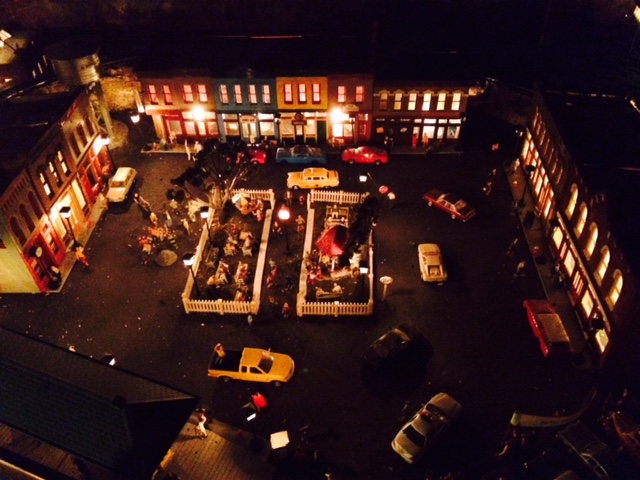
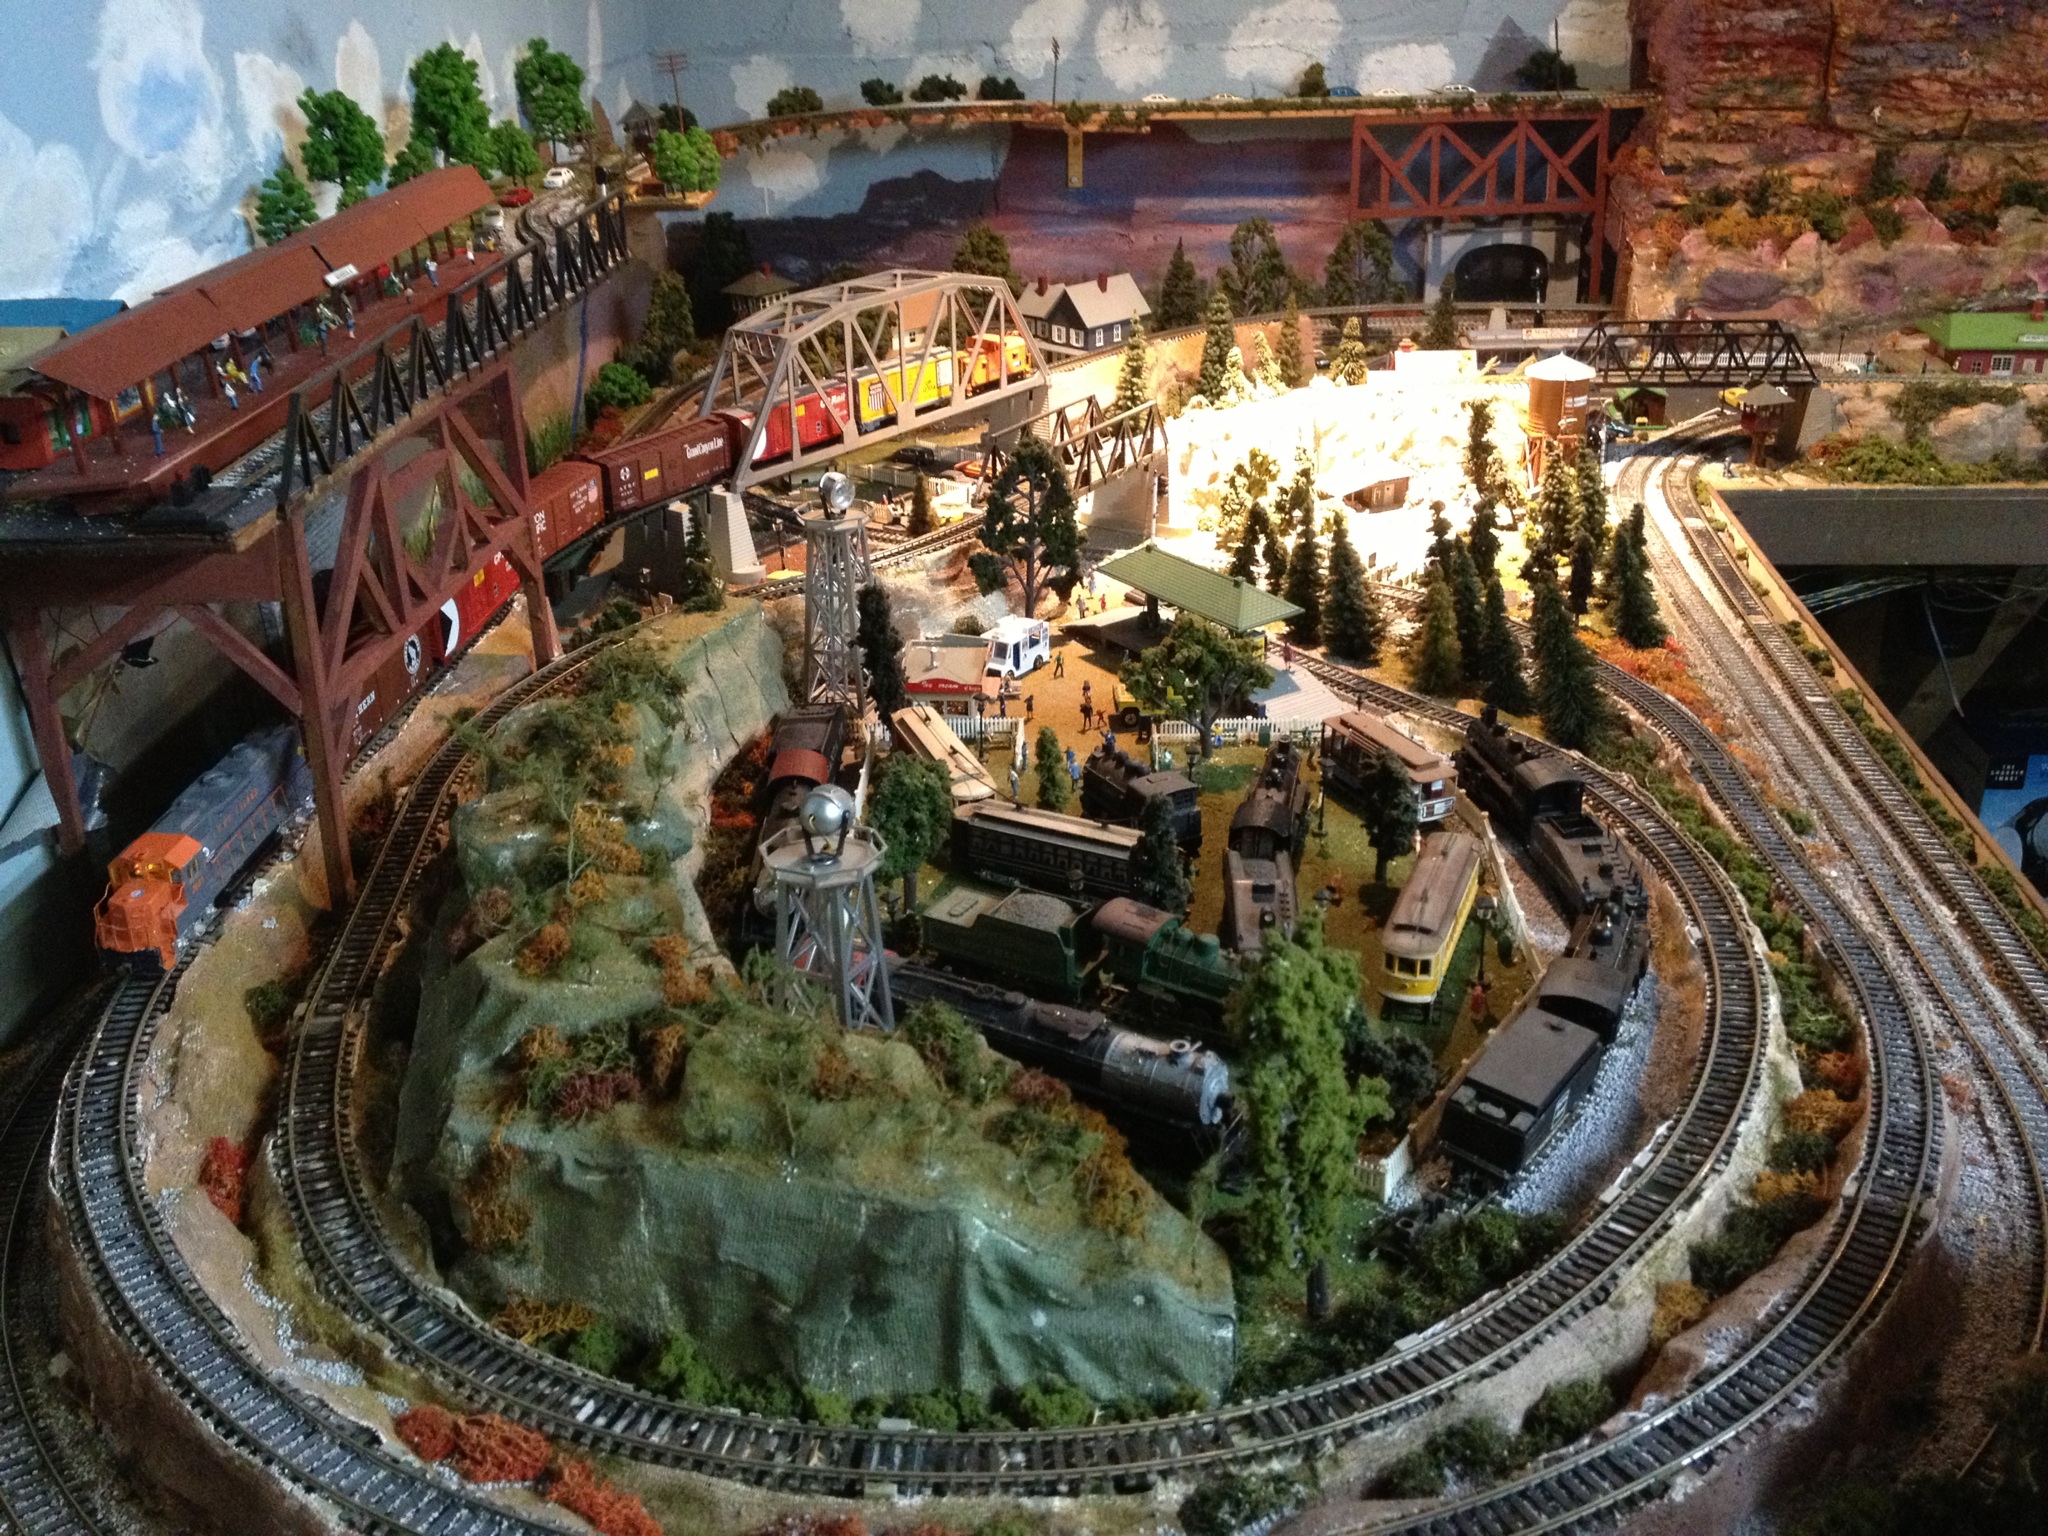
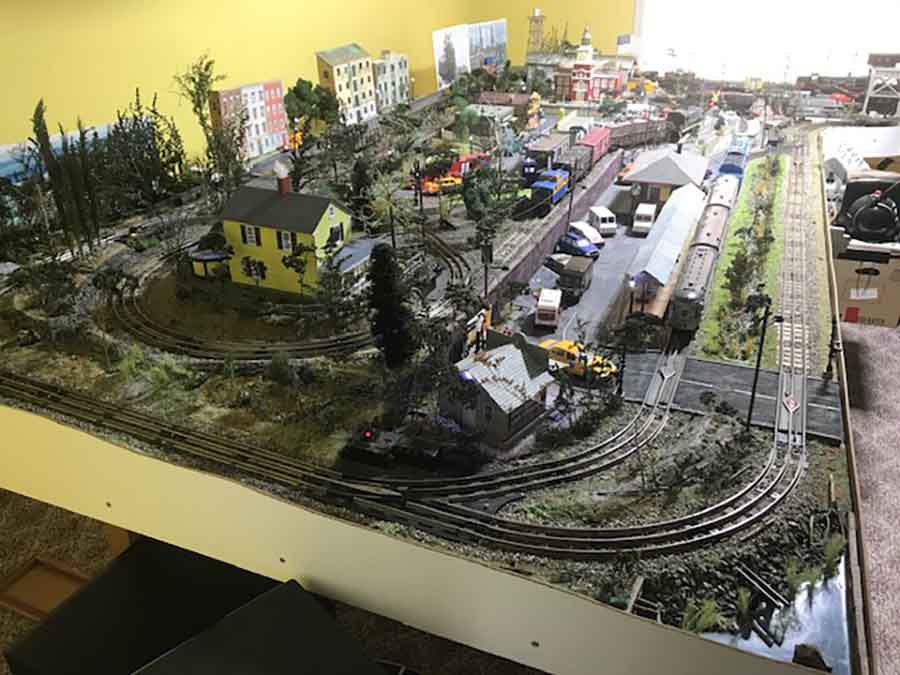
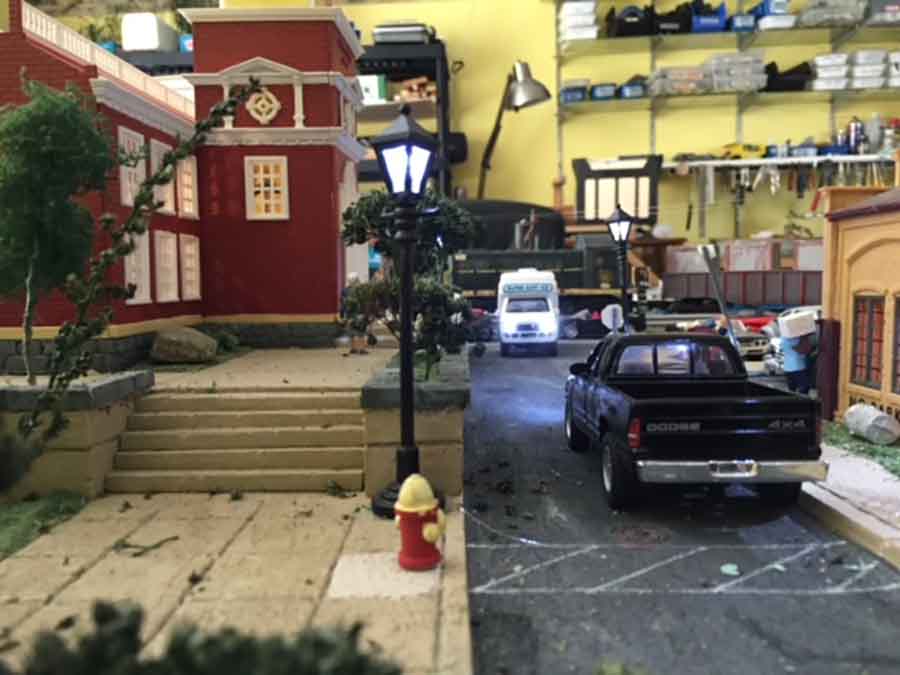
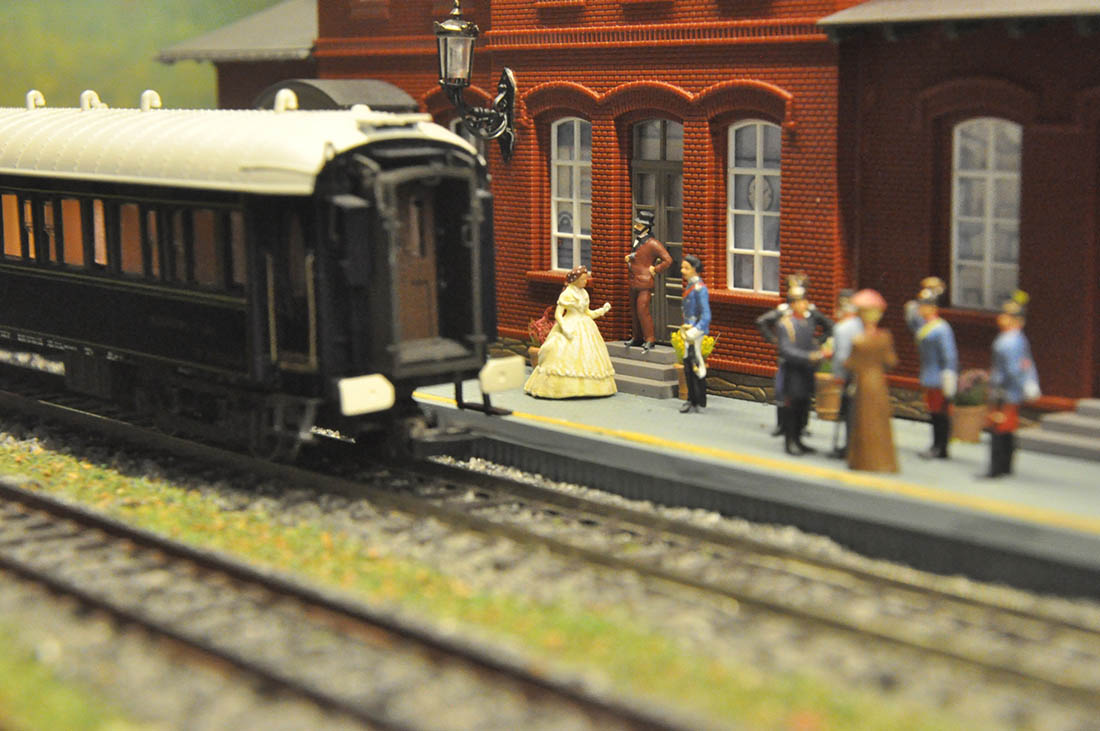
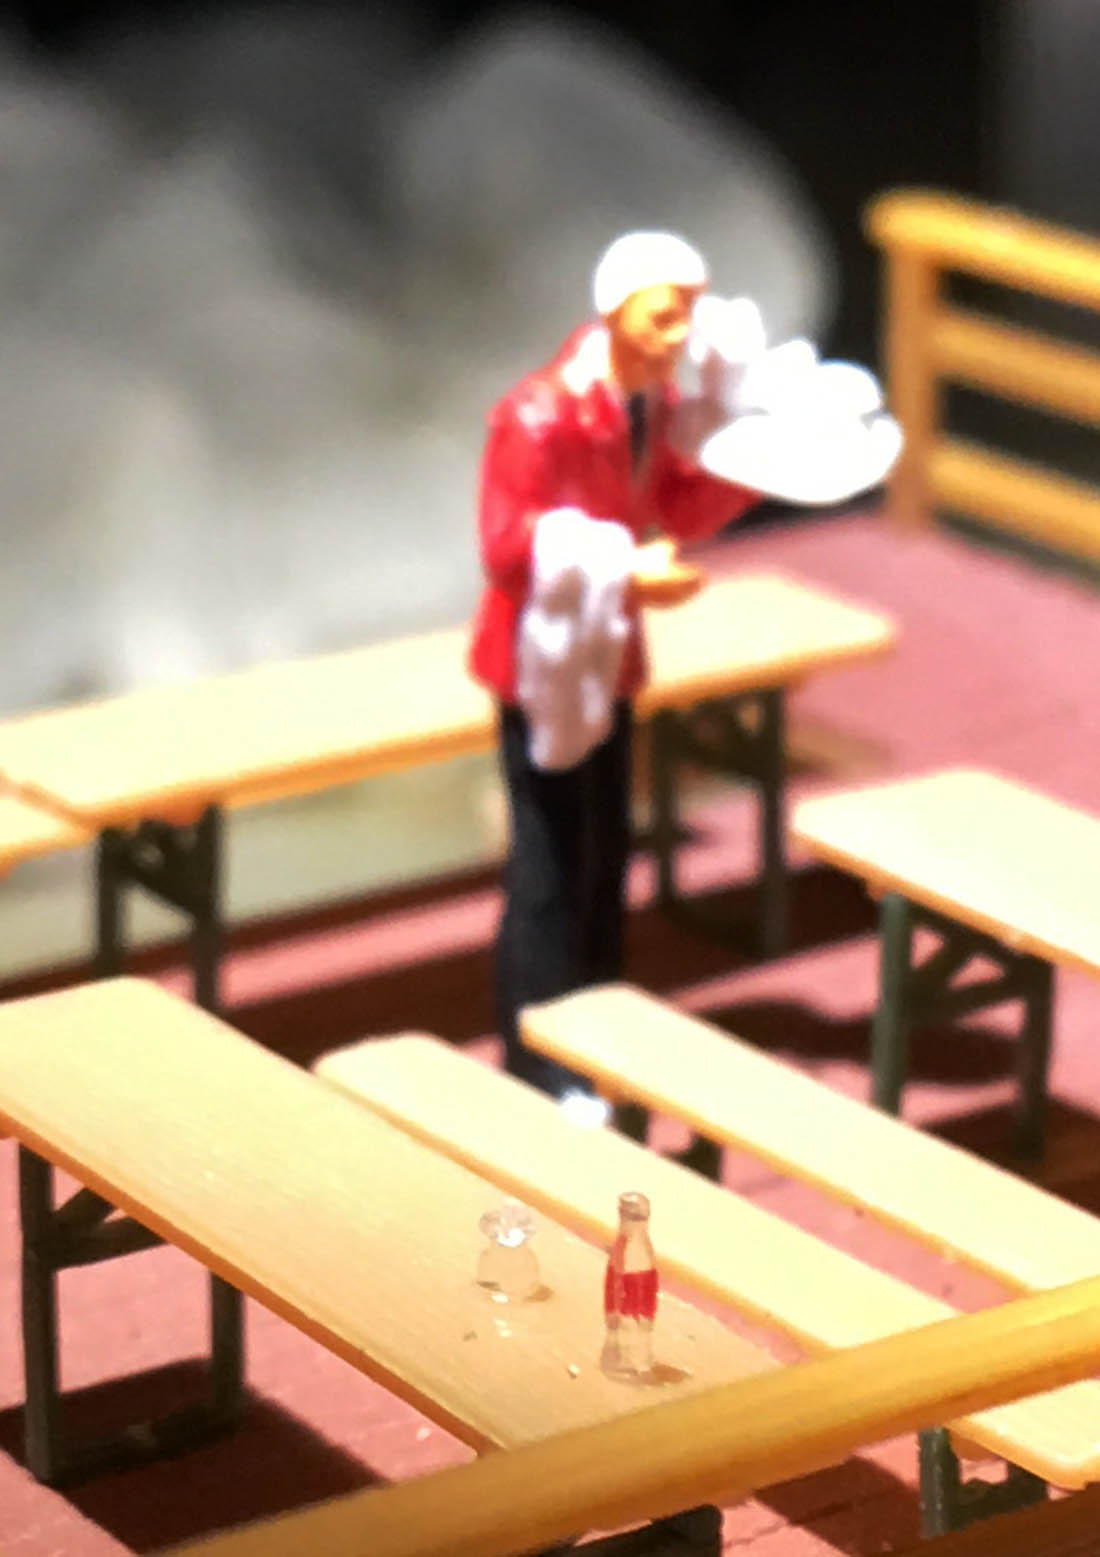
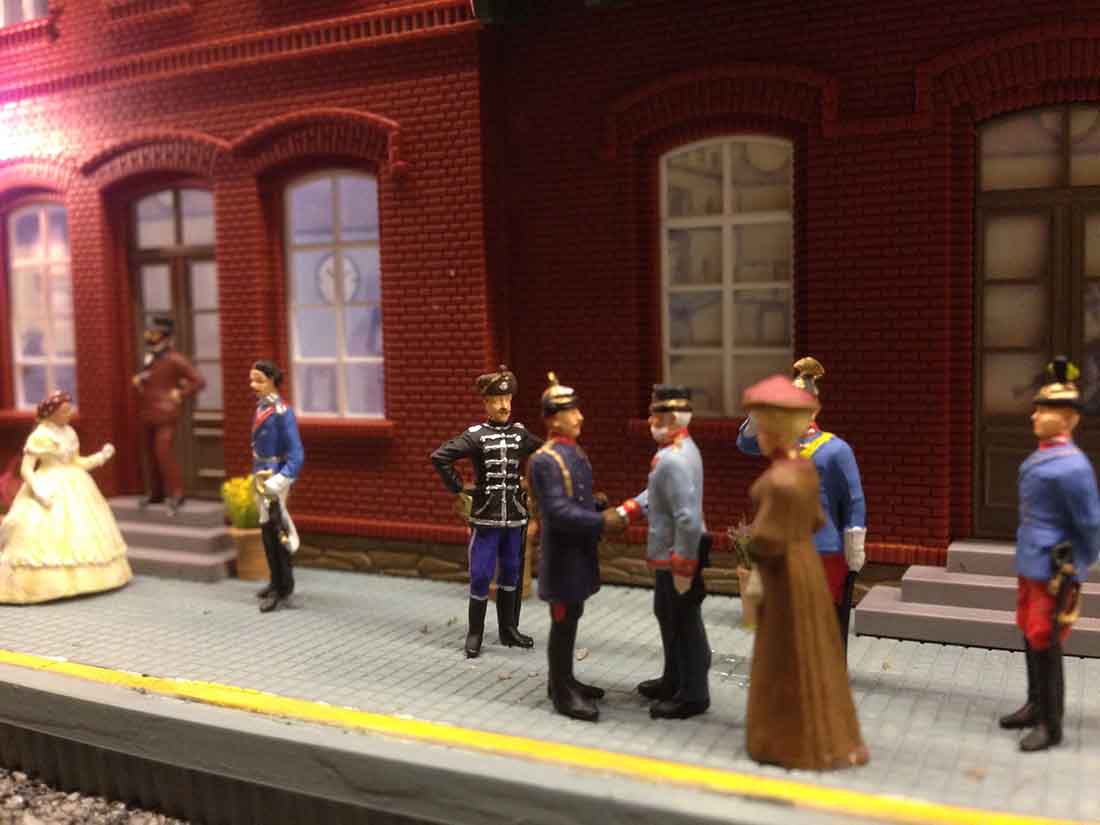
People milling about a scene really do bring it to life, as this pic shows.
It also reminds me of Dan’s post on adding people, which is good adivce I think: Model train people.
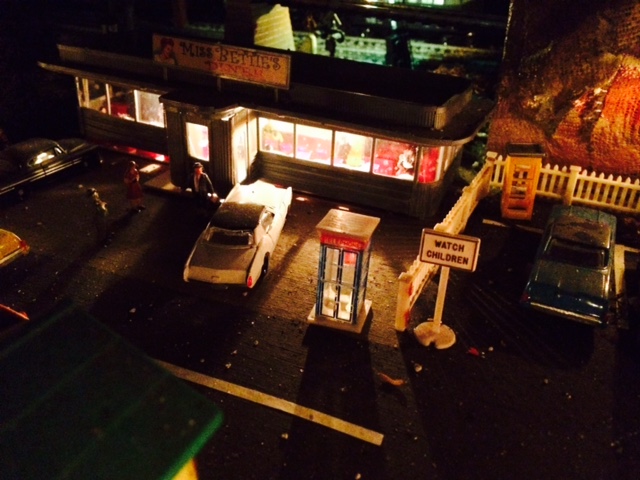
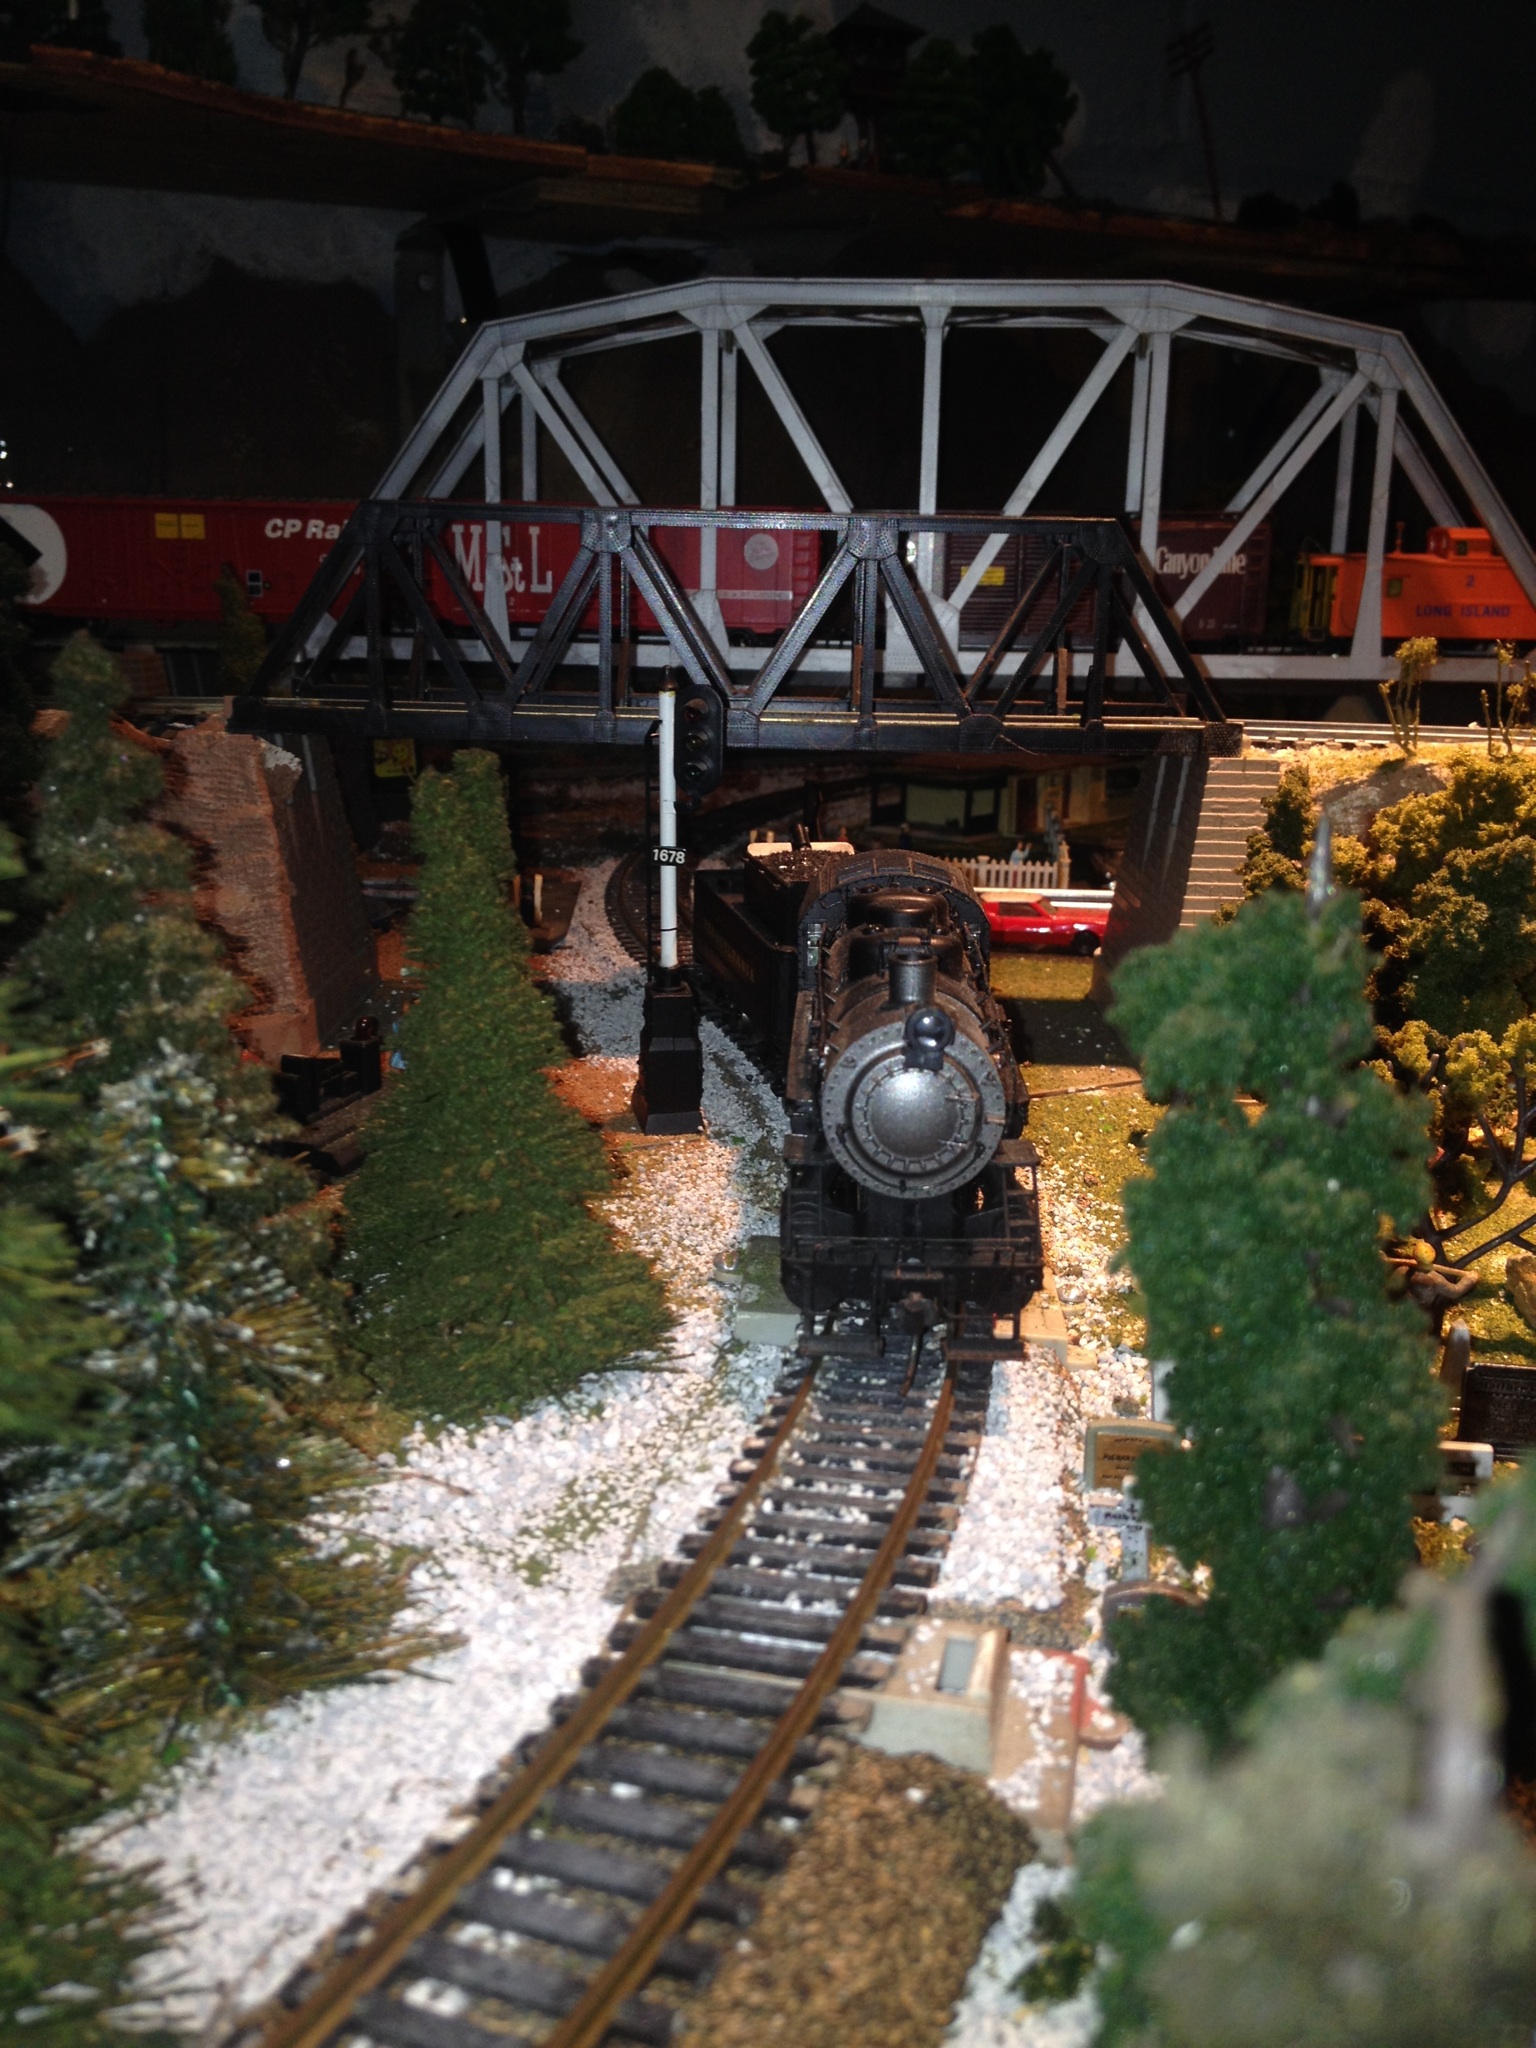
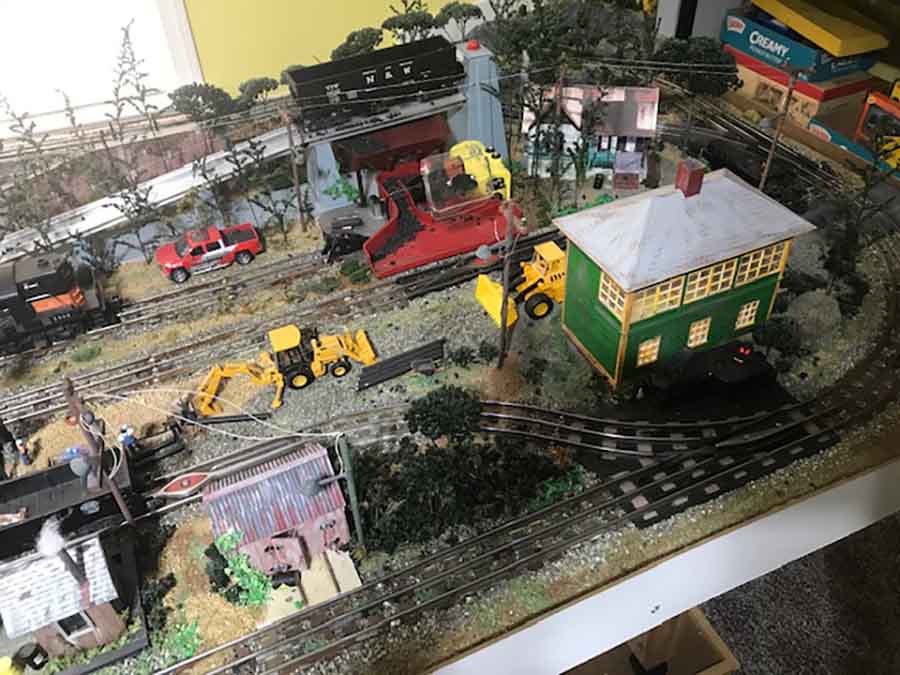
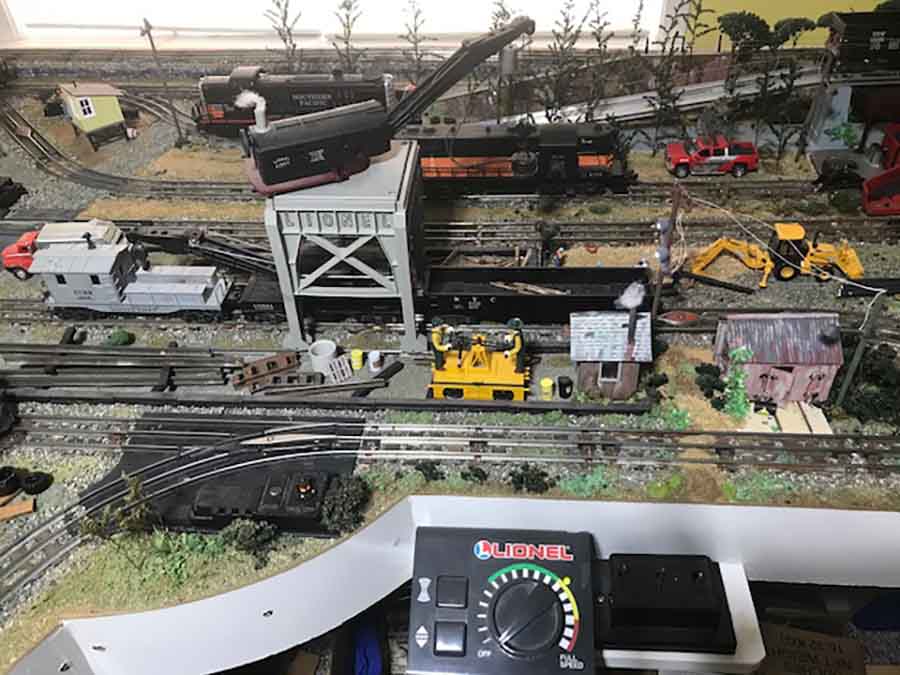
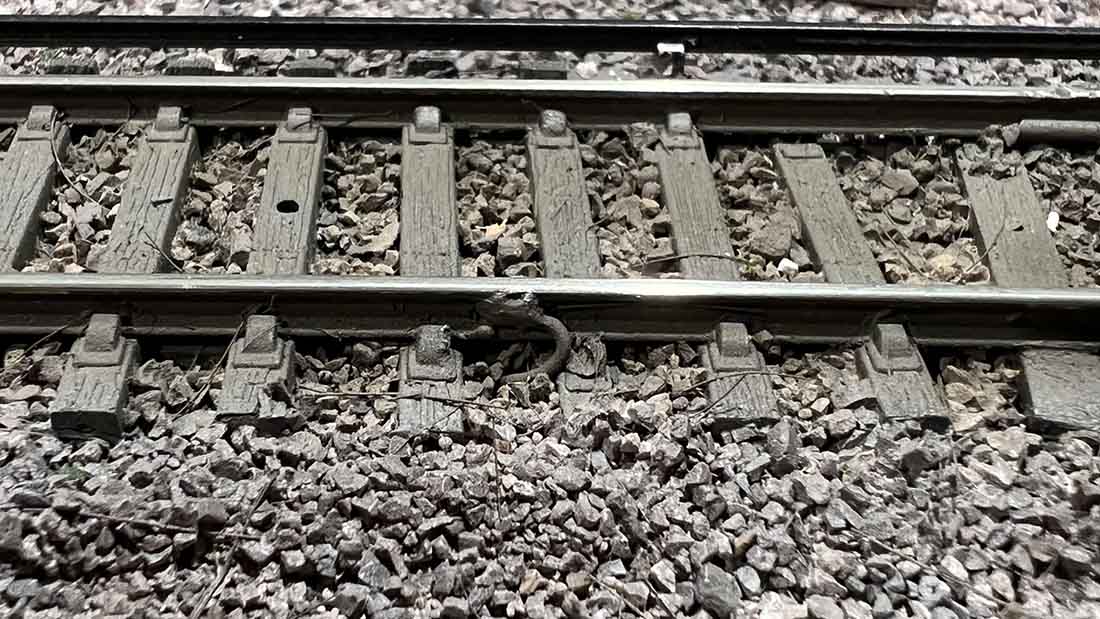
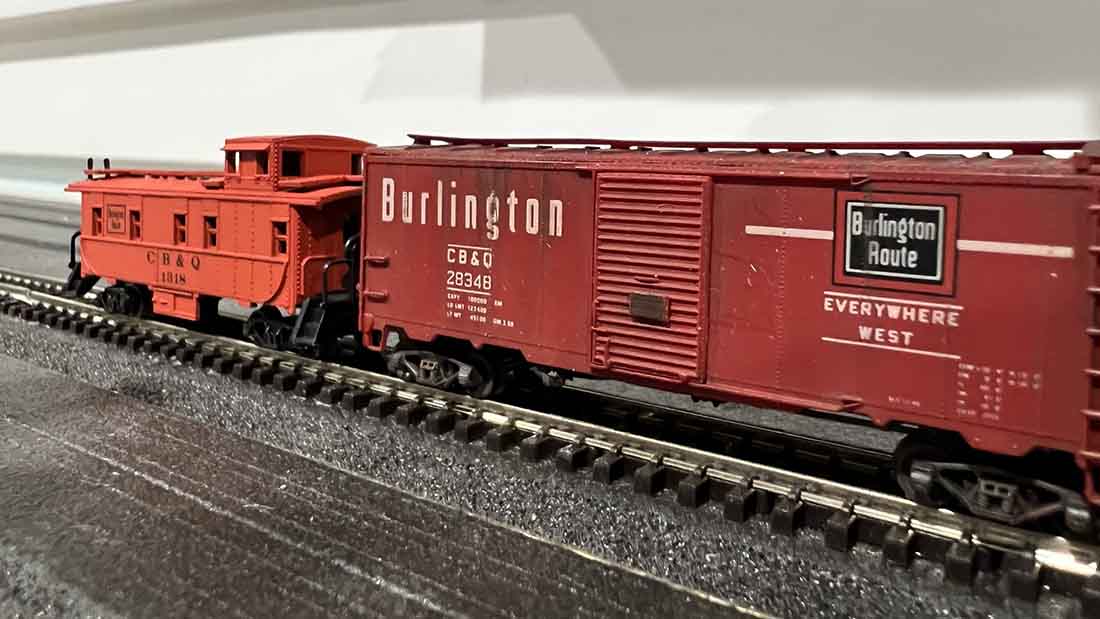
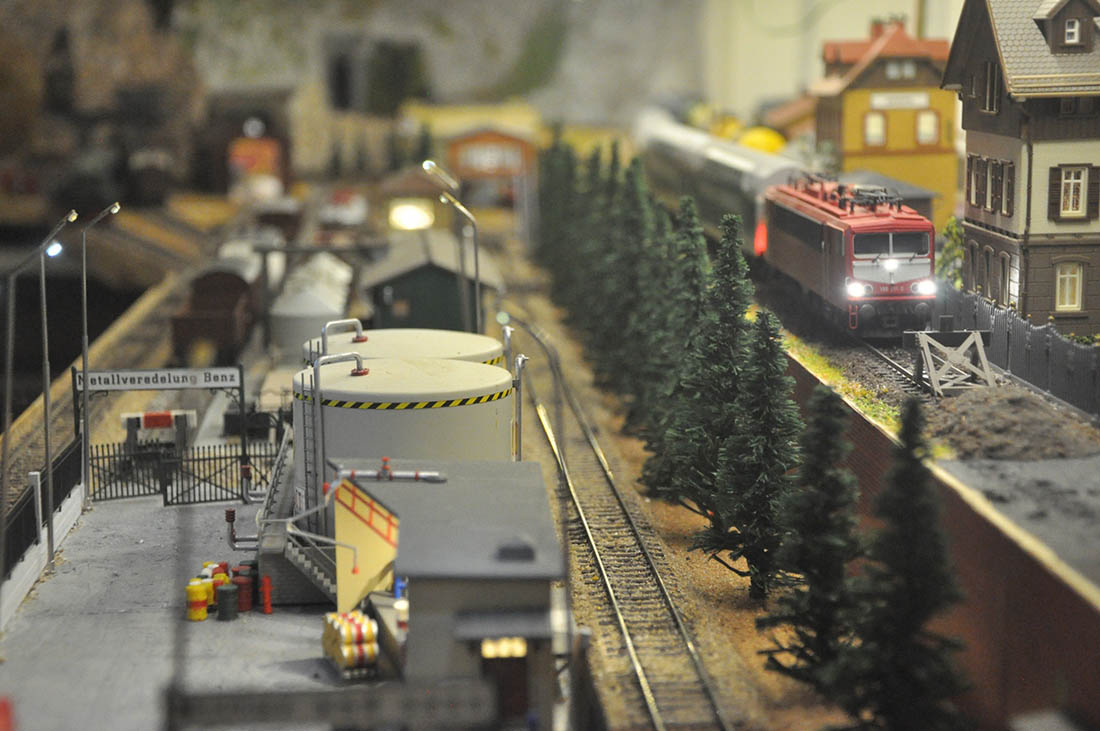
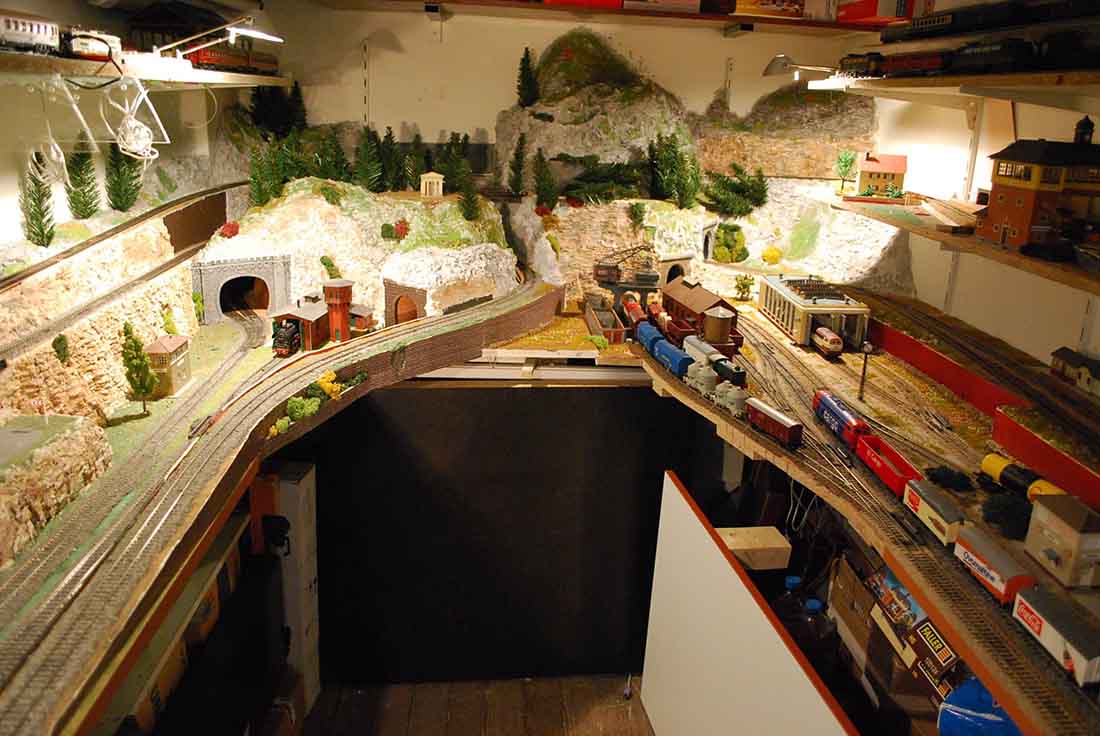
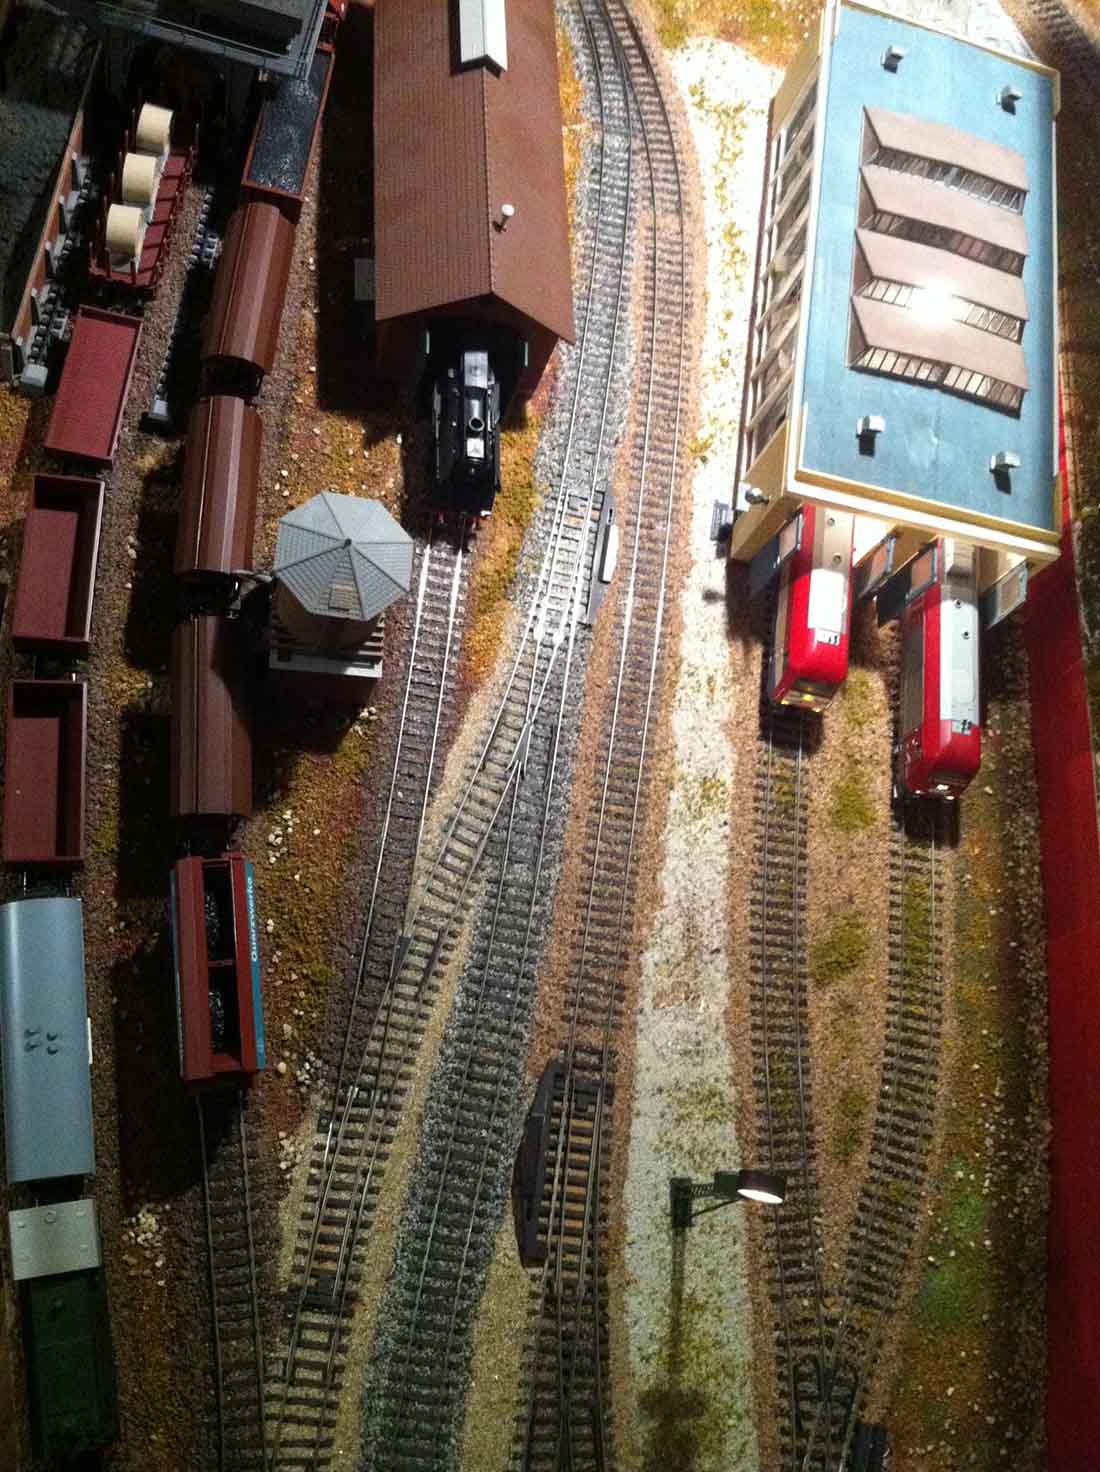
Every inch of Yanni’s layout seems to be detailed and weathered – it’s a joy to look at.
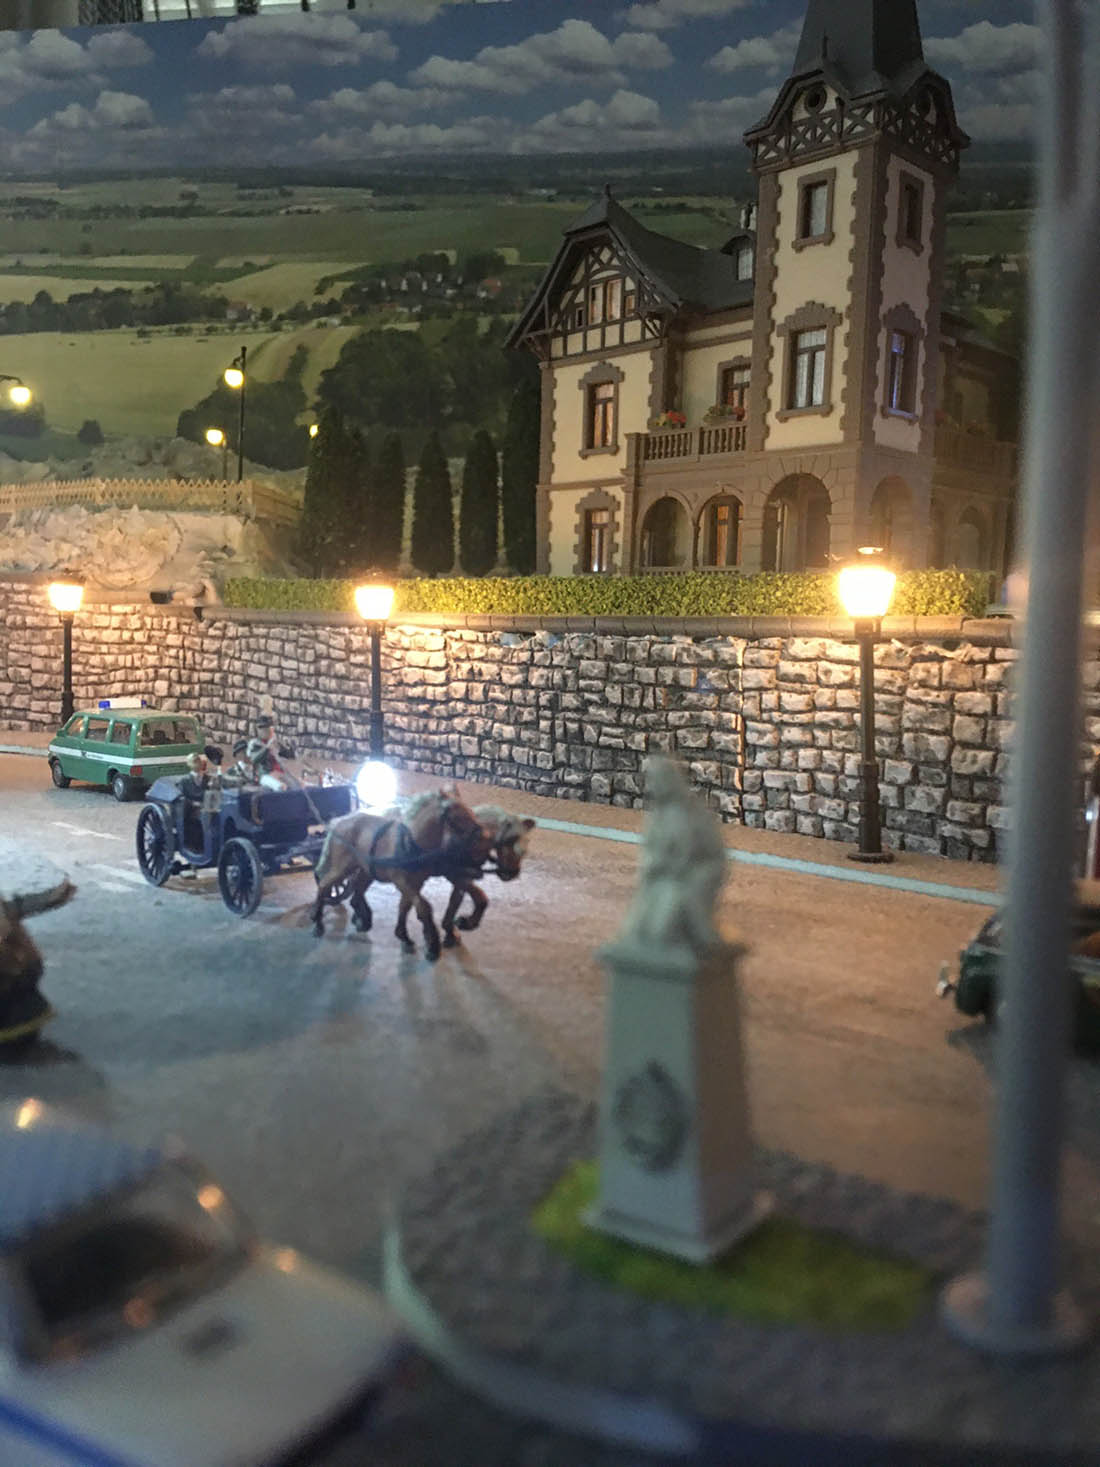
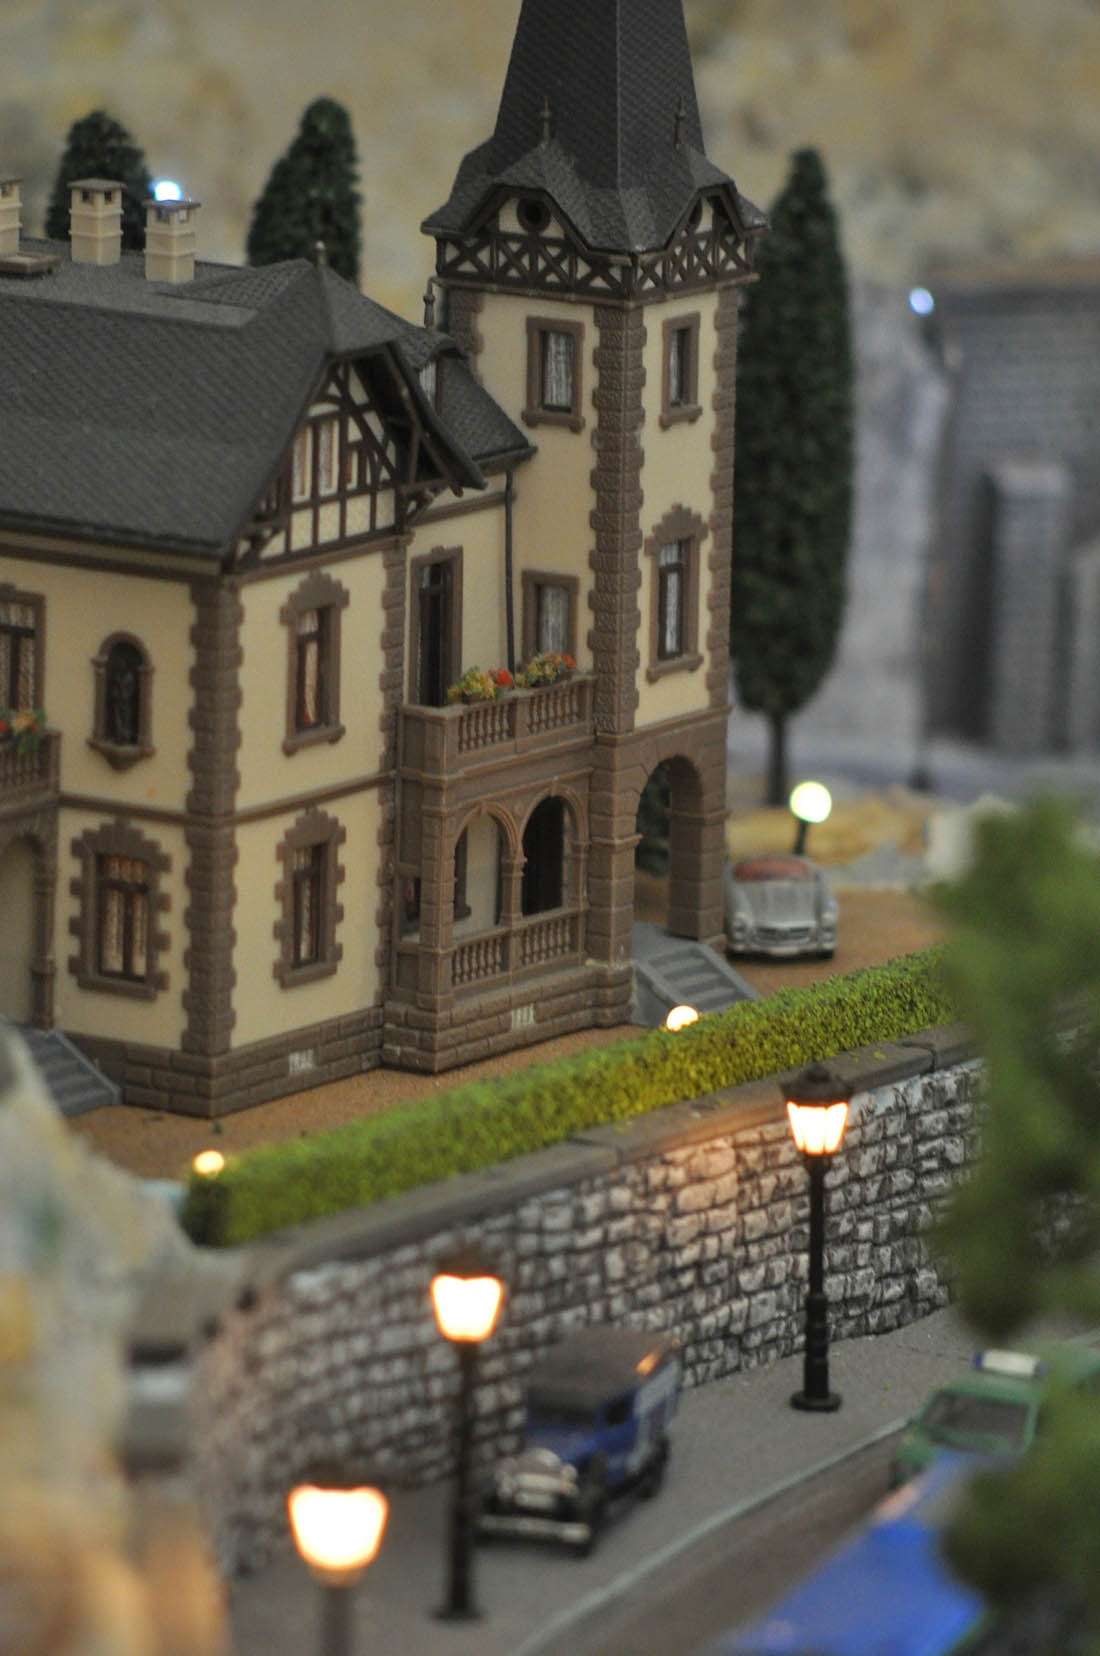
You don’t see many horse and carts on a layout, but with the soft street lights, it doesn’t look out of place at all.
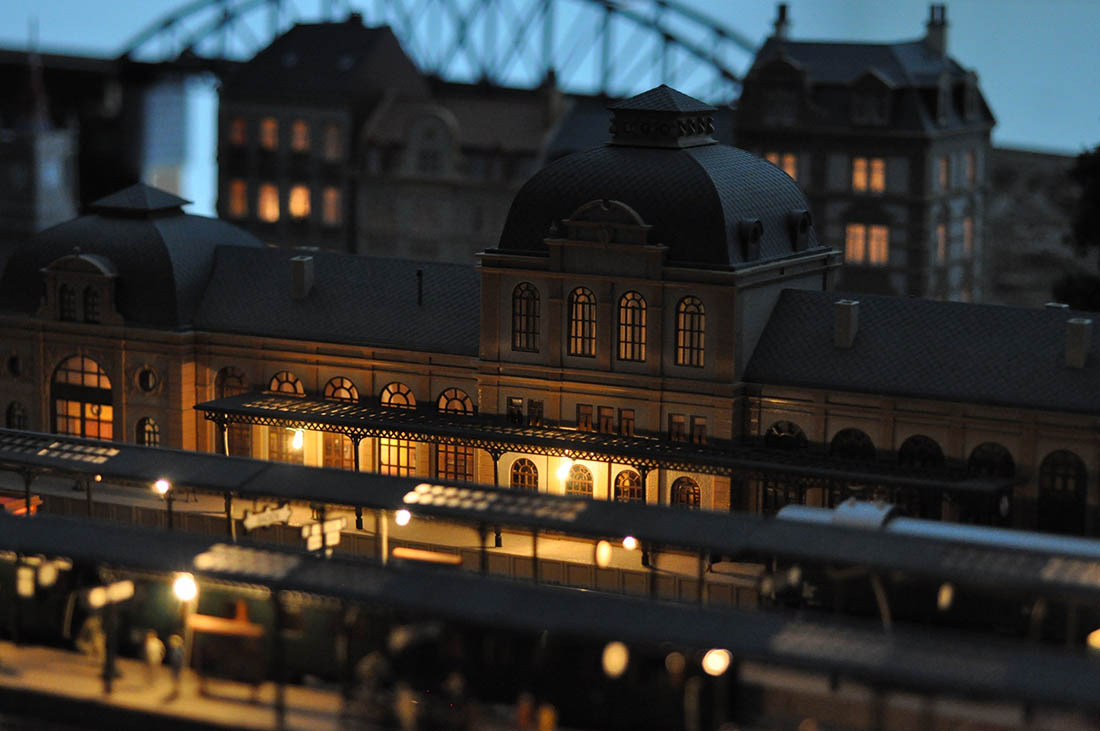
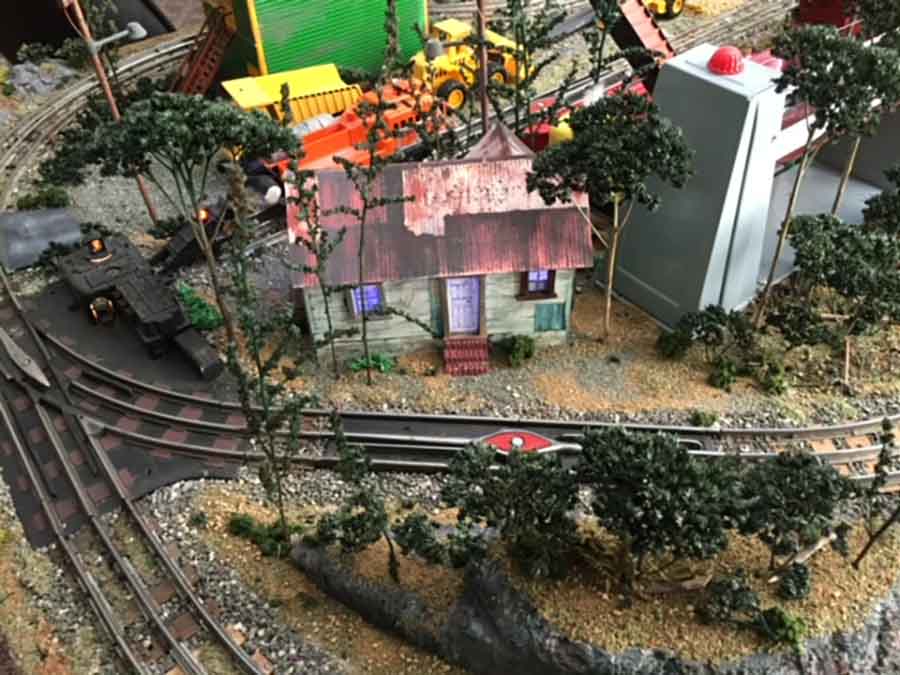
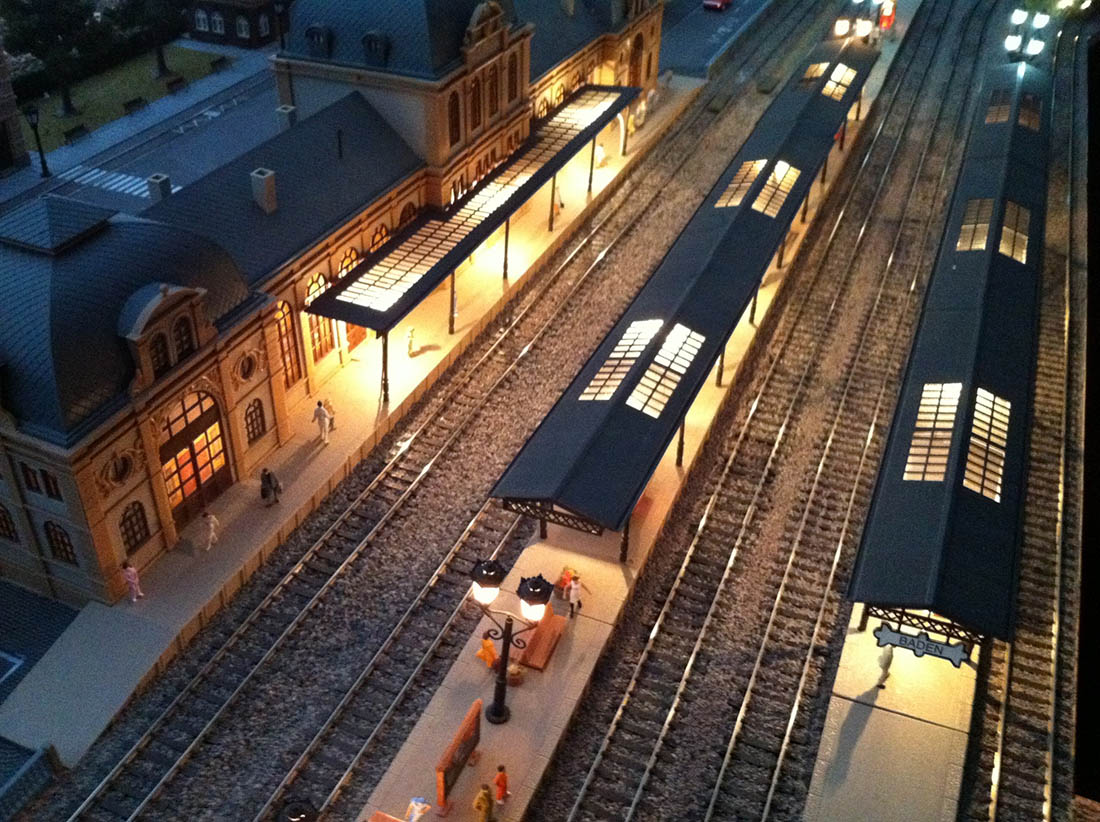
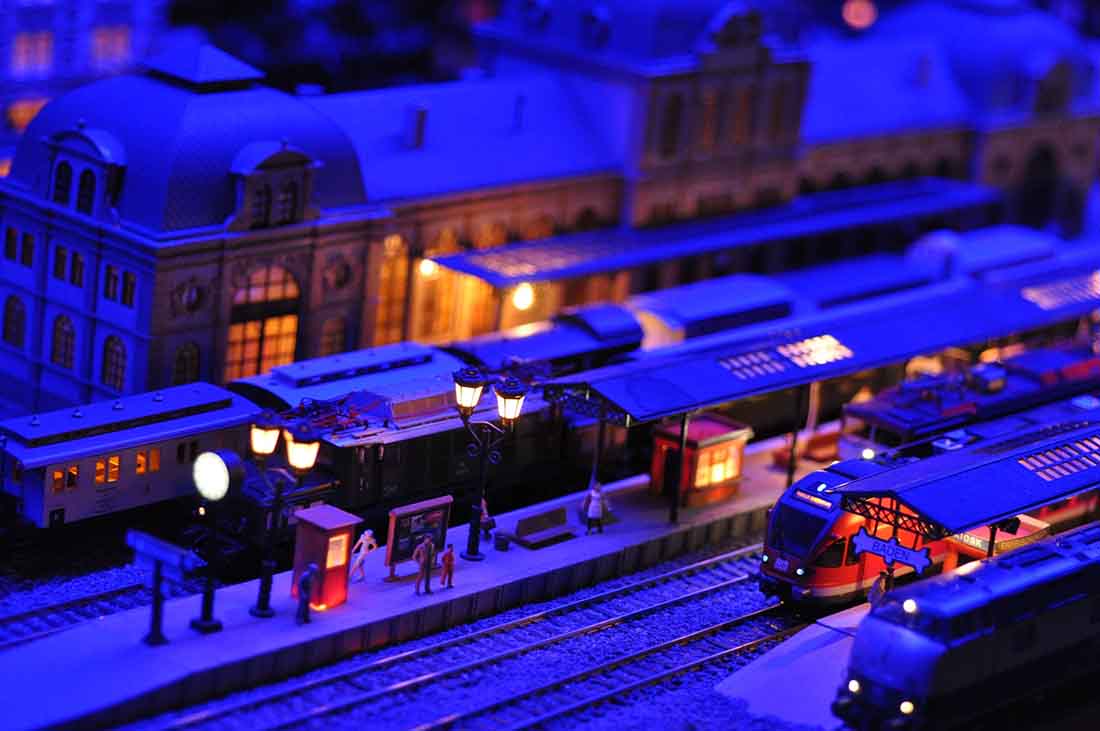
This pics is a great example of how different a layout looks at night with a bit of ligting. Taking the time to add LEDs lights to your layout is a sound investment of your time.
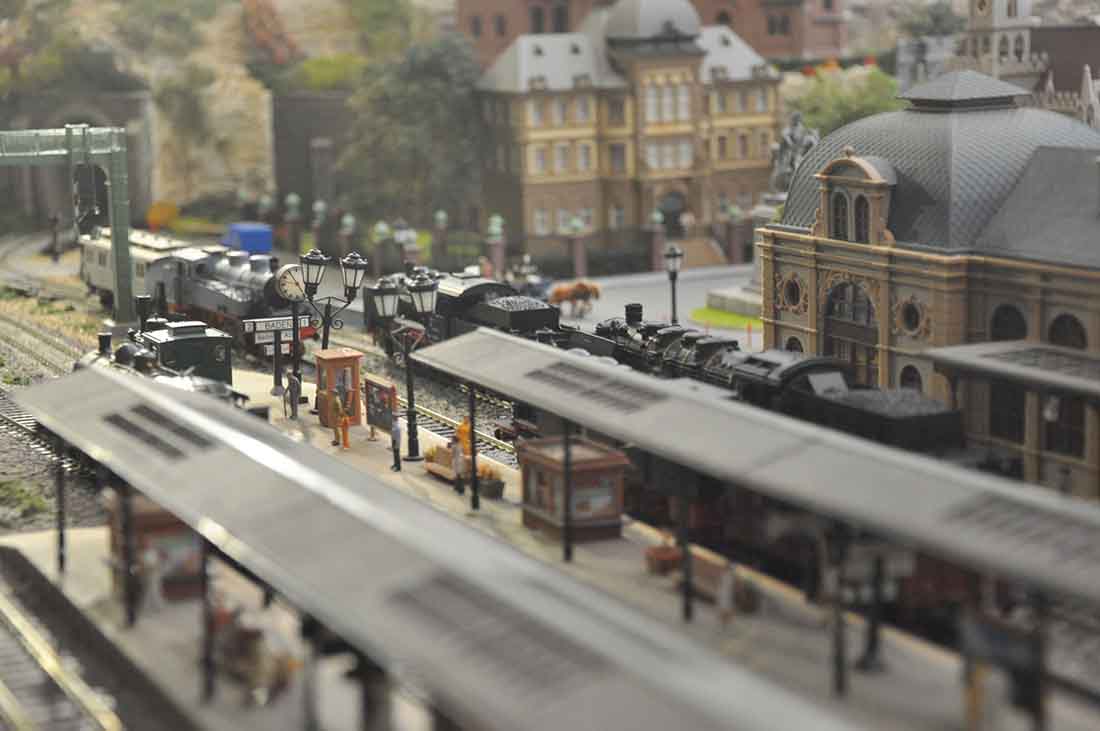
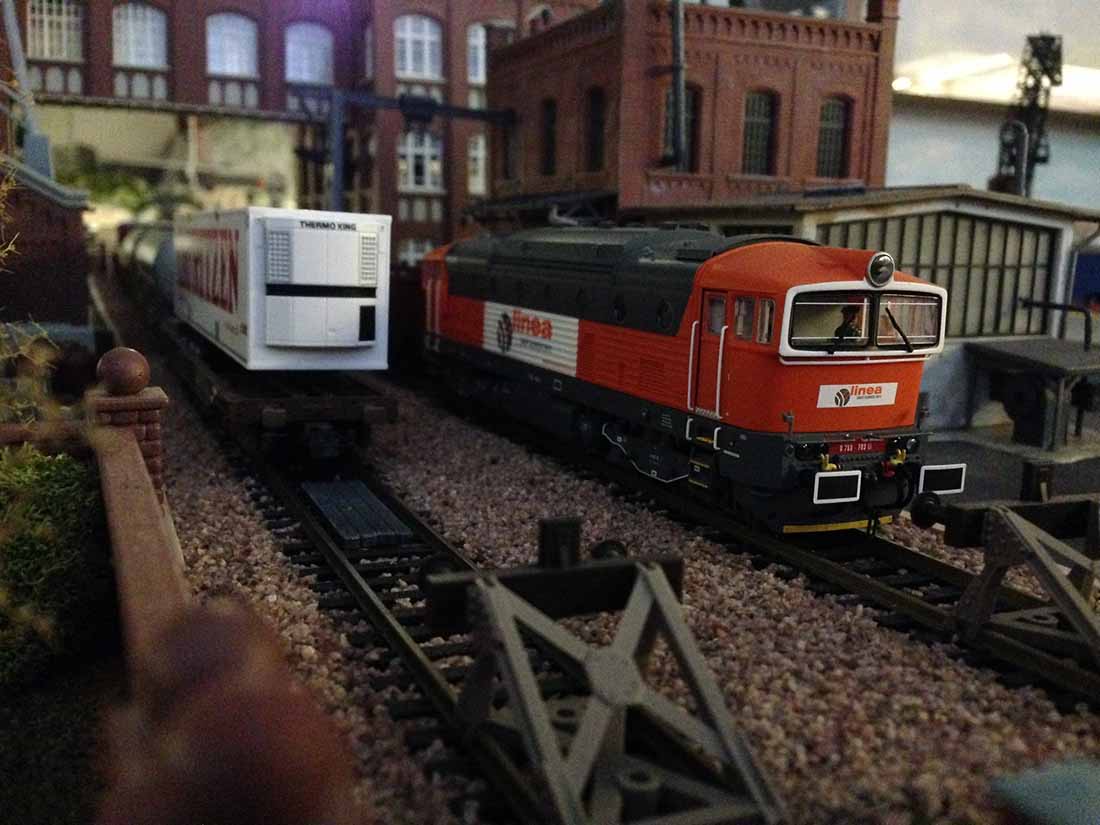
The platforms looks busy as they should be on every model railroad.
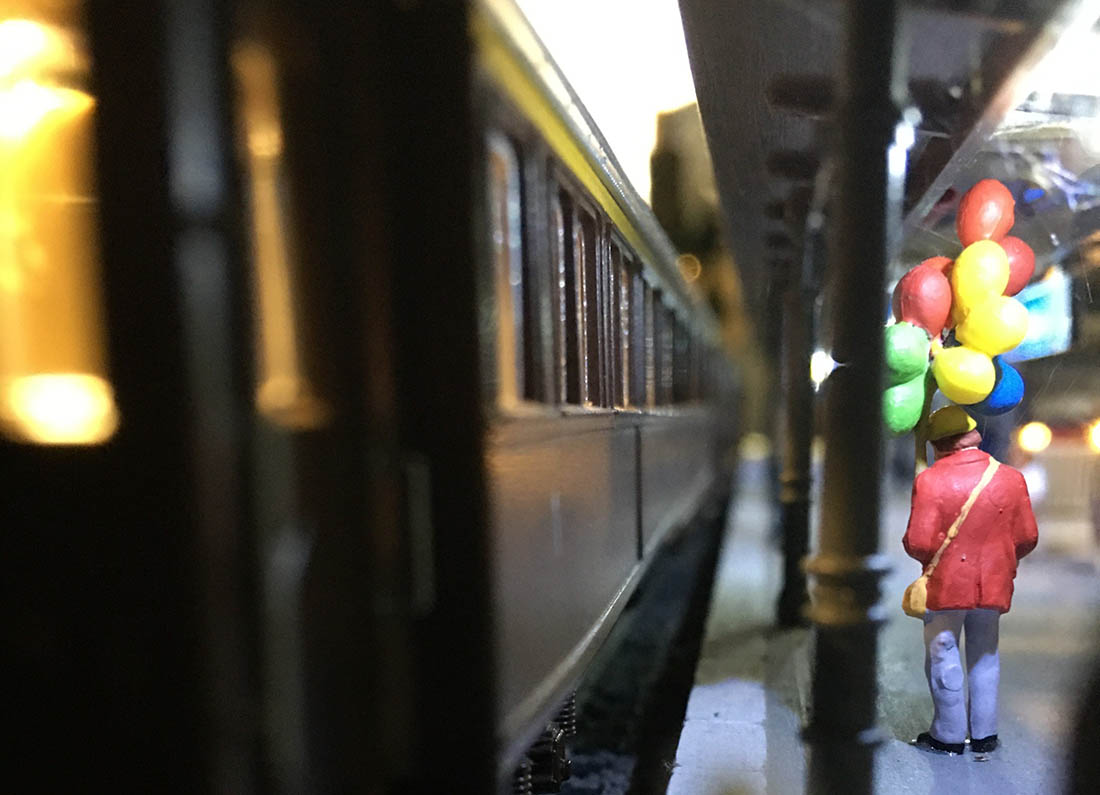
Why just a passenger when you can add one carrying balloons? It’s touches like this that add so much to a layout.
Another example of adding people transforms a layout and brings it to life.

LED lights make all the difference. It reminds me of Bob’s excellent post on adding them to your layout: Model train LED lights
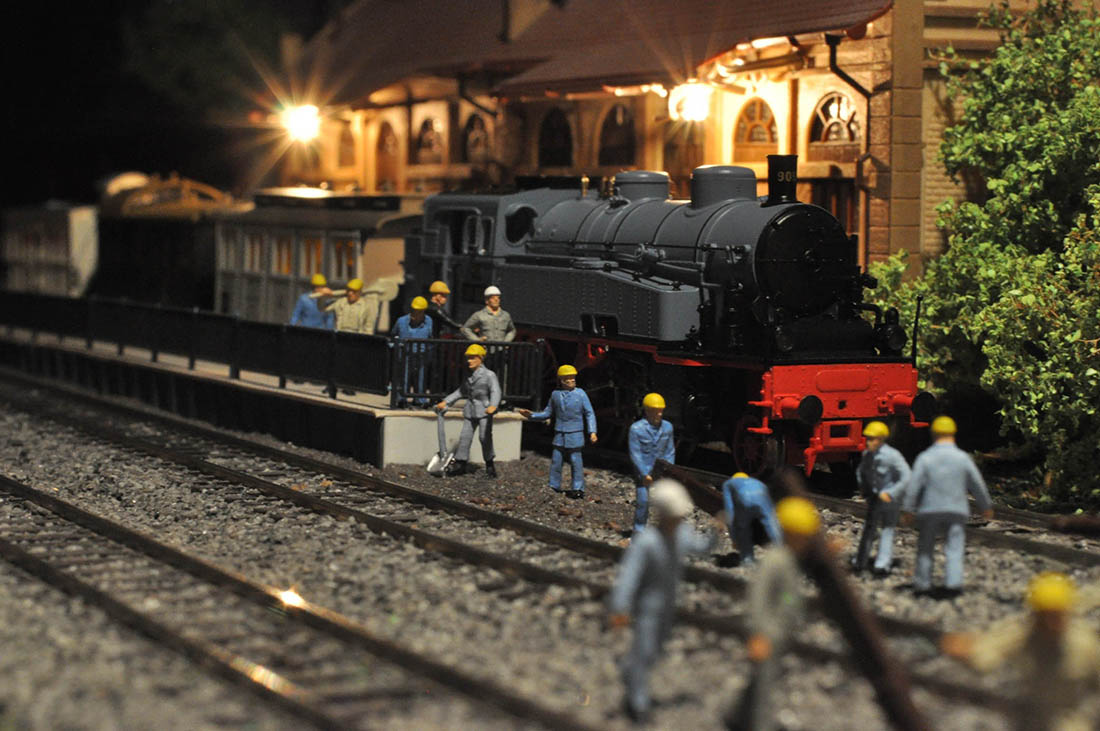
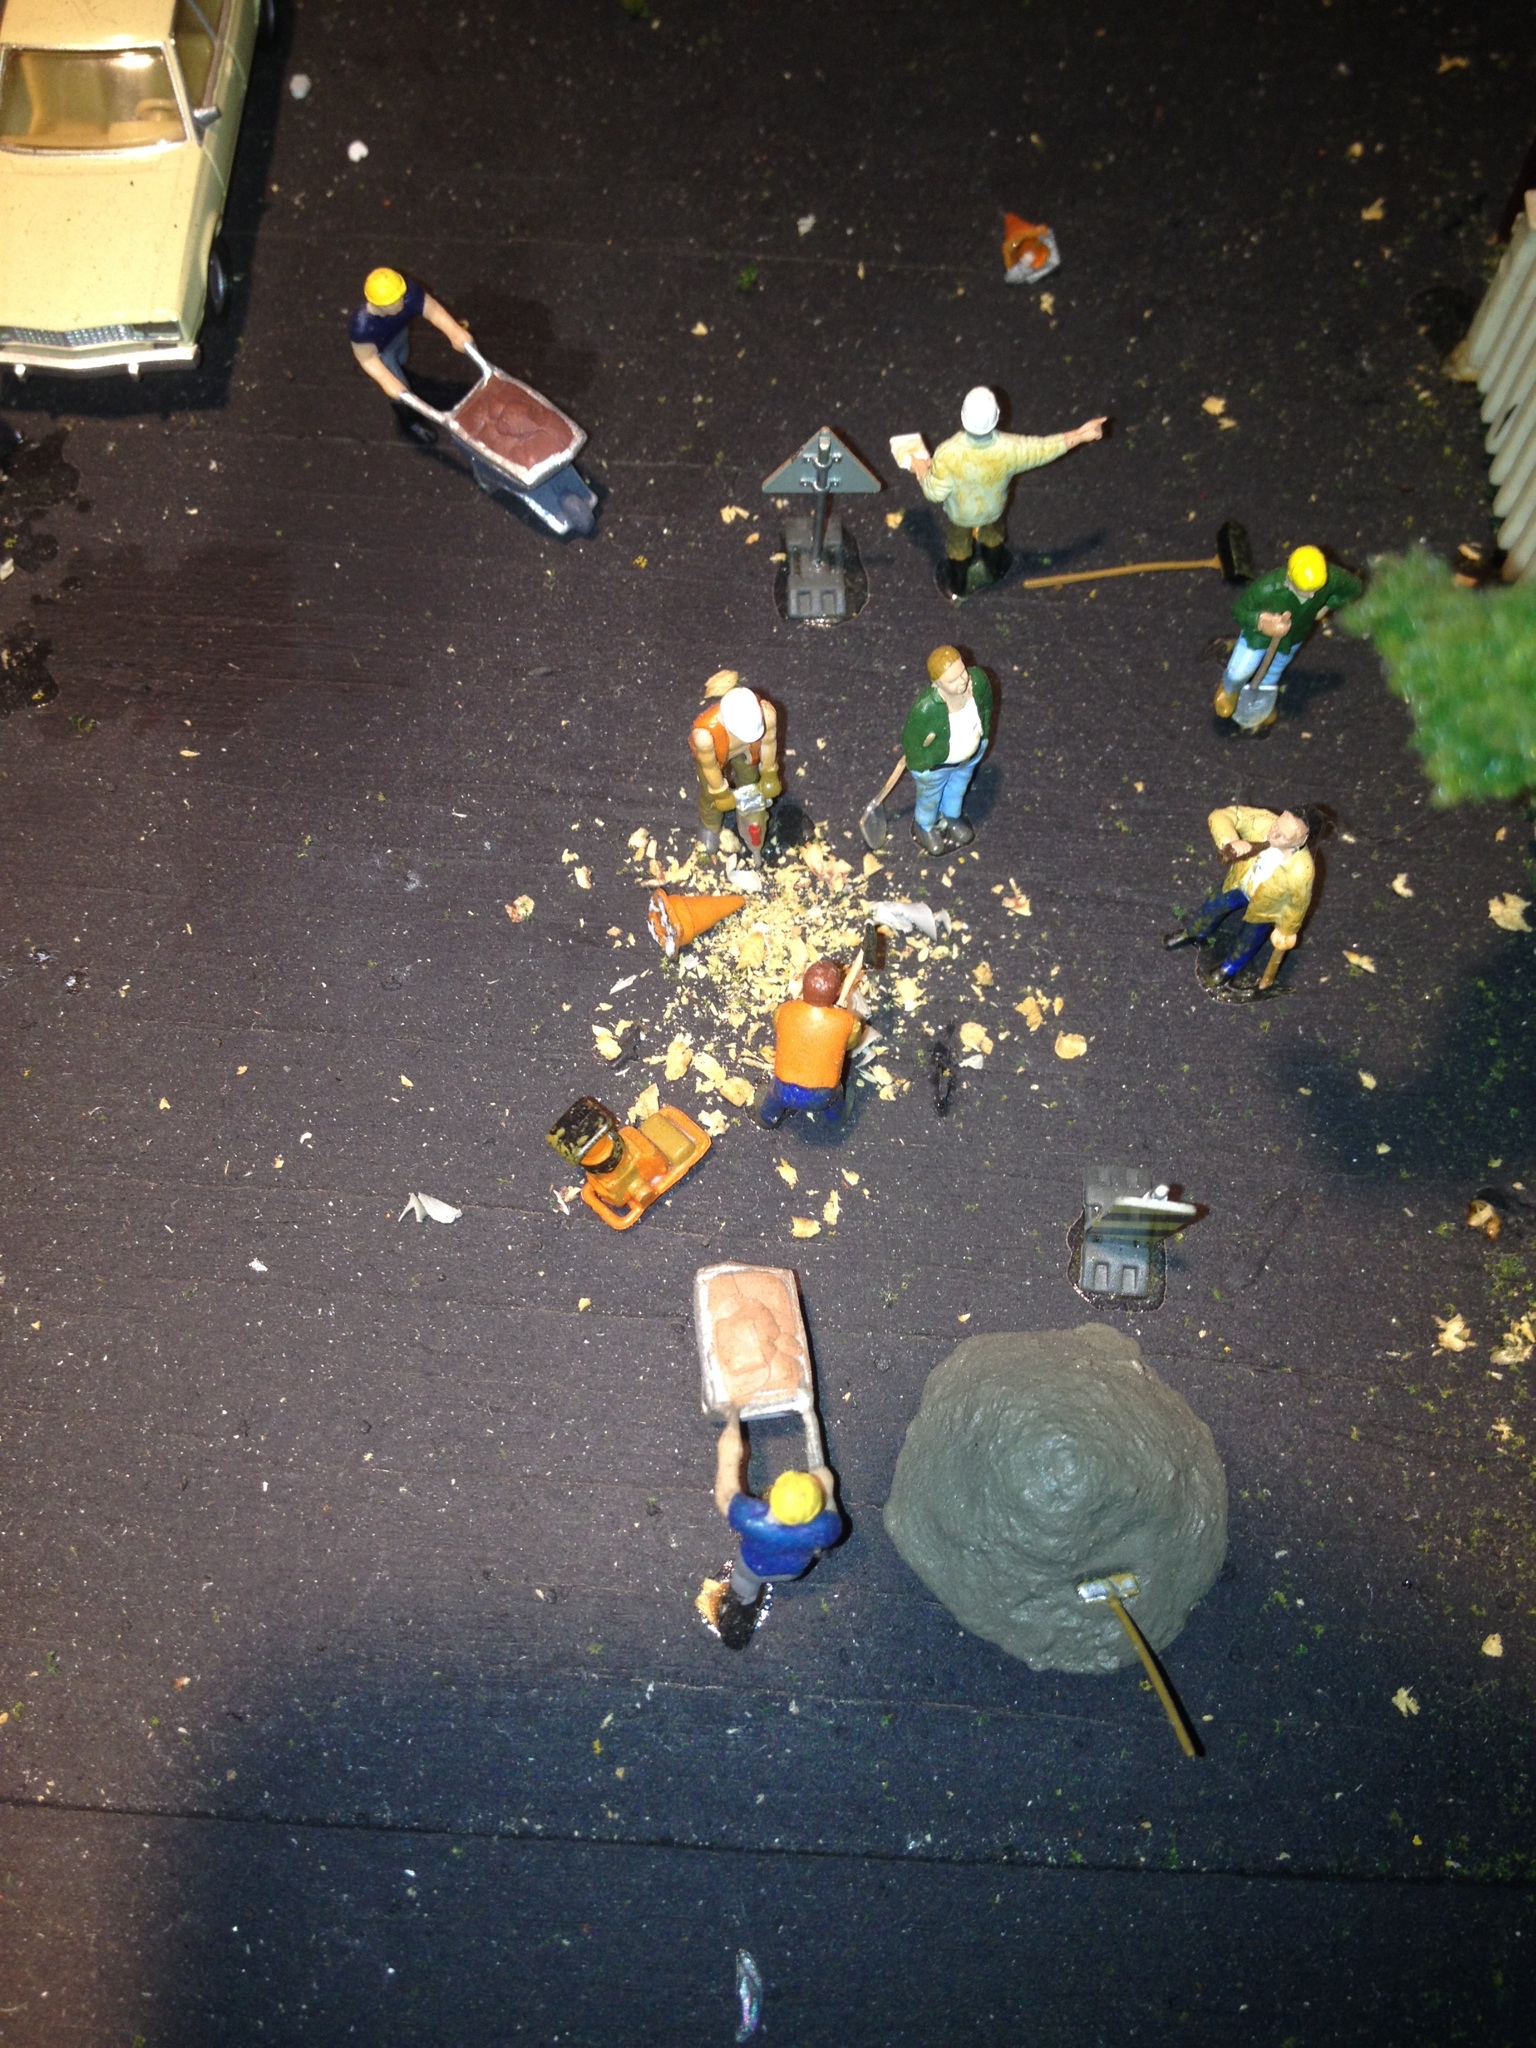
Adding workmen as well as passengers is another touch that add so much charm to this layout.
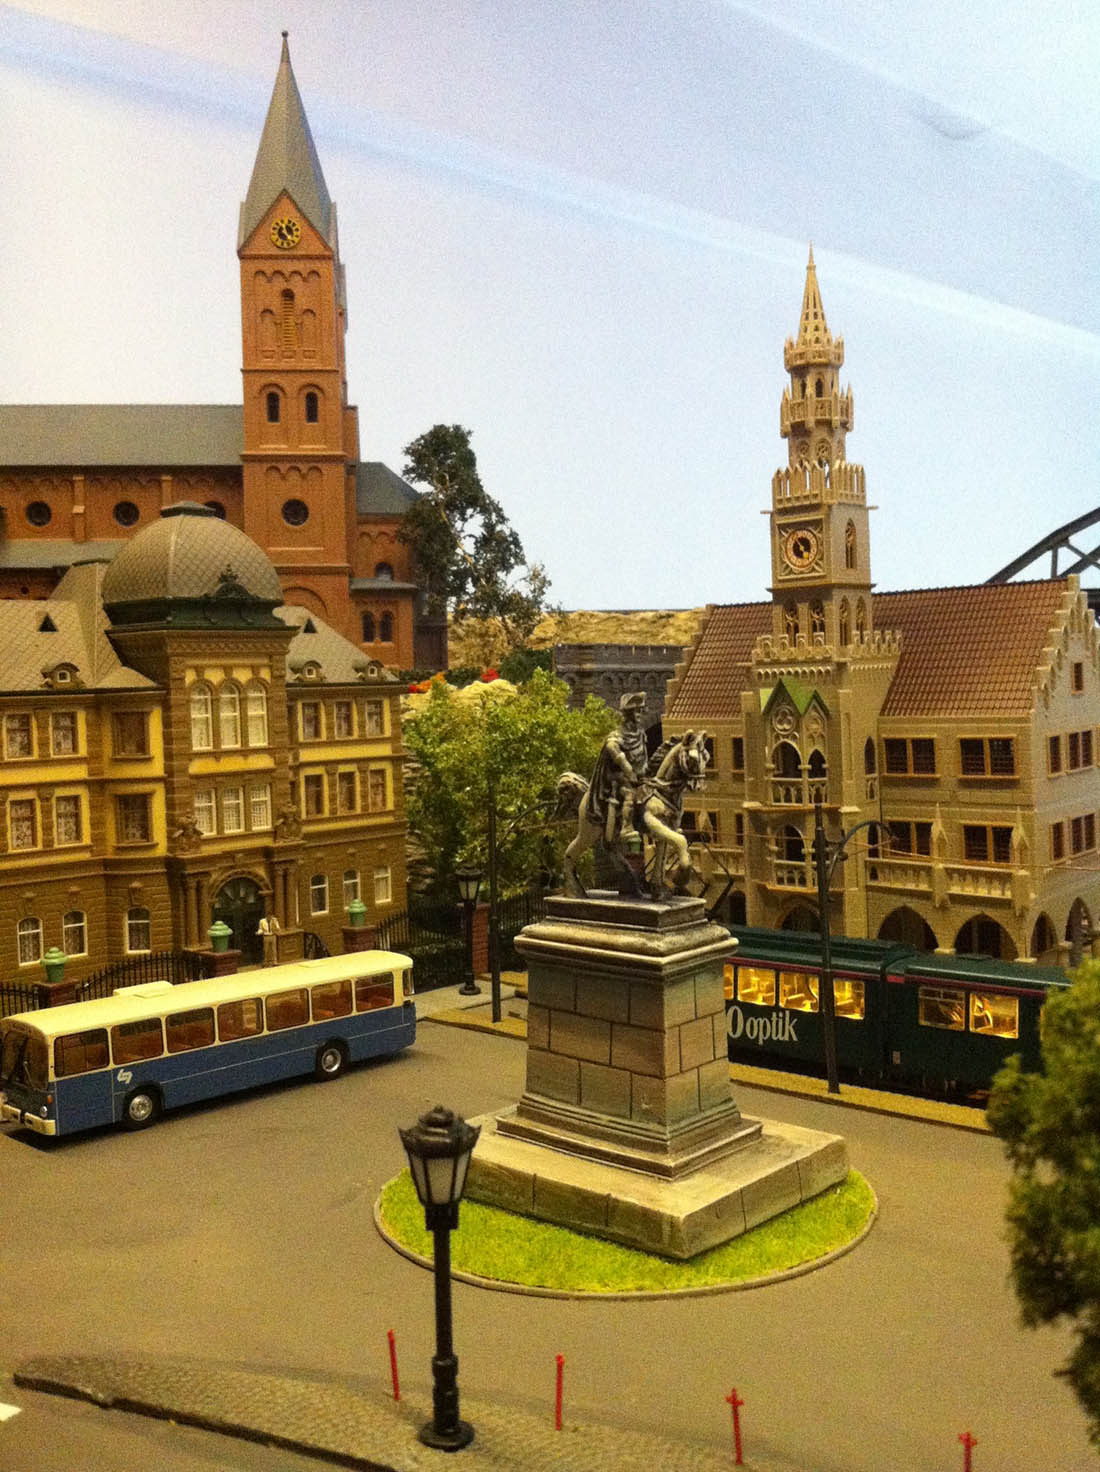

Another good pic showing how much a difference lighting can make.


A huge big thanks to Yanni for sharing more pics of his HO scale detail parts.
That’s all for today folks.
Please do keep ’em coming though – shortly I’ll have nothing to post at all. You’ve all gone very quiet.
And if today is the day you stop dreaming and start doing, the Beginner’s Guide is here.
Best
Al
PS More HO scale train layouts here if that’s your thing.
Need buildings for your layout? Have a look at the Silly Discount bundle.