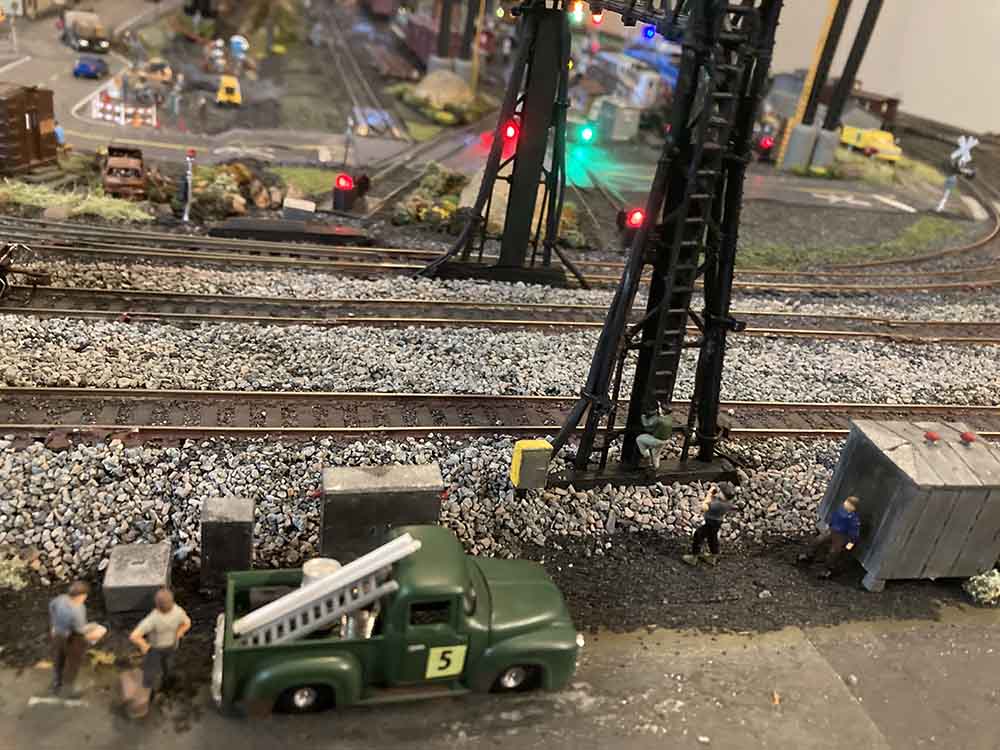
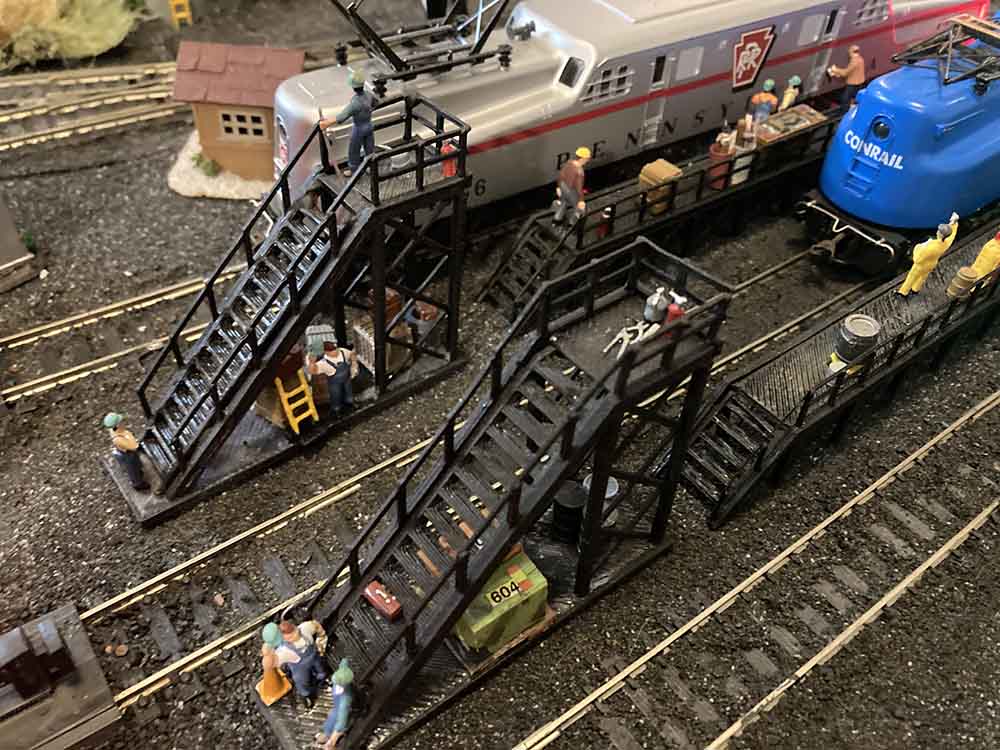
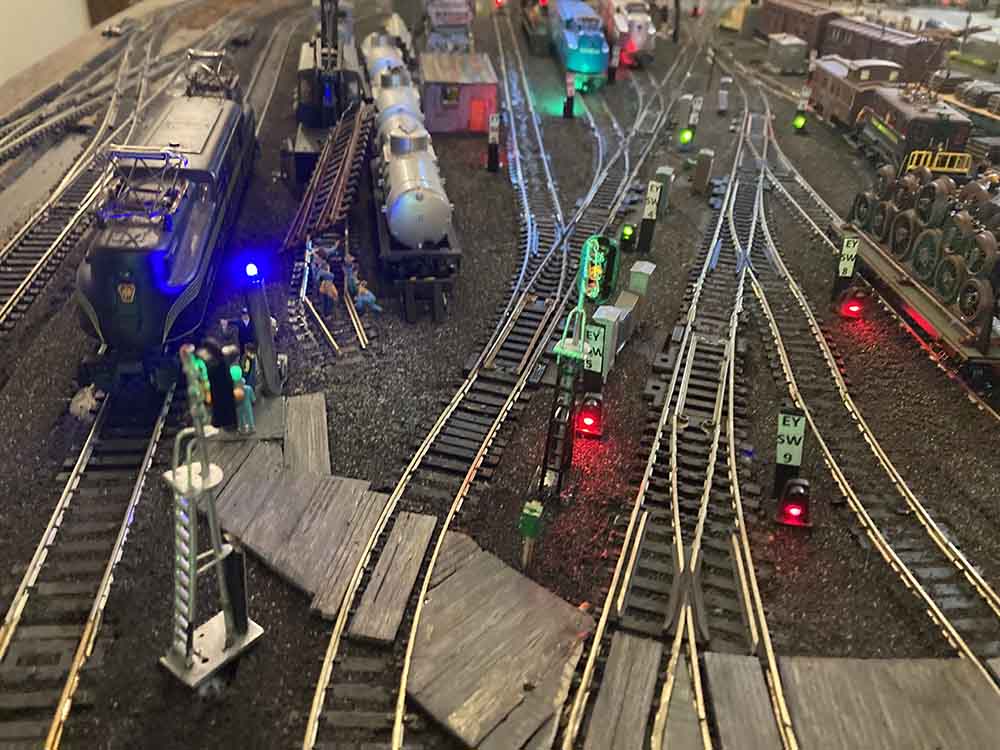
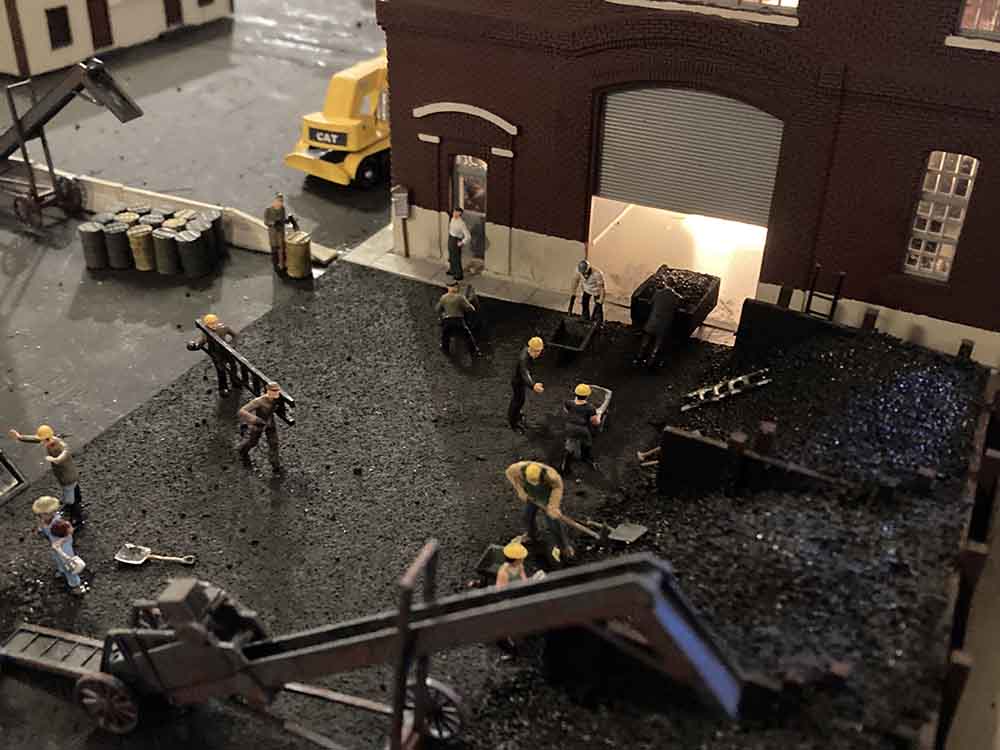
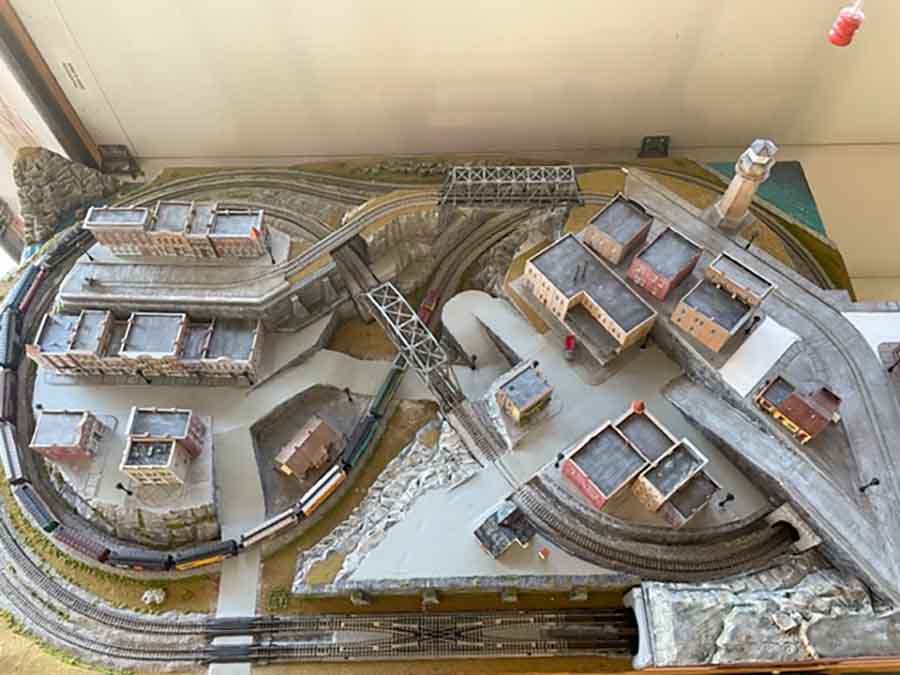
Fred’s been in touch with his N scale Canadian layout:
“Hi Al,
These picture have been a long time in coming and my friends and I are nowhere close to being finished.
We are in the process of an N gauge layout on a very large scale probably not to be finished in the near future but to be done with a lot of love and a sense of accomplishment.
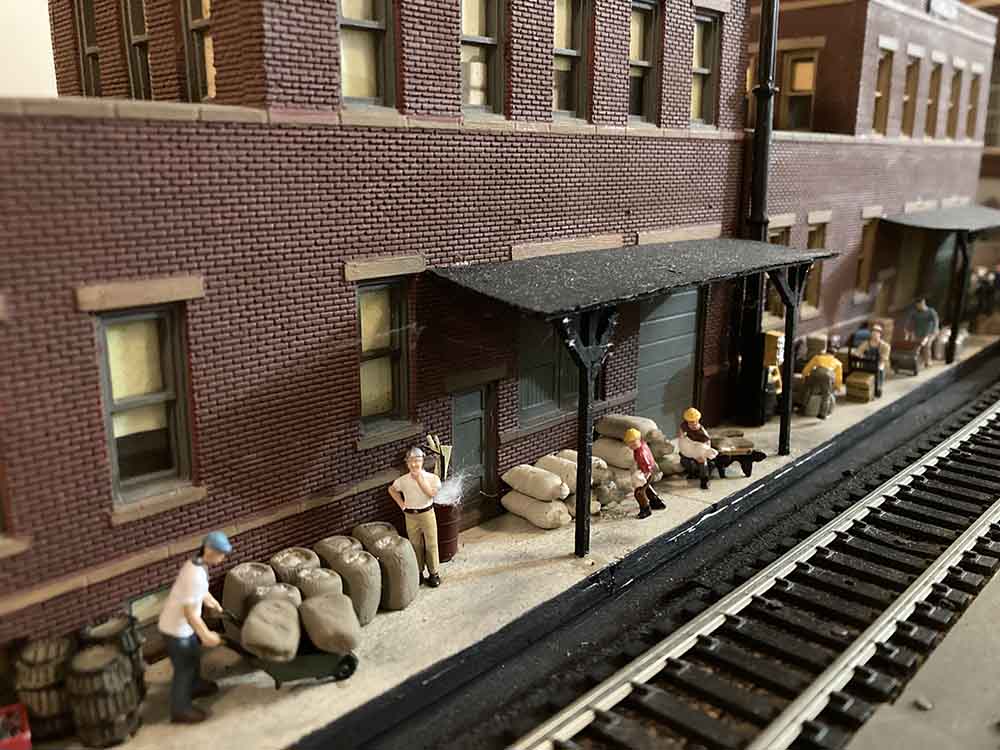
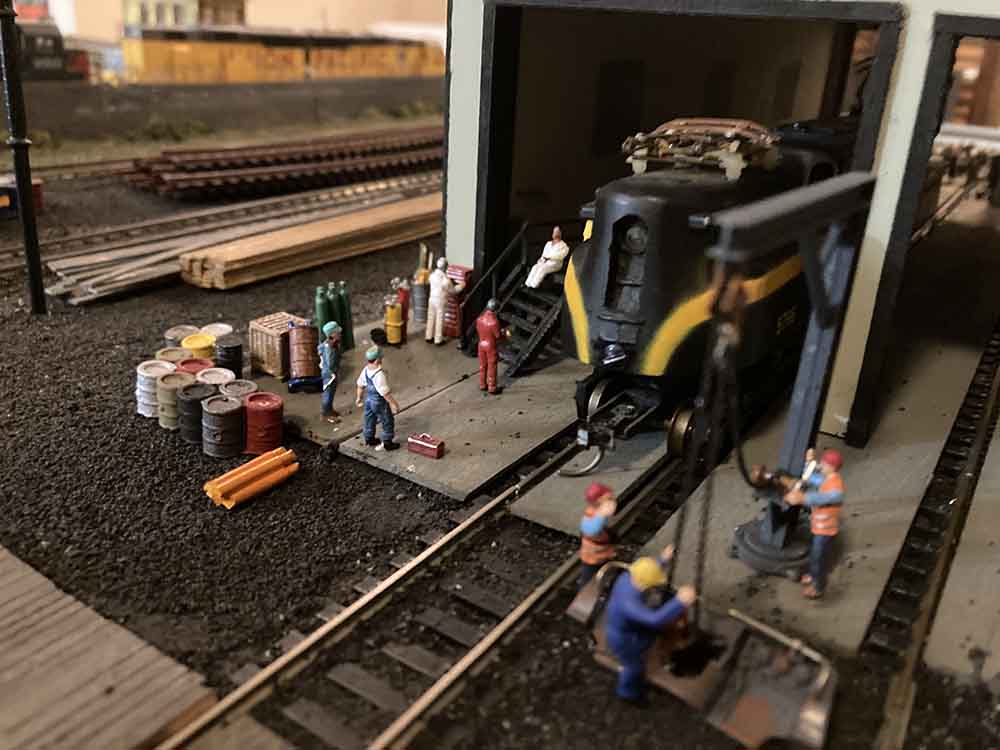
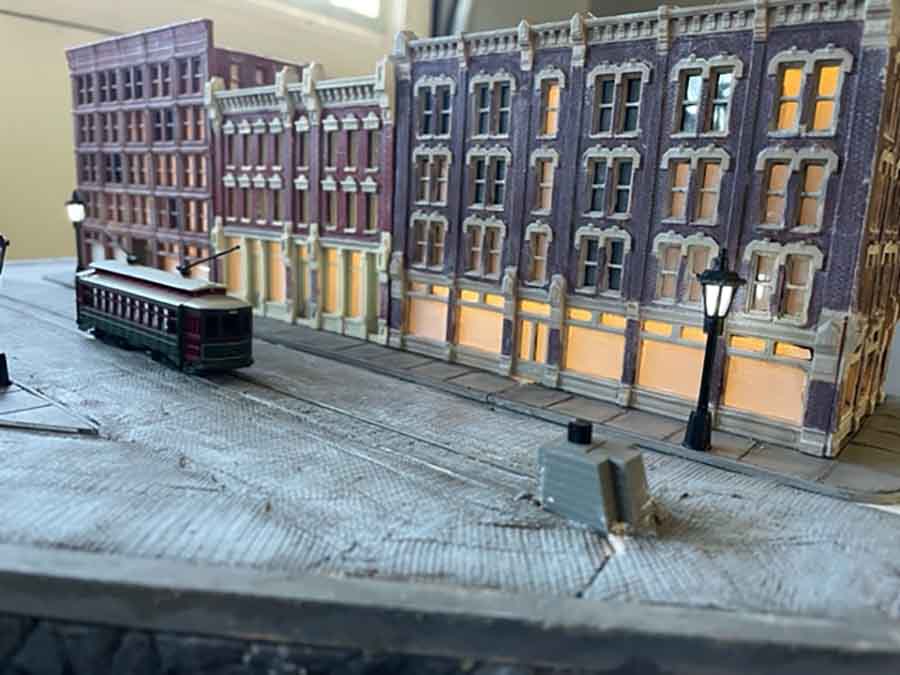
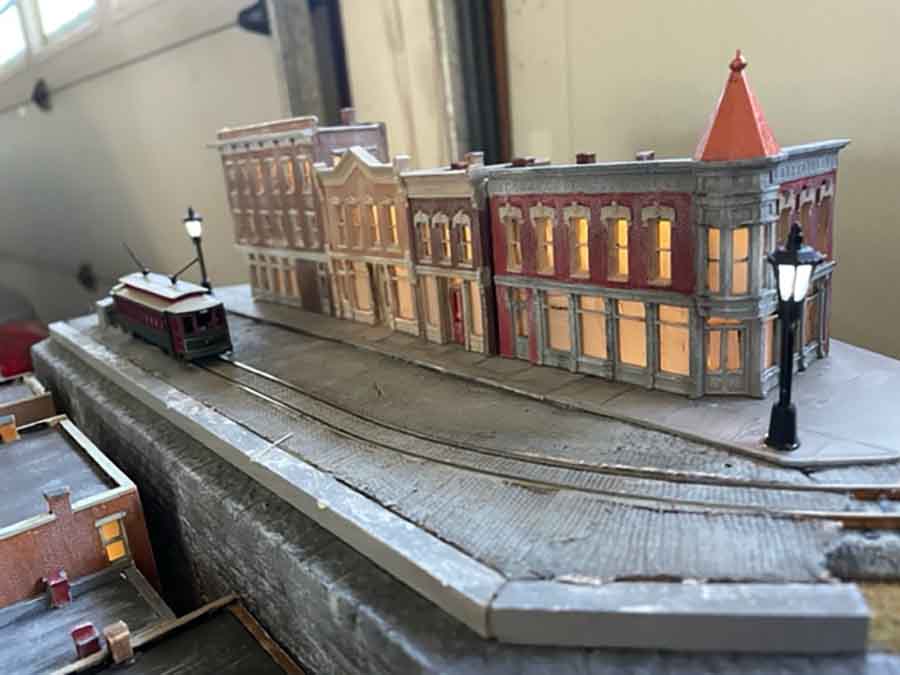
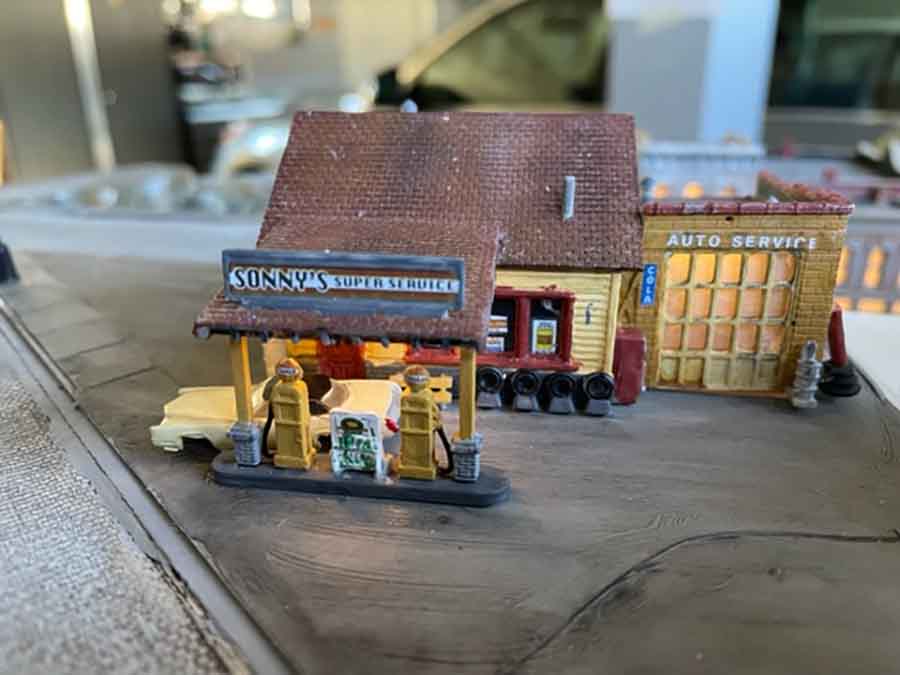
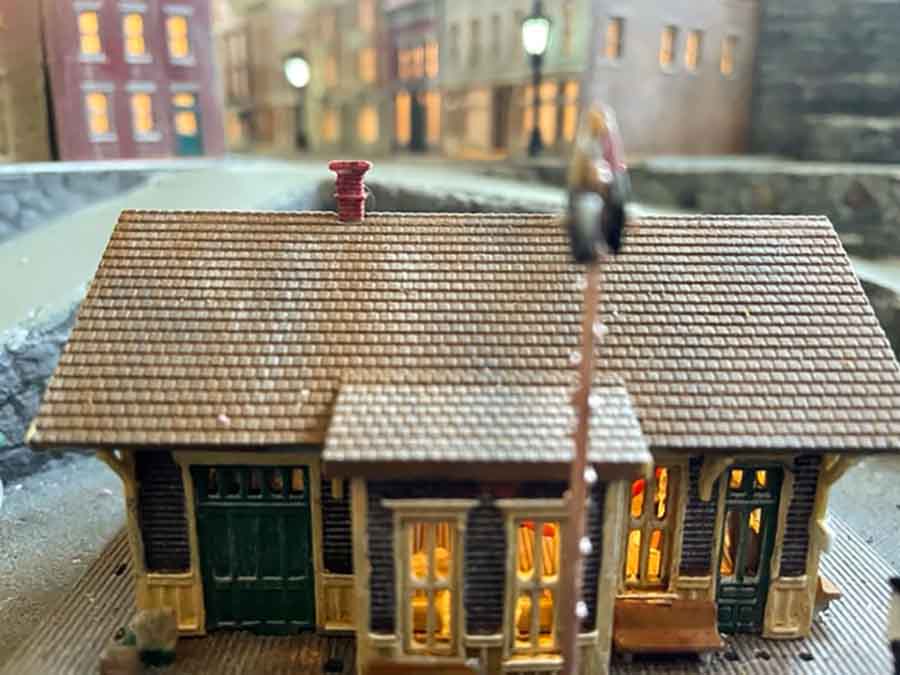
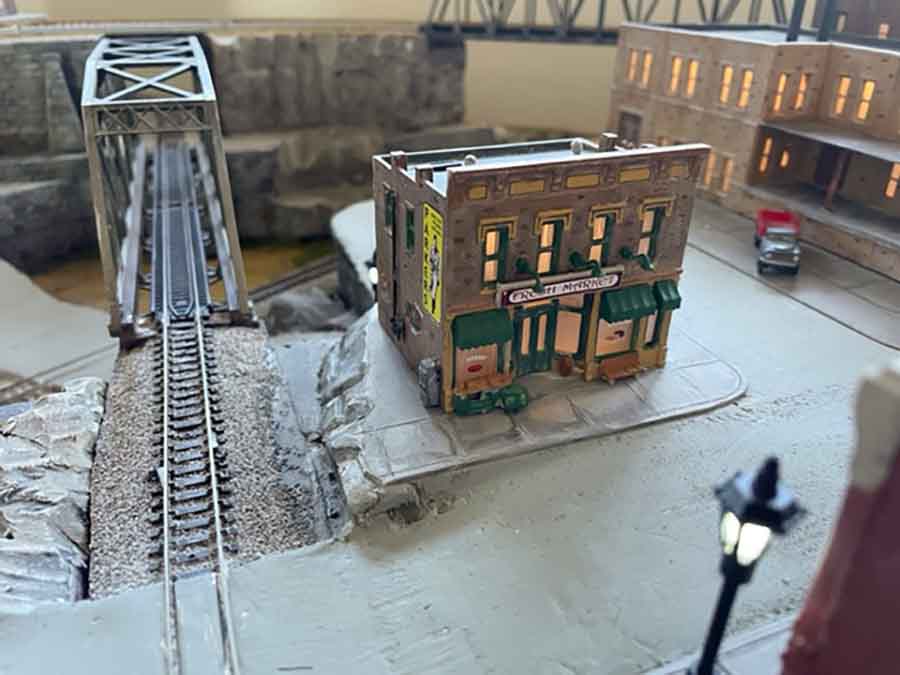
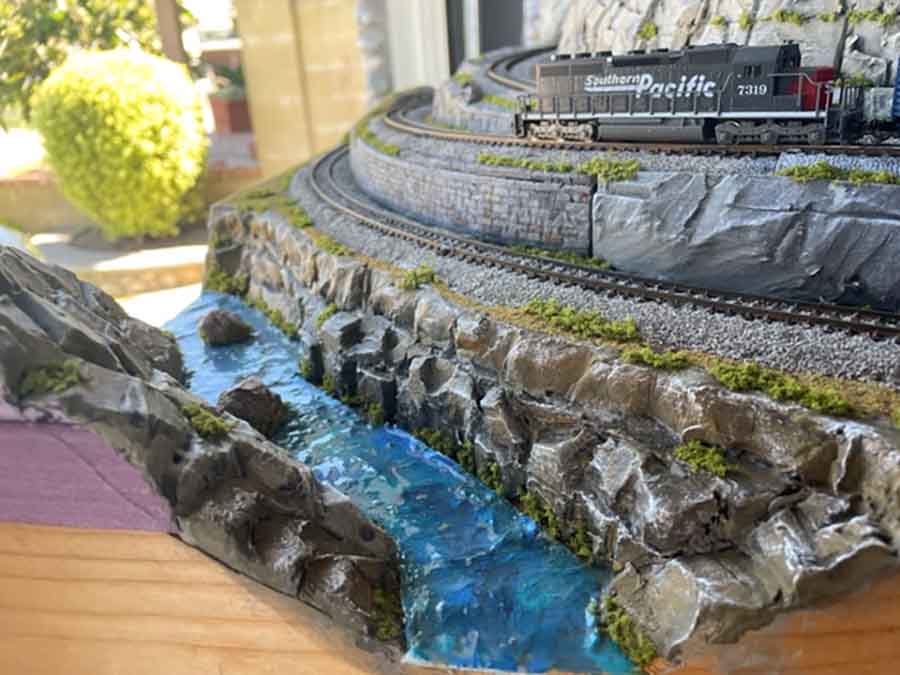
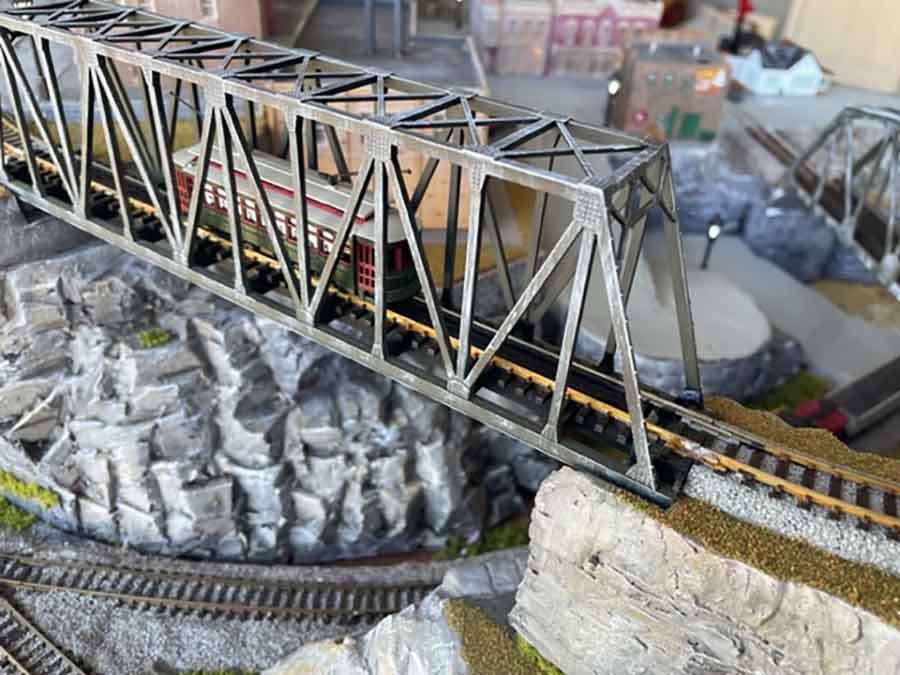
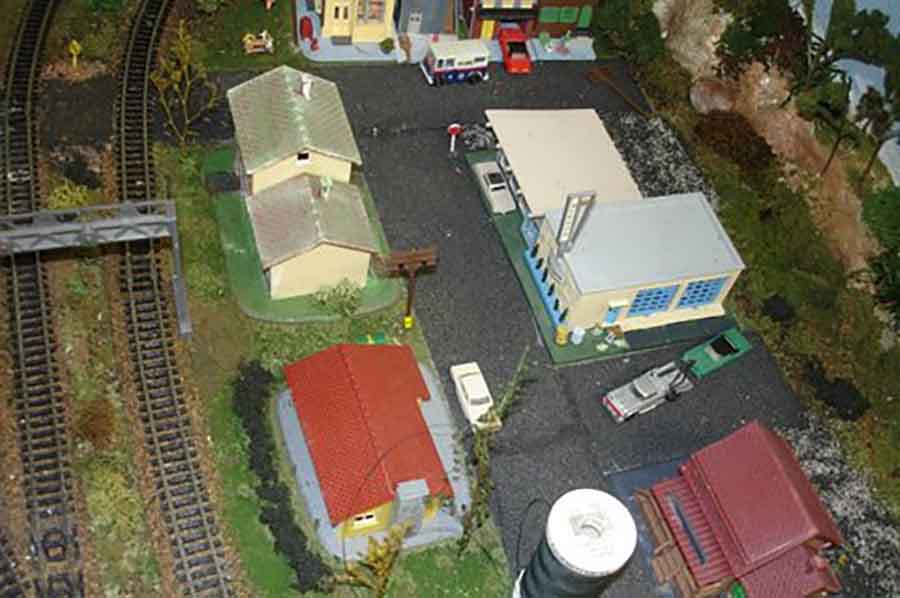
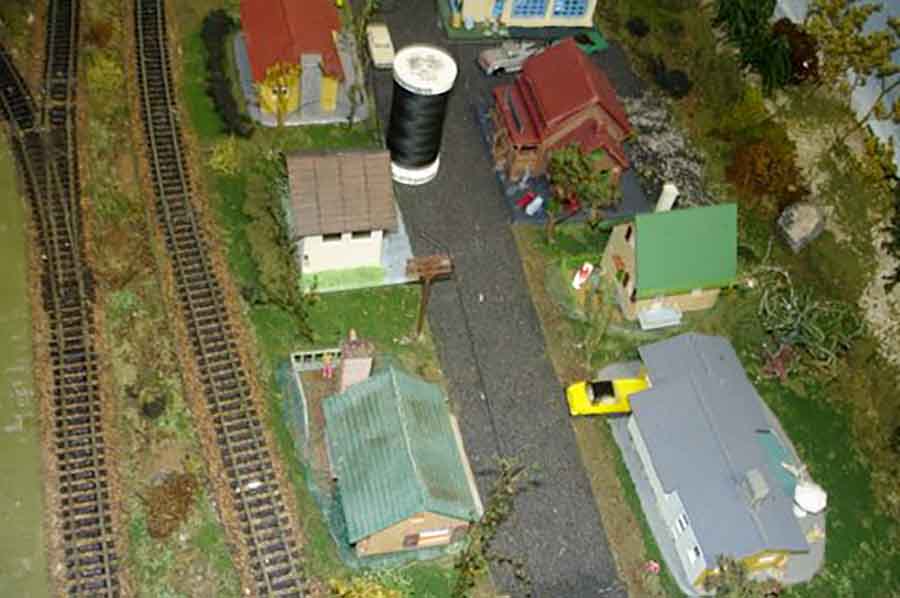
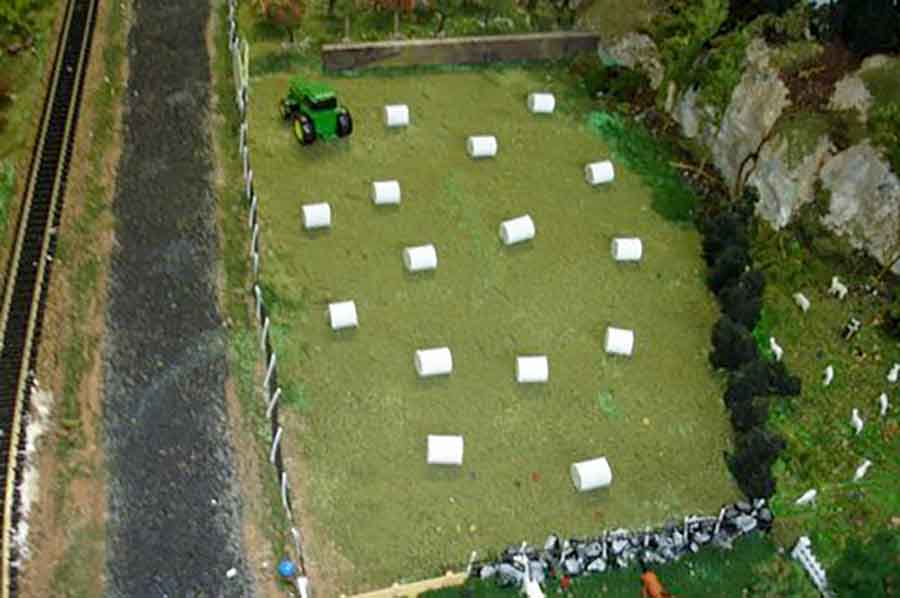
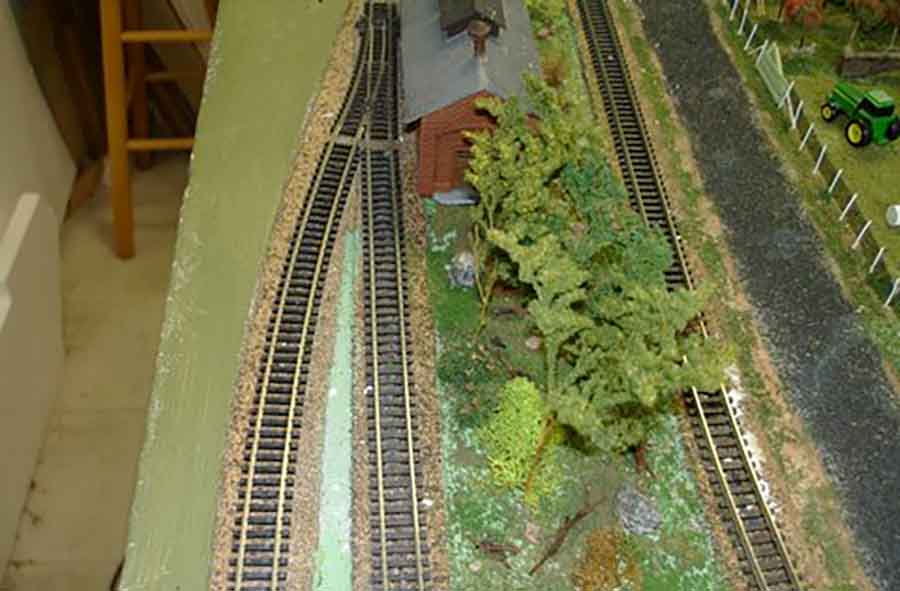
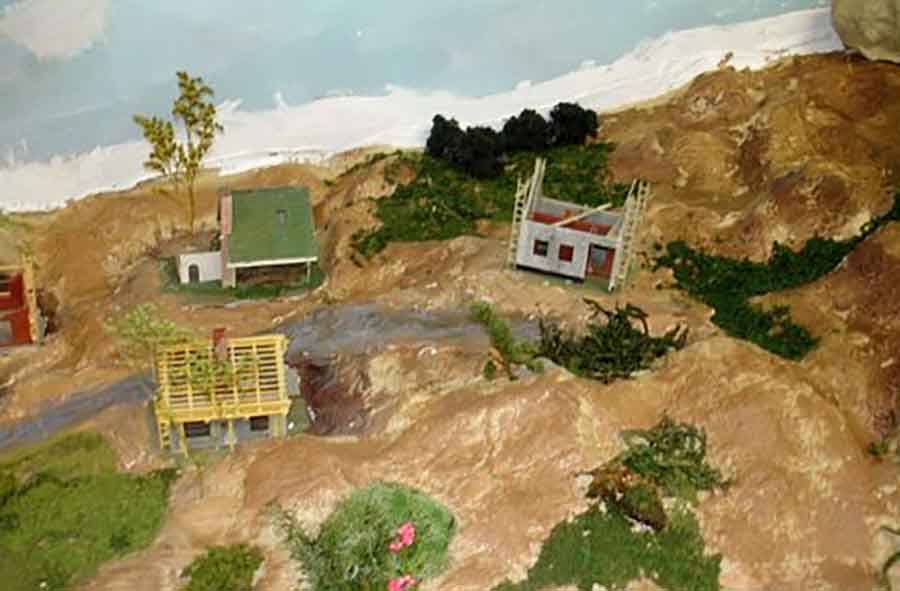
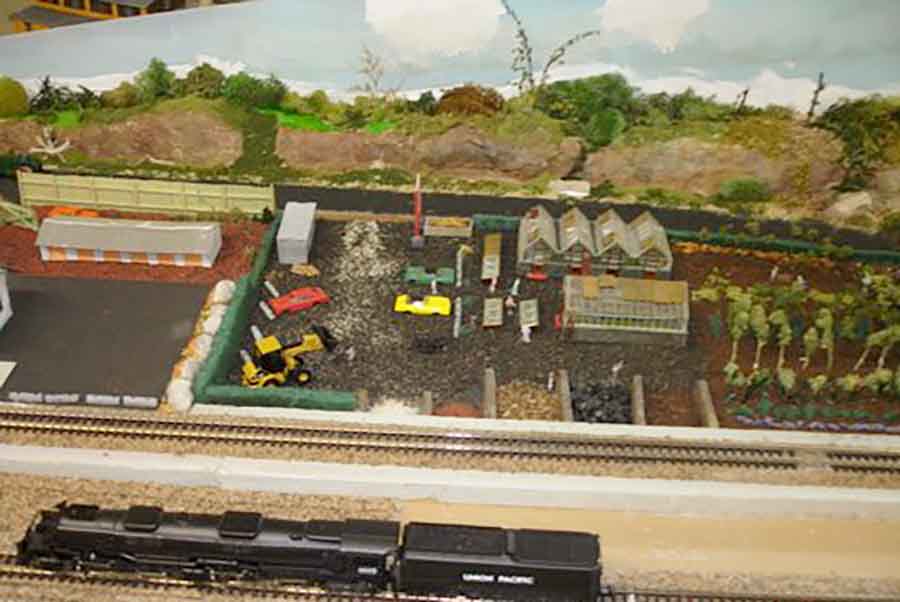
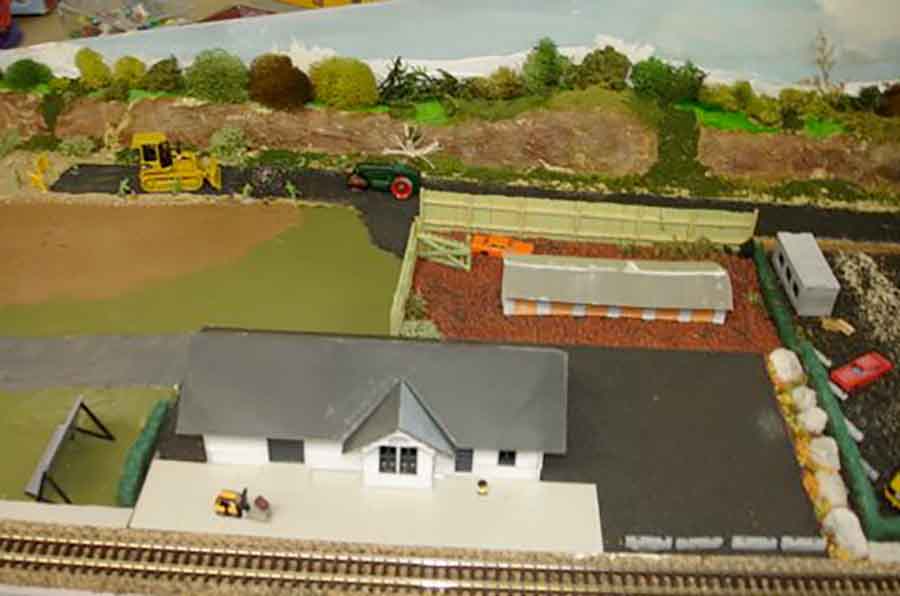
The layout is under a two car garage with lots of room. This is a Canadian layout “Canadian Union Rail Road—CURR the Dog Line” located just north of Port Perry Ontario Canada.
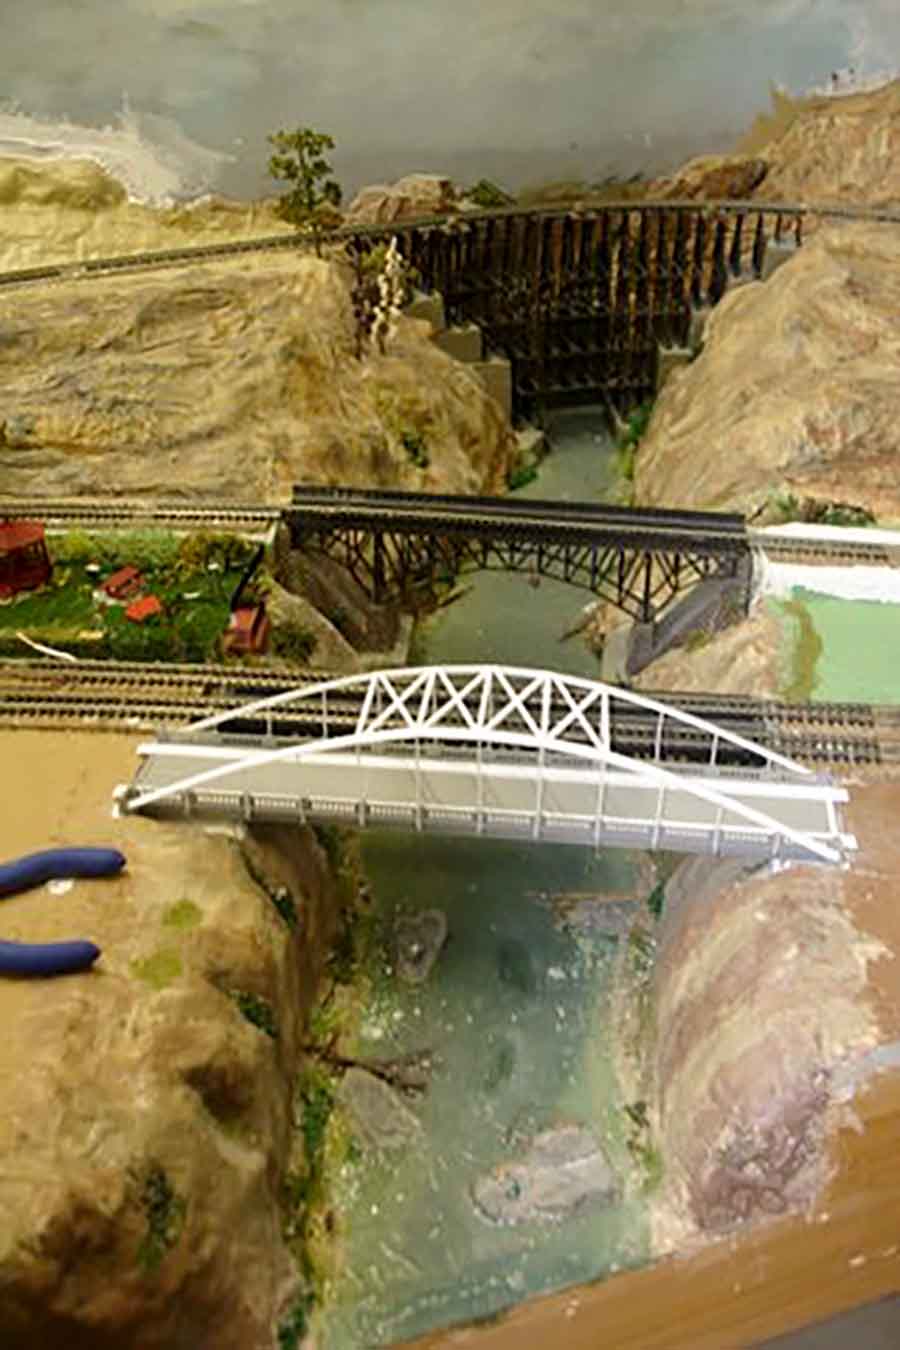
We are not rivet counters nor are we using any fancy power systems. There are three separate lines and a yard with transformers for each. We just like to watch the train go round especially when they tend to pass each other.
Although tracks are powered they tend to be set up as static scenes (our choice). My friends, who deserve a lot of credit are John and Joe. We get together once a week when possible and “play trains”.
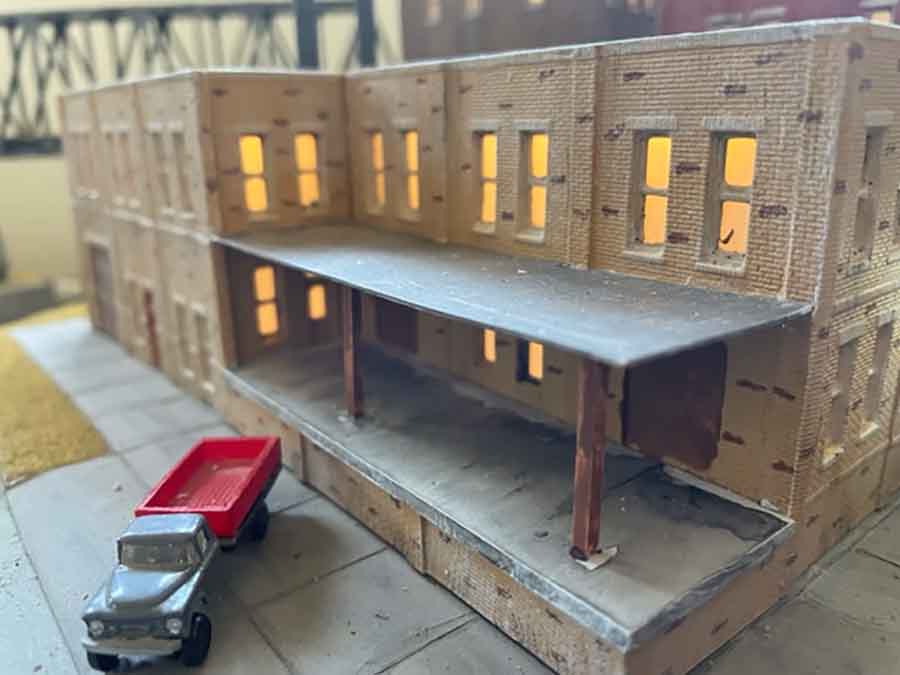
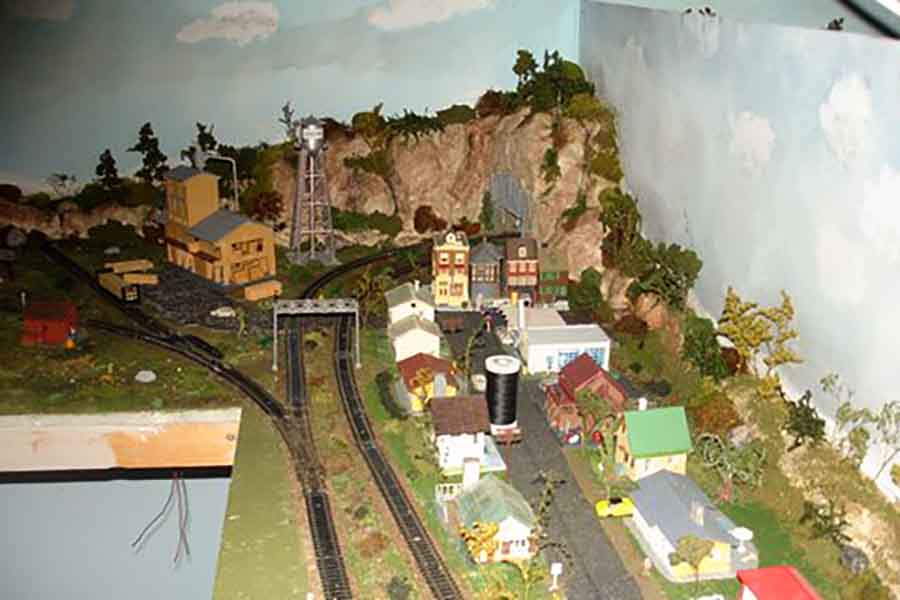
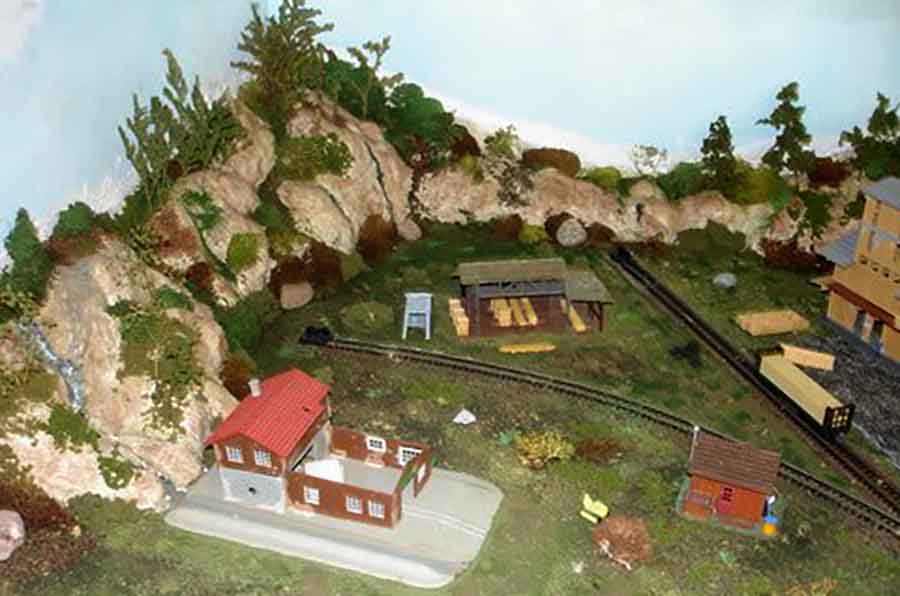
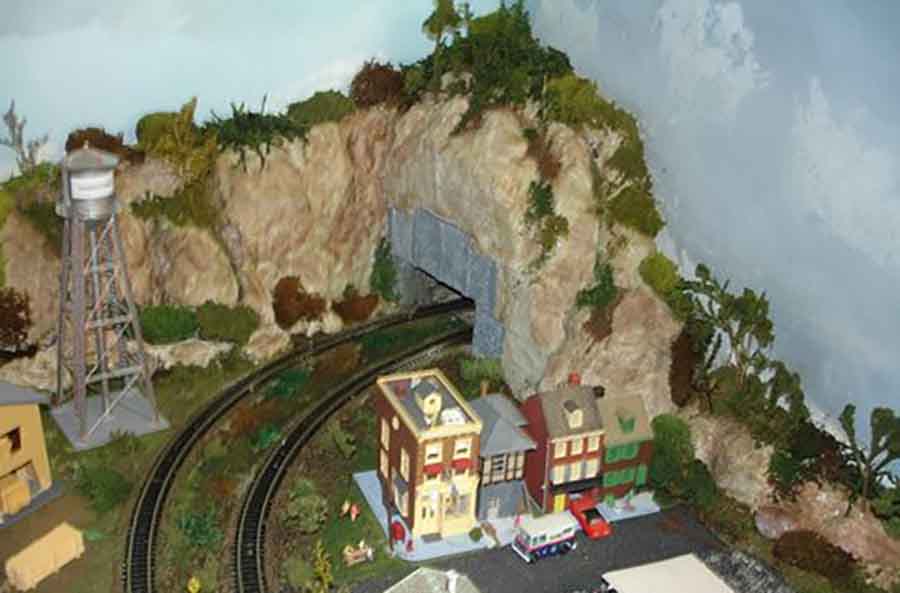
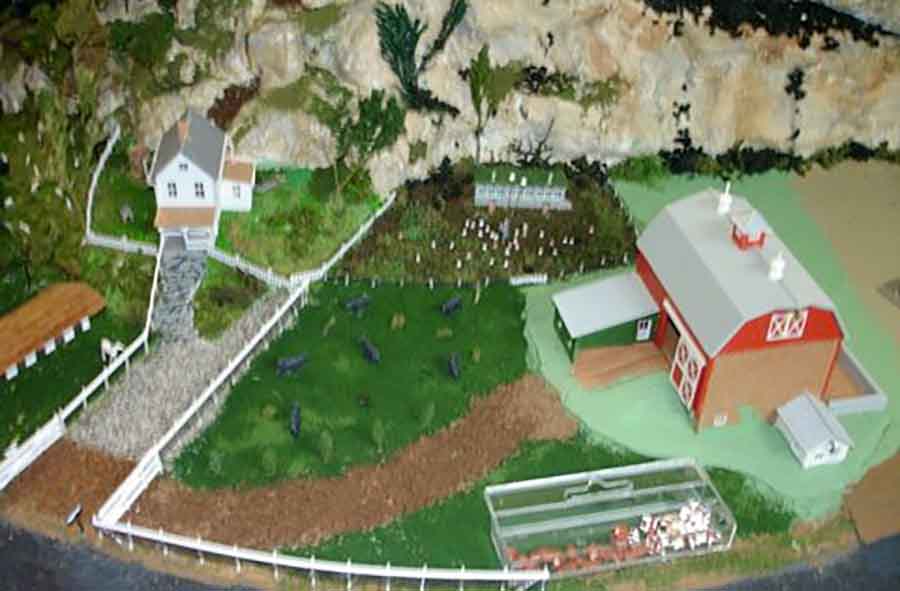
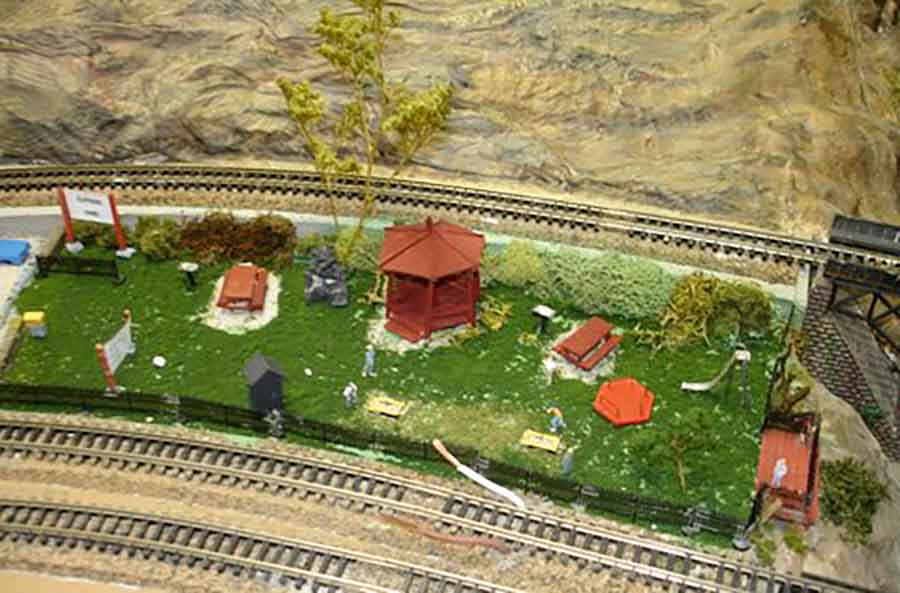
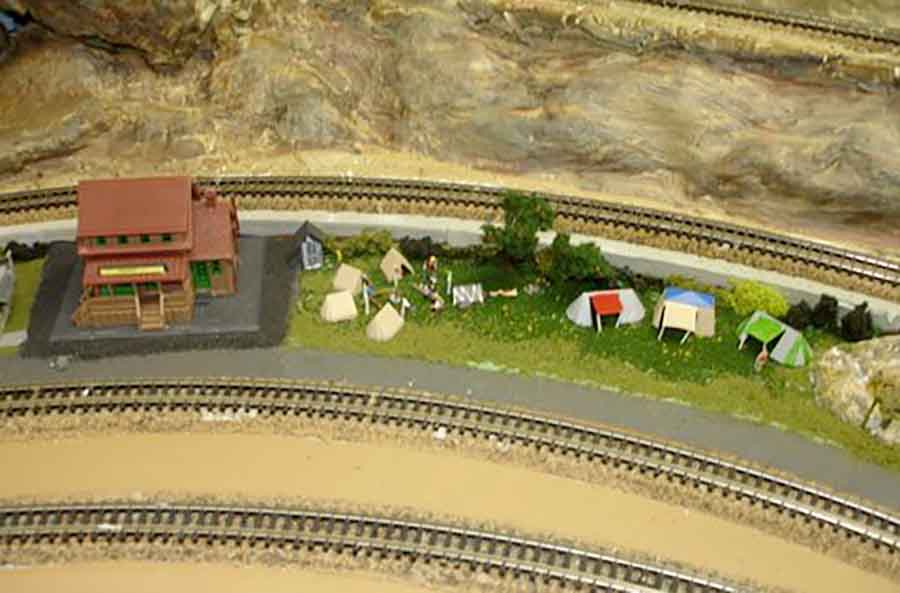
John has done most of the work on Johnstown and Joe has spent valuable hours on the prison called “Joeville Arrest Haven” I have been responsible for the ravine, the park, the campsite, the nursery, the storage area and the parts of the farm that have been completed.
The city will be called Frederickton and every one will be making a contribution.
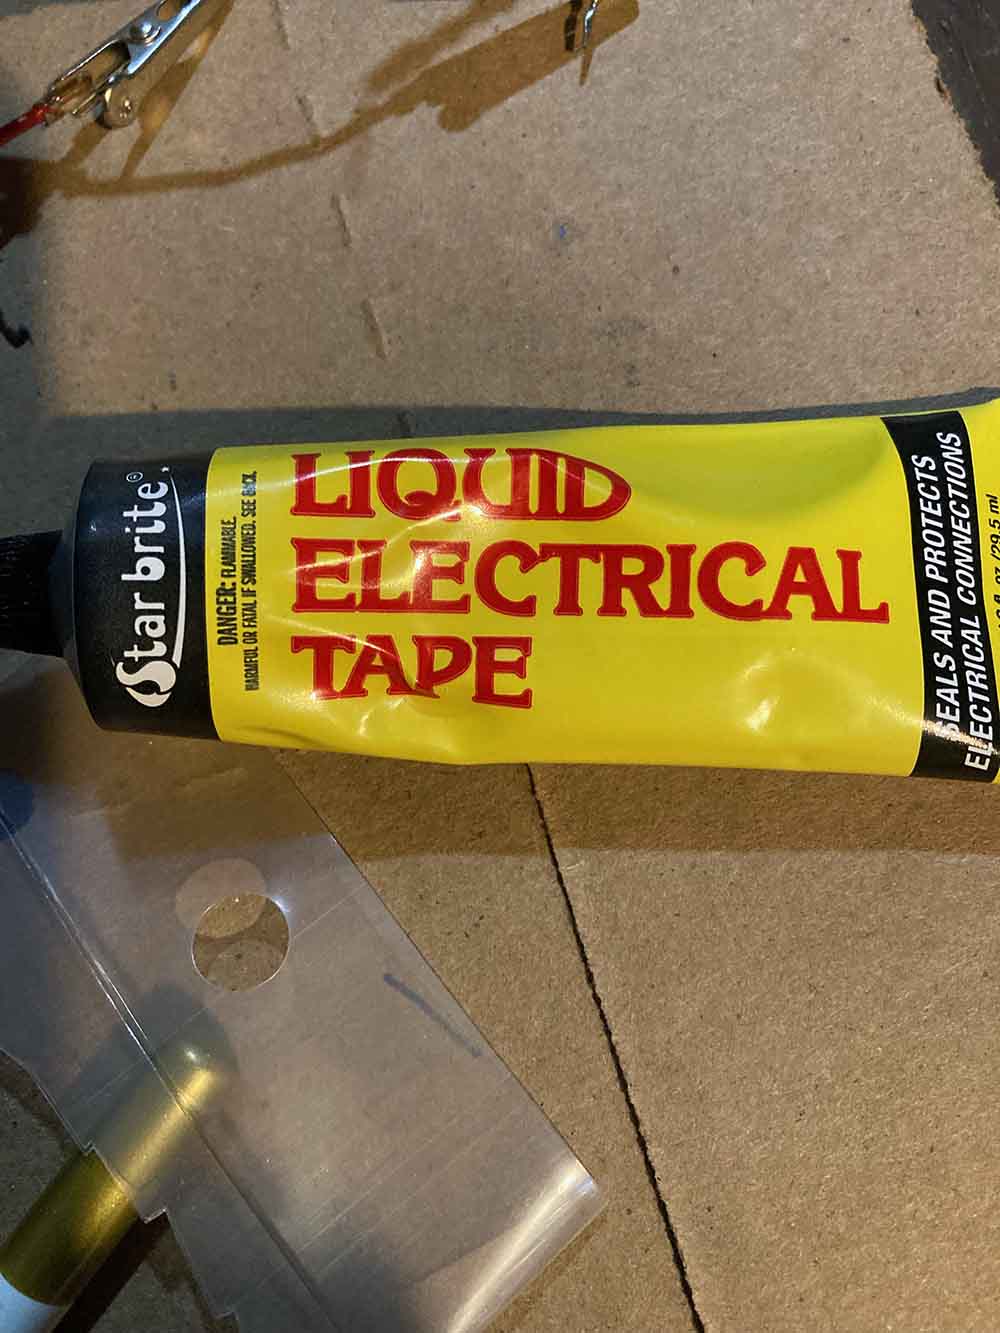
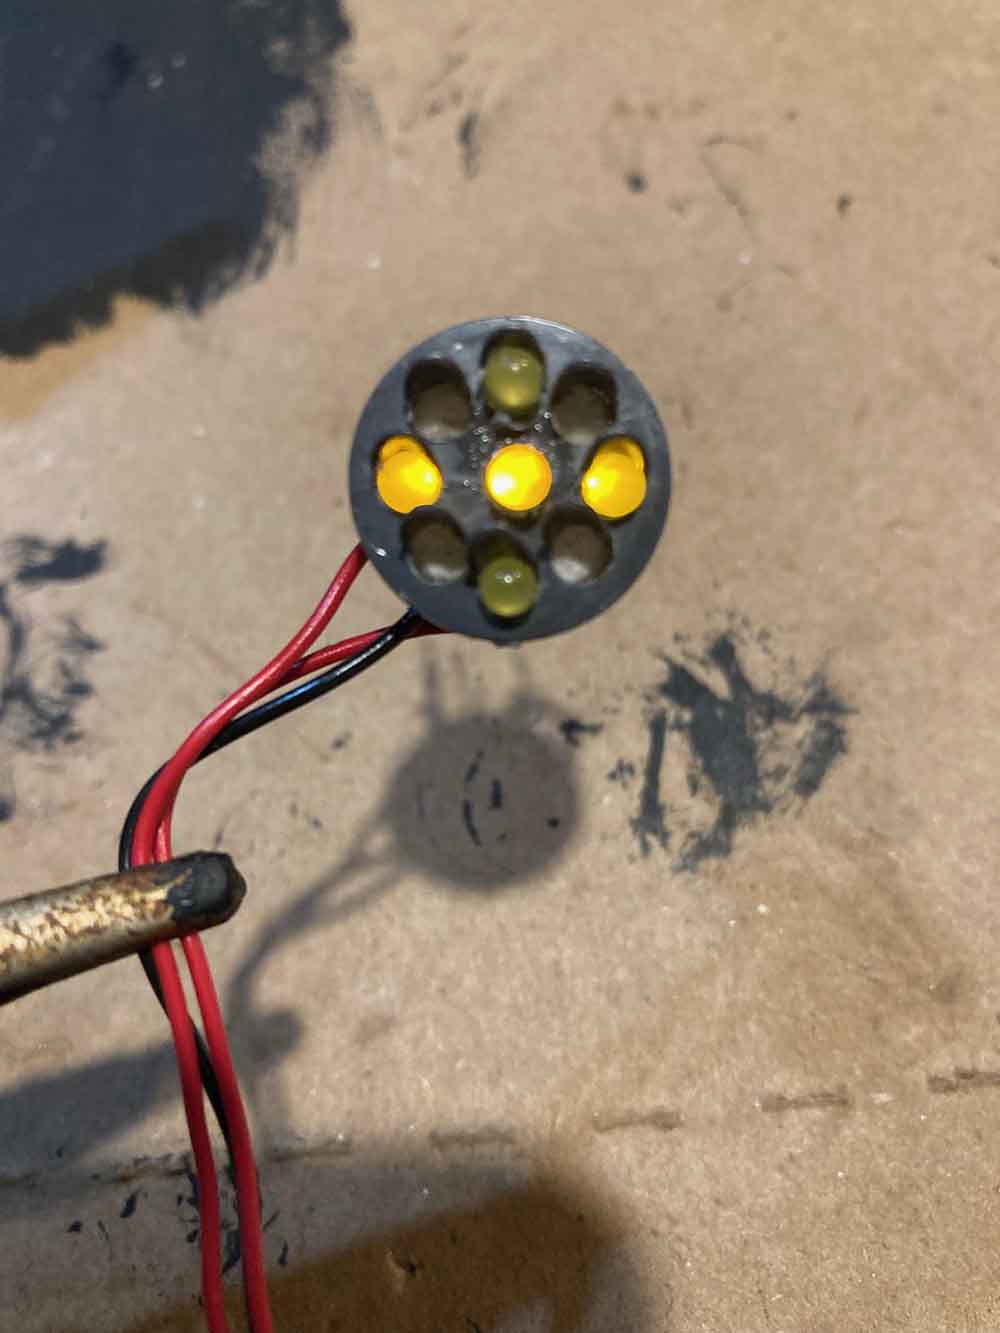
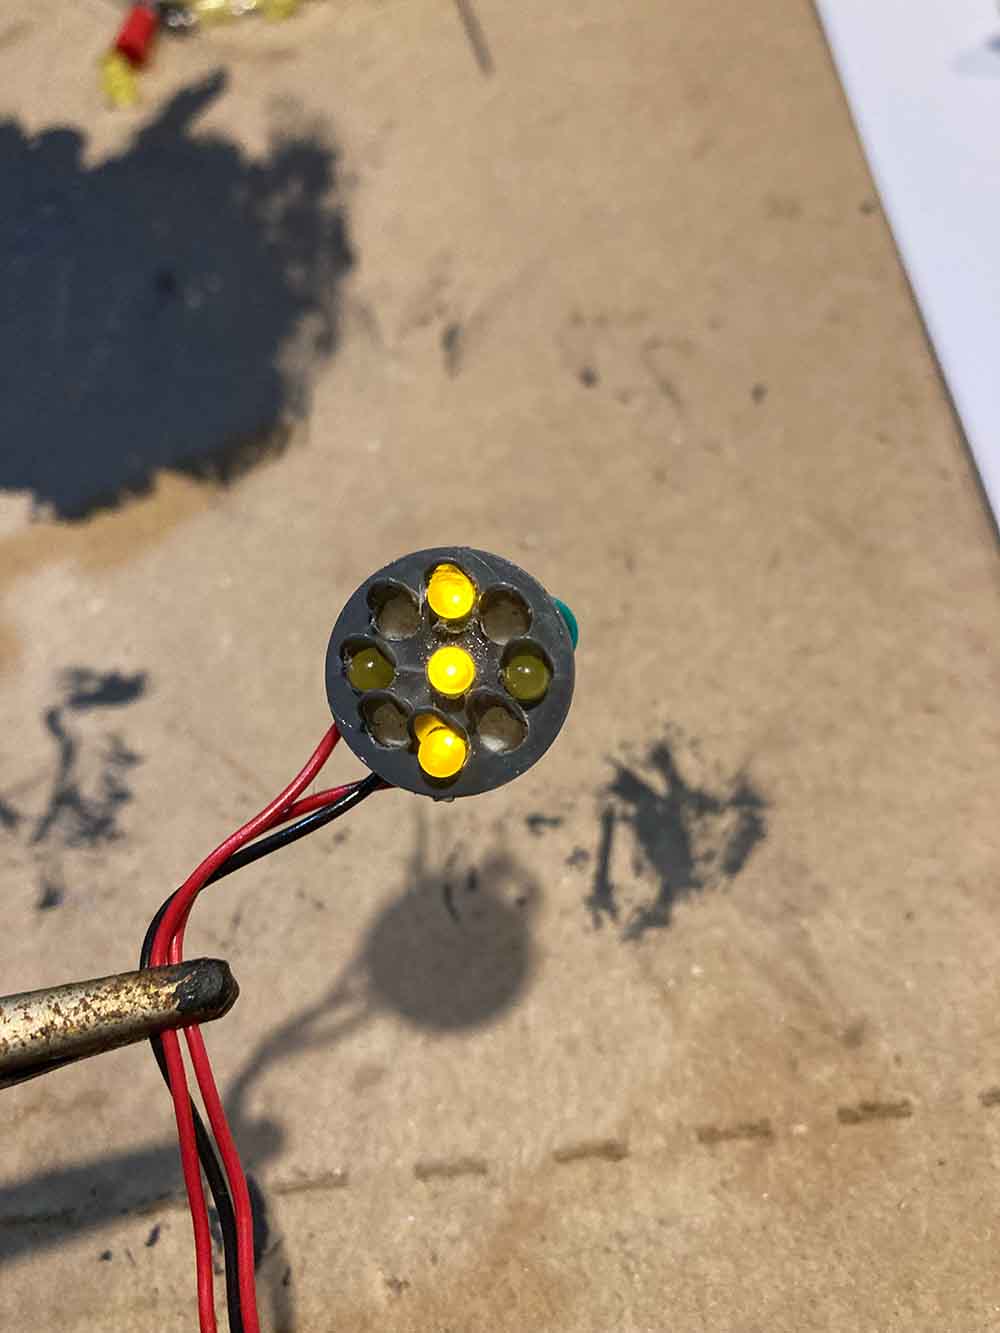
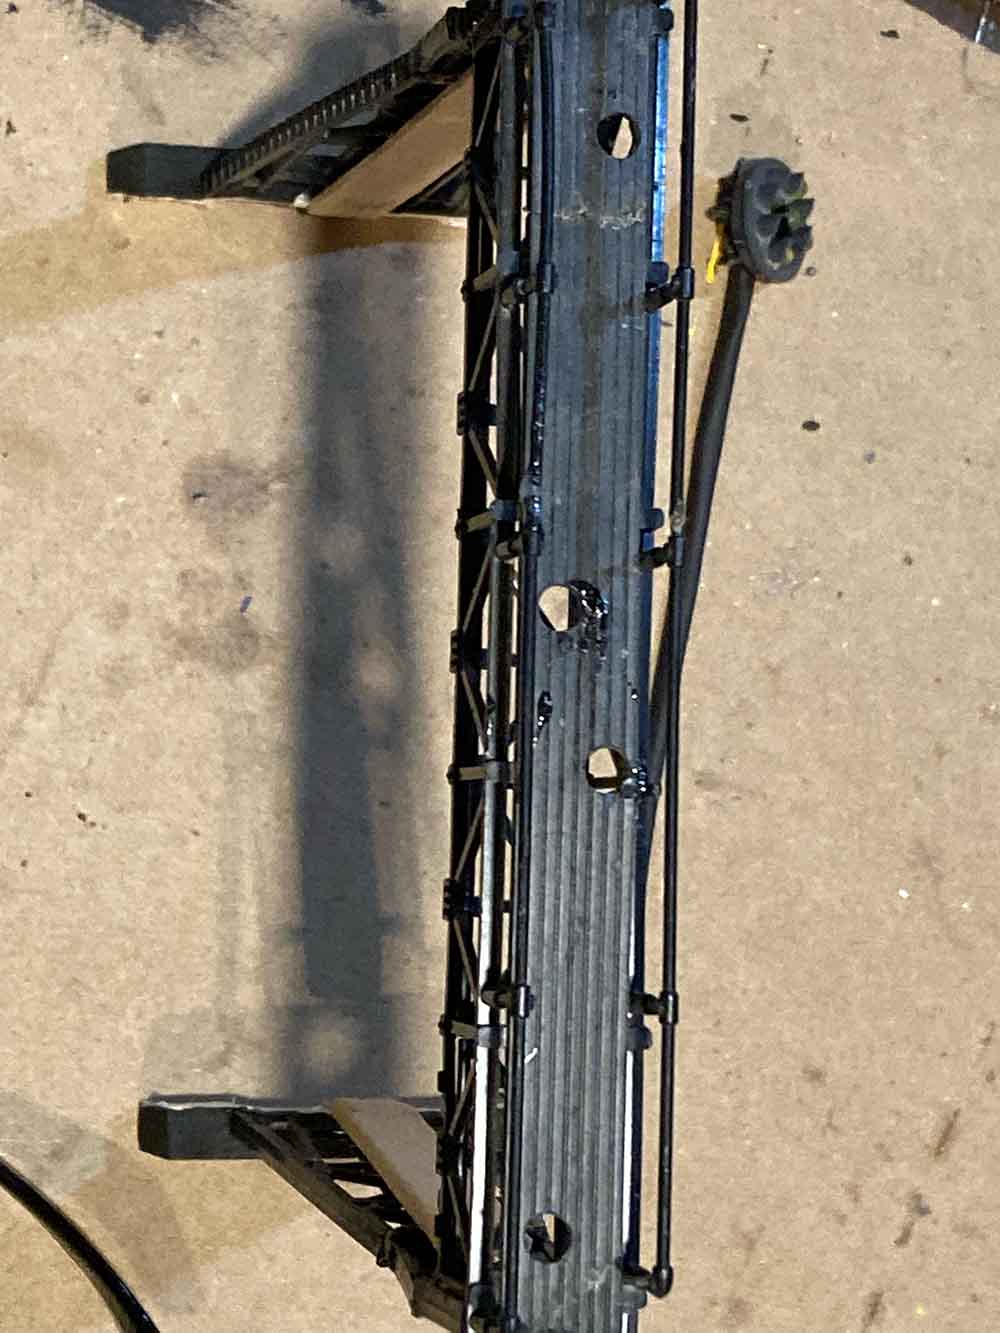
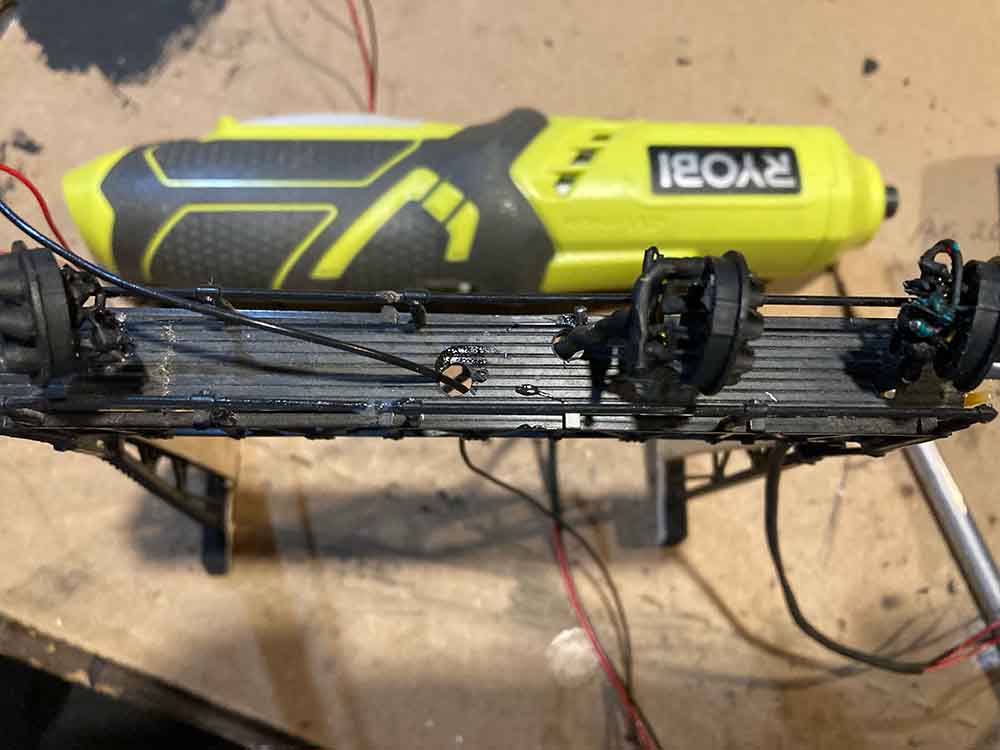
The hills you see are made from cans of insulating foam covered with plaster cloth and paint and of course scenic materials. We are trying to use as little bought material as possible. That is why your web site has been a gold mine. At the end of the pictures I have included a set of Christmas led “white” lights; cheap and easy to setup and work on batteries that will last quite a long time if you were only using then for sometime night effects (I will supply more information if any wants it).
Fred”


A big thanks to Fred for sharing his N scale Canadian layout.
It really reminded me of William’s: N scale Canada.
Now on to Joseph, who has a question:
“Hi Al,
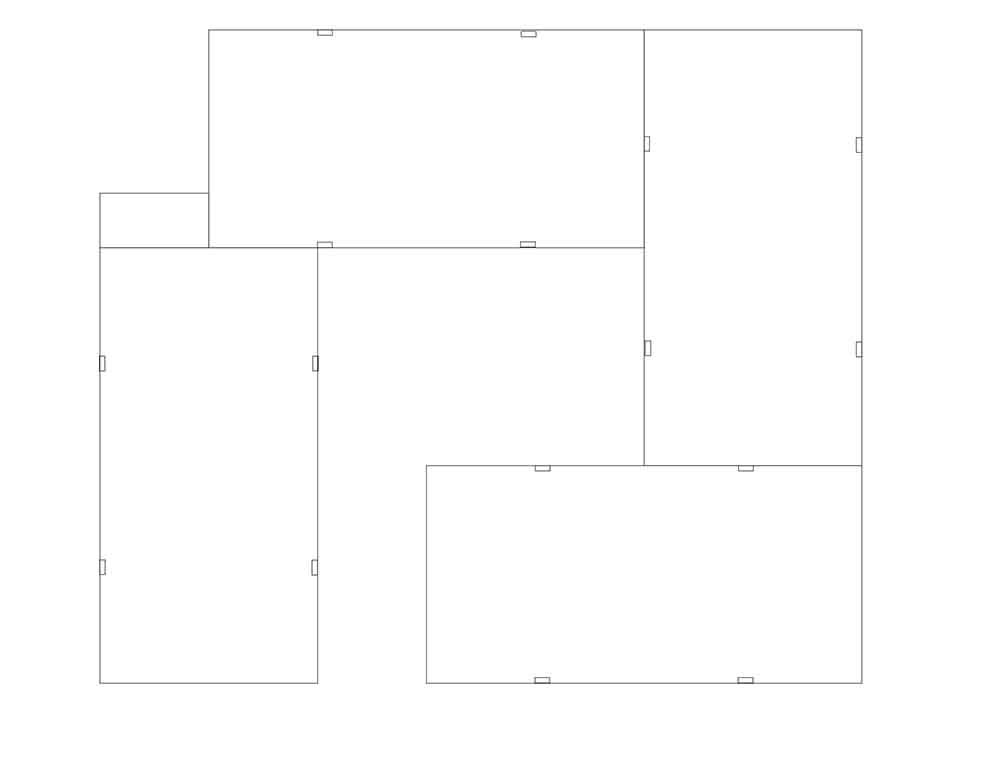
A question for you and / or the subscriber community. I’m going to have an almost 20′ by 20′ space to set up my first big HO layout.
I have a track plan idea for a 12′ x 14′ layout. I’m thinking of semi modular table construction using 1×4 perimeter framing with cross braces on 2 foot centers, a sheet of 1/4″ ply to keep everything square (and level hopefully) and 1″ foam board on top of that for a working base.
My question is will that give sufficient strength and rigidity for the layout?
I’m planning on putting the 2×4 legs 2 feet in from the ends as the plan is for 4 such tables joined in an open semi circle which would give fairly even spacing to the legs rather than having pairs of them next to each other.
Attached drawing shows the table arrangement – the small rectangles on drawing are 2×4 legs with casters so the entire layout can be pulled away from wall for layout construction access, then pushed back against the corner of the room for operation (the 1′ x 2′ foot section in the upper left is to accommodate a 2′ x 3′ HVAC duct in the corner of the room). The four tables will be bolted together.
My big question is this construction strong enough or do I need heavier lumber or go 16 inch on center for the cross bracing?
Any suggestions or comments are welcome.
Joseph”
Lastly on to Dave:
“Hi Al ,
just a short video up in North Yorkshire where i managed to capture a few trains, and some nice countryside
Regards
Dave”
A big thanks to Dave and to Fred for sharing his N scale Canadian layout.
That’s all for today folks.
Please do keep ’em coming – and who can help Joseph? Please leave a comment below if you can.
And if today is the day you get started on your layout, the Beginner’s Guide is here.
Best
Al
PS More HO scale train layouts here if that’s your thing.
Need buildings for your layout? Have a look at the Silly Discount bundle.