Brian’s been back in touch with his HO scale harbor model.
“Hi Alastair,
photos of the latest build, one finished and the second one almost finished.
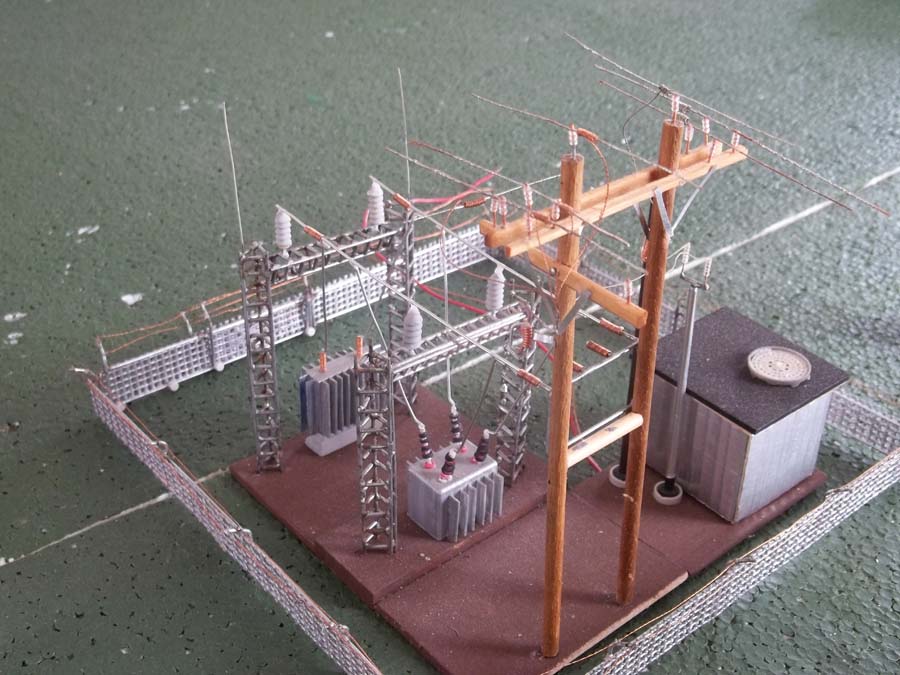
Below is the 99% finished FSM Seafood Emporium in place on my layout after more that 3 months of work on it.
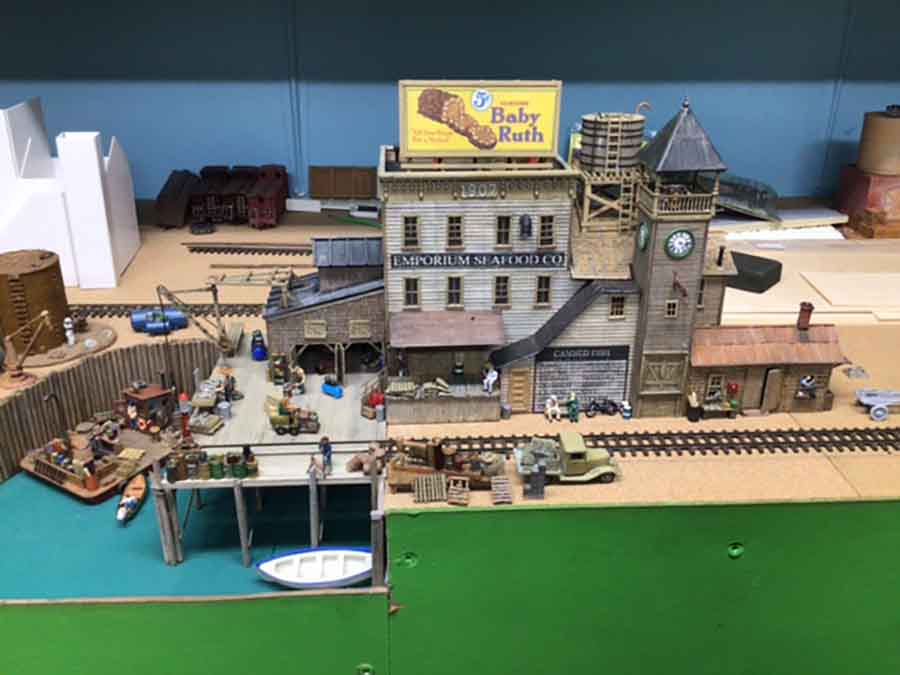
Now to bed it onto the layout with ground cover and surrounding details.
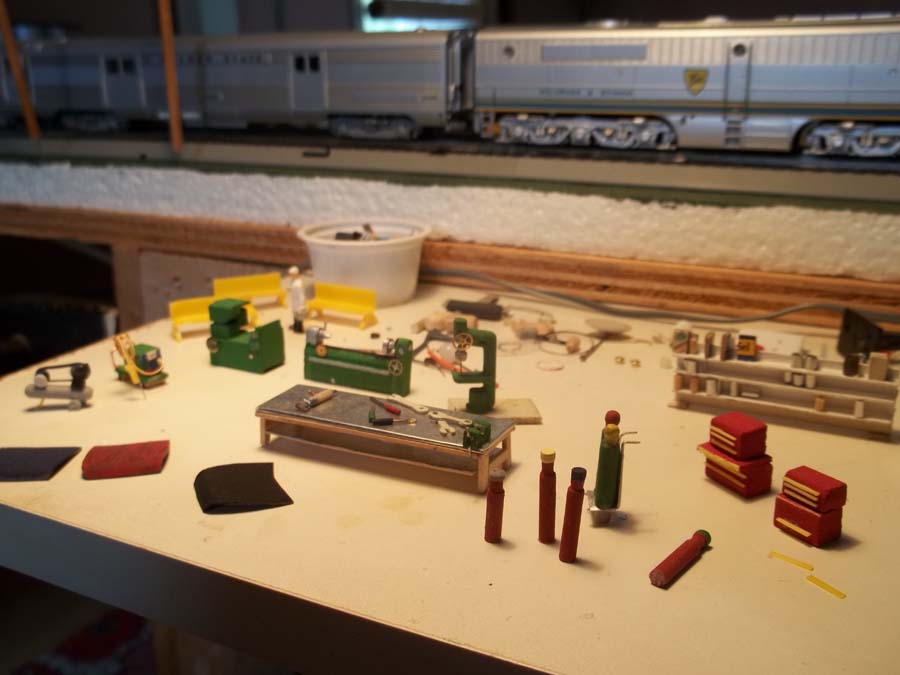
A photo showing a boat loading / offloading products at the wharf.
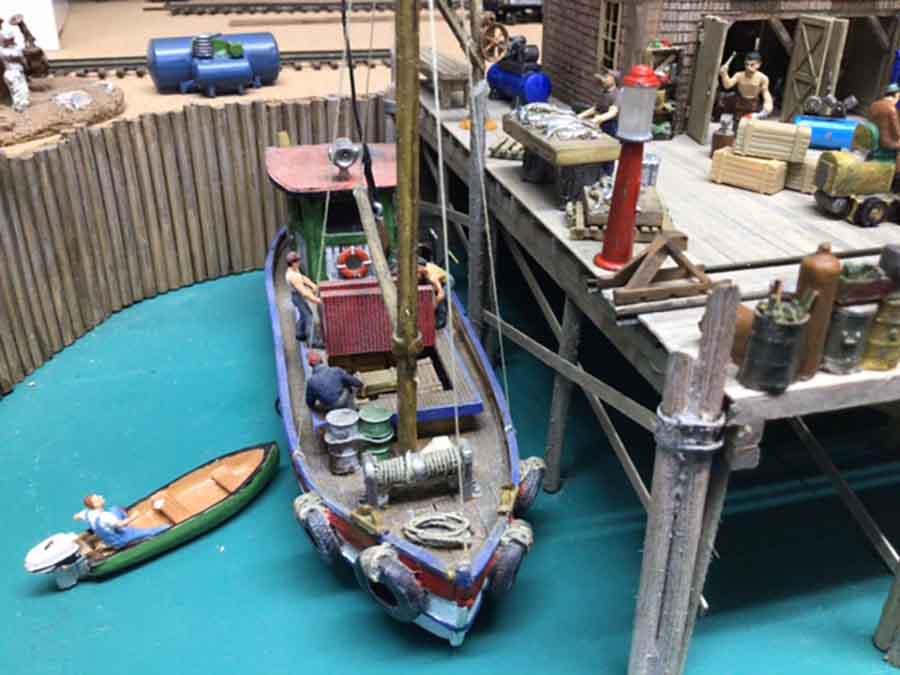
Note the fresh fish and lobsters on the sorting table and the blacksmith eyeing them for his lunch. (He already has the fire going inside).The guy in the small boat alongside is hoping to get a freebie from his mate on the bigger boat.
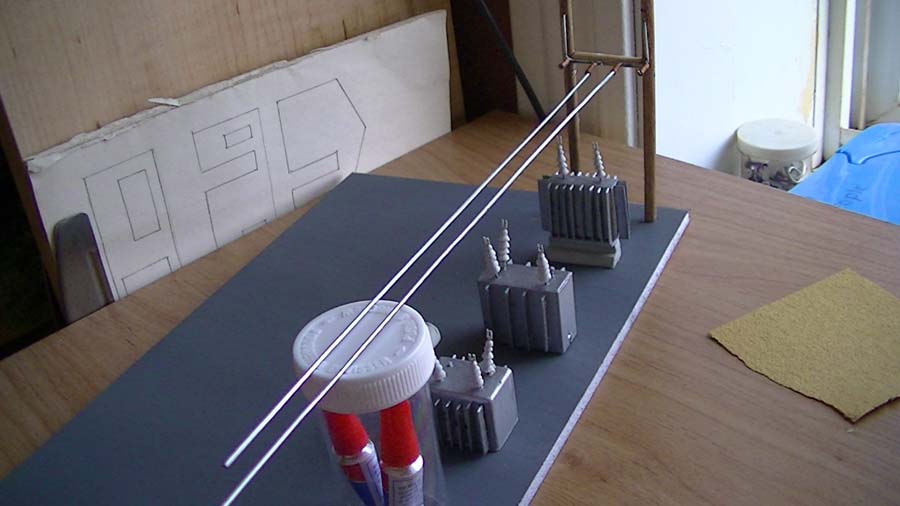
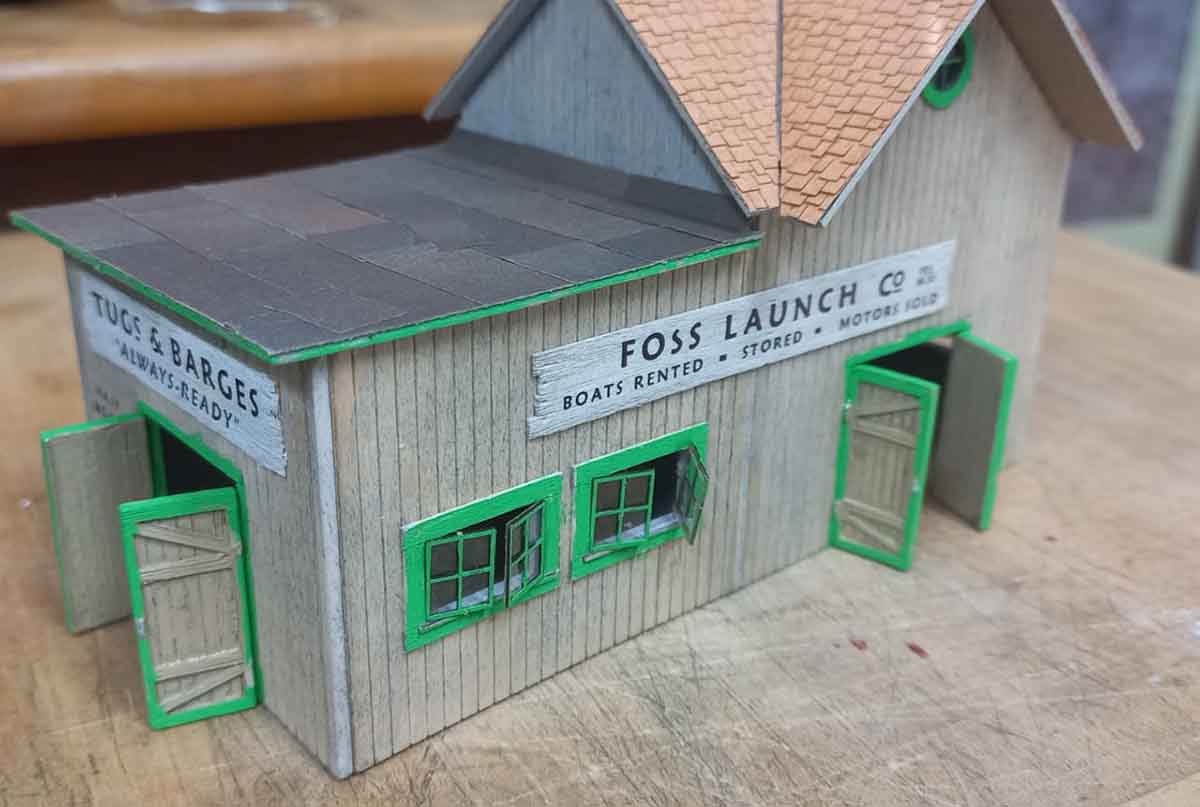
My next project, a Sierra West kit, the first building of 4 items in the kit – Foss Launch Co. The main building.
On this very rare occasion, I will be basically assembling it straight out of the box with no kit bashing or modifications to it. The only addition will be a full interior and lights added
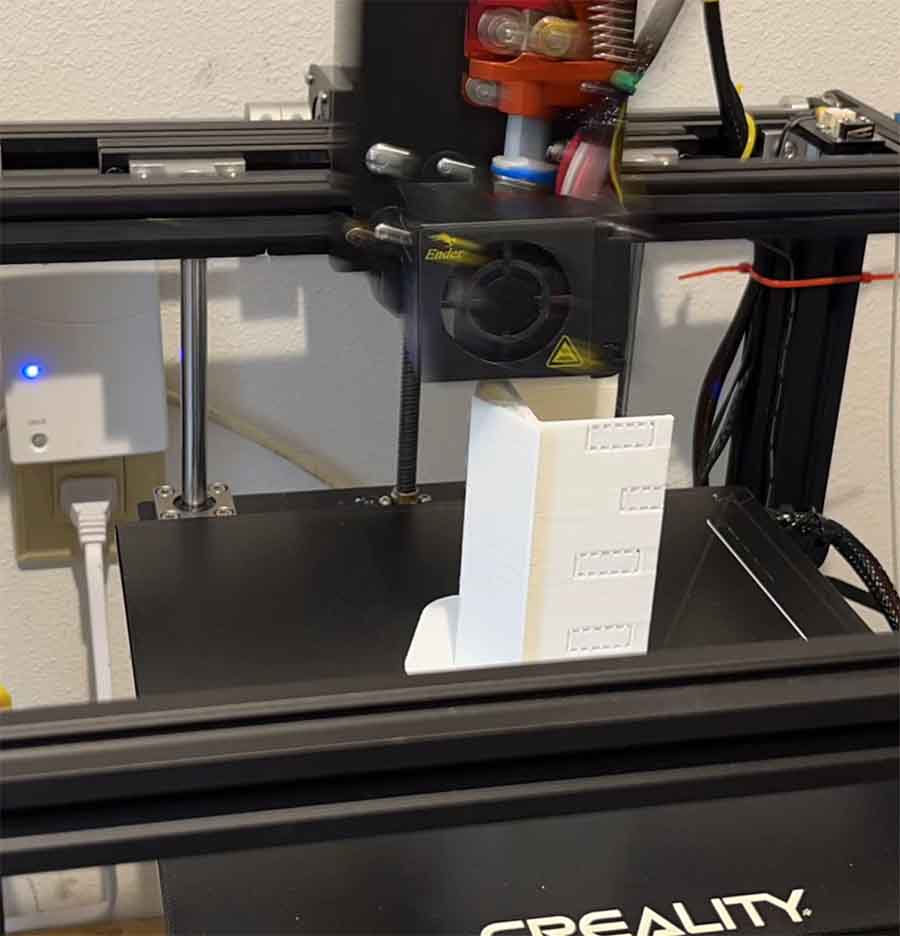
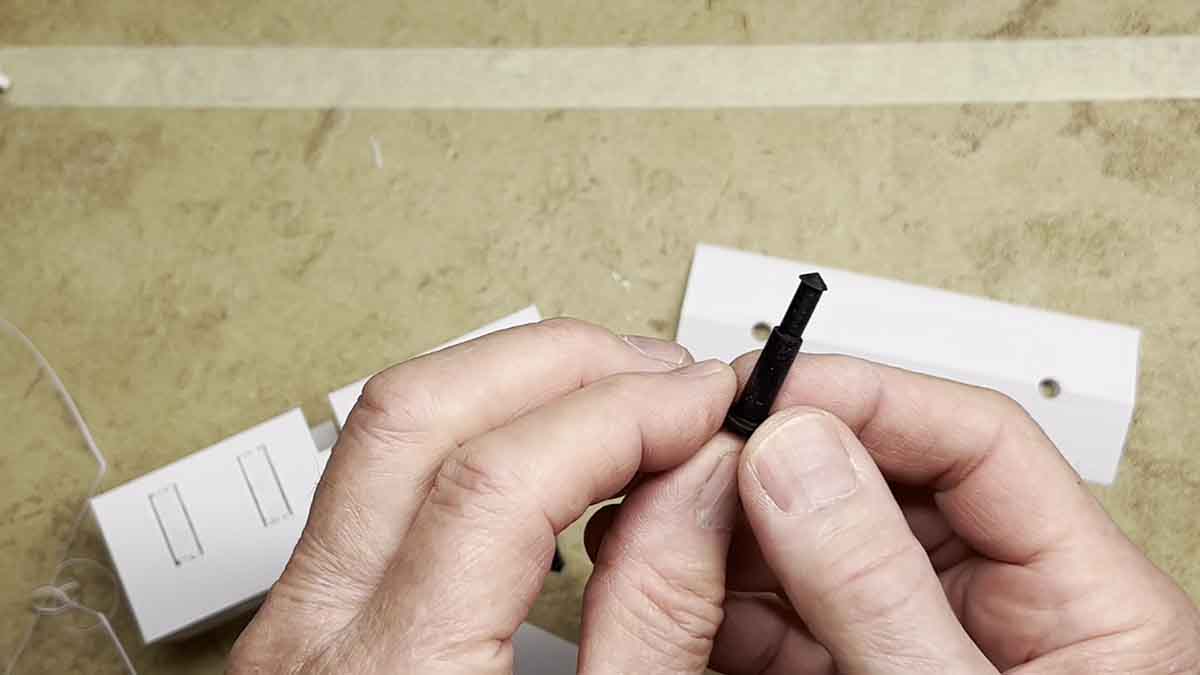
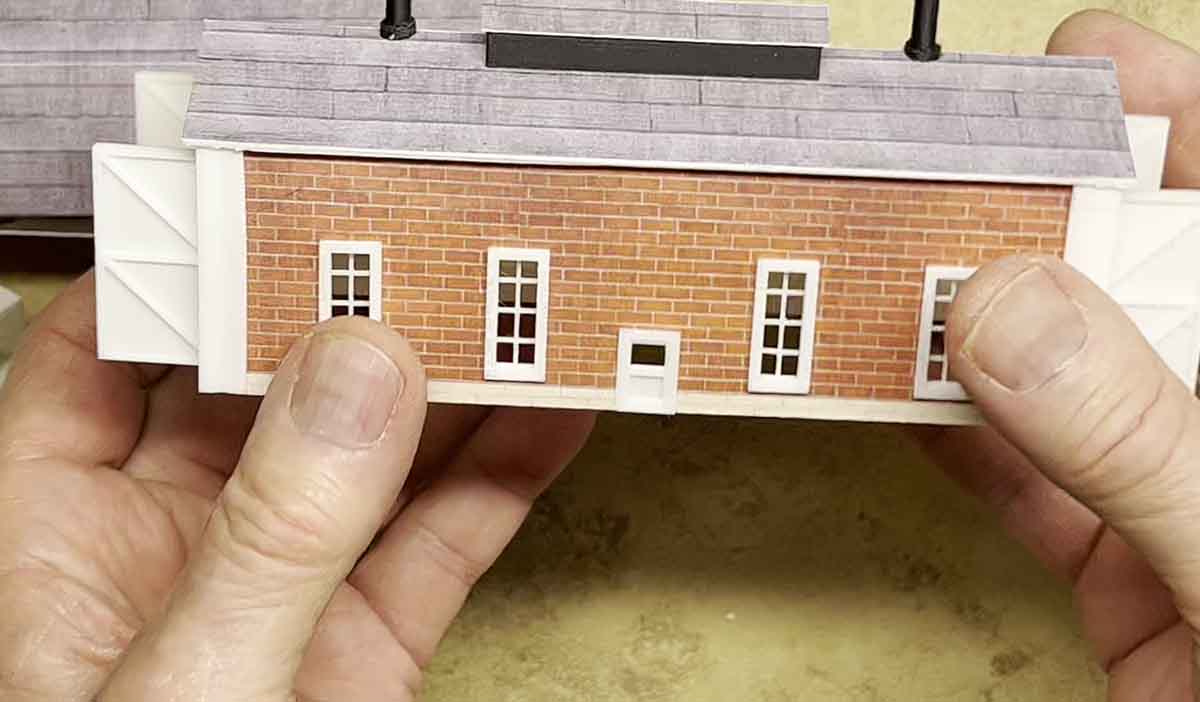
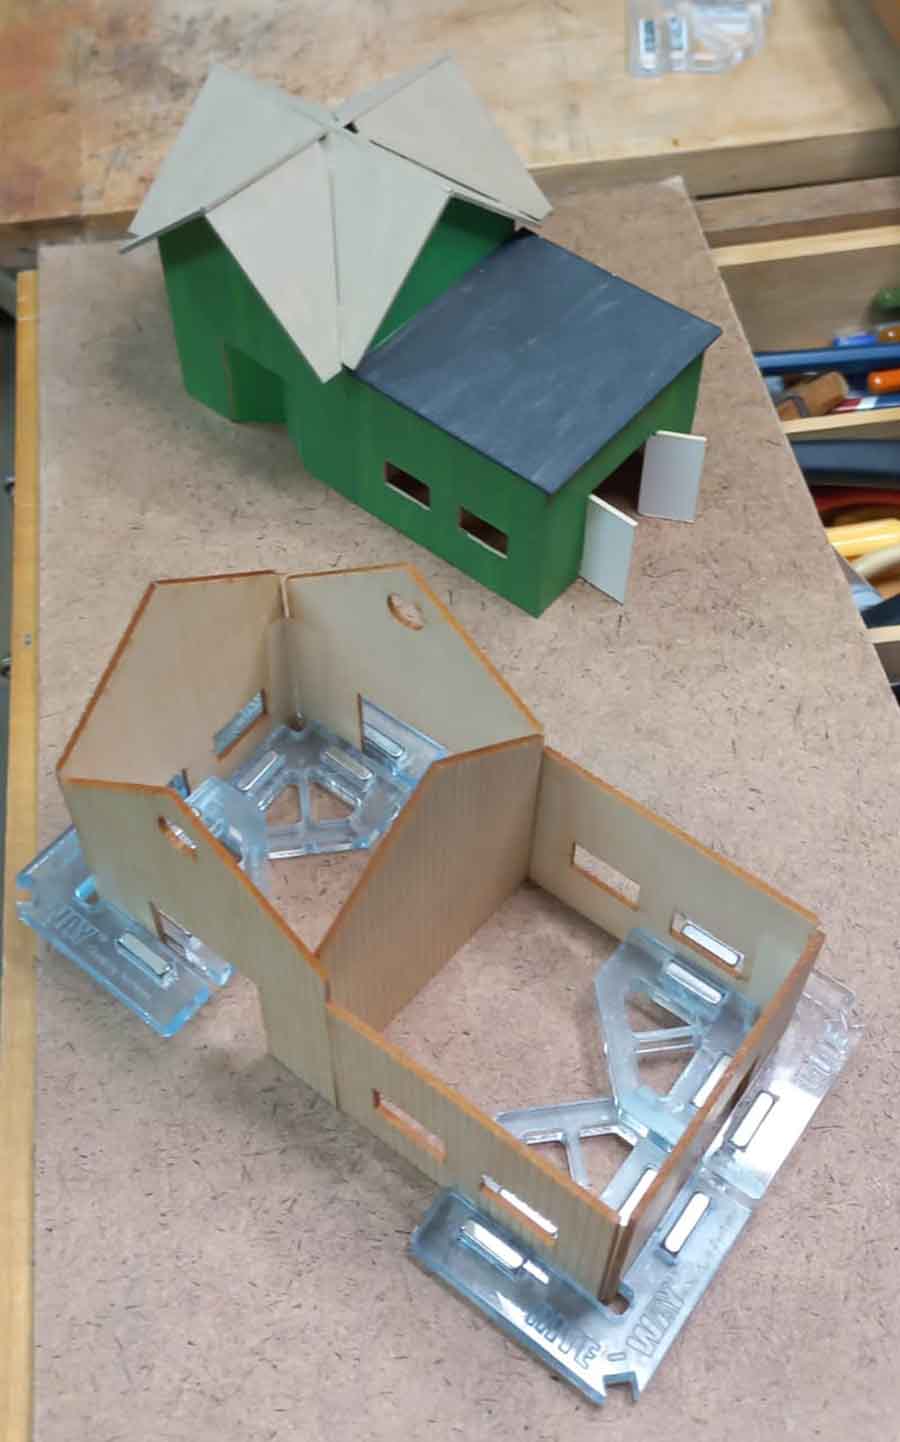
As usual when building kits, I always make a cardboard mock-up of the building from the plans to make sure that it is what is correct for the position on the layout.
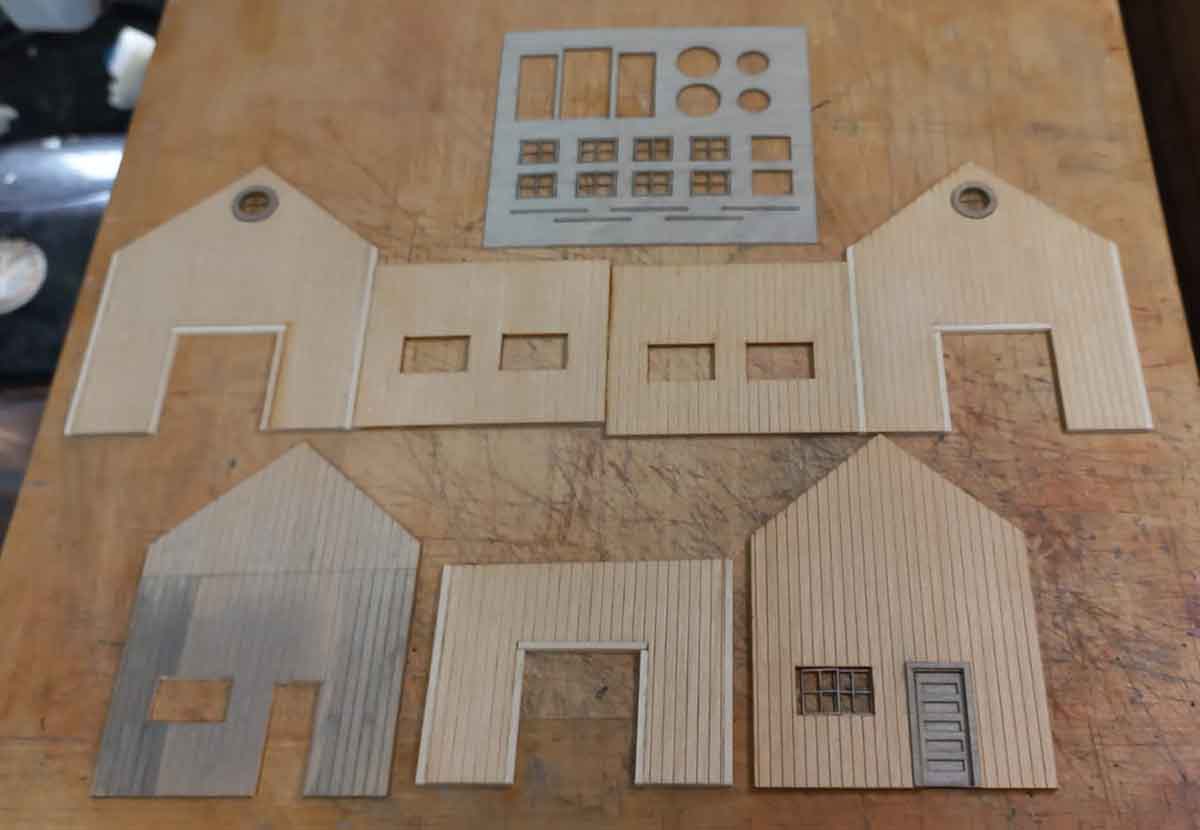
Here it is shown above the start of the kit assembly using my corner magnetic clamps.
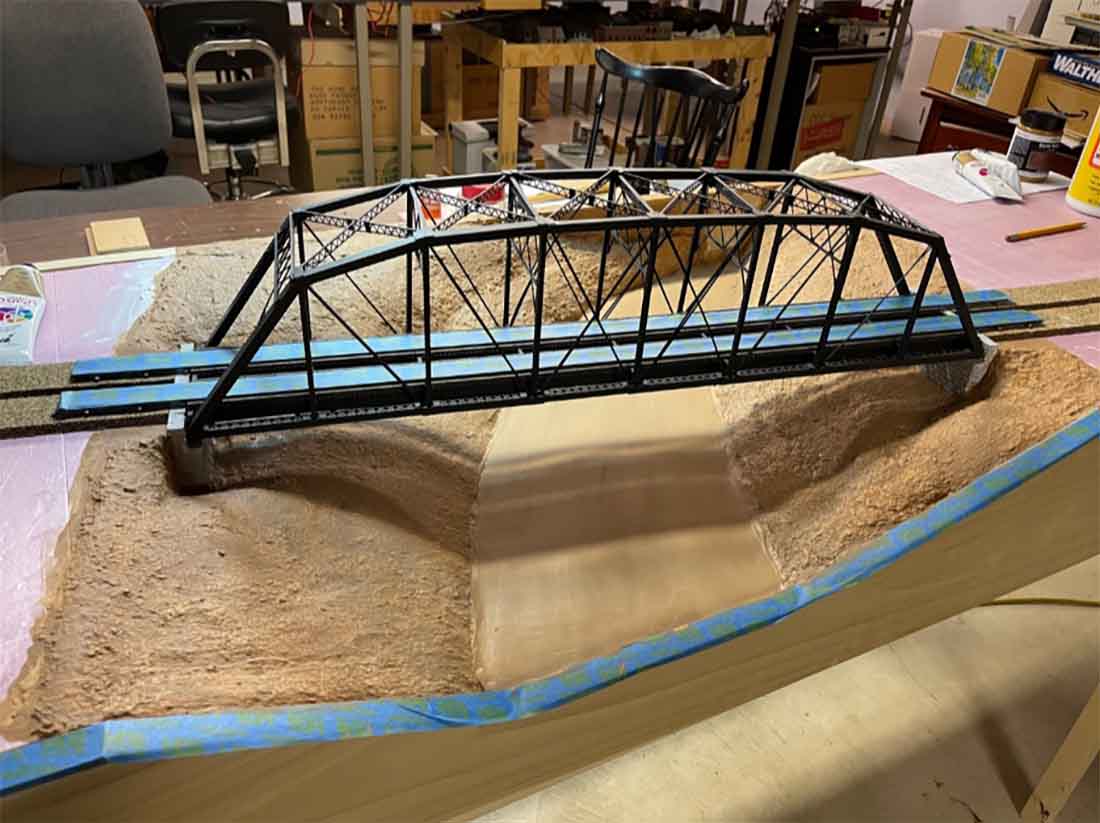
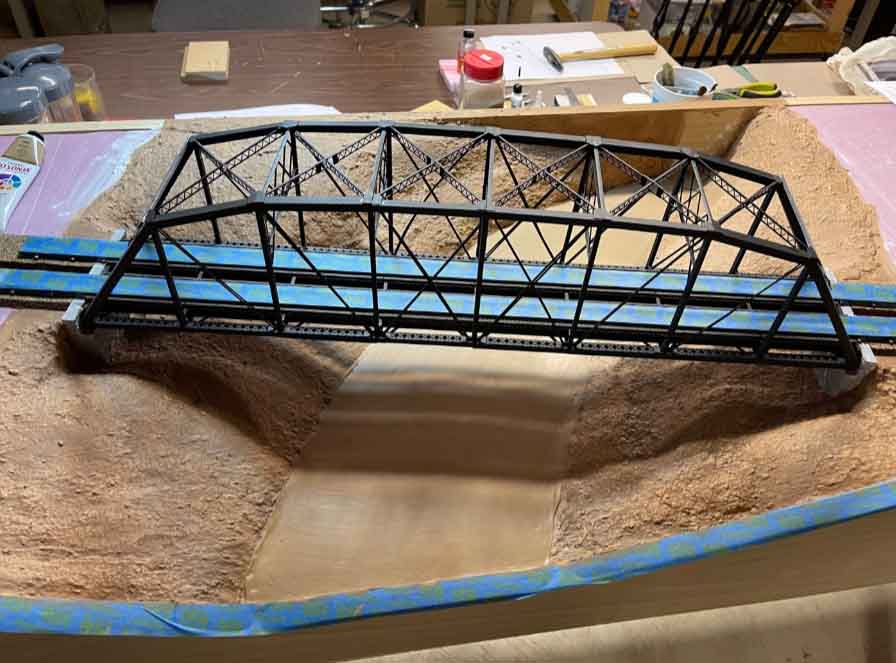
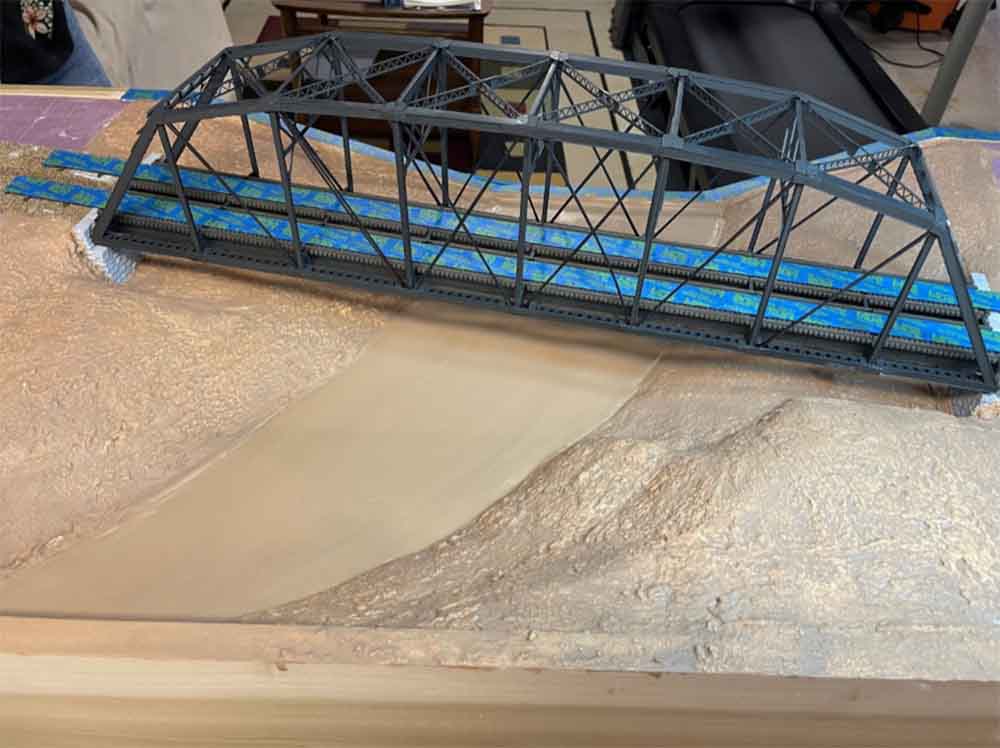
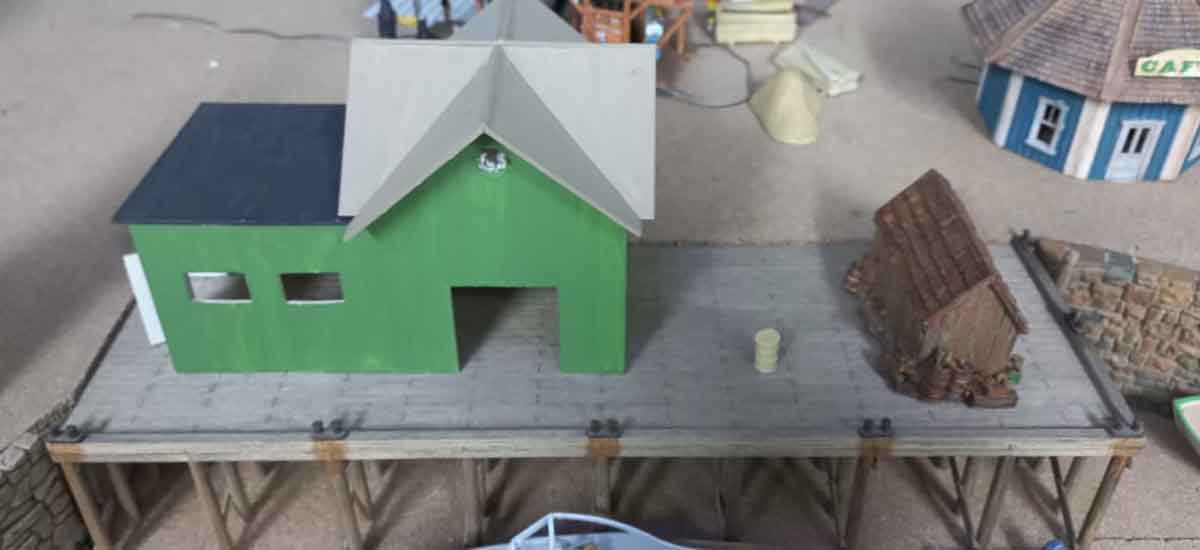
This is where it will be positioned on the wharf at Pelican Bay. The wharf was scratch built many years ago and was on one of my previous layouts in two different locations as I made changes to it. That layout is long gone.
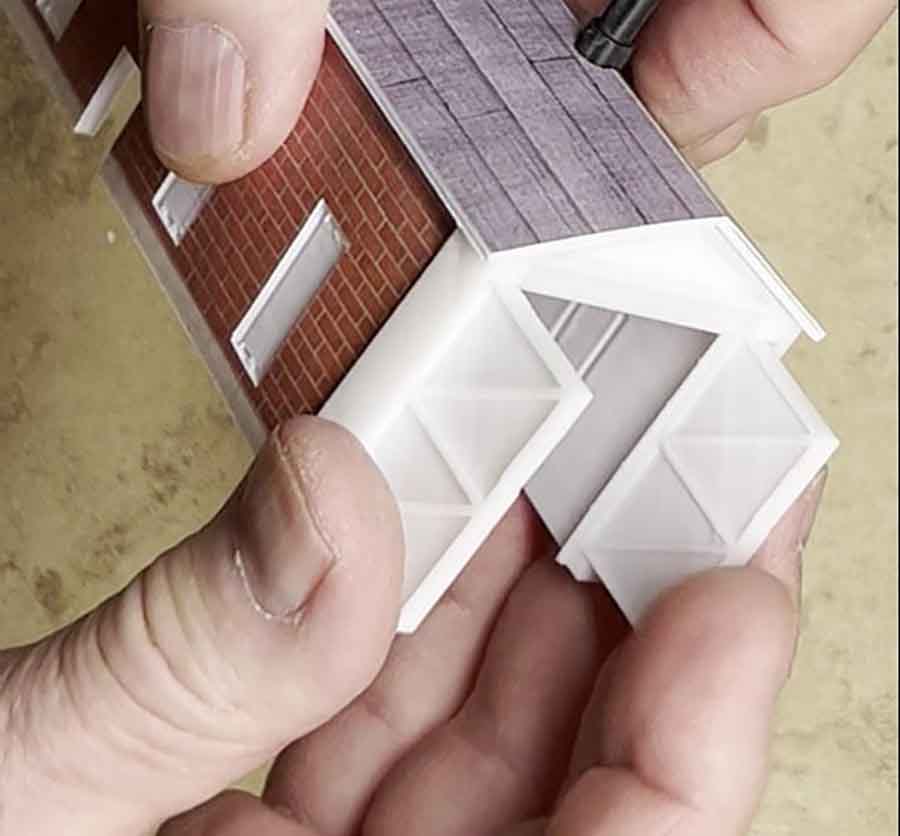
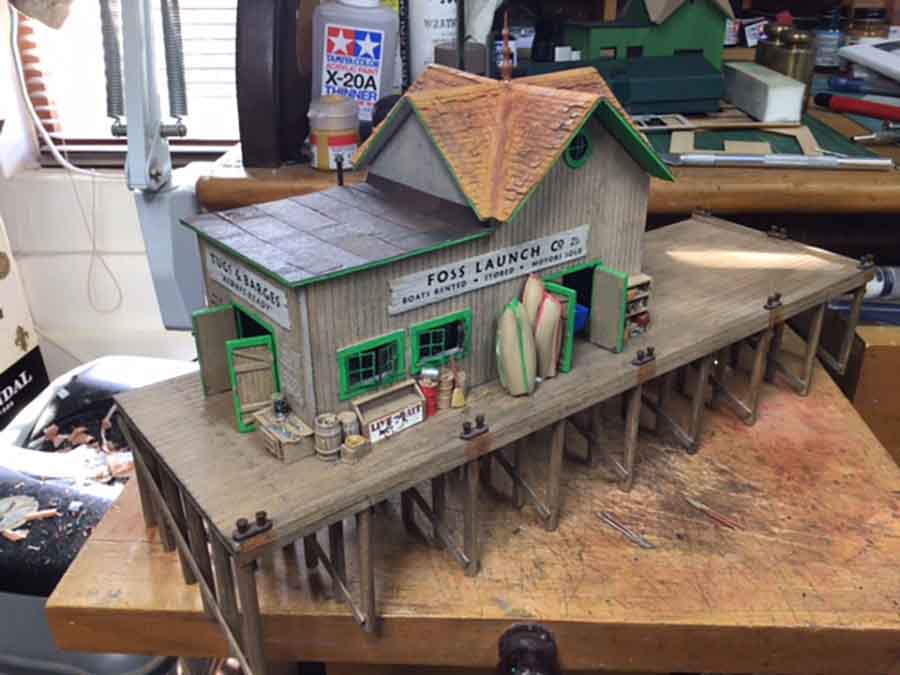
Below – adding the corner posts as well as the door trim.
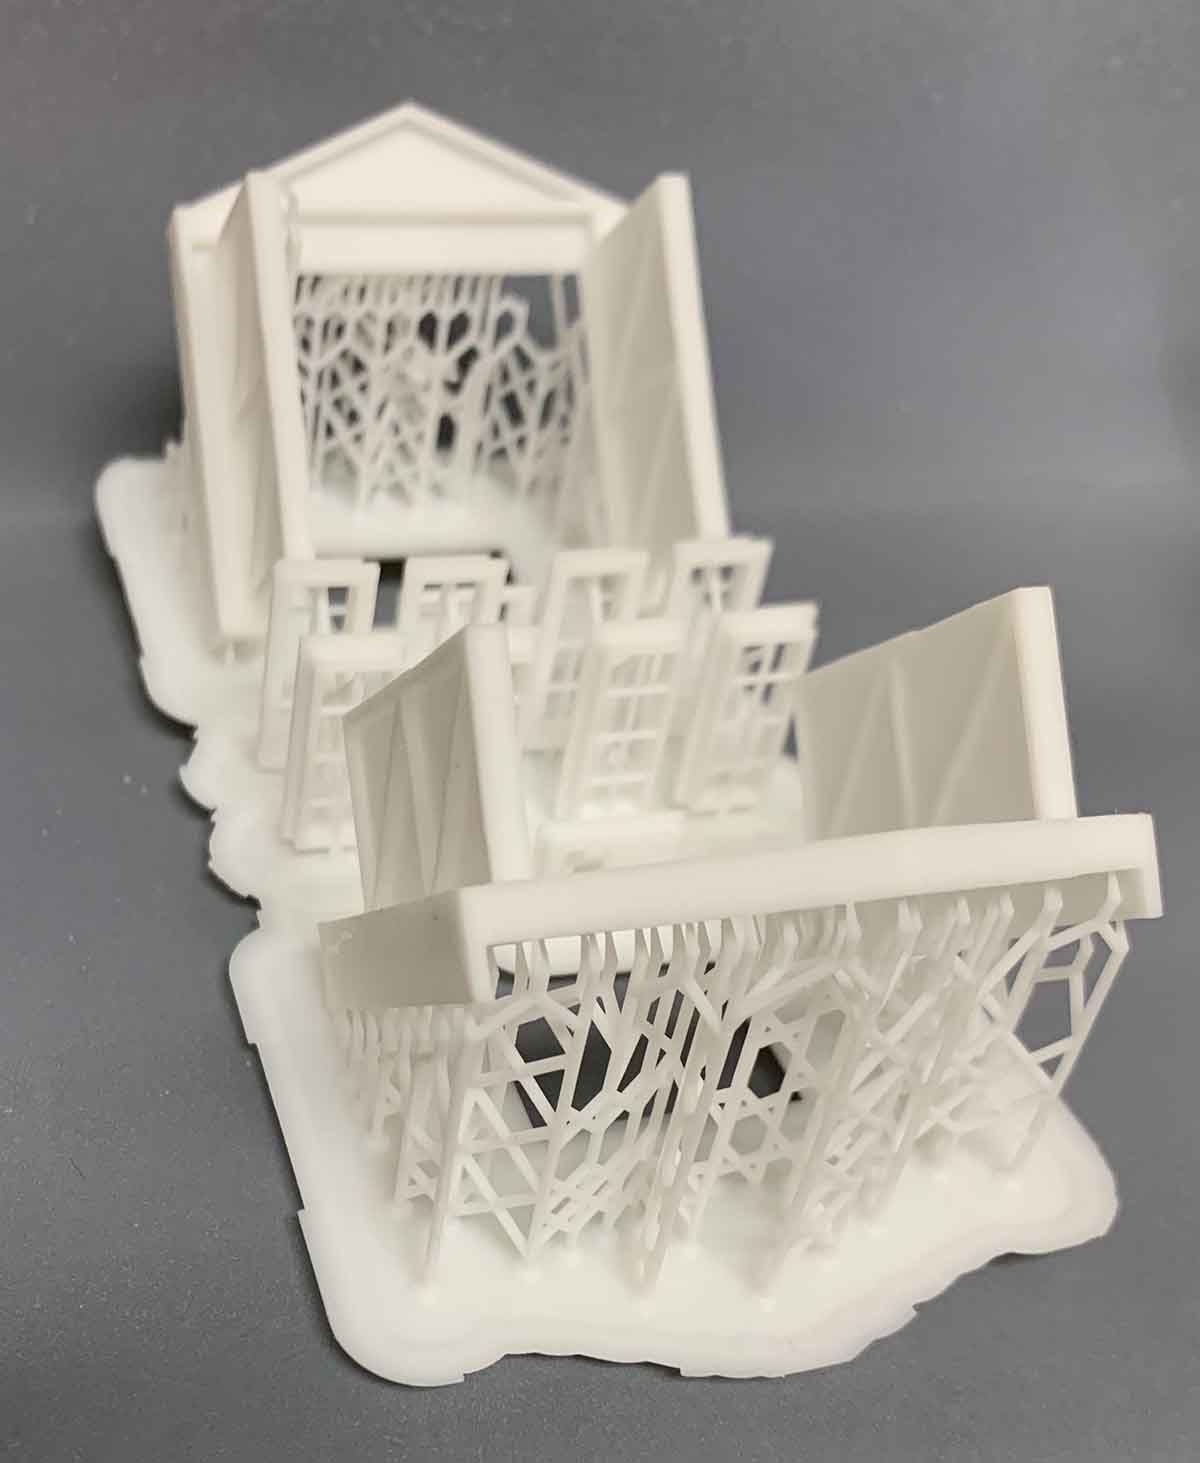
Quite a complex roof system for this building.
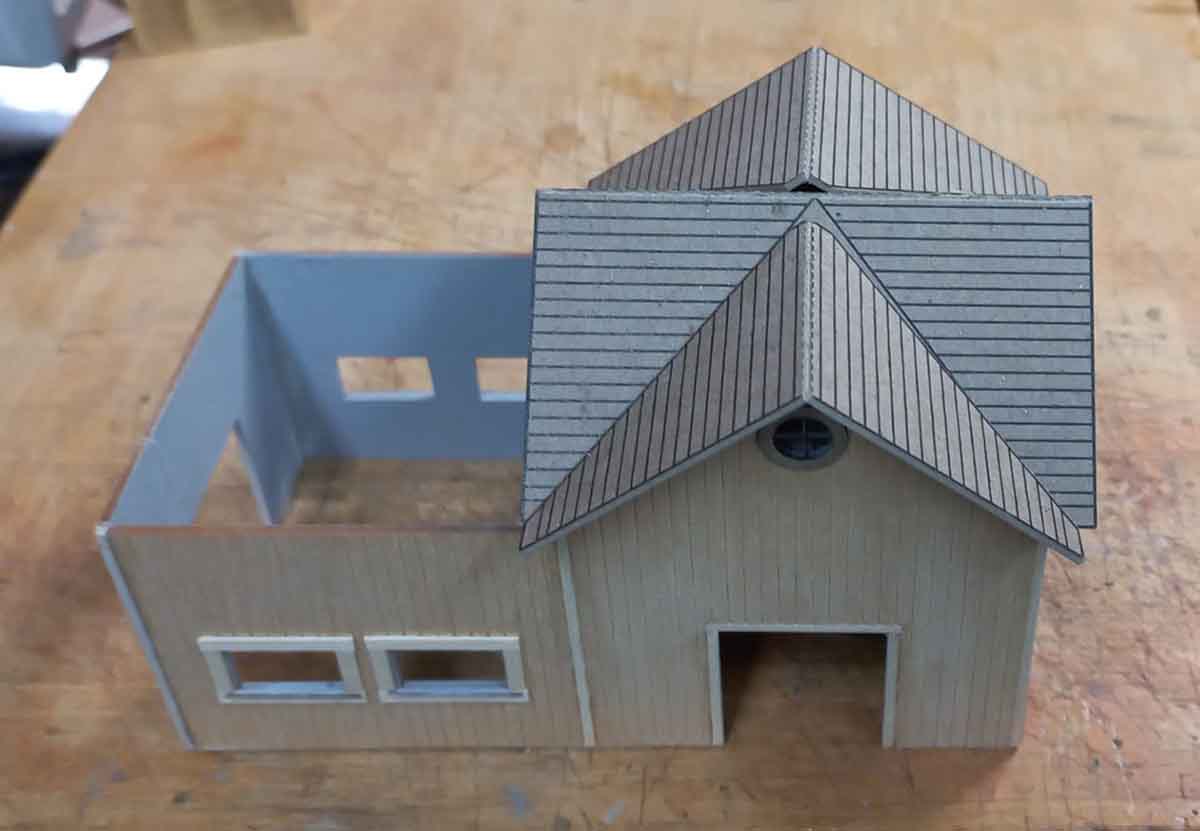
I tried a new technique for the tarpaper roof and very impressed with the outcome of it. (As per instructions in the kit) Putting shingles on the peaked roof next.
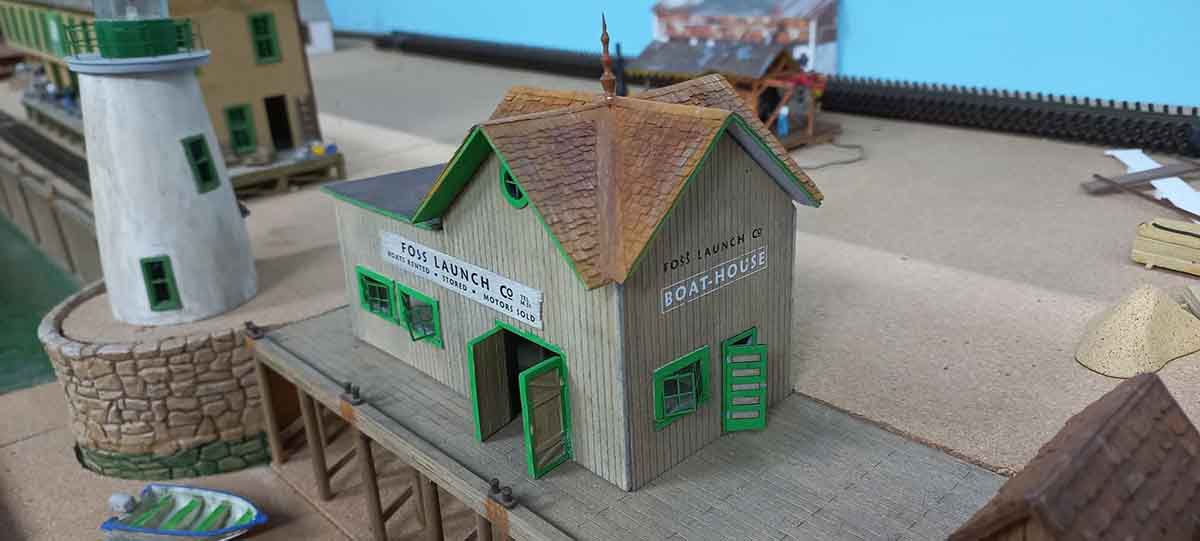
Signs made according to the instructions and the +/- 15 year old dry transfers still worked well.

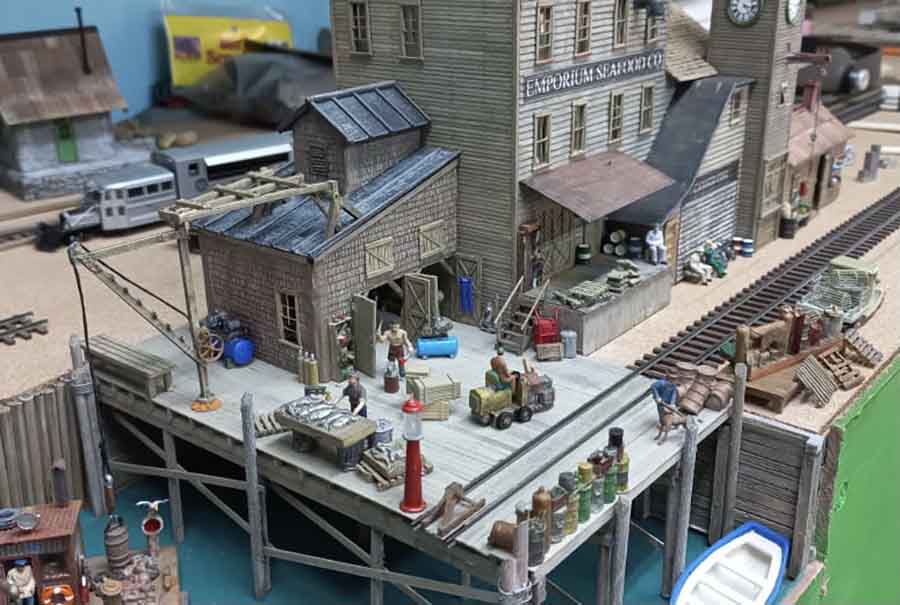
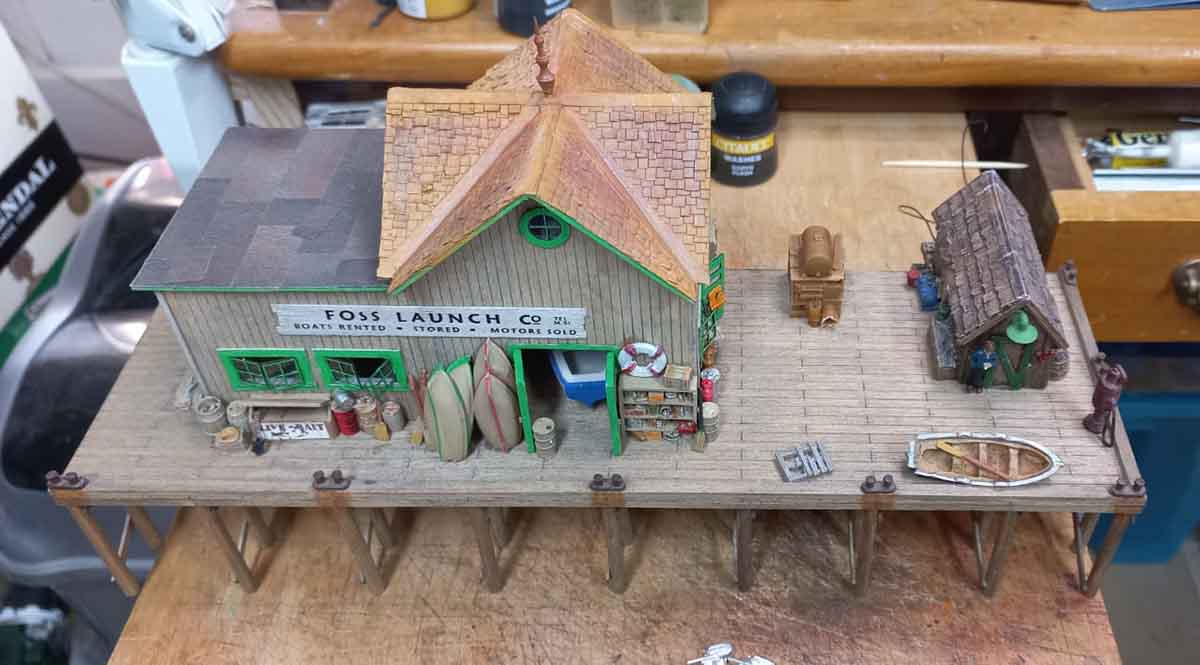
A view of it placed temporarily on the wharf.
As seen here, it is in close proximity to my Builders in Scale Boat repair complex. (Which also took over 3 months to build with the modifications to the kit).

Below, after figuring out which castings to use for this structure and painting them, placing them on the wharf.
Still lots more to add before it will be complete.
Added an interior. (roofs are removable)
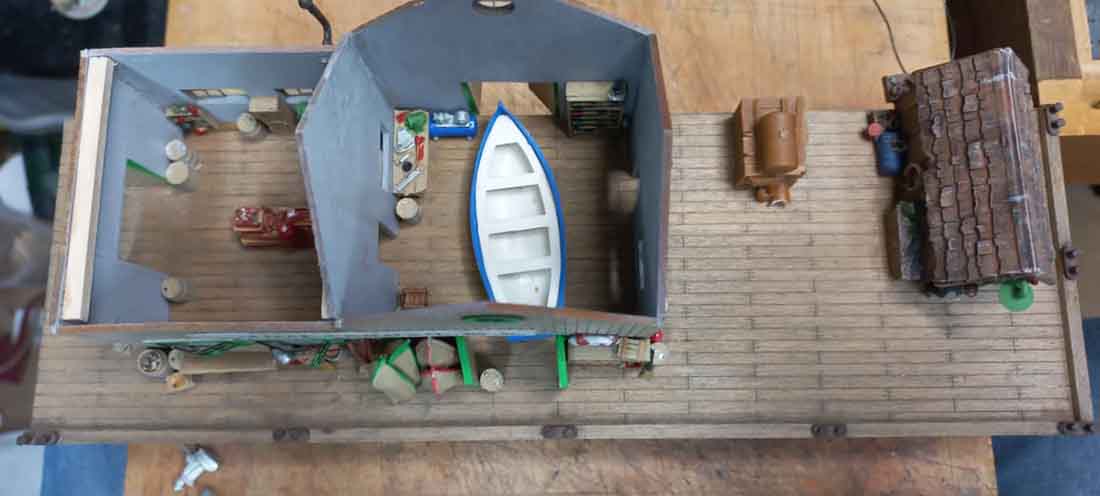
Checking placement of the exterior details.
Now just to add the lights, wire it all up and place on the layout.
I must add that this I the first Foss Scale kit that I have assembled and am very impressed with the quality, ease of assembly and the amount of extras that are in the kit.
One part of this kit that stood out for me are the roof shingle strips. They are the best that I have ever used and look very real.
So far, this kit built as per instructions has taken me seven days (no modifications or kit bashing)
Till next time – keep modelling.
Brian – the HOn3 guy in Knysna. RSA”
A big thanks to Brian for sharing HO scale harbor model.
You can see Brian’s HO scale harbor post here.
That’s all for today folks.
Please do keep ’em coming.
And if today is the day you get started on your layout, the Beginner’s Guide is here.
Best
Al
PS Apologies to Brian for the order of the pics. How Brian sent them and how I received are them are two different things.
PPS More HO scale train layouts here if that’s your thing.