Dick’s been in touch with his model train town – complete with moving cars… and ghosts.
“Hi Al,
Been too long I need to get back on the train and ride. Soooo here we go.
Dick Stern (old Taz) here, I’m sending you the working pictures of Chapple Train a Rama.
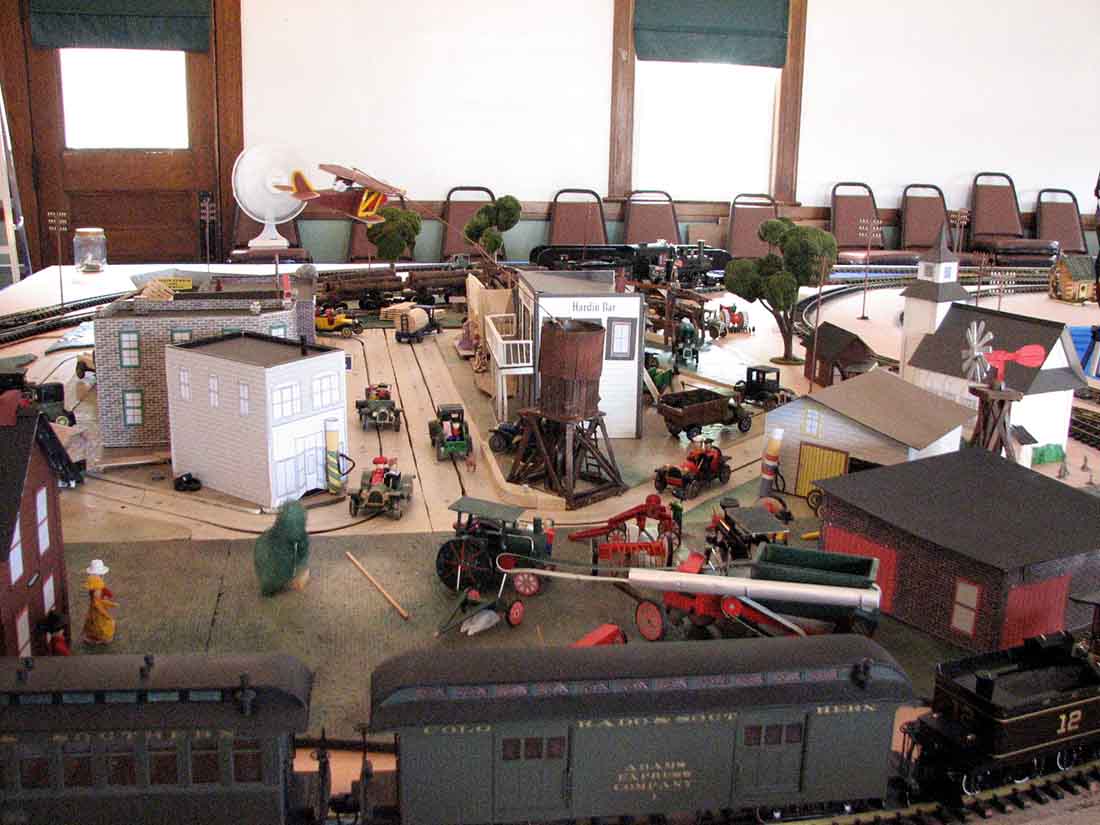
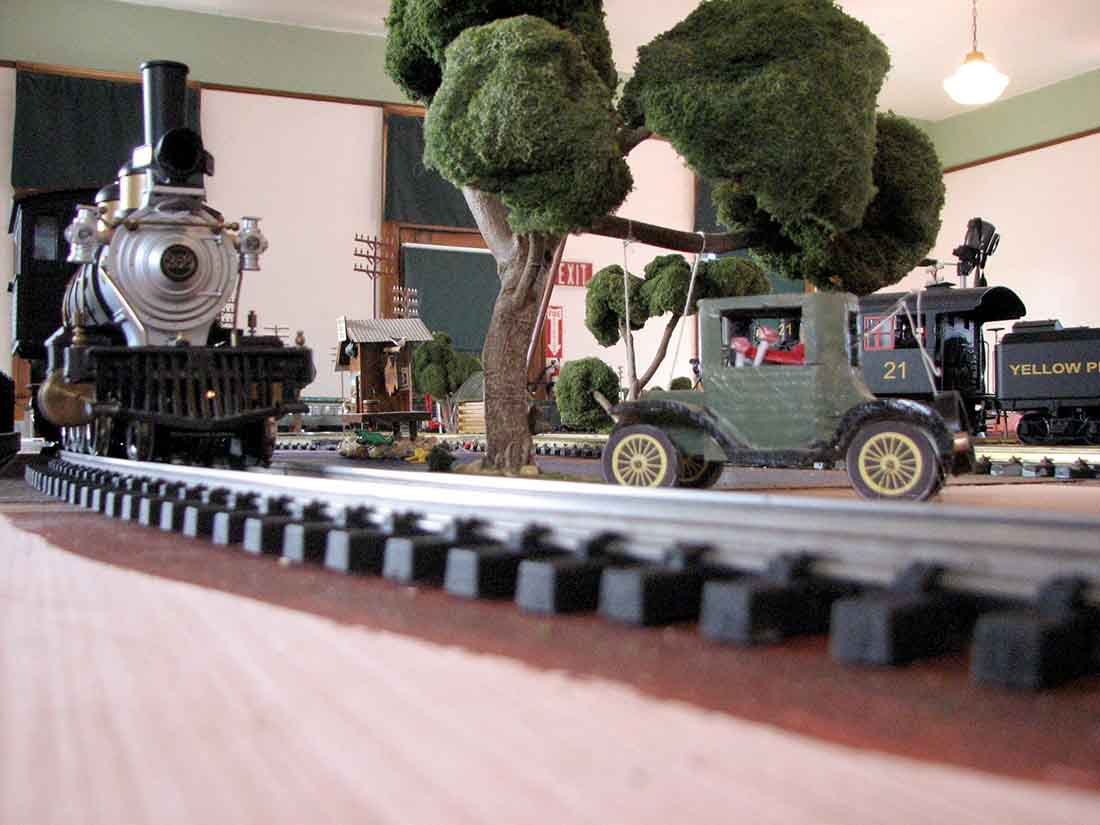
This Train a Rama was set up in the depot here in town to celebrate the 100th birthday of our town.
All the trains in the train a Rama train are all Mr. Chapple’s.
When Dick was asked to set this up in the depot, I told him I would help him with the town.
He said to me then wouldn’t it be neat if we could have moving cars in that town.
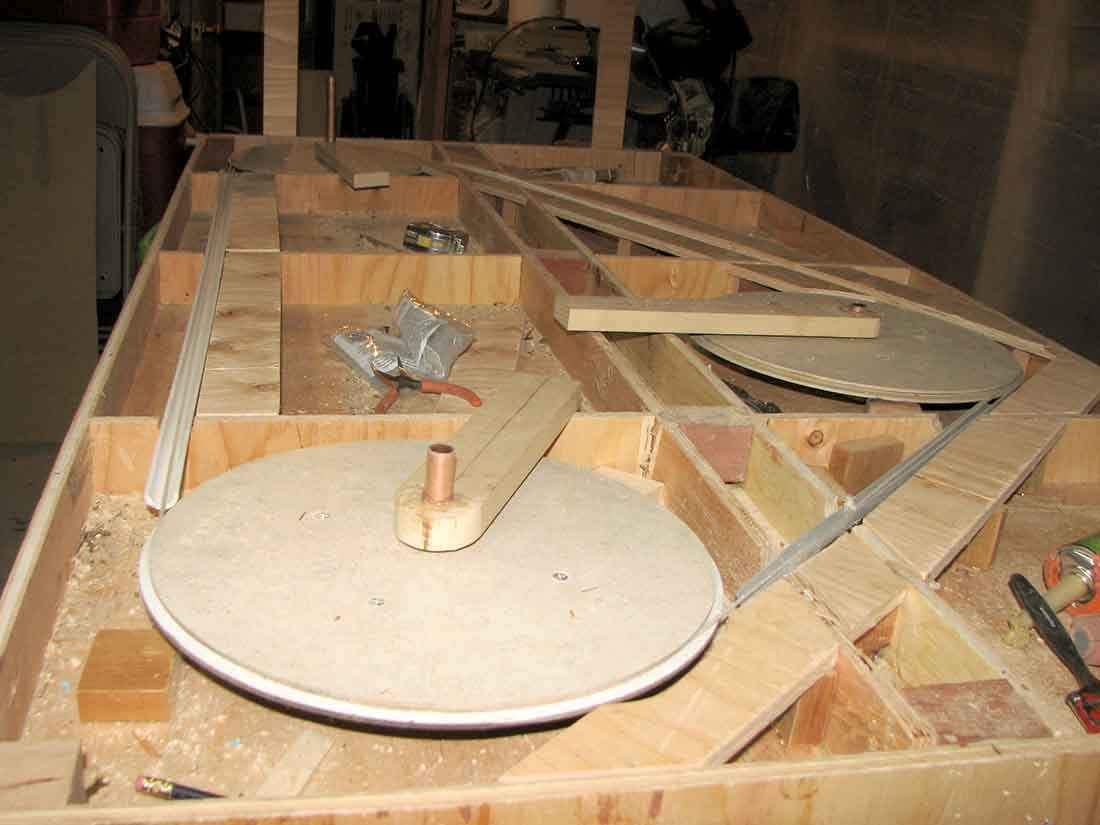
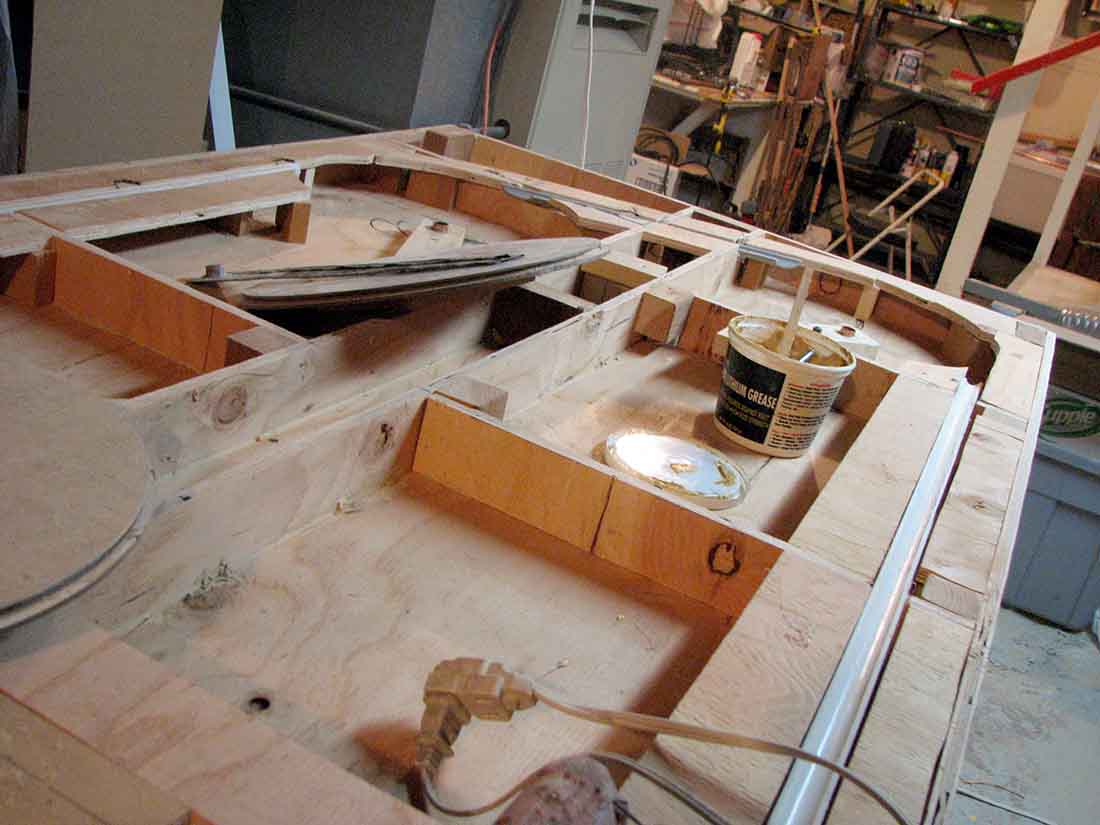
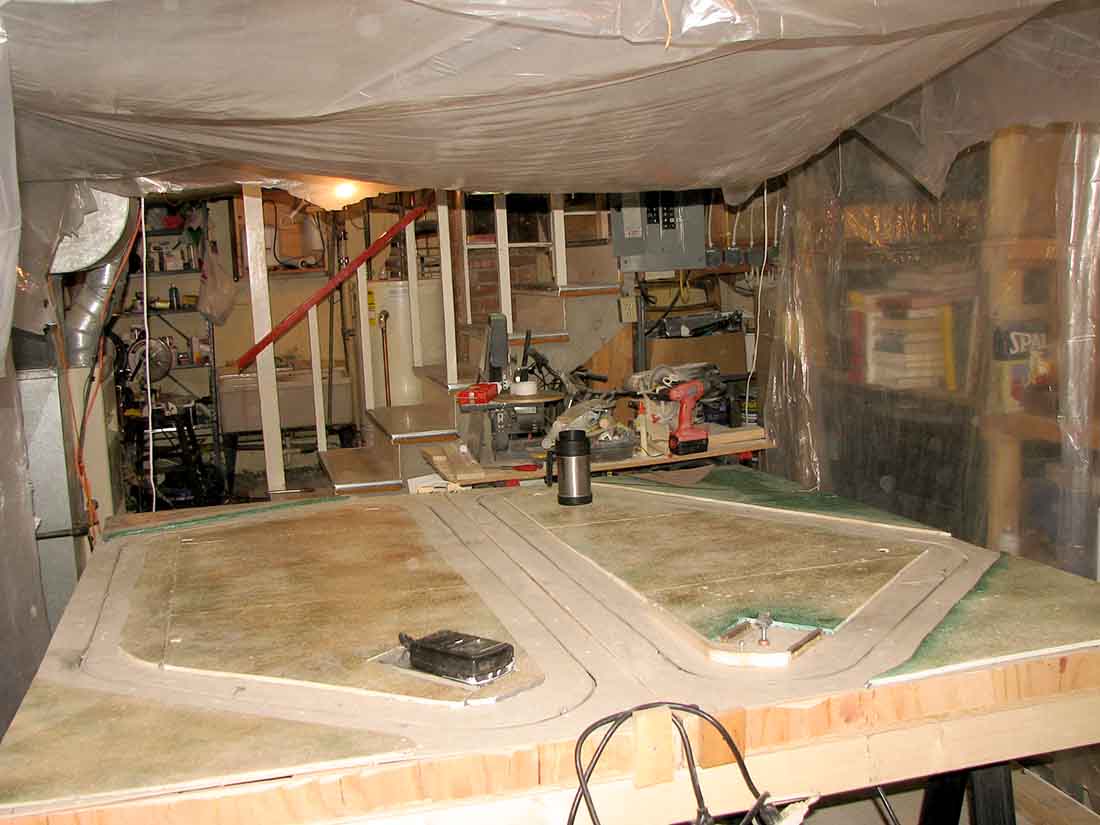
So, I came home and worked on two tables that would match the size of his tables that he used to set up the train.
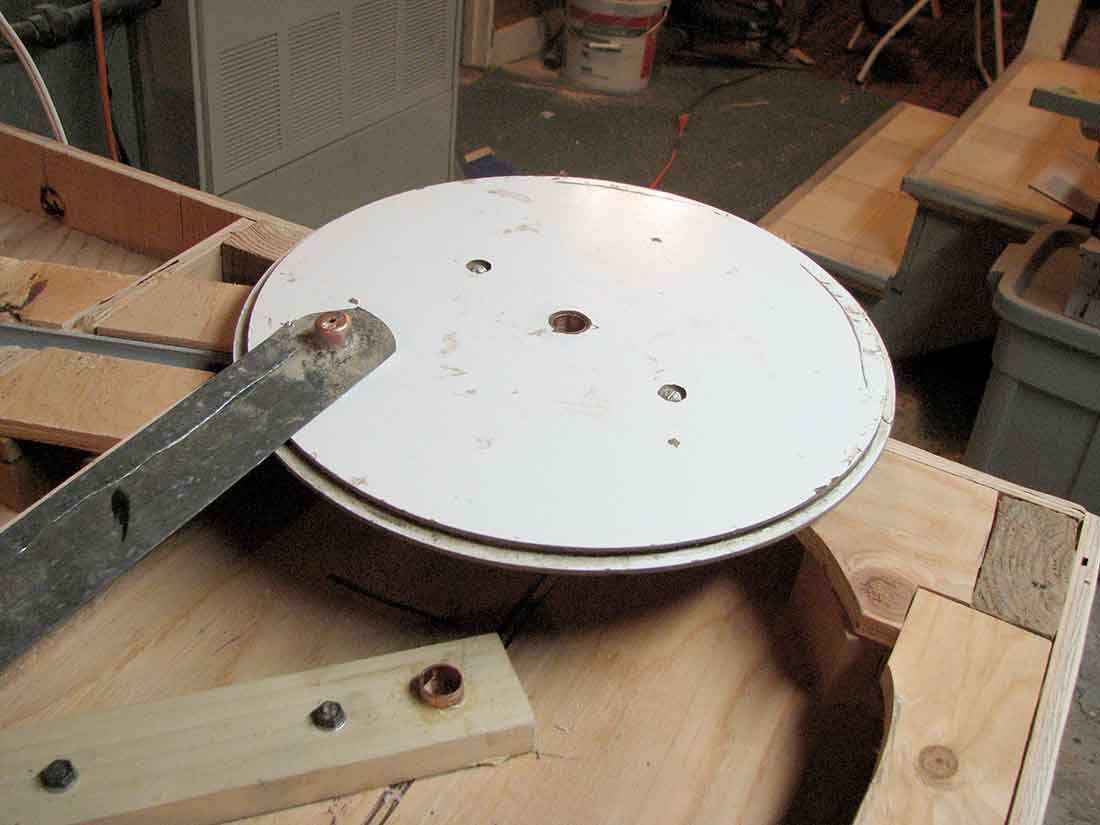
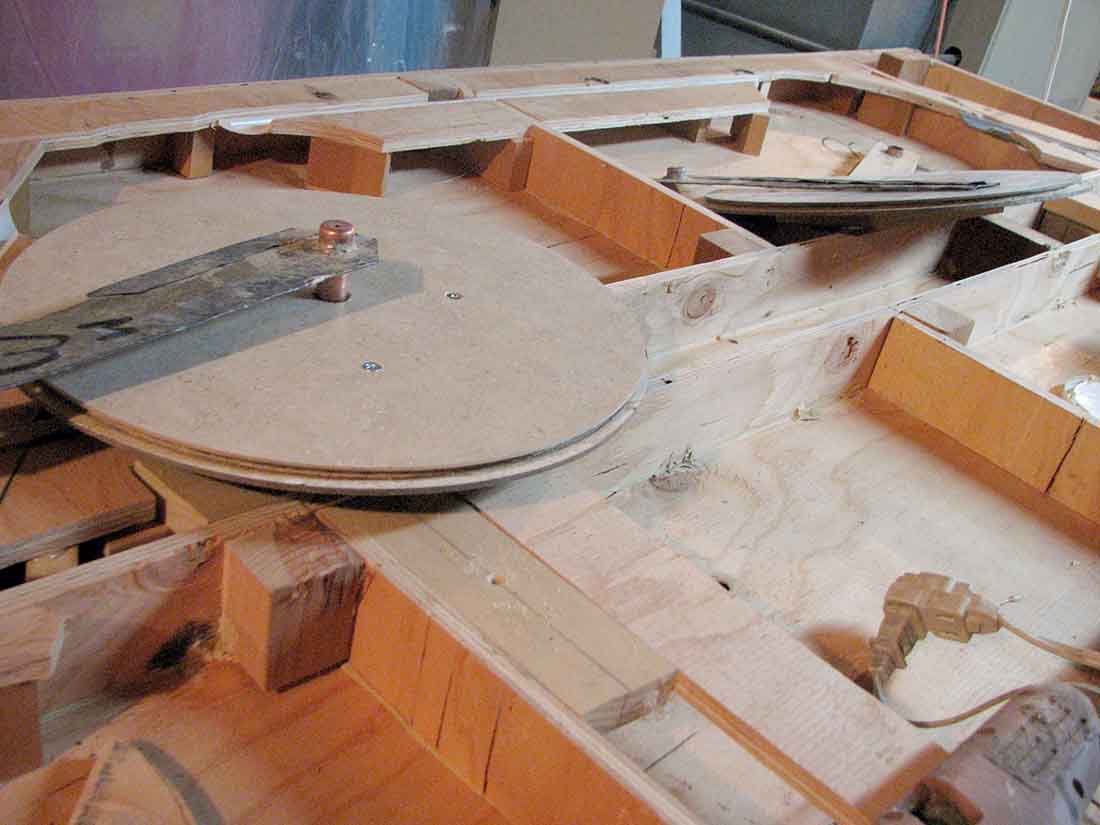
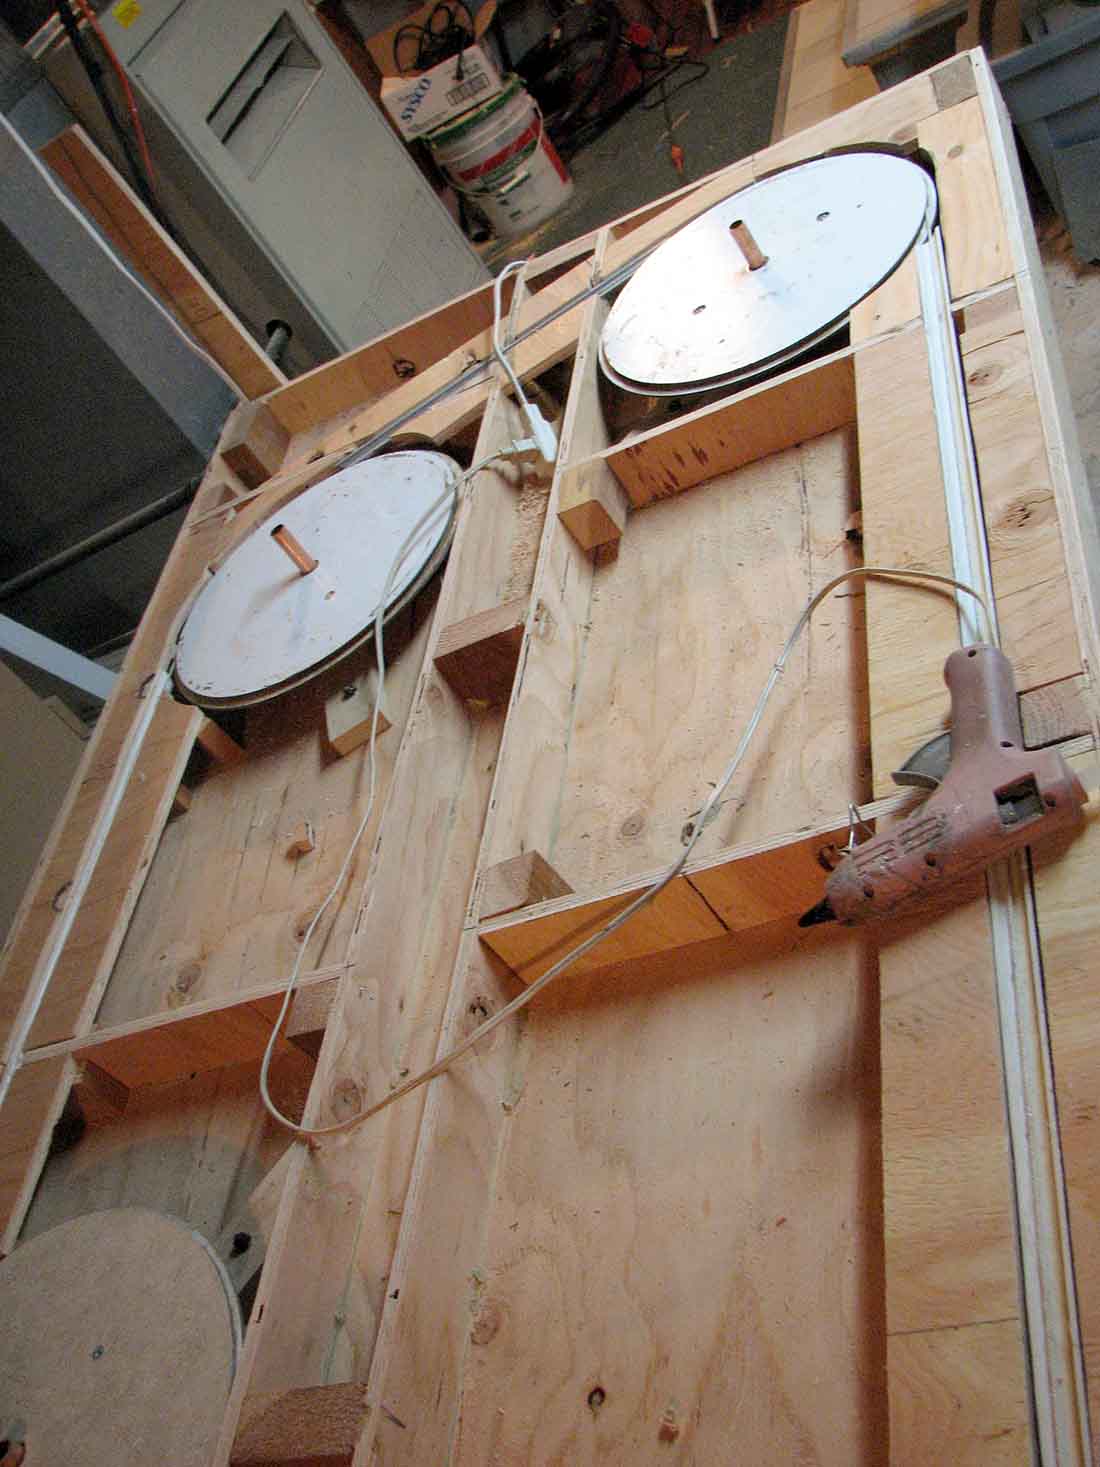
The tables had to be made like a hollow core door to keep them from warping in to lay flat. The pulleys were made out of tempered Masonite. The bearings I used were made from copper pipe and copper couplings.
The cable is 1/8thinch aircraft cable and to keep it tight I used a coil spring to fasten the two ends together.
One table had two large pulleys on it and the other three pulleys between the pulleys I used PVC water pipe cut in half as a trough for the cable to ride in.
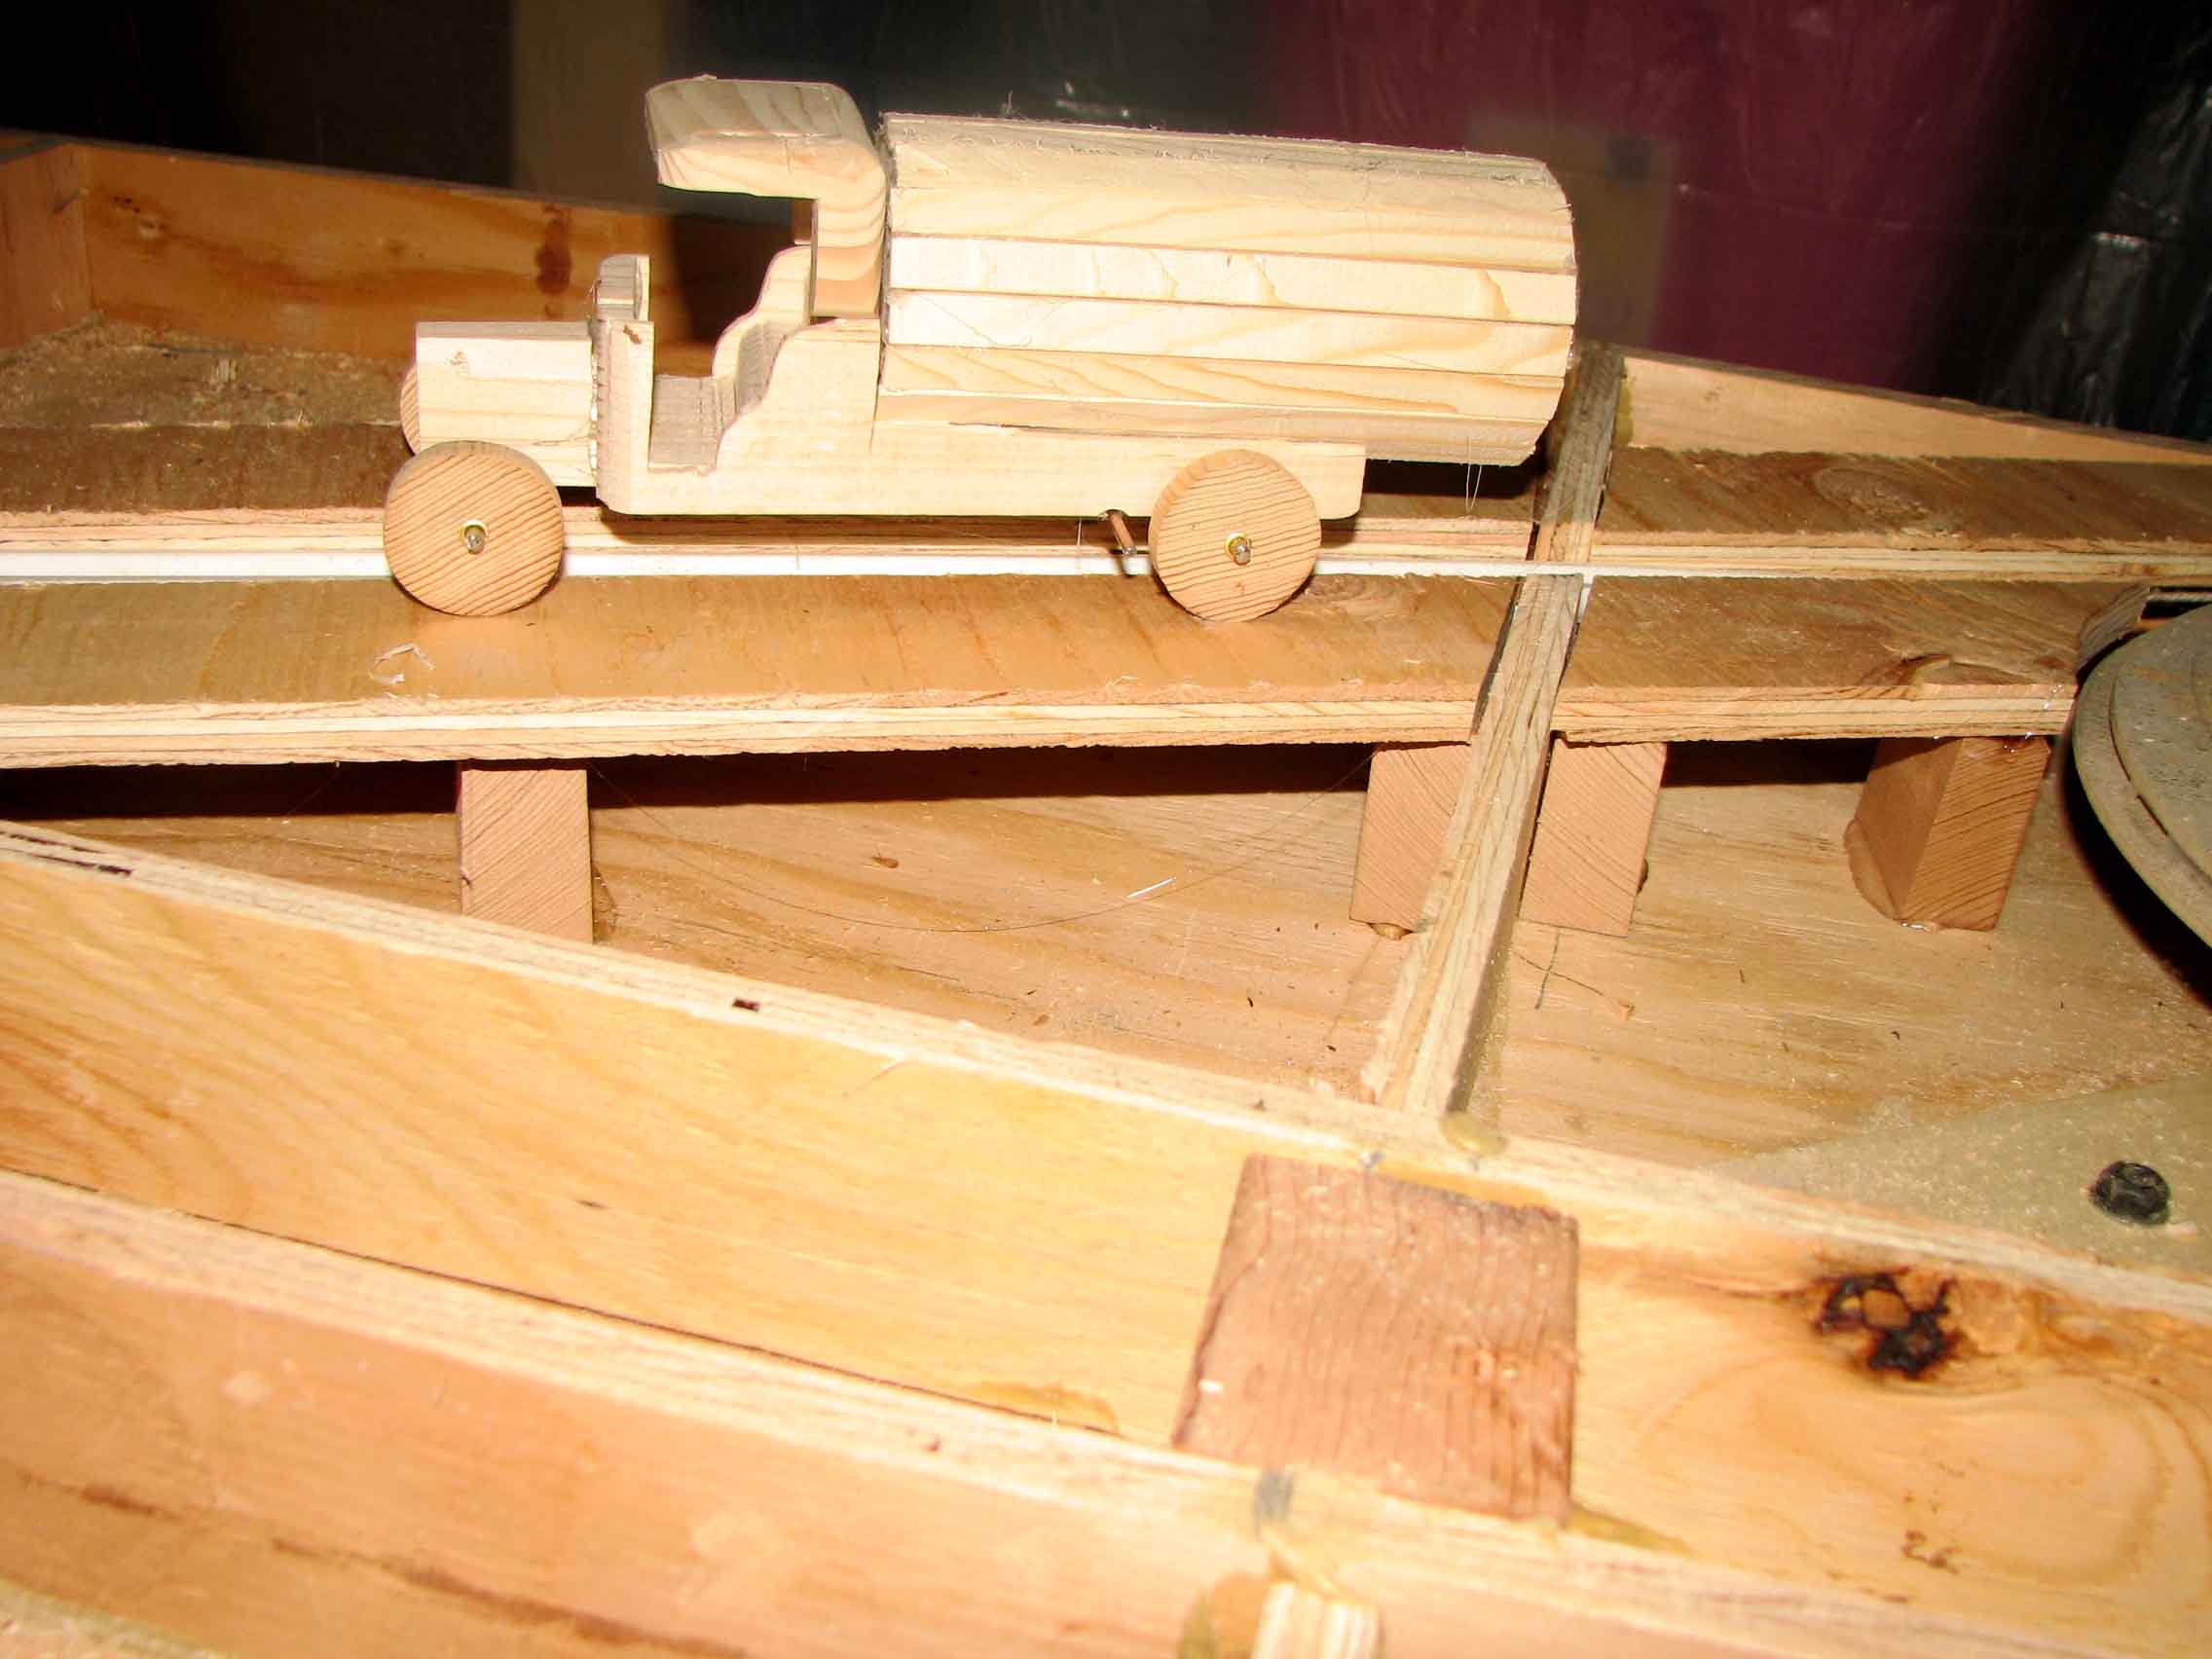
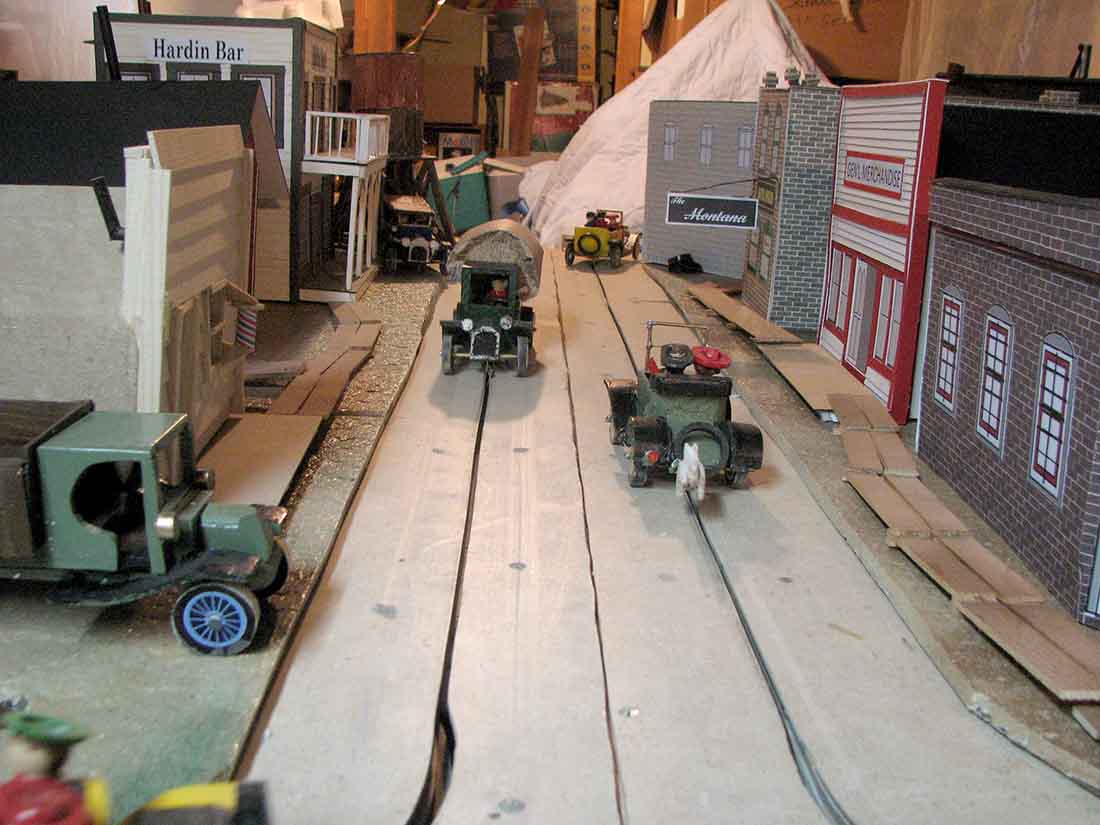
The cars were then hooked to the cable with paperclips at first. Then I had to go to a thin piece of tin so that it would ride in the slot.
The police are powered by barbecue spit motors. The gear ratio and speed seemed to work out just right.
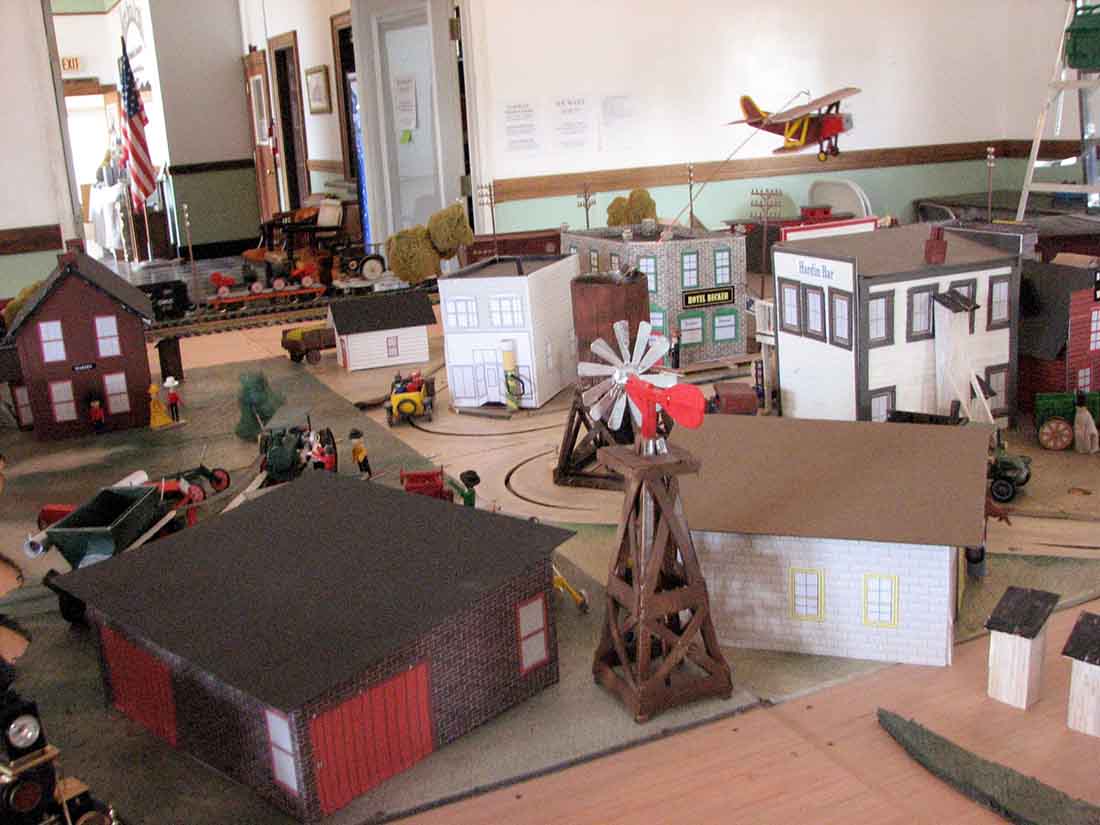
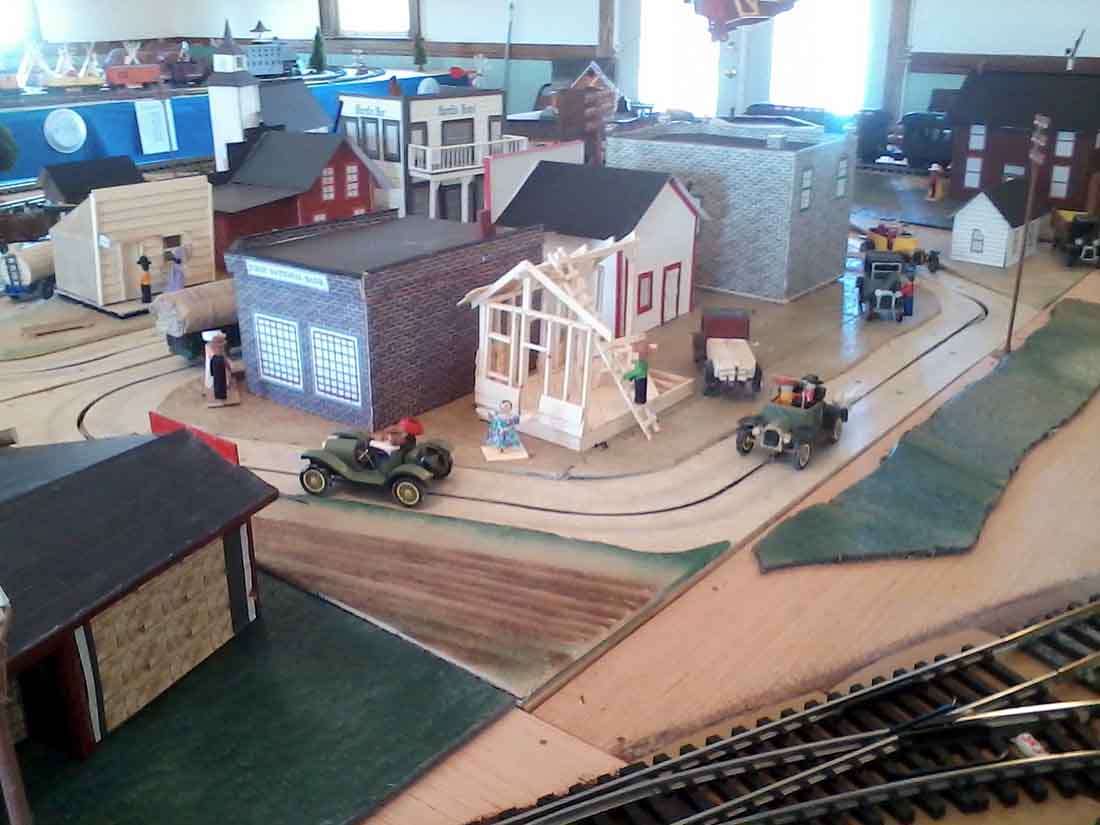
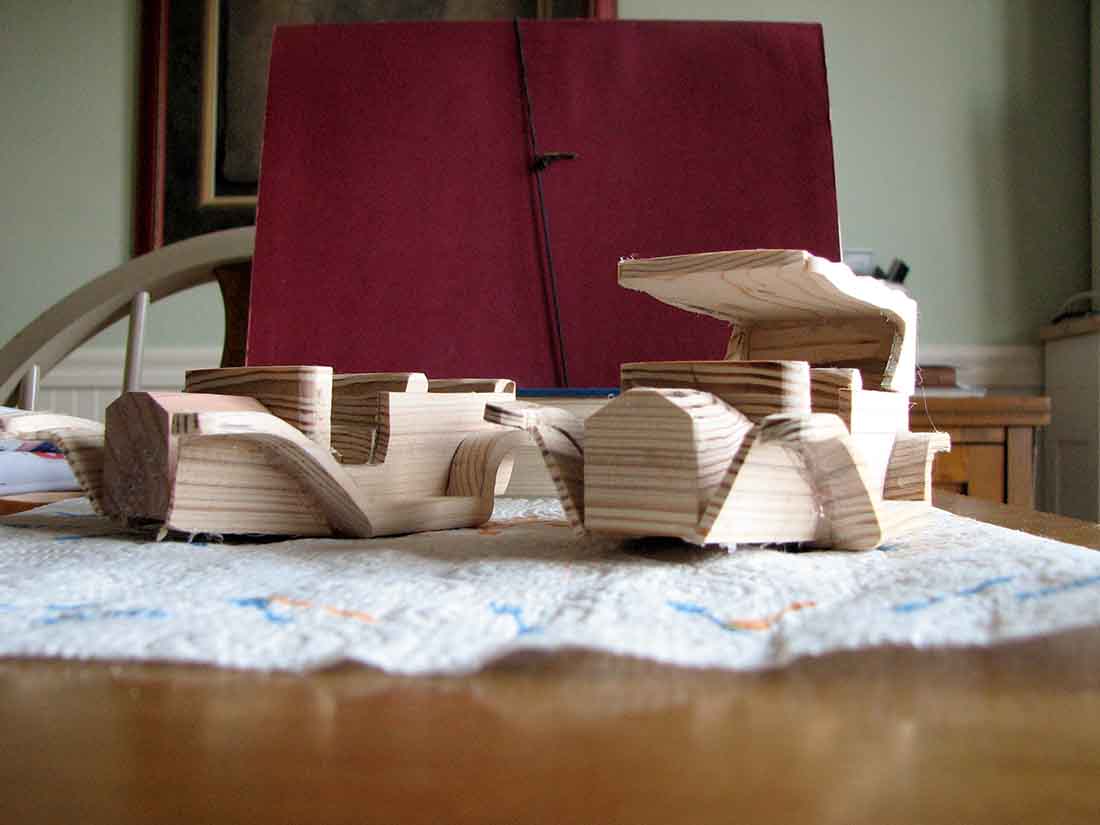
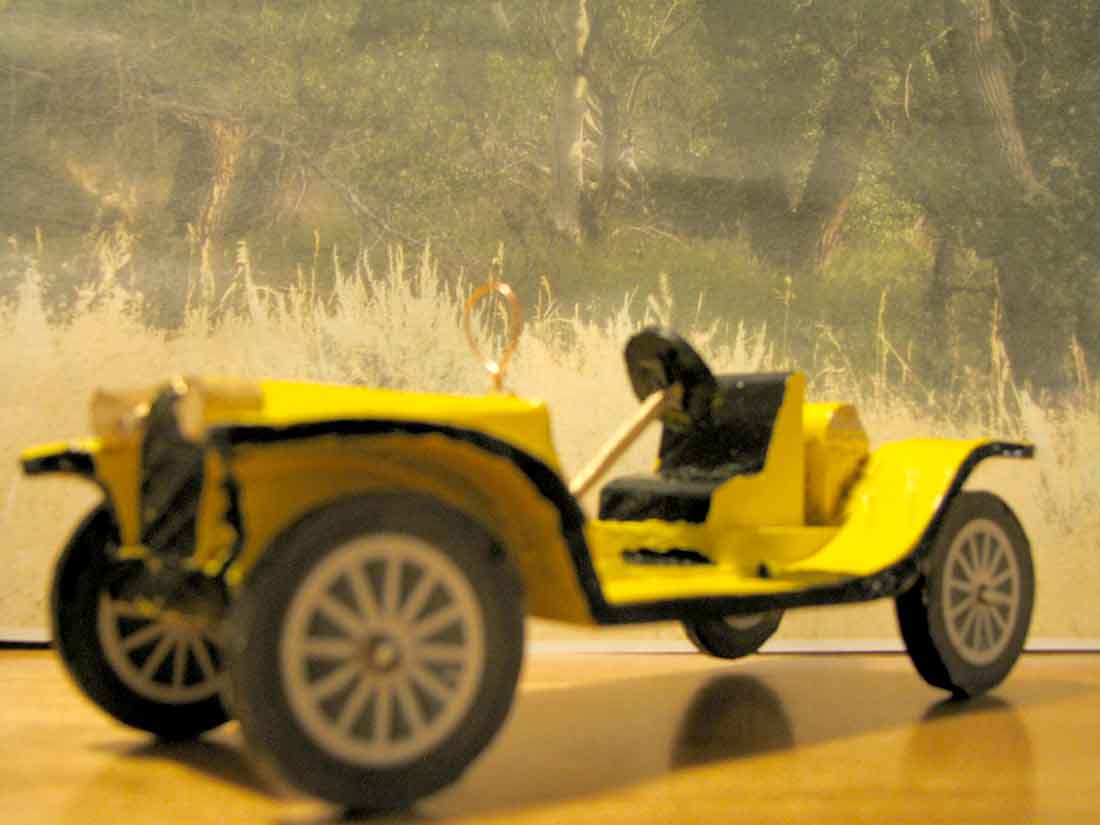
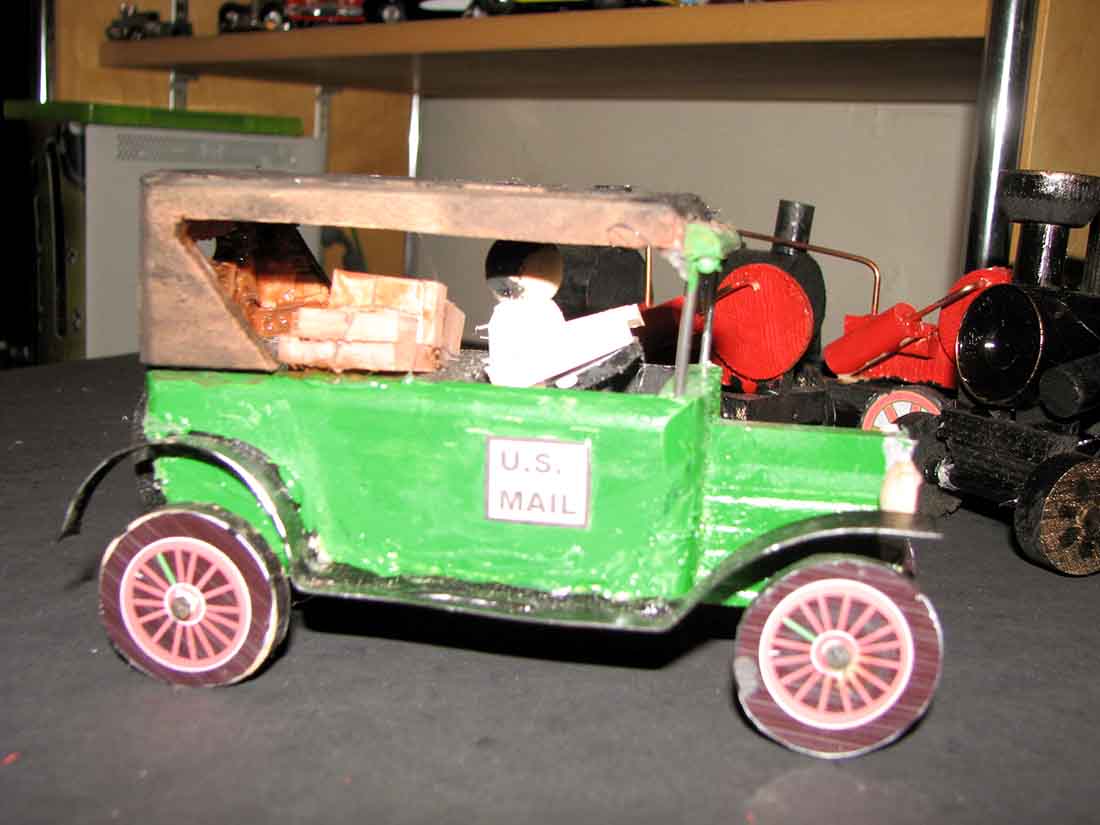
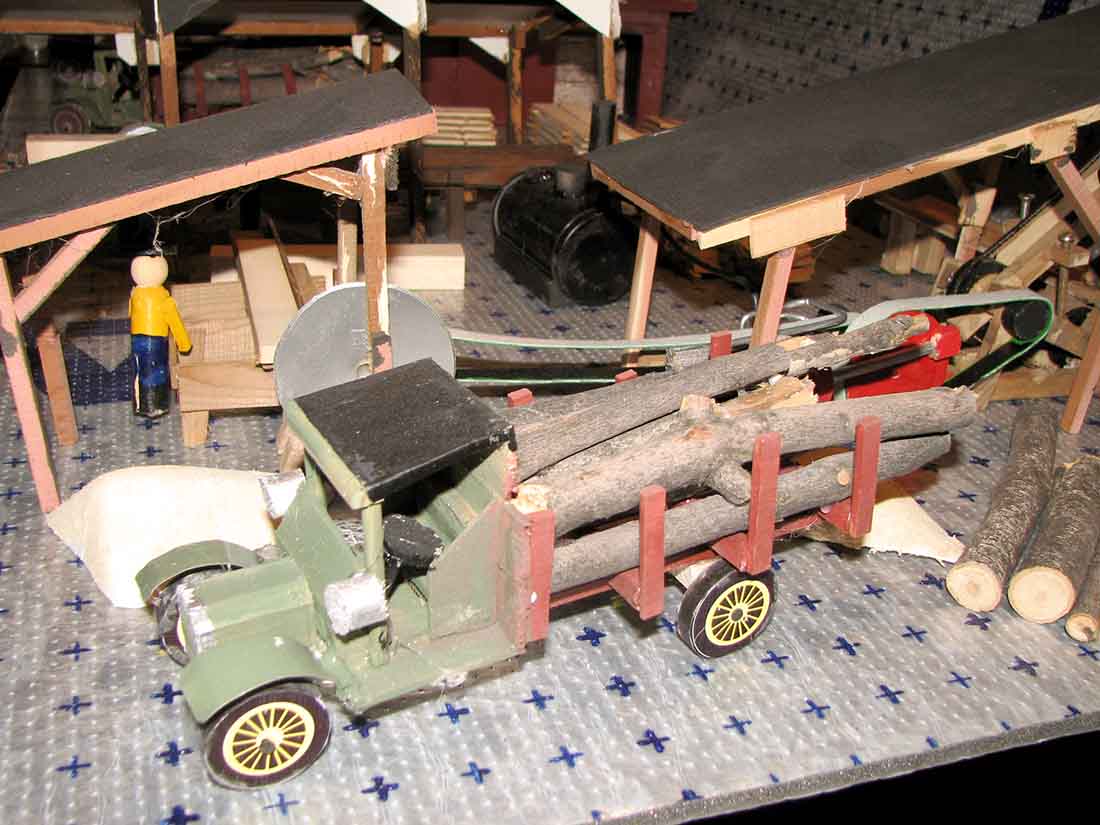
The cars and trucks were made from scrap wood. I was going to use plastic models but I wanted a lot of them and that would have gotten way too expensive for me.
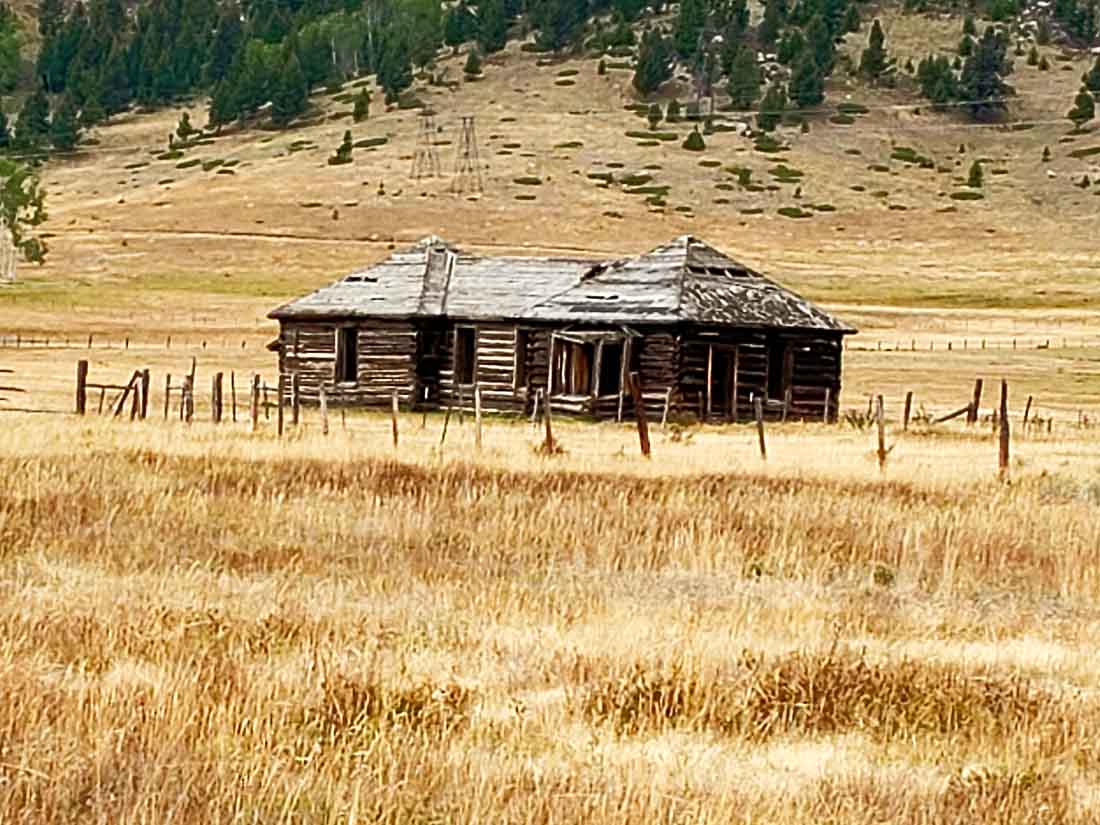
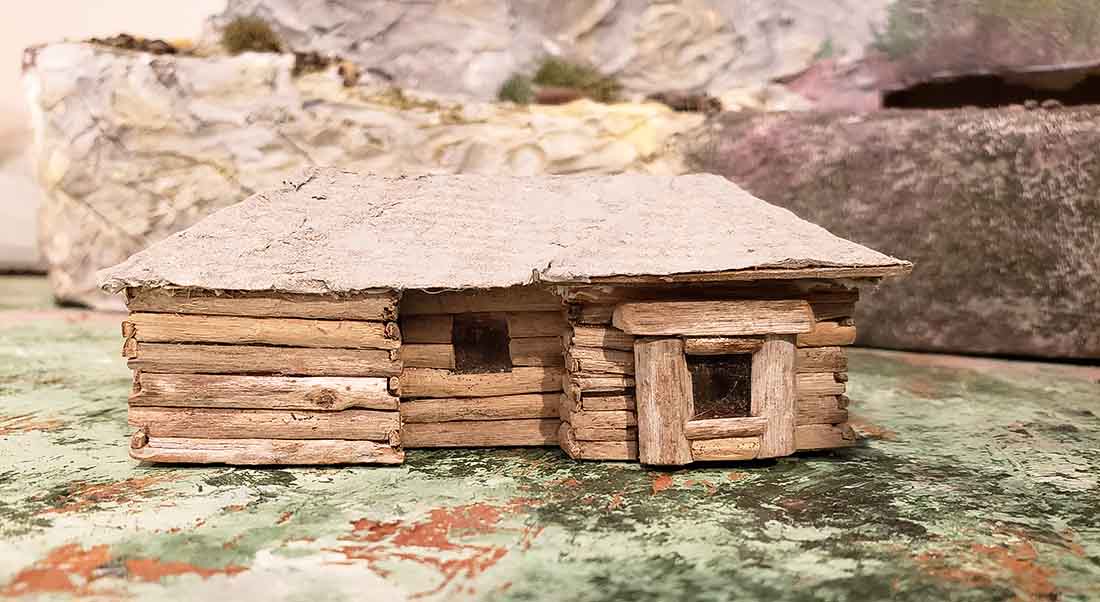
I went to our museum which is one of the largest in Montana. There I got pictures of a lot of the older buildings. Some are still standing some are gone.
I tried to pick out the most unusual ones we had in town at that time. The design of the cars and trucks came off of Internet pictures of that era. The airplane may be a little new for that time but I thought it was a good idea.
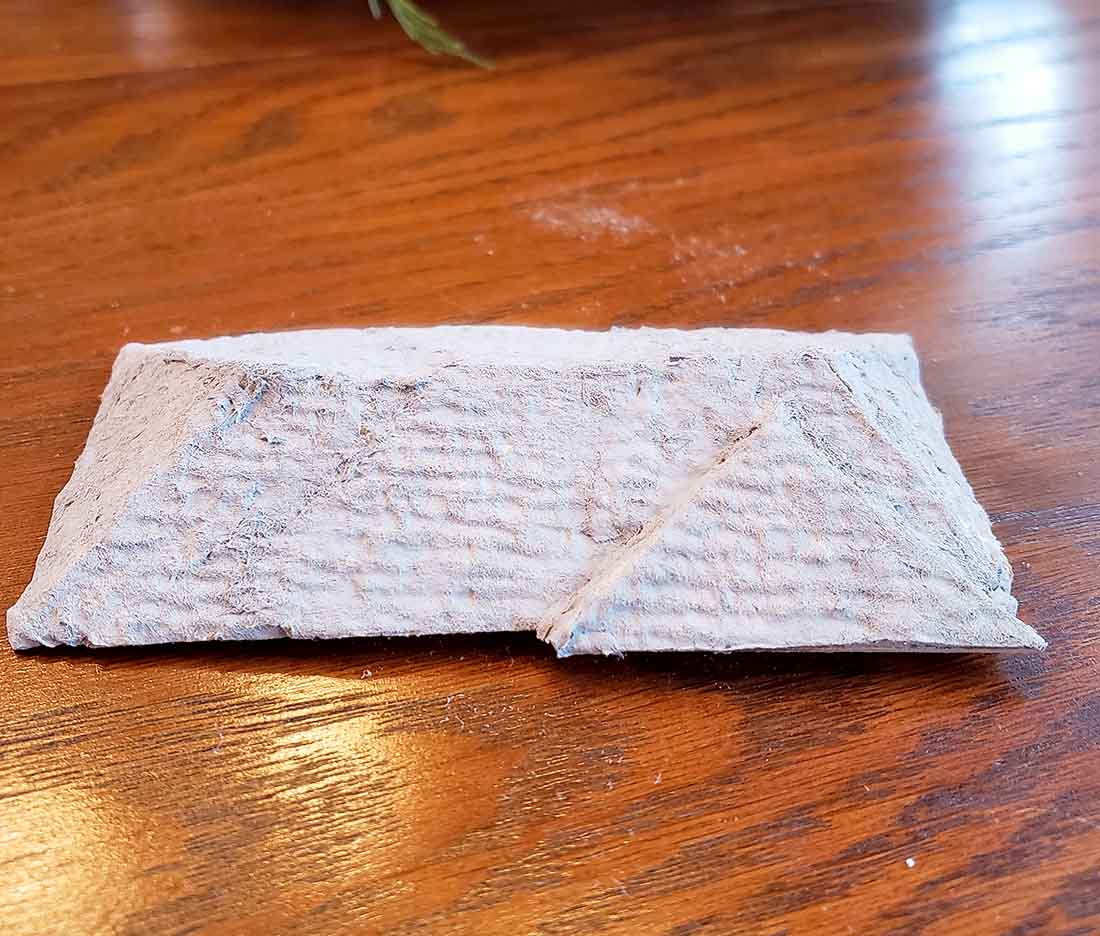
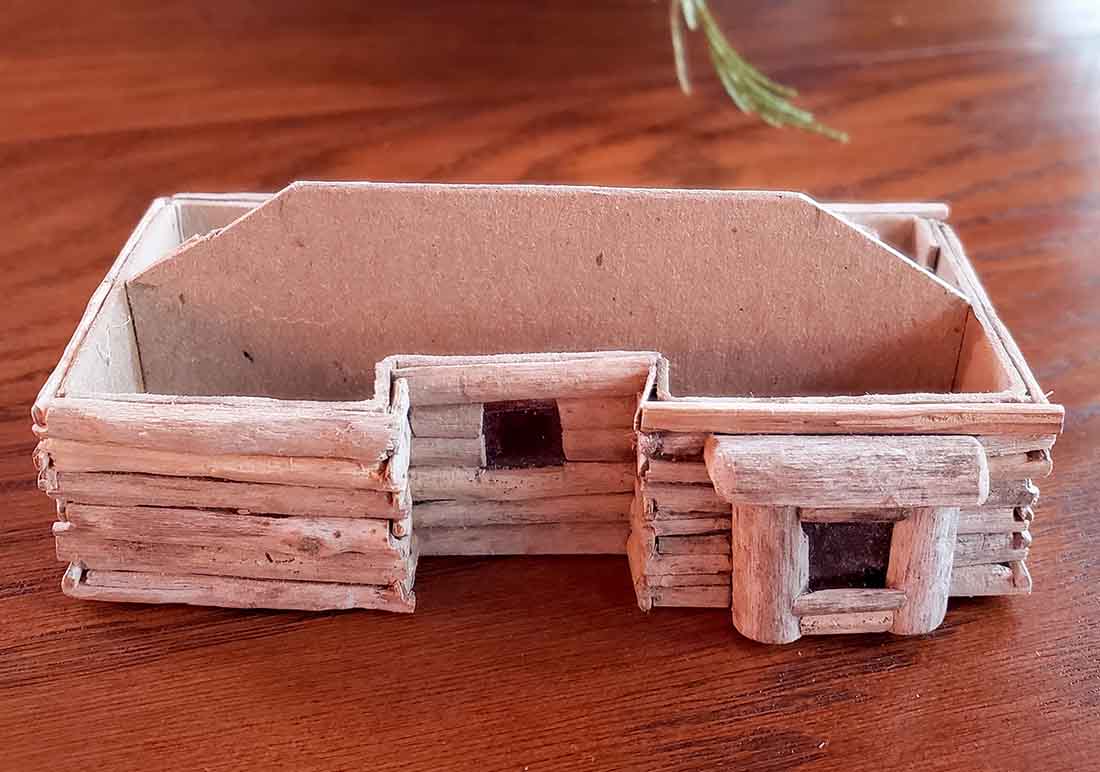
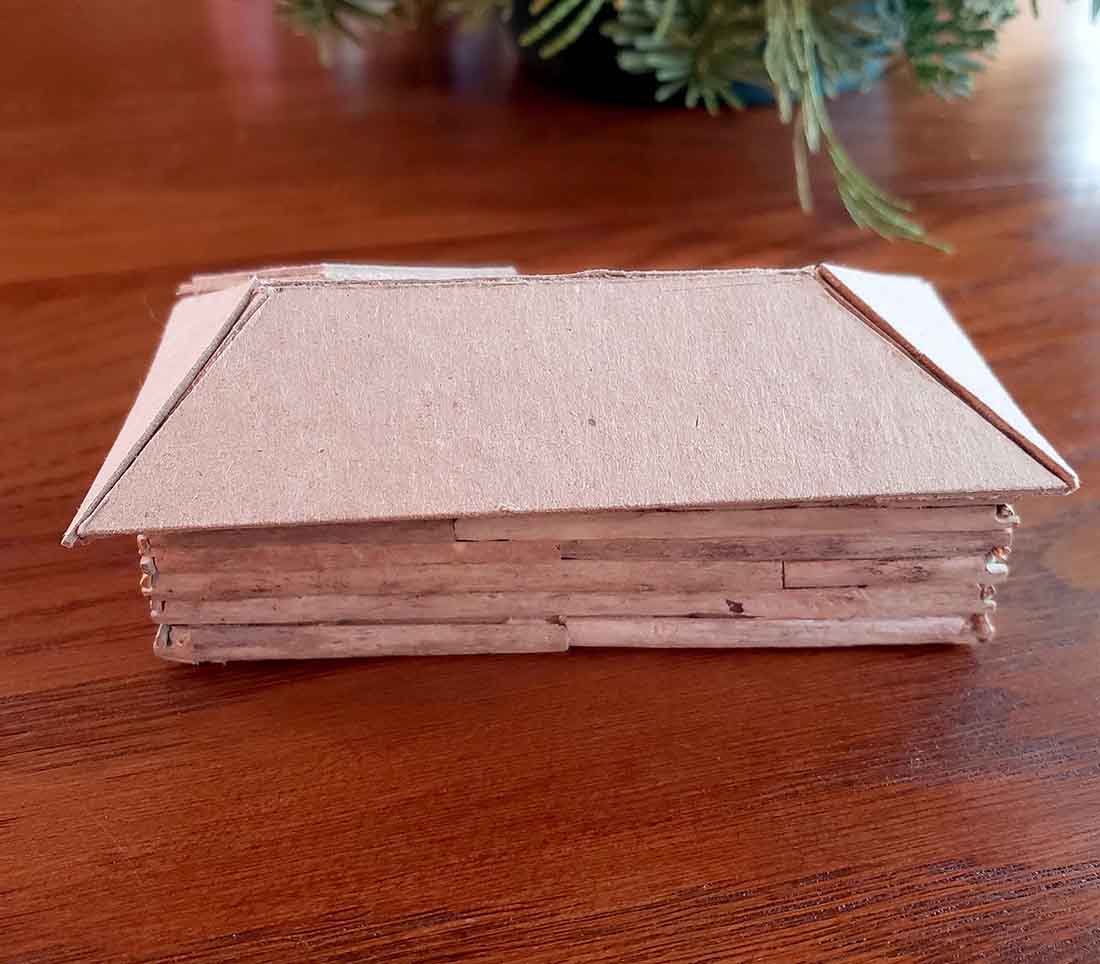
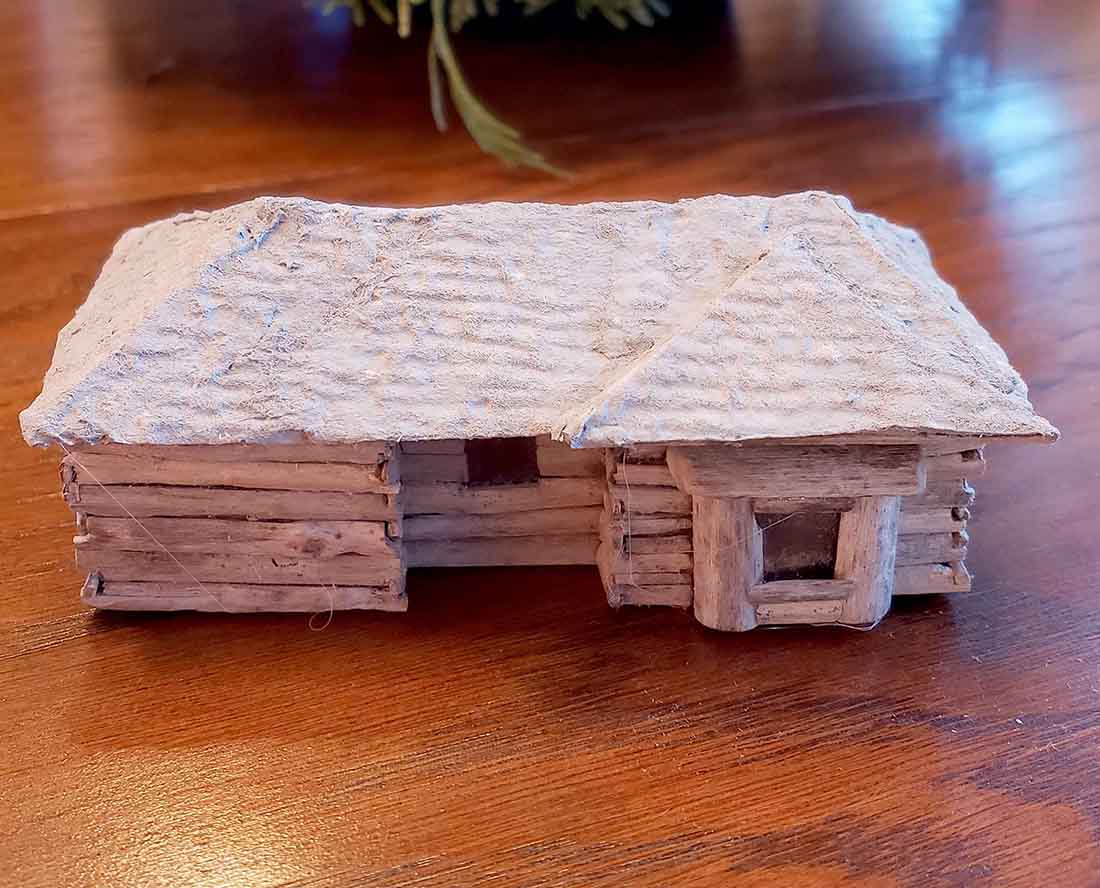
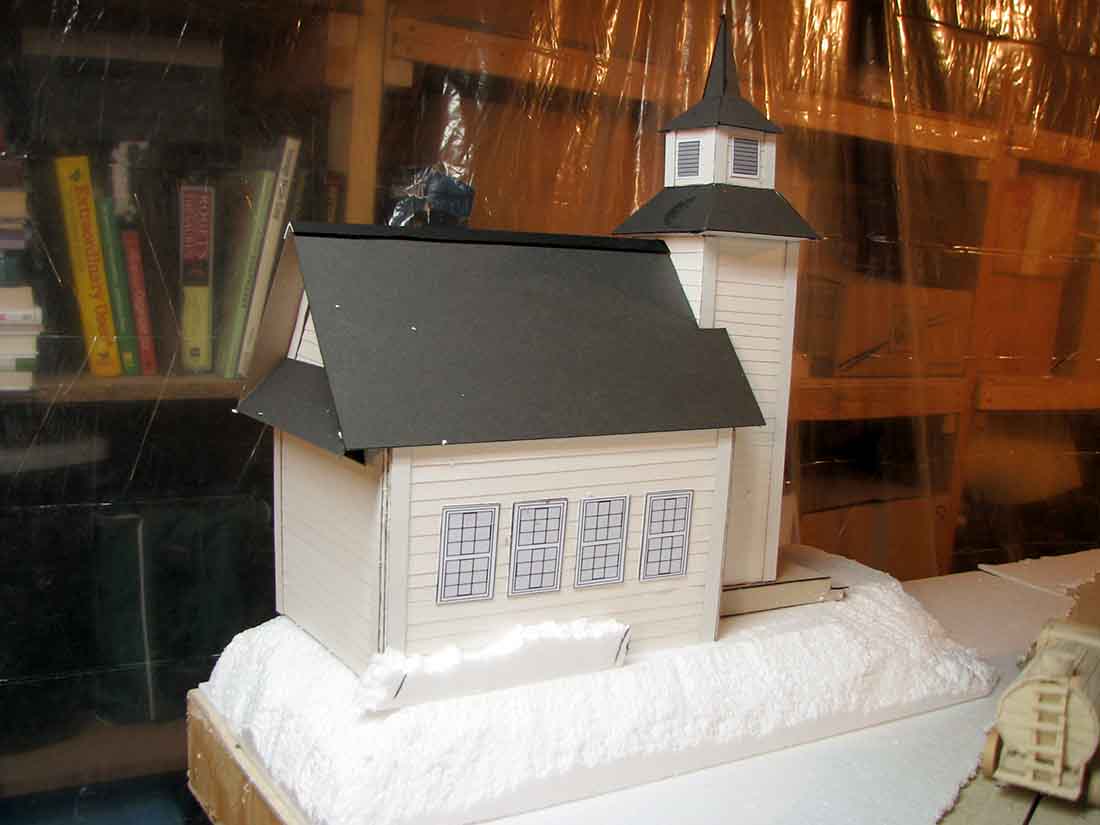
The model train town buildings are all made out of cardstock. I printed out siding and brick to put on the outside of them. The windows and signs we’re all done on the computer. The buildings were built so that they fold down and are easy to store.
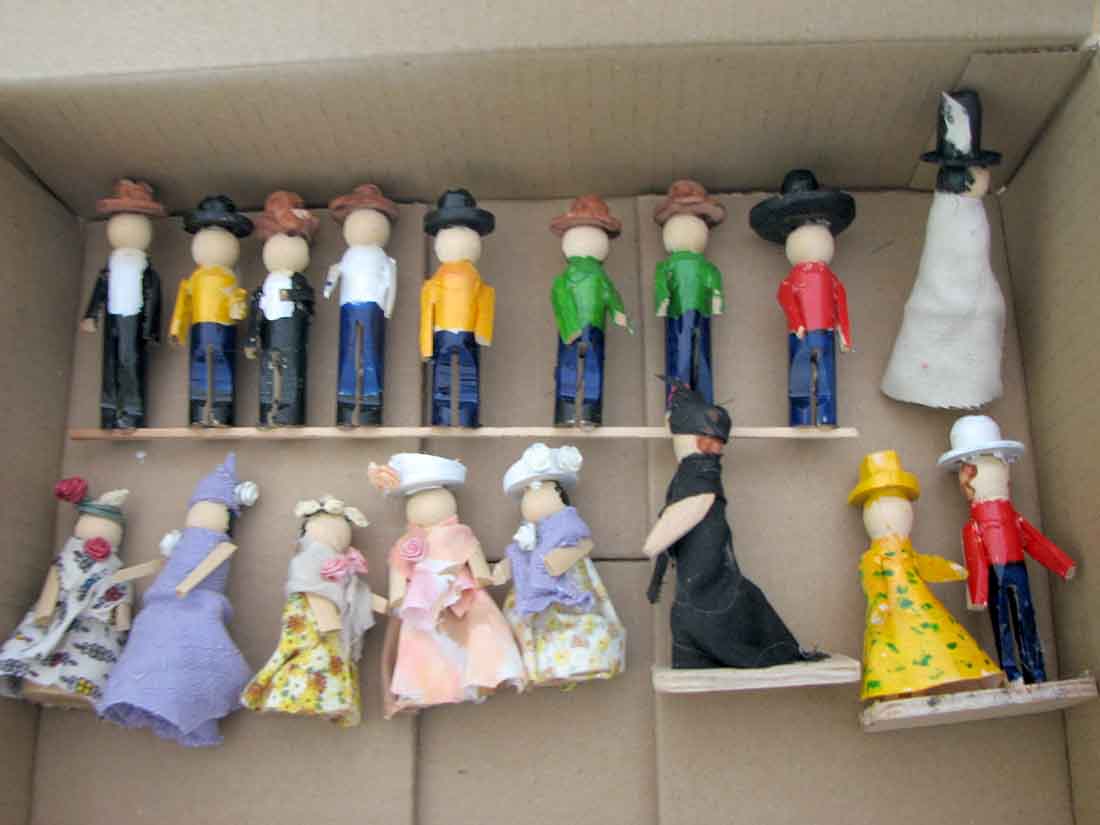
I had a hard time coming up with what I was going to use for people, ended up using old clothespins. You know if you have moving cars you have to have people in them.
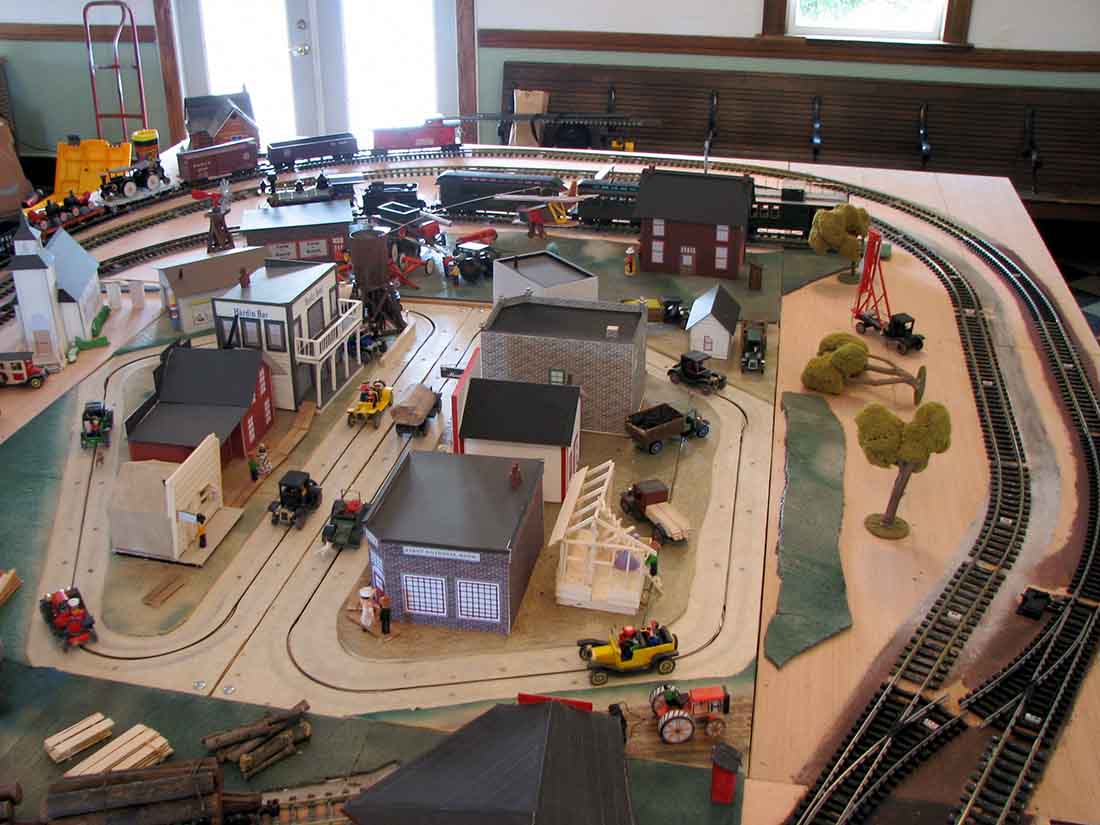
On the layout, you go past an Indian village, the Indian village was made by schoolchildren from here in town. Their teacher is a good friend of ours. She was an art teacher.
When it was time to tear it down, we went to one of the local banks who had an open room in the corner with two large windows. They allowed us to set up the town and two tracks going around the outside of the town.
In October of that year, still didn’t want to tear it down after one month so we talked him into letting us use it for Halloween.
At that time the gondolas the pickup trucks, and the trucks all got loaded with candy pumpkins.
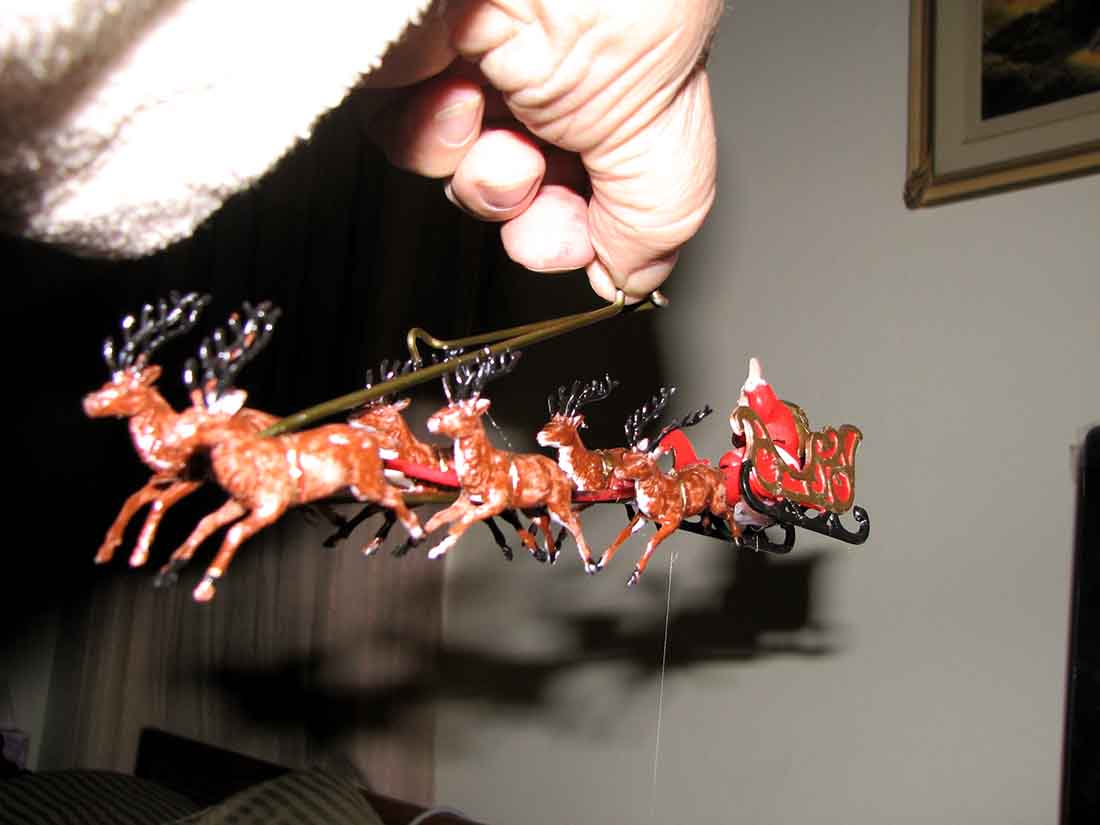
The plane was replaced by a flying ghost. There was also a ghost chasing one of the trains. When it came up close to December, we talked him into letting us use it for Christmas. At that time the plane got changed to Santa Claus and his reindeer.
The gondolas were filled with presents. Snow was on the roofs of the houses and scattered around the scene, the pickups had Christmas trees in the back and some of the cars had them on the top. I made horse drawn sleighs and sleds for the kids.
We couldn’t come up with anything for January so we had to tear it down and put it in storage. We have been asked to bring it out of storage and set it up for Christmas again this year. That is a large layout for two people to set up! We’ll just have to wait and see as we both are having a hard time getting around.
Thank you, Al, for all you do to keep this website open. It’s always fun and exciting to see what everyone is doing out there.
I’ve gotten a lot of ideas of things that I want to do and things that I want to change. Thanks to all of you!!
Dick”


A huge big thanks to Dick for sharing his model train town.
What I like best about this post is the raw, undiluted fun and enthusiasm that comes across. Anyone can see how much they enjoyed this layout.
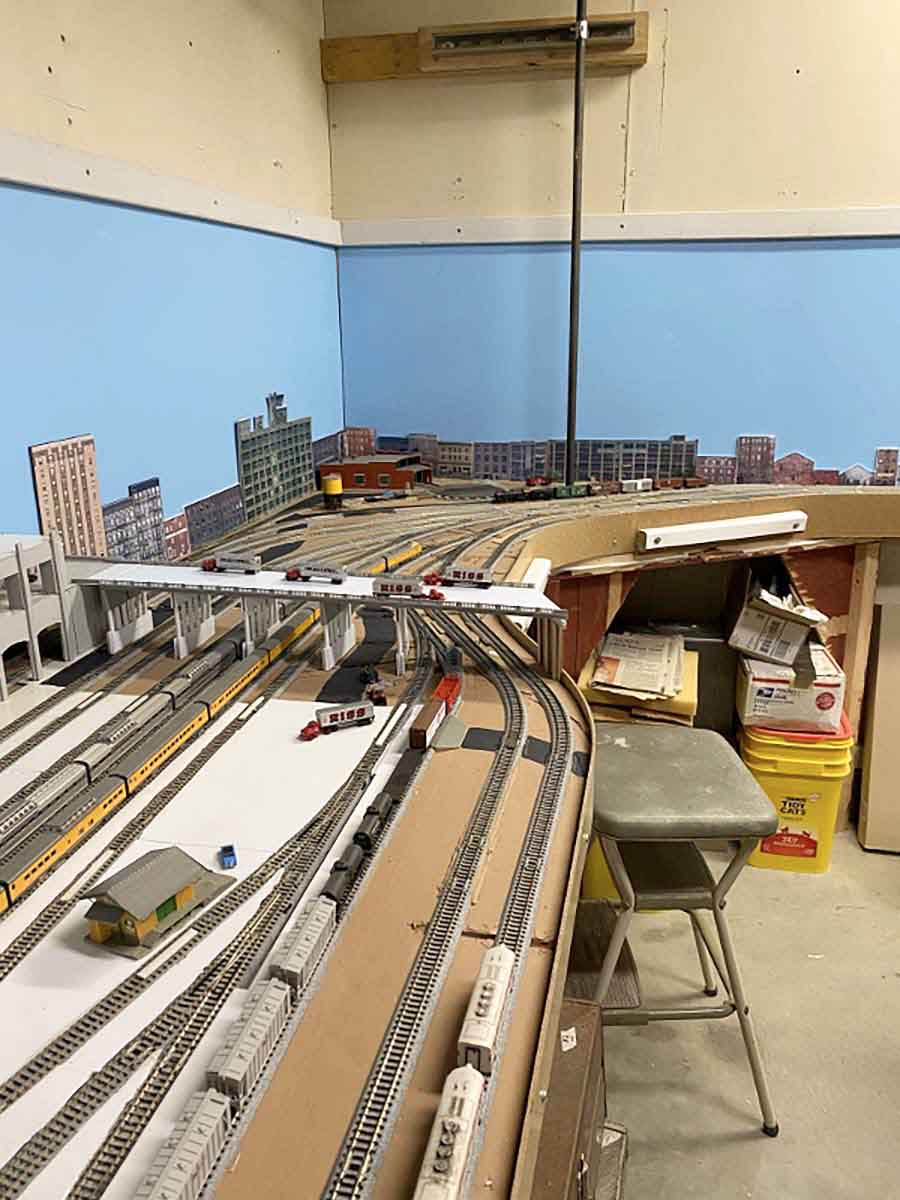
What’s more, you may remember Old Taz from his last post where he added car lights on his N scale
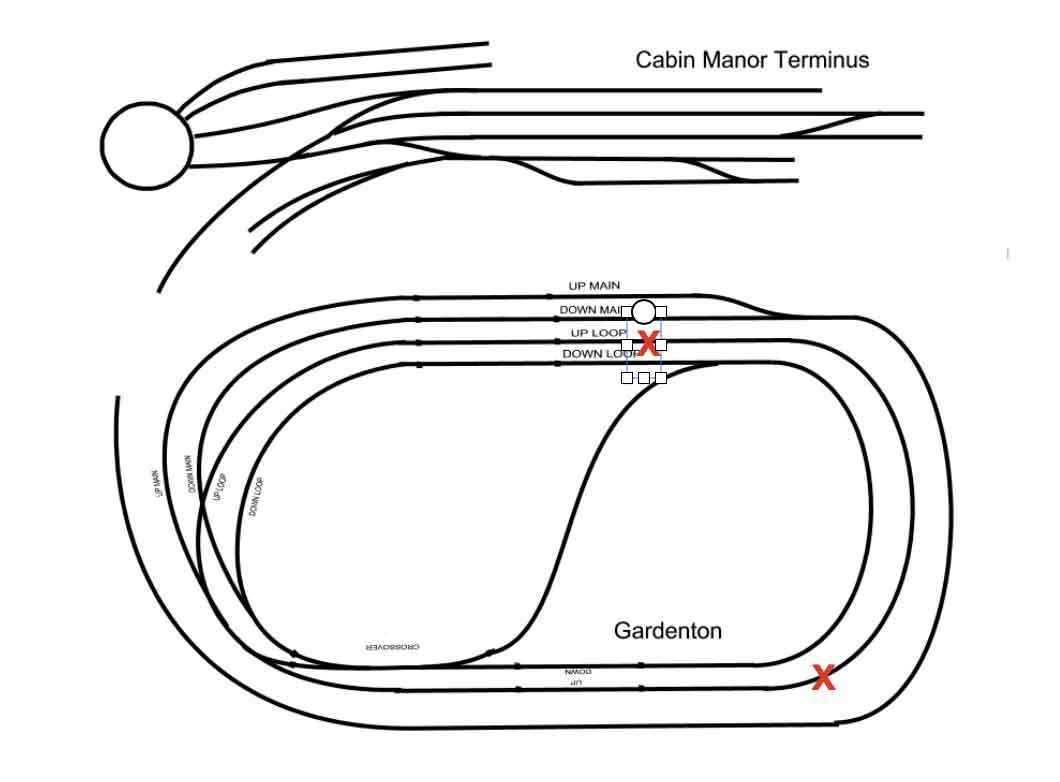
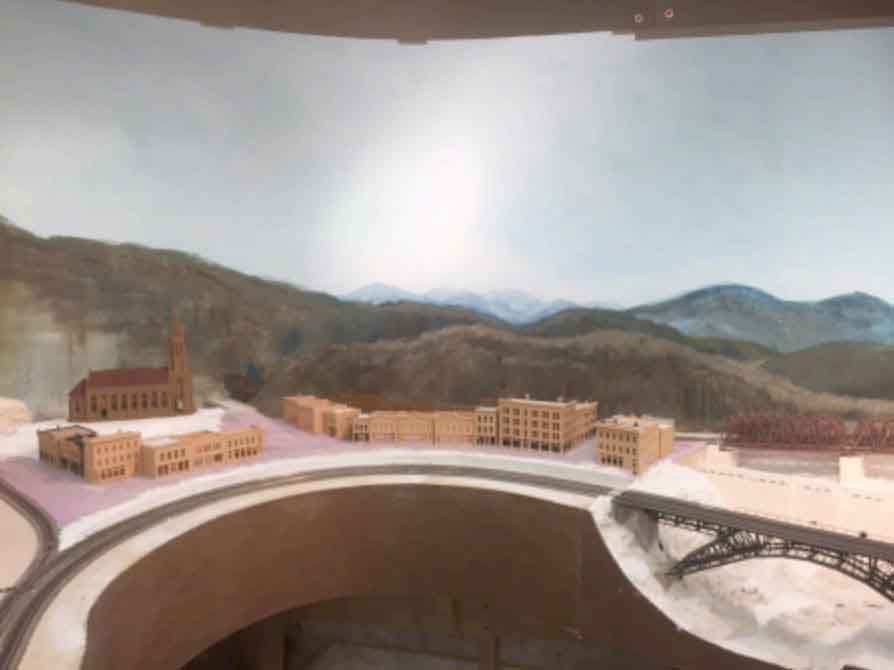
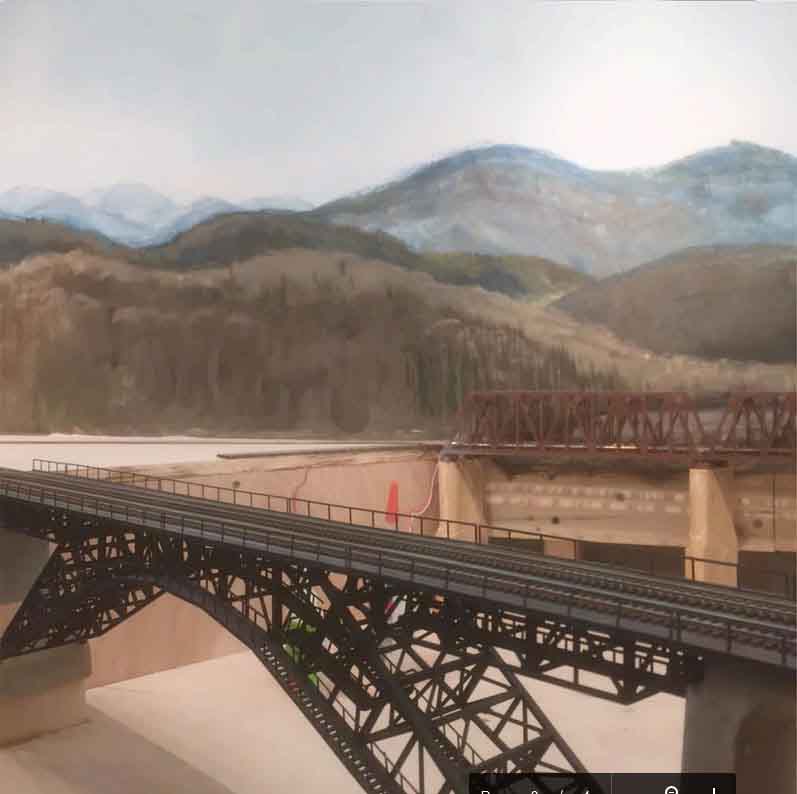
Here’s a pic of his layout to jog your memory.
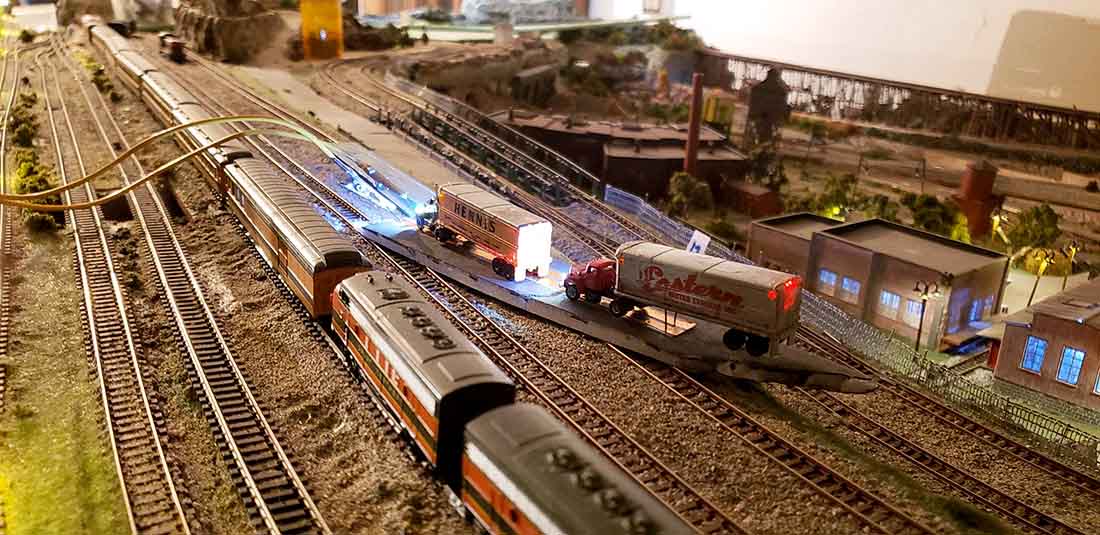
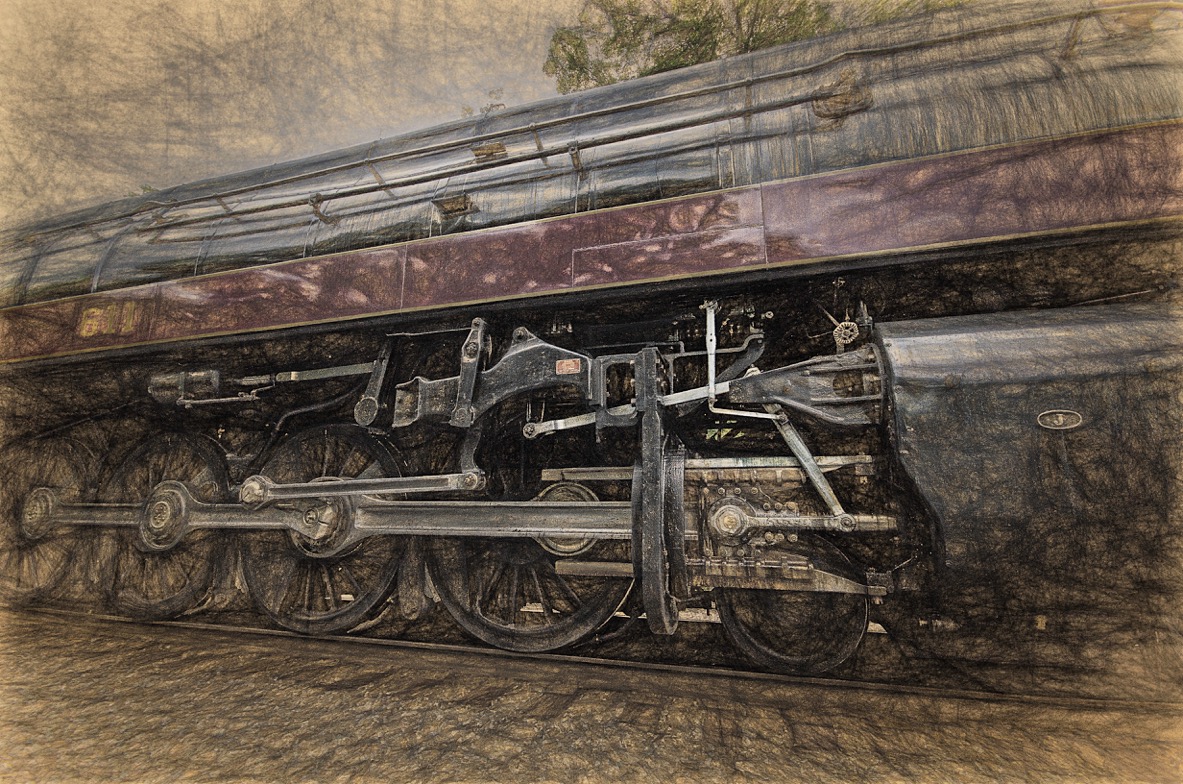
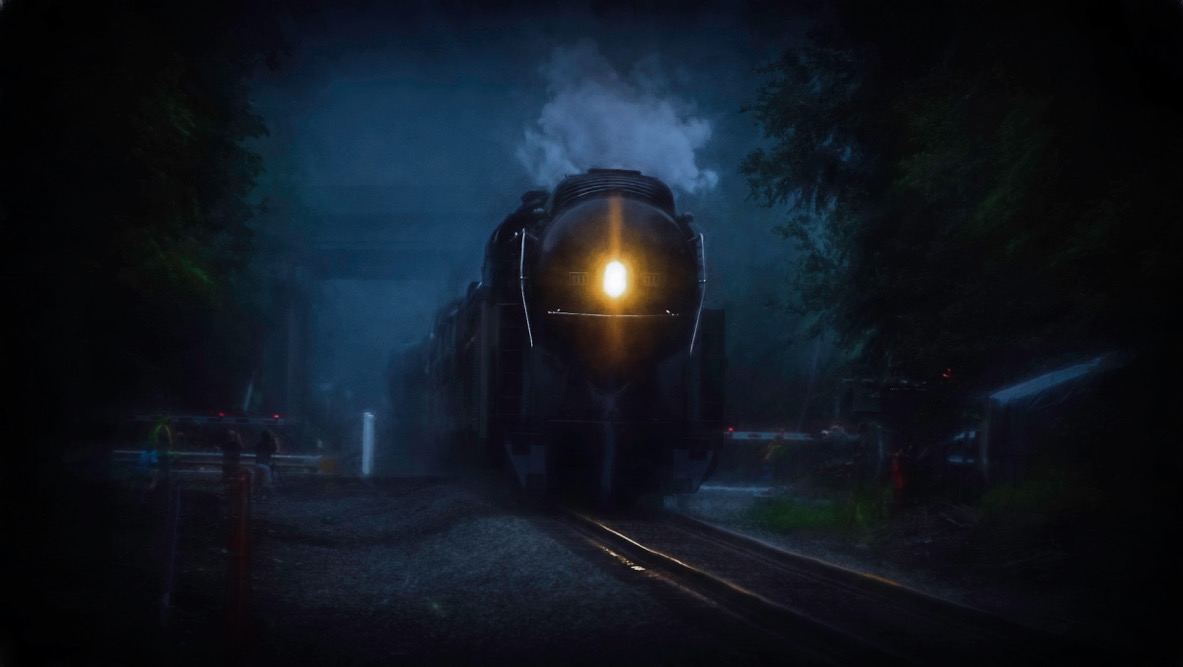
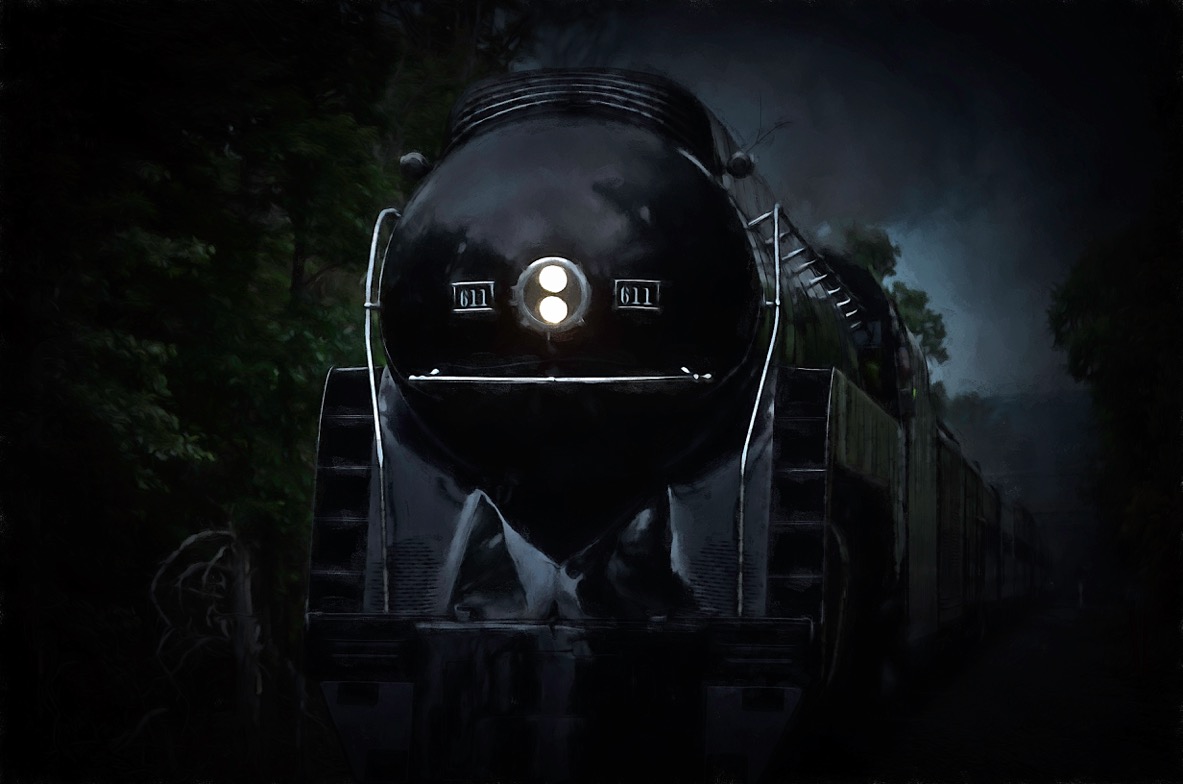
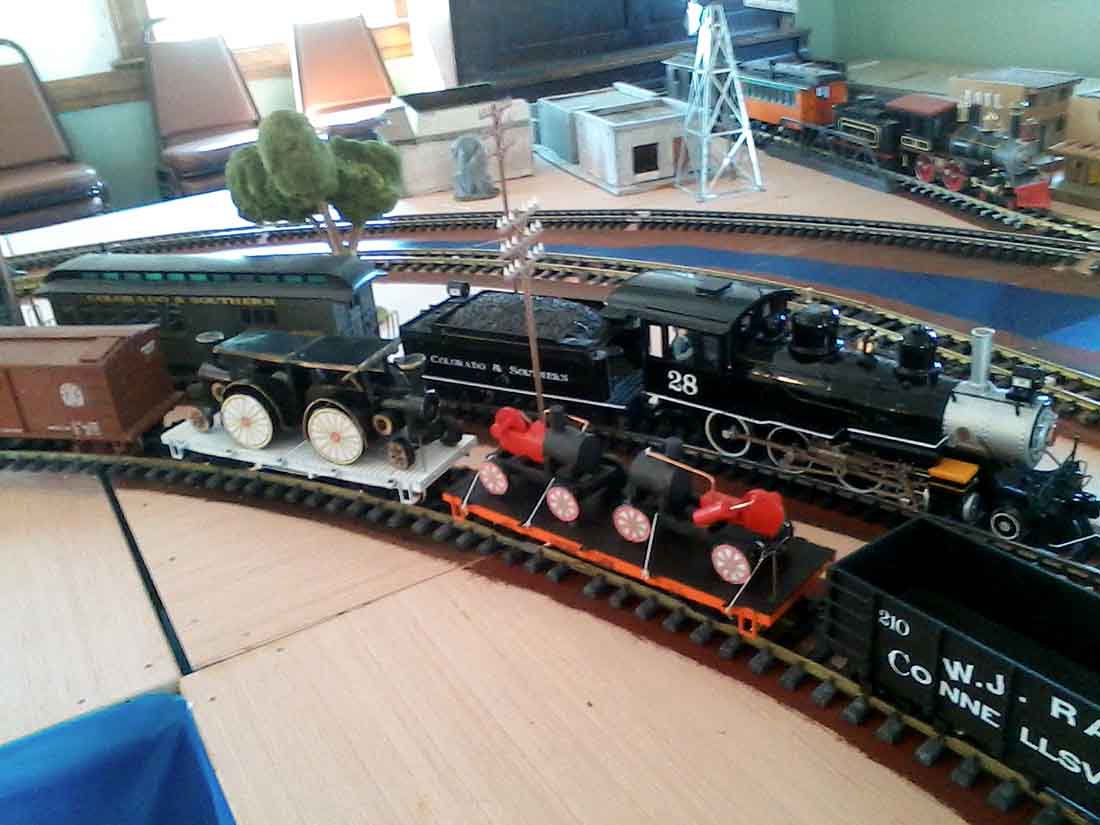
And you’ll also note ‘Old Taz’ is in cahoots with Mr Chapple (also called Dick), who you may remember from quite a few posts, like this one.
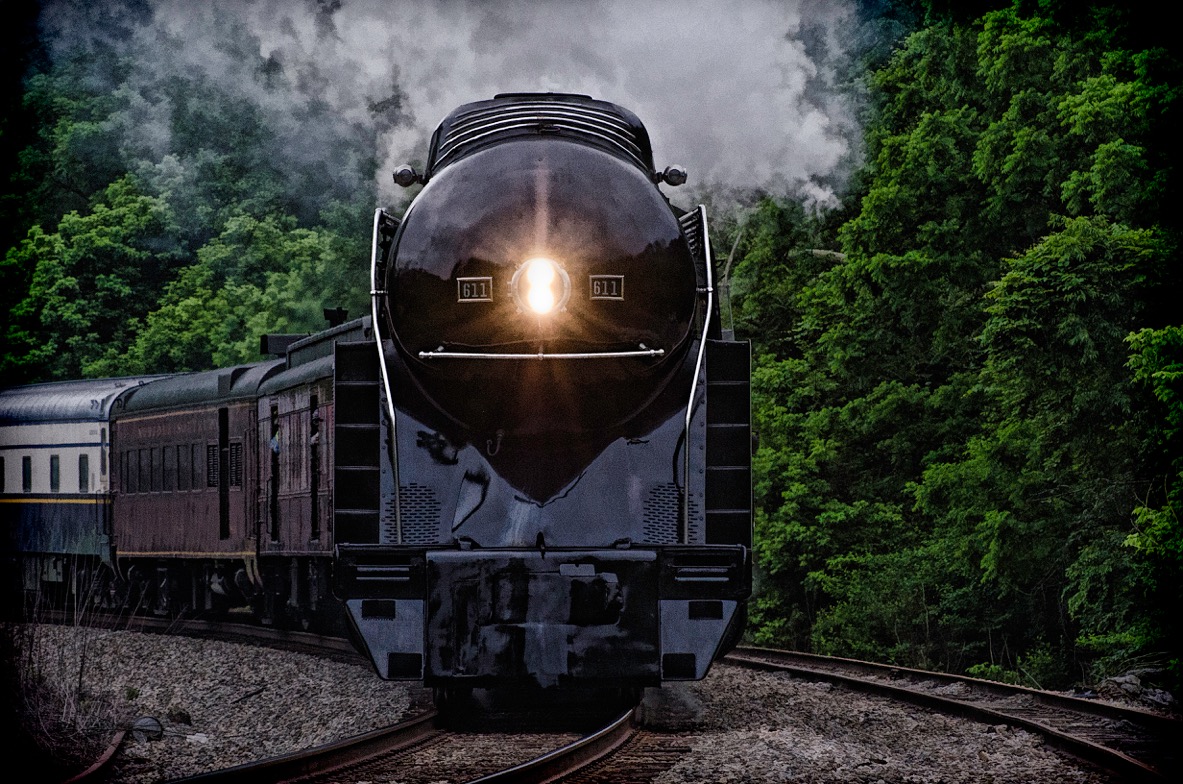
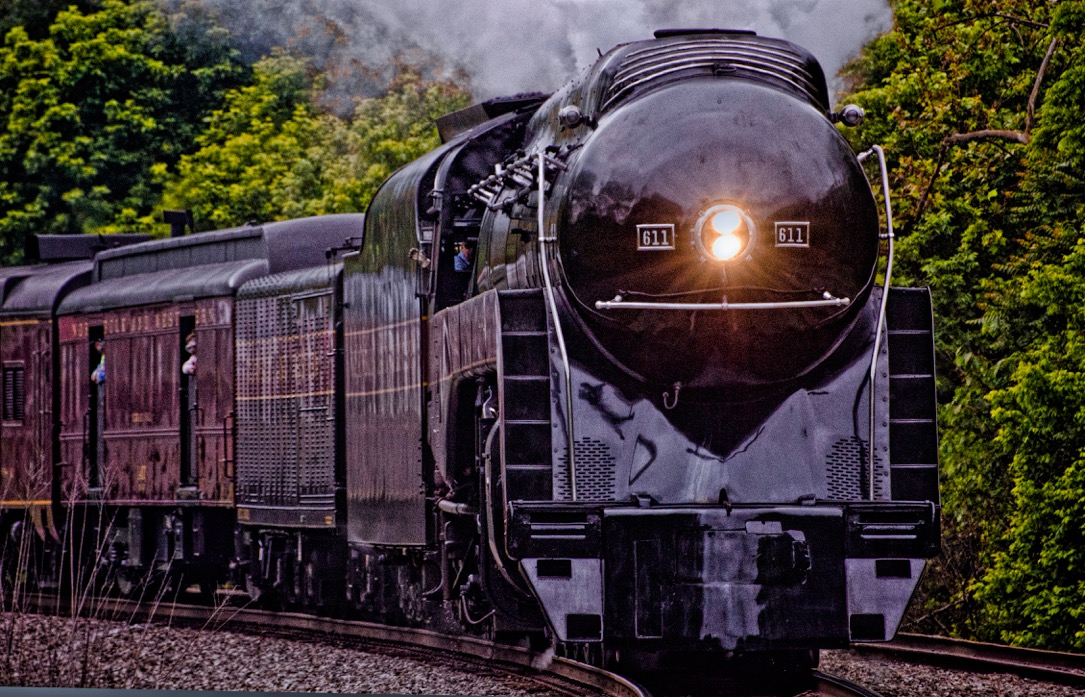
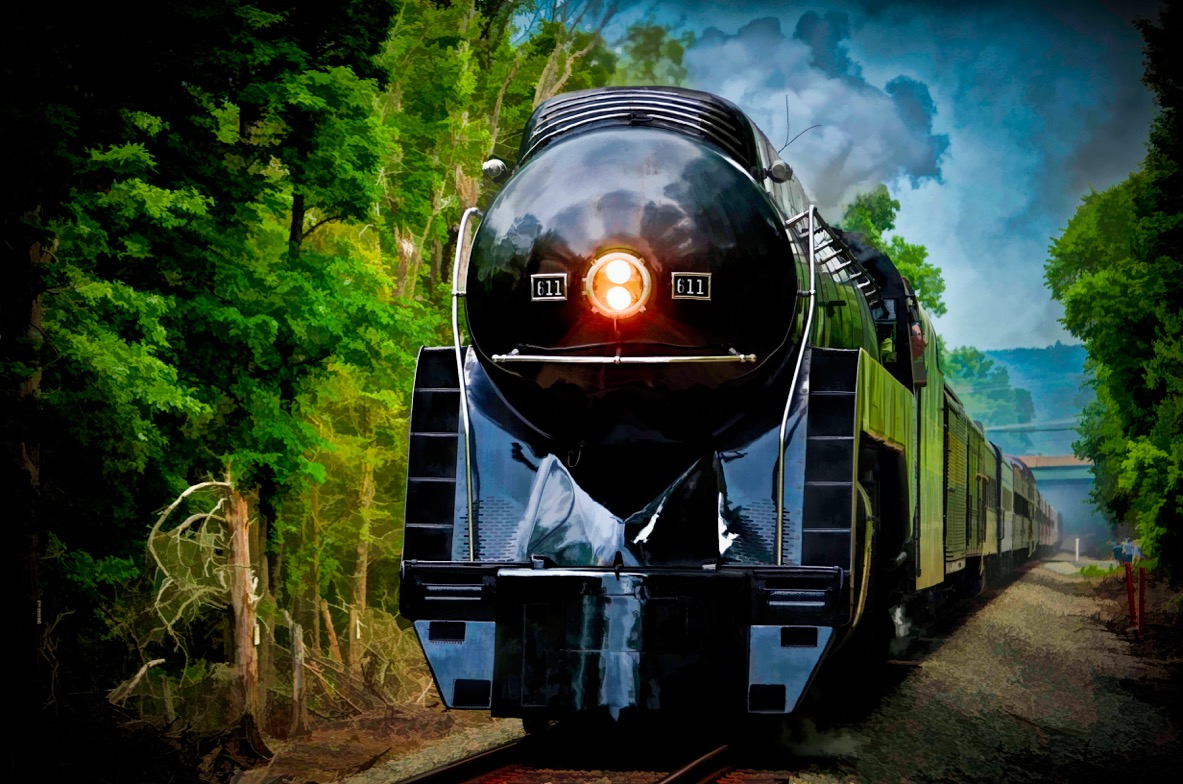
Here’s a pic of from one of Dick’s posts too:
That’s all for today folks.
A great big thanks to Old Taz for sharing. Hope you enjoyed it as much as me.
Please do keep ’em coming.
And if today is the day you join in on the fun and get started on your layout, the Beginner’s Guide is here.
Oh – and please do leave a comment below. I’d love to know what you all think of this one.
Best
Al
PS Latest ebay cheat sheet is here.