Keith has been in touch with his narrow gauge model railway:
“I follow your blog on a daily basis and felt that an example of a small narrow-gauge railway set in the English Cotswold countryside would help balance the big and amazing large layouts from the United States.
The Sibford Hills Railway is the fourth narrow gauge 4mm scale layout I have constructed in the last twenty-five years. All fictious and all located in an area of North Oxfordshire, in England which once had a narrow-gauge railway feeding an iron ore crushing plant just east of the Cotswold village of Hook Norton.
However the typography of the land for Sibford Hills bears no resemblance to the rolling hills around Sibford Gower and Sibford Ferris.
In fact, the model is an adaptation of a 4ft x 2ft layout by C.J. Freezer published in Railway Modeller Magazine in December 1970 and commonly referred to as a ‘Rabit Warren’ layout evidenced be the number of tunnels entrances.
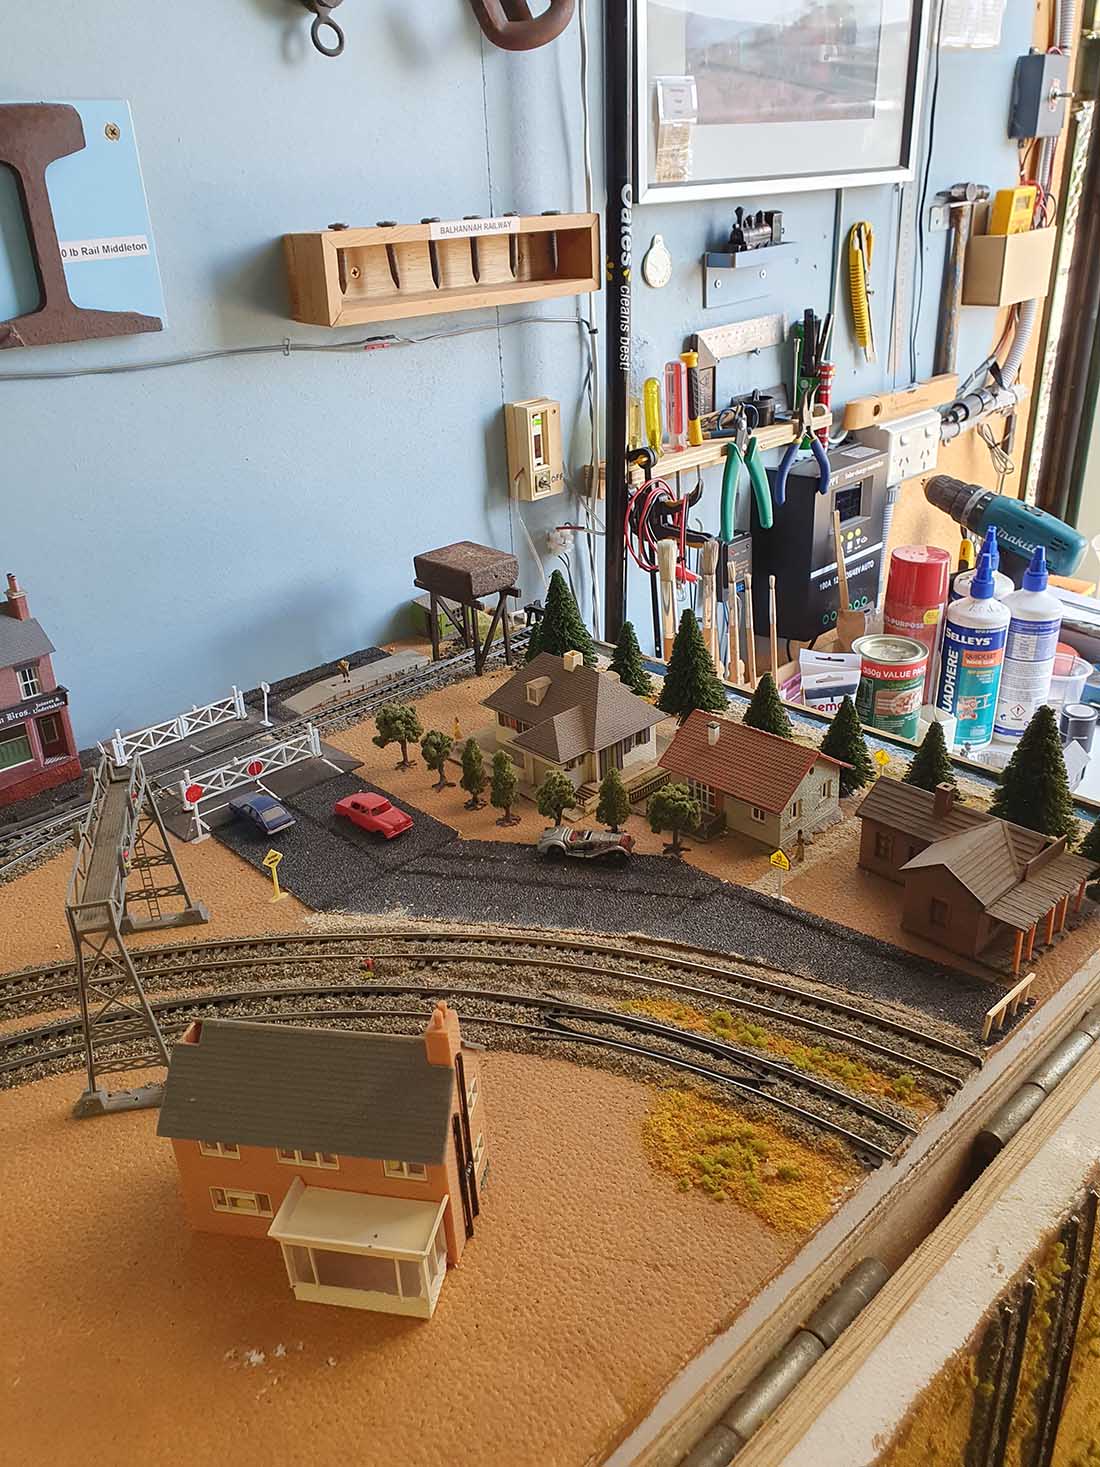
Since I enjoy building rather than running a railway, I wanted to include a number of village buildings, a quarry and a farm. The quarry is taken from a 1920’s photo of Hook Norton Brymbo Works and my life-long Scouting membership prompted the Scout Camp.
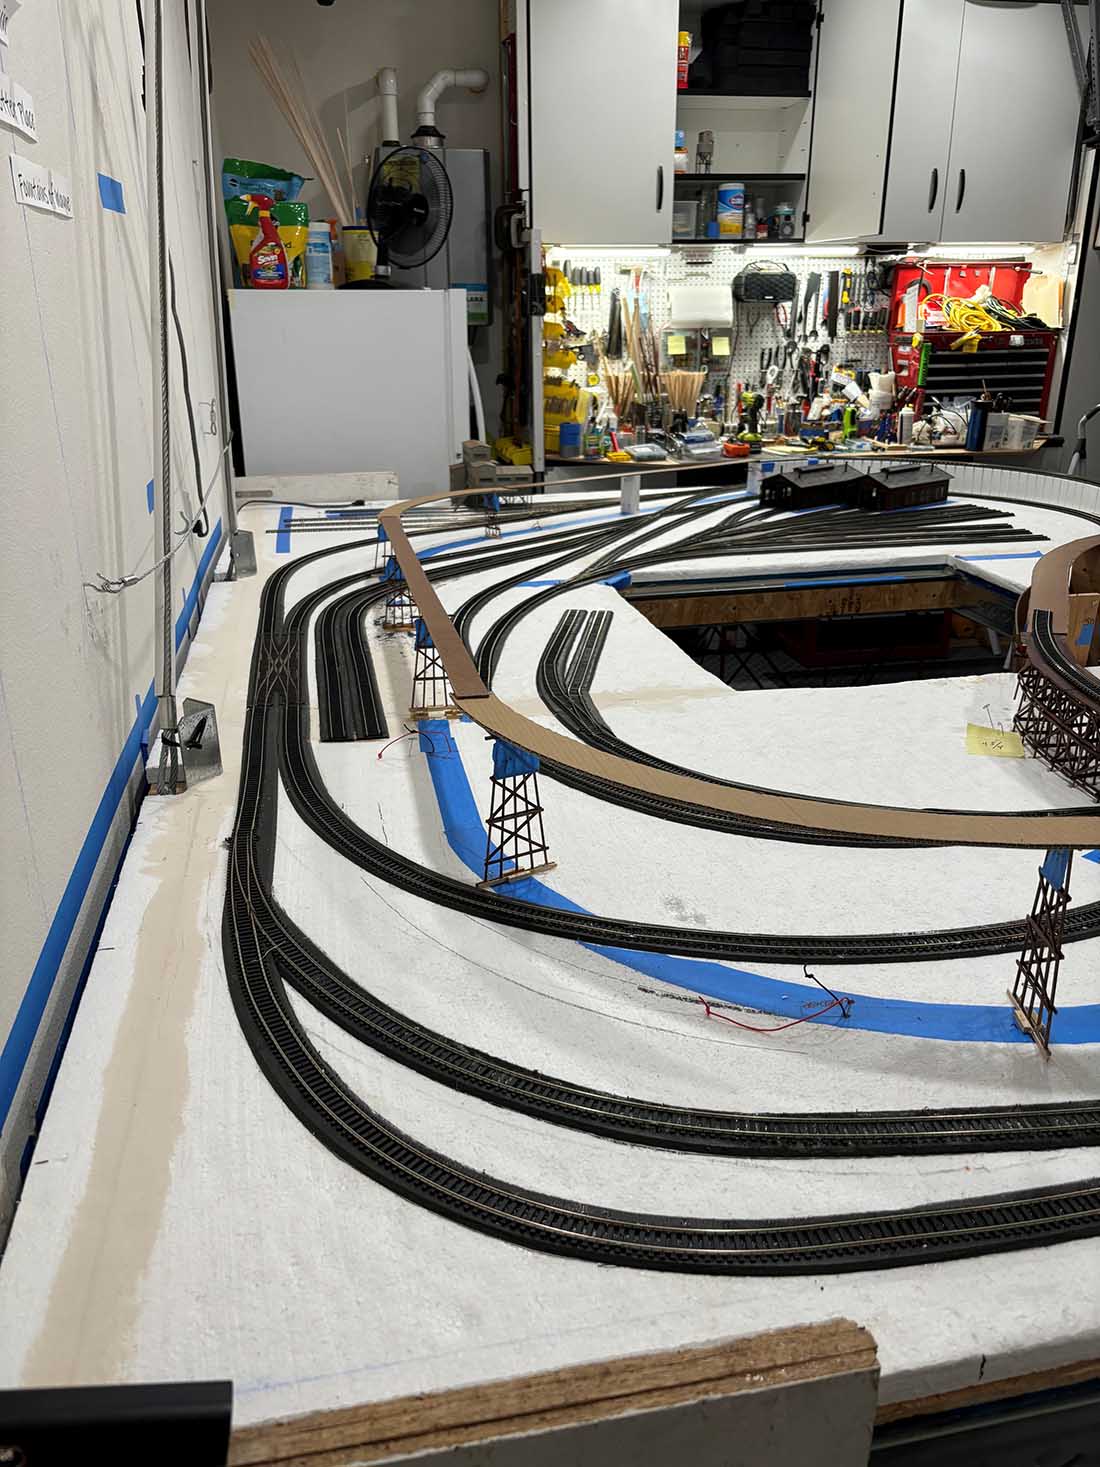
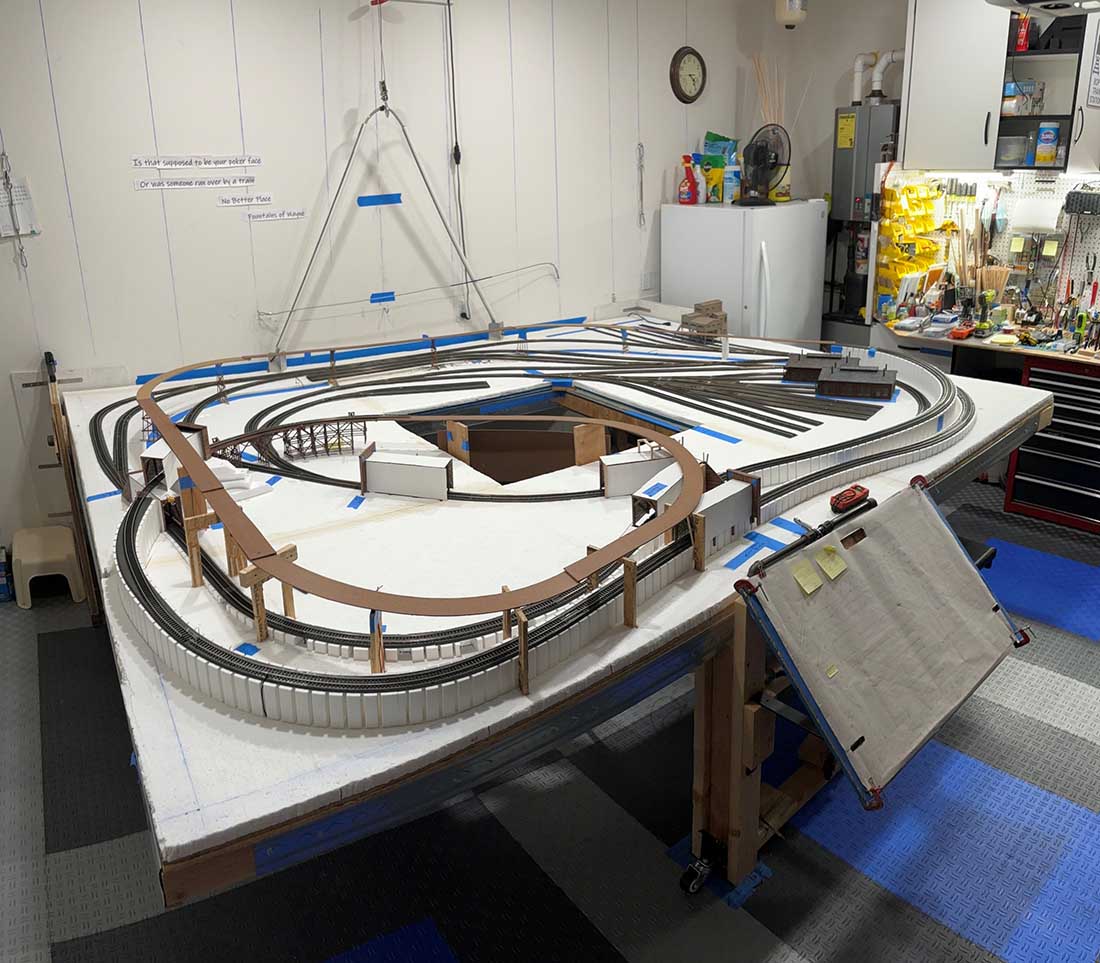
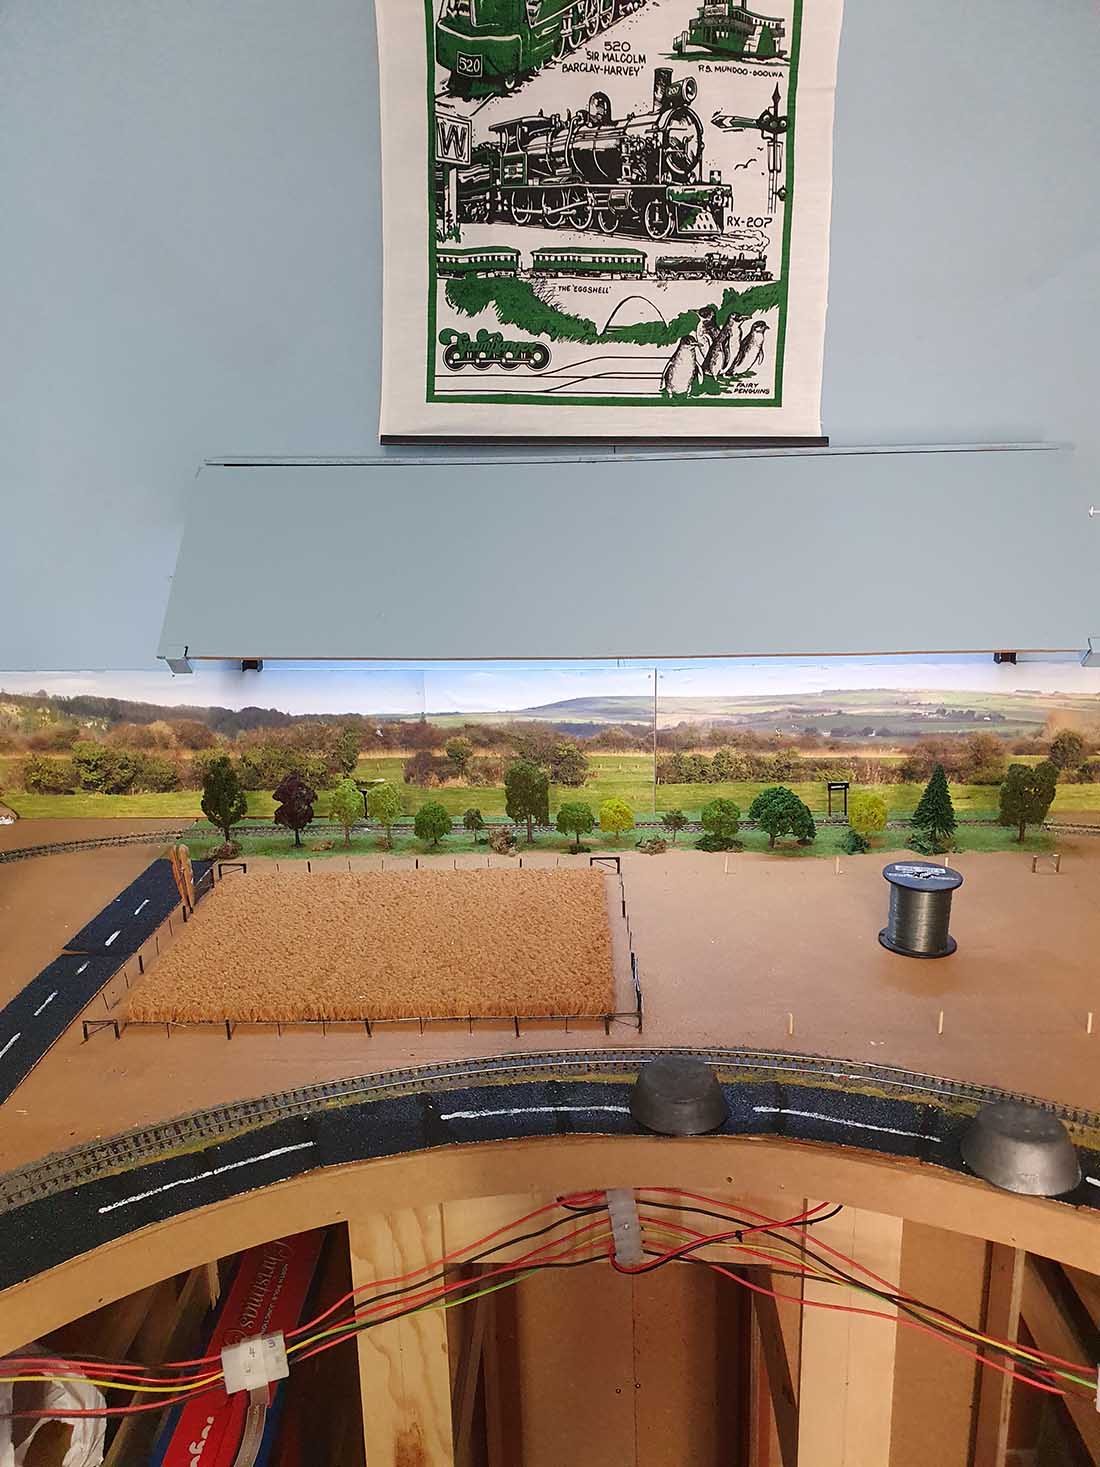
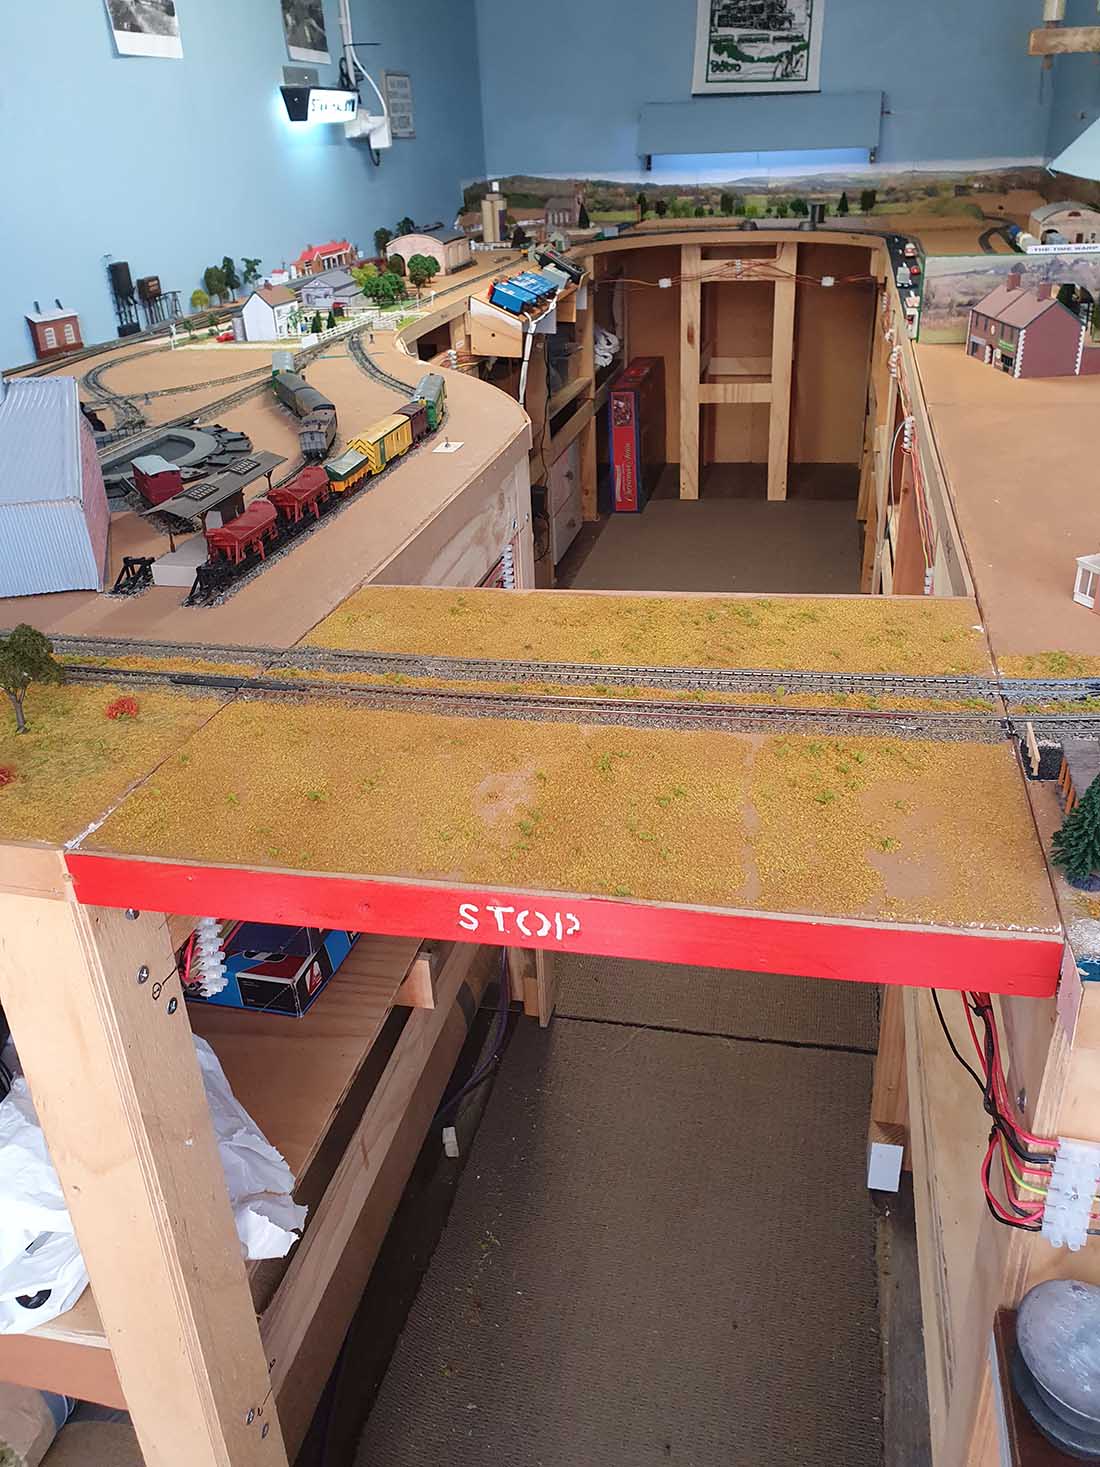
The baseboard area to 6ft by 3ft on two 3ft square boards for ease of transport. The track runs to two levels with the village buildings on a third. Levels two and three lift off for access. The baseboards are constructed from 9mm ply with 100mm sides and 50mm x 25mm bracing underneath.
The lift-off top structures are made from 5mm foam board and pieces of 40mm thick insulation foam supports.
Vertical surfaces are covered with several layers of plaster bandage. Foam board being very light, it is easy to lift off the upper areas to clean the track and cope with de-railments, although this is not a task to be taken lightly because the track has to be re-connected where it changes levels.

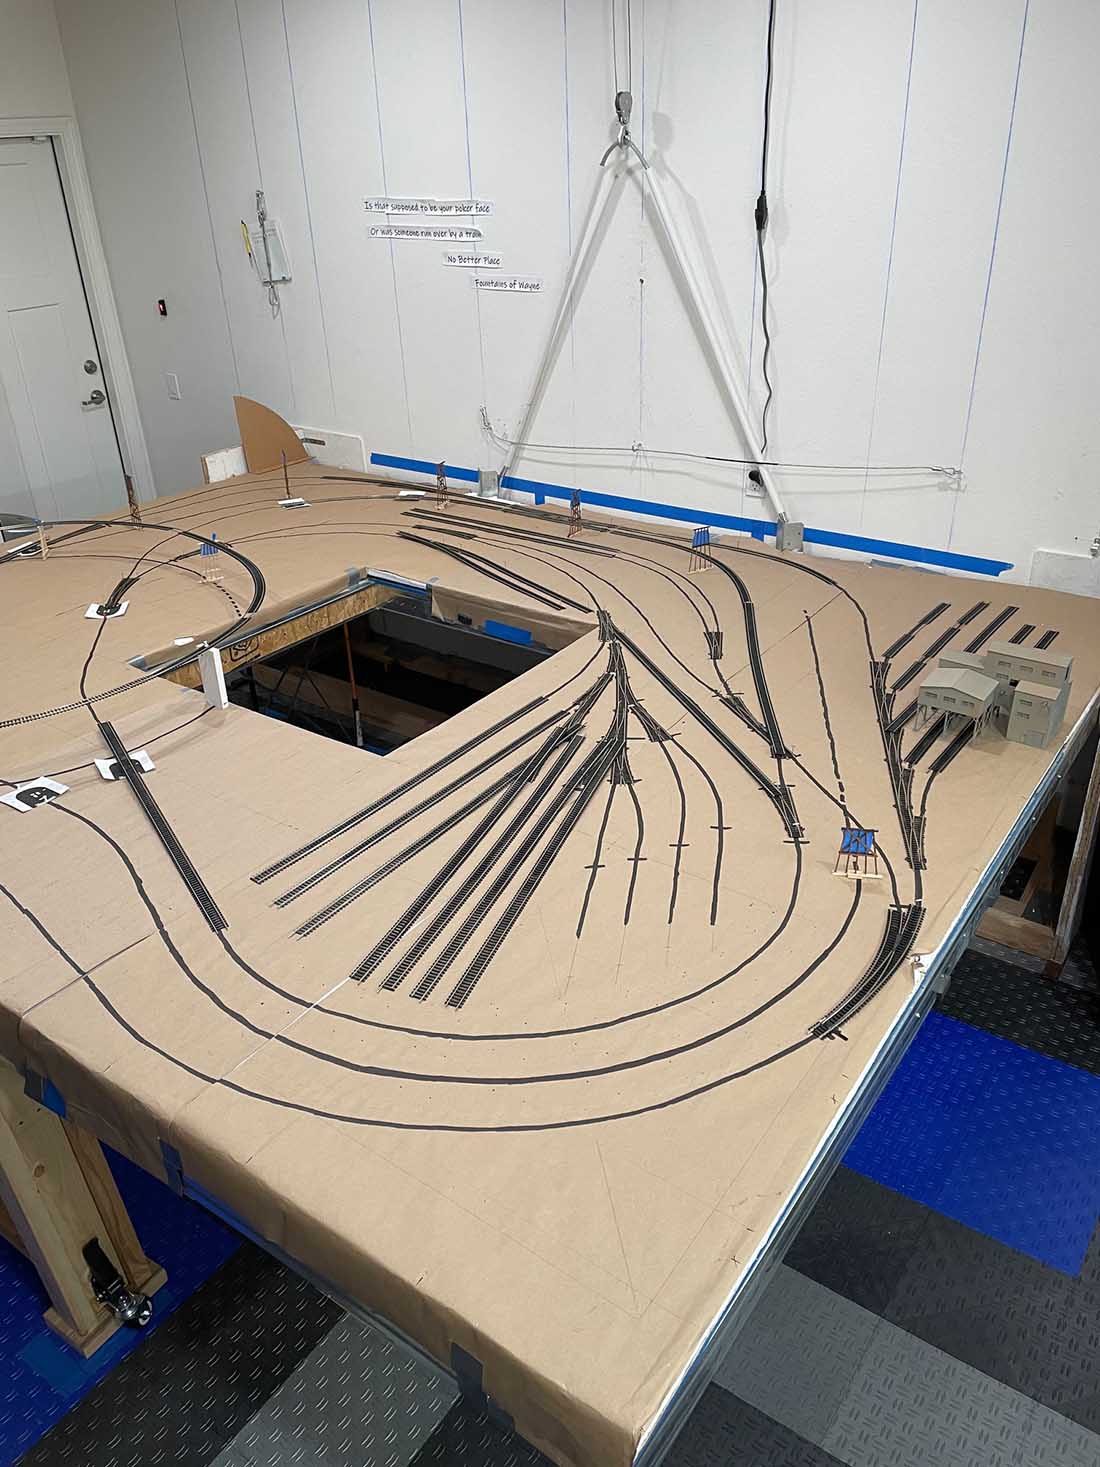
Sibford Valley Railway – built on three levels
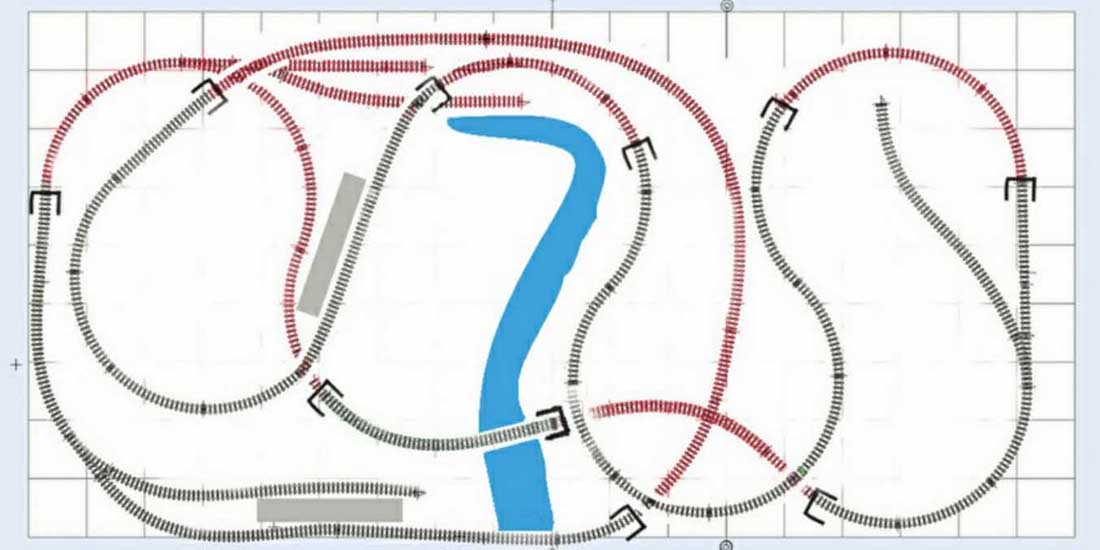
Track plan
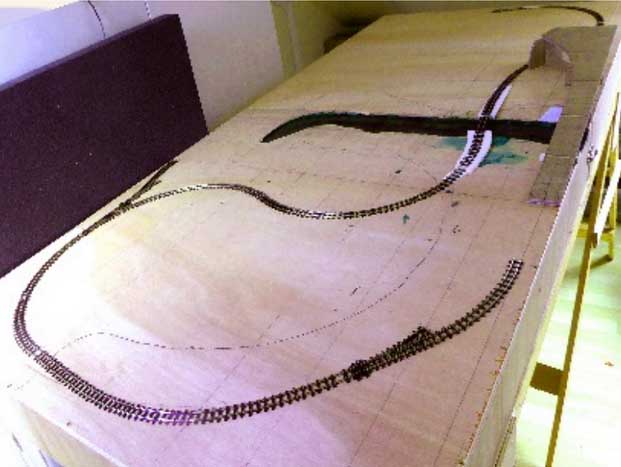
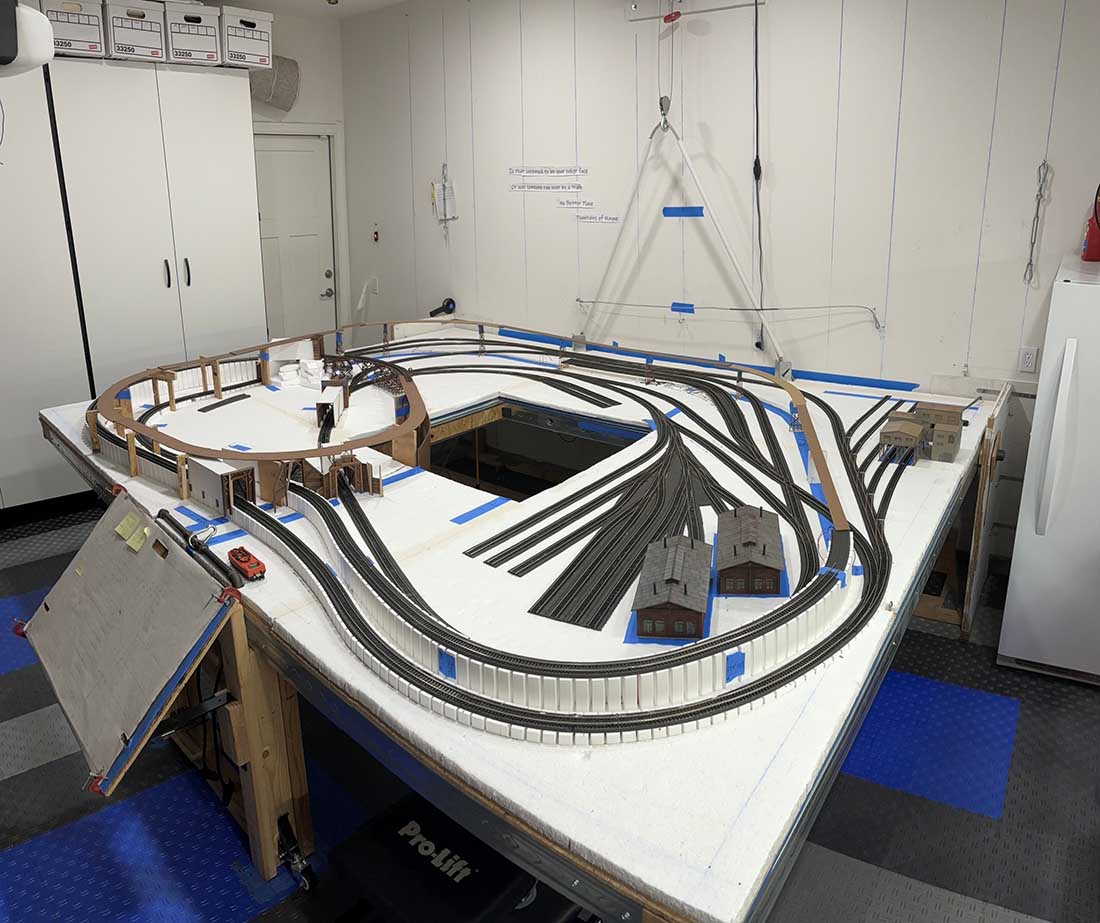
First track down
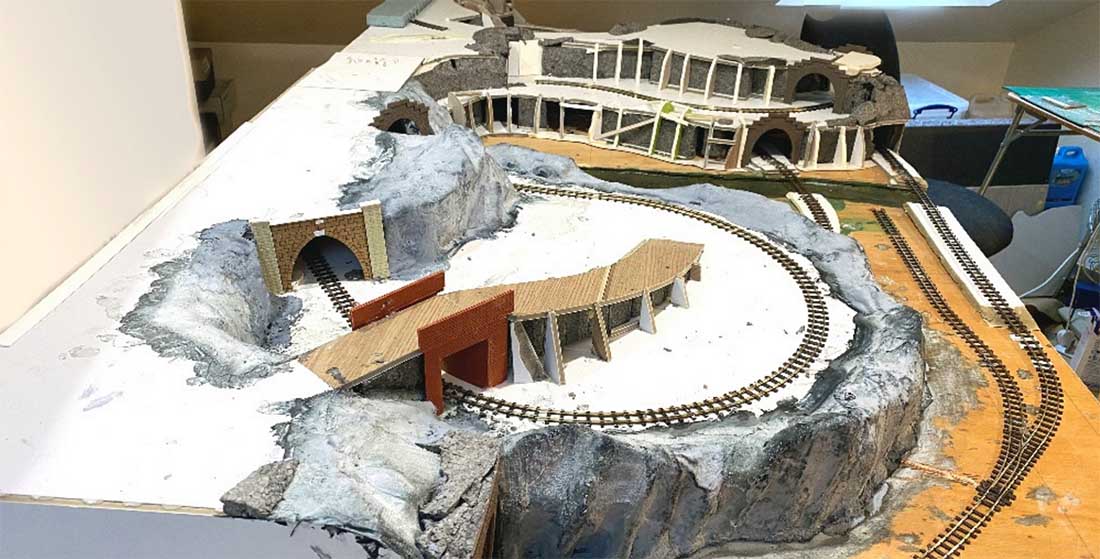
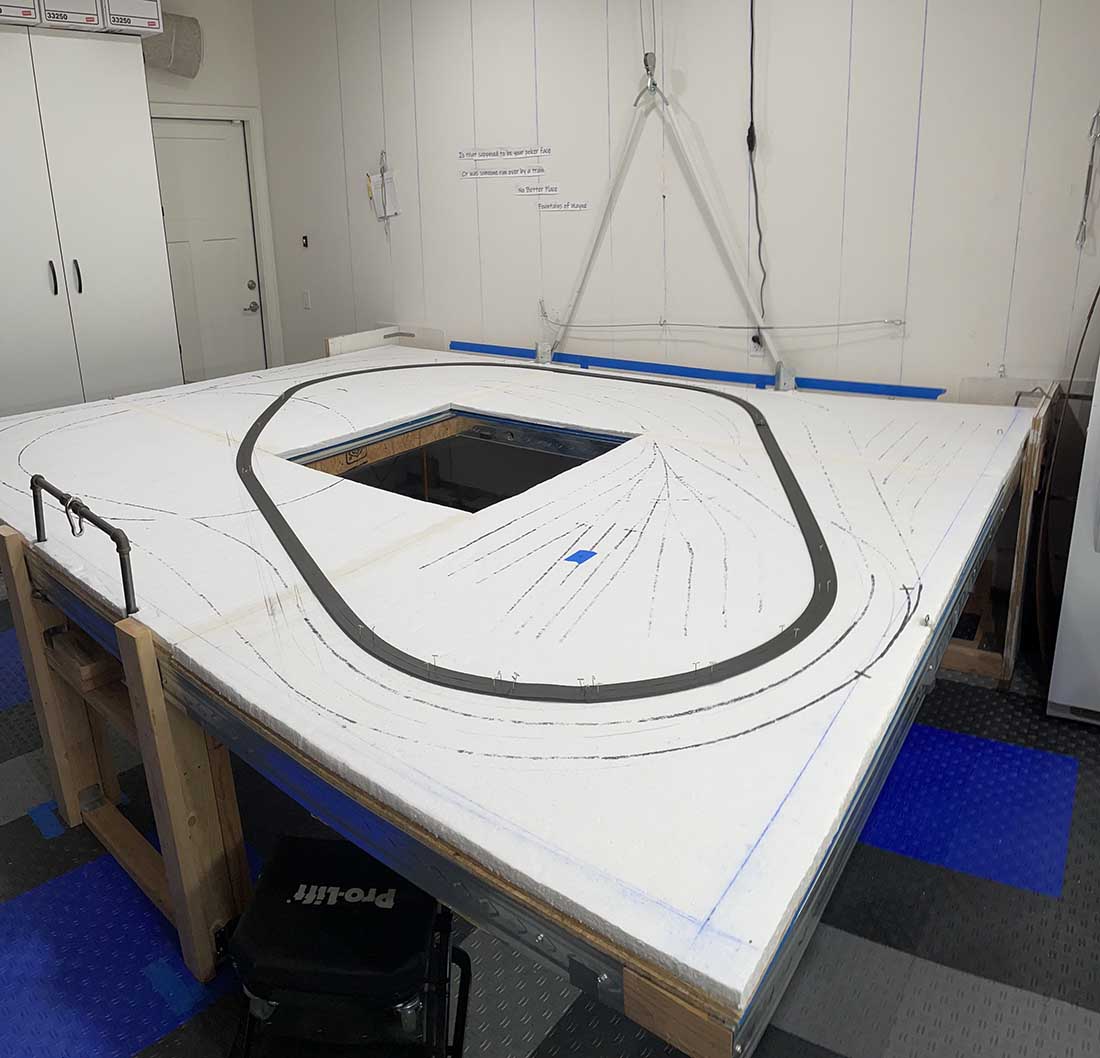
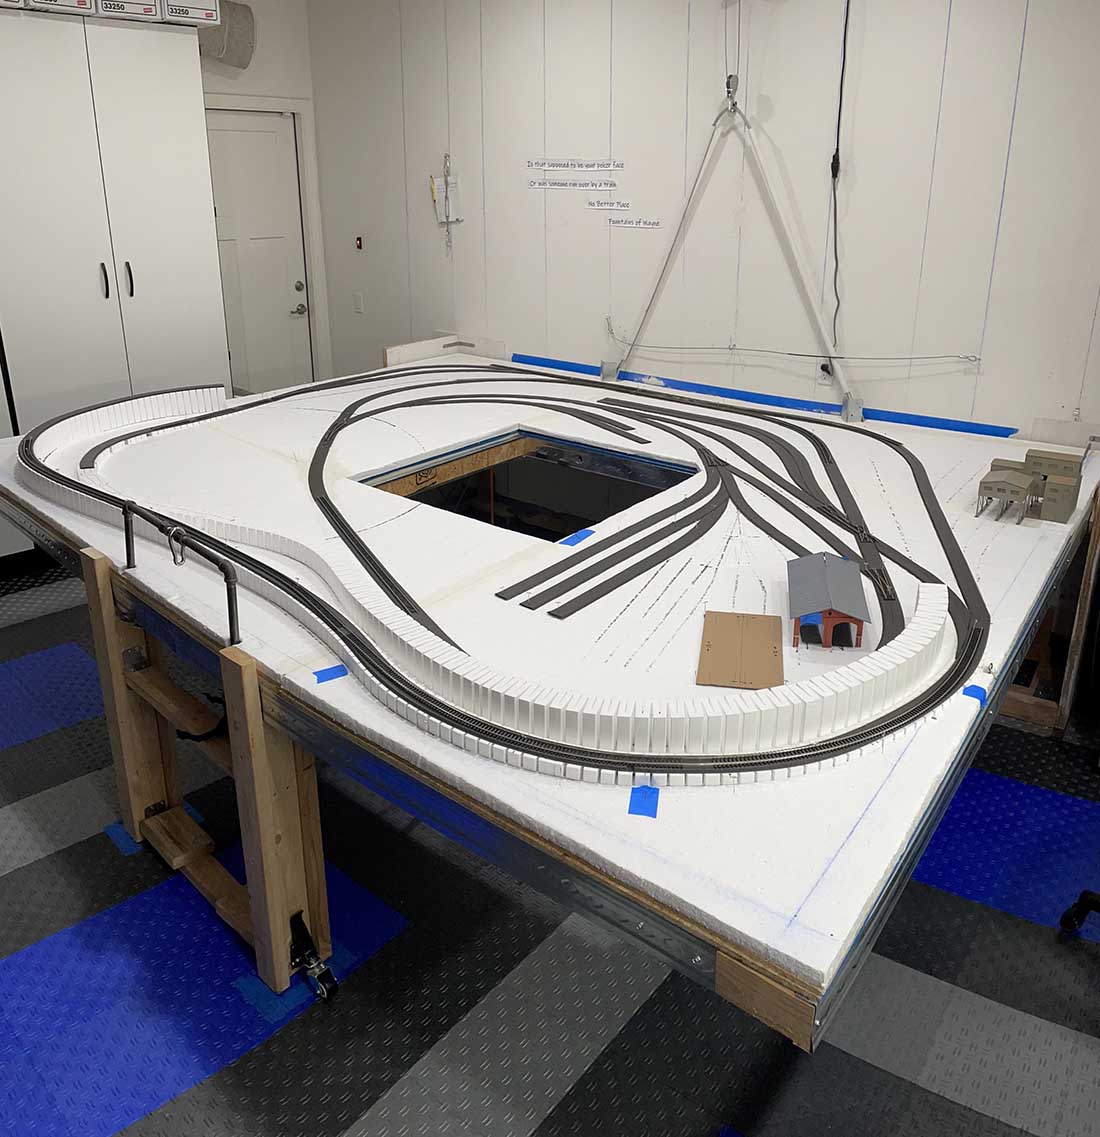
Track down and second and third layers under construction with foam board and plaster bandage

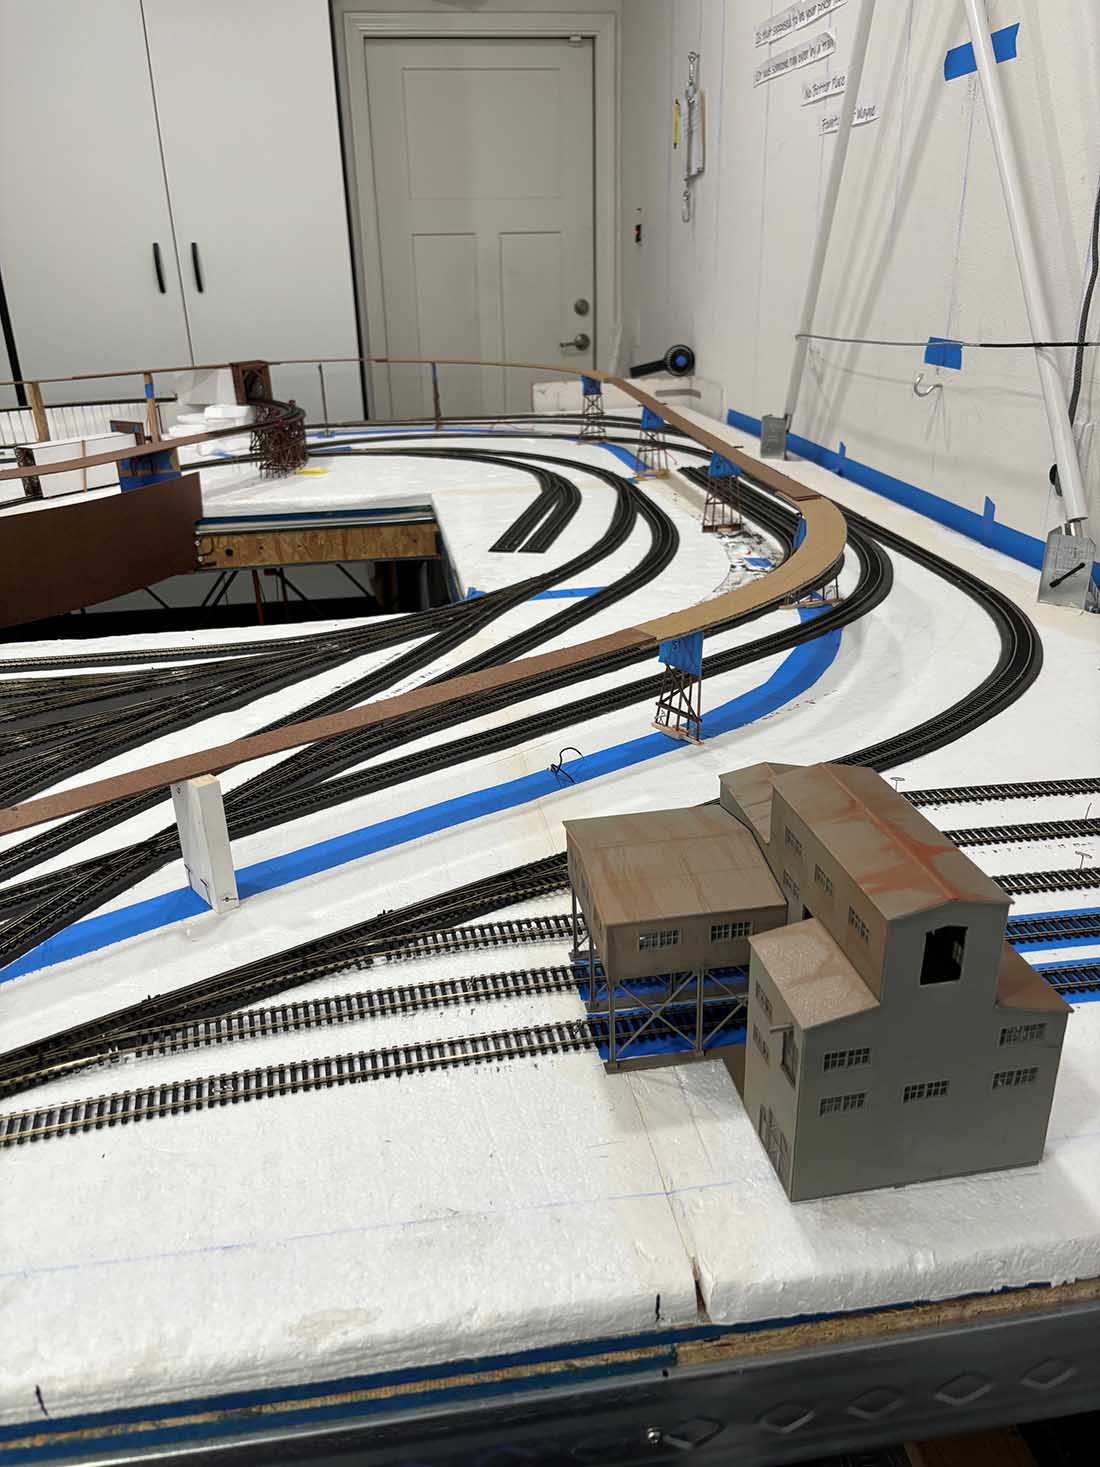
Sibford Quarry based on Hook Norton Brymbo Quarry
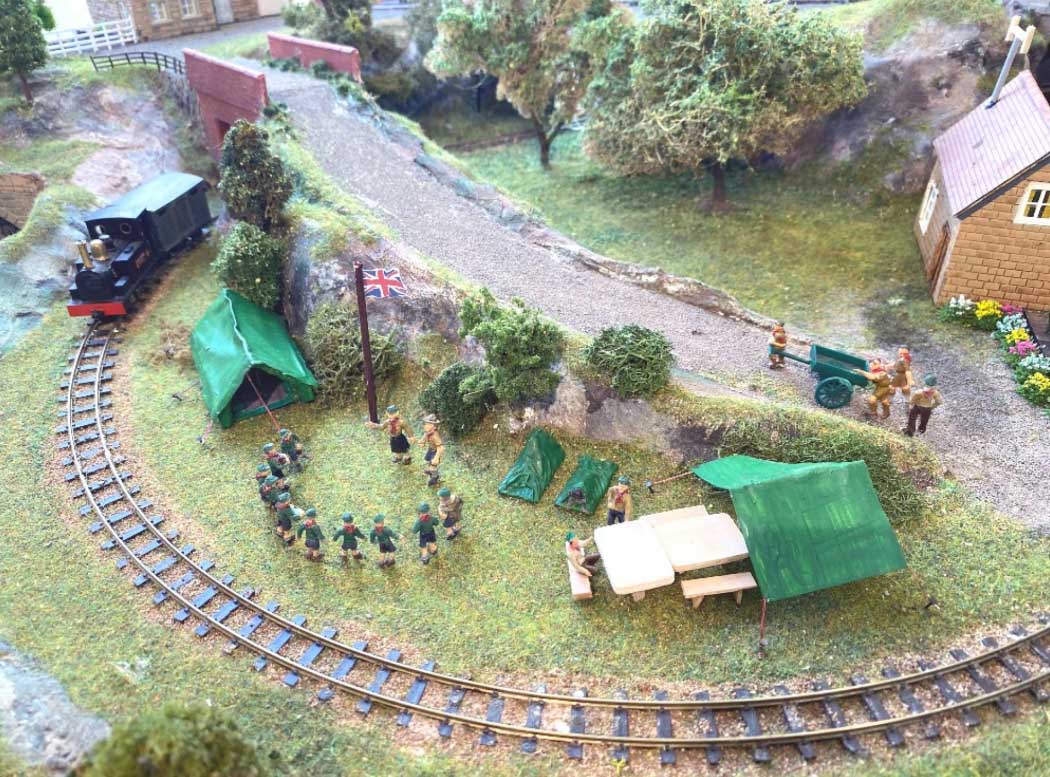
Scout camp

Cows in pasture next to quarry
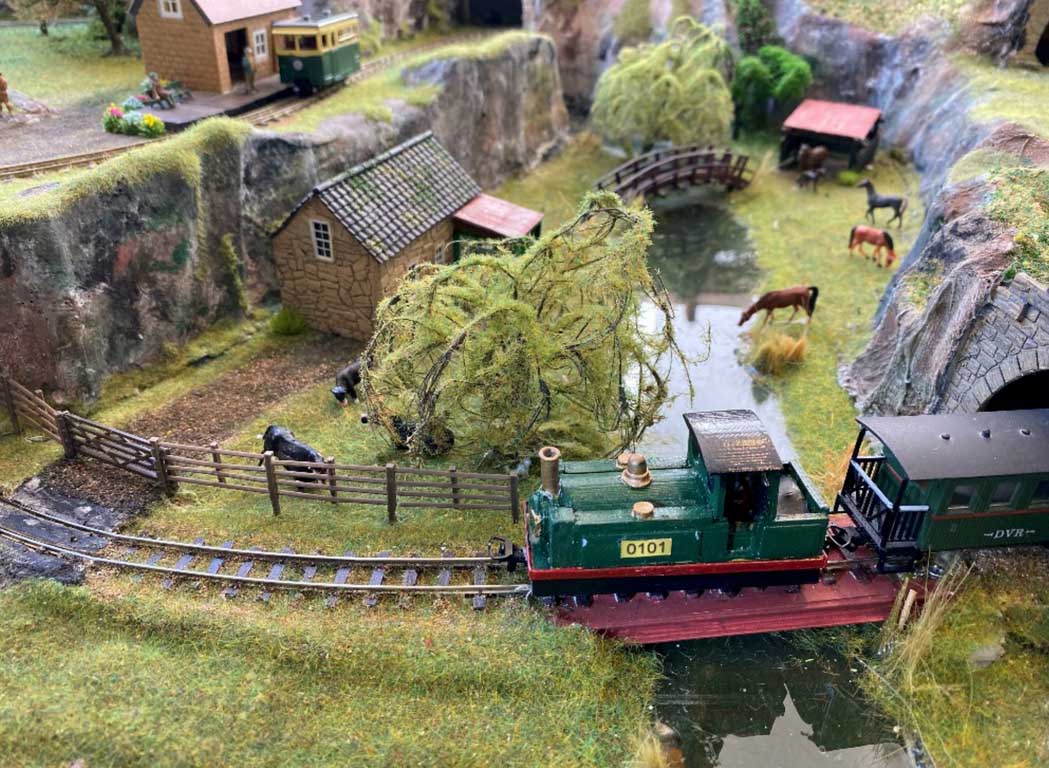
Stream and horses above lower station
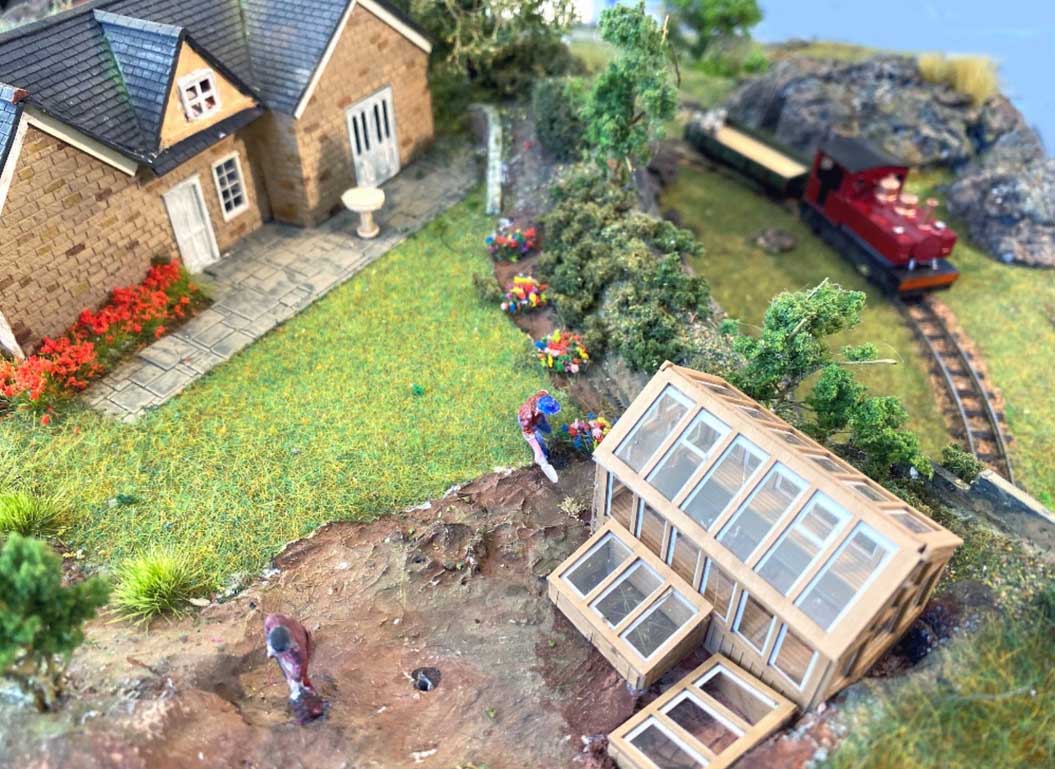
Cottage garden with greenhouse
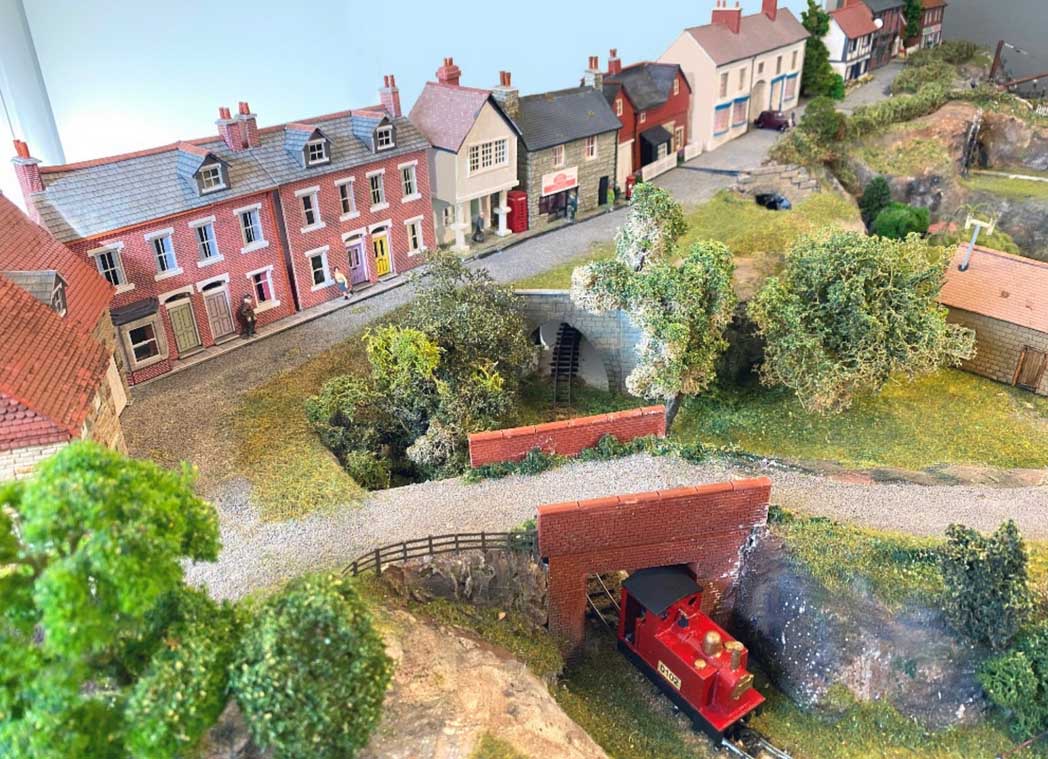
The village street
Most of the buildings are scratch built using plastic sheet and from examples of real properties mainly around our North Cotswold communities. Over the years I have had trouble realistically modelling water until I recently discovered two-part casting resin for jewellery. This gives a satisfactory depth and reflection.
I chose 009 narrow gauge because pretty much anything goes in terms of modelling, with tight curves and unfenced track the norm.
Keith.
A big thanks to Keith for sharing his narrow gauge model railway.
It reminded me of Julian’s Narrow gauge layouts.
That’s all for this time folks.
Please do keep ’em coming.
And if today is the day you get started on your layout, the Beginner’s Guide is here.
Best
Al
PS More HO scale train layouts here if that’s your thing.
Need buildings for your layout? Have a look at the Silly Discount bundle.