Edward’s been in touch with his Kato unitrack layout:
“Hi Al,
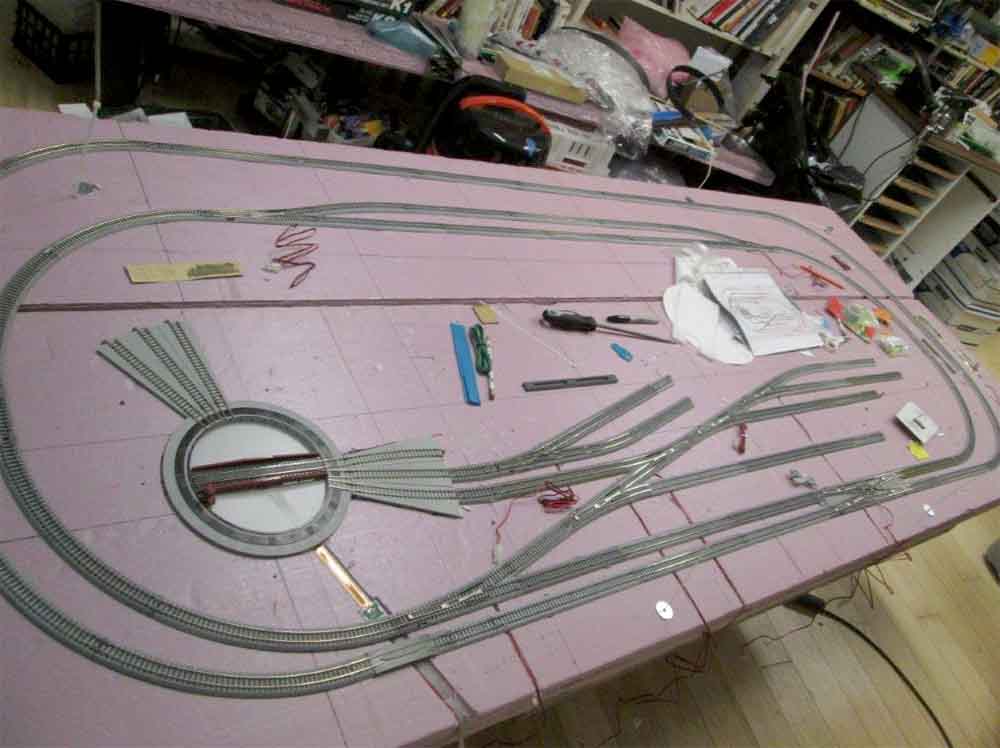
Attached are pictures of a Control Panel for my n scale Kato Unitrack layout shown in pic A.
It is a modification with Kato Unitrack layout from the 5th Edition of Hornby Railways Track Plans.
Hornby orginal:

The panel is mounted on a pull-out shelf under the layout.
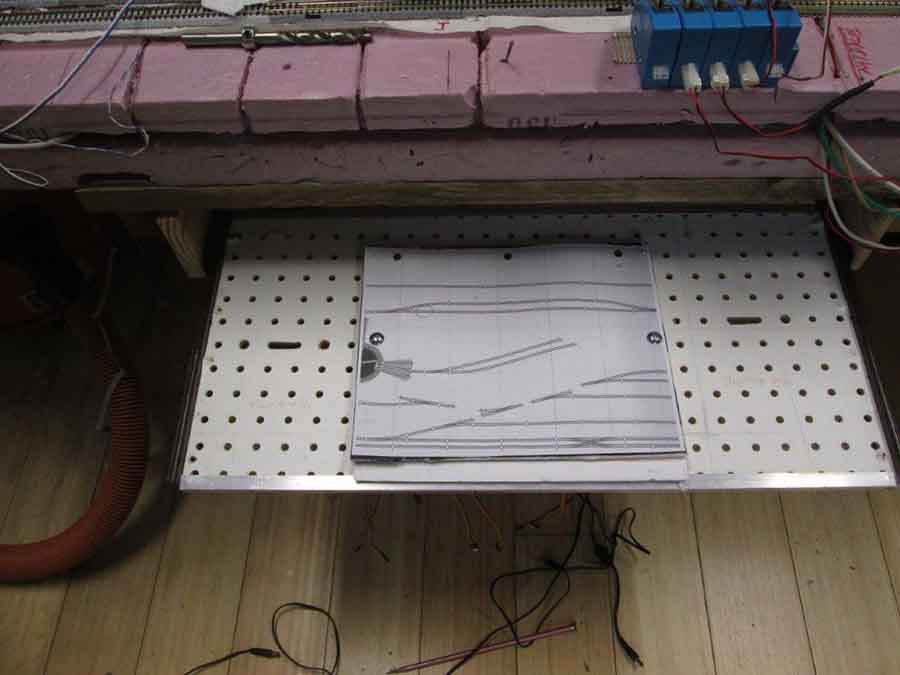
pic 1 – Top of pullout shelf with switch yard diagram. Toggles inserted in cutouts in foam board under the turnout locations in the diagram.
Toggle leads threaded through the perforated board to the control circuits underneath.
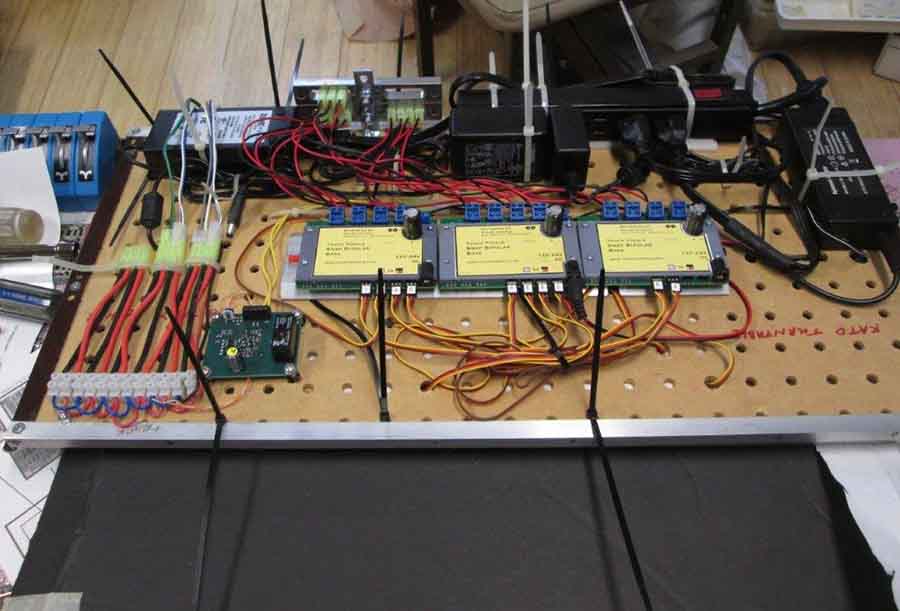
pic 2 – Underside. Power supplies to rear, Track power leads with mini Tamiya sockets for Kato power leads on right.
Small green circuit board is the Digitrax AR1 automatic reverse Controller for DCC operation of the Kato turntable.
Berrett Toggle circuit boards mounted on aluminum strip in middle.
Plugin panel with mini Tamiya sockets for cables to Kato turnouts at rear.
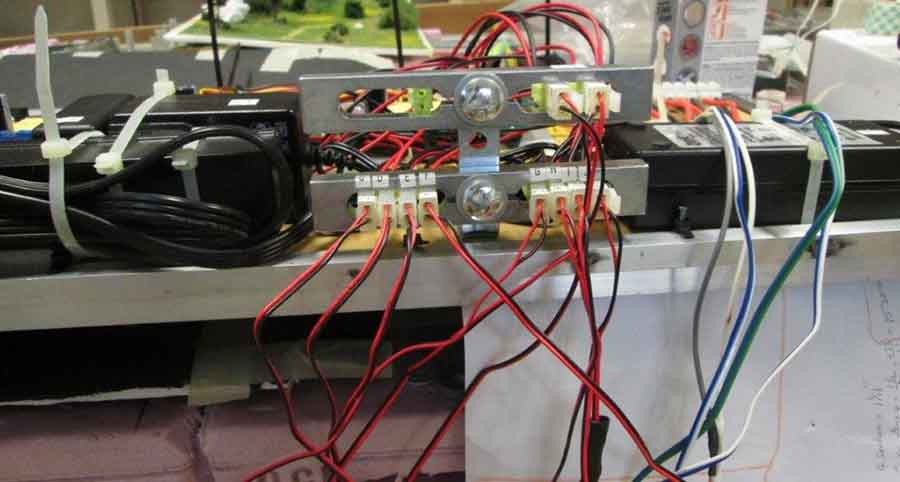
pic 3 – Front view of plugin panel with mini Tamiya sockets for cables to Kato turnouts.
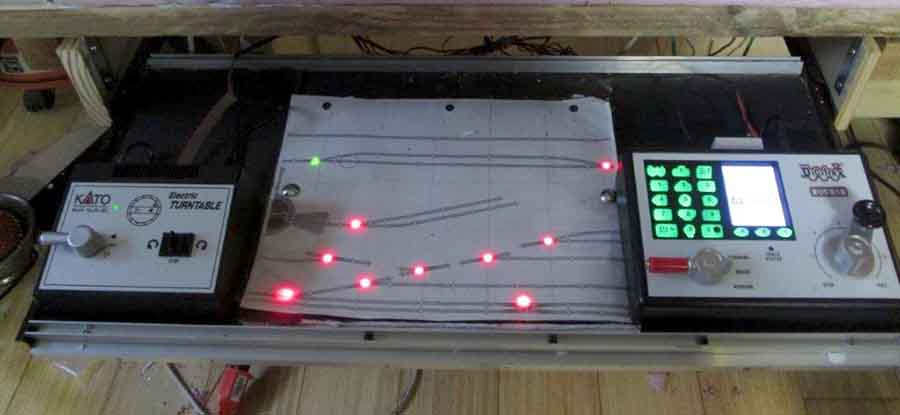
pic 4 – The finished panel.
Hope these ideas help others using Kato Unitrack.
Edward.”
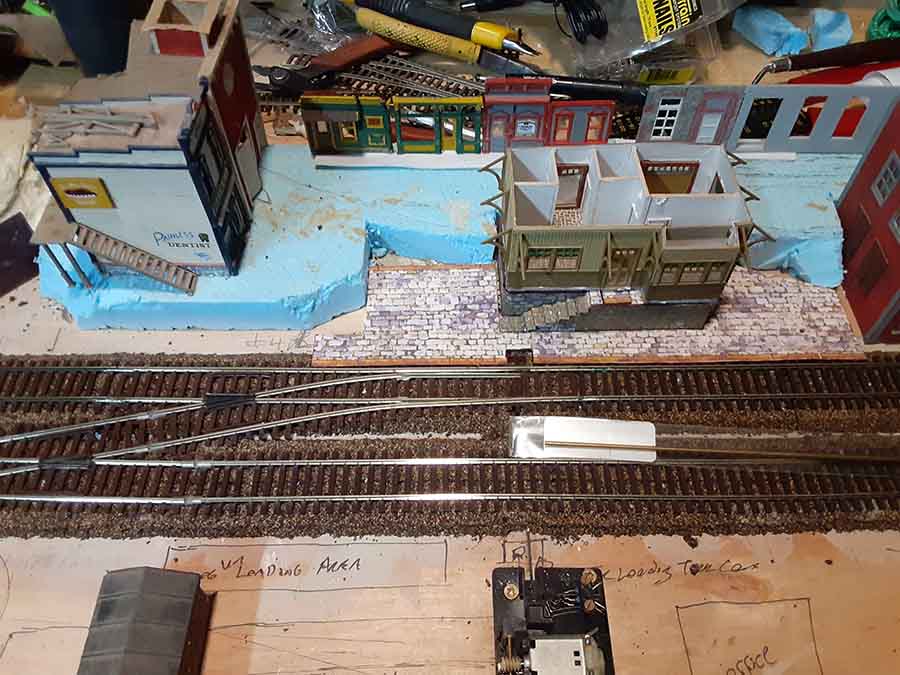
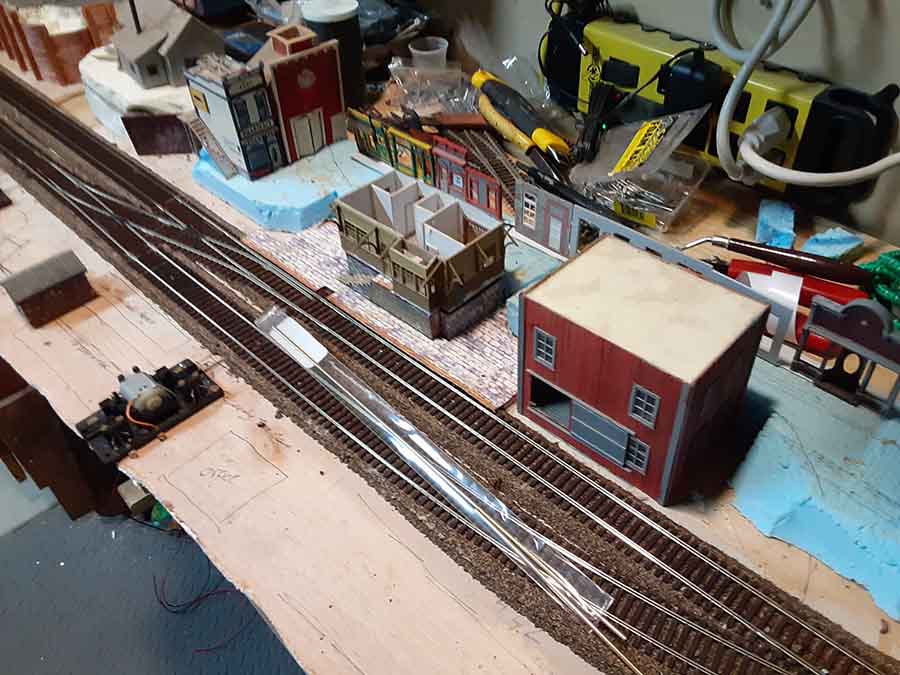
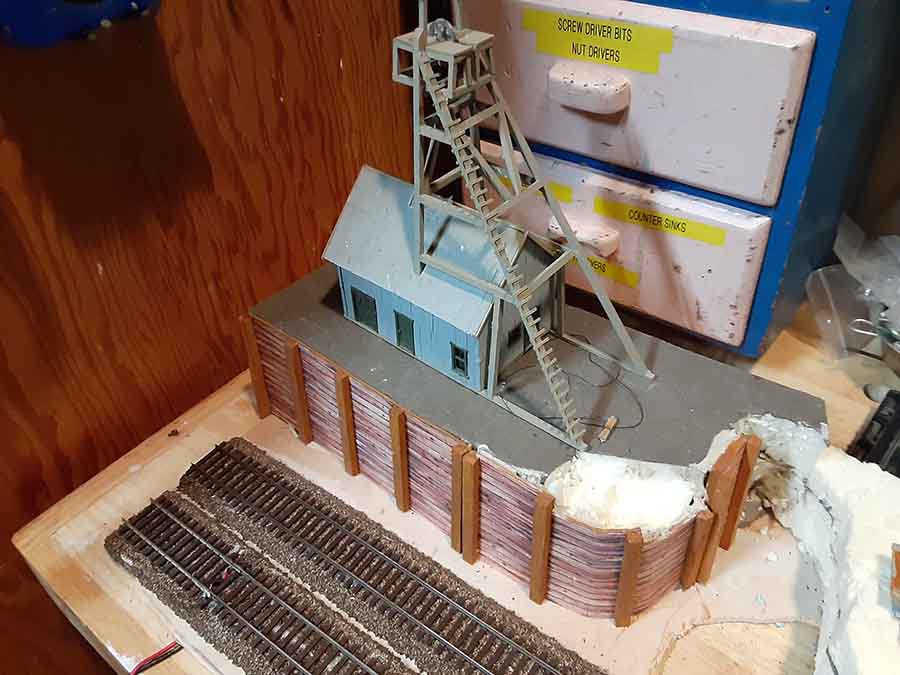
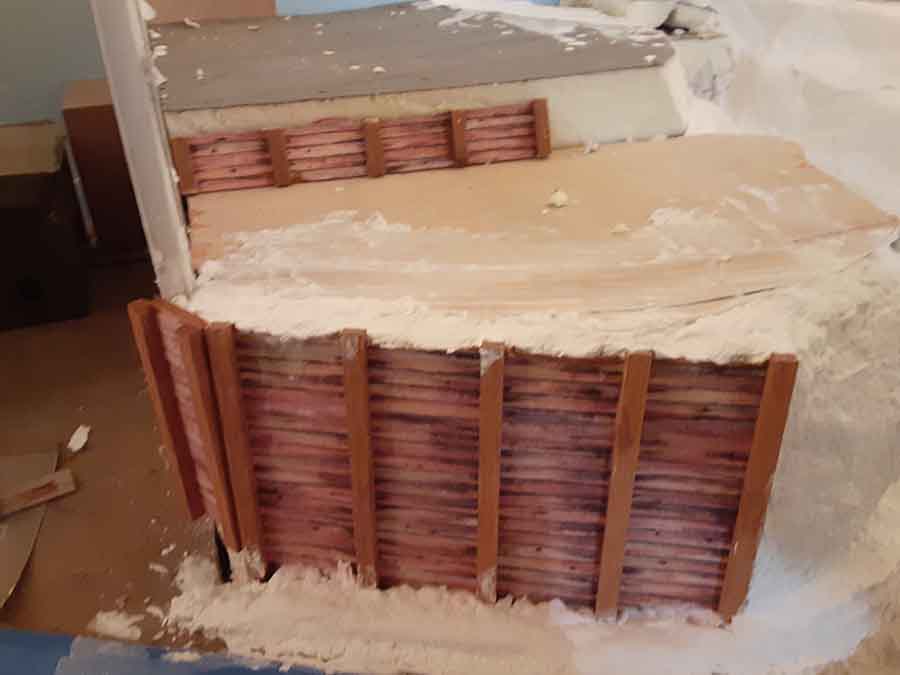
Now on to Chuck who is in the middle of his layout:
“Hi Al,
I promised you that I would send you photos of what I am building with your downloads.
Sorry it took ne a while, but I am a slow worker!
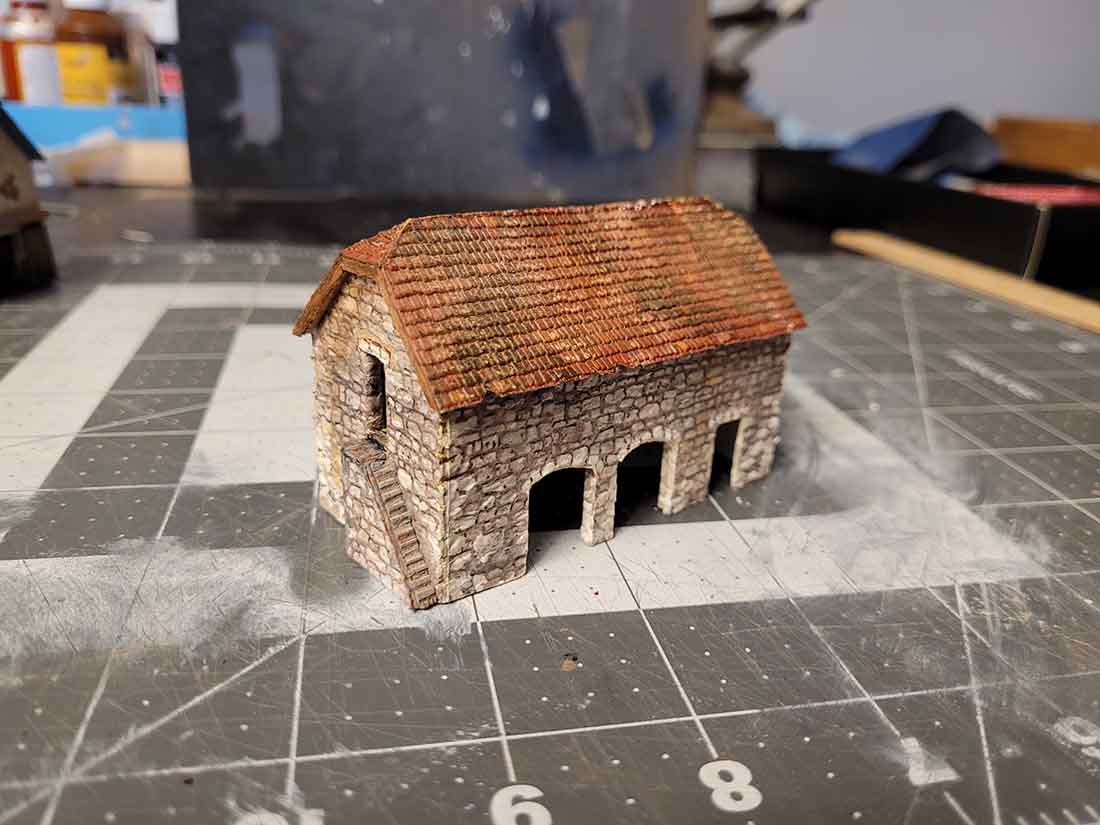
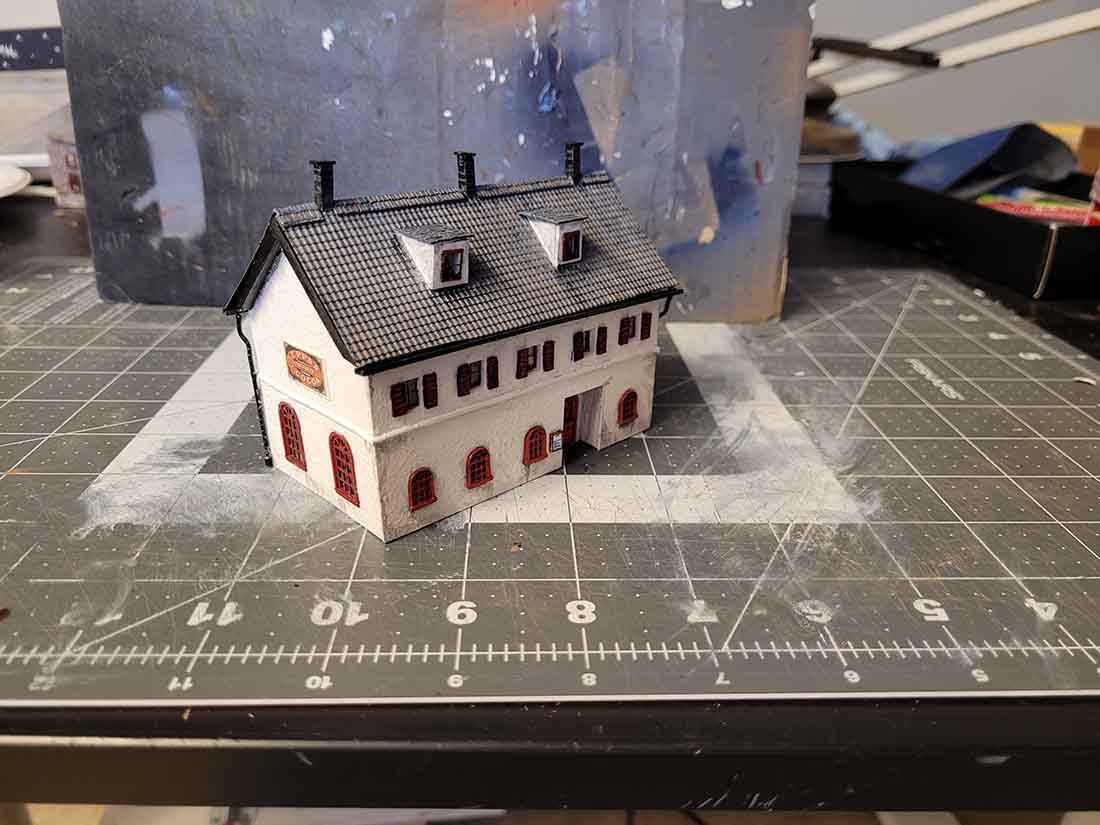
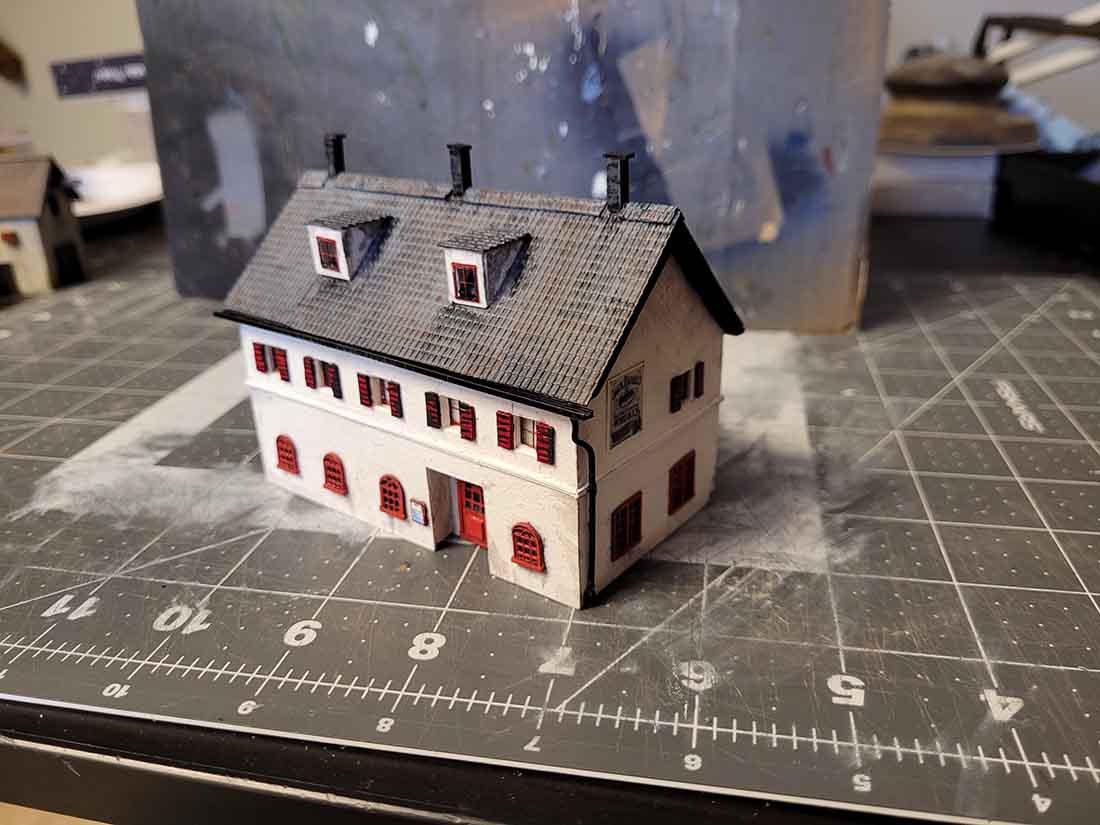
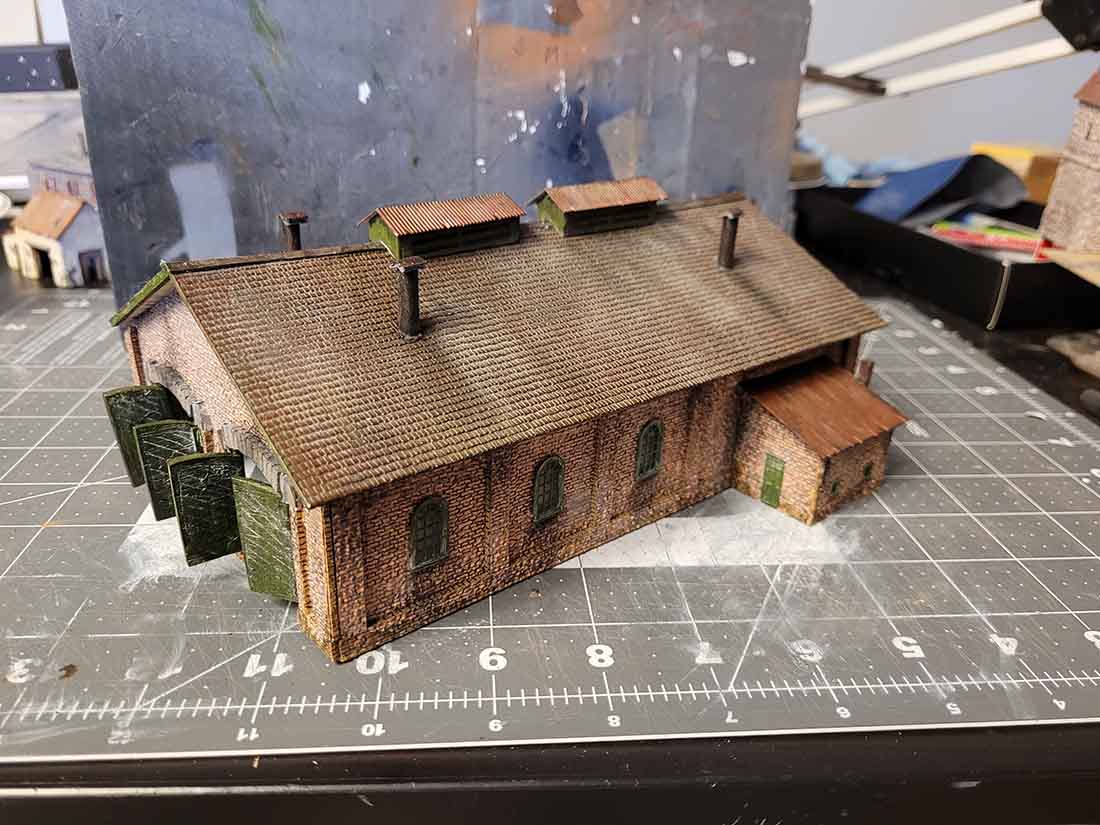
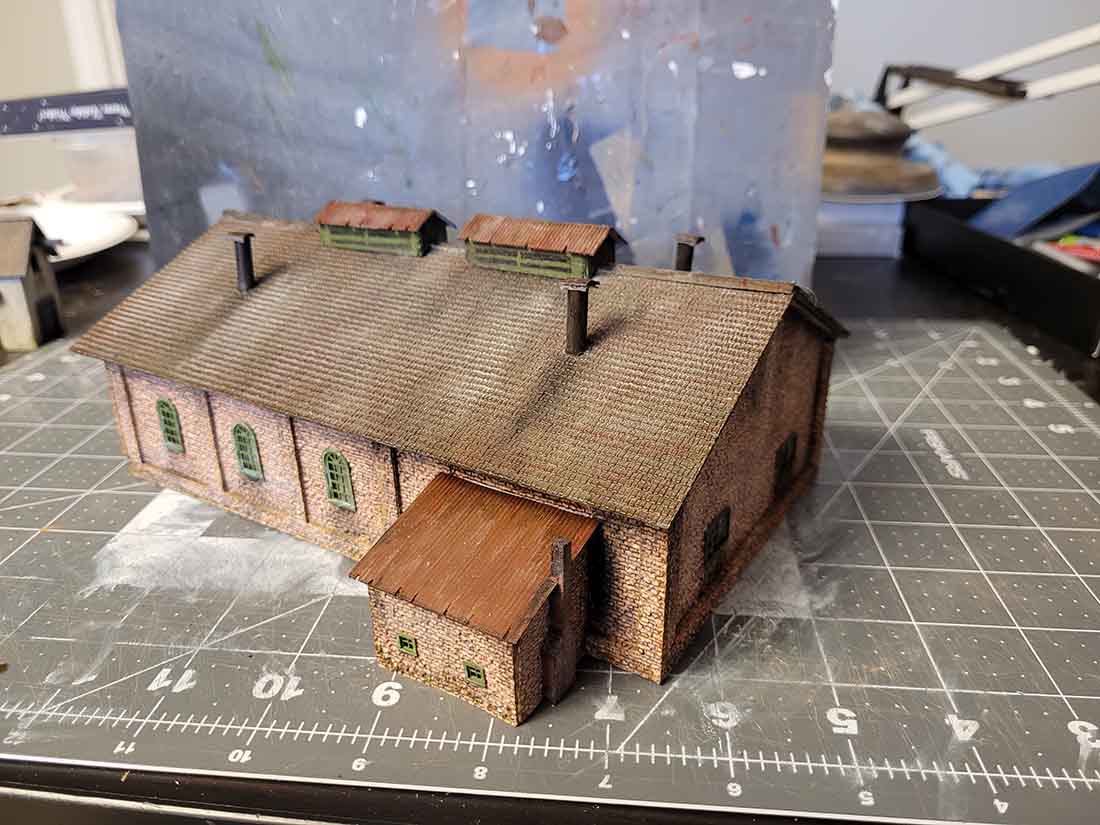
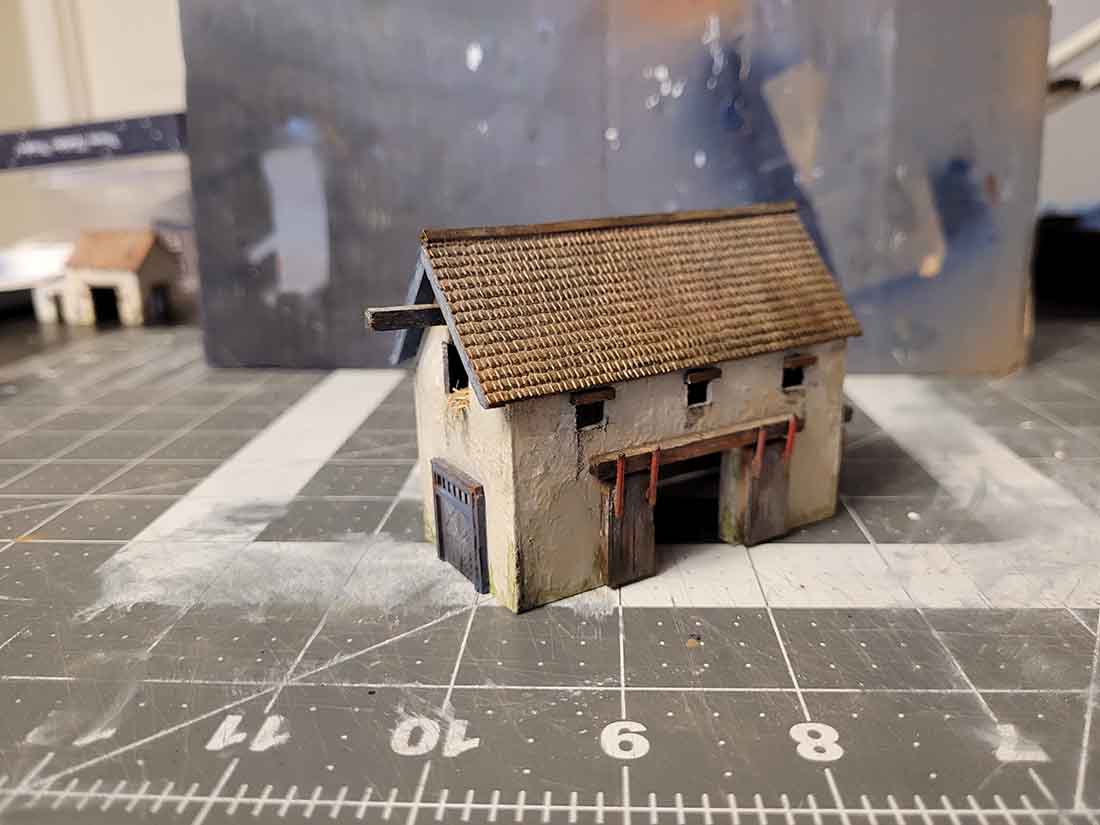
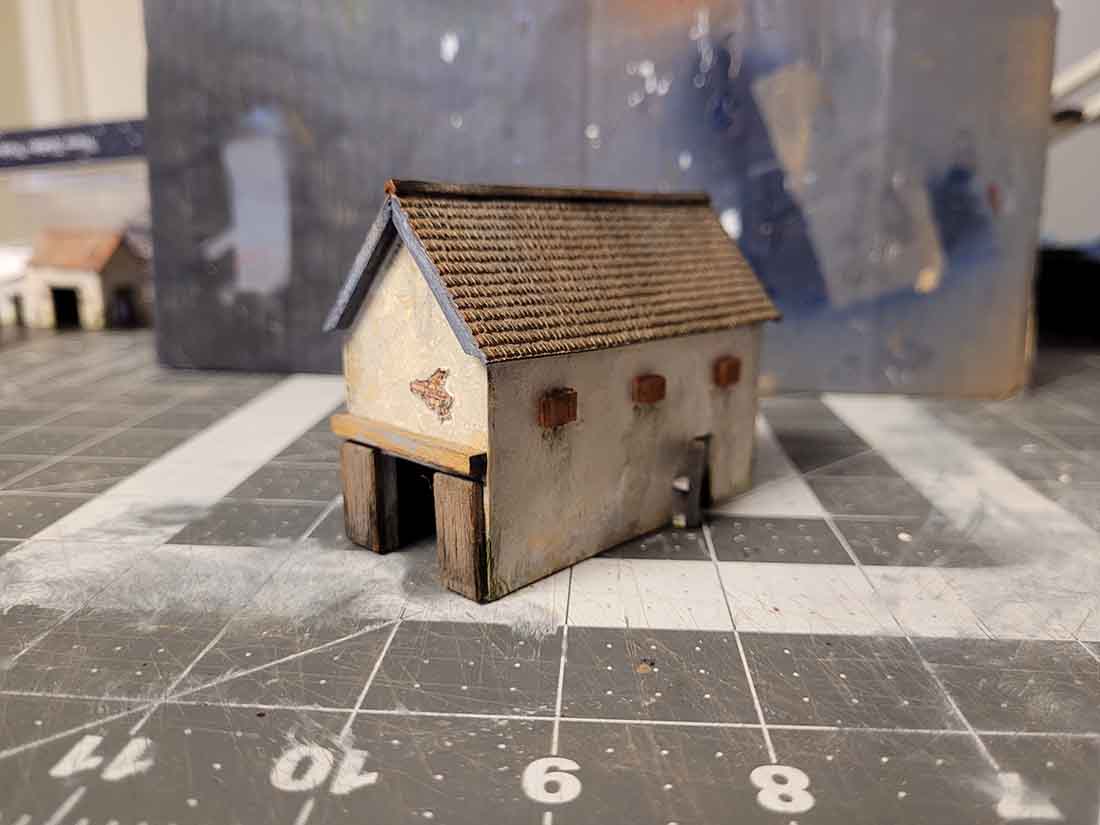
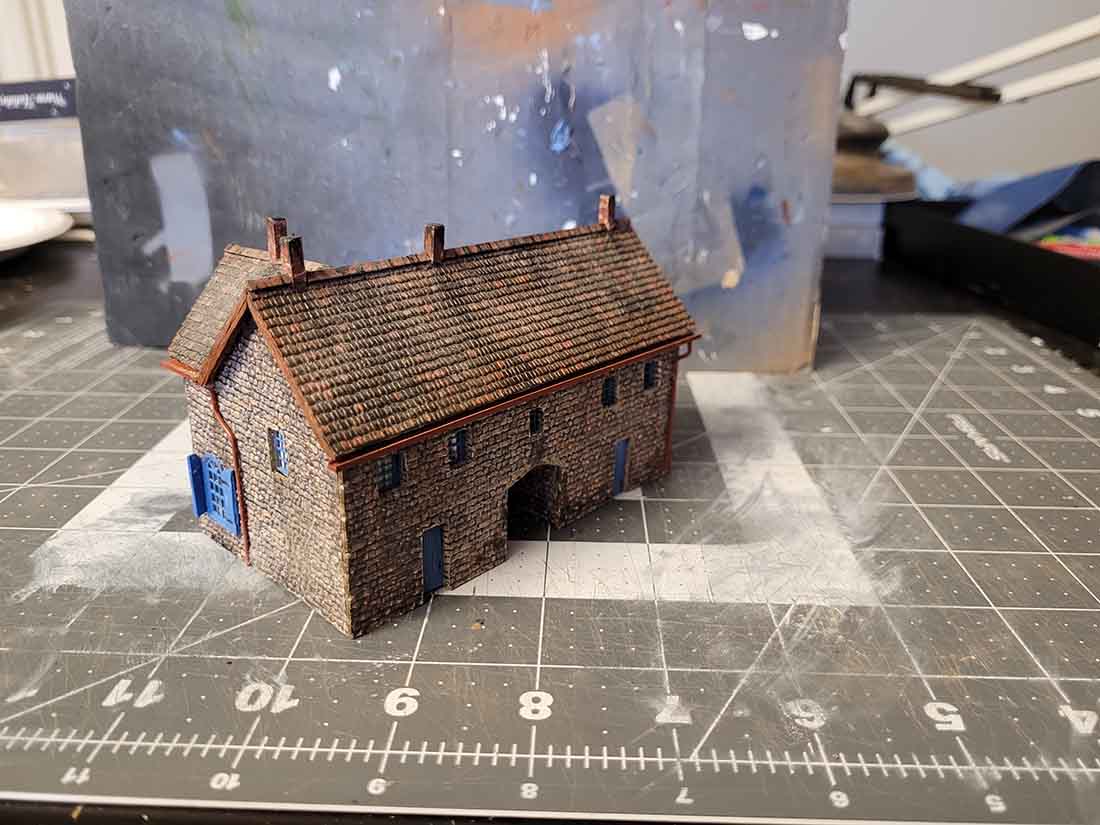
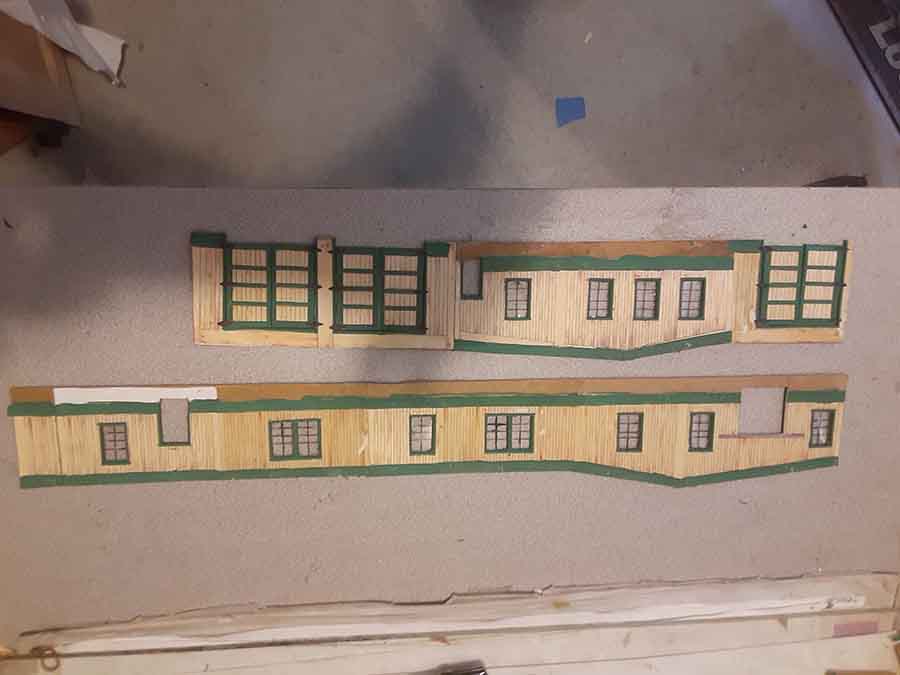
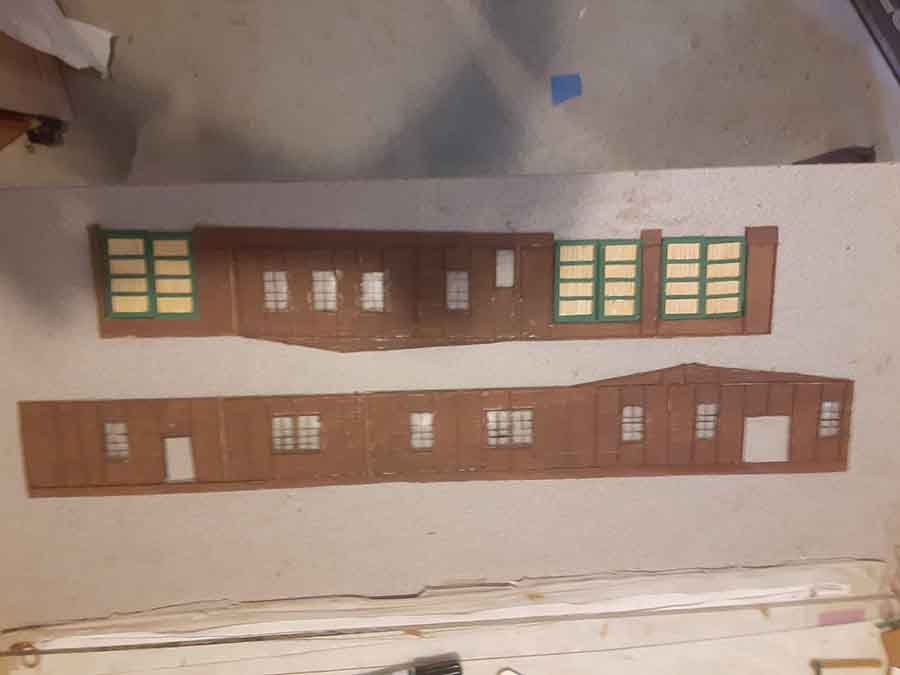
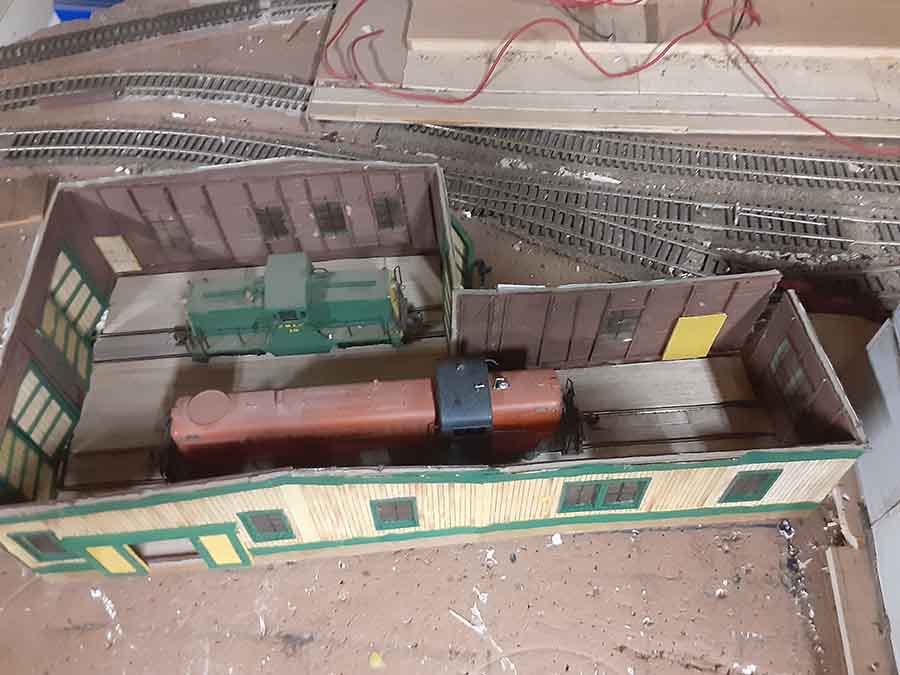
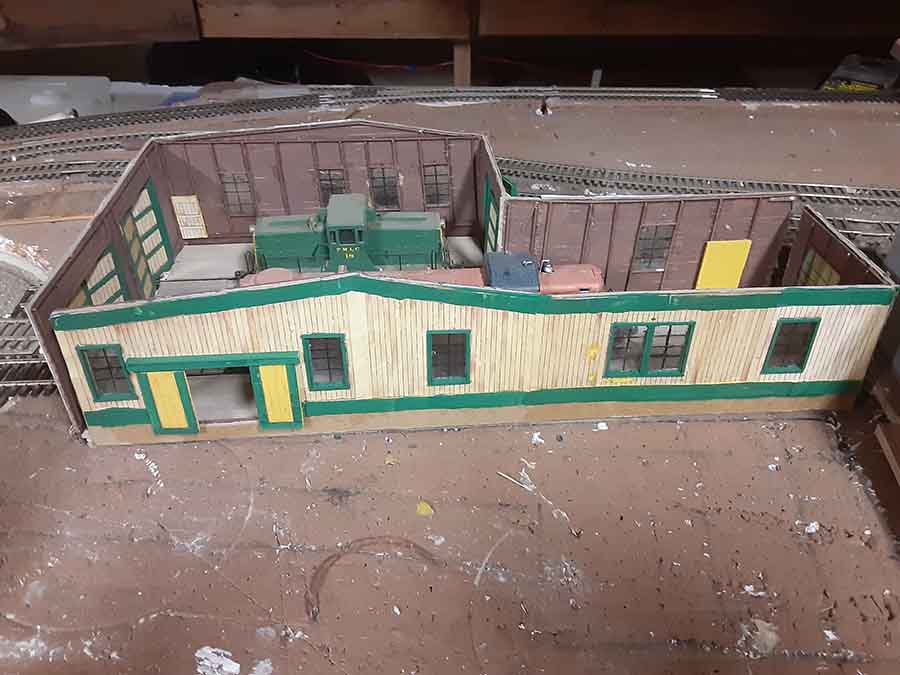
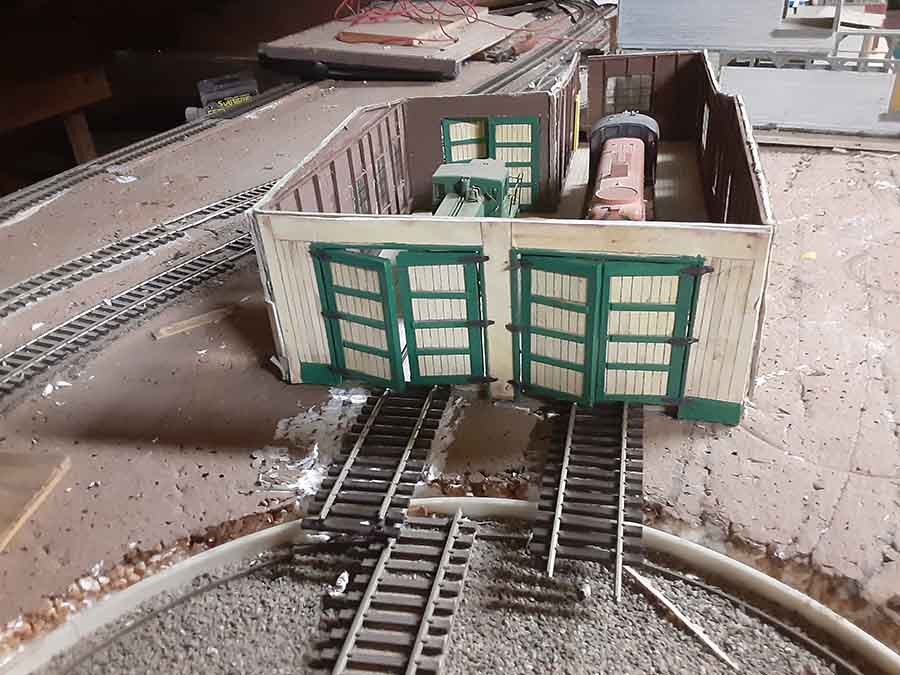
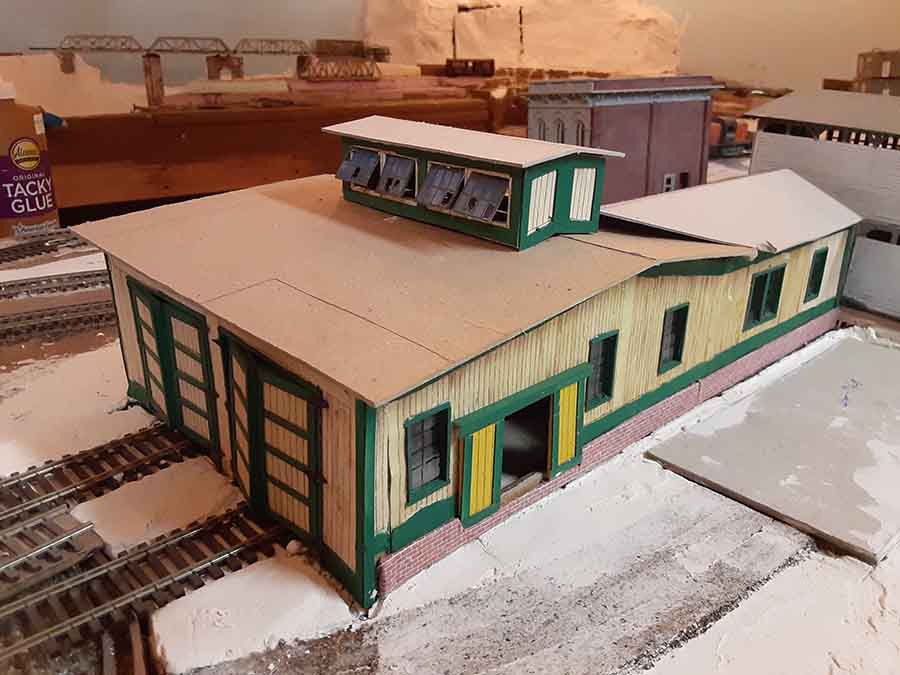
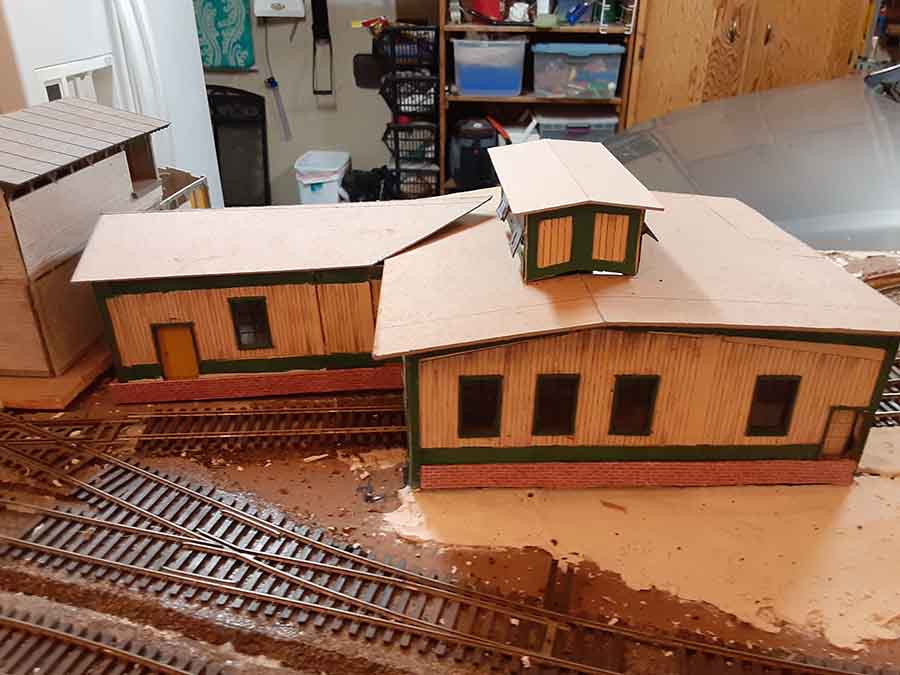
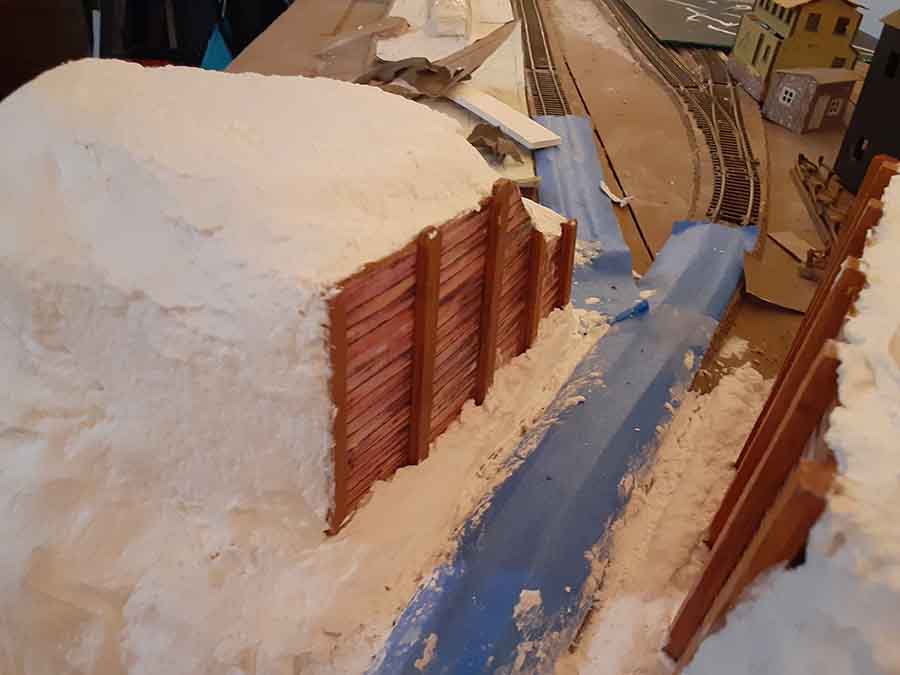
The photos are of the engine house, which I modified, added interior wall framing, windows, and made it a little longer on one side.
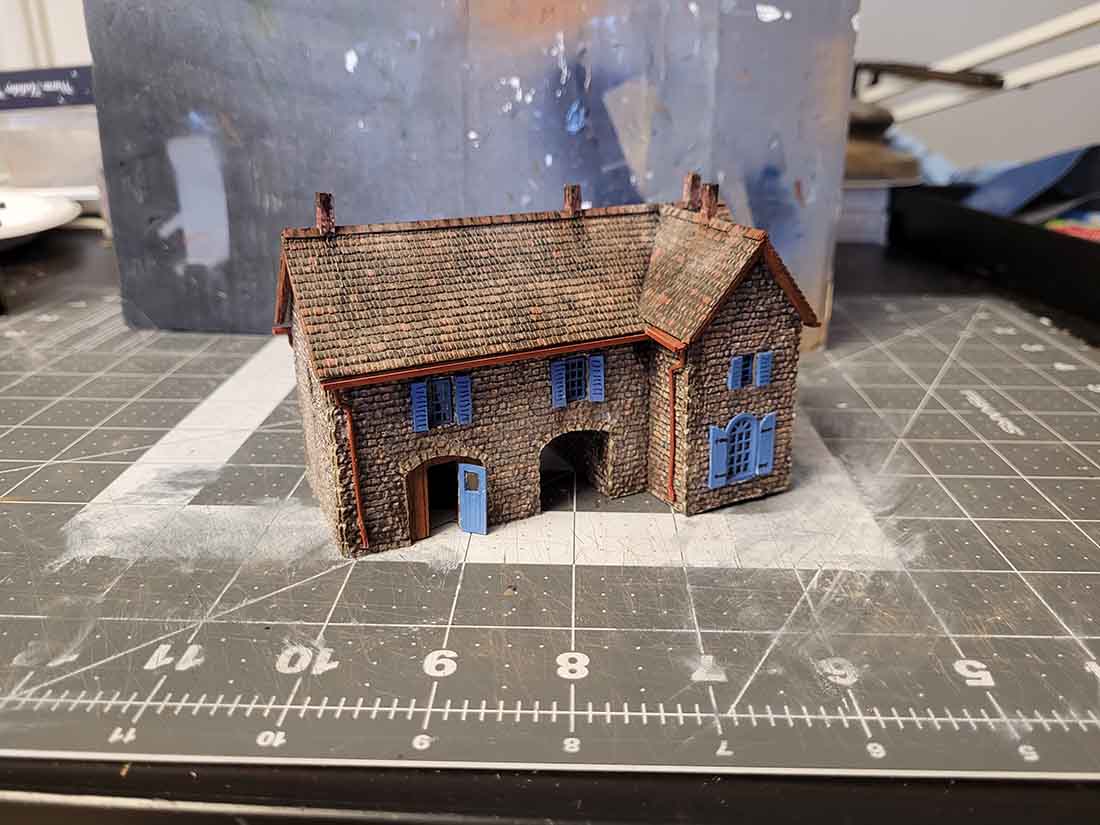
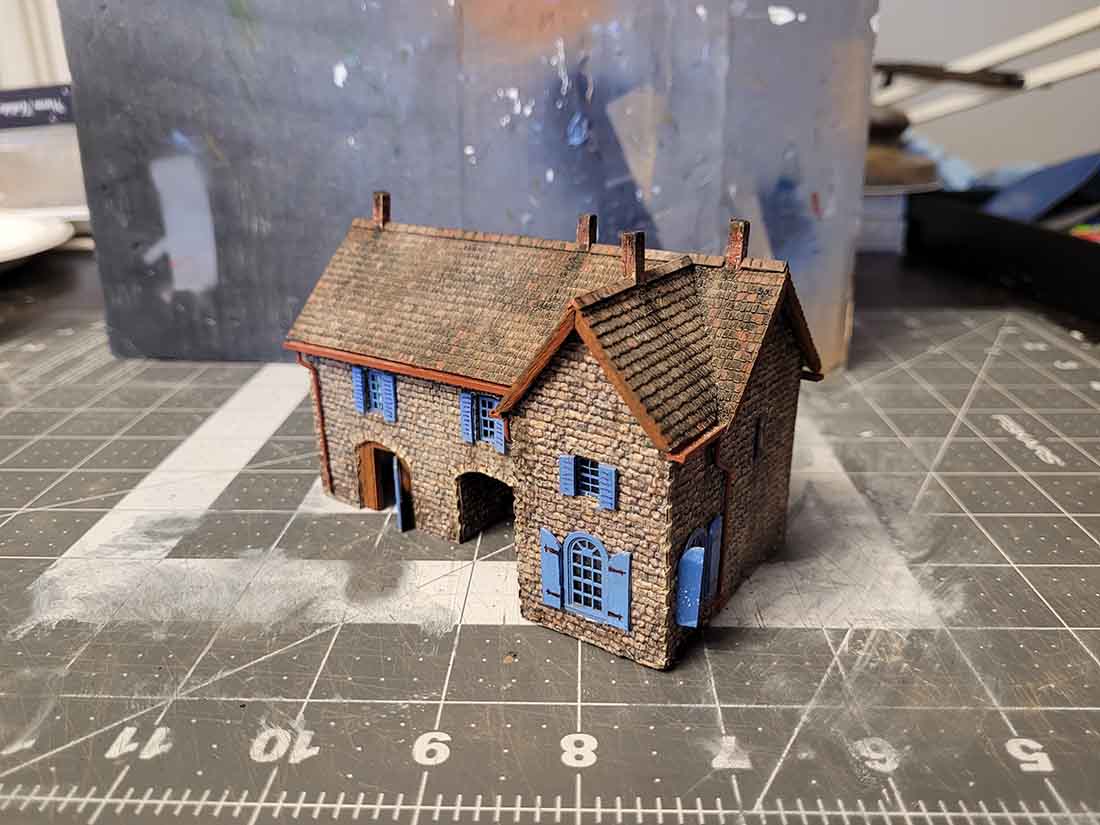
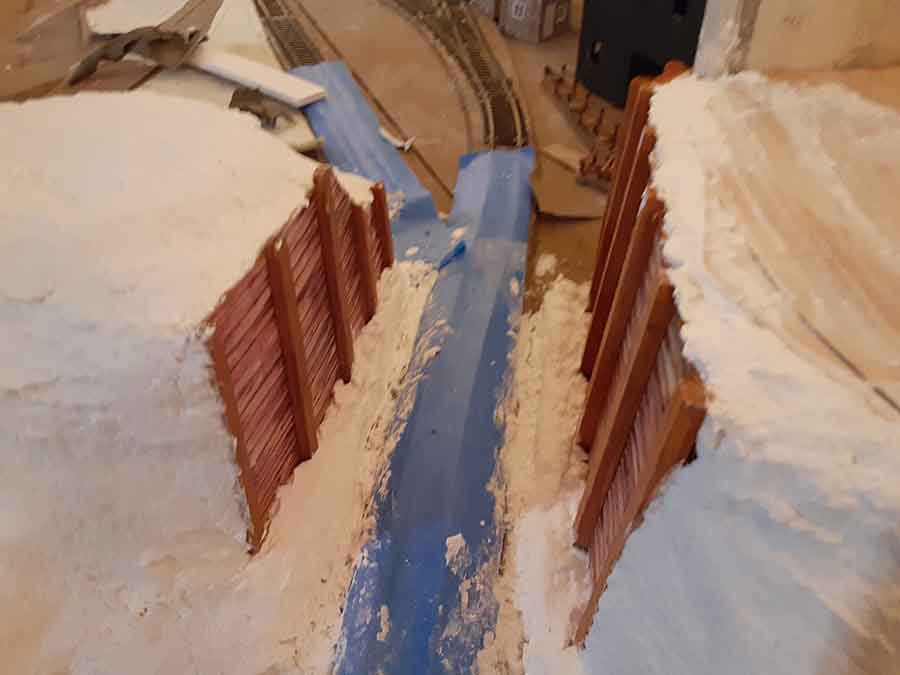
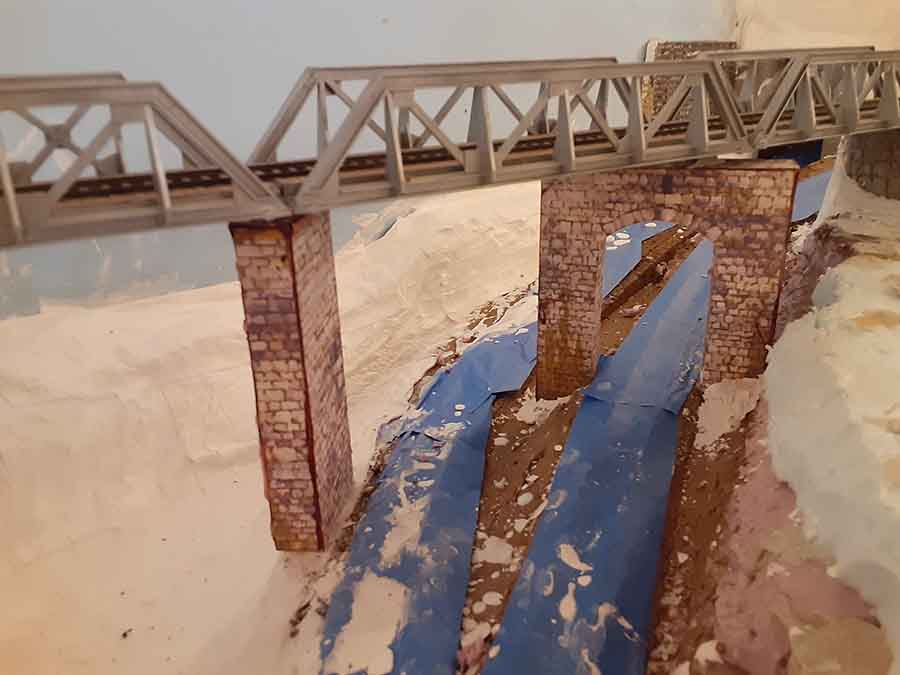
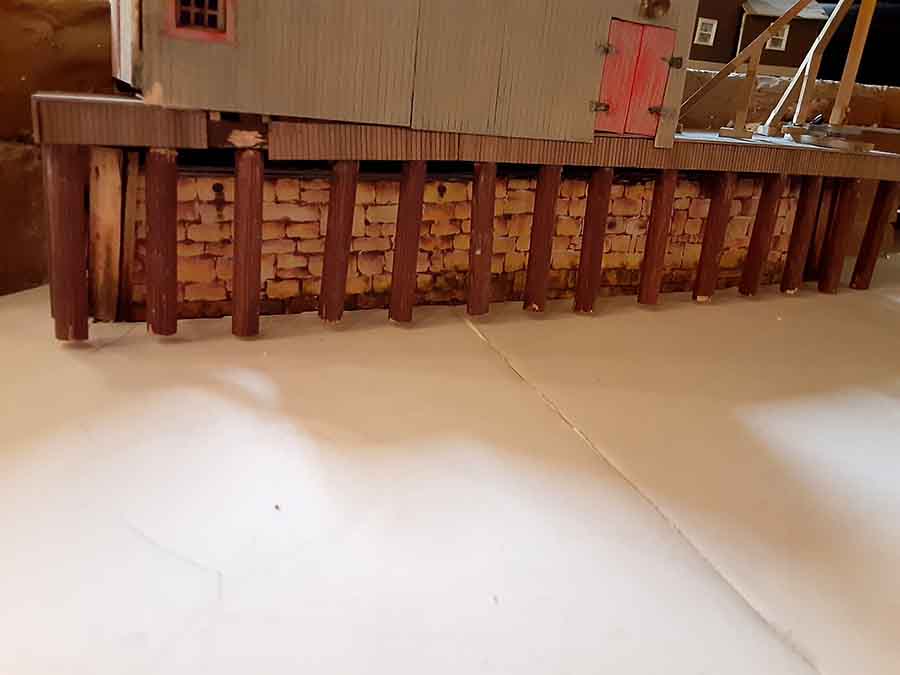
The embankment wall has also been used as bridge supports and a stone platform for the station of my mining town.
I also have used the wooden tunnel portal to make several retaining walls.
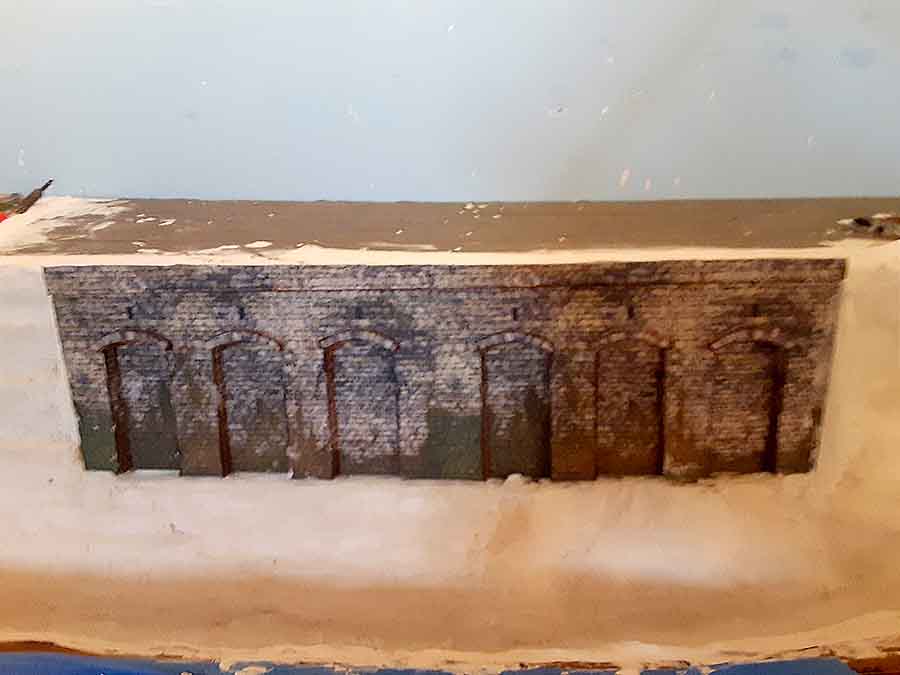
And finally, I used the jetty wall as a base for one of the wharves at my waterfront area.
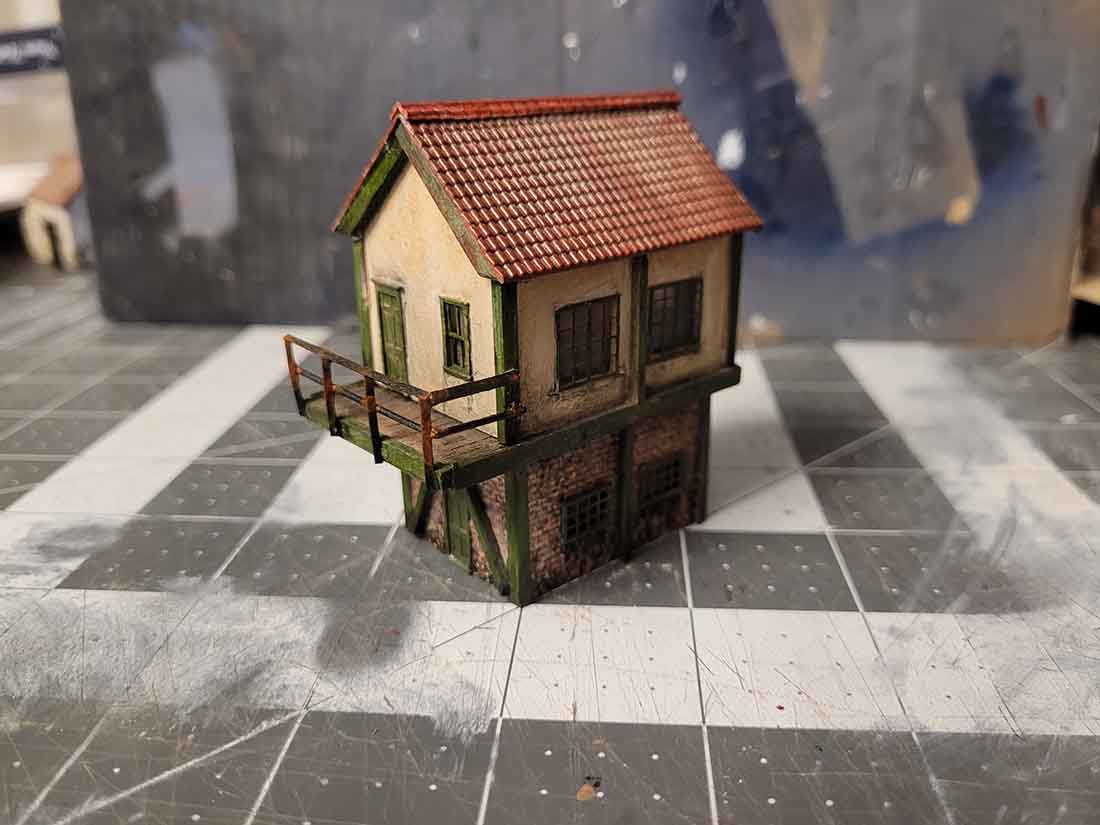
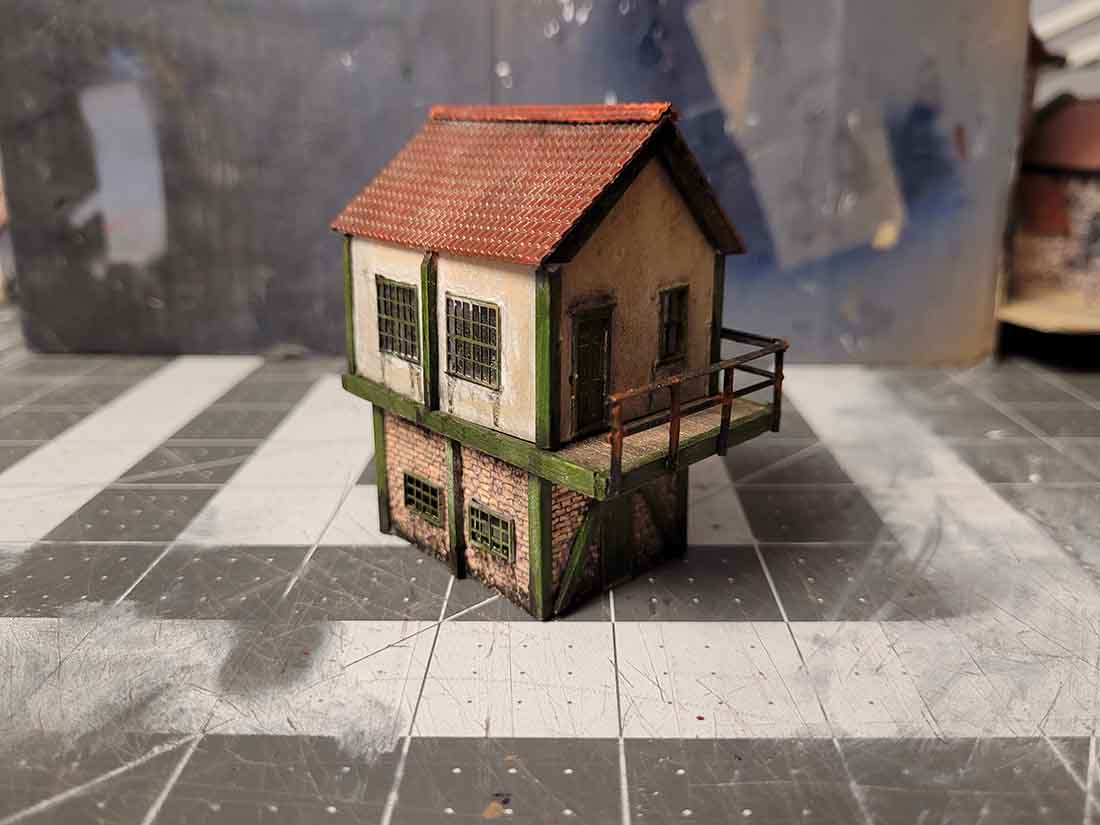
As can be seen in the photos there is a lot of work left to do in all areas of the layout, but I am having a blast using your print outs!
Thanks to John’s great videos, I have found several uses for the printouts and I will update you as work progresses.
Thanks for your site and the great inspiration!
Sincerely,
Chuck from California”

A big thanks to Edward and Chuck.
I do enjoy seeing what you’ve made with the printable buildings.
Here’s a collection of stuff from a while back too – you really are a creative lot. John’s videos always raise a smile too.
That’s all for today folks.
Please do keep ’em coming.
And if today is the day you wave goodbye to boredom and get started on your layout, the Beginner’s Guide is here.
Best
Al
PS Latest ebay cheat sheet is here.