Hall of fame Rob has been in touch with a stunning church scratch build.
Have a look at the night shots of the windows:
“Hi Al,
In a search for something to build for my layout last fall, I came across a church in Cornwall, UL I found very interesting. Apparently, the original church was started in 1259. That is long ago by US standards. The building has been added to multiple times and has evolved over very long periods.
I wondered how I could determine the exact shape to model it. Things like how long, how tall, etc., came to mind. I first found as many pictures as I could find on the internet. When that resource was exhausted, I decided to contact the Parish directly and see what information they had.
The administrator of the Parish was very helpful and connected me with more photos, and also a study by an archaeologist done in the 1960s. He had studied the various stone types used to build it. Fortunately for me, he was very methodical and created a sketch showing the various stone types related to where they were in the structure. The sketch was to SCALE. Not any particular scale, but it was proportional.
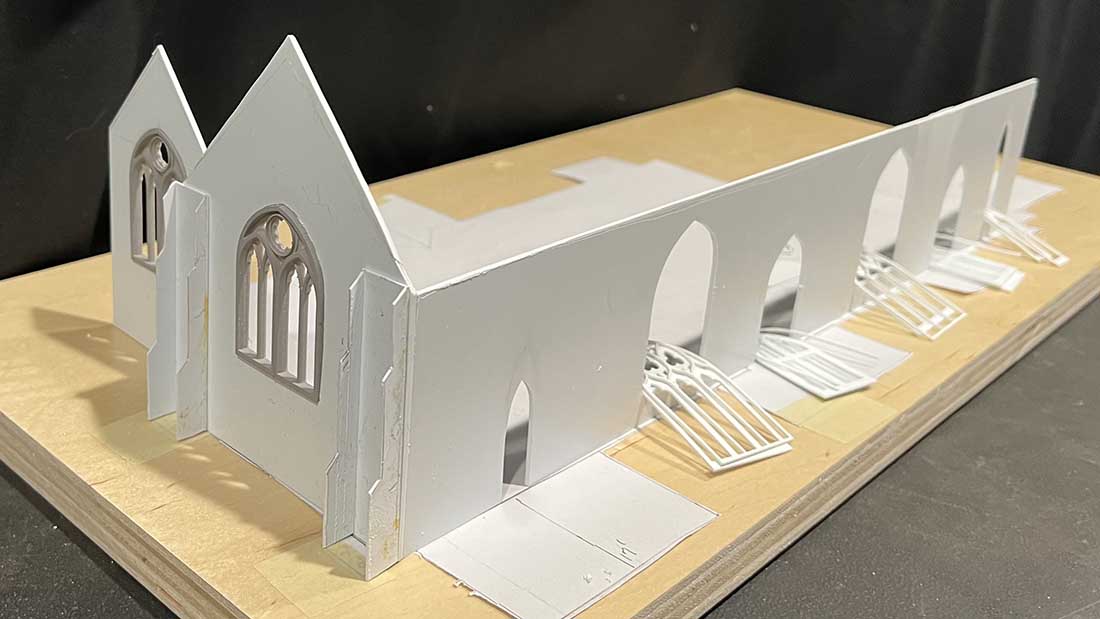
By determining door heights and a bench I found in a photo, I could start to decode the information I had and develop a scale drawing. Once I had one dimension, I could interpolate the archaeologist’s sketch and, before long, had a plan drawing in my scale, 1:76.2.
Now I had the plan view and still needed the elevation heights. After thinking about it for quite some time, I realized I had one height, the distance from the ground to the top of the seat on the bench. I estimated this bench seat at 19 inches, a standard height. Then, using lines of perspective in one of the photos, I could start estimating the heights of gables and arches.
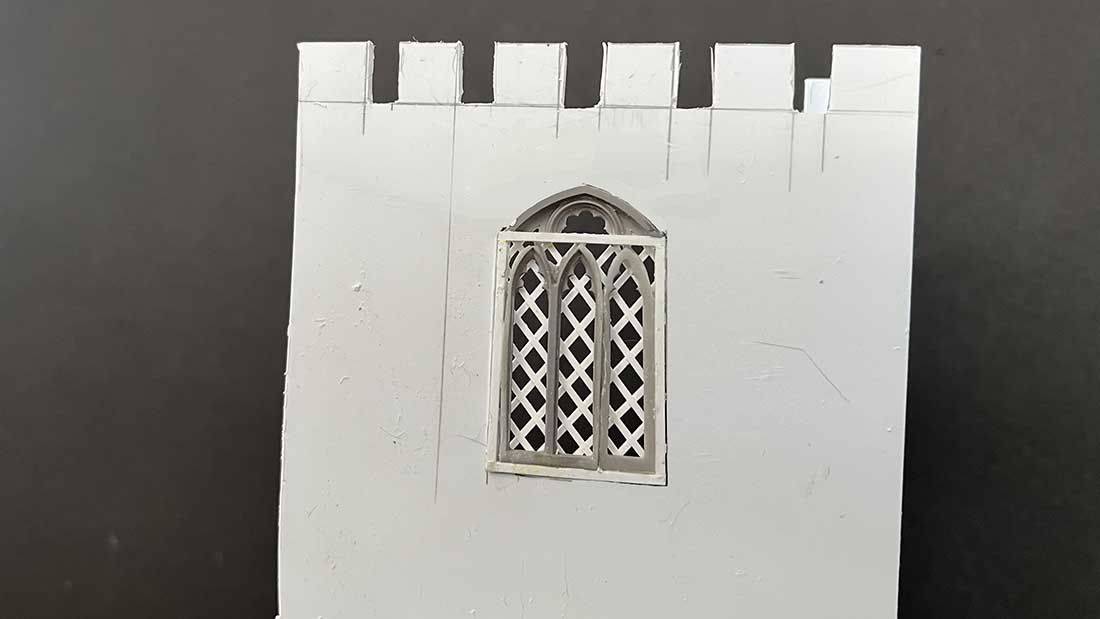
The one thing I was unsure of was the tower’s height. I estimated it to be 58 feet. A friend in the UK offered to find out the tower’s height for me and eventually found it 61 feet to the top of the crenulations. I had begun by this time, and it was too late to change the tower, but it was certainly close enough.
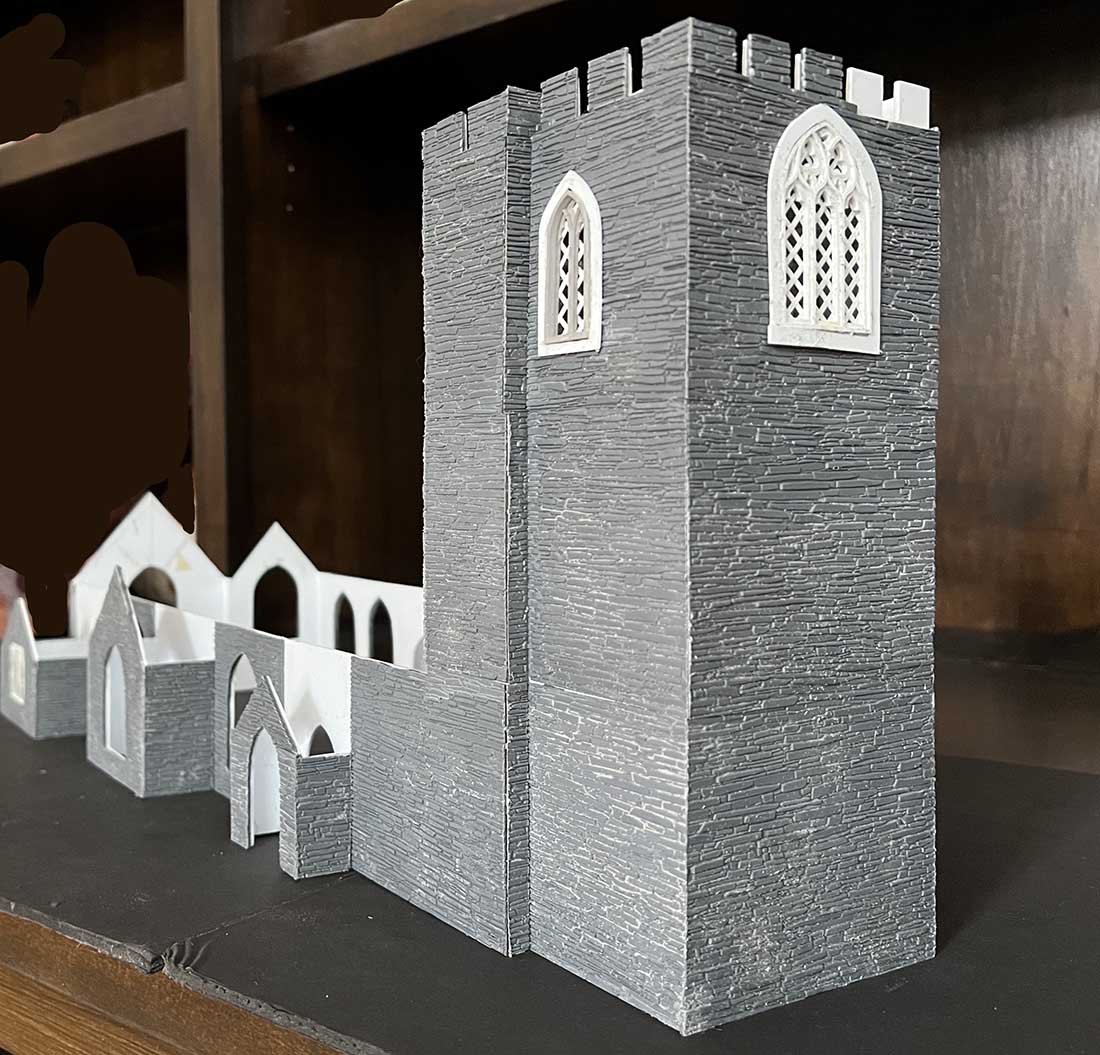
There are 4 videos associated with this project, but I recommend this last one as the best. In it, I demonstrated a couple of techniques developed to build and paint it.
Thank you, Al, for this news and information system you have created. We all appreciate what You do for us.
Rob”
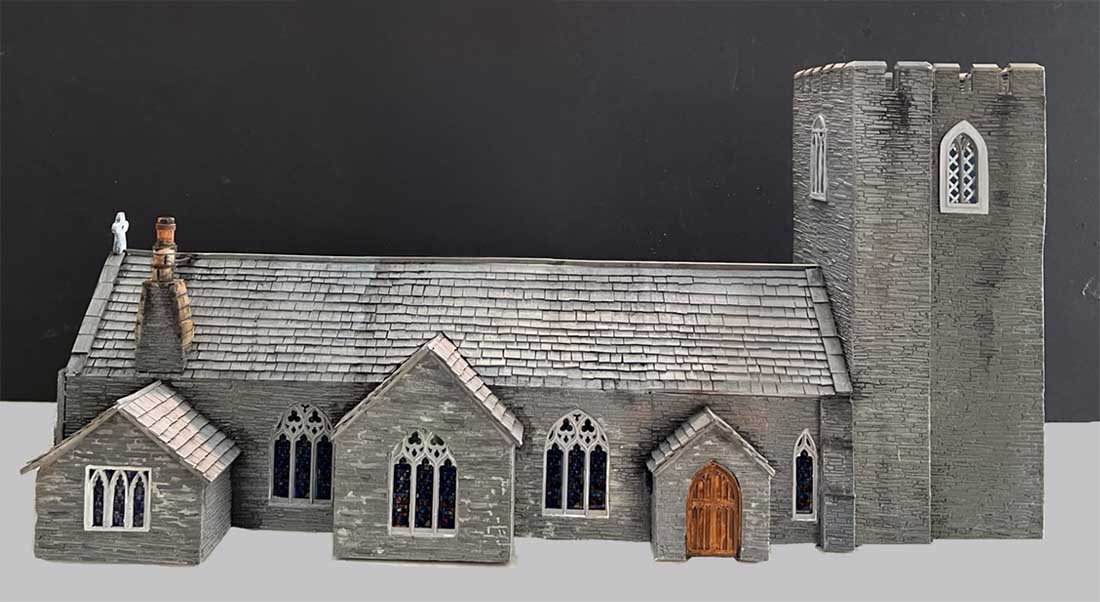

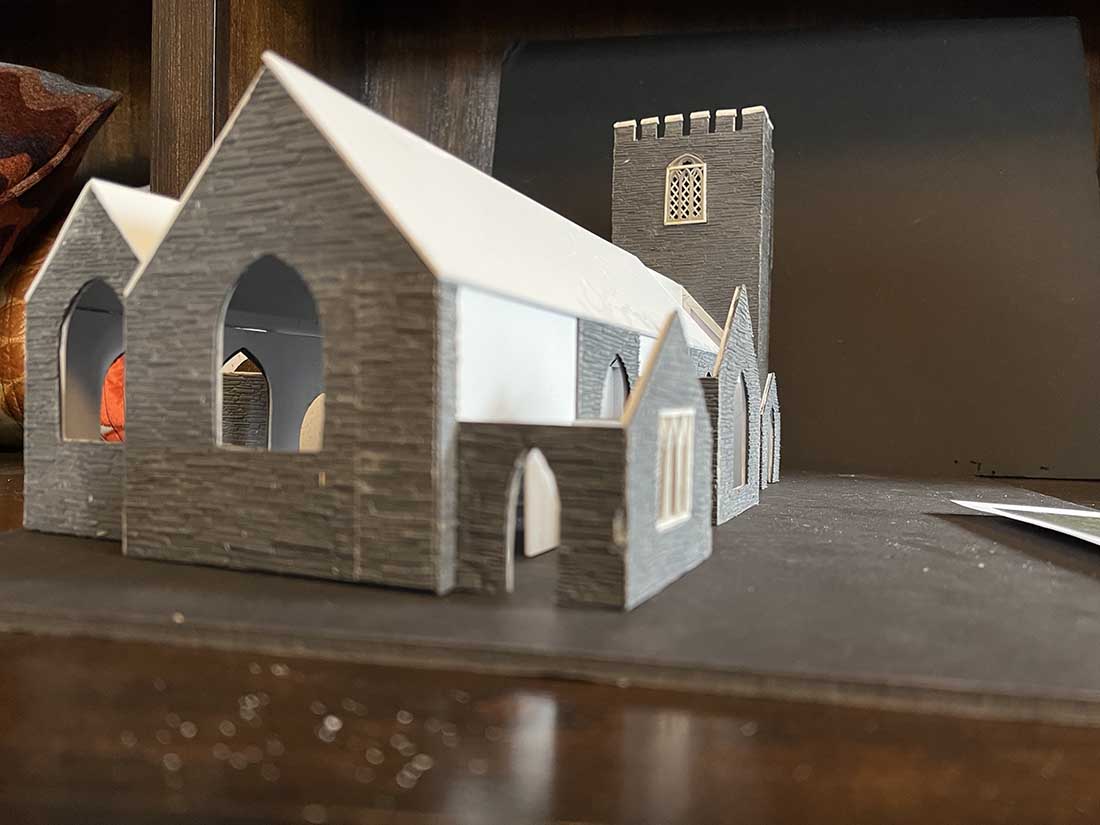
A big thanks to Rob for sharing – I think the windows are amazing. Have a look at the vid and you’ll see what I mean.
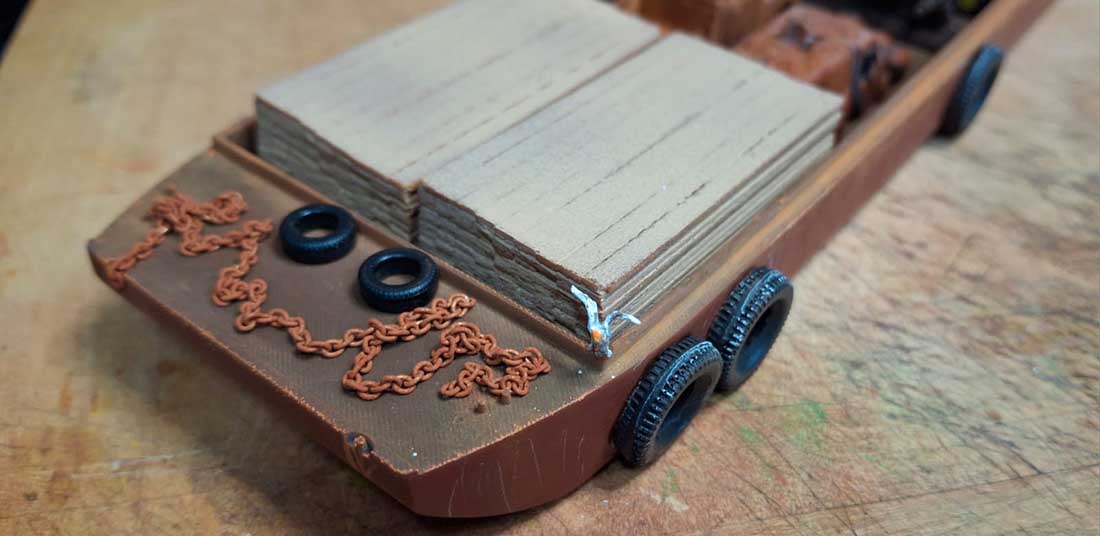
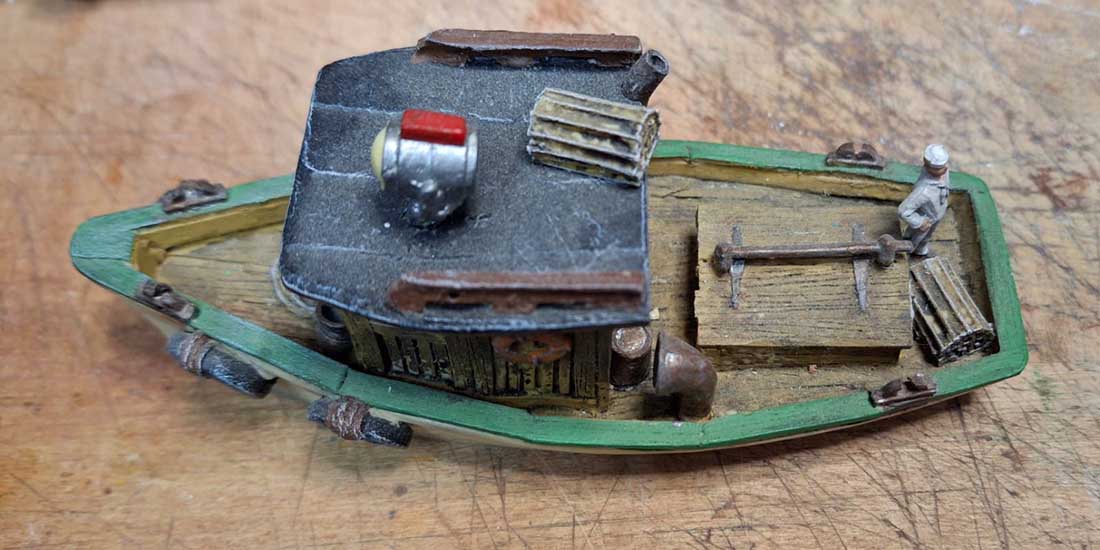
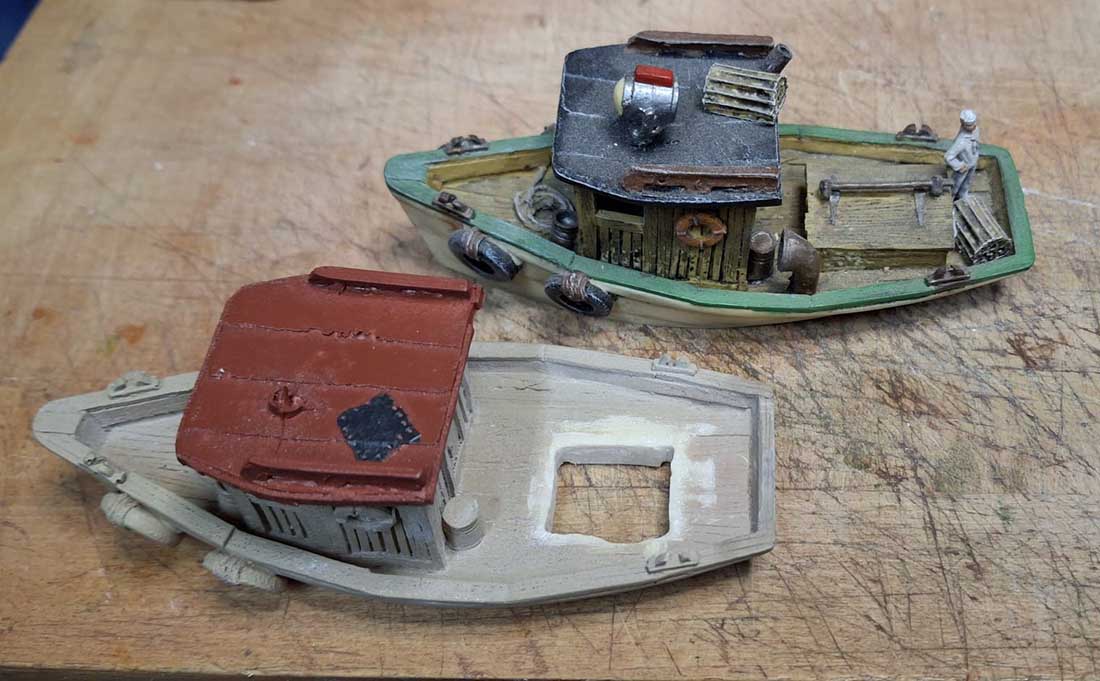
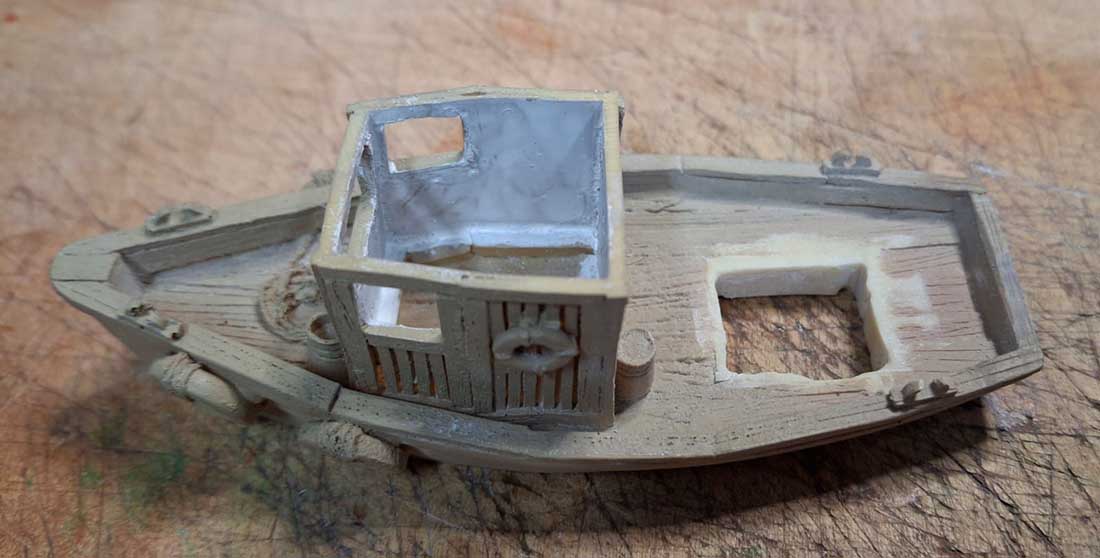
Rob’s post reminded me of these:
You can see more of Rob in the Hall of Fame.
Next up is Susan. Can anyone help?
“Dear Al:
Thank you for the opportunity to ask the experts for help with my first ever HO scale layout.
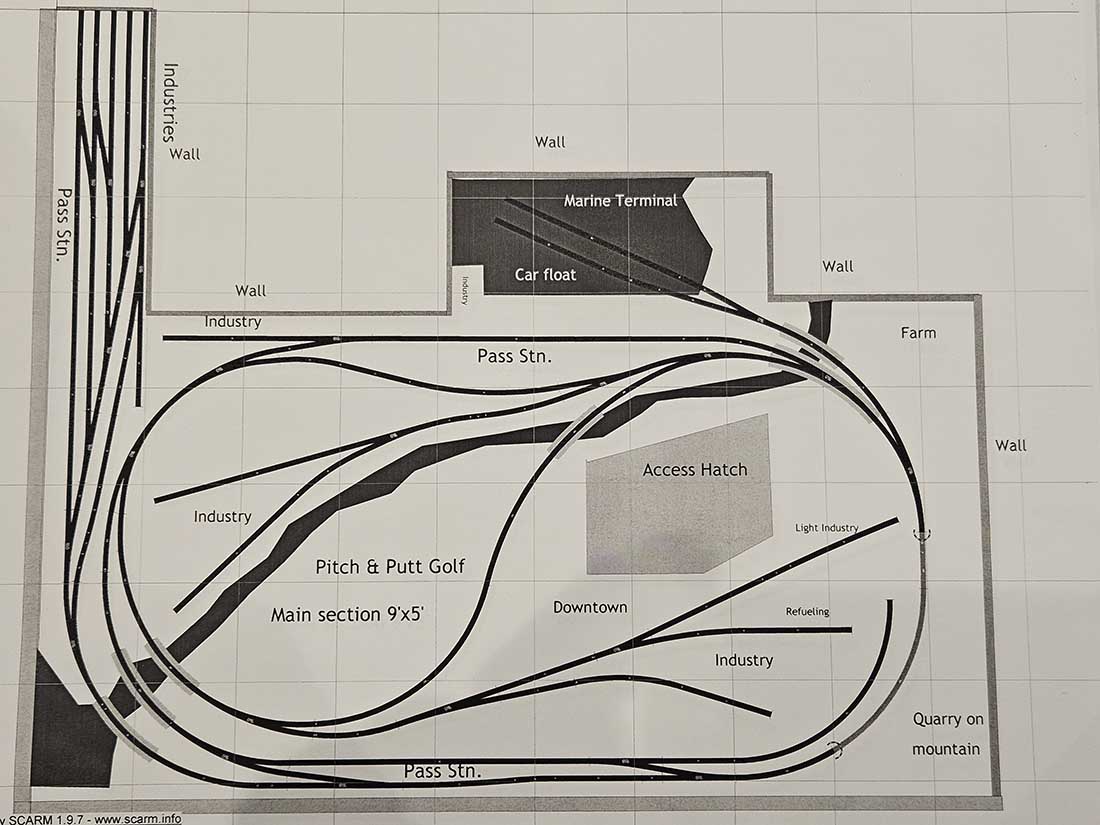
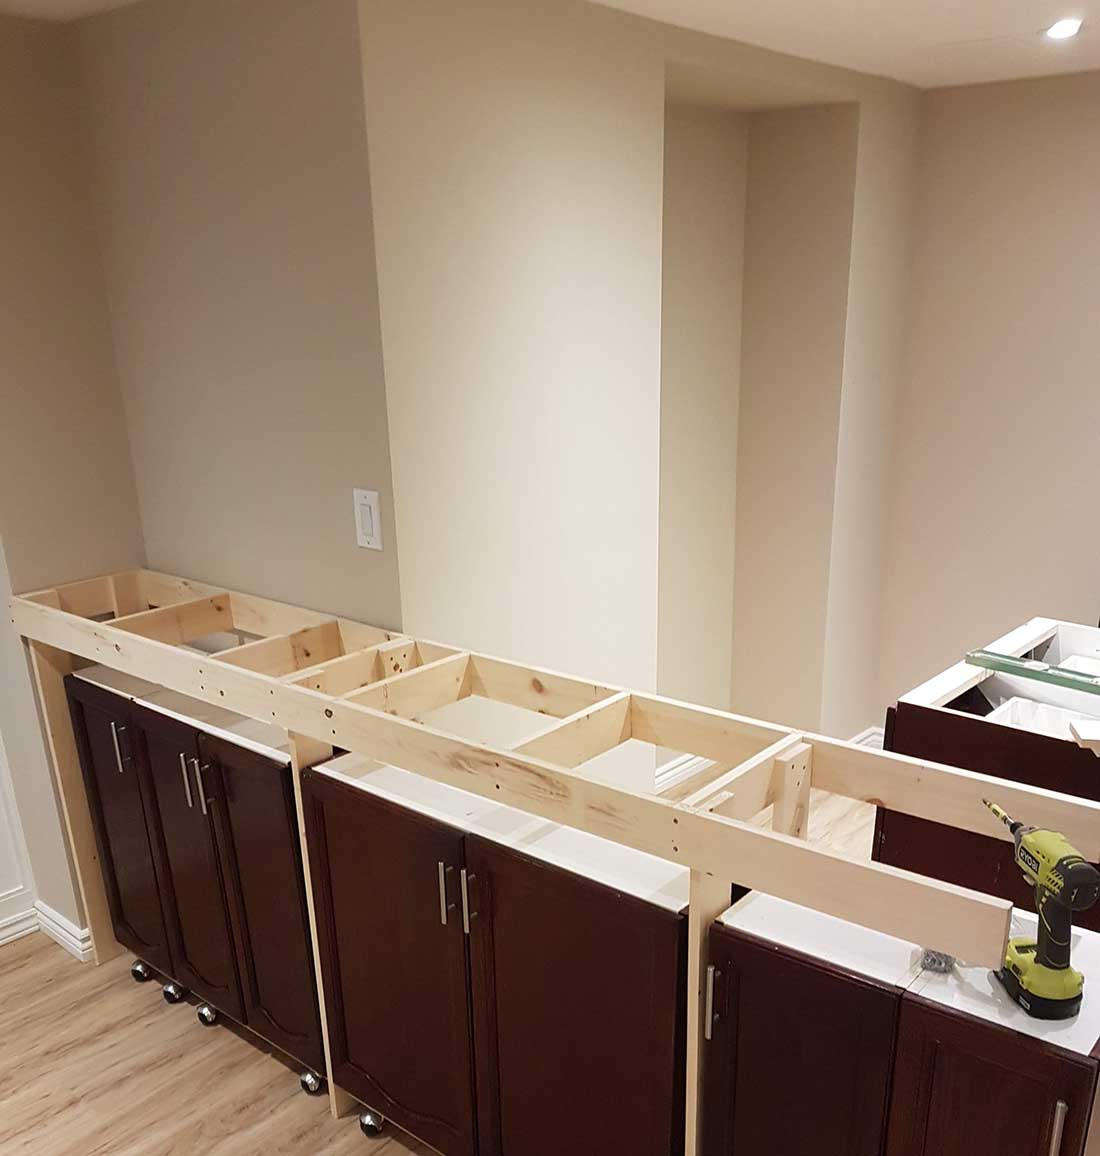
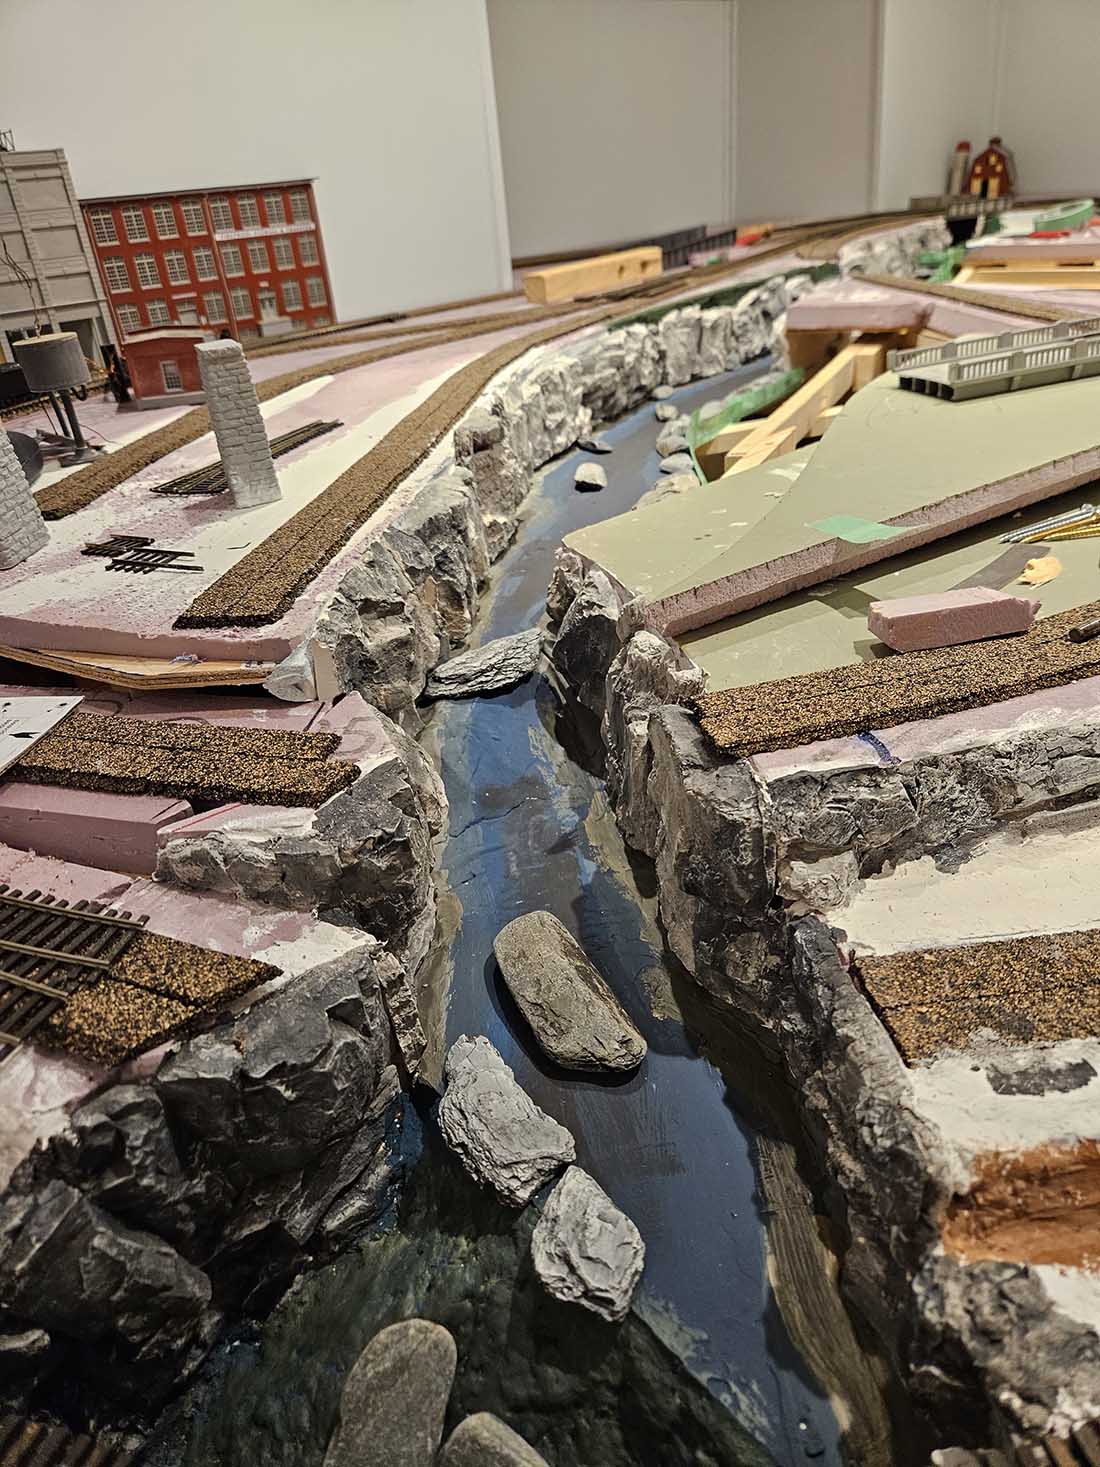
I am building two tables per your Beginner’s Guide (Thank you!). They will have a small 3 ft x 3 ft section joining them, making a broad U shape.
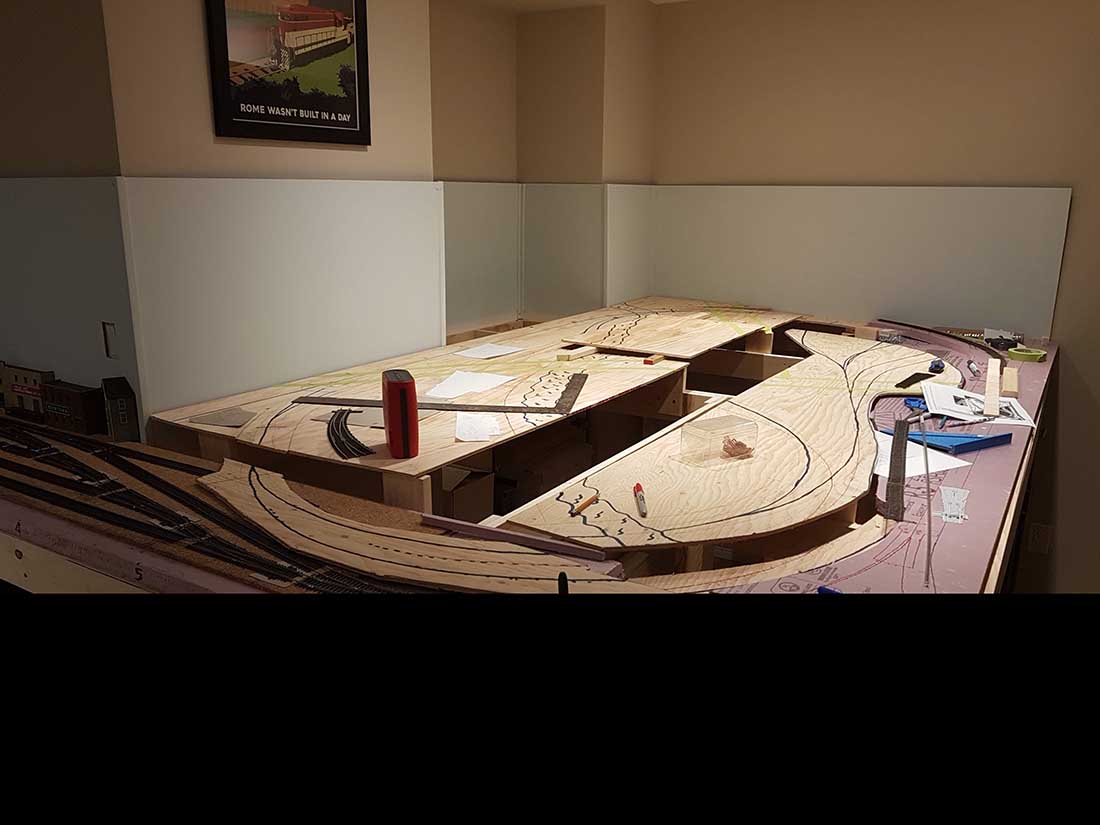
I bought Faced Expanded Polystyrene Board Insulation to go on top of my plywood because that is what my small-town hardware store supplies. One side is a silver barrier, the other is pressed styrofoam. My plan is to put the silver side down against the plywood. This is because I have the idea to dig ‘trenches’ for my electrical wires so I can join them up before creating a ‘pass-through’ hole to beneath the table where the electrical supply will come from. I hope this makes sense.
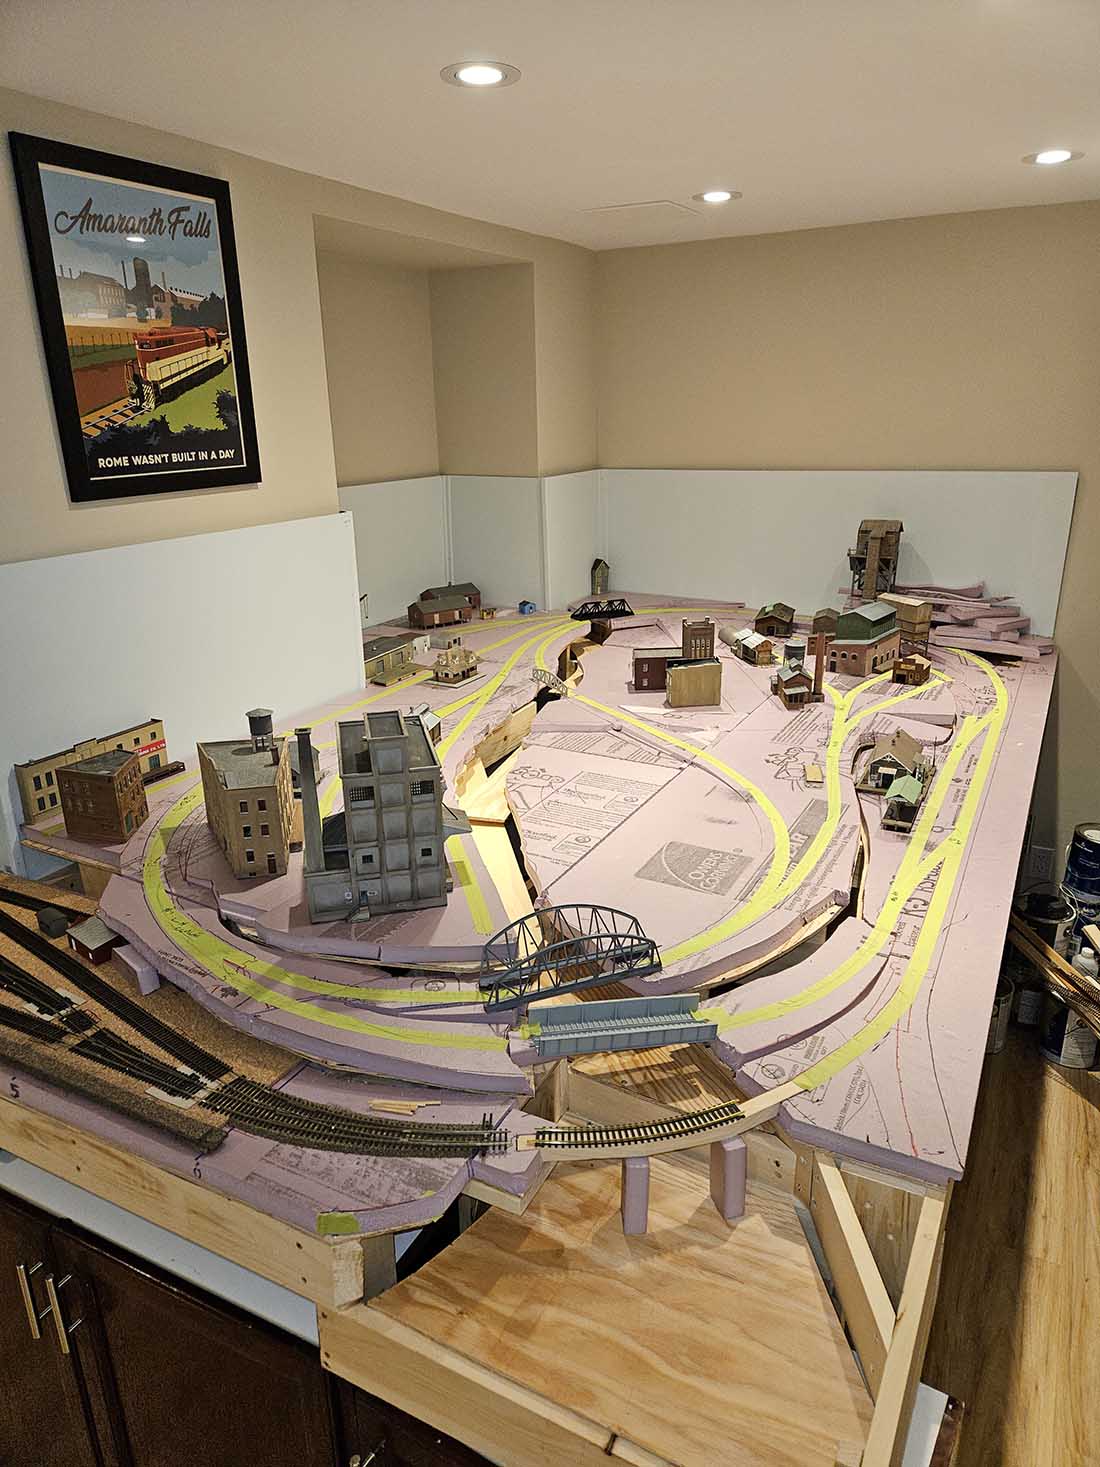
My layout will be building-heavy and I intend to light almost all of them, plus street lighting etc. I don’t want to create a pass-through hole under every structure – I may hit a support board or move around my buildings. I wish to minimize the holes, maybe one at the end of a block for all that block’s buildings’ wires to go through.
Does this sound reasonable? What are other options?
Also, maybe it’s just the girl in me, but it feels like I should put something down on top of the insulation board before I put the structures on it. I see many layouts where the track/structures are right on the foam board, so I’m thinking probably not. I would use landscaping to hide the insulation. Correct?
And talking about the track…I intend to use cork under the tracks. I would glue the cork to the insulation board, then I nail the tracks to the cork. Correct? Nailing the track to the insulation would not work…I believe.
Thank you for the continued inspiration. Maybe my railroad layout will one day be featured on your blog!
Kind regards from across the pond
Susan
The Woman Engineer, Head of the Cannon Central Railroad”
Please do leave a comment below if you can help.
That’s all for this time.
Please do keep ’em coming.
And if today is the day you get started on your layout, the Beginner’s Guide is here.
Best
Al
PS More HO scale train layouts here if that’s your thing.
Need buildings for your layout? Have a look at the Silly Discount bundle.