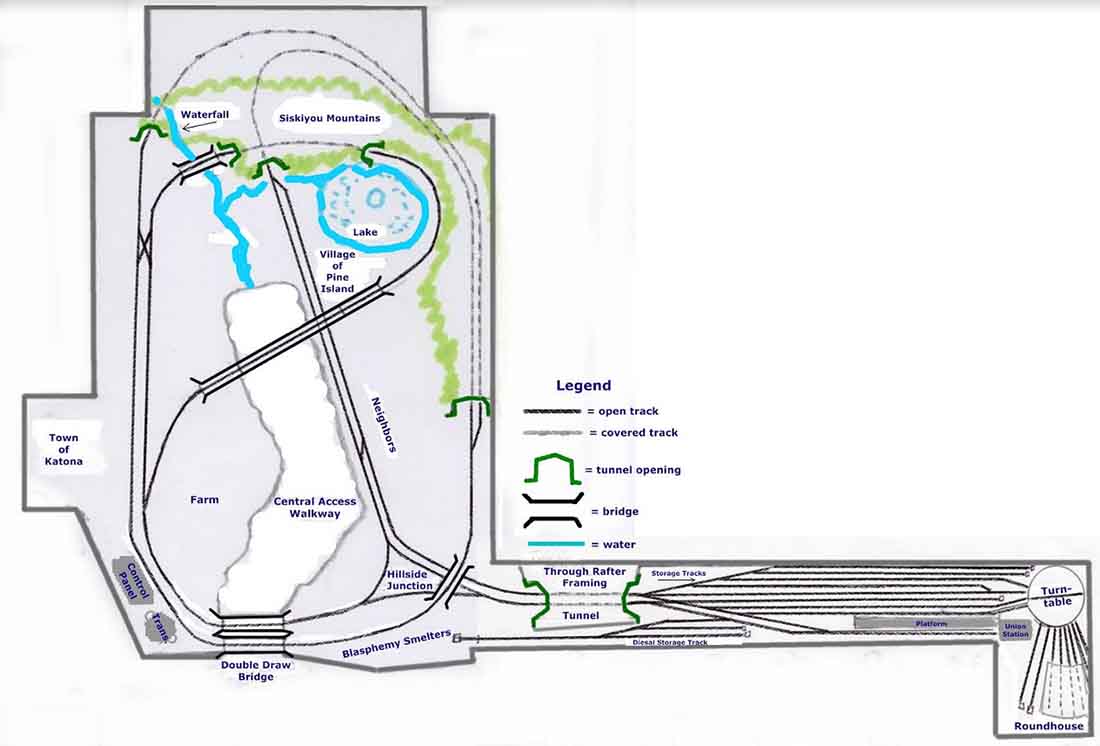
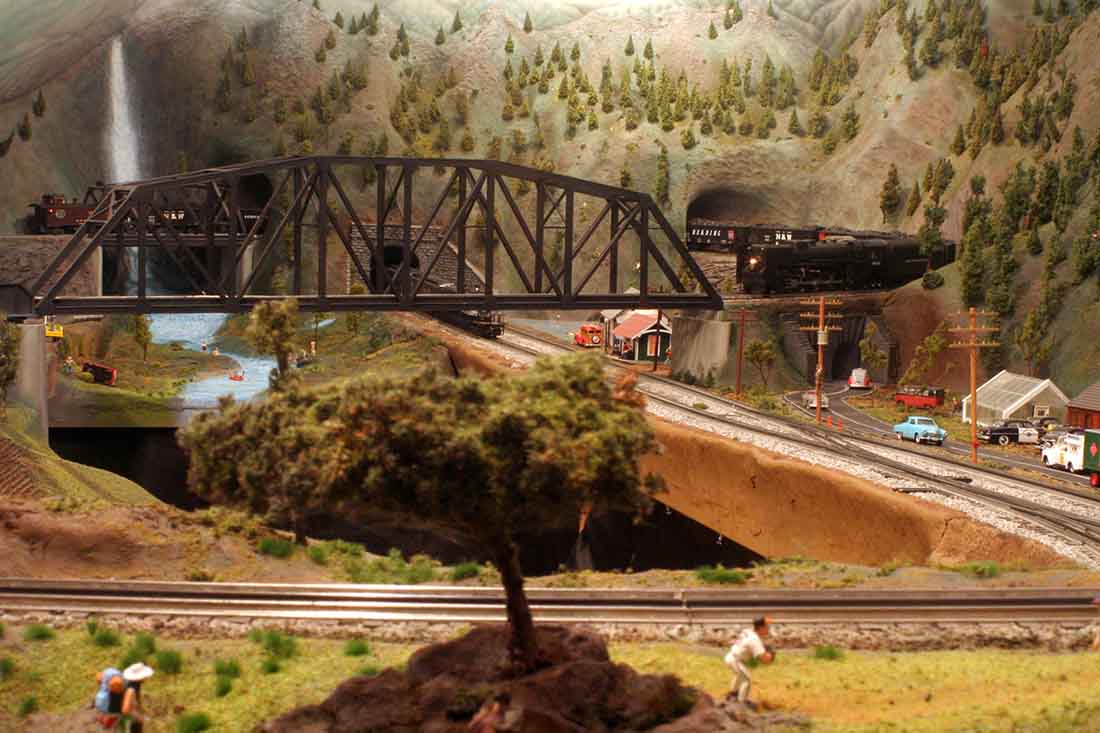
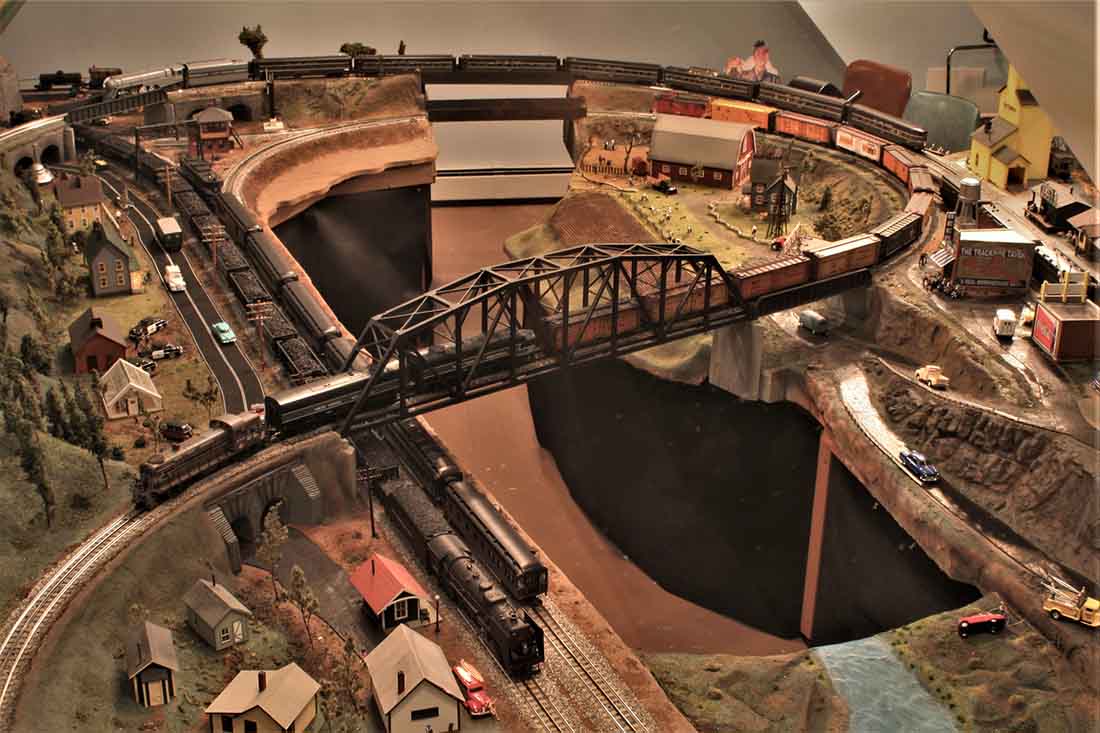
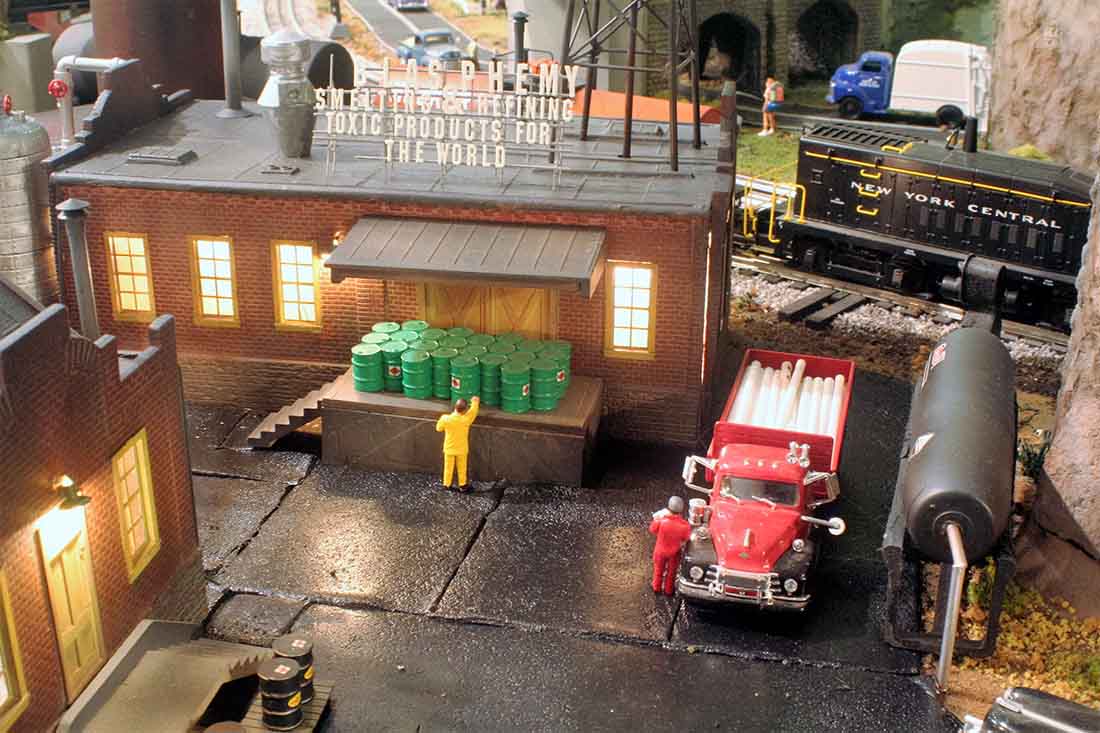
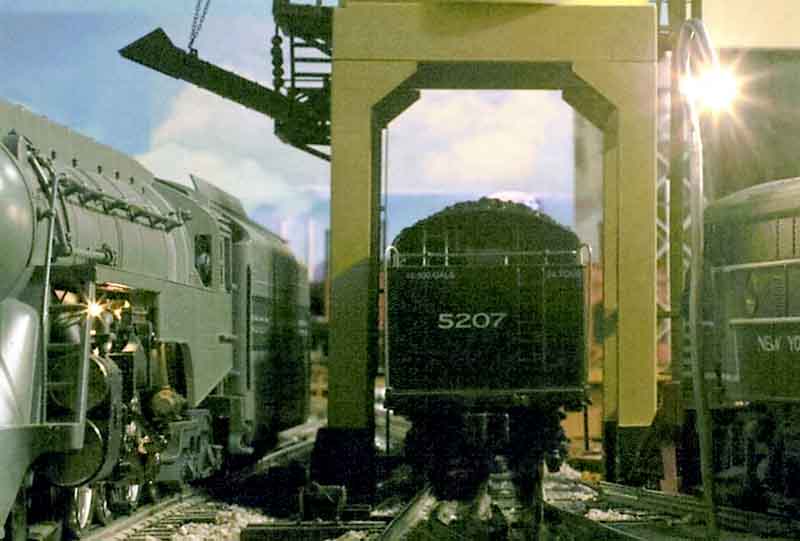
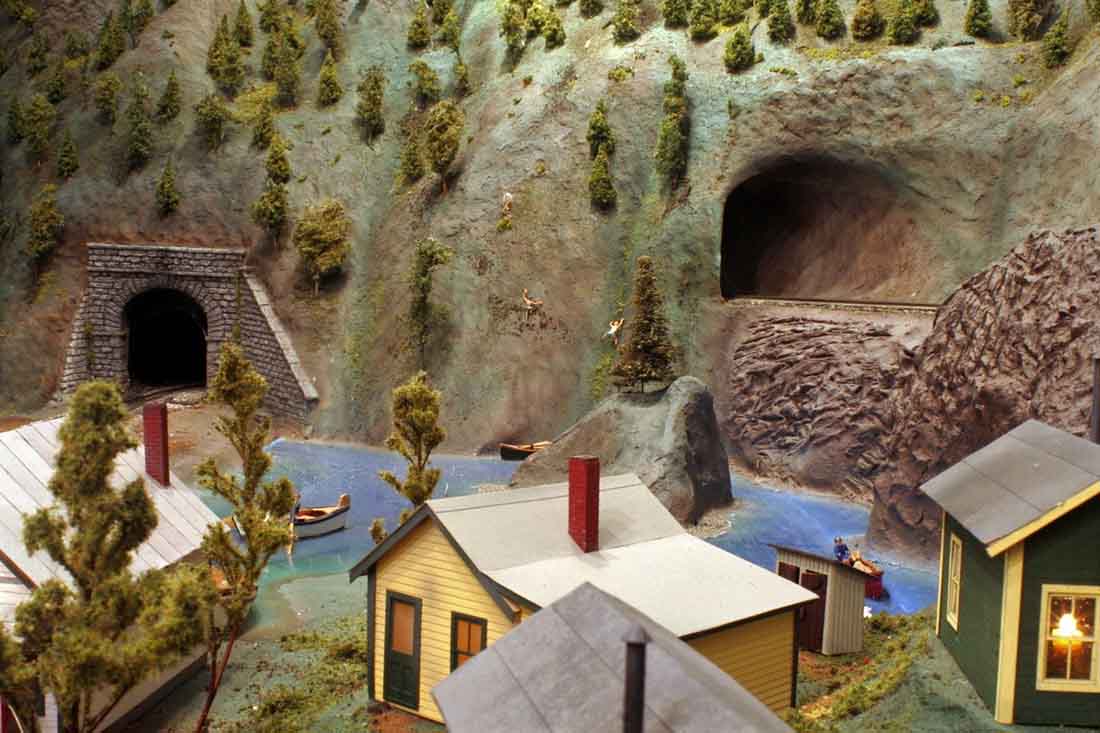
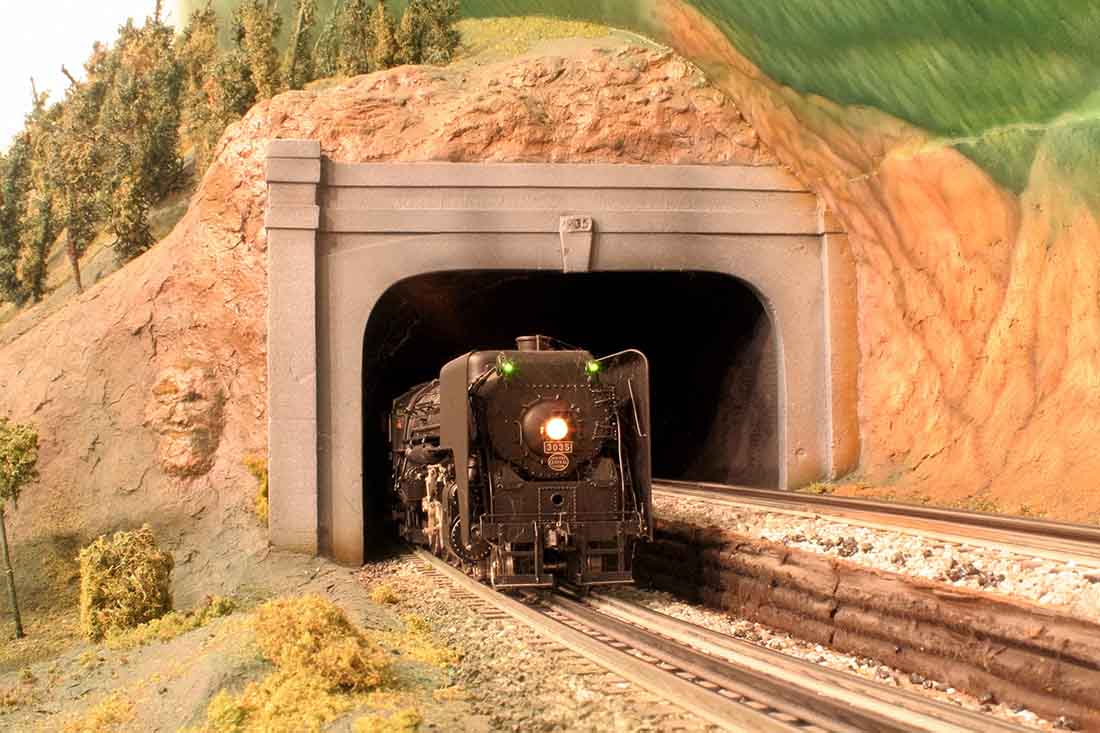
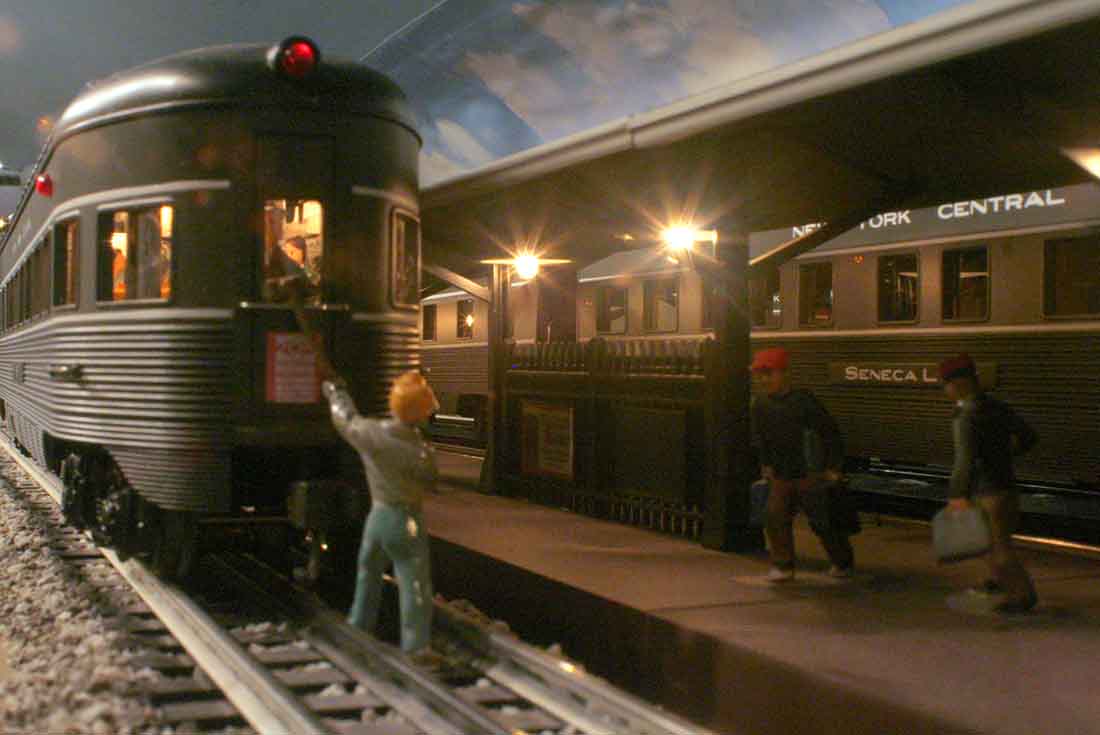
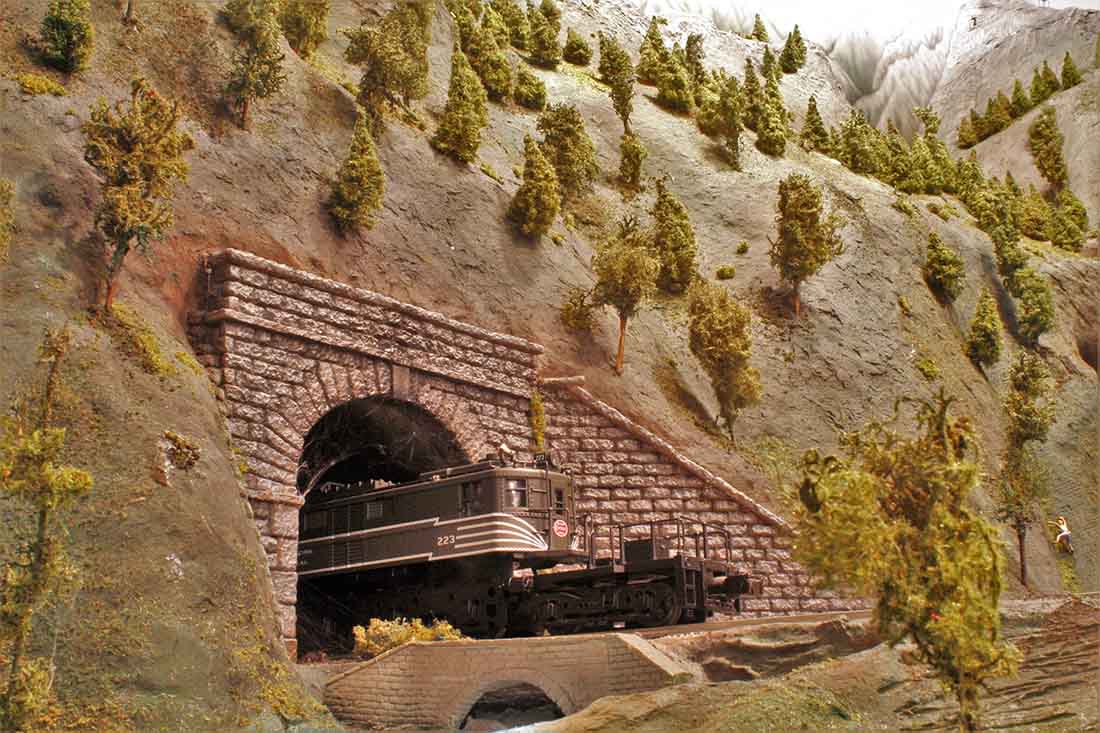
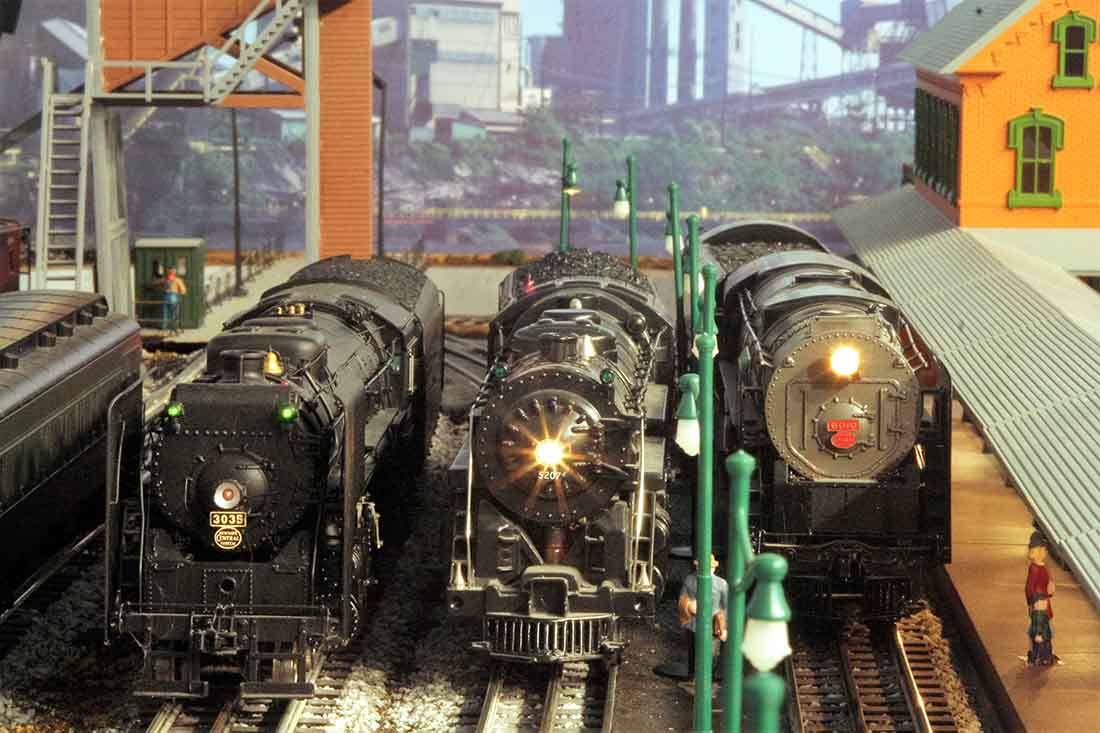
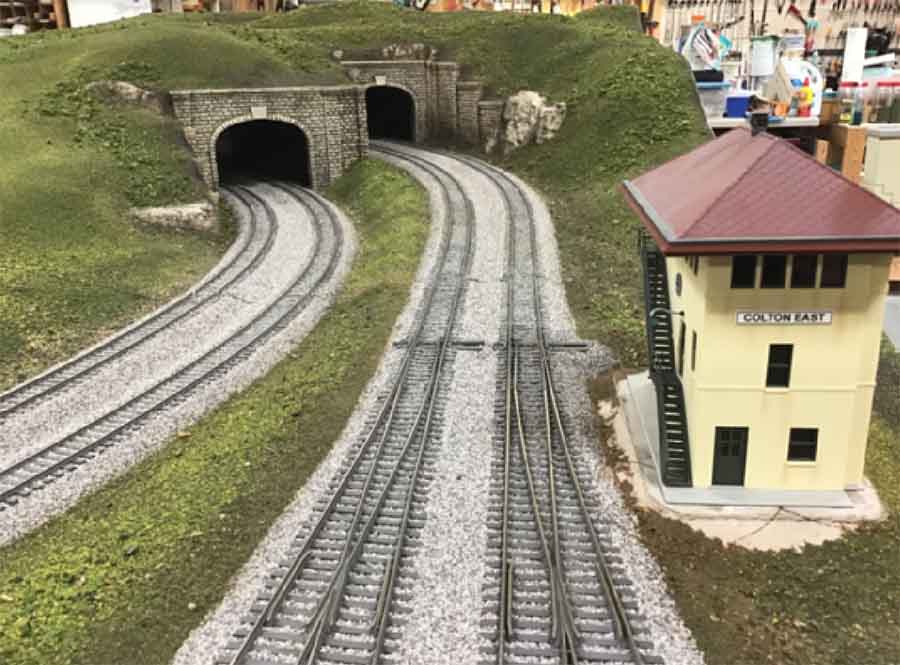
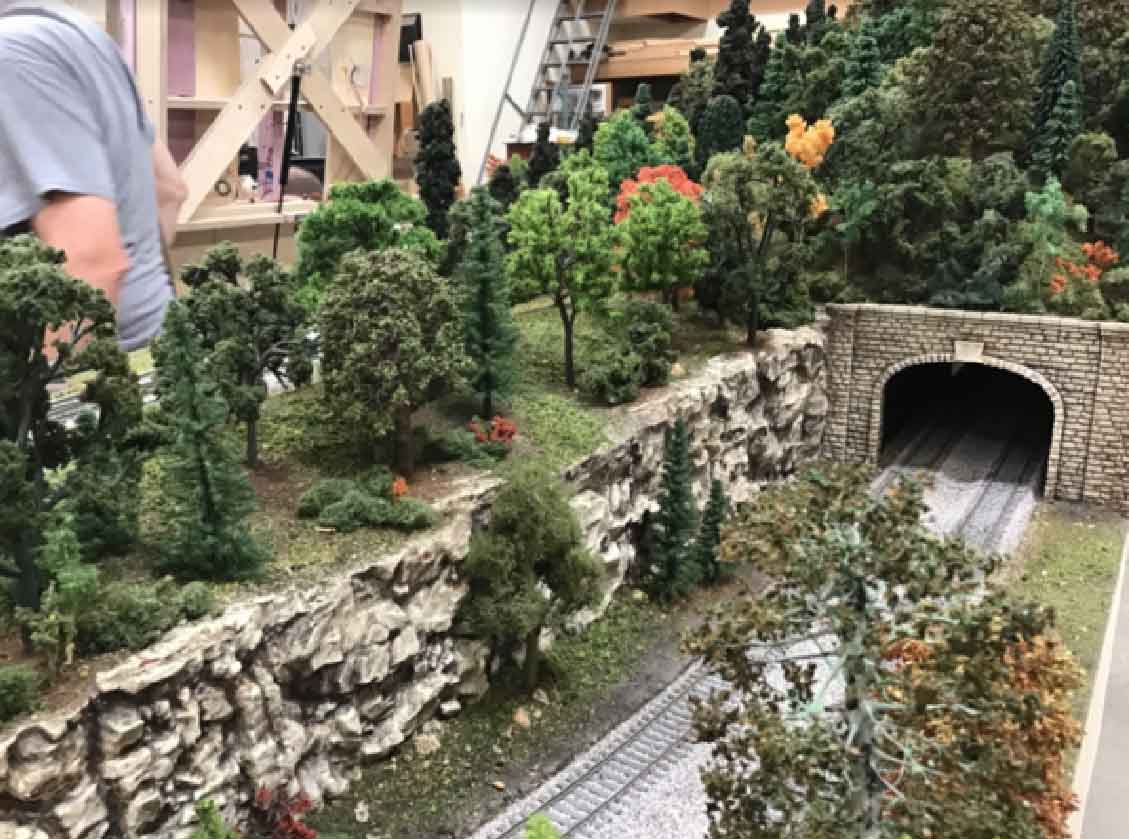
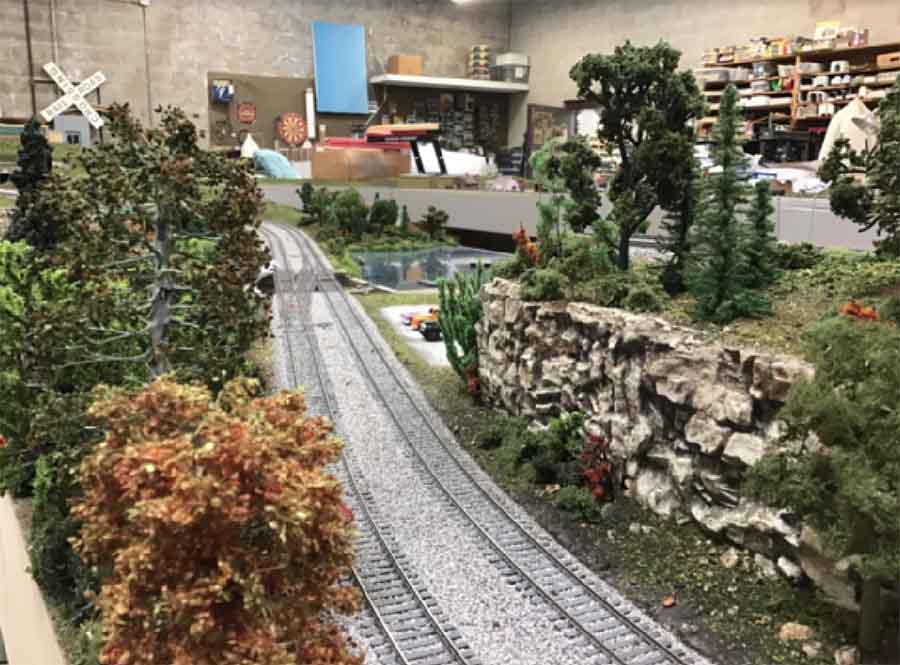
Rob’s been back in touch with an O scale cab ride and pics.
He’s been tinkering away on his layout for 27 years now.
It just goes to show, a layout is never finished…
Rob’s sent in two videos too:
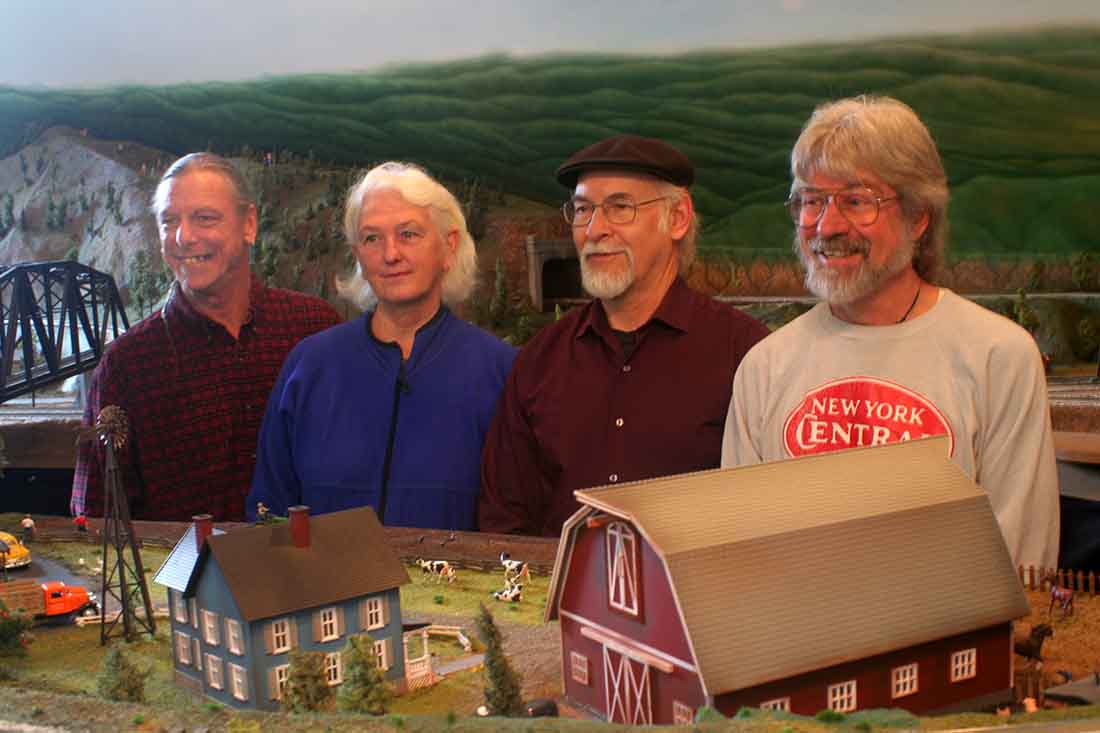
“Four of us have worked on this layout over the years and are pictured here too.
Jefry, who is on the left in the photo, recently mounted a tiny video camera on a gondola car enabling us all to go for a ride around the layout.
I hope that you all enjoy this journey into fantasy.
Rob”
A big thanks to Rob for sharing his O scale cab ride.
If you want to see Rob’s earlier post with the full narrative and lots more pics, it’s right here.
I hope you enjoyed Rob’s update as much as I did.
Please do leave a comment below and let us know what you think.
I know some of you love the 3 rails, and others, not so much. But I think that’s what makes this hobby: each to their own.
Some folk love running trains and never bother with scenery. Conversely, some just love the scenery part, and never get involved with the running, wiring and electics.
Both are absolutely fine – this hobby is what you want it to be, there is no right or wrong way of having fun.
And if Rob has made you feel like leaving the comfort of your armchair and having some fun, the Beginner’s Guide is here.
Jim’s been in touch with his modern N scale buildings:
He’s made a that all important start and his N scale buildings are bringing the layout to life:
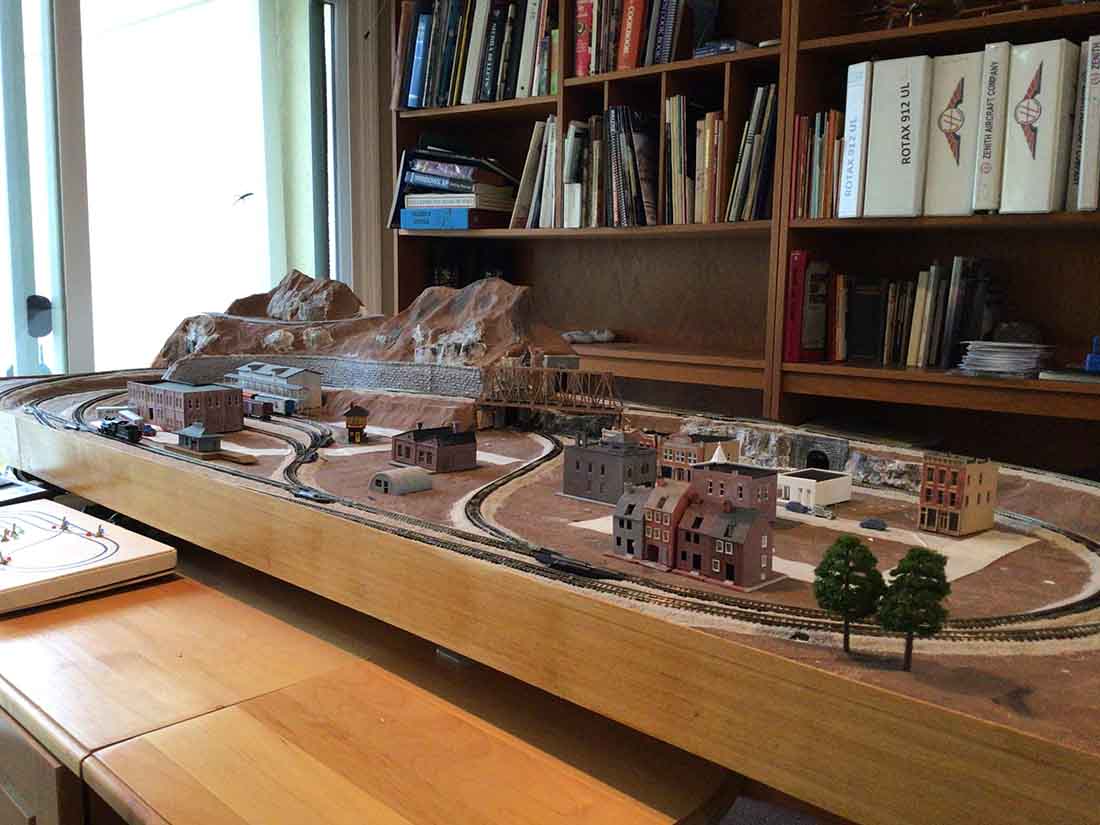
“Here are some pictures of the layout I am building.
I decided on N scale because I have limited space in my retirement home and the more popular HO scale wouldn’t allow me to have a very interesting layout in the space I have.
I decided to use an old hollow 30” x 80” interior door since I already had it.
I found quite a few interesting layout plains for this size door.
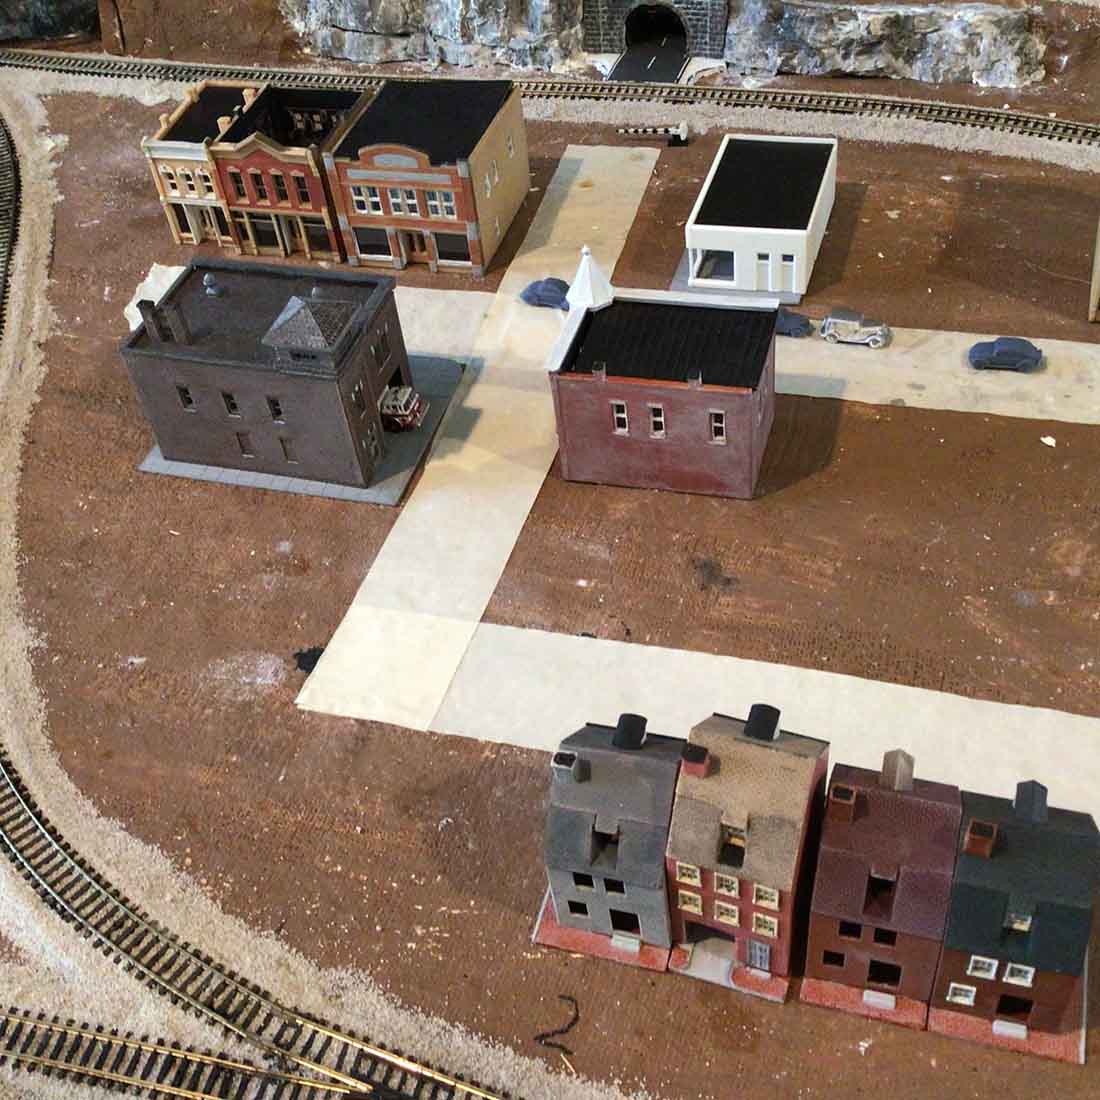
The first photo is a plan view of the entire layout with the mountain remote for a clear view of all of the track with the turn-outs.
I have managed to install 9 turn-outs, a reversing loop, a small switch yard with some industry along with a little town within this space.
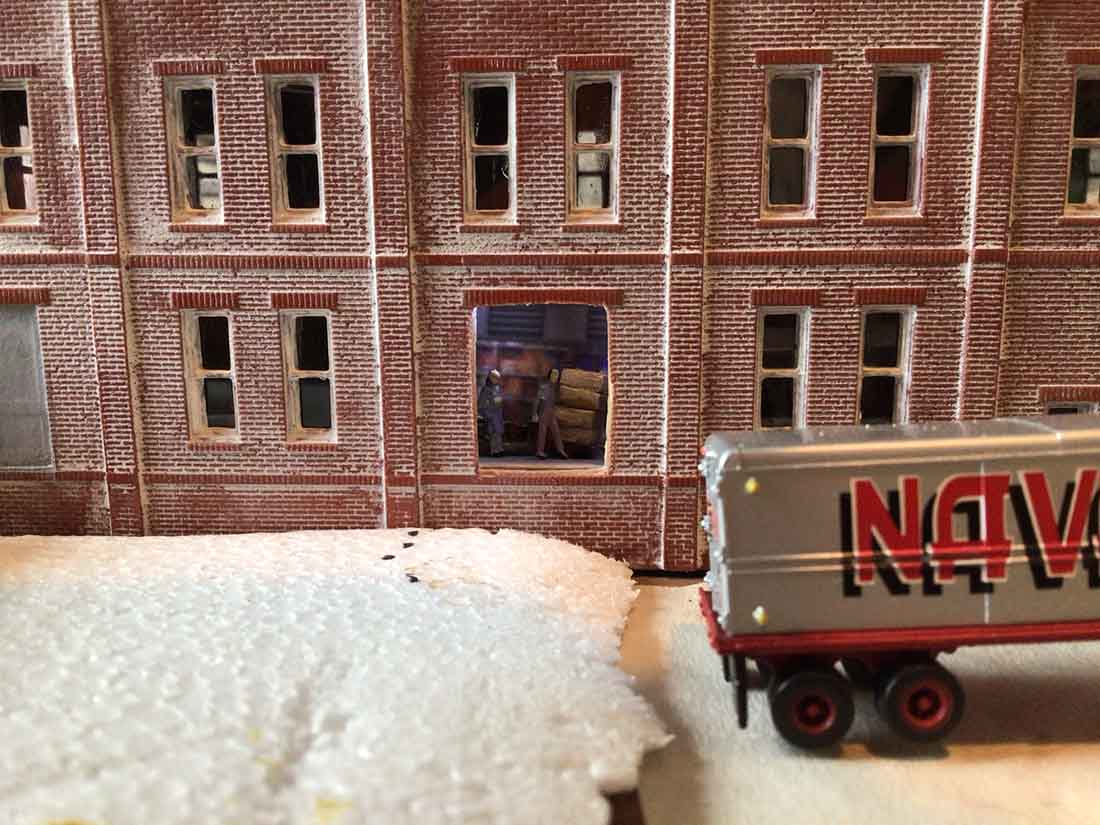
I purchased Woodland Scenics Town & Factory kit which has 13 assorted buildings, and have started building a few of the buildings.
I am kit bashing some of them, and here you can see I have opened a couple of the doors on the factory and added LED lighting, some interior features and workers.
So far I have installed all of the track work with ballasting, installed the turn outs, ruffed in the mountain with tunnels and the terrain.
I used two inches of foam insulation for the base, then used foam and plaster cloth to built the mountain and track risers.
Here you can see I have used masking tape to test my plan for road and building locations.
I plan to have operating crossing gates with blinking lights, paved roads, grass and trees and street and building lighting.
I will keep you posted with my progress
Jim”
A big thanks to Jim and his N scale buildings – he’s made that all important start.
Now on to Bill.
“Greetings Al
Hope all is well for you and yours.
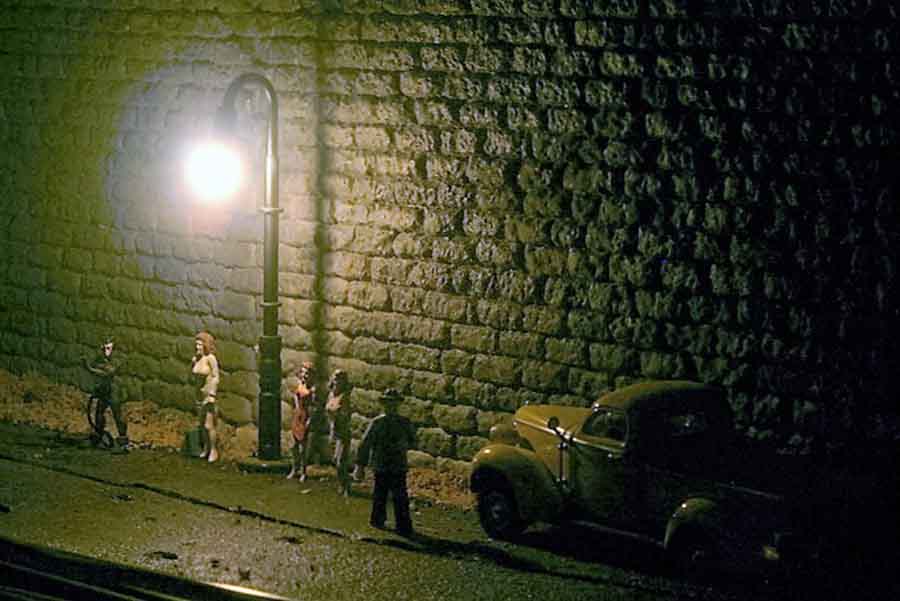
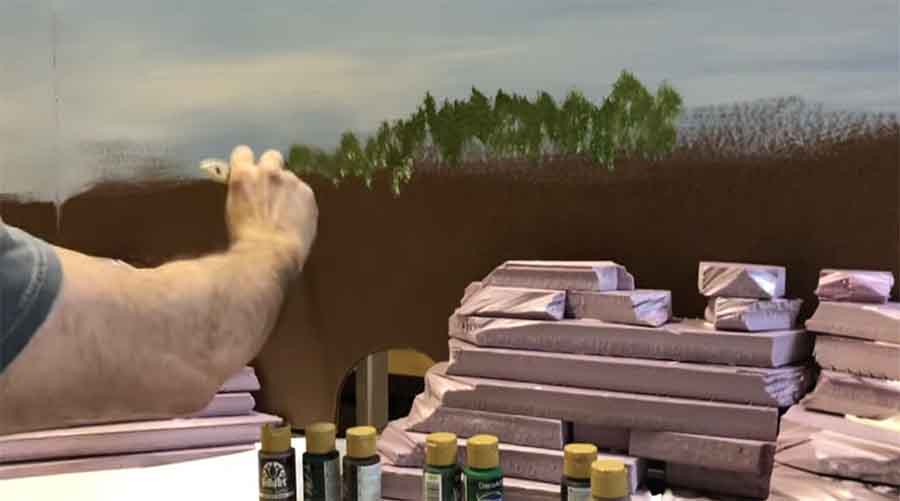
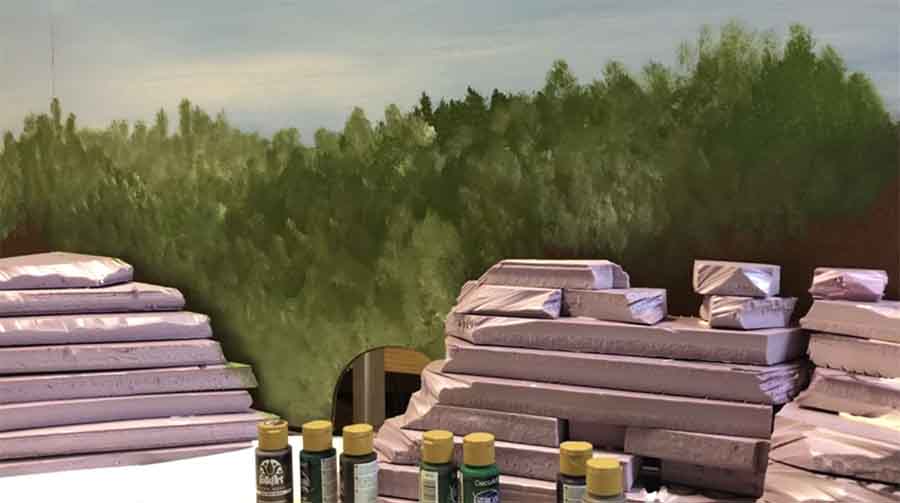
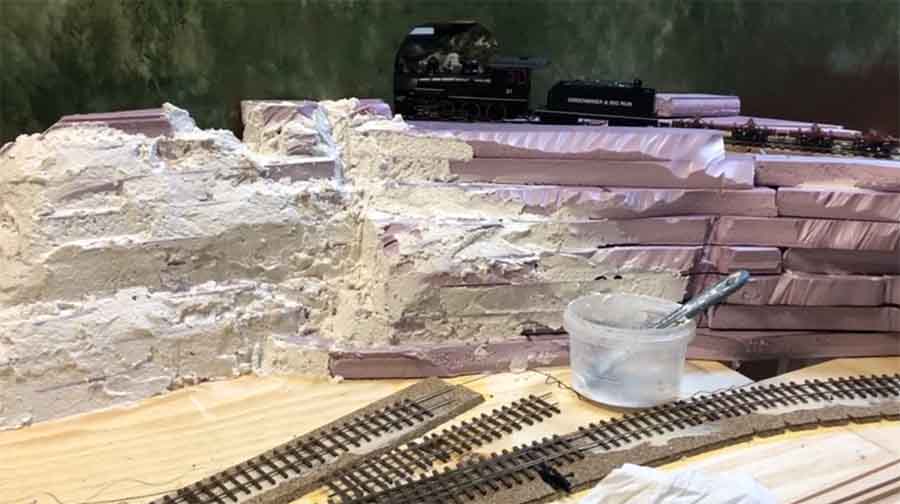
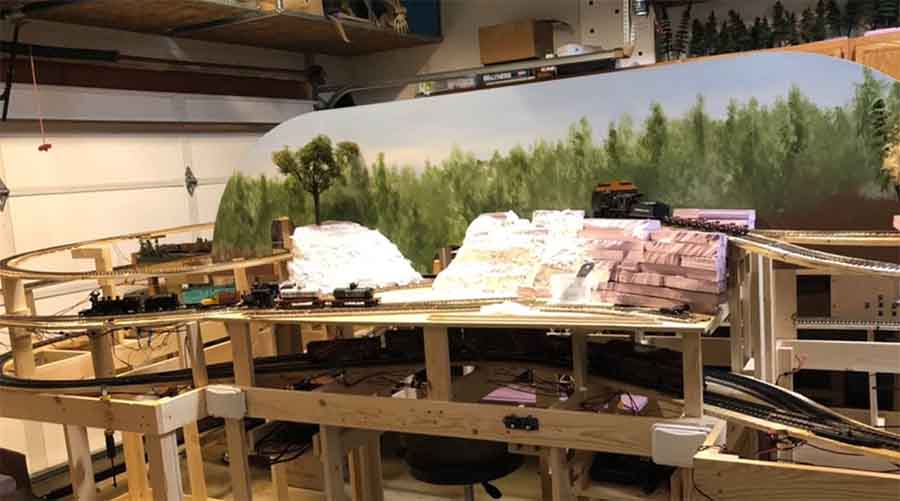
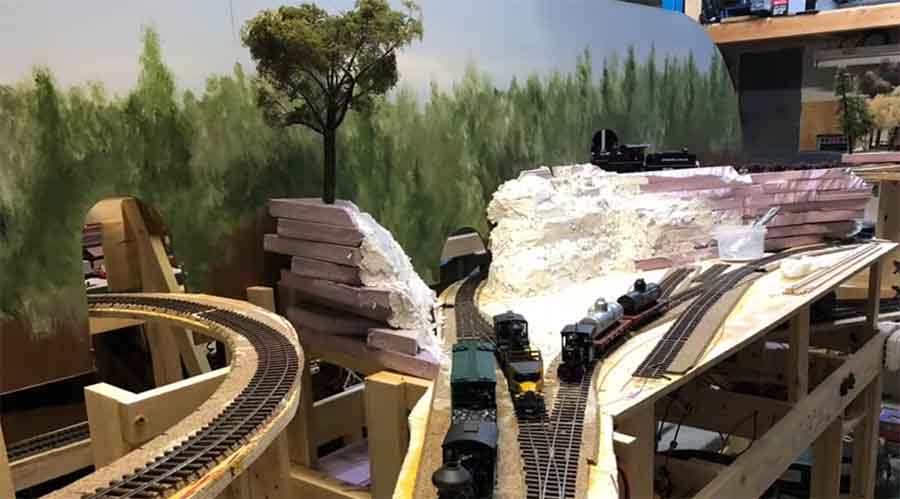
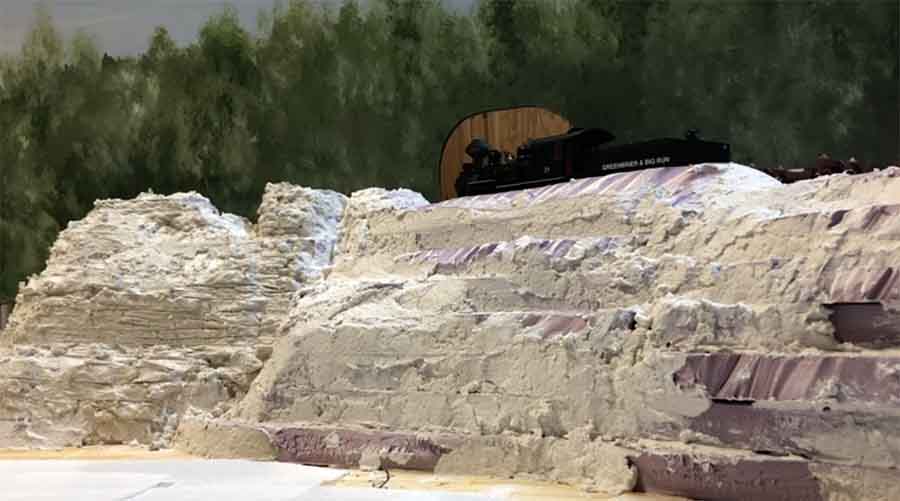
I’ve been installing a scenic divide on my O/ON30 layout here these last few days and I’ve got it painted and starting to do a little scenery and rock carving.
I’ve attached a link to the video showing how I paint and do my plaster work.
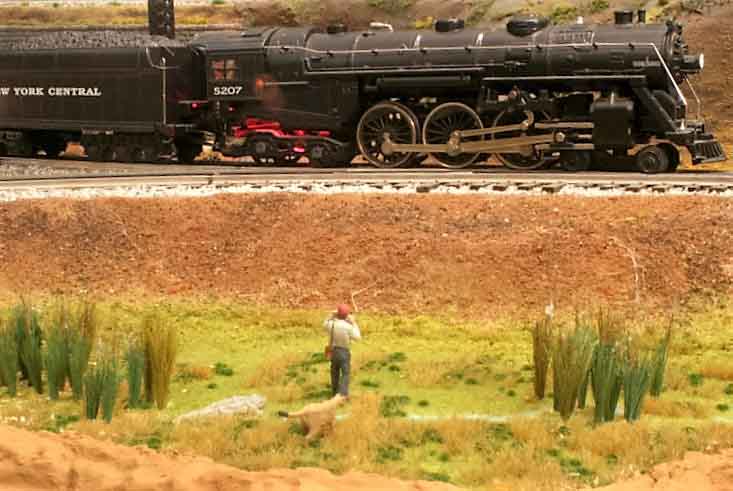
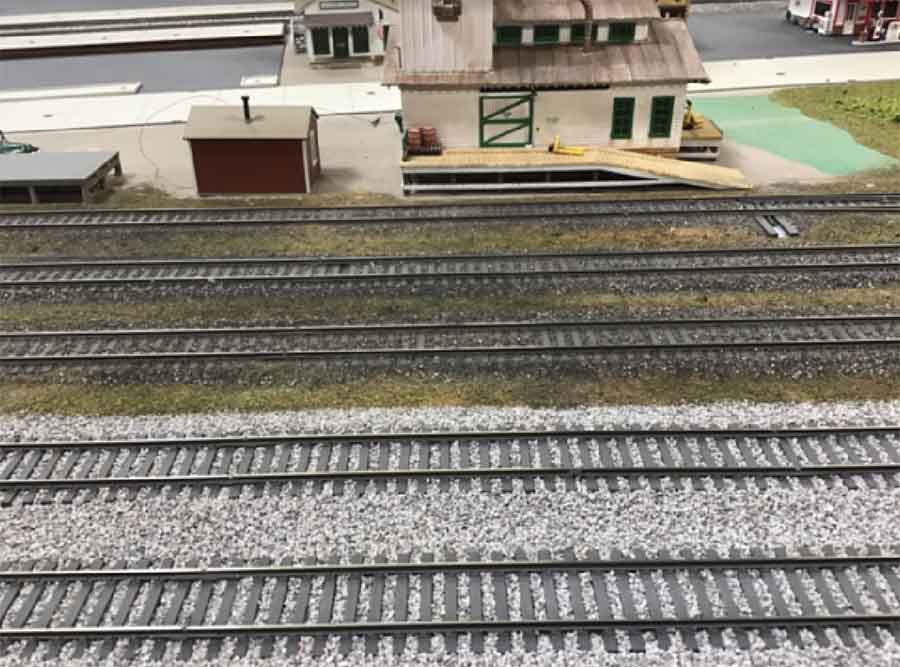
Jim’s been in touch again with his HO scale Santa Fe layout build.
It is wonderful to see a layout come together whether you’re building it yourself or not.
I love the way Jim is clearly having a lot of fun with it:
“As I hinted at the end of my previous post, now it starts to get REAL.
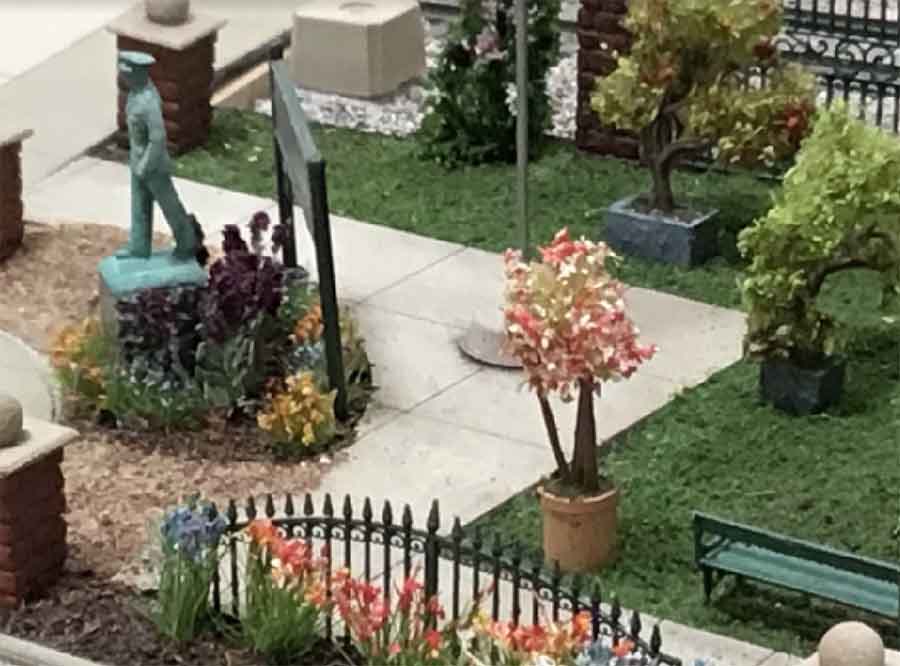
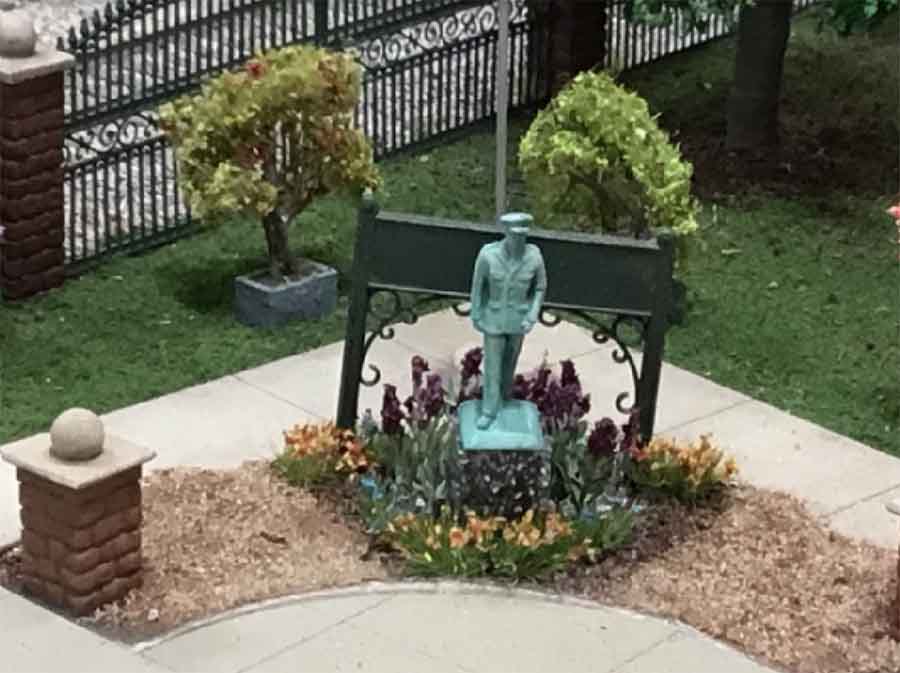
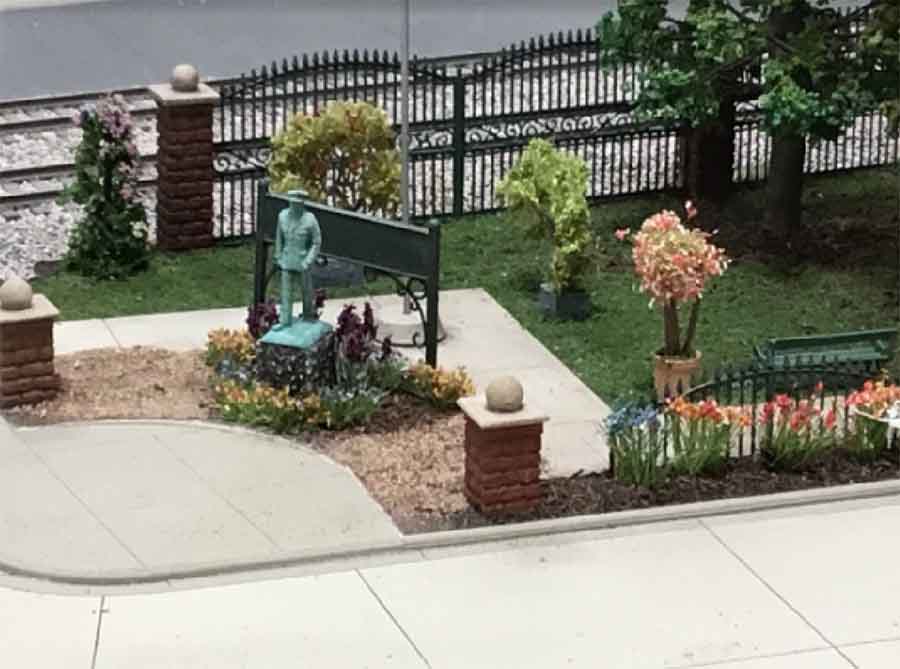
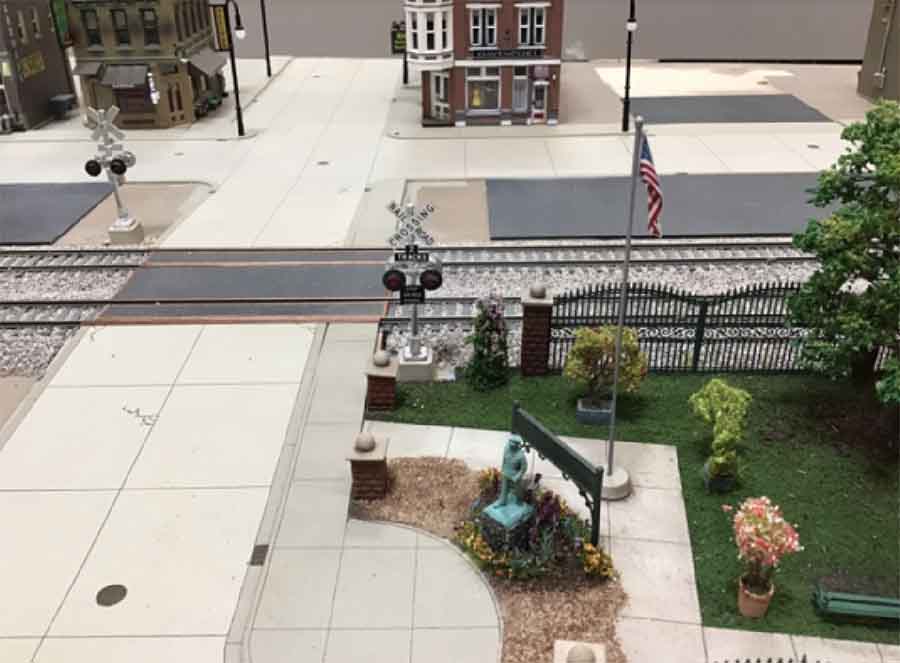
You have all seen the early pictures of “Veteran’s Park”.
I asked Joe if could add a soldier ( maybe O-scale so that it would be larger than all the other people) and paint a light green to resemble a statue that has been “weathered” for a few decades. This is what he came up with on my next visit.
The sign behind the soldier will be read Veteran’s Park, the American flag will have a spotlight at the base and be lit 24/7.
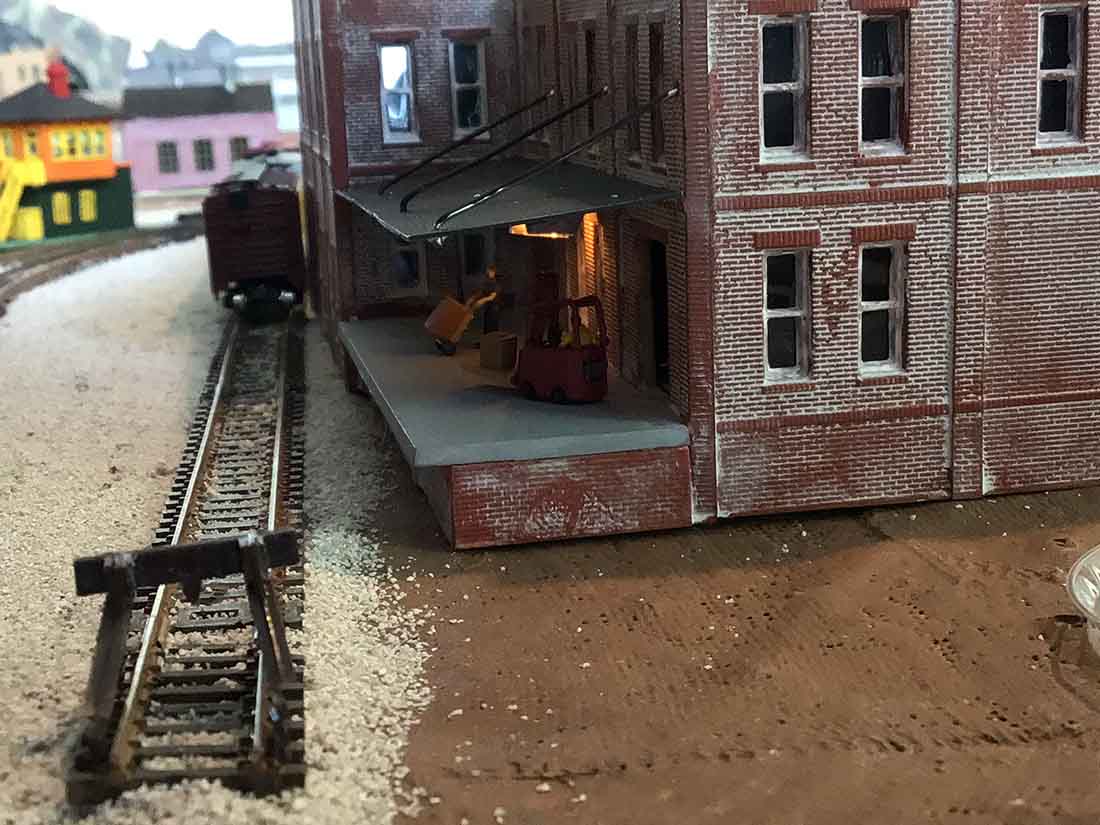
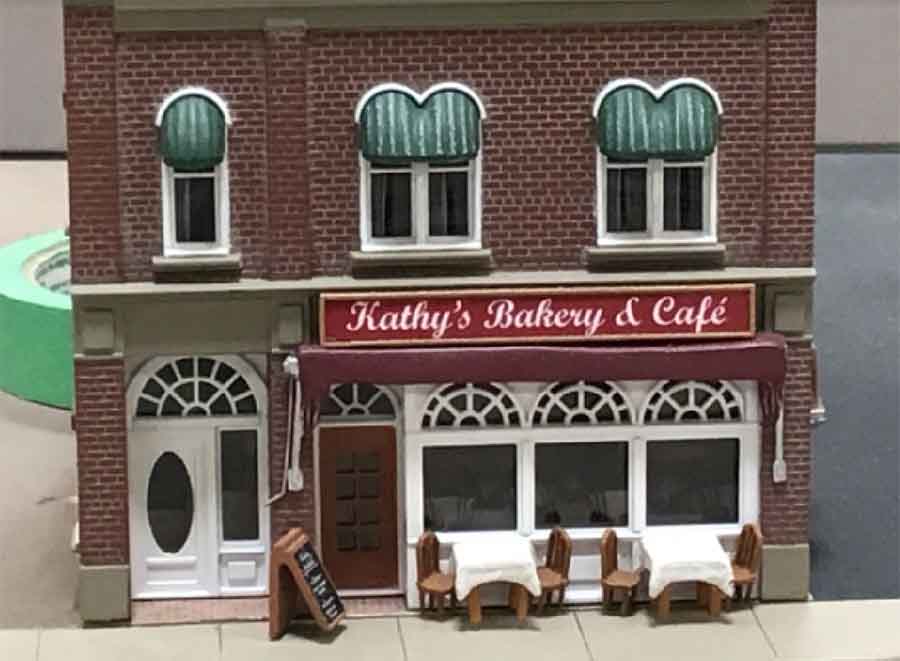
Here is a close-up of my wife’s Bakery. This is a pre-built structure and Joe just made the sign.
Later you will see the finished product.
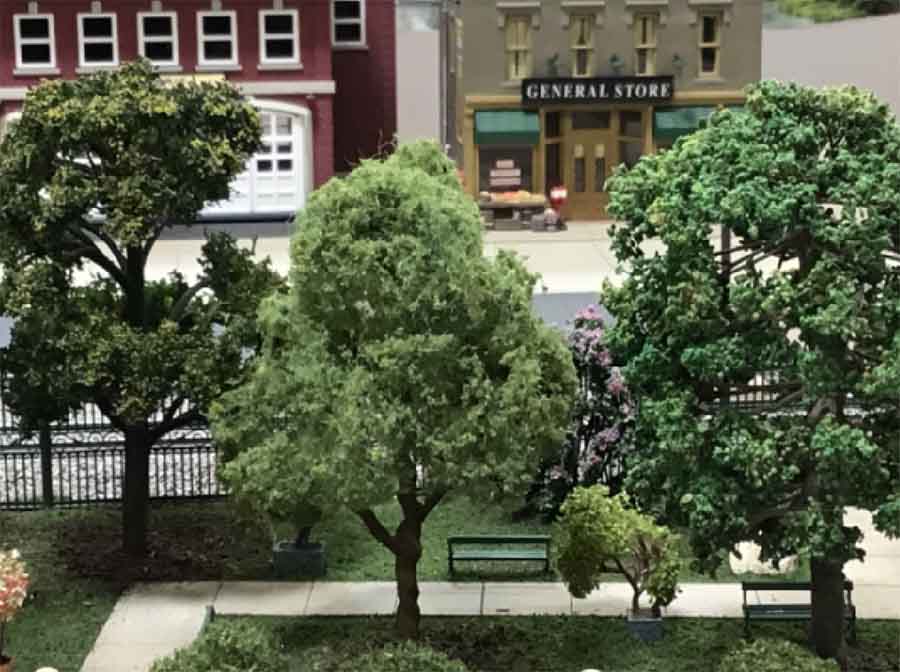
I really like the shot through the trees.
At this stage, the scenery is becoming more REAL as well.
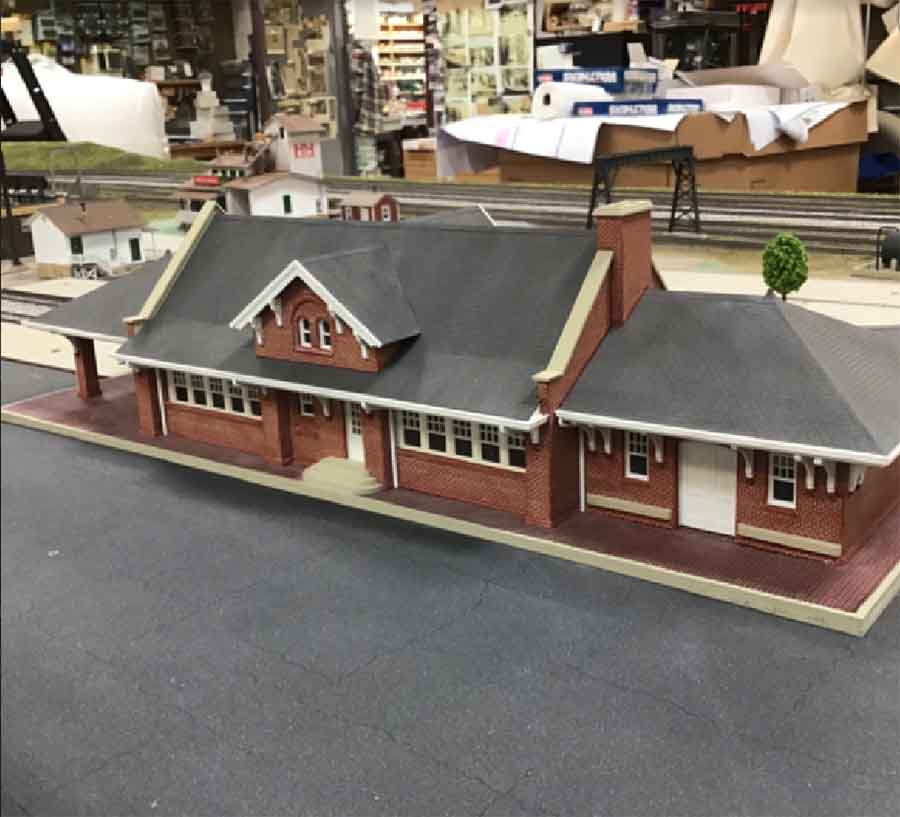
The Passenger station is lightly weathered and approximately placed.
This is the rearview.
Other structures are also being fitted and adjusted.
I was asked to see some pictures of the lift-gate access.
I did locate one picture of it under construction. If I find more I will post them.
This was their first attempt to build one, as no other client had asked for a lift.
Previously they always built a swing gate that would open outward.
That section, which is only 32′ long weighs nearly 50 pounds. But because of the gas cylinder assist, I can lift it using only 2 fingers.
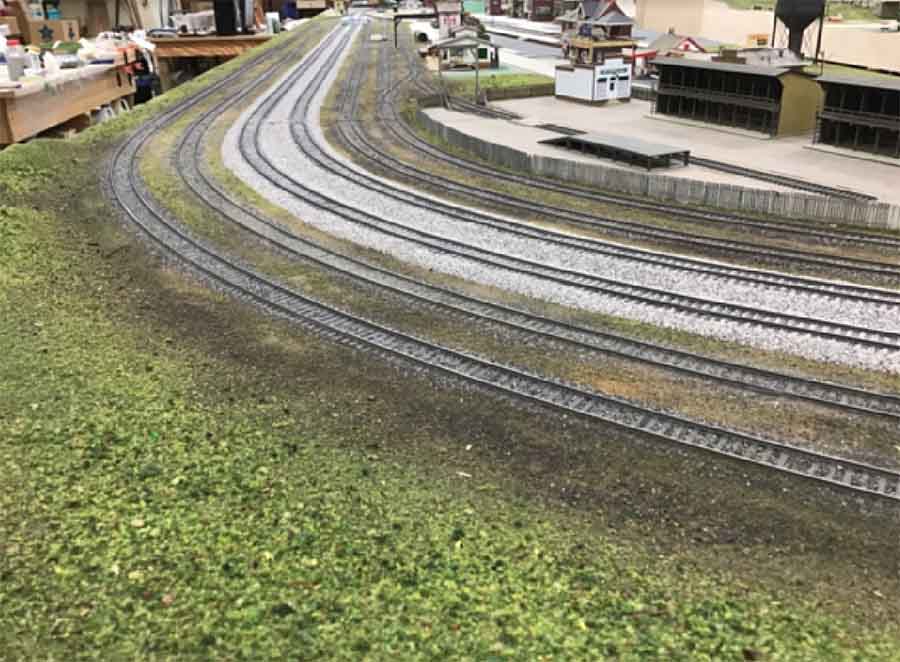
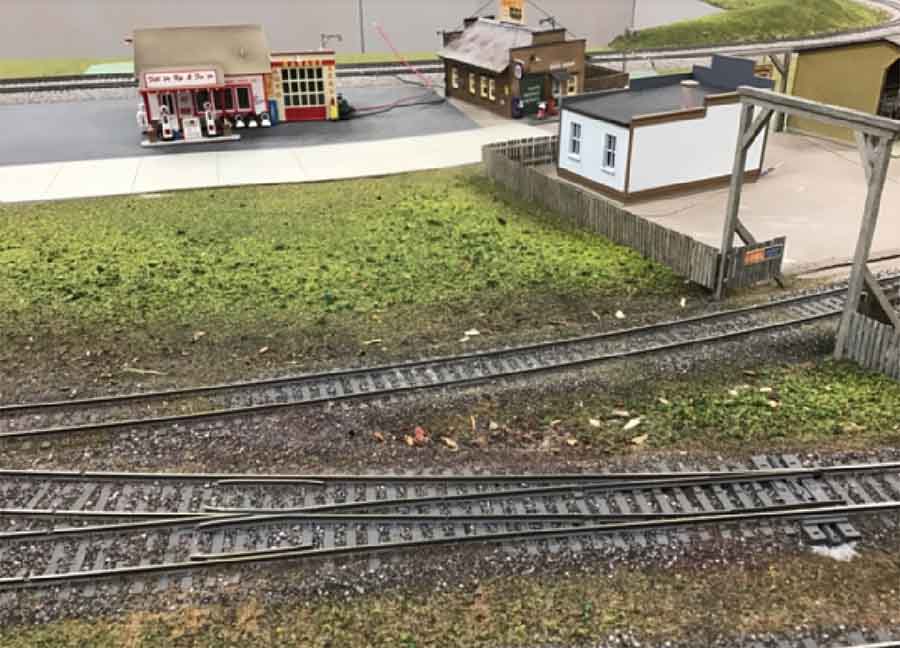
The grade crossing cross-bucks were installed and wood & composite filling was added between the rails. You will also see the American Flag in Veteran’s Park.
Street details: manholes, drains, expansion lines, curbs, and street lights were added. Sidewalk expansions were also added. E-X-P-A-N-D the picture for better details.
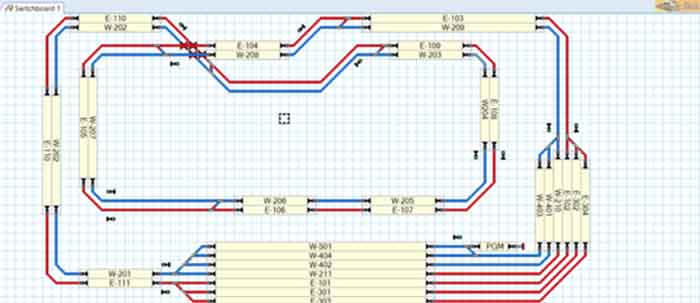
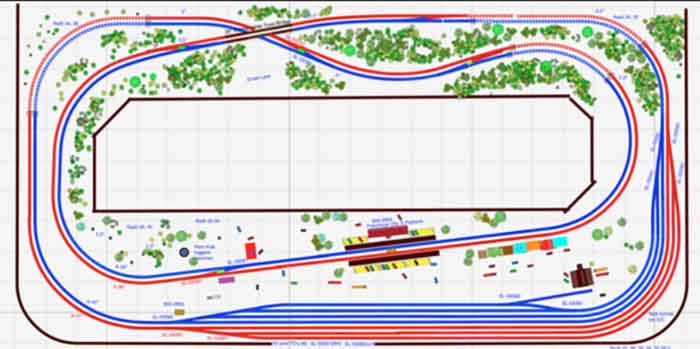
This is my control panel screen. As I mentioned in an earlier post I will be using TrainController software to operate my RR. I have posted the actual trackplan below for comparison.
Actual track plan below.
There have been a couple of guys that asked me how much my layout cost. My response has been that it was worth every penny. Your mileage may vary.
Progressive Model Design will estimate every job separately, and many factors affect the total.
Our labor rate is actually quite low when you consider the artistic talent you are paying for.
You will pay 2-3 times more for a local plumber to rod your drain.
Unfortunately, most of our modeling tasks take time (sometimes a great deal of it), and although we have applied as much automation to the process as we can, there is no way to really speed up the detailing process.
Consider a simple commercial building kit made of injection molded styrene….
Every structure kit will be painstakingly prepared by hand—trimming and sanding all pieces where necessary.
The pieces are then washed to remove molding films and then airbrushed with at least 2 coats of model paint.
After the color coat has dried, contrasting color coats may need to be applied. Windows, doors, fascia and trim often need to be hand-painted by brush. The walls will be fixtured so they remain square and then glued together. Glazing will be applied to the windows. Light blocks will have to be added to the interior if individual rooms are to be illuminated. Lamps will need to be installed and wired.
Finally, after all construction is complete, details and signage are added to the structure and mortar detail applied to the brick.
One or more final passes with the airbrush, dry-brushing with highlight colors and application of powdered chalks add the weathering necessary for a truly Proto-Realistic™ building.
And then… we still need to install it and blend it into the existing scenery base. We’re good, but this is no half-hour job.
Or how about a commercially available, out-of the-box tree by Woodland Scenics.
Sorry, we don’t use them. We do use Woodland Scenics products.
But every tree is hand selected and the branches adjusted for variety. We then remove portions of the factory foliage to give them a more ‘open’ look.
Highlights are applied using ground foam and paint to vary the uniform appearance.
The base is trimmed square and a hole to receive a mounting pin is drilled in the trunk. The pin is glued in place and the trunk is sprayed with a flat finish to knock off the shine. Quite a bit of time, when you consider the hundreds or perhaps thousands of trees that go onto a layout.
And this is only our B grade of construction I am describing!
The following numbers are just approximate and assume a ‘very average’ layout with about 10 – 15% trackage and yards, 15 – 20% structures and the balance just general, simple scenery.
Prices start at about $75 – $100 per square foot for a B Level HO or O scale layout.
This would include basic benchwork, roadbed and track. N scale layouts are about 50%—75% higher on a square foot basis. A or AA level quality will add 15% and 35% respectively.
The basic scenery portion of a layout (rolling hills or flat areas with grasses, dirt and gravel coverage) will add from $30 – $55 per square foot over the base price depending upon the amount of contouring.
Extensive rock outcroppings or cliffs/canyons will be $55 – $100 per square foot or more additional depending on the extent of vertical coverage and level of detailing.
Streams, rivers and lakes will add $45 – $100 per square foot over the base price depending upon the level of detail.
Urban areas with their high concentration of structures, roads, streets, figures and details will add $65 – $150 or more per square foot to the base price depending upon the structure types and density.
Hand-painted figures alone (which cost $3.00 – $5.00 apiece), of which there may easily be a dozen or more per square foot) make up a substantial part of the urban scene. The cost of the structures themselves is additional (see below).
Cost of structure construction depends a great deal on the brand of kit and detail level desired. For basic B level construction, and as a VERY rough estimate, you can use 6-8 times the retail price of the kit.
For example: a Design Preservation Models kit selling for $14.95 in Walther’s catalog would cost you $10.47 for the kit, and about $65.00 – $95.00 in labor to paint, assemble and detail. Level A construction may be about 30% – 50% higher and AA will be at least 50% – 75% higher.
Scratch-built Level AA structures will be quoted individually so that you can see our breakdown estimate of time and materials. Bear in mind, that each kit will be estimated separately, and factors such as size, fit, quality, type of construction, number of colors, trim, windows and doors and level of weathering will all figure in the final price.
Generally, small, highly detailed buildings are disproportionately more expensive. Densely packed, urban scenes with multiple, small Level AA detailed structures can easily surpass $800 per square foot. Fortunately, most layouts incorporate only small sections that require this level of labor and detail and the average cost for the whole layout is substantially less.
Of note is the large number of finely detailed pre-built structures showing up on the market.
Made, assembled, painted and packaged in China with their lower labor costs, Woodland Scenics is a great source for these and has an ever widening selection. These pre-builts can be purchased at 1/3 or less our cost to assemble them. This can greatly reduce the traditionally high structure costs on a project.
Based on our prior projects, and when everything is added up, an average B level layout may cost between $275.00 – $300.00 per square foot. ‘A’ level will likely be between $300.00 – $350.00 per square foot and our ‘AA’ level can run as high as $450.00 per square foot.
But remember, PMD does not quote by the square foot. EVERY project is estimated individually and we will do our very best to stay within your budget.
I will close today’s post with a video. Enjoy.Emoji
My next post will be just a bit different, here is why.
My layout build was about 1/3 complete when we put out house up for sale…
What could possibly go wrong? Has anybody else done this?
Jim”
A huge, big, thanks to Jim for sharing another part of his HO scale Santa Fe layout.
I don’t think I’ll ever get bored of seeing one spring to life, whatever it’s background is.