Bruce been in touch with a very helpful post on building model train inclines.
Here’s a thorny issue that comes up quite a lot in my inbox.
Now on to Bruce and his piece on building model train inclines.
(His curve clearance post is here.)
“Al,
Some time ago, I sent a graphic with explanation on selecting the minimum radius for two parallel sets of rails. Some appreciative comments were added.
I have noted that in several viewer responses that there may be some difficulty determining rail length for various %slopes.
I thought perhaps that some users might have an easier solution by using a graph. Therefore, I am providing the following with example of usage for building a model train incline.
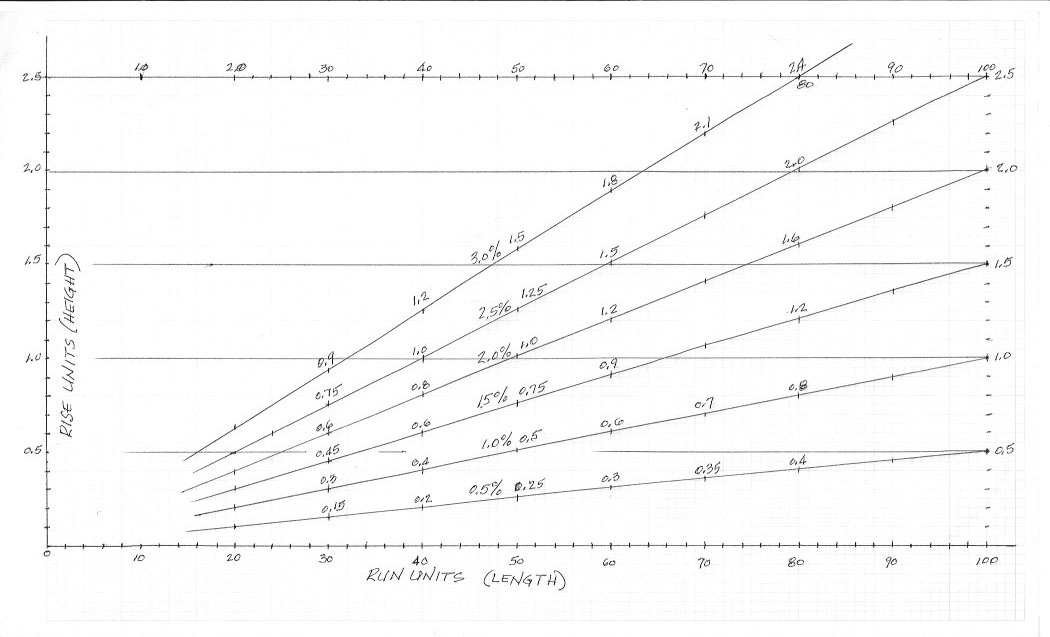
Rise and Run
%slope (percent slope) is determined by using the formula
RISE X 100 = %slope
RUN
The graph is graduated in UNITs. One unit may be any length measure base.
This would be determined by the measure the user decides to use; mm (millimeters), cm (centimeters) or inches.
Of course one could use Yards, Miles, Light Years or any other.
On the graph are lines representing typical %slopes plotted for determining either RISE or RUN.
Or, knowing the RISE and RUN, the %slope may be found.
Assume the user is into HO scale. Then on both the vertical (RISE) and horizontal (RUN), the Unit 1, 2, 50, 100, etc, might be labeled as cm (centimeters).
First one must determine the minimum height to be used for clearances of one track over or under another.
Select the tallest Locomotive or Car and measure its height in the cm.
Add additional measure for assurance of clearance.
I.e., tallest item might be 5.0 cm.
Then add to this using this measure, the height of roadbed and rails; 0.5 cm is assumed for example.
Then 5.5 cm would represent the minimum amount of RISE to be used with the desired %slope to determine the amount of RUN required.
Now one can determine whether he has enough real estate to accomplish the desired %slope.
Example referring to the accompanying graph.
Note that the RISE graph values range from 0 – 2.0 and the RUN values range from 0 – 100 UNITs.
Note also that the graph is linear for both RISE and RUN.
Minimum clearance height of 5.5 cm. This value is then equal to 1 UNIT on both RISE and RUN.
Example #1: Determine amount of RISE for given RUN and any %slope.
Select the desired RUN based of available real estate.
Assume RUN available to be 440 cm.
440 cm divided by 5.5 cm equals 80 UNITs.
Assume maximum clearance RISE allowed to be 11 cm or 2 UNITs.
Then search RISE value for each crossing value on the %slope values vertical to the 80 cm RUN value.
For this example, the 1.5 %slope provides a 1.2 UNIT RISE for the 80 UNIT RUN., or 5.5 X 1.2 = 6.6 cm minimum.
Also, using the 80 UNITs RUN, find the %slope value using the 11 cm RISE line. The crossing is found to be the 2.5 %slope line. One might consider this to be the steepest grade for his train to successfully climb with a desired number of cars coupled.
Example #2, the 3 %slope is desired for the 80 UNIT RUN. Find the required RISE (height) for this %slope.
The graph is linear; thus, the 3 %slope RISE would equal 2 X 1.5% RISE = 2.4 UNIT RISE or 2.4 UNITs X 5.5 cm = 13.2 cm.
Example #2: Determine amount of RUN for given RISE and SLOPE.
Assume RISE = 1.2 UNITs and SLOPE = 2%.
Search the 1.2 UNIT RISE value horizontal to the intersection of the 2% SLOPE line.
The RUN would be down from this intersect to the value of 60 UNITs.
The amount real estate required would be 60 UNIT RUN X 5.5 cm = 330 cm.
In like manner, one could determine %sLOPE by locating the intersect of the given RISE versus the given RUN.
Of course not all measurements will coincide with any graph interest, but the use can then eyeball the desired value between any two intersects.
Al, I certainly hope this is of value to your viewers. I certainly, enjoy all the posts and comments. I also have gained some insight from many of the posts as I continue my future layout. I have a lot of work ahead. Many comments have assisted to reduce some of the work load.
Bruce”
A big thanks to Bruce – it reminded me of Chris’s post: How to make inclines.
And Dean’s: Model train inclines.
Now on to Bob – he sent me this in but it fell through the cracks.
Fortunatley he gave me a gentle prompt, and I’m glad he did too, I enjoyed his vid.
“Al,
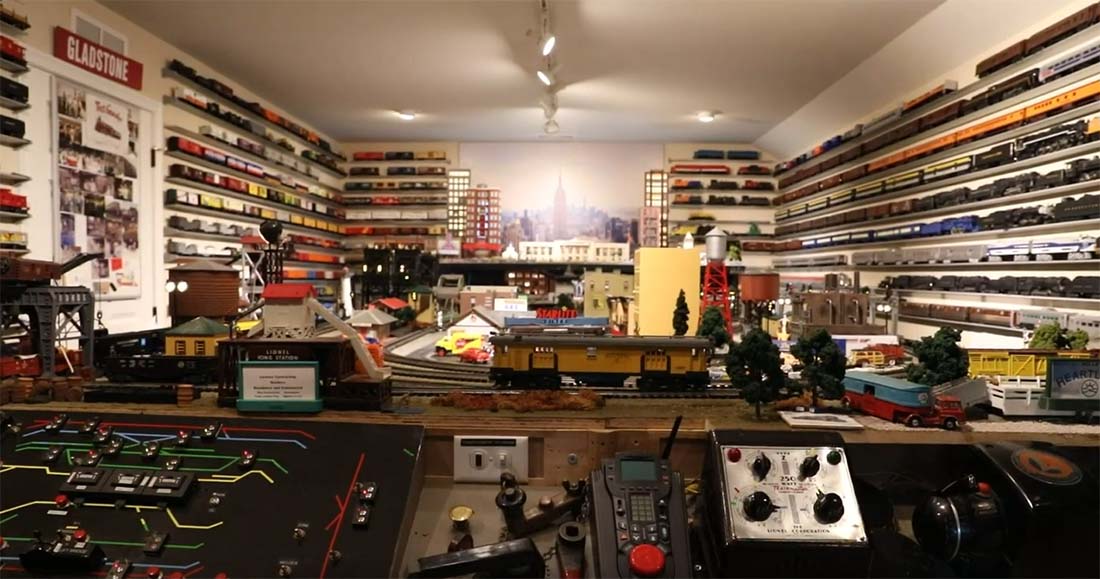
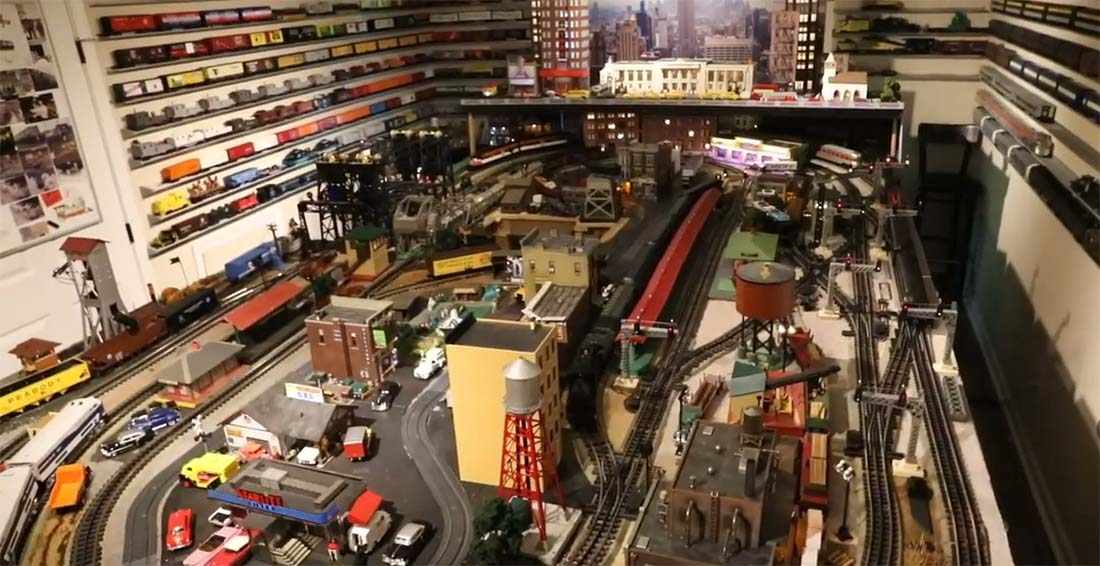
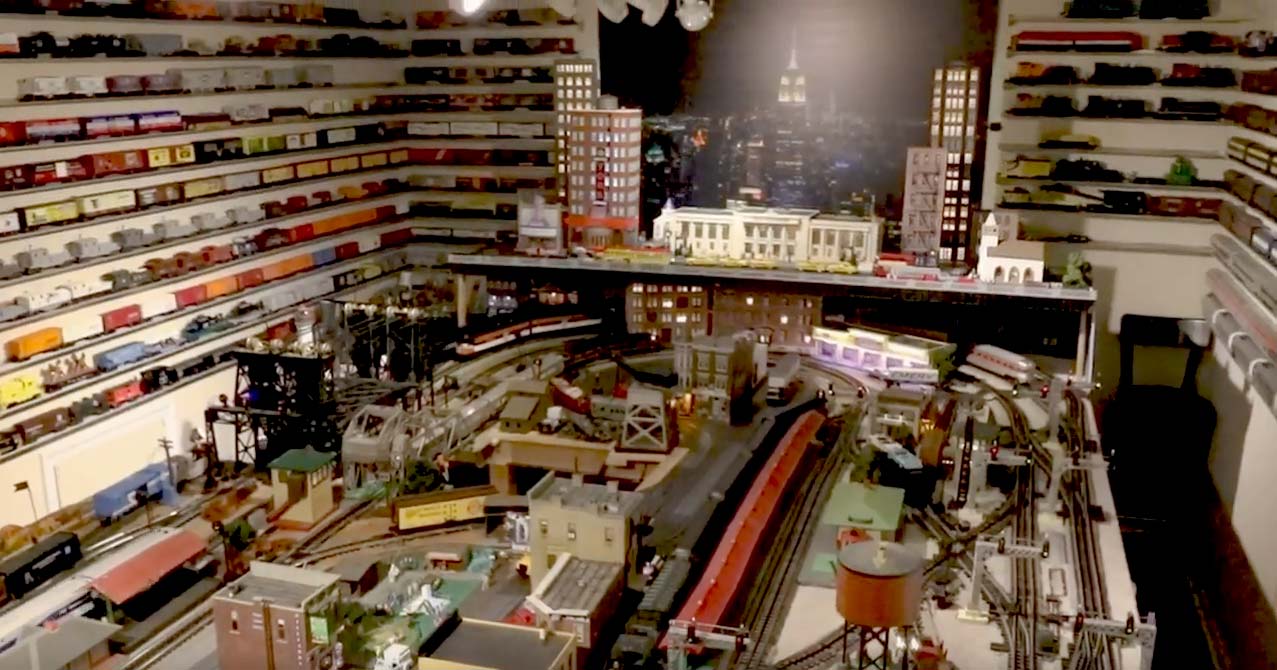
Thanks for all your emails, I find them quite inspiring. This video explains all the features of my layout.
Regards,
Bob”
A huge thanks to Bruce and Bob. What a clever lot you all are.
And if you like this tip, don’t forget the Beginner’s Guide is jam packed with more just like it.
That’s all this time folks.
Please do keep ’em coming.
Best
Al
PS Have you had a look at the new ebay cheat sheet yet?


Wow, what a life times work, I thoroughly enjoyed the film,
WOW! Love it ! Lived in and active. What no Hudson river ? Lol
The Critic
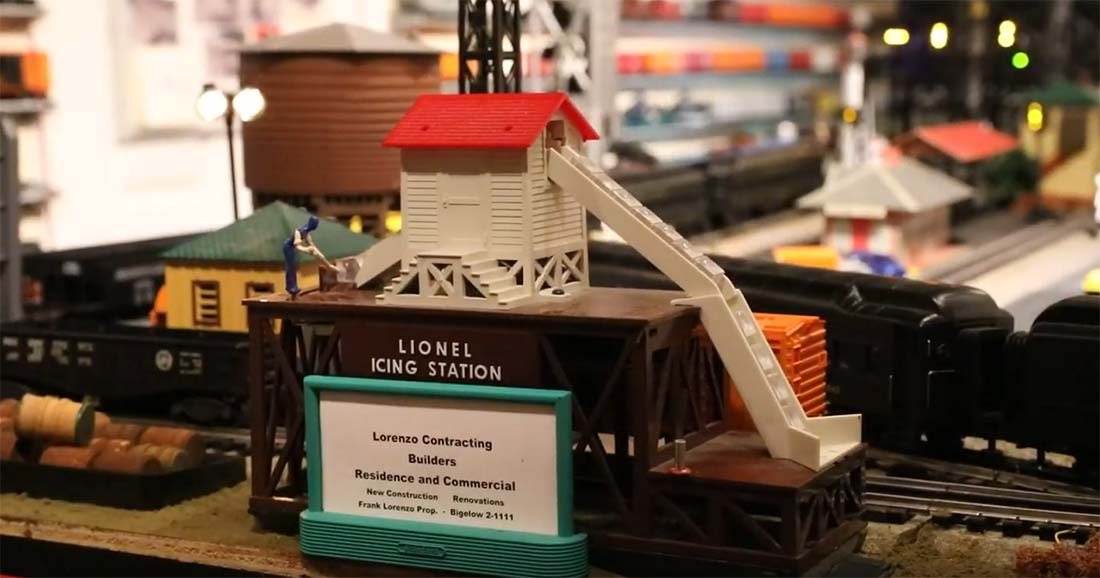
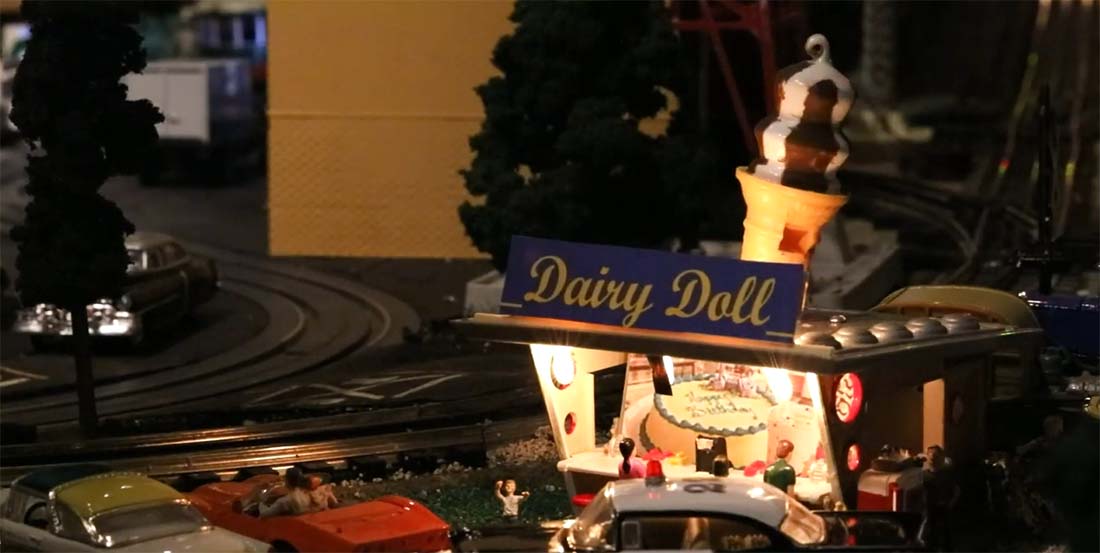
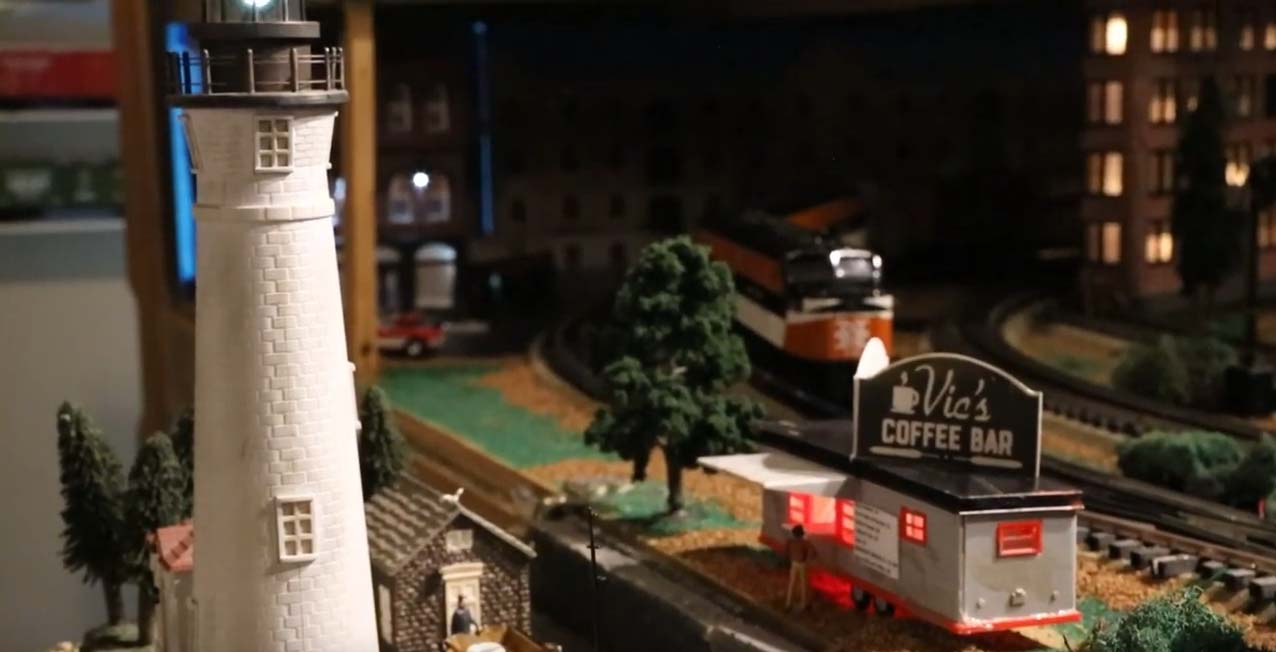
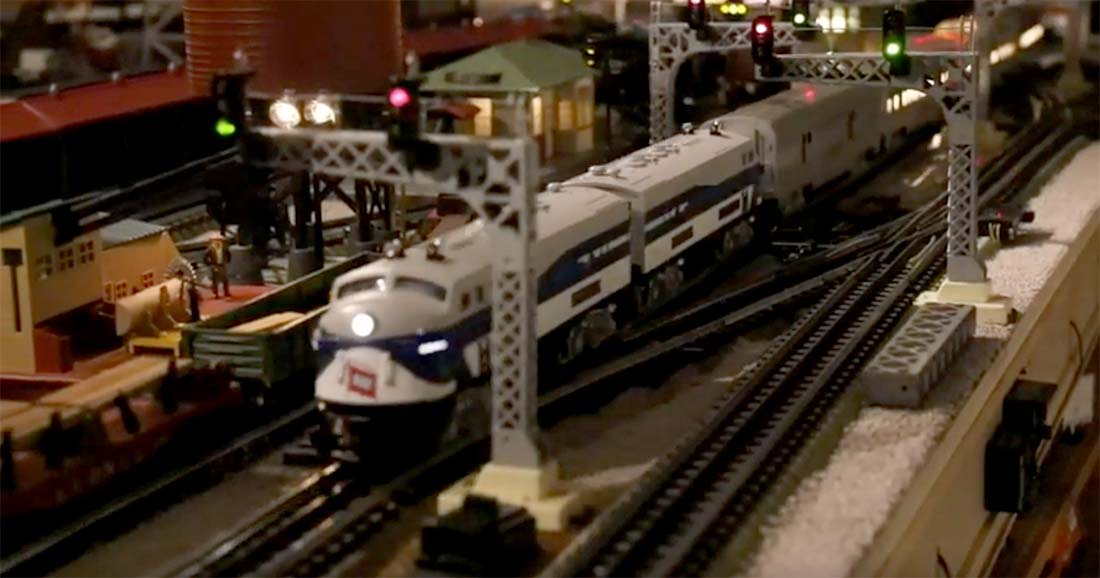
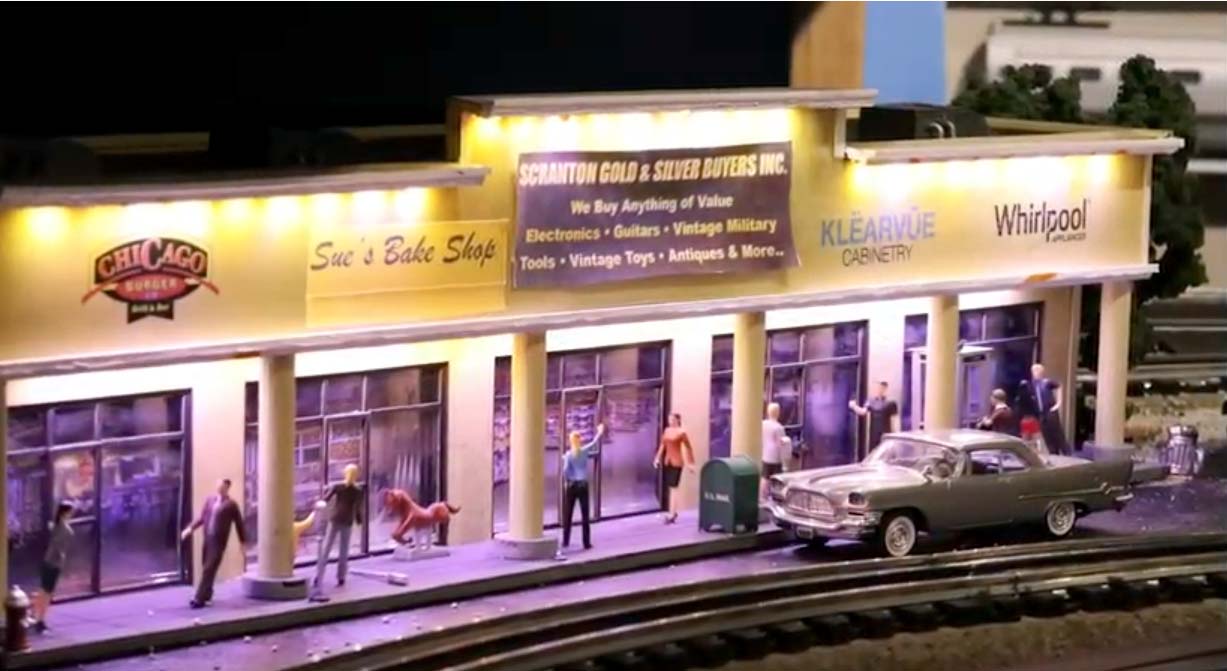
Bob’s layout room has more Lionel in it than my near-by model train store (which is one of the premiere vendors in Canada, with an impressive array of vintage and current-run O scale goods). Very nice detailing of a typical, busy “day in the life”. In fact, the little vignettes look more convincing and realistic than that darn three-rail track and toy-like trains!
Bob, I loved your stories and how you incorporated those experiences into your layout. You’ve motivated me to do the same, perhaps not on as grandiose scale. Time for more planning now!
Bruce, thanks for the simplified rise over run graph. It will prove useful in the coming months.
WOW! If I was just starting out, Bruce’s graph and explanation would have turned me off faster than a speeding locomotive.
In my opinion the easiest way to determine rise is 1/4 inch for every foot (4 feet long equals 1 inch high).. The other way is to use readily available computer design programs and let it tell you what the grade is and whether it’s too steep for a train.
Bob Great video, Very nice collection of O scale well done God Speed to you! Every look into OGR Forum its for o scalers and others.
GREAT. A high rail layout with perfect combo of trains, autos, people, structures,
scenery, history, operating accessories and PERSONALITY. Thanks for sharing.
“Shlack” in NC
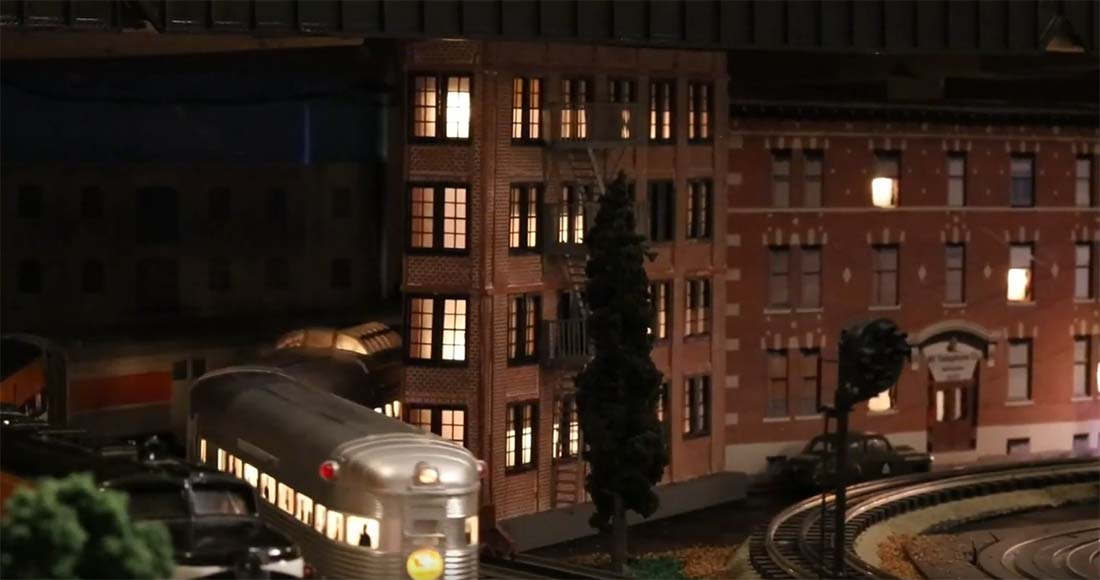
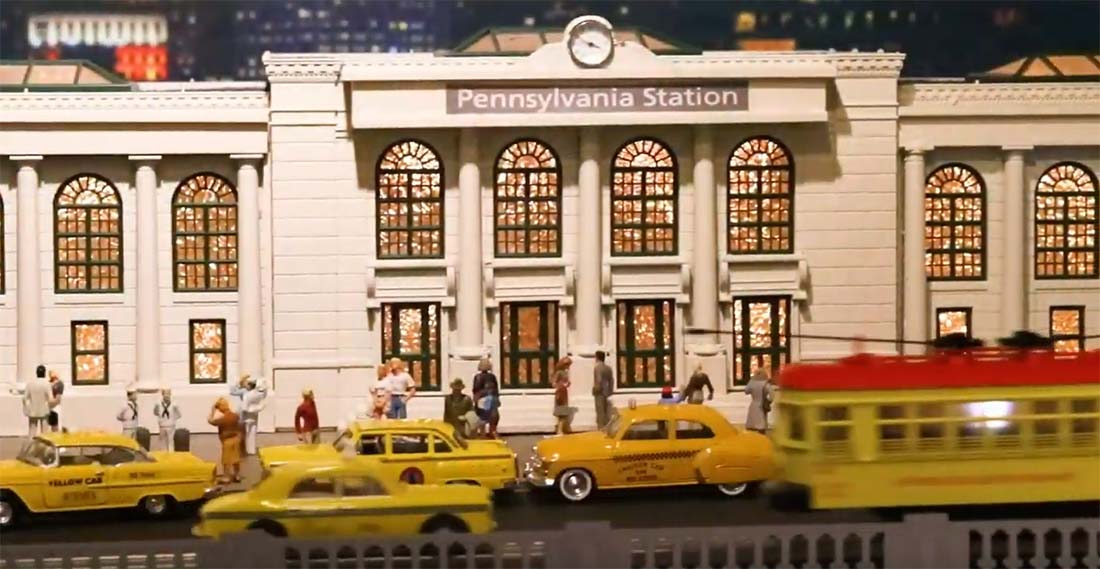
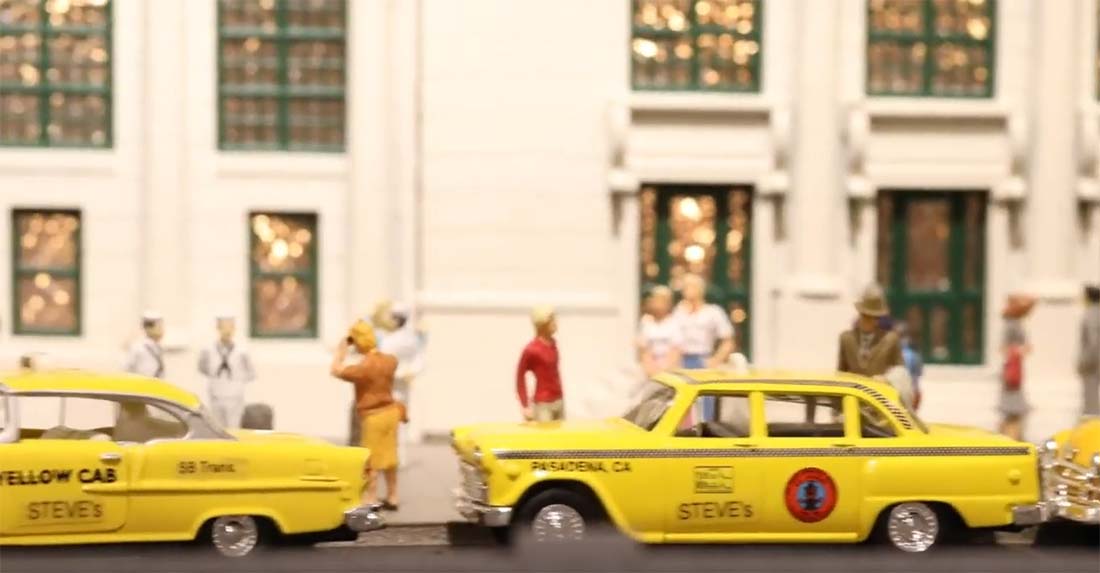
Bob’s Train Layout Room, brought back many memories of my Father and I as a little boy,,, living in a split level house,,., He built a Large 027 and American Flyer S Gauge Layout in the basement of the house.. Enjoyed the narrative Bob made with the excellent video of his layout.. Condolences on the Passing of your Wife and Best Friend in March of 2021 this year.. Who had a great positive influence in your life and share your hobby with you as well. Fitting Tribute keeping the Layout Alive in her Memory. Really liked all the animation of the buildings, industries around the layout. Especially the Penn Station with the Empire State Building City print in the background. Great Still Photos,, Liked the one of the Trolley and the Cab going by the Station.. great motion blur adds realism to the photo.
That was really a beautiful tribute to his friends, all his family, and particularly to his son and his wife which he surely misses.
It was a superbly shot and narrated video. It showed people how this hobby is not about hiding or isolating yourself from people, but celebrating real life and memories.
Frank in Orlando
I watched Bob’s Hi rail video and thoroughly enjoyed it. I am starting to build a layout at age 78 after having one in the 1950’s. Thanks Bob, you gave me a great idea about how to go about putting memories on the layout.
Wow. Bob’s video post is not only a great video, and a great layout, but also a great way for him to post his own video Autobiography and that of his many friends. He really seems like a great man to know. Thanks to him for letting us share in his Life & Times & Trains.
Al – I’ve been following your blog (?) for maybe nine years and this is the first time I’ve posted. Bob’s video was the best I’ve seen on your blog, It really has a deep personal story that is very compelling. Thanks for that.
great job bob, thank you for sharing and a tribute to everyone , this is first time I have written anything , I just started following Al a few months ago , I am hoping to rebuild my O scale layout in next couple years when I retire, this gives me ideas on what to and not do . I save all of Al’s comments into one file so I can go back and look at different ideas , thanks to everyone for sharing . I now live on south side of Medford OR about a year from leaving N TX, originally from the UK
Thank you, Bob for sharing your story. It made my heart happy!