Model train 3D print

George has been back in touch with some good model train 3D print advice.

(If you missed his last post, it’s here: 3D printer model railroad.

A Primer of 3D printing – I learned all about 3D printing from our local library. They have a Maker’s Lab there with wonderful people who teach TinkerCad & then 3D print for you @ $1.00 per hour.

Tinkercad (TC) is a program meant to teach young kids how to create things graphically then use a computer file to send to a 3D printer and the printer makes what the person drew with TC.

TC is rudimentary and yet does some powerful Cad things so if you wanted to make an I-phone holder you draw it up, export it to an .STL file and send that file to another program called a slicer, something that the printer requires & interprets, and the 3D printer goes to work making that item.

A 3 step process – draw or download something, slice it, print it.

A 3D printer works by adding molten plastic layer by layer exactly where that slicer program tells it to. An analogy is if you had a tube of toothpaste, with an infinite supply of paste, and you made a circle of paste on the table and exactly made the next layer on top of the other you’d have a circular wall made of paste X layers high. That’s how a 3D printer works only with a paste size of .07 mm and an exact plan location so it can make any shape nicely & smoothly of a material that cools quickly into a hard and strong substance.

There are two types of printers- filament & resin. The filament type takes a spool of plastic line – looks exactly like a hedge trimmer line-melts it, and forces it thru a nozzle unto a plate and builds the work layer by layer.

The resin type has a reservoir of liquid resin that is forced thru a nozzle and similarly builds the work. The resin type requires handling noxious chemicals but can perform more precise work. We will only concentrate on the filament type.

You don’t have to draw in CAD in order to 3D print something. There are a gazzilion items on the net that you can download. Selected items should be in either .stl or .obj format.

If the size and aspects are just right then send it to a slicer program which the printer needs in order to print. The slicer program can be free and if your Library 3D prints you don’t need a 3D printer.

The problem with this is the only mod you can make is to increase or decrease the size by % in the slicer program but that may be all you need. I use Prusa as a slicer program but there are
others.

TC may be useful to some who want to create some things or do some minor mods to .stl files.

If you require precise dimensions best go elsewhere because this simple program will frustrate you. I have created things in S ( 1/64 ) scale that I couldn’t find anywhere and used TC for simple stuff.

An .stl file is similar to a pdf made from a CAD file. It shows all the aspects of the original but you cant manipulate it like you can with CAD. So if you downloaded an .stl file of a wooden pallet from the net, put it in TC, you may modify the outer dimensions, crop a piece of it, add something to it, but you cant change the parts of the item. In many cases this is all you need.

SLICER PROGRAMS

Once you get into these programs you’ll realize what a printer needs in order to produce what you want in quality and speed for your model train prints. It is here that some assistance from an experienced person is helpful. I had my Library folks help out because this process does need tweaking until all is right with settings.

The first premise is that a nozzle must feed filament unto something. If you take the toothpaste analogy and want to extend the wall outward somewhat higher up there is nothing but air below and that paste layer will just fall to the table. The slicer program will put a support where a layer wants to go and thus no air will be under a nozzle. Supports, adhesion, thicknesses, and numerous instruction sets are in the slicer program and it doesn’t take long to learn what has to be done. So an .stl file goes into the slicer cruncher and out comes a gcode file that the printer
needs to function. That’s the process.

PRINTERS

There many brands and this lesson is for filament type only. With some assembly the printer should be placed on a stable platform. Filament should freely come off the spool, area should be free of dust and moisture, lighting adequate, and if noise is an issue then that should be addressed.

I find that the build plate requires the most attention, extreme care in work removal that is stuck to the plate is required by using non metallic scrapers, and 90% alcohol used to keep the plate
spotless. Once the setup is done only occasional light oiling and keeping the printer clean is all that is needed. The first layer adjustments per the manufacturers instructions is all that is required at first.

Occasionally there will be a nozzle clog, or sometimes poor design of the work, some glitch in the gcode, or an adjustment in the slicer program that creates a crash but the printer in these cases is not at fault. There may be some reconfigurations of the work required and its nice to have some buddies to compare notes.

Just because it all looks good in CAD doesn’t mean it will print well. These are causes for most failures or disappointments in printing.

Only buy from an outfit that will respond to your inquiries and has a good support record with parts & manuals. Chineziem is out.


Model train 3D print:

FILAMENT

I wont go into all the aspects of the varied filament types available here- the net is full of info and the specs. The PLA type is what I use for modeling. One important factor is PLA absorbs moisture and when it does it may not print well so drying it out may be necessary. PLA will melt in a hot car and there are stronger filaments available. Various colors are available and a decent manufacturer is recommended- cheap here is not the best way. Some colors of the same brand may print differently and the special types such as wood based or shiny may require a totally different setting in the slicer program.

CONCLUSION

I have had a grand time playing with TC, designing stuff, planning things that others don’t have, I love S scale and American Flyer and there so few things in that scale so I now can make them. I
firmly believe that without counting my time I‘ve made things cheaper than purchasing, and this has expanded my Hobby. Now I think differently and with a full metal shop, I may 3D it instead.
Making people in S scale is a bear. Resin printing is much better than filament for figures.

You’ll never get facial detail in filament but I will not invest in a resin process because of the ventilation and environment required so people detail will suffer. May have to buy some stuff.

My criteria for 3D CAD is it must be free-forever. I hate cloud based stuff, so I’ve limited my choices and at my age learning new CAD is brutal. I am well versed in a plan called Nano-cad but the 3D is too expensive. FreeCad is torturous- I just cant grasp it.

All serious modelers should think seriously about 3D printing.

George”

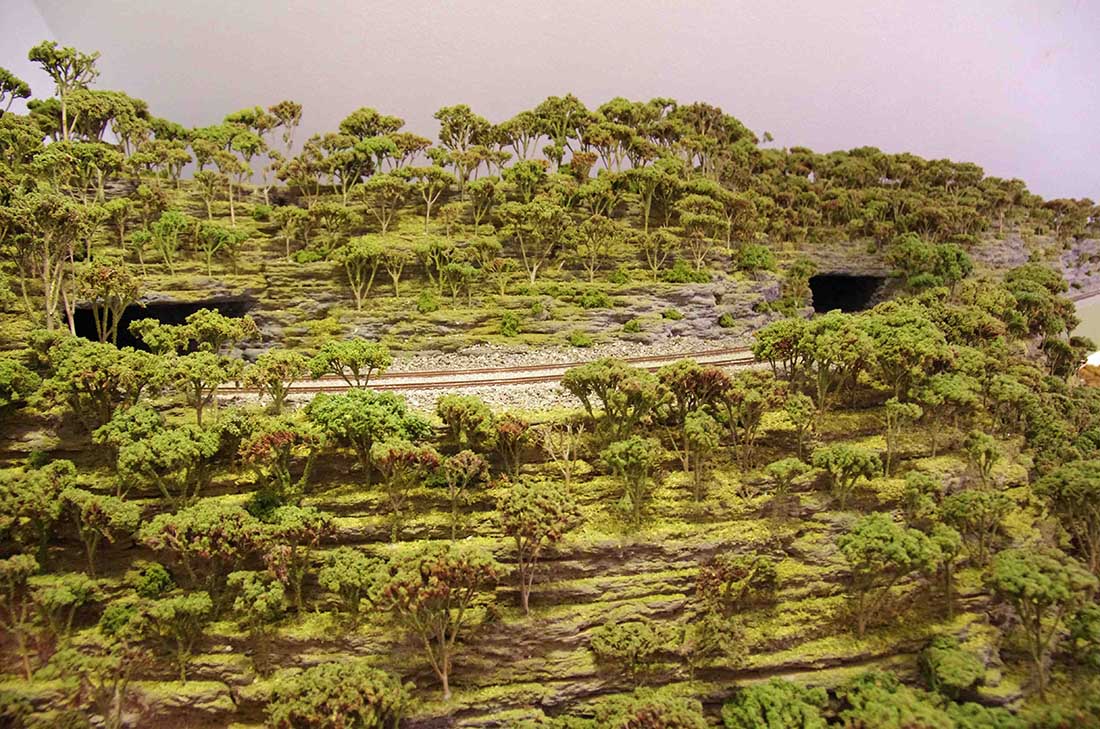
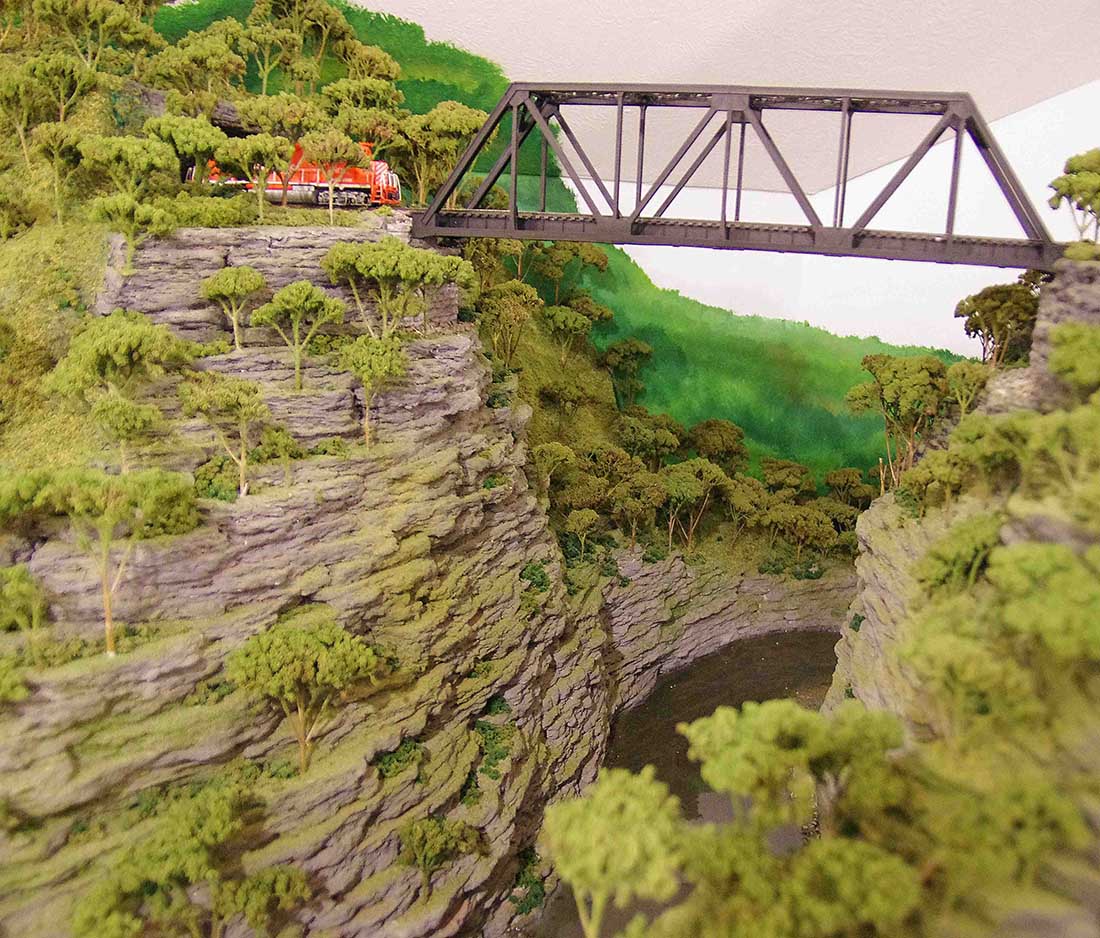
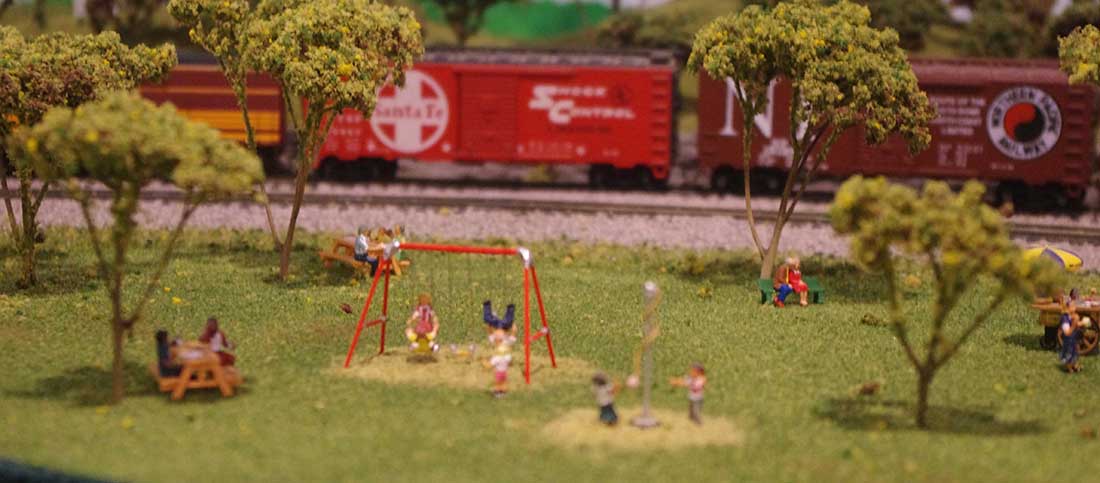
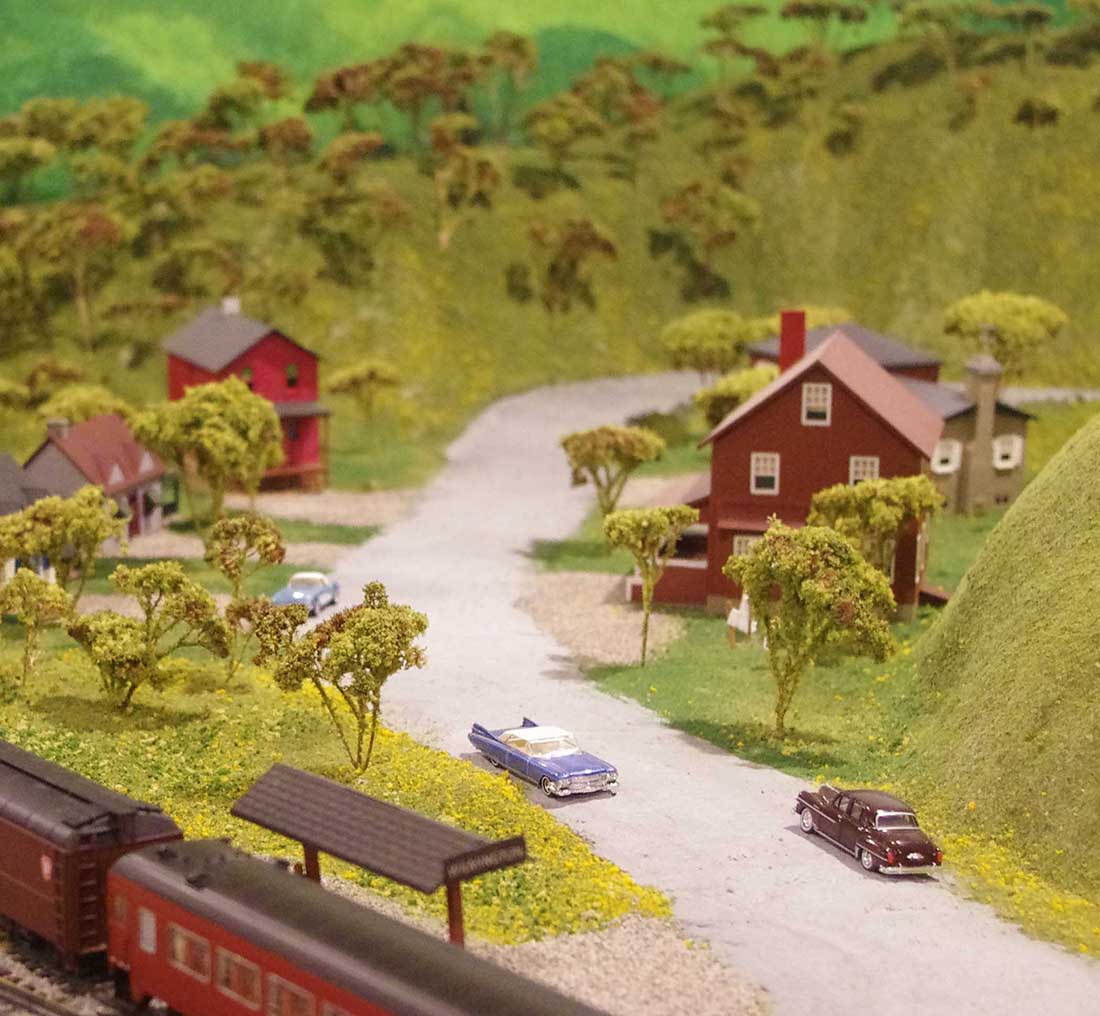
A huge big thank you to George for putting this model train 3d print overview together – I thought it would be fitting to show some of the 3D posts too:

3D scenery

3D printed O scale

3D printed O scale

3D model train

3d print model train

N scale 3D printing.

HO model train printing

N scale passenger station

That’s all for today folks. A big thanks to George for his model train 3D print advice.

Please do keep ’em coming.

And if today is the day you get started on your layout, the Beginner’s Guide is here.

Best

Al

PS Latest ebay cheat sheet is here.

PPS More HO scale train layouts here if that’s your thing.


model train answers

3d printer model railroad – George’s

George has been keeping himself busy with his 3d printer model railroad files – have a look at what he’s done:

“Greetings to the Commander & Chief.

I hope this finds & yours well.

A back that wont cooperate, the very cold garage, financial restraints and a critical re-alignment in the garage has prevented progress in the construction phase of my layout.

So I've been 3D cadding stuff indoors so that when the construction does begin I have all this stuff ready to go to.

For instance I just completed the Stone Koe-tahje ( cottage) and now it has a gas meter, electric meter, barbeque grille, back steps, and front porch.

Pics below:

printable building

printable building

So I got this not so bright idea that since I spent a lot of time creating this stuff such as these with a 3D printer:

3d printer model railroad

3d printer model railroad

3d printer model railroad


There are a bunch of them like crates, pallets, junk etc. Some have been taken from the net & you’re supposed to recognize the authors, which I did not, so no one can use them except for their own layout.

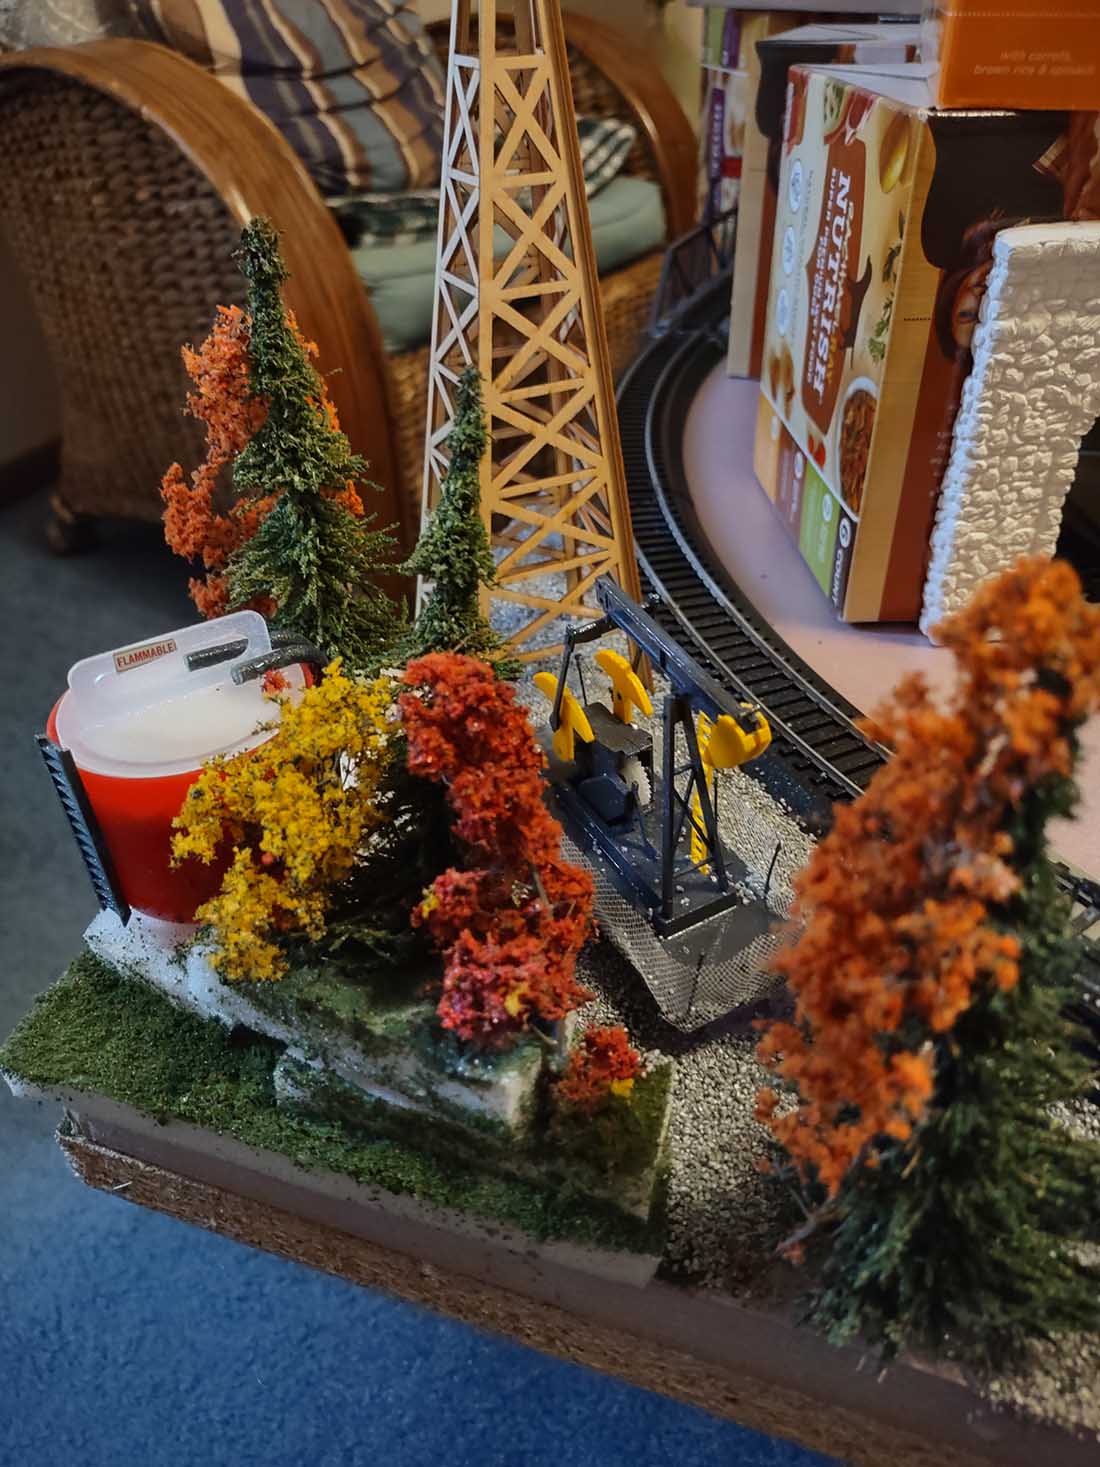
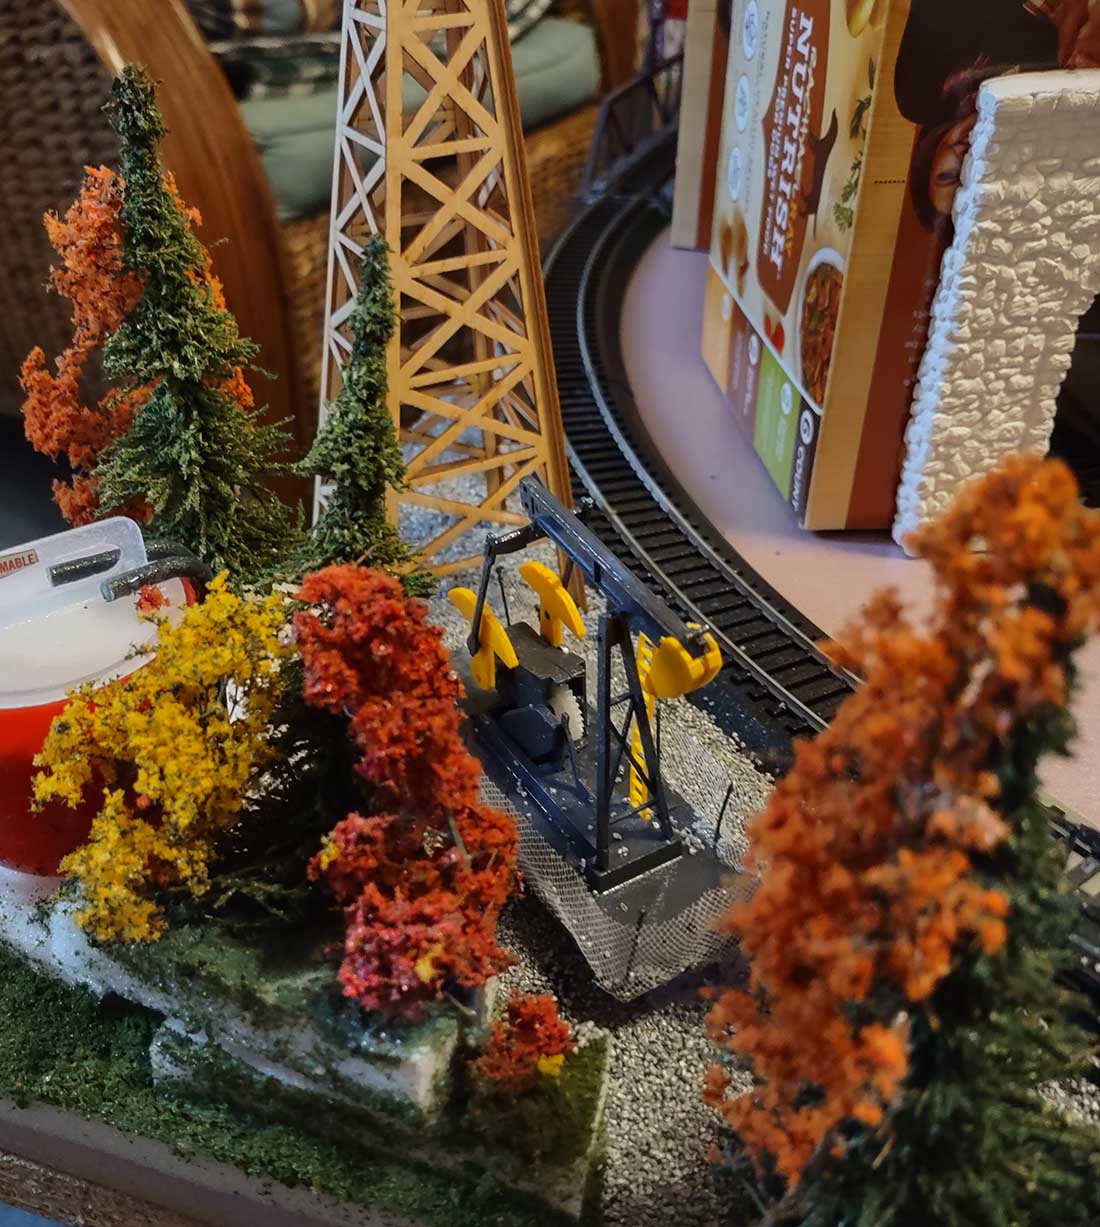
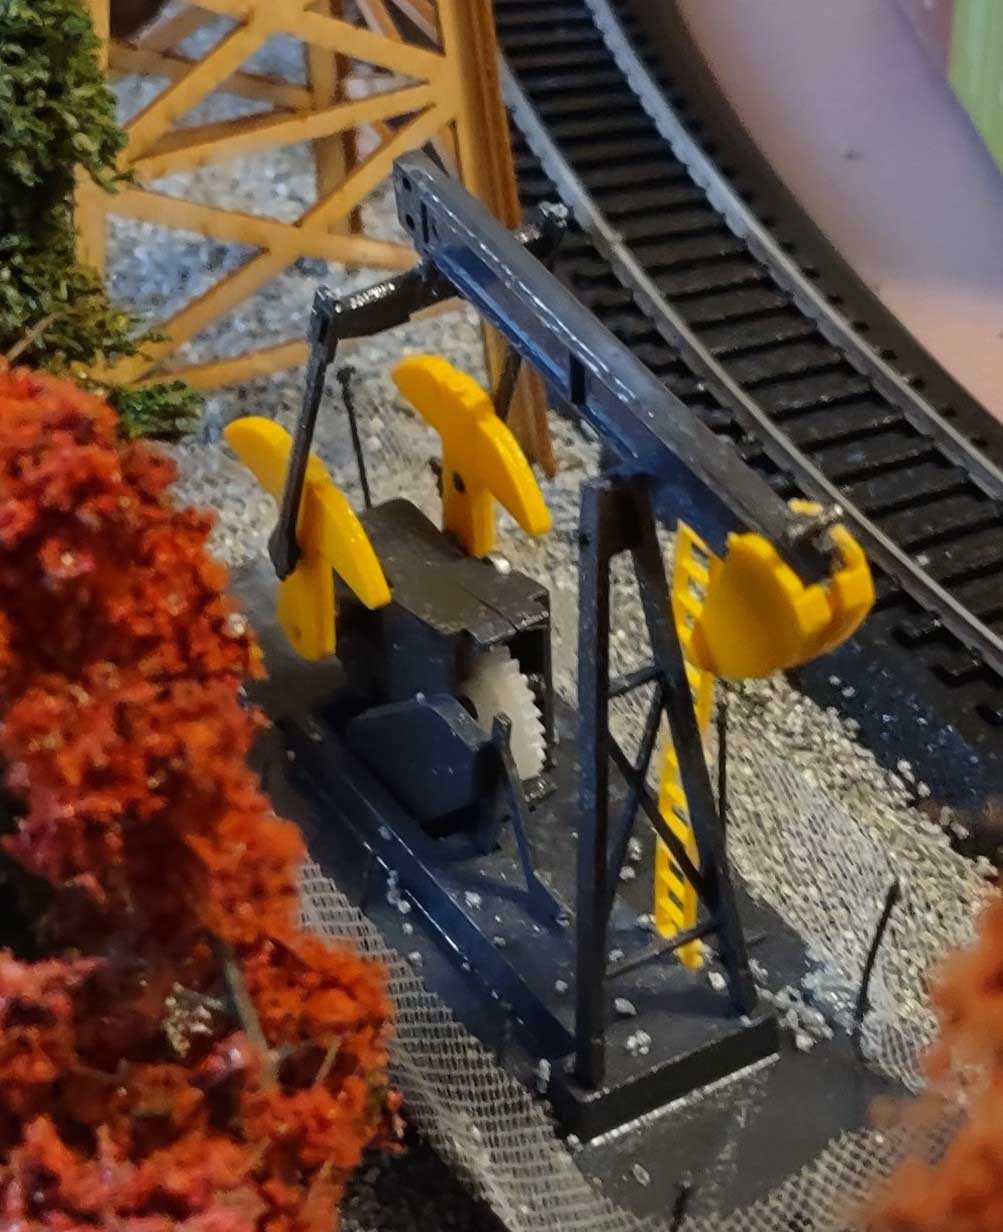
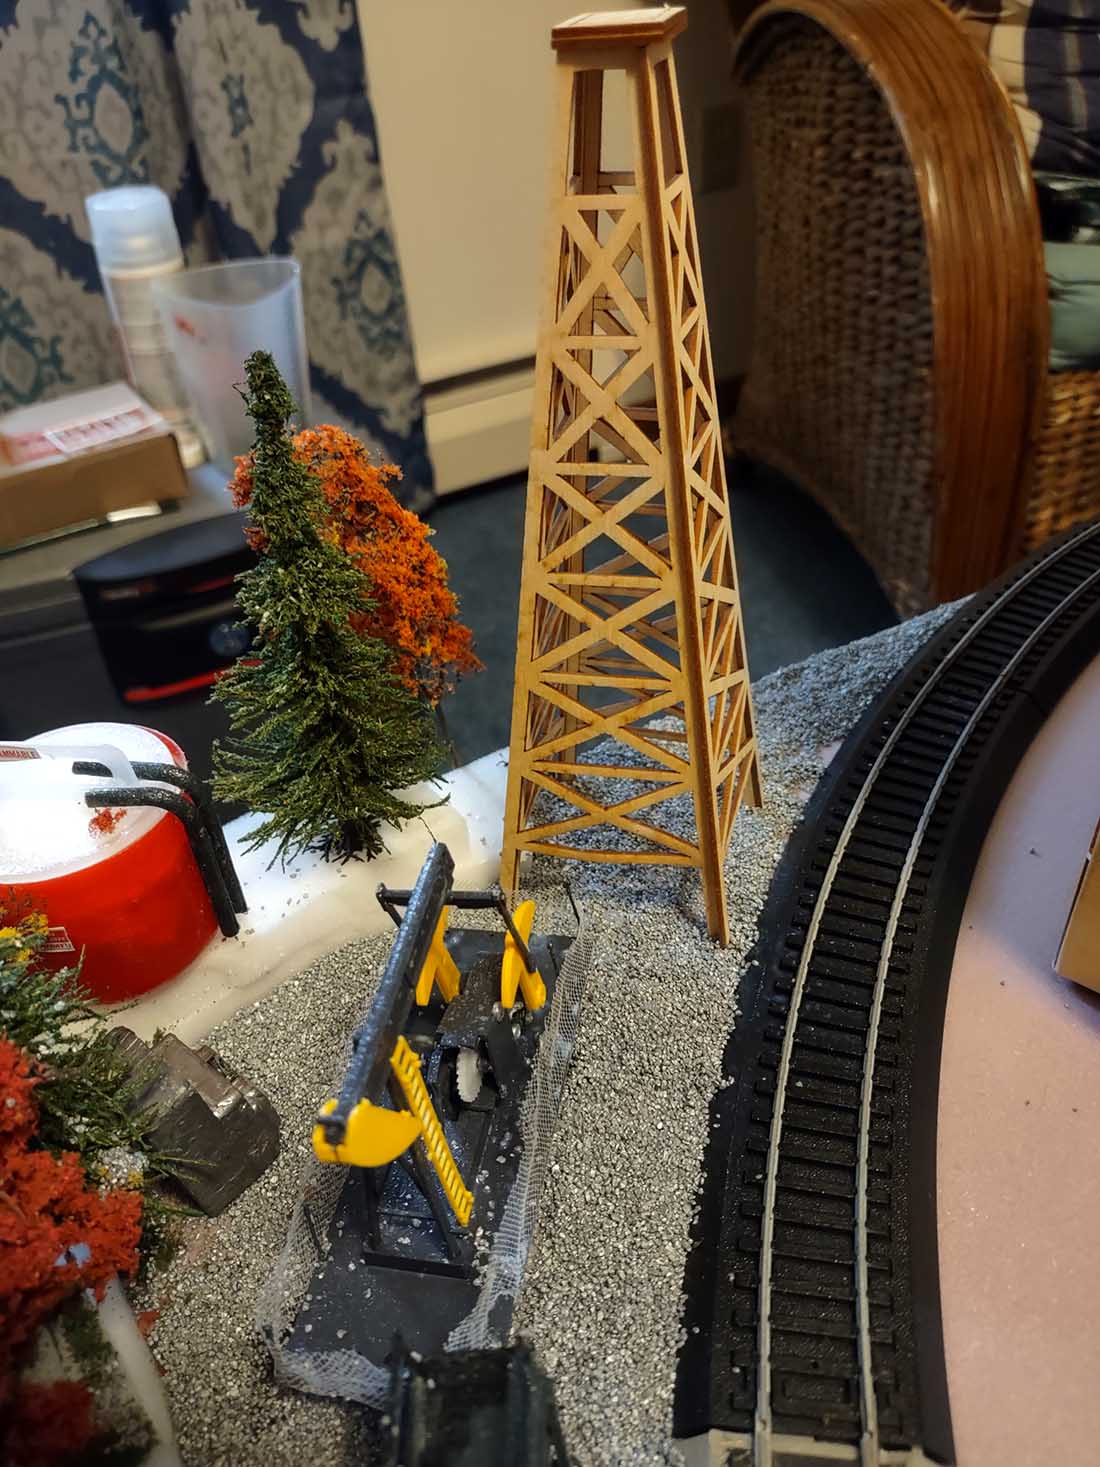
These you see are those I created and so are free to do whatever. BTW the crossing signal will function with IR detection & a servo motor all thanks to John Frye (A href=”https://modelrailwaylayoutsplans.com/model-train-ir-detector/”>Model train IR detector) and the oil well works great.

I don’t want to make more work for you- Mr 2-a-day- so I thought a site maybe where we can exchange files would work. I wouldnt know how to do that.

You have been a major factor in my life and only friends can do that so by definition, though I never met you, I consider you a friend.

God bless

George”

A huge big thanks to George – his comments on the posts always have me smiling from ear to ear, so very happy to have George as a friend.

George’s last post was an excellent ‘how to’ on putting a crossing signals together:

Model railroad crossing.

Unsurprisingly, more 3D printing posts are creeping on to the blog. The one I always think of is Grant’s:

N scale 3D printing.

That’s all for today folks. Thanks to George and his take on 3d printer model railroad files – I’m sure it’s something we’ll see more and more of over time.

Please do keep ’em coming.

And if today is the day you get started on your layout, the Beginner’s Guide is here.

Best

Al

PS Latest ebay cheat sheet is here.

PPS More HO scale train layouts here if that’s your thing.


Kids model train

Mike has been in touch – his theme is a kids model train layout.

It’s another great example of your layout can be whatever you want it to be:

“Greeting, Alistair-

Like many I would guess, I begin each morning propped in bed sipping my morning coffee (or perhaps tea) and reading the latest from your blog. Just pure pleasure to see the ingenuity and artistry of so many modelers.

Here’s my latest effort- not terribly ingenious or artistic-but it is a complete success. The theme here is fun. My 4 year old grandson is mad about trains (and garbage trucks). He lives in Benecia California and every day he gets to hear the California Zephyr and numerous other freight and commuter trains roll along the banks of the Straits of Carquinez headed for San Francisco.

So I set out this winter to build a fun model train layout using some of my old Lionel rolling stock that the kids could play with.

We had a huge family reunion around the solar eclipse this spring so we had a half dozen youngsters playing with this train- they ran the wheels off it, and not one problem! (and no, I don’t work for Lionel)

It was fun to build – nothing is particularly to scale, the colors are vivid, and it’s more playful than realistic. But I’m happy to say- the kids loved it, and I’d like to think it may have sparked an interest in model railroading that will stay with them.

Best Regards,

Mike from Indiana.”

lionel model railroad figures

kids model train theme

kids model train theme

kids model train

lionel layout

lionel model railroad


Kids model train:

model railroad lionel boat figures

lionel model railroad house

painting model railroad backdrop

kids model train


A big thanks to Mike for sharing his kids model train layout. I suspect in years to come the memories from this layout will always raise a smile from both generations.

And now on to Paul, who also shares a fine a example of a layout can be whatever you want it to be.

(Paul’s last missive is here: model train room.)

“This was my first attempt at building a model railway (and a house!) and I was so pleased with how it turned out I have not changed or added anything to it.

I do however miss the building of it so I have taken to making model aircraft from kits, The 1.72 scale fits well with OO, so they are hanging from the ceiling in the train house. I will send a photo of them soon.

There are 32 planes now a few of which were salvaged from the 50s/60s. They needed some repairs but that’s half the fun.

model train plane

 model railway plane

model railway room

It’s important to have access to all areas of the layout. A friend of mine tried to make a railway and spent time making his hill with a tunnel, then he had a derailment had had to pull the whole thing down to reach the train. The second picture is the answer. I learnt that before I even started.

mode train tunnel

model train access

Once again many thanks to you Alastair and to all the people for their lovely comments.

Paul”

That’s all for today folks. A big thanks to Paul and to Mike for his kids model train layout.

Please do keep ’em coming.

And if today is the day you get started on your layout, the Beginner’s Guide is here.

Best

Al

PS Latest ebay cheat sheet is here.

PPS More HO scale train layouts here if that’s your thing.