Model train starter set

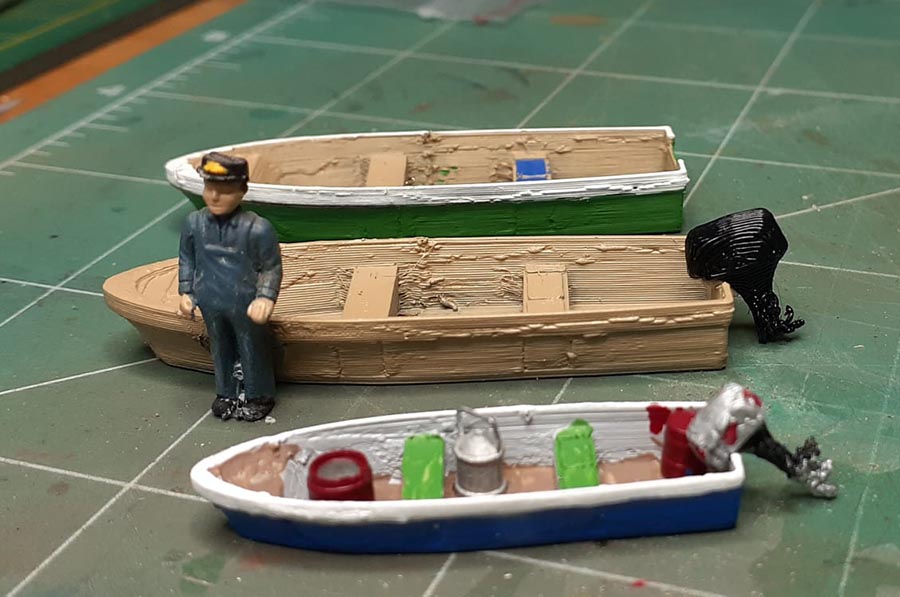
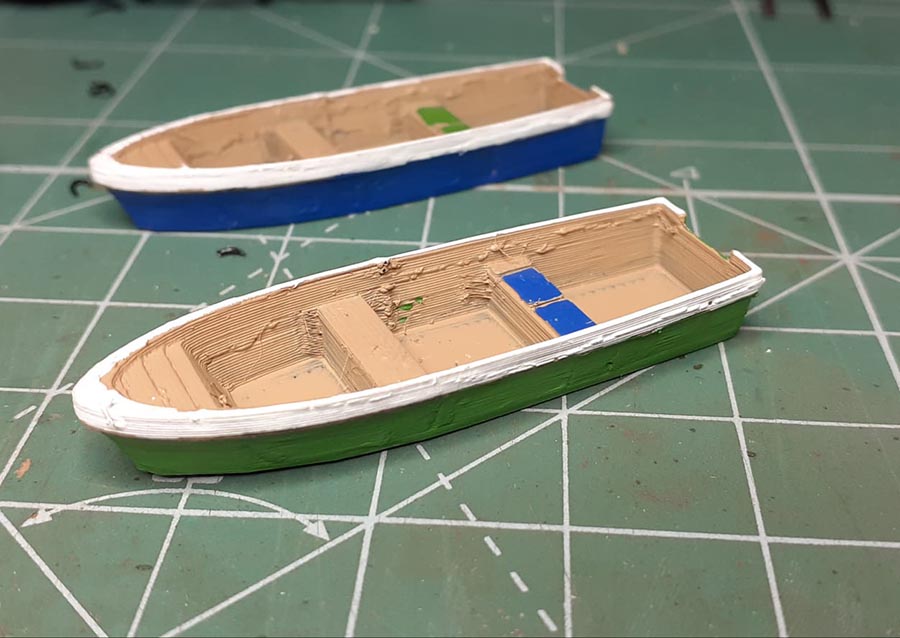
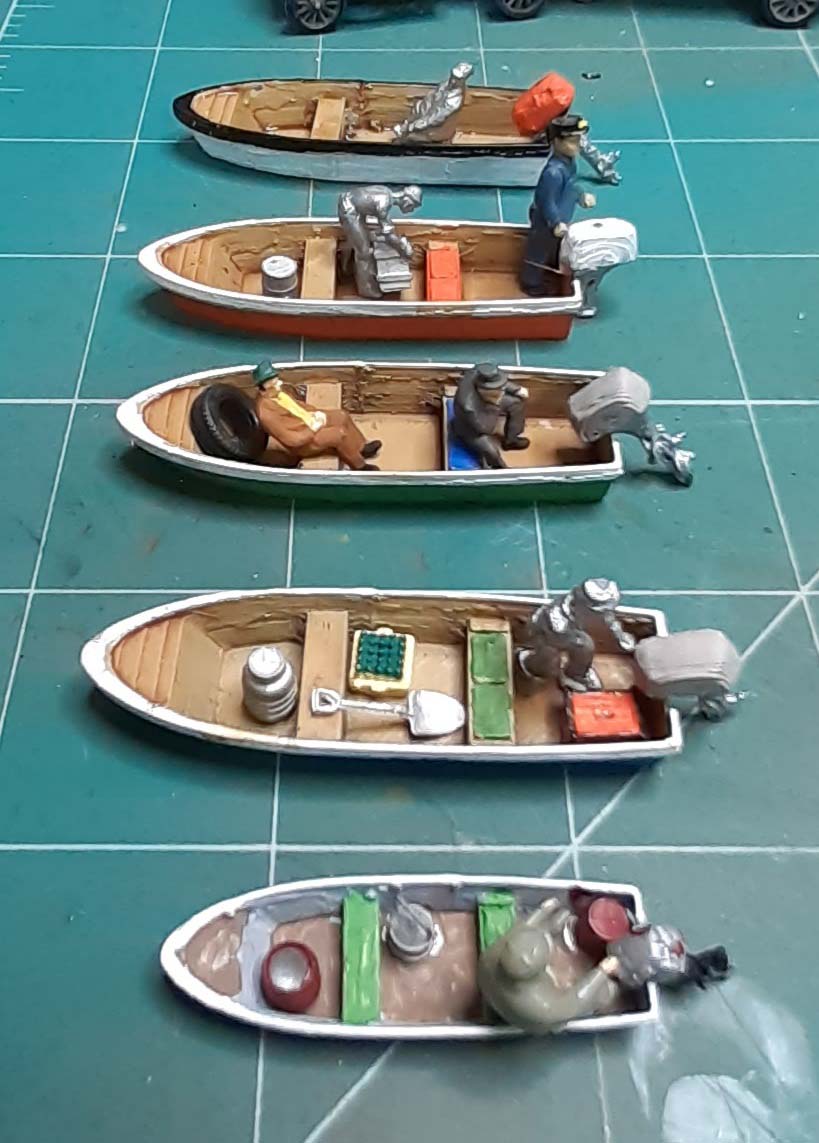
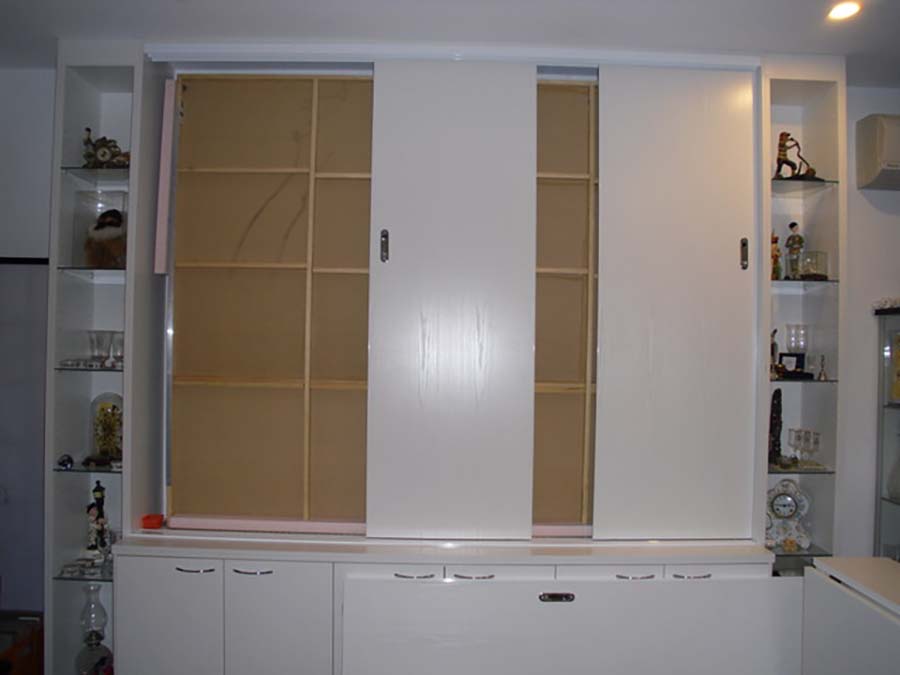
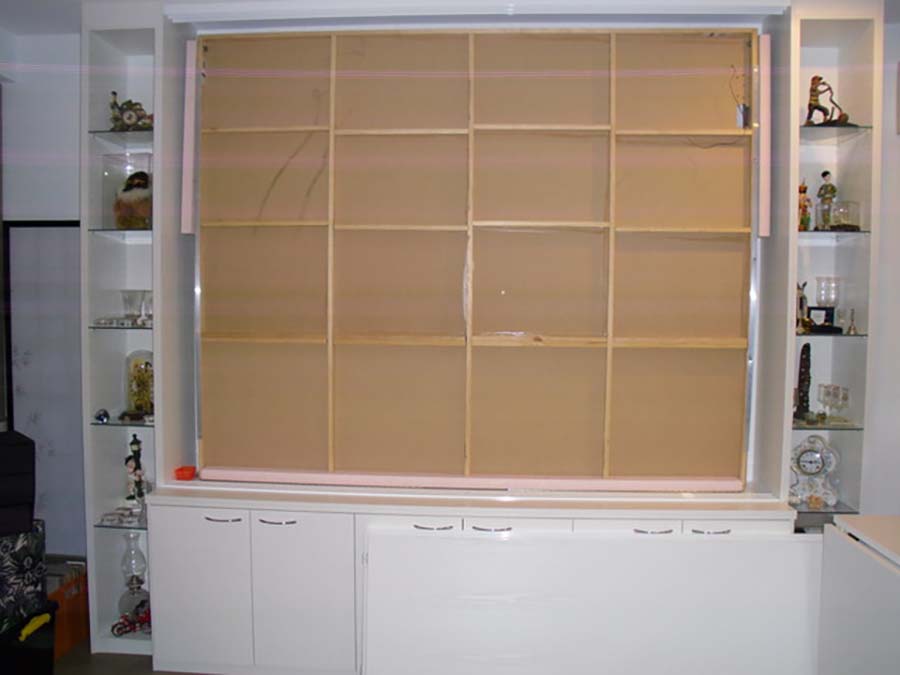
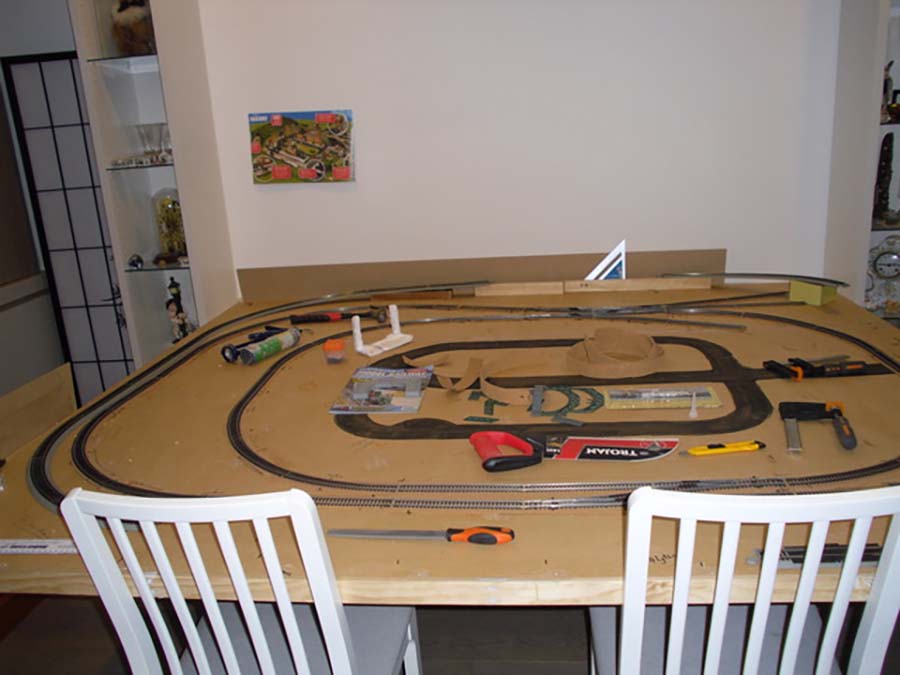
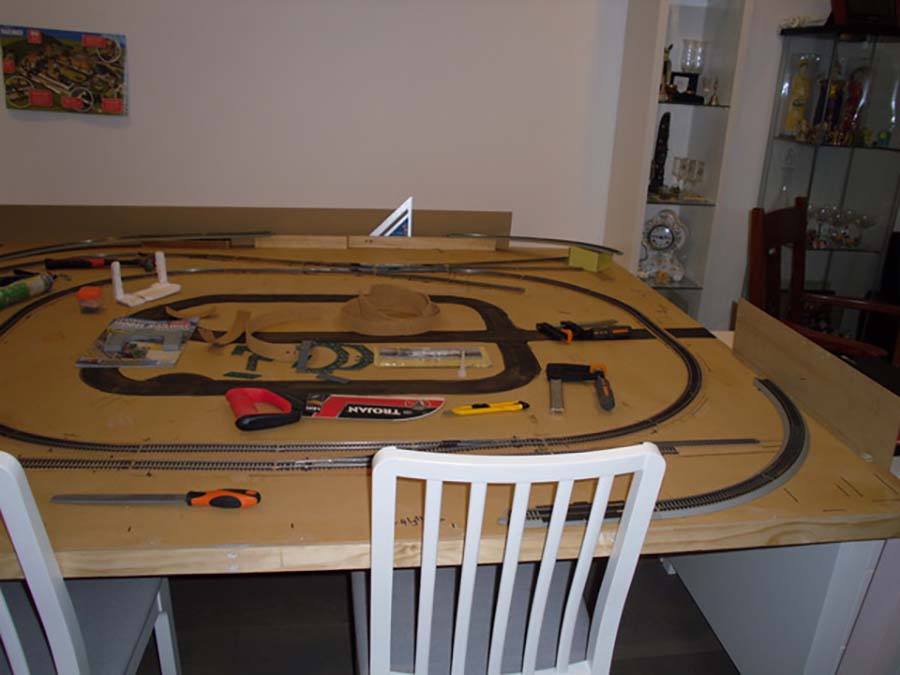
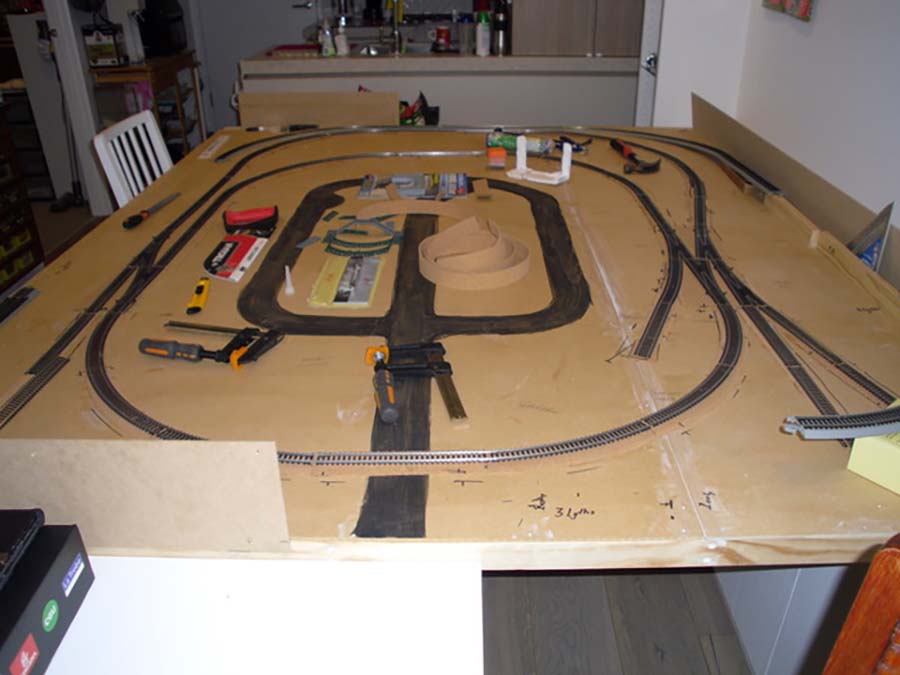
Starting with Steve’s layout today – which really is like a model train starter set.

As a rule, I don’t usually post when people only send in pics. A little narrative or back story adds so much to the post.

But Steve pics, focus on my favourite topic – making a start – so I thought I’d make an exception:

model train starter set

model train starter set

model train starter set

model train starter set

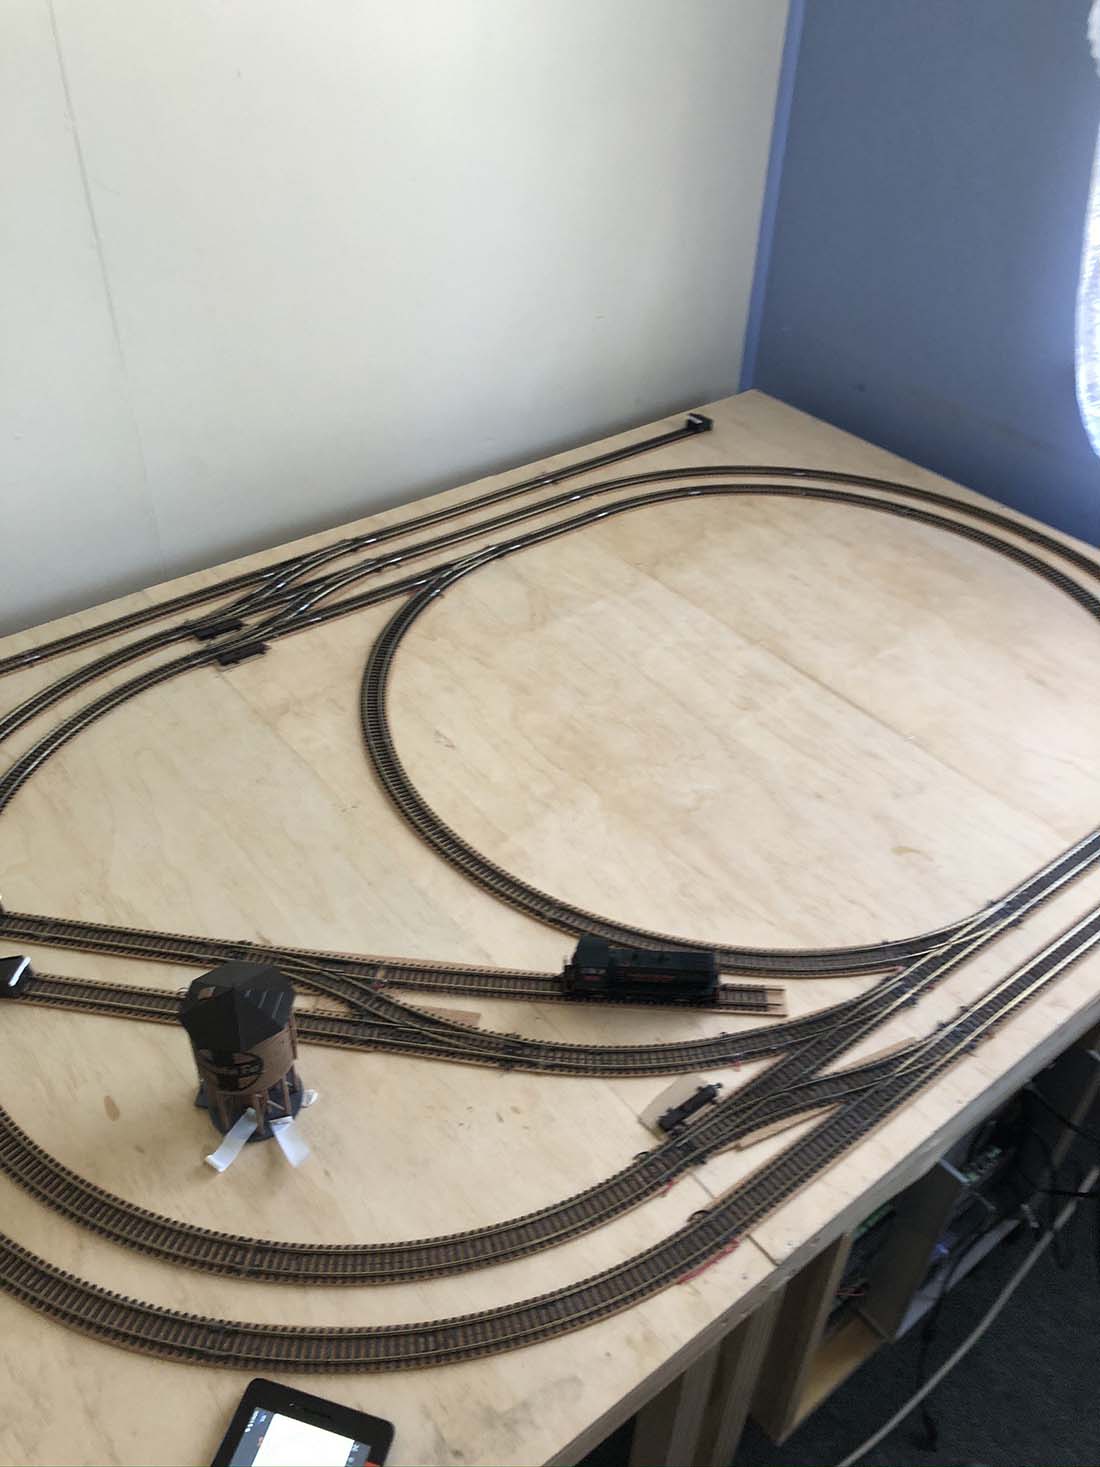
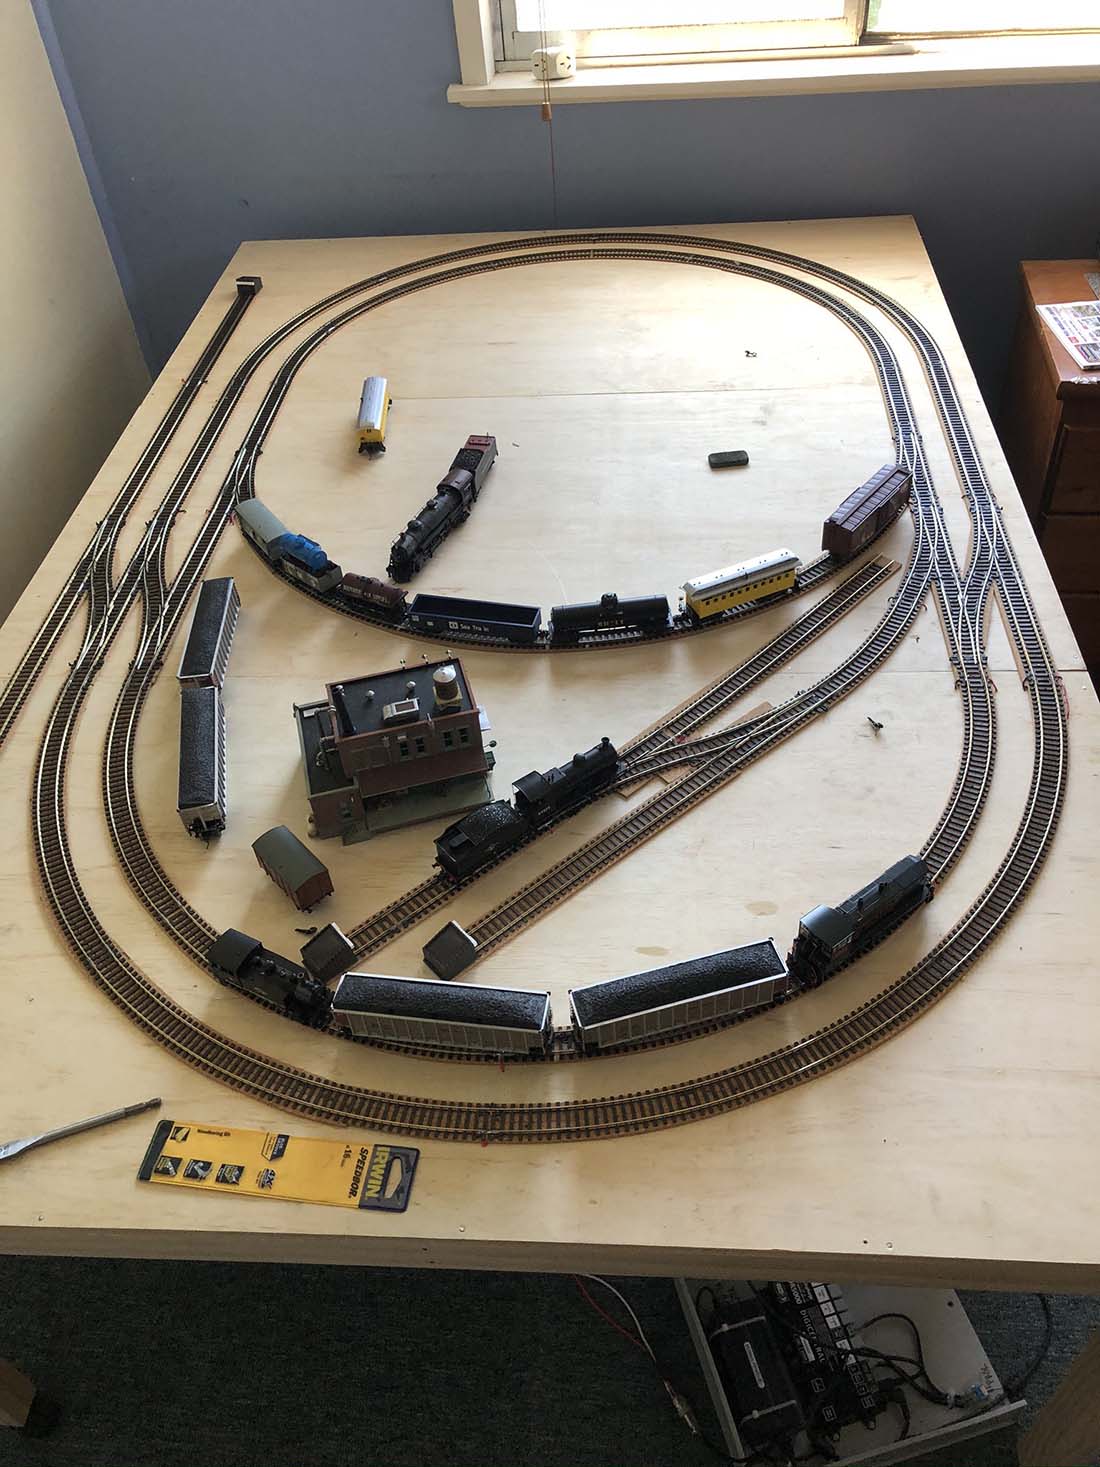
I think a model train starter set is a great idea – anything that gets you laying tracks and getting the feel of what needs to be done and why is a good thing.

And talking of making a start, I recently did a little survey on some of you.

To my surprise, some of you didn’t know there was Beginner’s Guide to help you make that start. So if that’s you, here it is.


Now on to Paul:

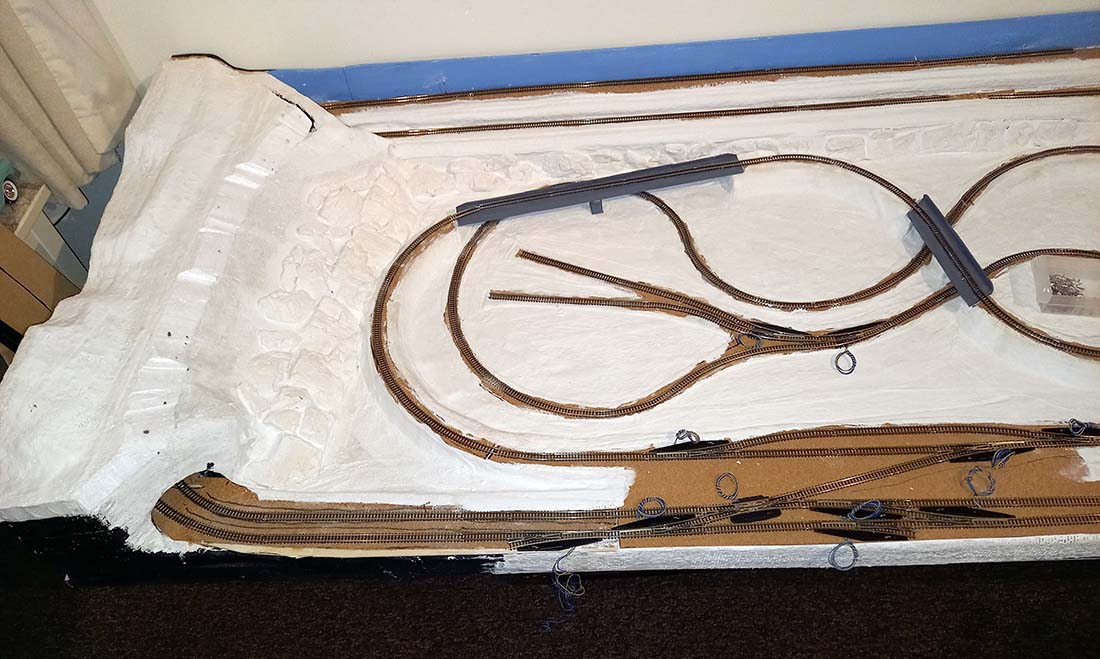
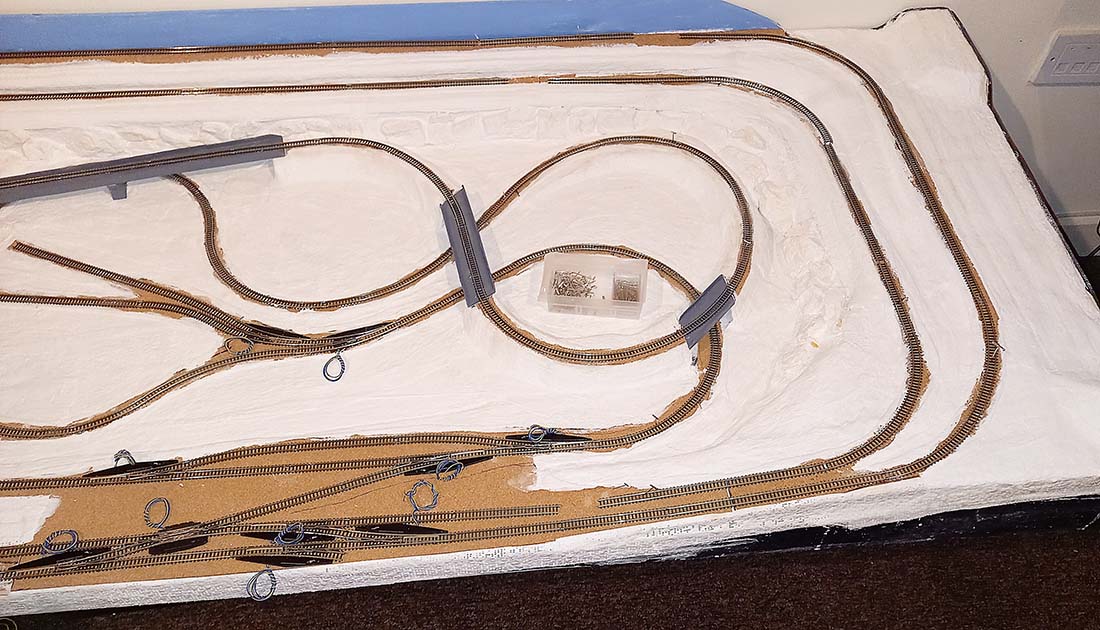
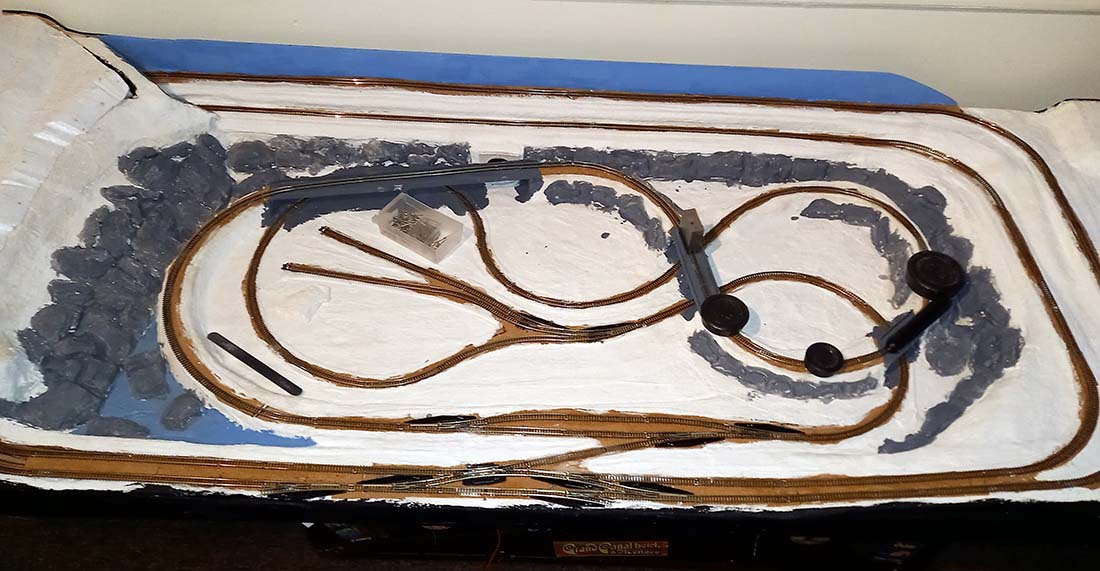
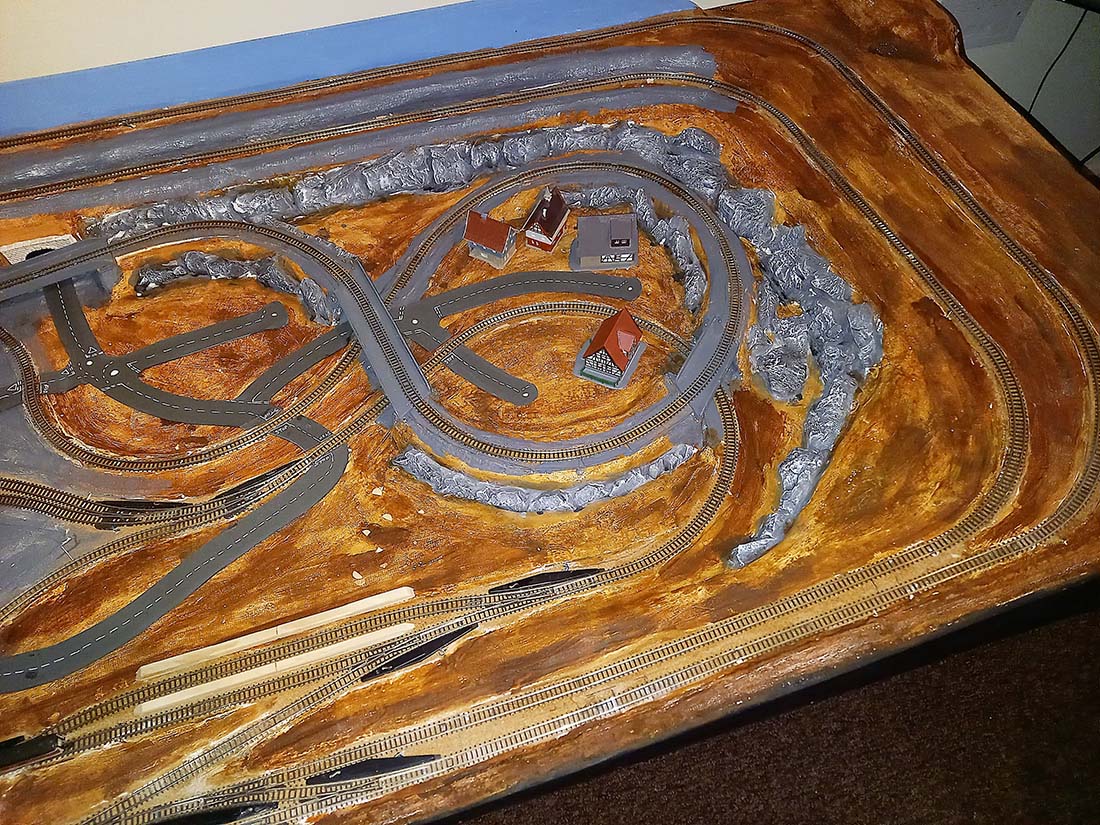
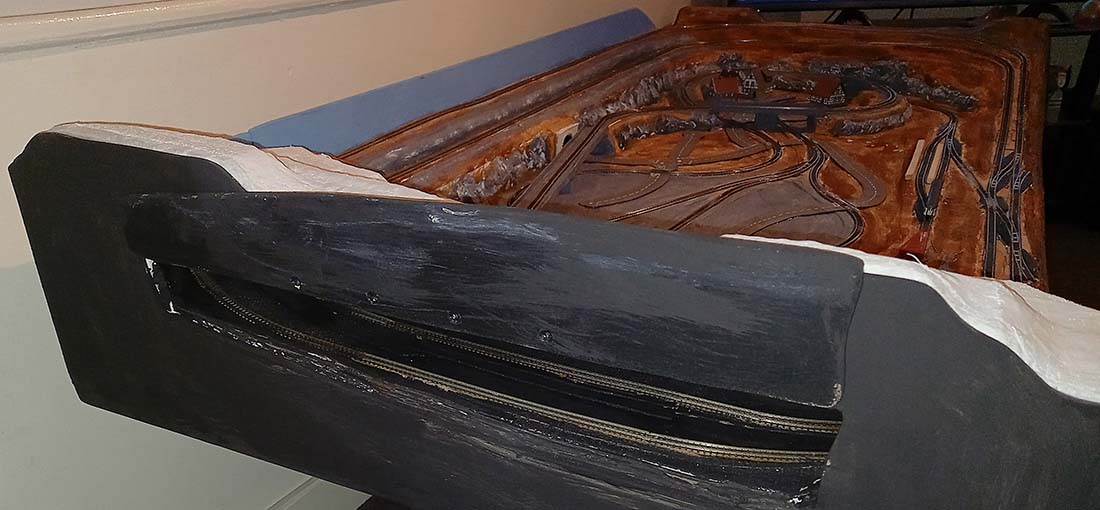
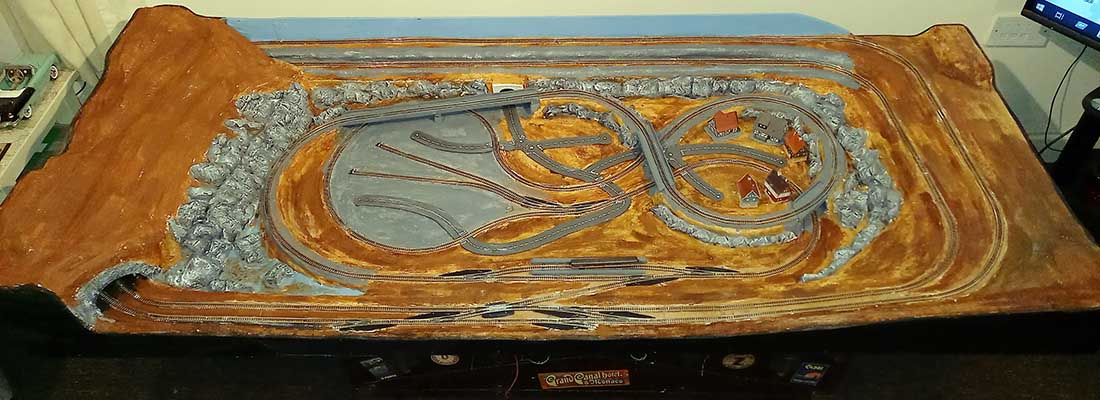
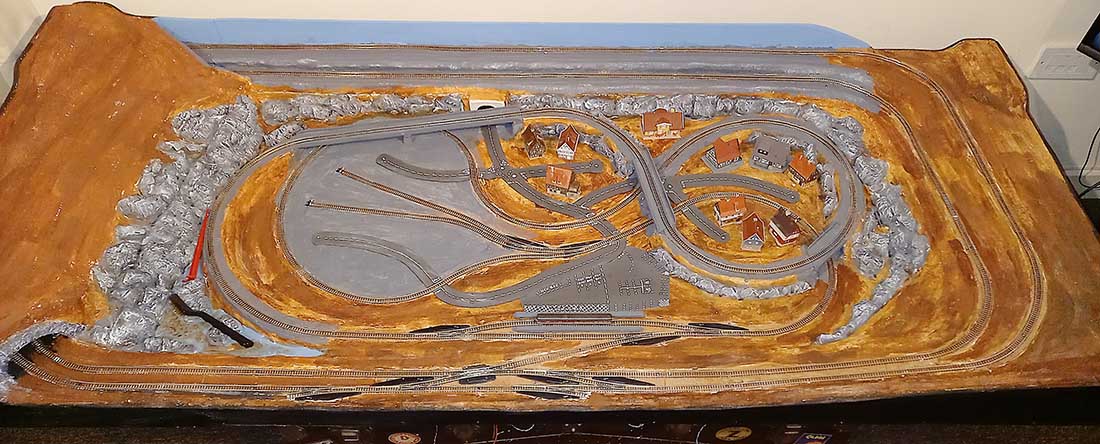
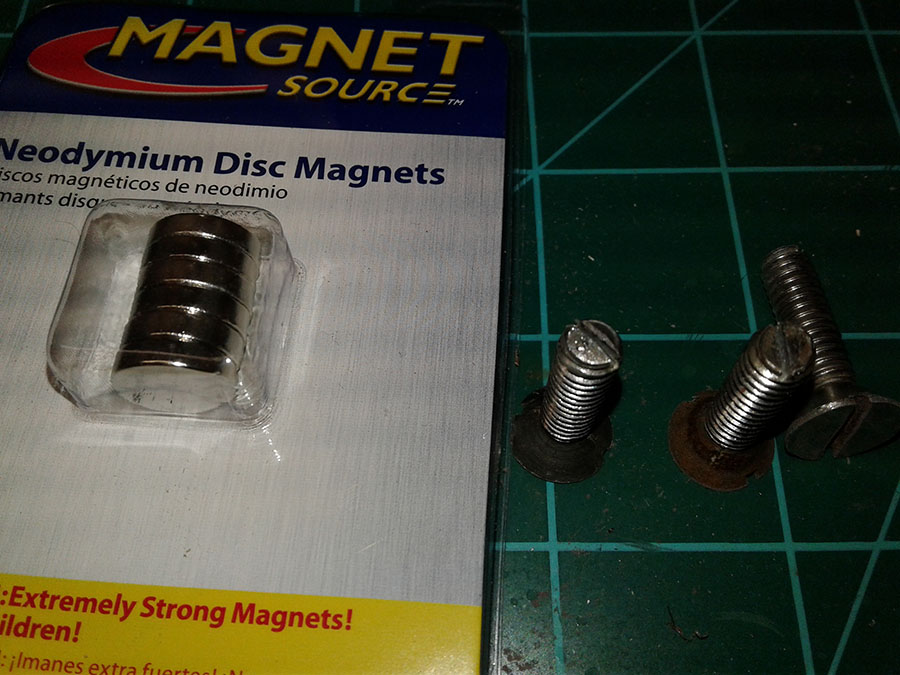
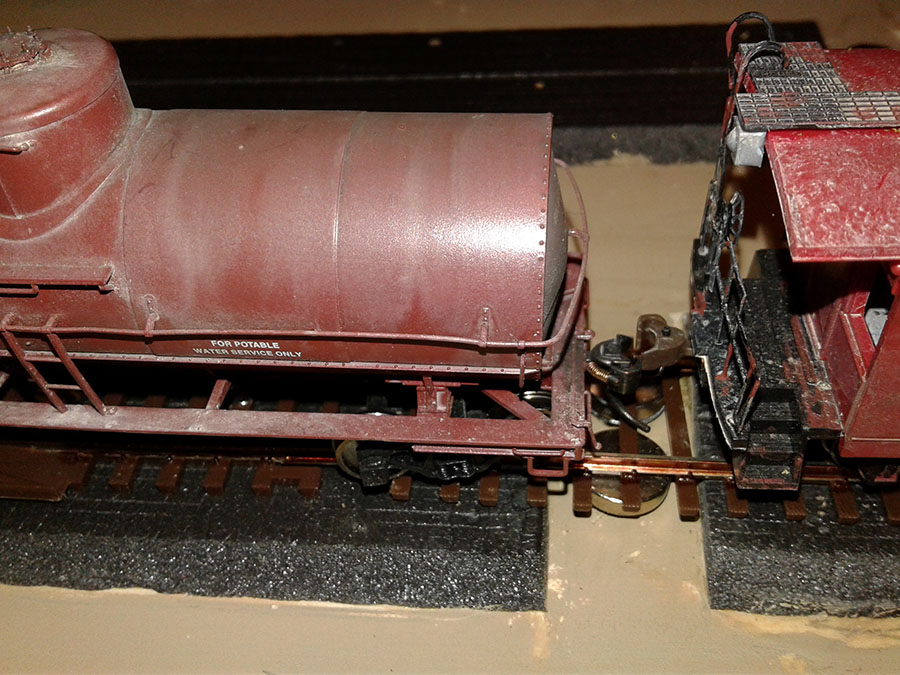
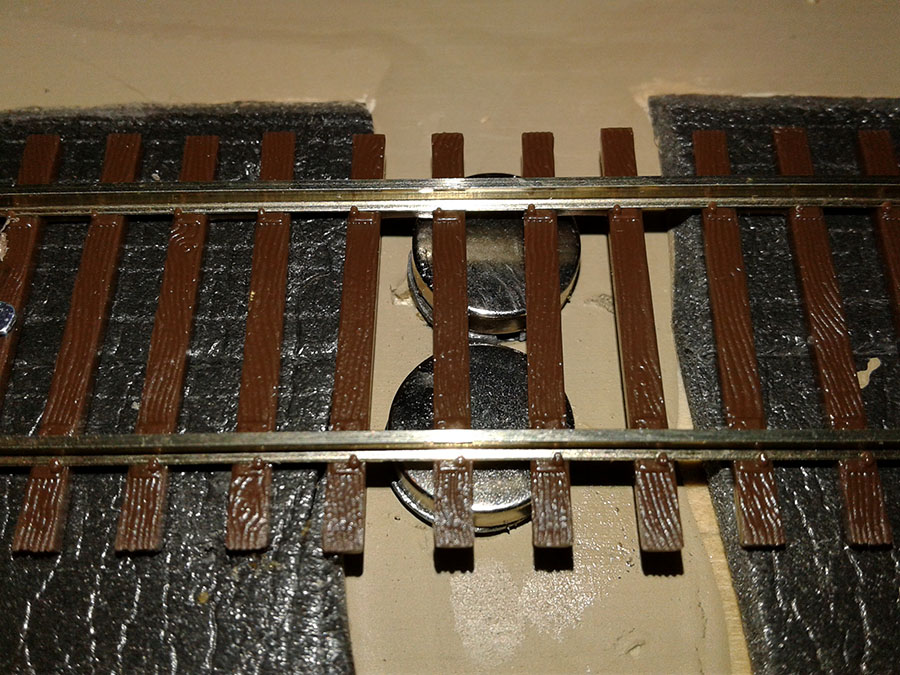
“My pics showing installation of permanent magnets for uncoupling in a switching layout.

This photo shows the slot cut in the bottom of the screw to allow adjustment from underneath the baseboard.

magnetic uncoupler

This photo shows the cars being uncoupled.

magnetic uncoupler

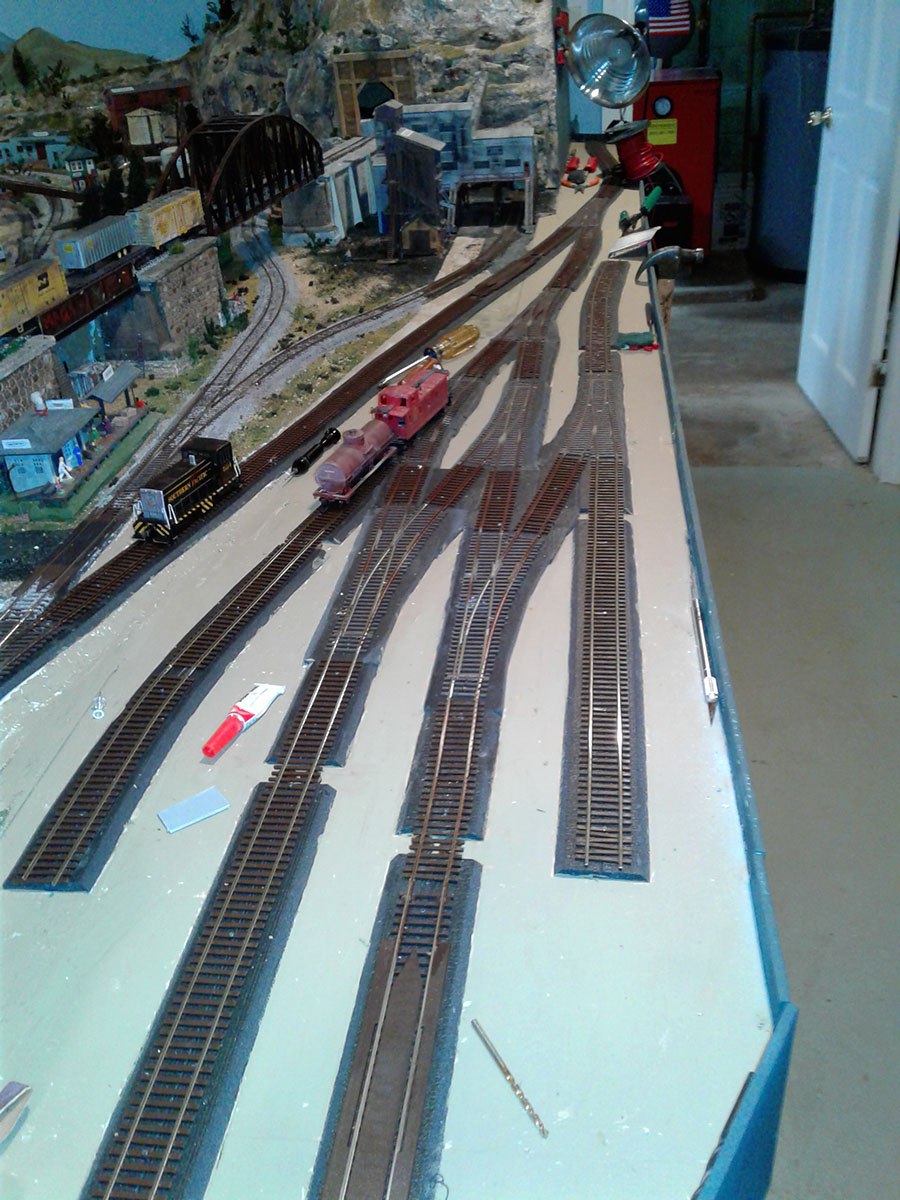
This shows the partially finished switching layout.

magnetic uncoupler

This photo shows the finished product.

Paul”

And now on to Brian – a blast from the past.

I watched Murder on the Orient express last night, and it made me think of his layout.

I’ve said it before, but I really do think one the things that makes a good layout is a theme:

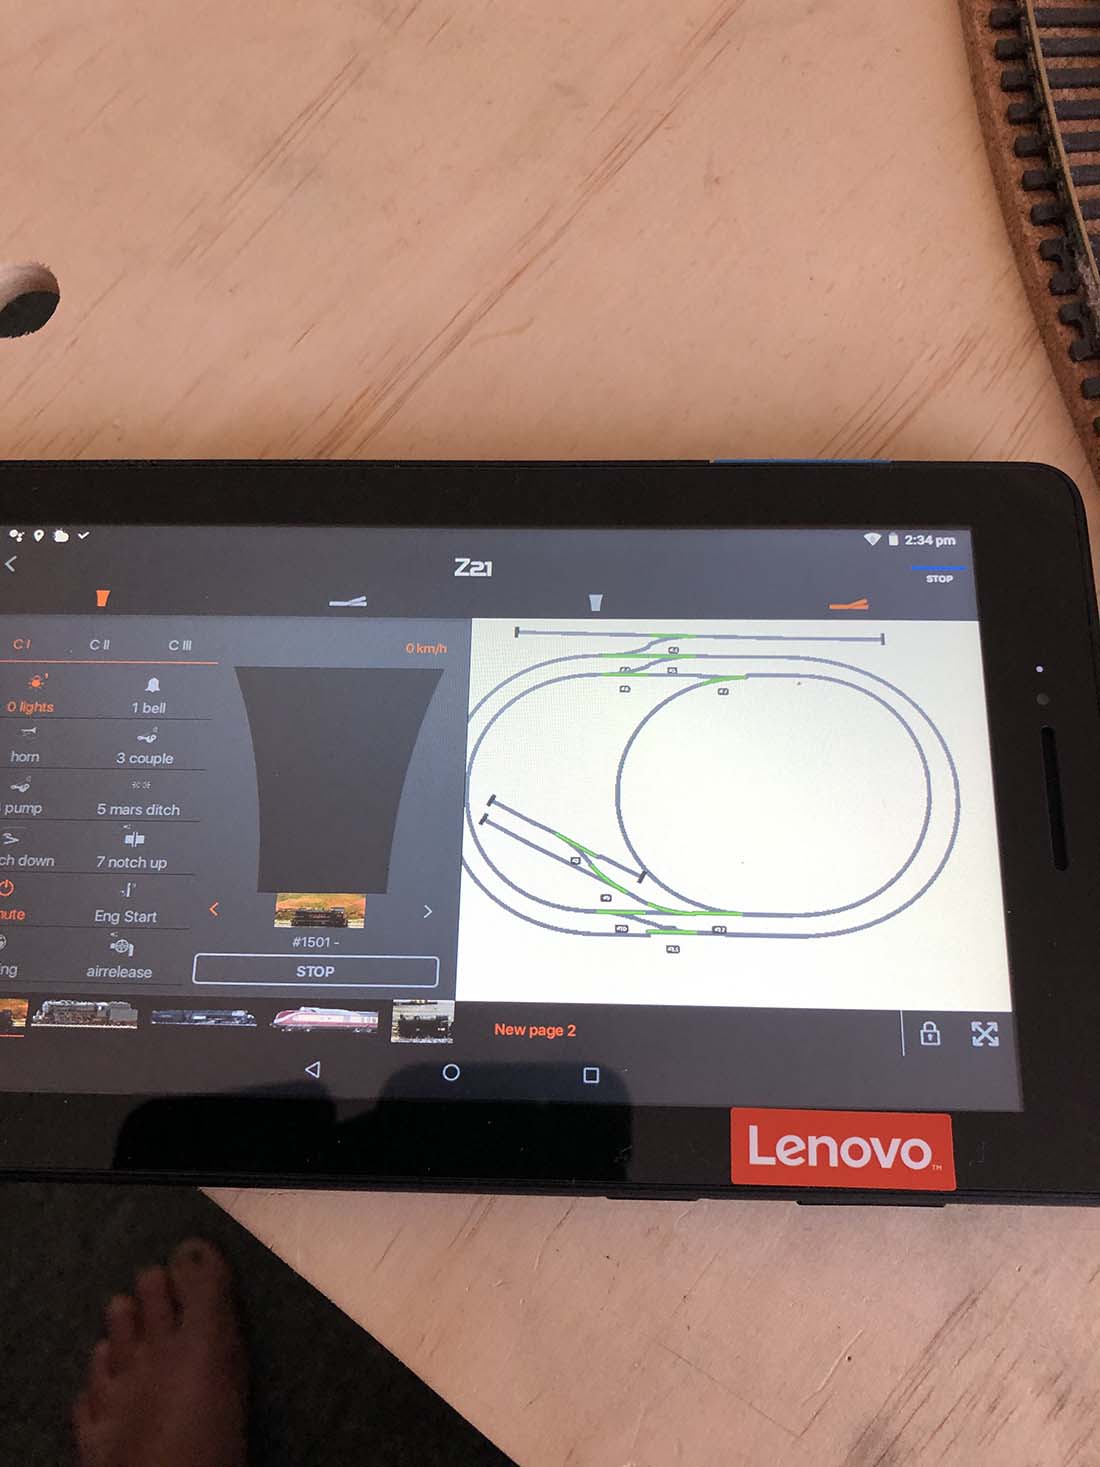
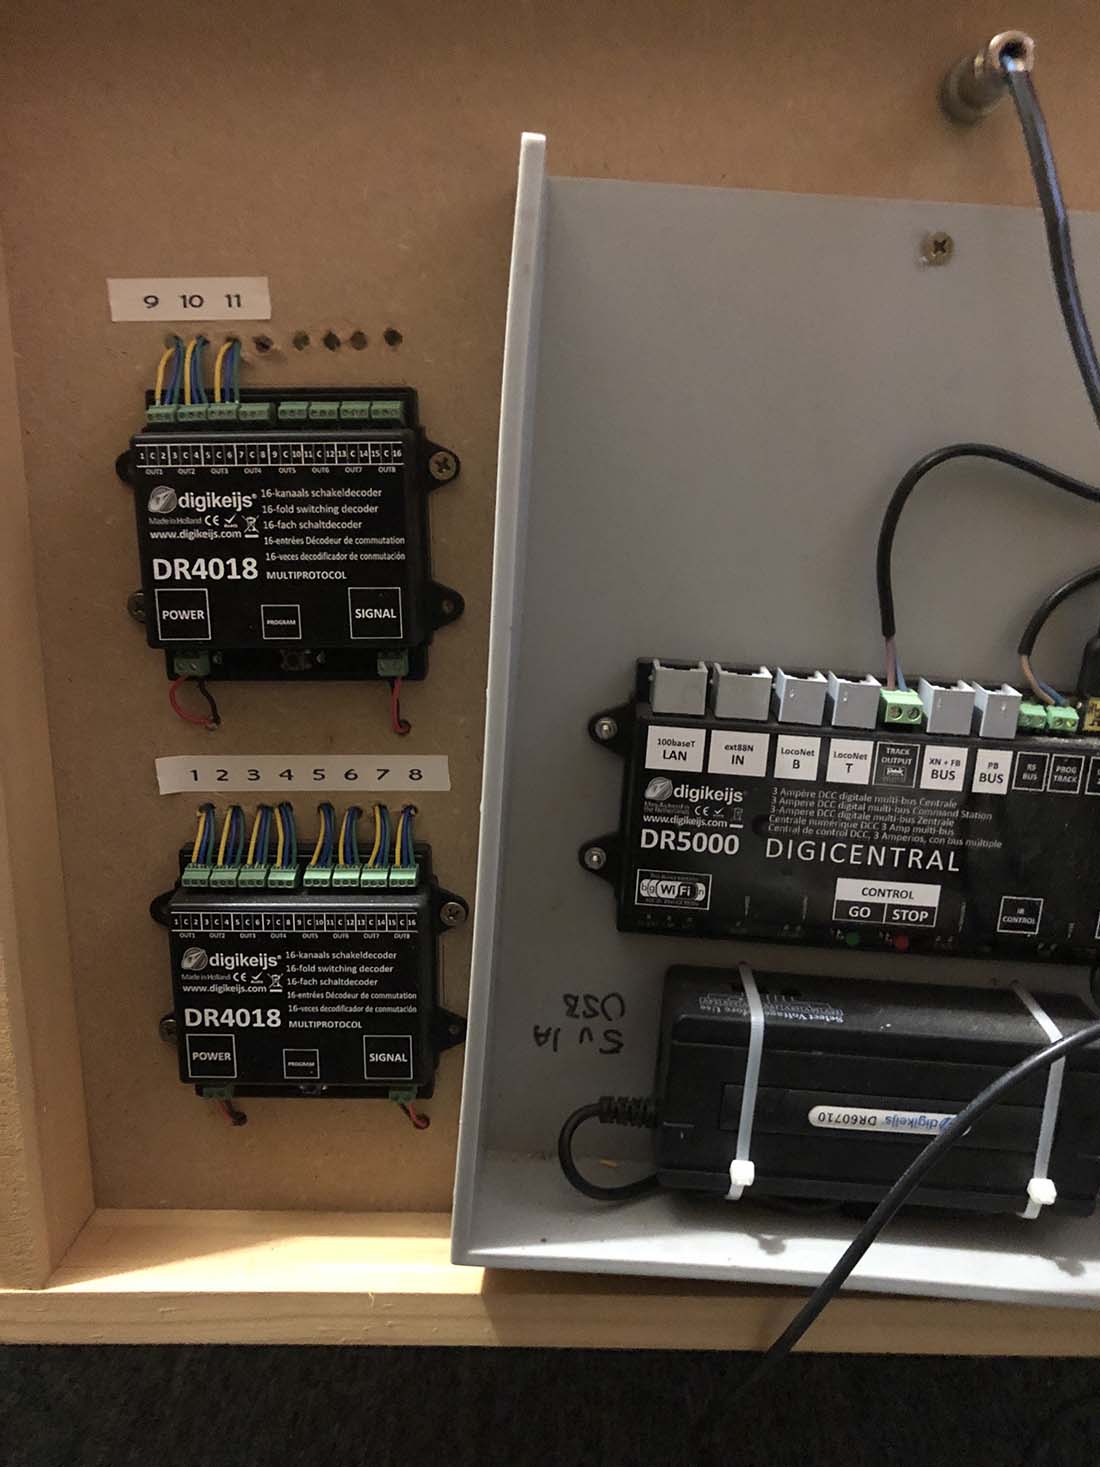
“Having more or less finished my n-gauge layout a while ago, although of course as we all know a layout is never really finished, I decided to start a OO gauge layout in the loft and
venture into the world of DCC operation and sound.

Although the various sounds of steam and diesel for each locomotive are incredible, I hadn’t foreseen the problems of working and running a model railway in an environment with extreme temperatures in winter and summer (yes, even here in the UK).

Anyway, I won’t dwell on that, especially as my finance manager won’t approve the budget for a full loft conversion or even roof insulation, funny that!

Moving swiftly on. With a friend and his little boy coming around to see my n-gauge layout recently, I thought I’d better tidy the shed up, and consequently sold quite a few items on e- bay. As the star of my layout is the eight coach Kato Orient Express (with lights), I decided to purchase another more up to date loco to pull it, the Fleischmann SBB-CFF-FFS Re460 (popularly known as the Lok 2000).

There are several manufacturers who have produced this locomotive in N gauge including Minitrix and Kato, and all are very fine models, but Iopted for the Fleischmann and haven’t been disappointed.

It’s interesting that the Swiss Federal Railways decided to benefit from the revenue generated from advertising on the Re460’s, and that the model manufacturers have faithfully reproduced some of these.

However, finding the fantastic photograph of the VSOE (Venice Simplon Orient Express) crossing the Luogelkin viaduct in Switzerland double-headed by the SBB Re460’s in standard red livery (see my video), I had to have this version.

The Orient Express coaches that you see in the video are one of the two CIWL (Compagnie Internationale des Wagon-Lits) coach packs produced by Kato to celebrate the 1988 record breaking ‘longest railway journey’ (15,000km) Paris to Hong Kong via the Soviet Union and
China, staged by Japan’s Fuji Television.

After arriving in Hong Kong the train was shipped to Japan for a three-month schedule of promotional journeys. The quality of the Kato models is exceptional. Mouldings are crisp and the detailing of door handles and windows is outstanding. The lettering and CIWL badge are so good, that through an eyeglass one can read the lettering in the logo.

Unlike the early Lima CIWL cars, the Kato models have detailed interiors. The Pullman saloon car is supplied with table lamps that light up as standard, and the other cars (in my set) have been fitted with the Kato lighting kit that gives a general level of lighting to each car.

I think you’ll agree that the complete train looks just great on my layout, but it failed to take the ‘star spot’ in my friend’s little boy’s opinion. That was taken by Tomix’s Thomas the tank engine with Annie and Clarabel. Now, there’s a surprise.

Brian, Berkshire, UK”


Latest ebay cheat sheet is here.

Thanks for the emails yesterday about Mike’s ebay bridges. It got me thinking: Please do let me know about any odd, wierd, wonderful products on ebay.

I think it would be quite fun to post about them.

That’s all for today folks.

A big thanks to Steve, Paul and Brian – please do leave a comment below if you want to get involved.

That’s all for today folks. Keep ’em coming!

And don’t forget the Beginner’s Guide is here if you want to get going on your own layout.

Best

Al


HO model train 3d printing

Brian’s been back in touch – he’s been busy with some HO model train 3d printing.

(His last post is here if you want to get up to speed.)

“Hi Alastair,

A few more 3D printed items in HO scale, boats for all the waterfront areas on my layout. I wanted some small boats to populate the vast water areas on my layout.

I found these files for free on thingieverse and sent them to a friend in the neighbouring town who has a 3D printer and asked him resize them to a 15 scale feet for an scale HO boat.

They do need a lot of cleaning up but most of the interior can be hidden by cargo in them. The outside is easy to sand (but when I say easy, the product is quite hard) and then the imperfections are smoothed out with Tamiya putty.

I sprayed them with a sand colour undercoat and them painted the a few different colours.

I use a Pilot paint pen to paint the boat rails after sanding them with different colours as it is so easy to use and doesn’t get anywhere but where you want it to be.

The outboard motors are cleaned up and painted to suit the different makes. Where they have not printed properly, I mount then on a boat and cut the bottom off at water level to look as if they are ready to go.

Below are a few photos of the painting and detailing process.

I have no an intention to buy a 3D printer as at this stage it would not be justified cost wise, but the HO model train 3d printing is interesting.

Brian”

HO model train 3d printing

HO model train 3d printing

HO model train 3d printing

HO model train 3d printing

A big thanks to Brian.

Dean has also been playing with a 3d print model train.

“Hi Al,

first thing I want to say excuse my spelling and grammar. I have been receiving your emails for about a year now and have been taking notes and buying a ton of stuff.

I finally started building my bench work and have a little piece of kind of in a oval just so I can run a little training blow the horn entertain myself as I slowly build my Little Empire.

One of the things I wanted to put on my layout with some bridges but a lot of them are quite expensive and I found a man on eBay that’s laser cutting them out of cardboard and also MDF.

They’re very inexpensive compared 2 most show the bridges are looked at once you glue them together and He suggests clear coating them before you paint them they’re really quite strong and they look really good to me I think they rival $150 2 a couple hundred dollars that I have seen online.

I bought 3 21 in bridges for $20 and I also just bought a fourth Bridge from him that I haven’t received yet and I just wanted to share them with everybody and a link to his eBay if that is okay.

I have a picture I painted three of them and working on making them look old

I wanted to share and just wanted to thank you and everybody for all the great information that I’ve been able to gather for the last year thank you again and here is the three that I bought.

I hope the rest of the community thinks are pretty cool also.

Mike”

That’s all for this time folks.

Please do keep ’em coming.

And don’t forget the Beginner’s Guide is here if today is the day you get started on your layout.

In fact, I read through all the comments on the Beginner’s Guide yesterday. It does feel wonderful to have helped so many of you.

Remember, it’s all about that start.

Best

Al

PS Latest ebay cheat sheet is here.

Z scale scenery

Paul’s been back in touch – he’s started on his Z scale scenery:

“Hi Al

I have attached some more pics of my progress on my Z gauge layout the last picture being where I am now ive been making a few kibri and vollmer z gauge houses which has taken a while.

Also I made a road layout from some stiff grey card for cars etc and drew the road markings on with a 0.8mm tip white gel pen

I think it looks ok but I know a lot of your other members will have criticisms and I know I will deserve them, to be honest i’ve really been struggling.

Z gauge isn’t the easiest scale to work with there is very little in the way of scale stuff you can get like houses cars trees etc

And because it’s so small its really expensive and trying to scratch build stuff isn’t an option as its just too small to work with so its a nightmare, this is where im struggling,

Ive actually been thinking of just scrapping the whole thing and selling all my Z gauge trains & track etc as I feel like I’ve just cocked it all up and made a complete mess anyhoo that’s where I’m at right now sorry for the moaning etc

Hope the pictures don’t get too many negative reviews

Paul (giddykippa)”

z scale

z scale

Z scale scenery

Z scale scenery

Z scale scenery

z scale

z gauge

Z scale scenery

Z scale scenery

Now on to Cassio.

He’s never a man of many words because of the language barrier – but have a look at his layout:


“Hi Alastair,

My name is Fred Anderson and I am from Victoria in Australia.

I Have just started my first model train layout. I am 76 years of age (not old).

I first brought my train in 2014 but never had the chance to construct it until now. I purchased it through Bissett Magazines, once ever fortnight with a magazine and parts including Engine, carriages, track scenery etc for wholee village called “Little Benton”.

We have since relocated from Goldcoast in Queensland to Melbourne Victoria Australia. We have moved into a Unit from a 3 bedroom house to 2bedroom unit.

After many discussions with wife about having a 12inch around the spare bedroom and everything, we settled for an uplifting table into wall cupboard as per attached photos.

The size is 7ft 8” by 8’6” wide. This is as per plan supplied. Will send more photos and videos as I progress. I have learned quite a lot so far.

No 1 photo is cupboard closed

No 2 photo is 2doors removed and placed in front

No3 photo Table or Bench folded in place

No 4 5 6 is layout as stands now

Thank you

Fred”

A big thanks to Paul for sharing his Z scale scenery, and to Cassio and Fred too.

That’s all for today folks.

Please do keep ’em coming.

If you’d like to share what you’ve been up to, just hit reply to any of my mails.

Please don’t send more than three pics per mail – but send as many mails as you need to get everything across.

Hope that makes sense!


And if today’s the day you start your layout, the Beginner’s Guide is here.

Best

Al

PS Latest ebay cheat sheet is here.