Bill’s been back in touch with part 2 of his excellent tree ‘how to’ on model railroad trees.
If you missed part 1, it’s here.
“Hello again Al and fellow Modelers
This is Part 2 of the pine tree build.
This one picks up on painting and detailing and also has a short how to do making N Scale tree using the same materials.
Let’s dig in right where Part 1 left off. Note I’m starting with Photo 1 again for this part of the build since it’s in a different post.
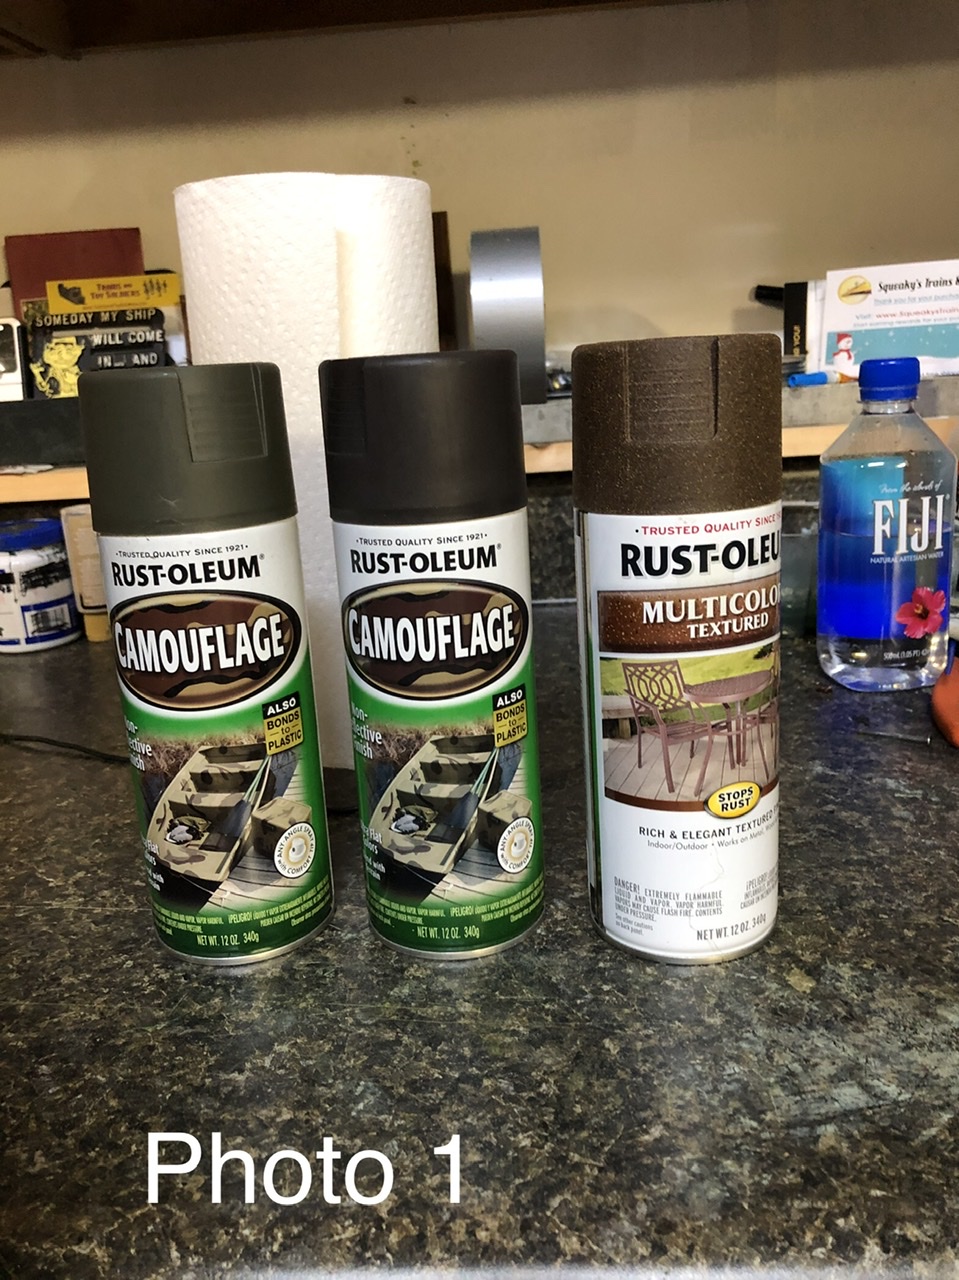
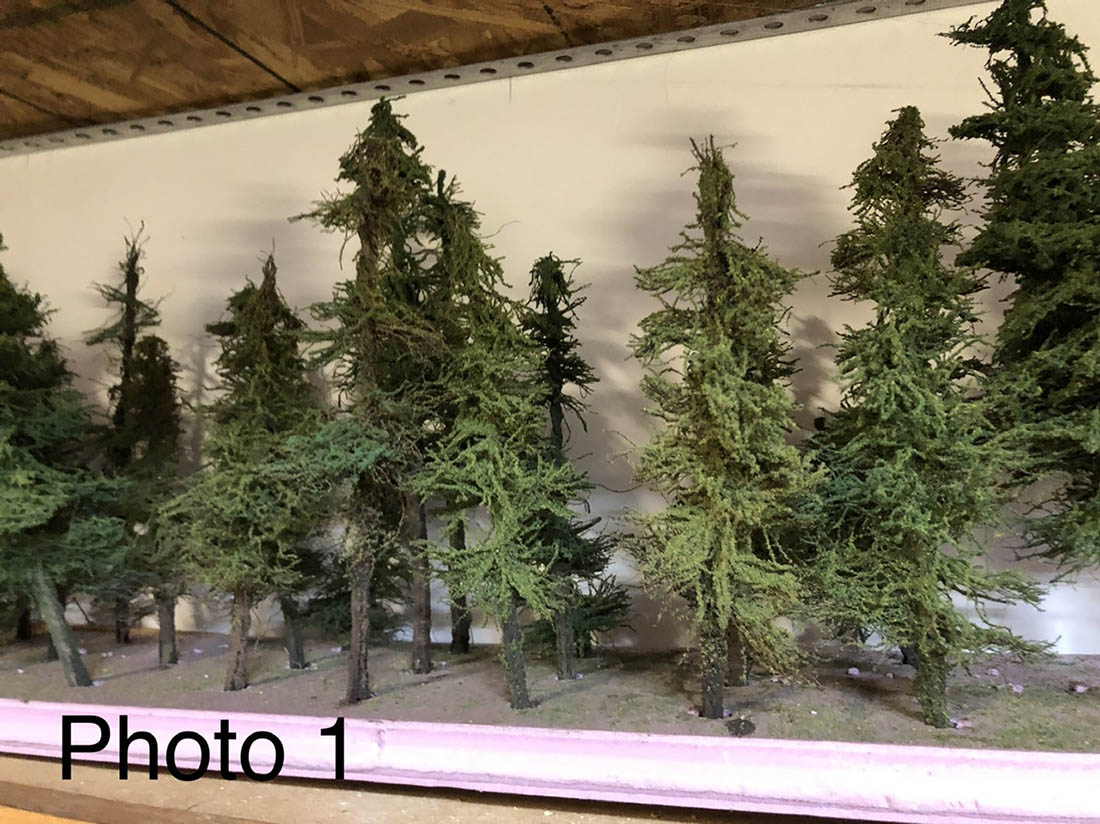
Photo 1 shows the spray paint I use for the trees. These are camouflage flat earth colors – browns and dark forest greens. For these I wear a pair of latex gloves and go outdoors and stay the entire tree from top to bottom. Cover as much as you want as it does help blend everything together and covers the ground cover used to seal the various glued used during construction.
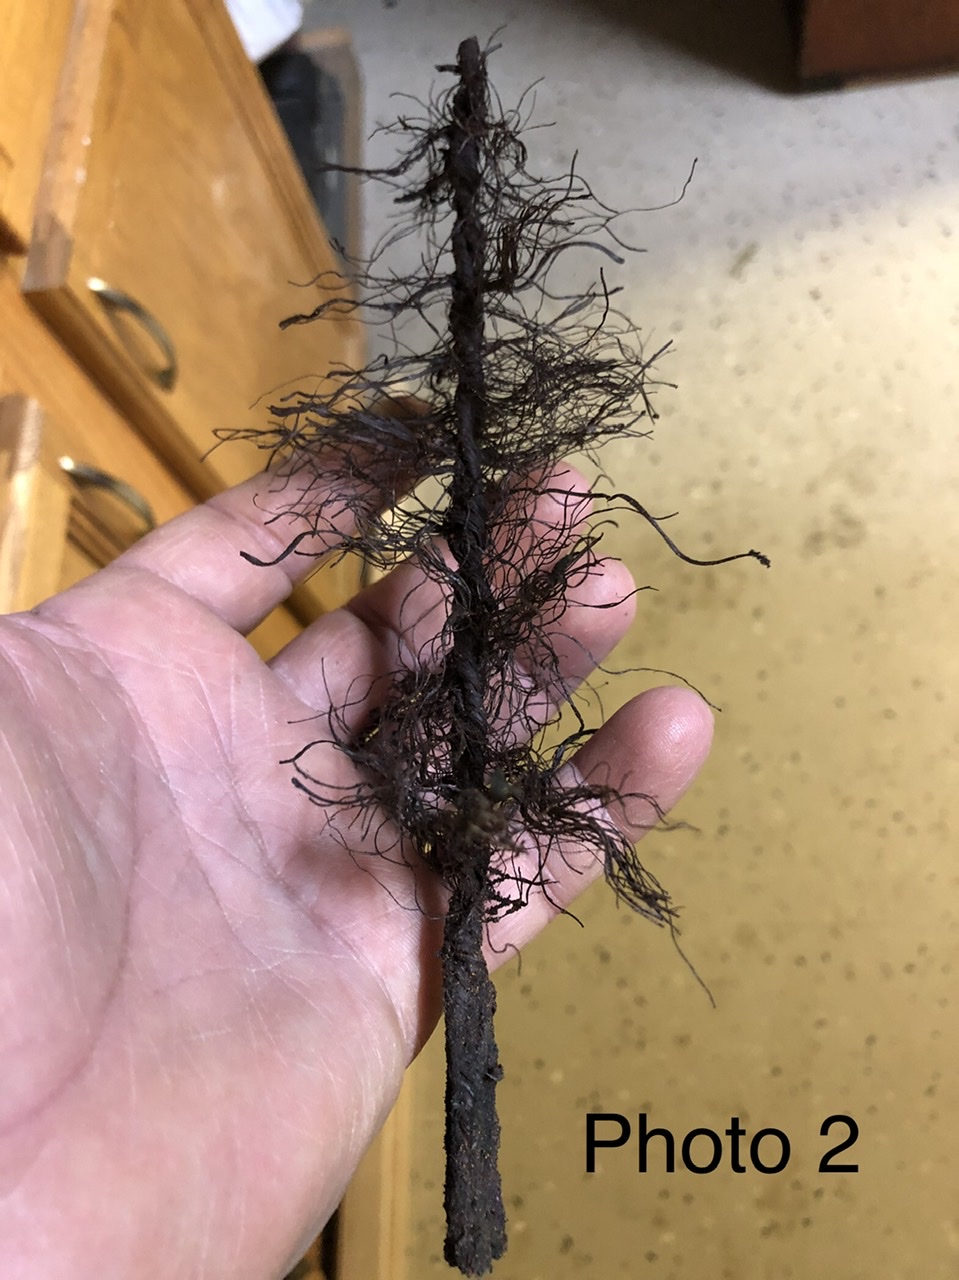
Photo 2 shows a painted tree. Note the tree has been roughly shaped at this point. This is the flat dark brown color of spray paint.
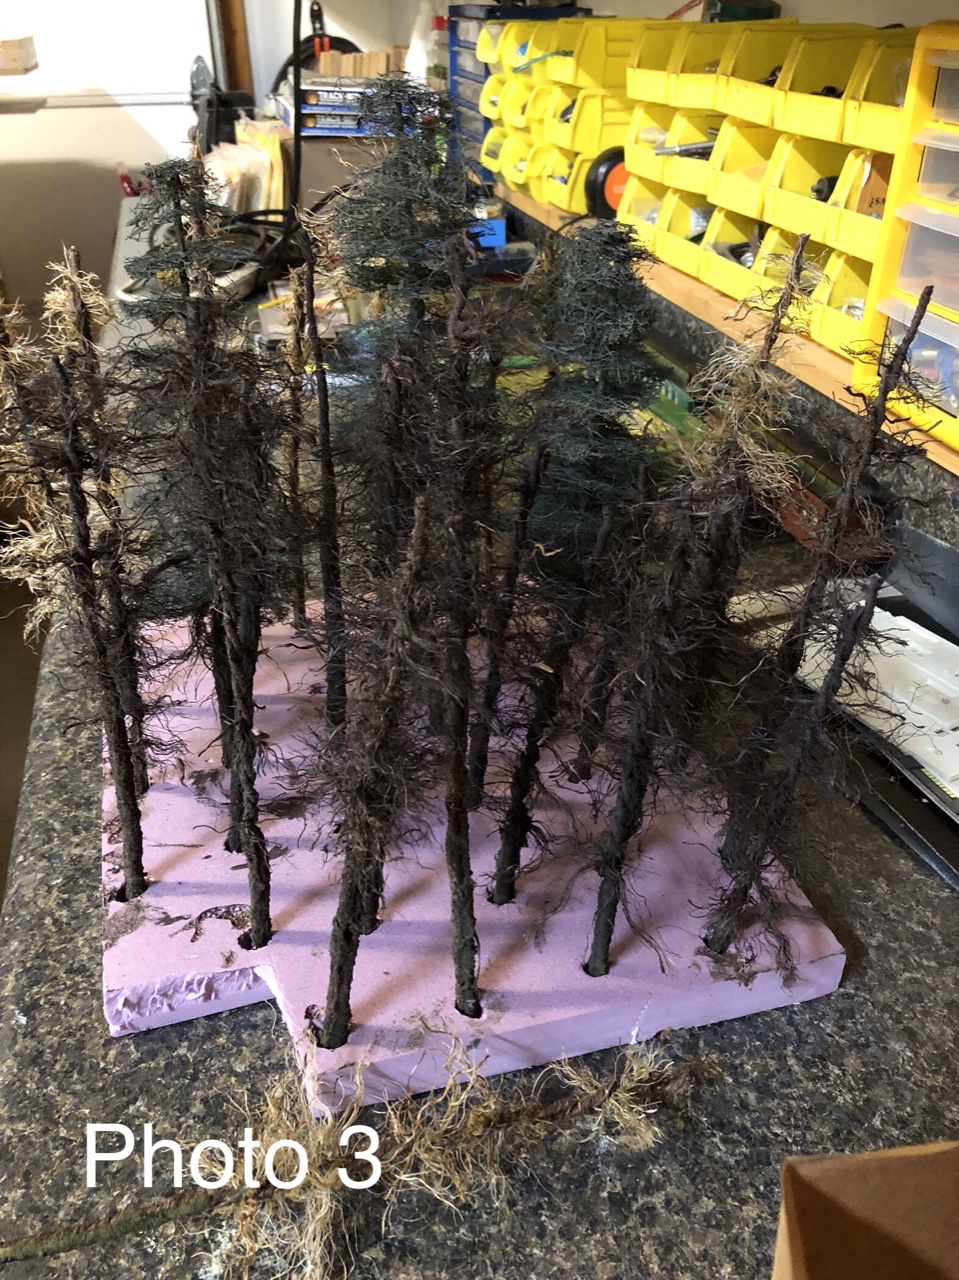
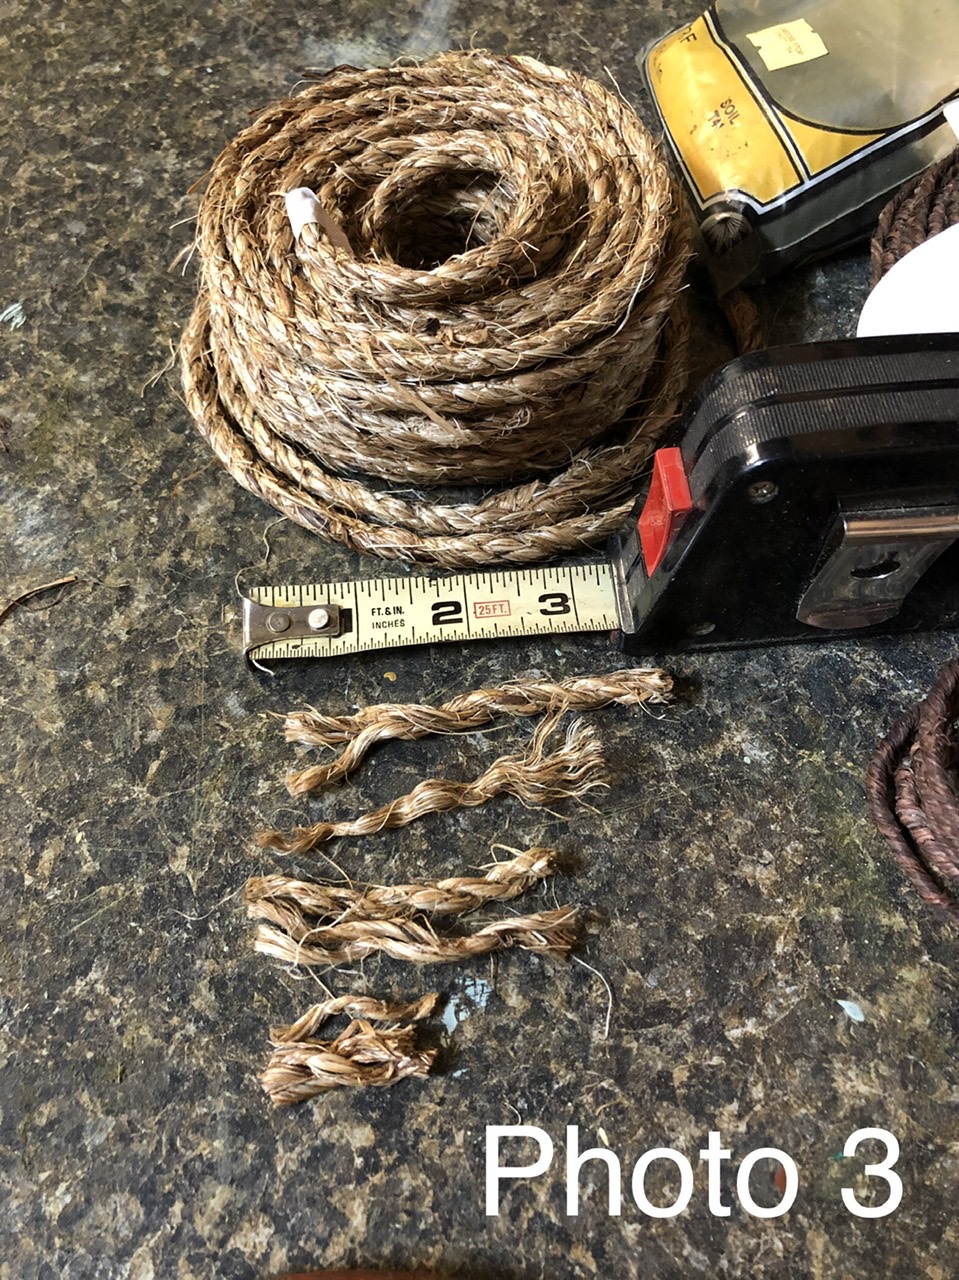
Photo 3 shows this batch of trees I made in various stages of completion. It’s very evident which trees have gone thru the painting process at this point.
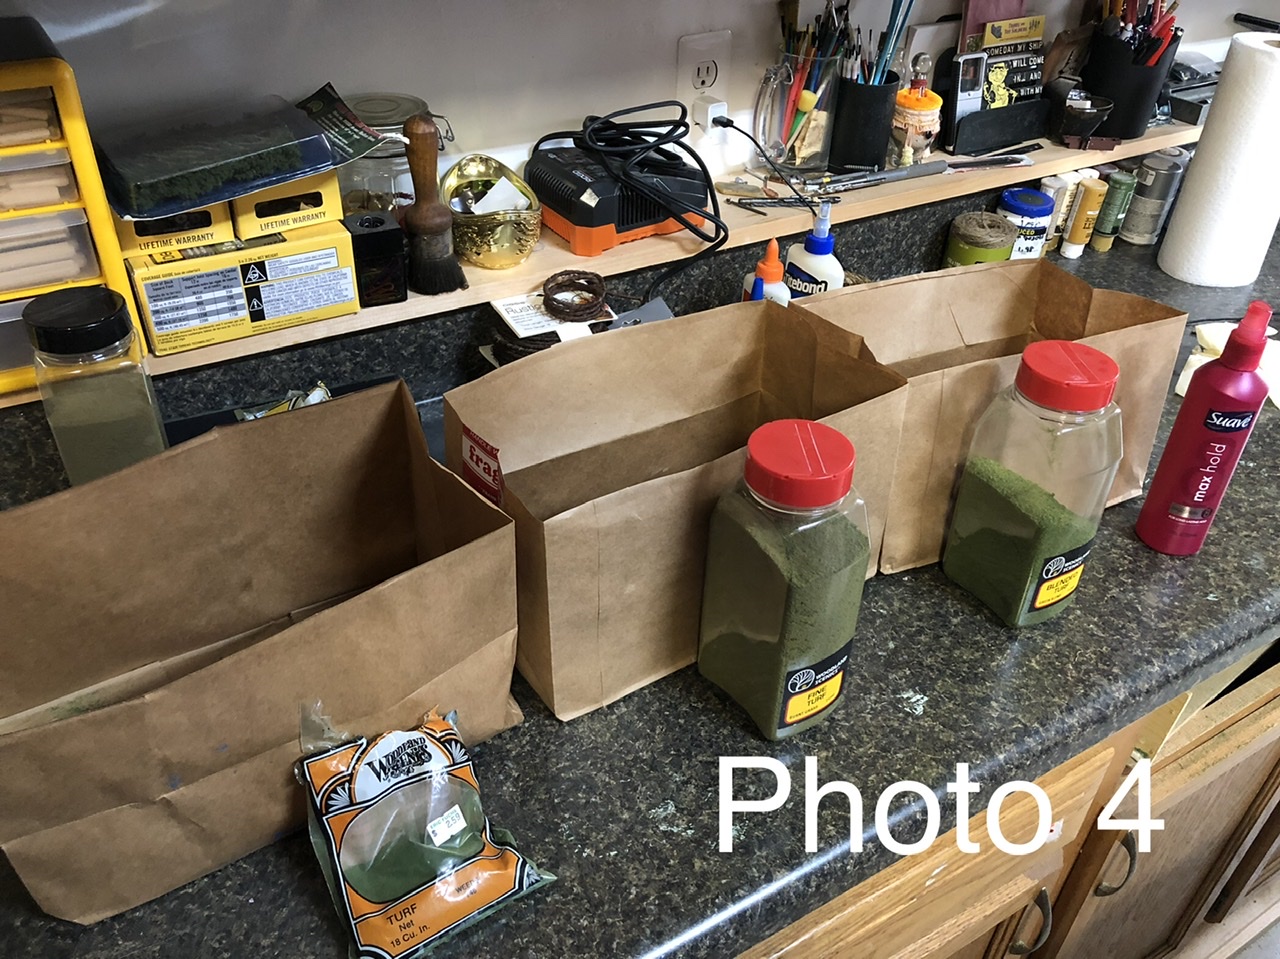
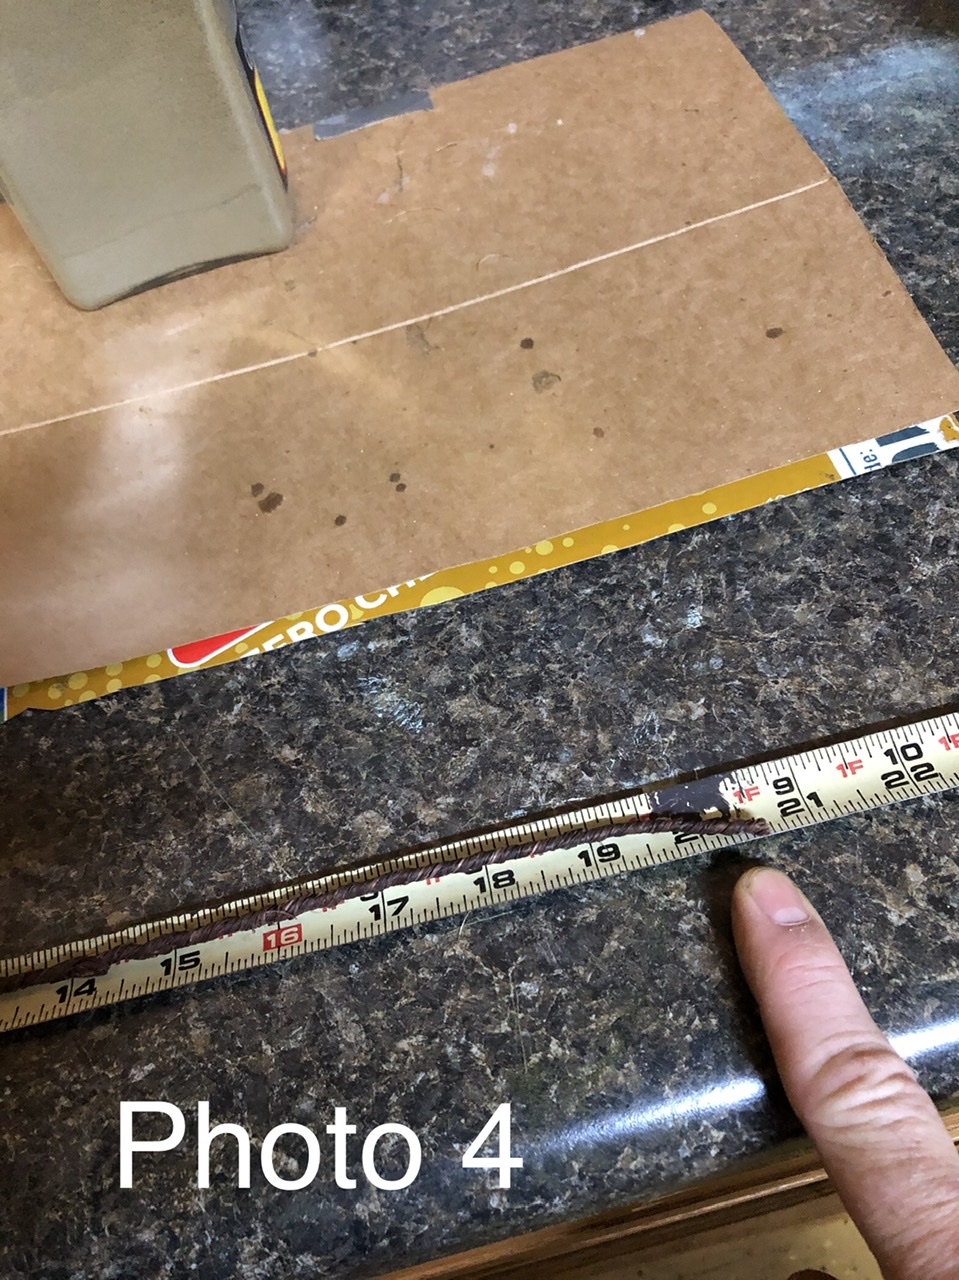
Photo 4 shows how I set up a few containment stations so when I apply the foliage I capture excess for future use and also keep the bench reasonable clean. For the foliage I use a few different colors of woodland scenics ground cover. Burnt grass and mixed ground cover are the two I primarily use but I also use the weeds green color as well for some trees.
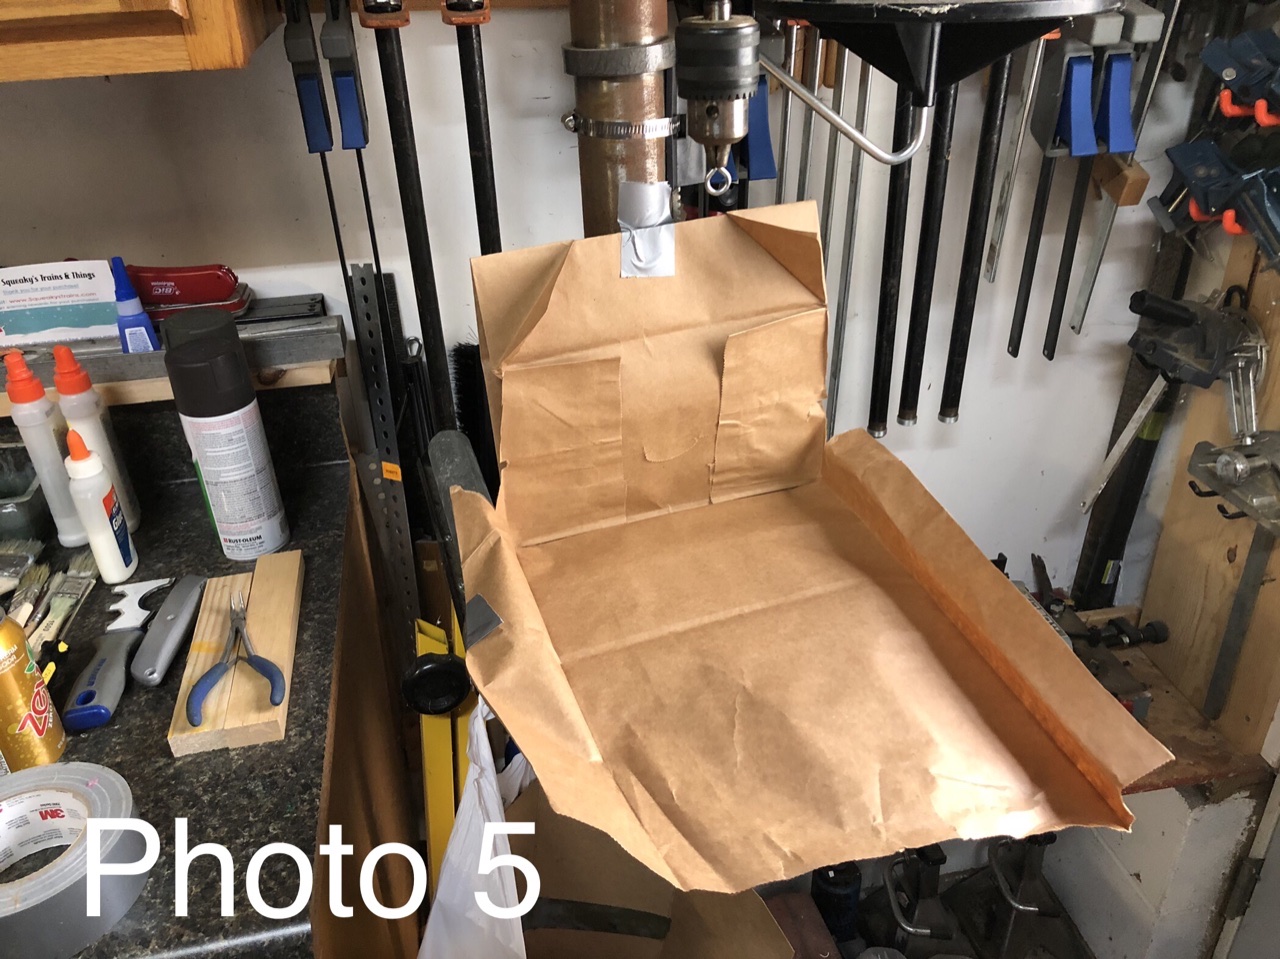
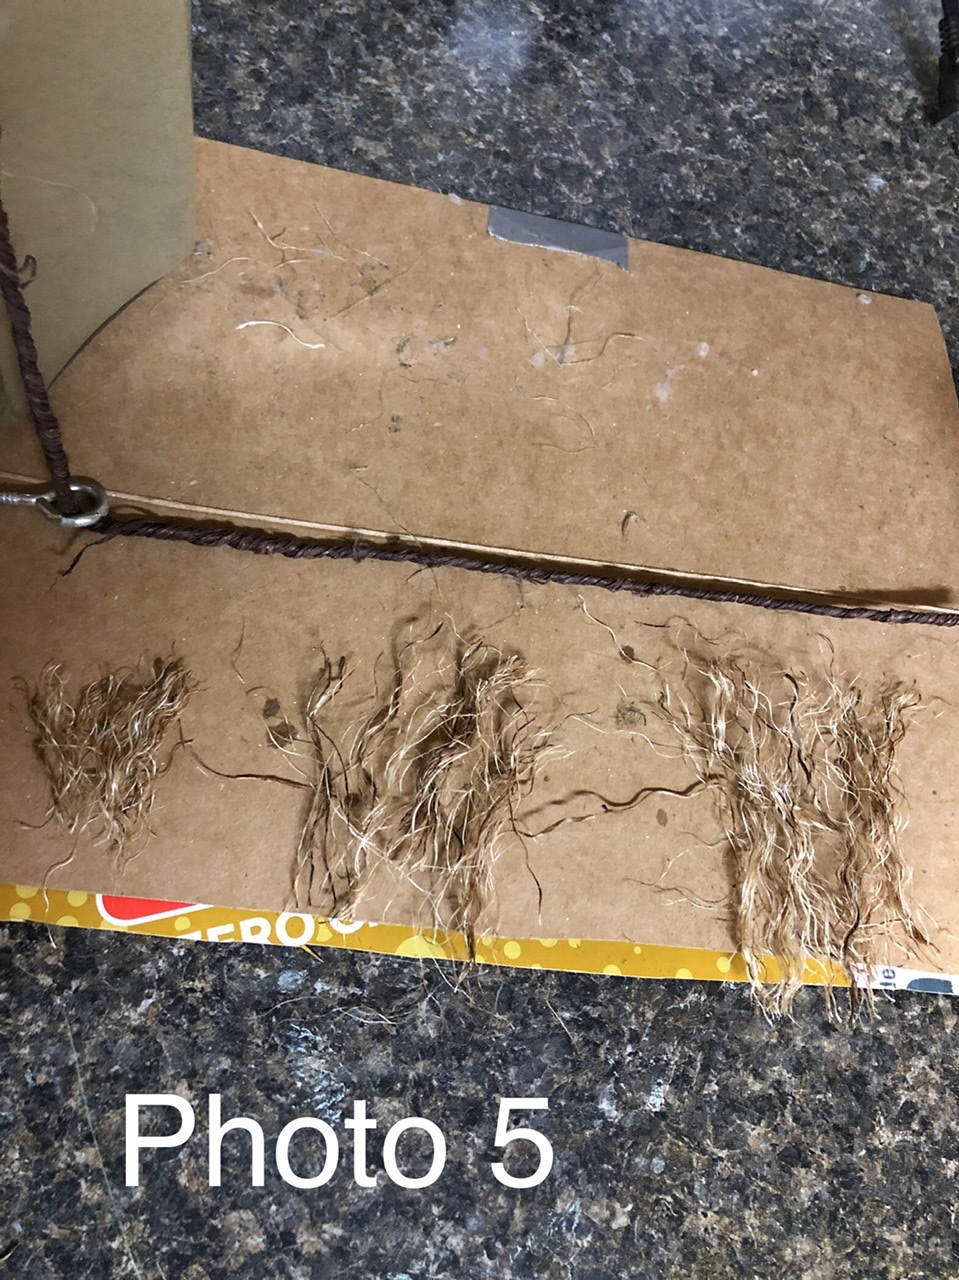
Photo 5 shows a quick spray station set up for application of extra hold hair spray to the trees. Again this keeps the mess down.

Photo 6 shows how I like to spray which is top down for the most part. This covers the branches but minimizes the amount of spray getting on the trunk which will need to be brushed off later.
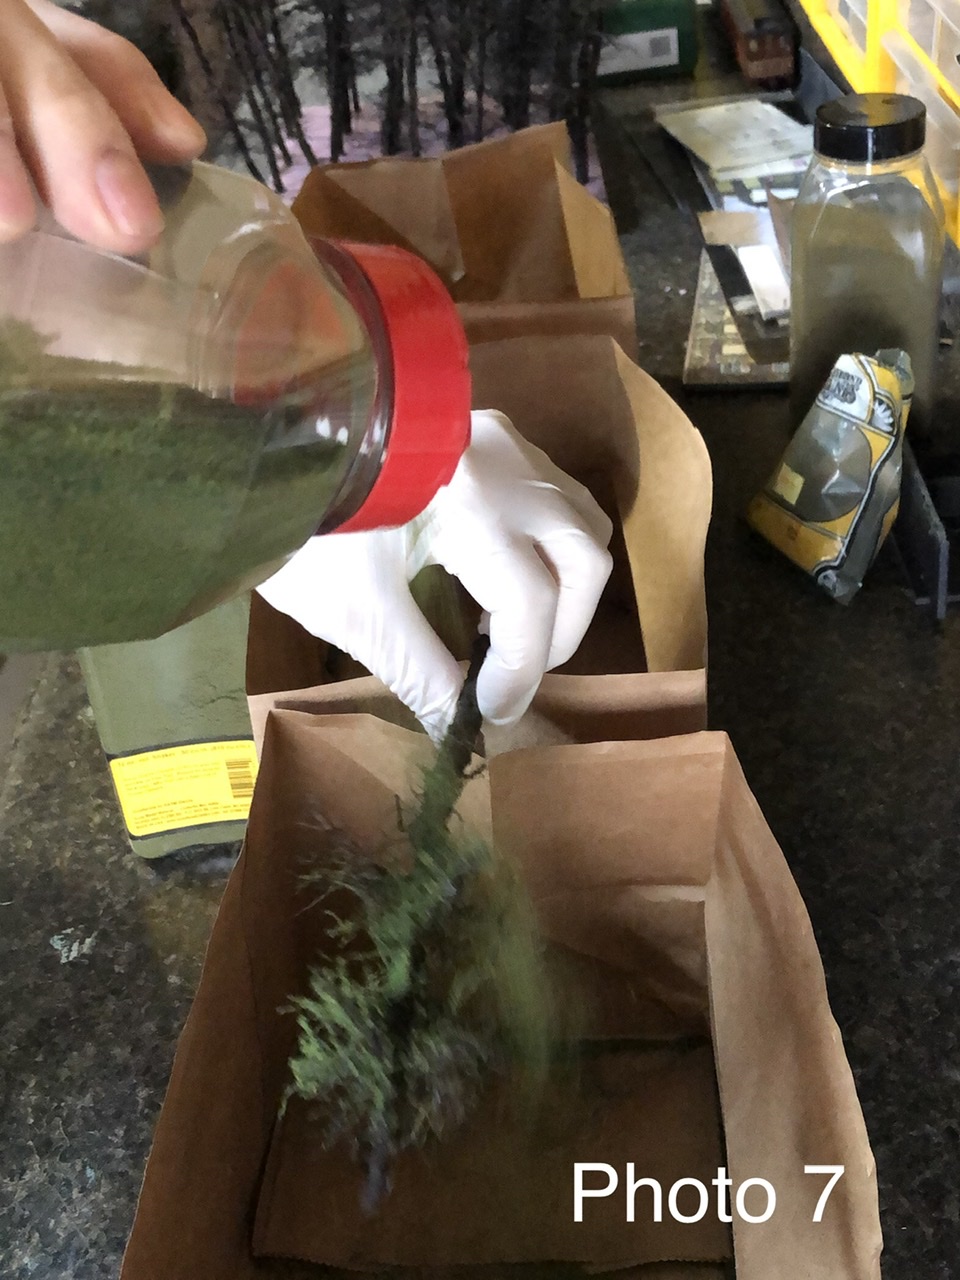
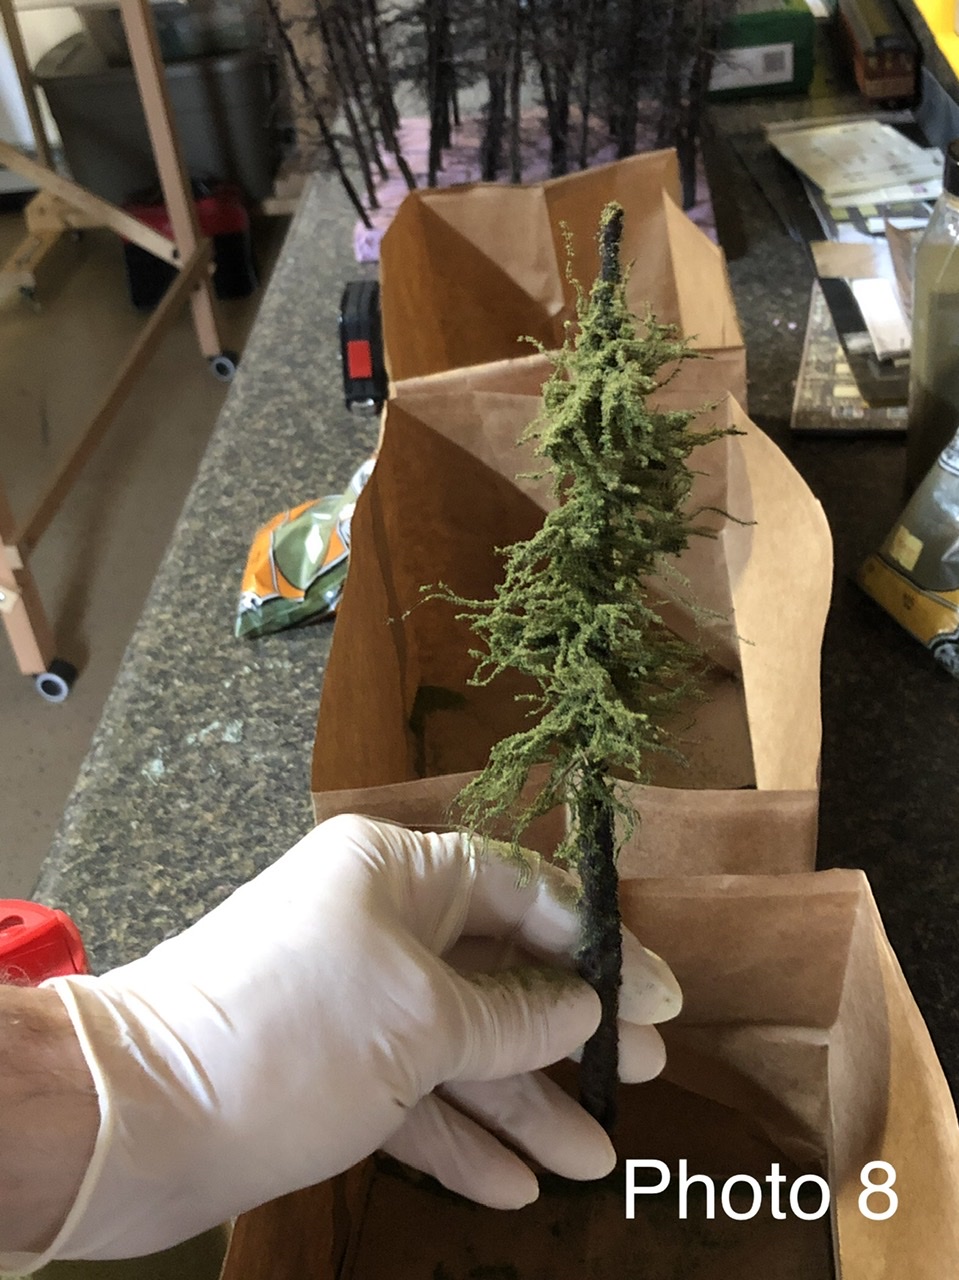
Photo 7 and 8 show sprinkling the ground cover on the tree. Trees are rotated as you see fit snd after the first application I tend to spray the tree with hair spray again then sprinkle a different color of ground cover on lightly near the ends of the branches. Photo 8 shows a tree that has completed this part of the process.
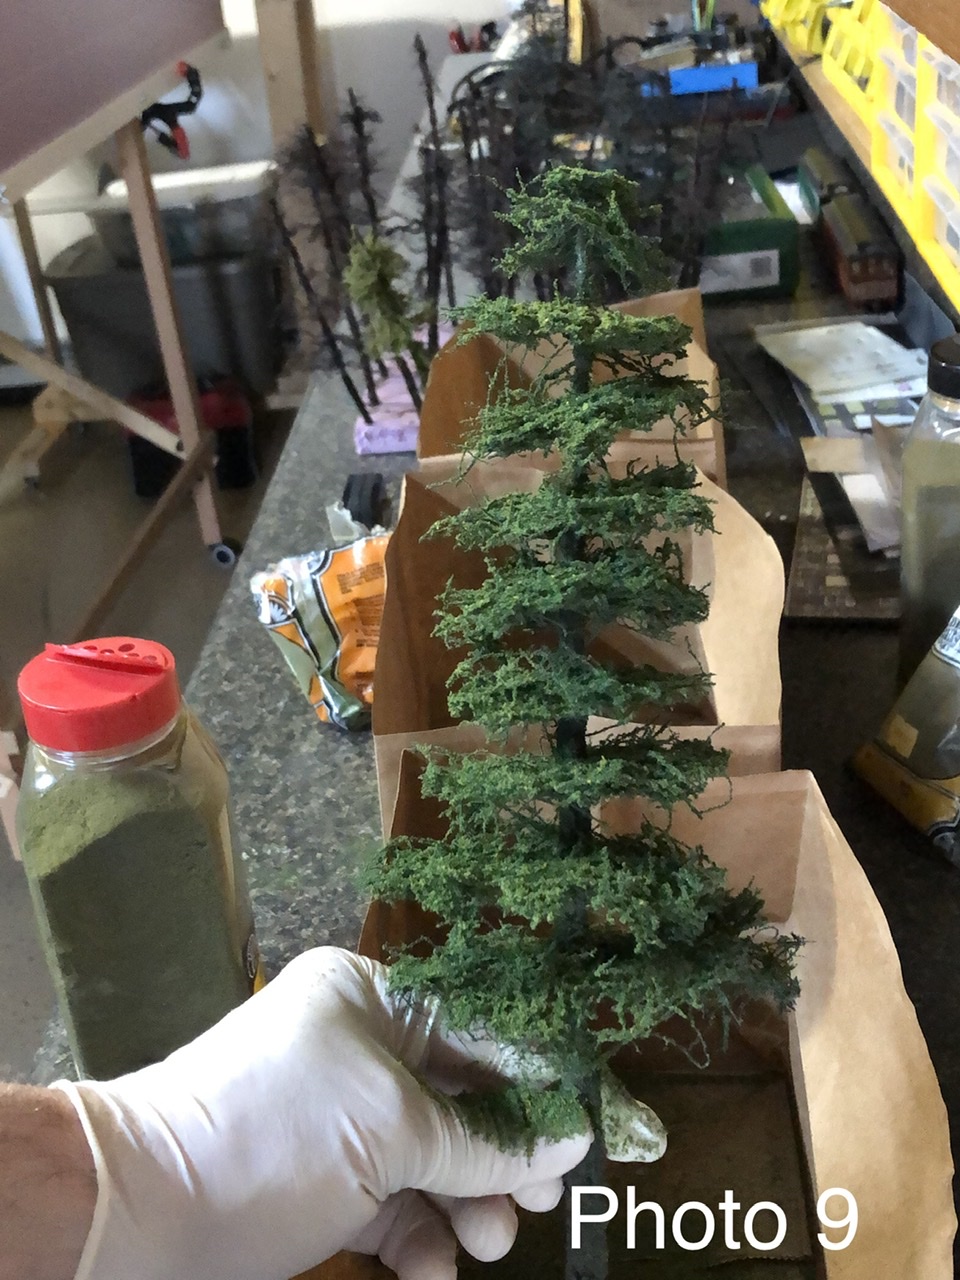
Photo 9 shows a different style of pine tree I make using furnace filter material. I use the same materials for the trunk just keeping the rustic wire straight the full length. I use one long and then three progressively shorter sections of wire to build up the trunk.
To this I apply wood glue and ground cover as before. The furnace filter material I cut to rough shape and peel it as thin as I can and then round it snd cut notched in the outer ring of each piece so it looks more like branches.
These then I use a screwdriver to open a hole in the center and I slide it down the trunk and super glue in place. Gaps between I generally keep to about 1/4 to 3/8 of an inch. All other steps to finish are identical as noted in this post.
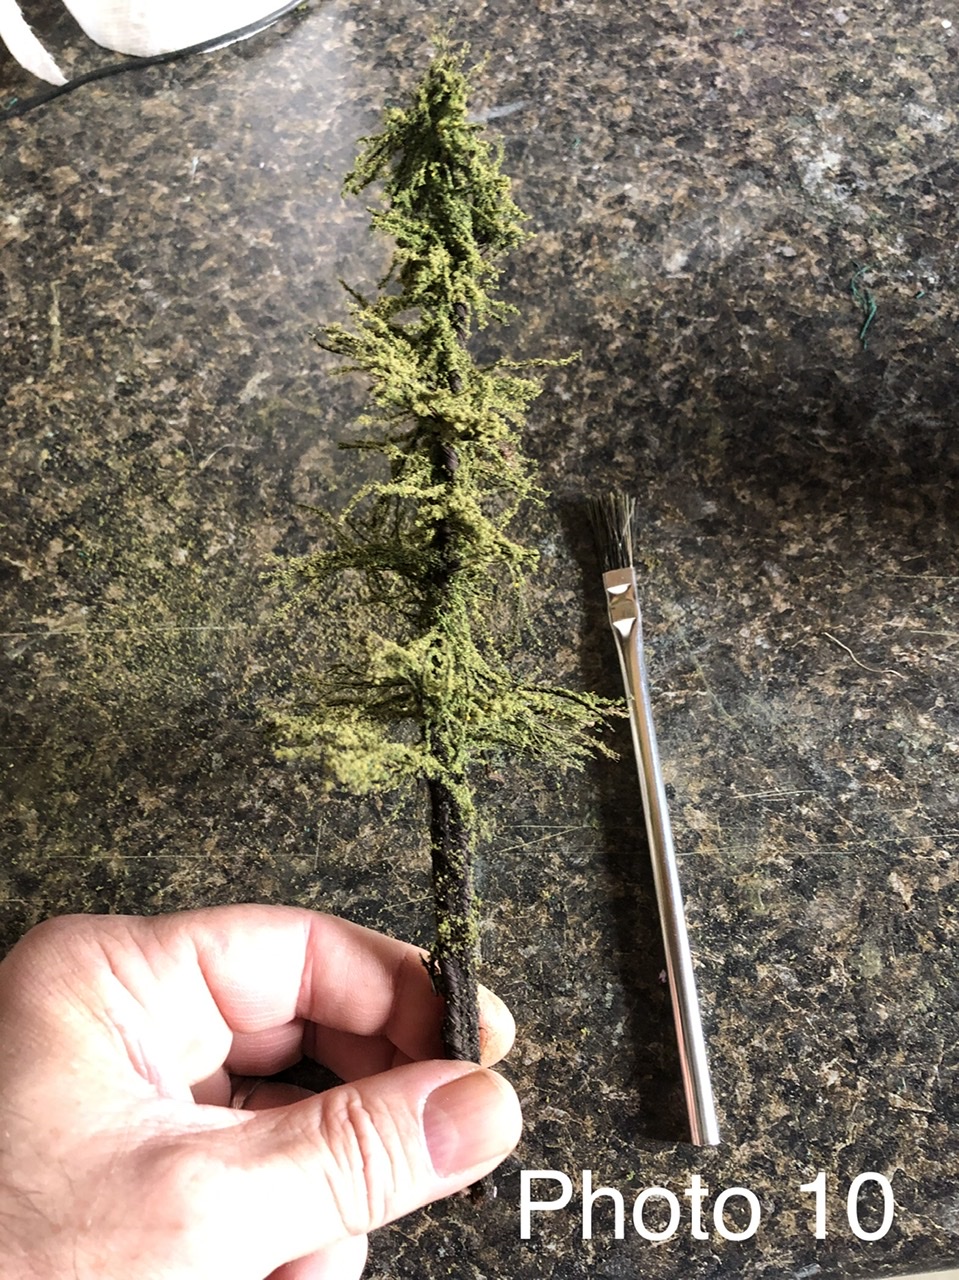
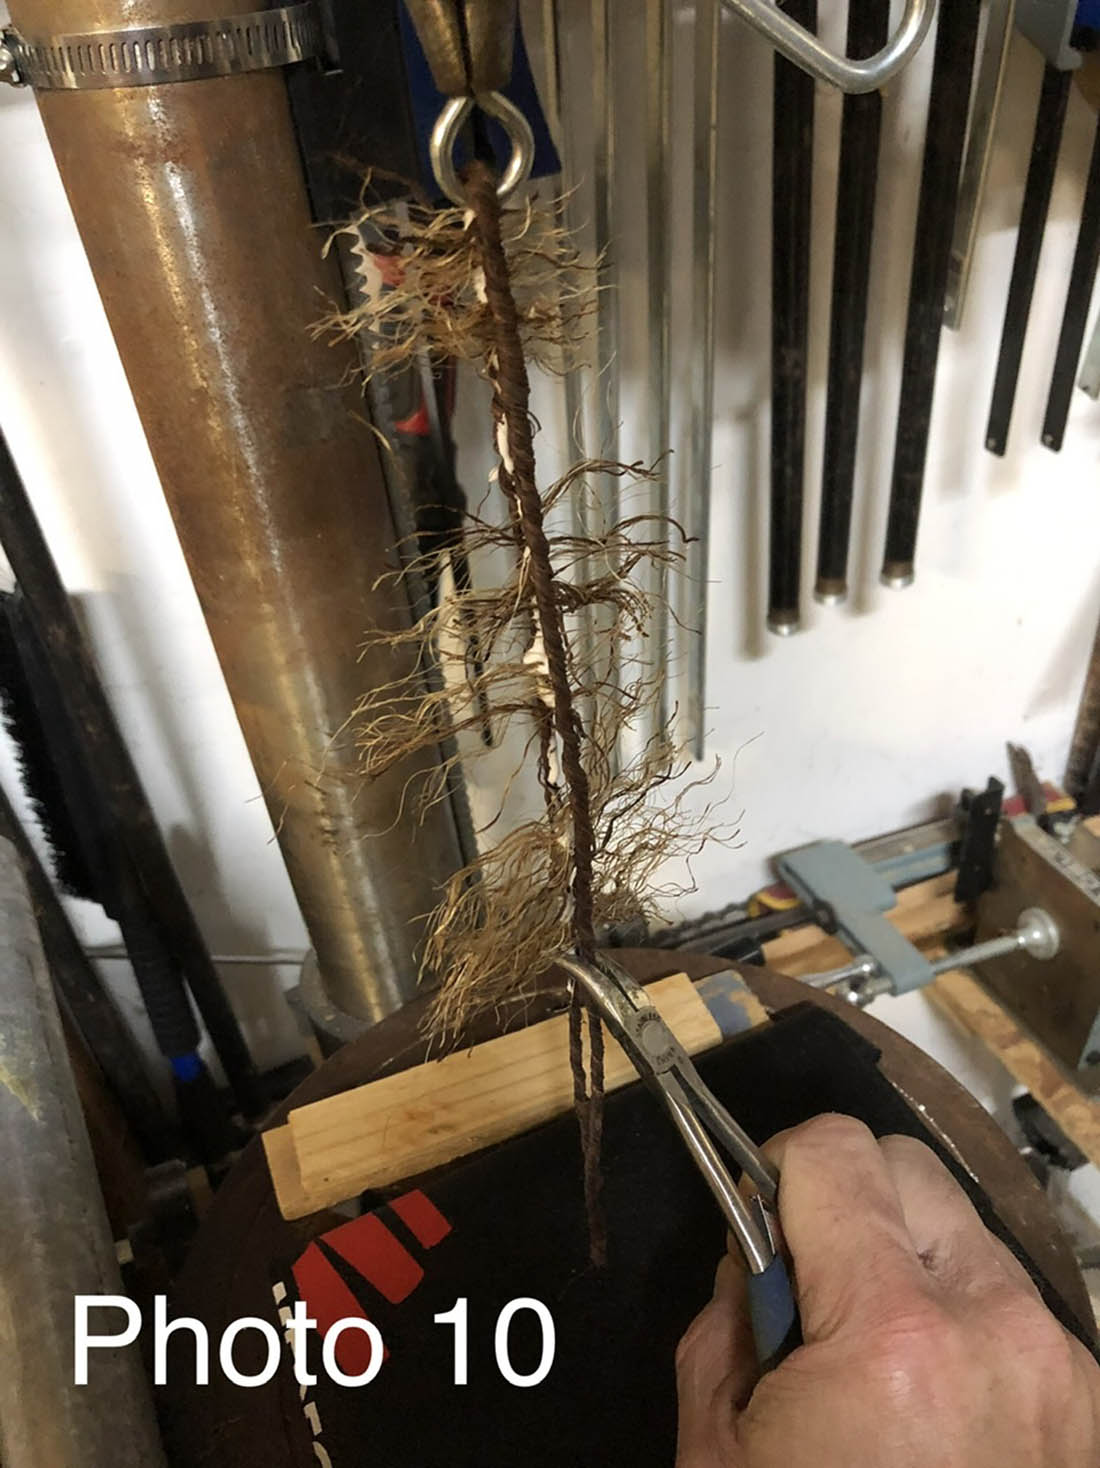
Photo 10 shows a completed tree waiting for clean up to remove excess material from the trunk. A small stiff brush works perfect for this task.
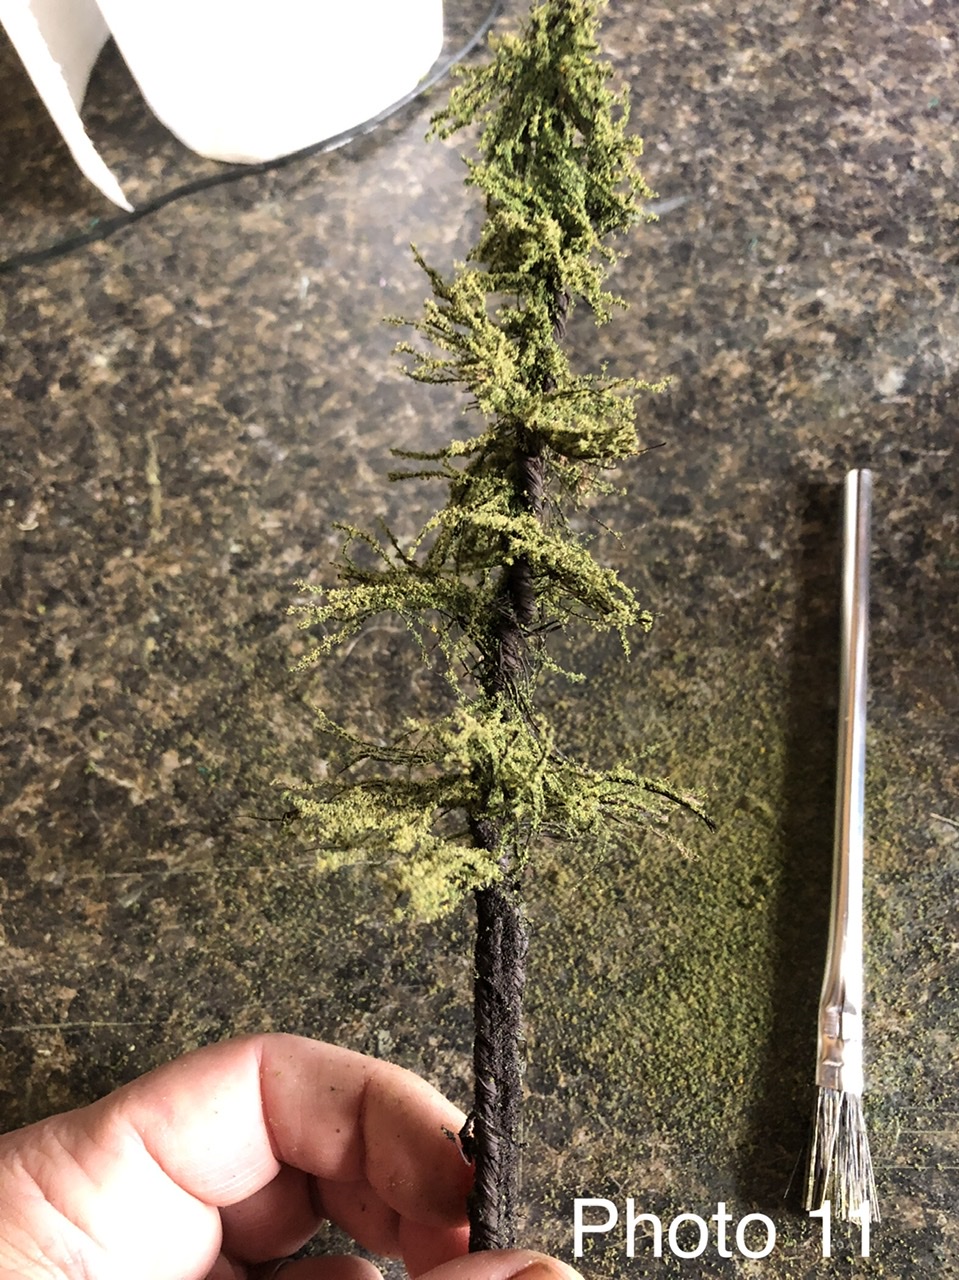
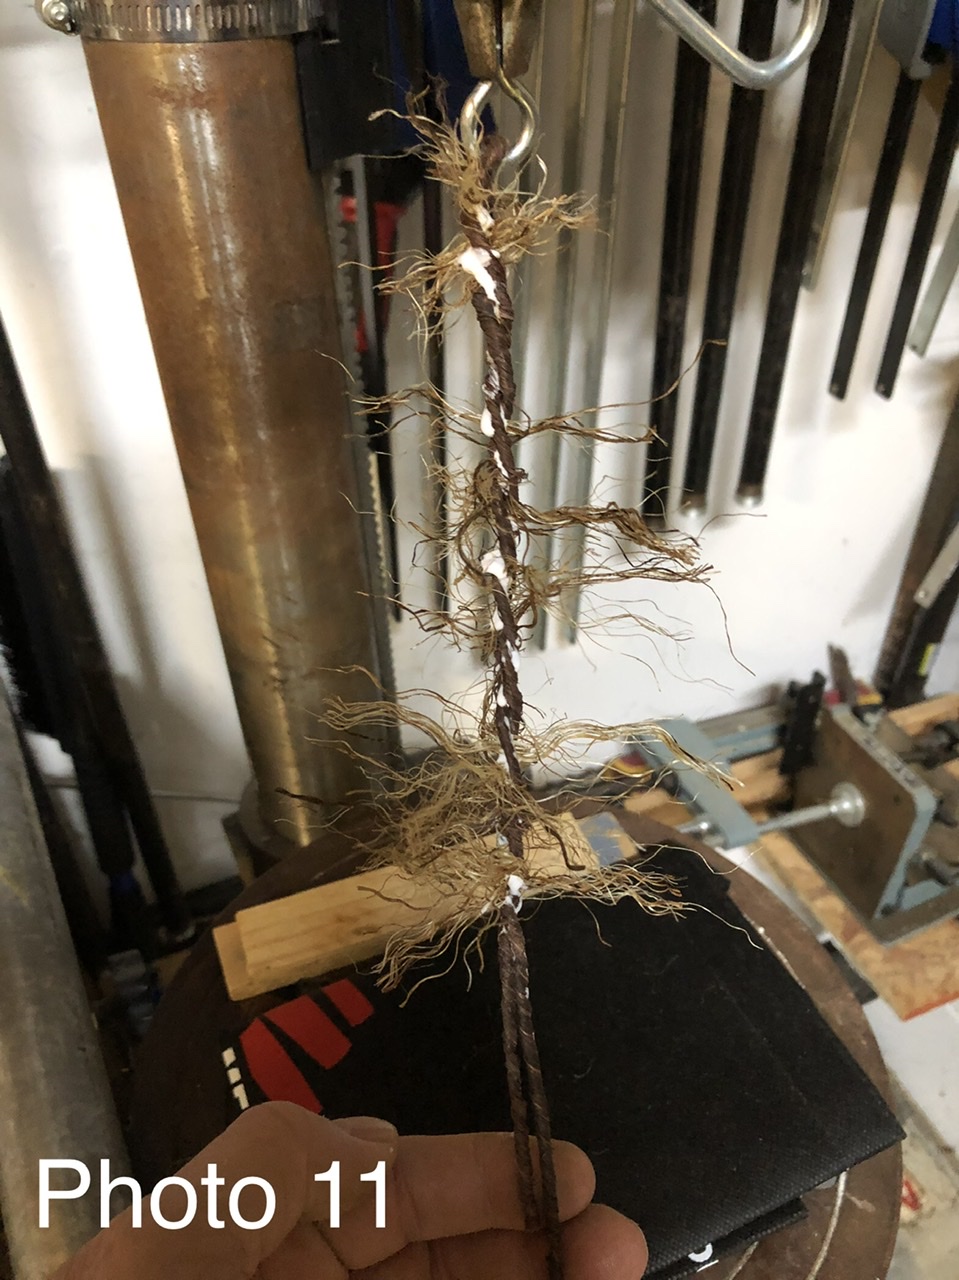
Photo 11 shows the same tree cleaned and layout ready
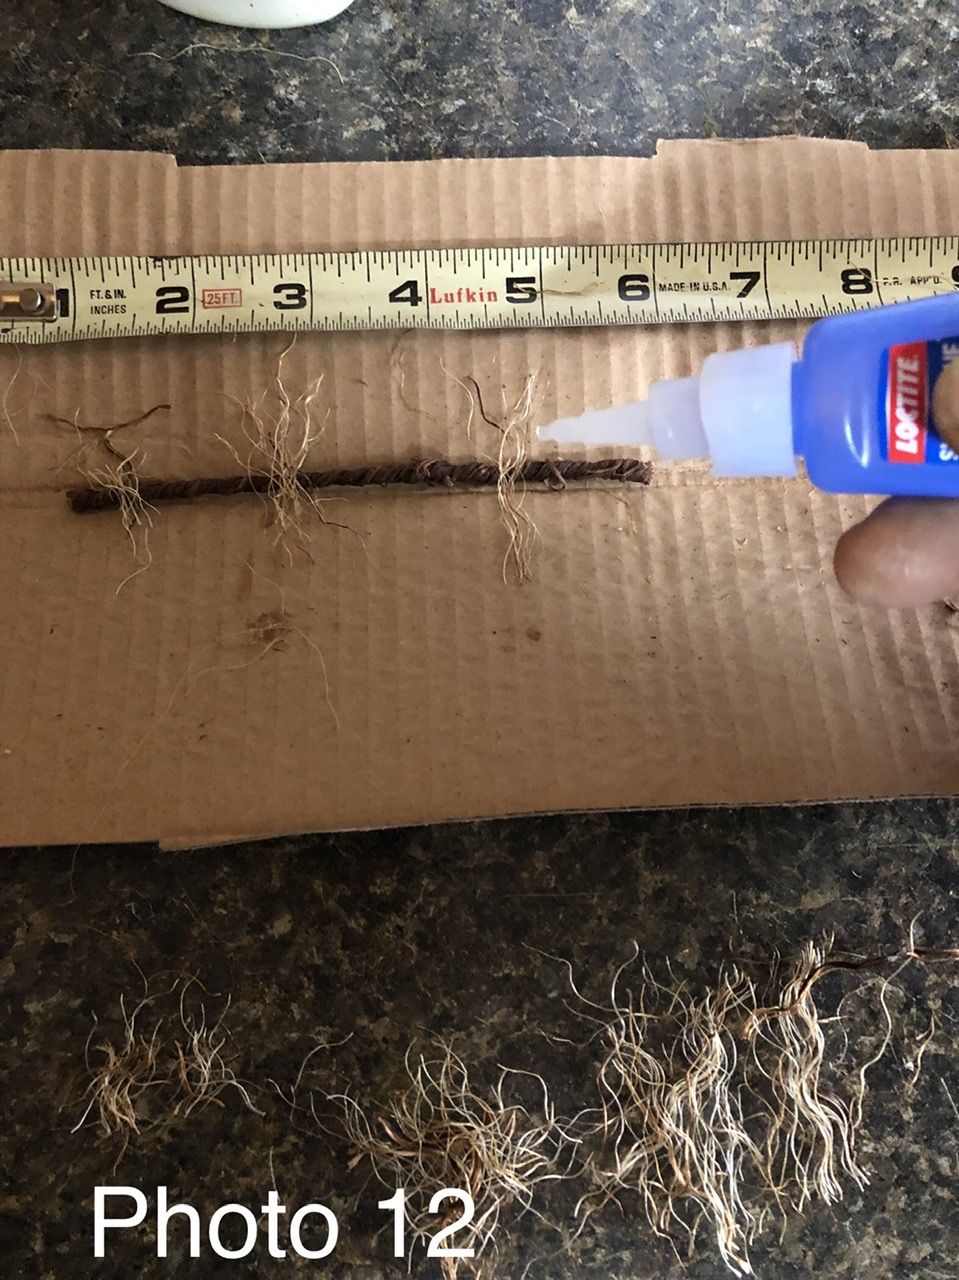
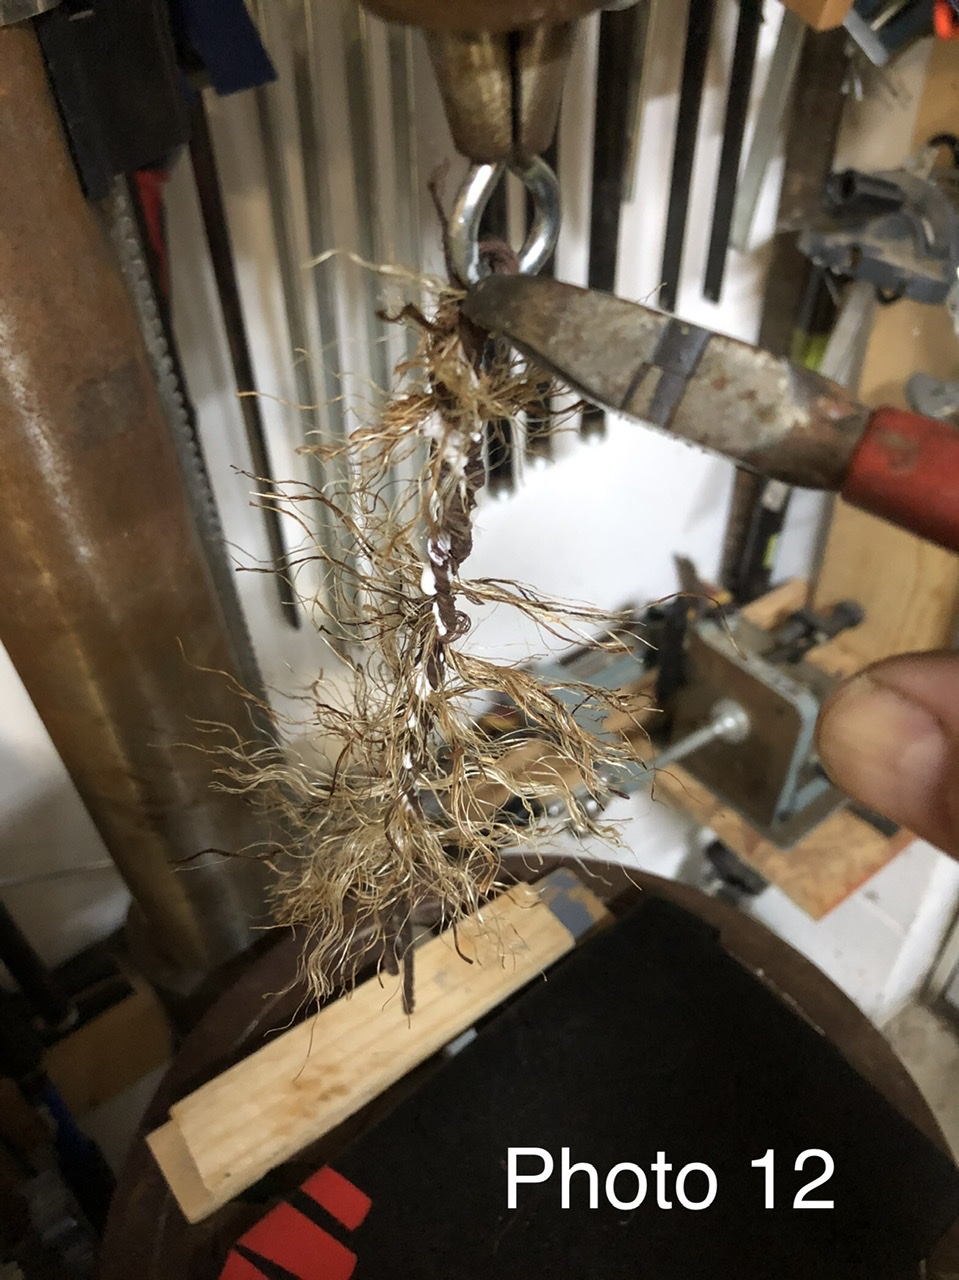
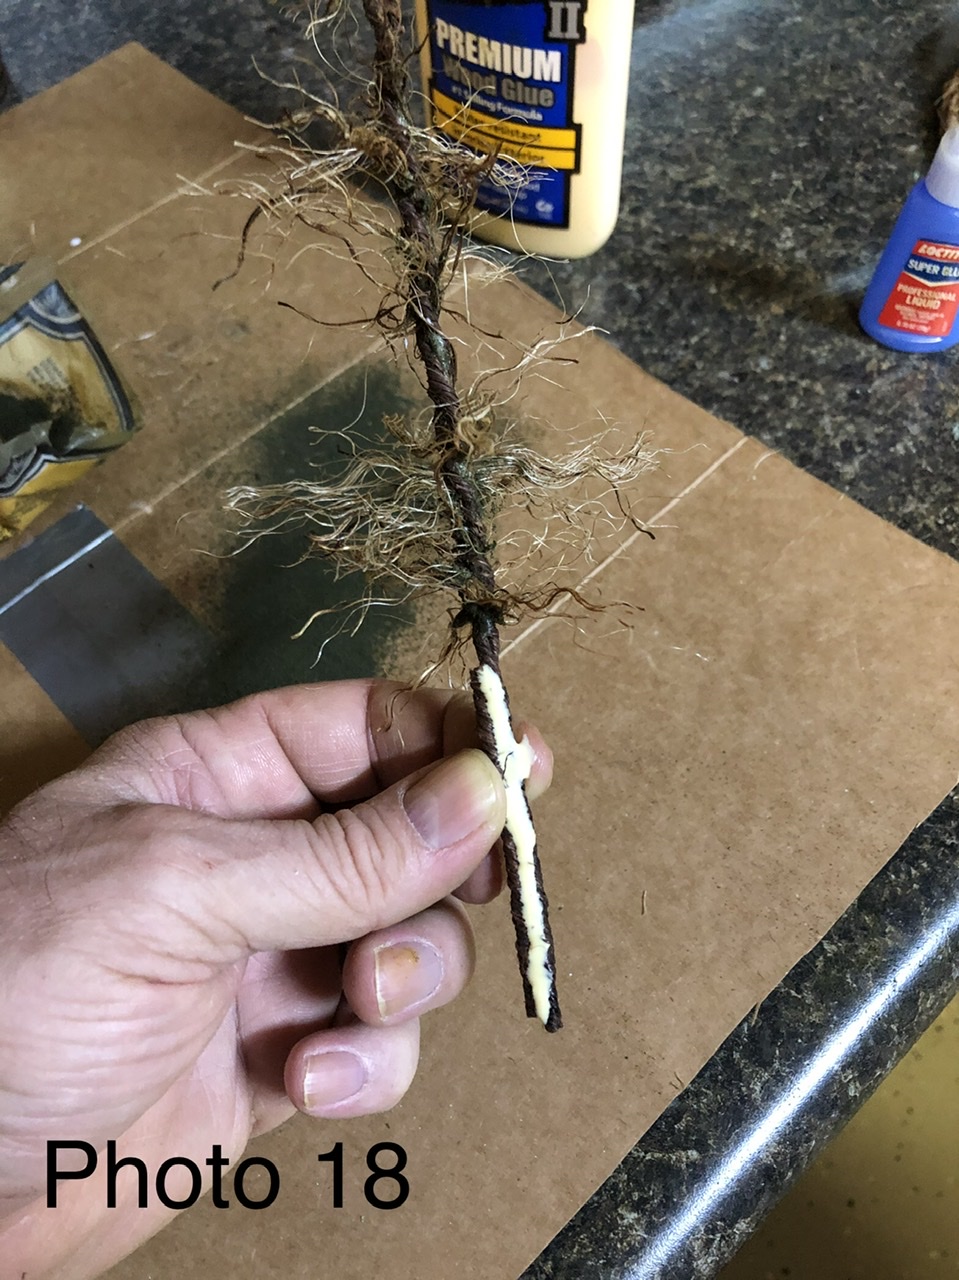
Photo 12 starts the construction of an N Scale tree roughly 4 inches tall. The same materials are used but here I’m using only a single trans of the rustic wire.
To start the build I super glue s few branches in different locations. I then hold the tree snd I dab on white glue to hold the next branches in different areas as I rotate the trunk.
Note that I go back and spot glue with super glue as well to make sure everything stays in place.
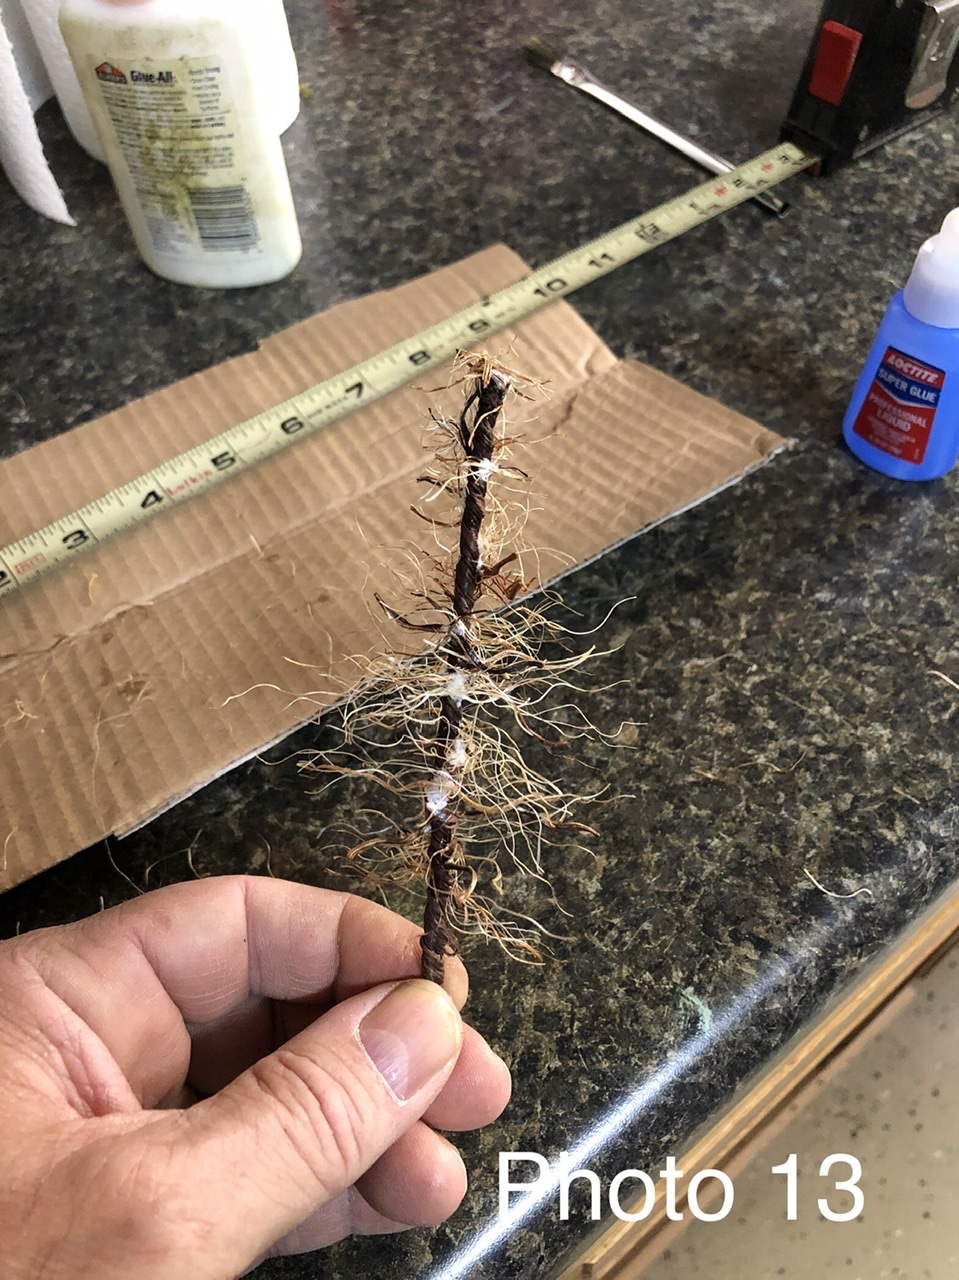
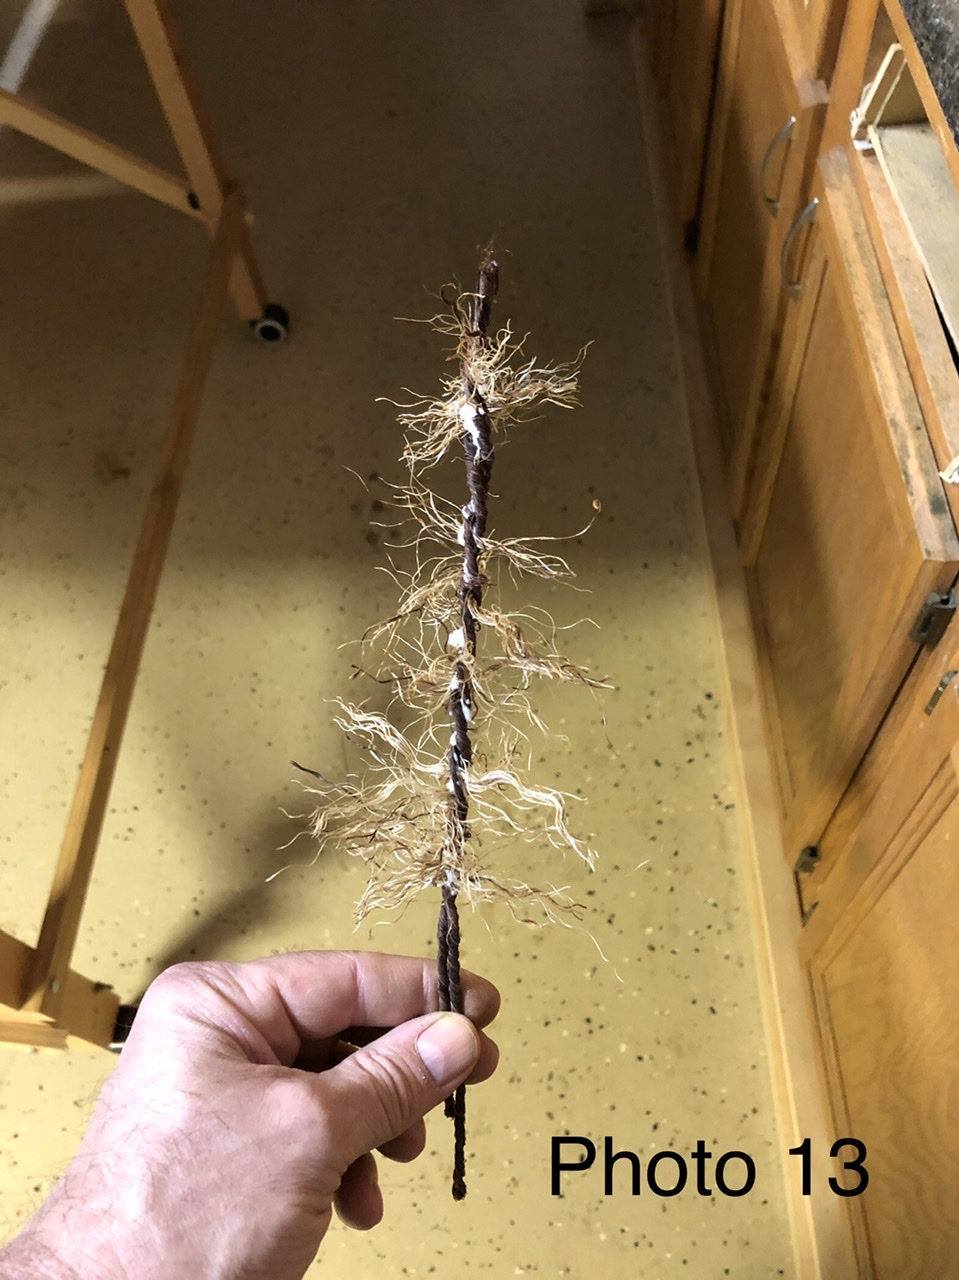
Photo 13 shows the completed tree before shaping
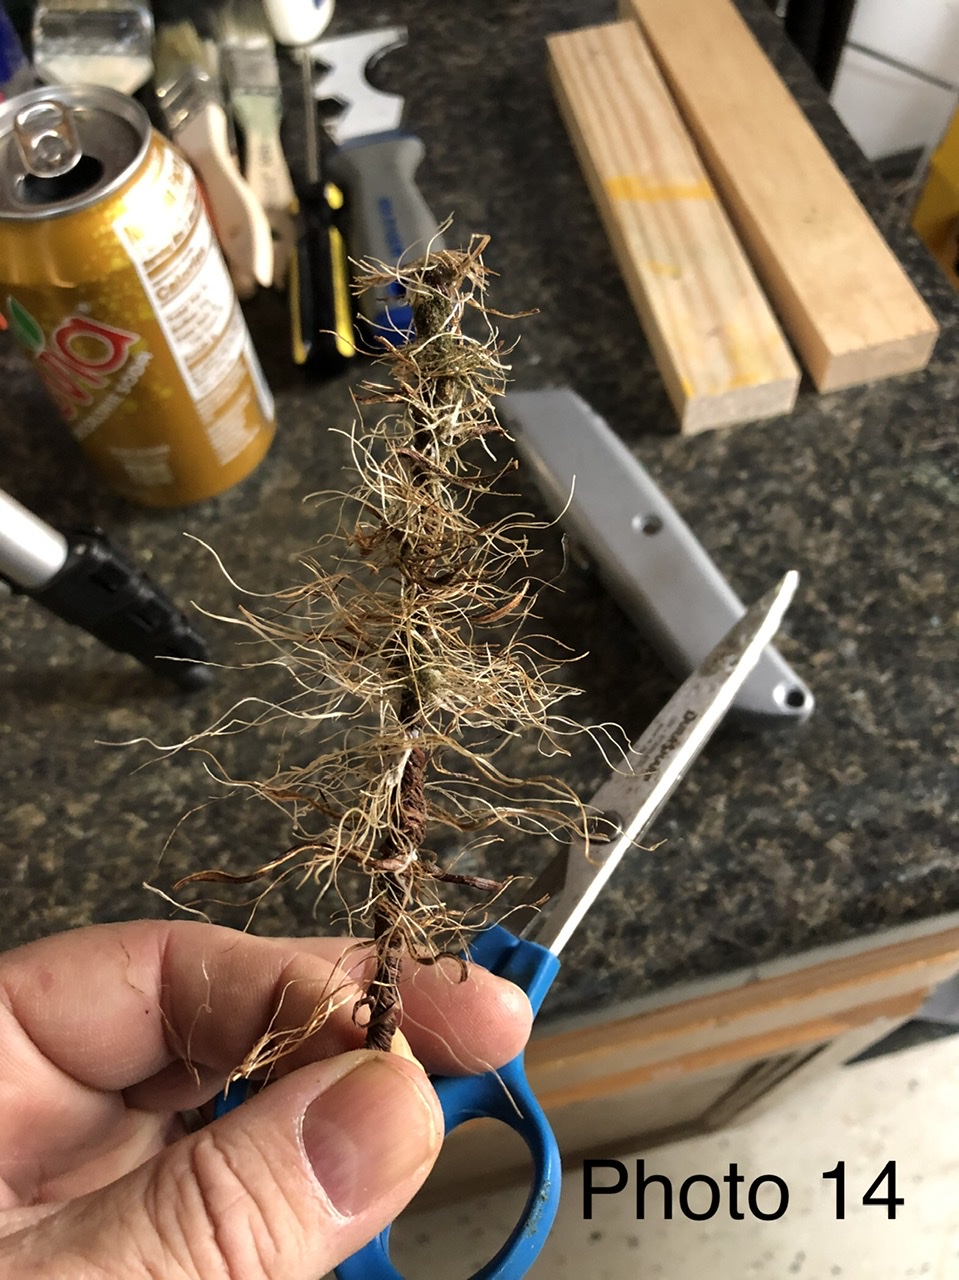
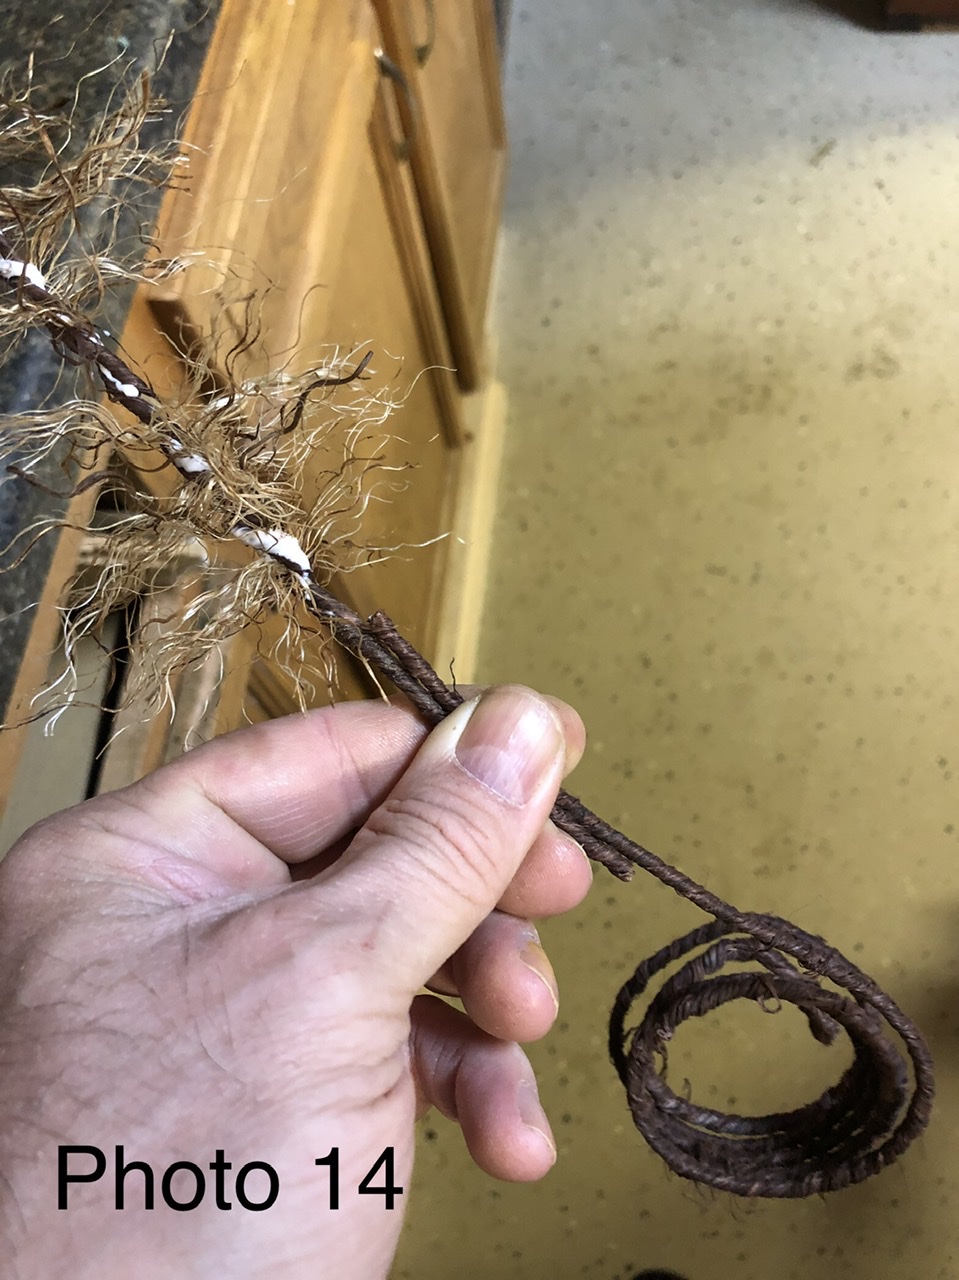
Photo 14 shows the tree getting ready for the first hair cut. Nothing fancy needed at this point but just get it into the basic shape you are after.
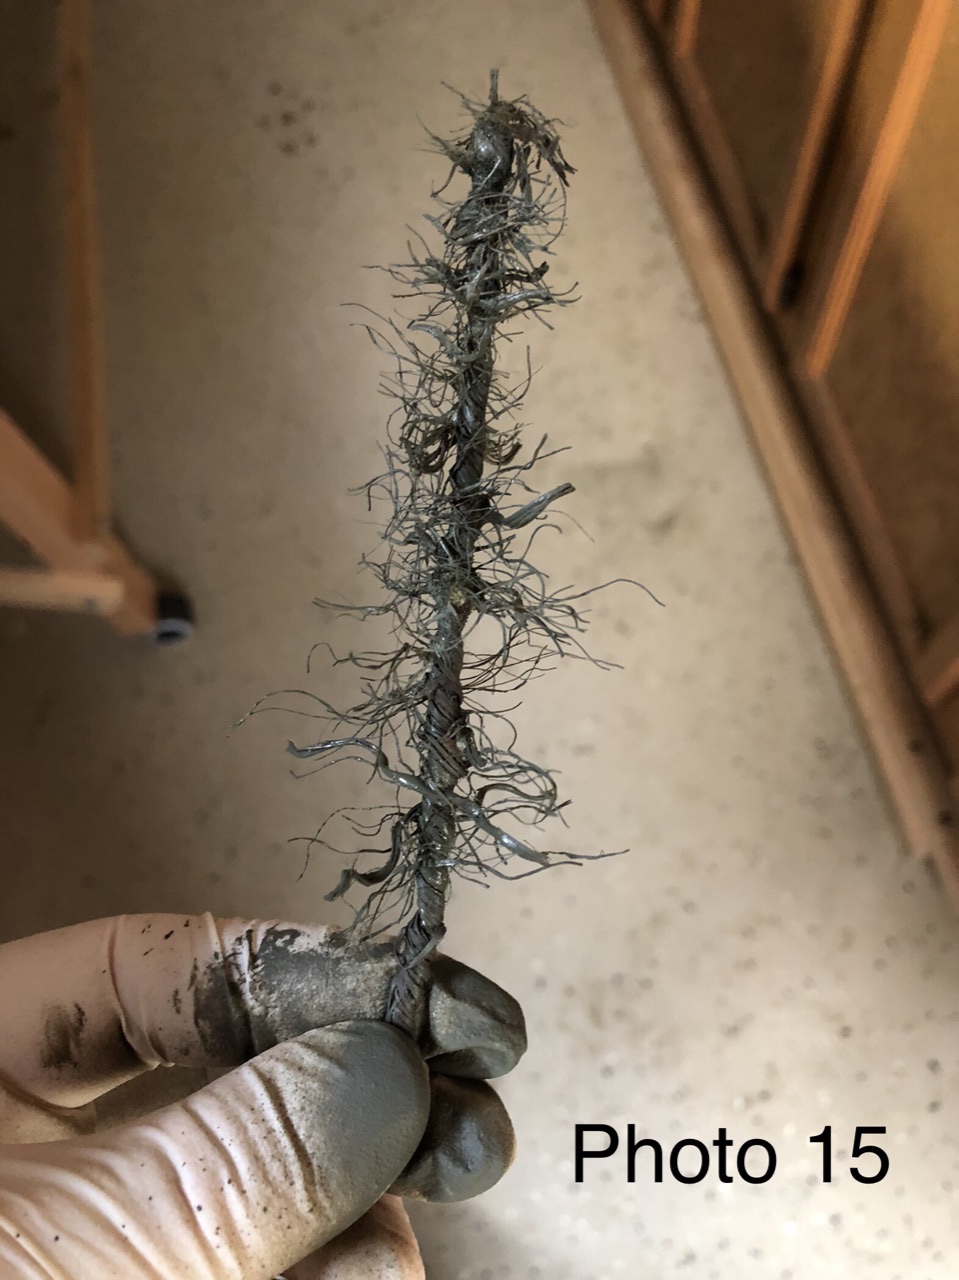
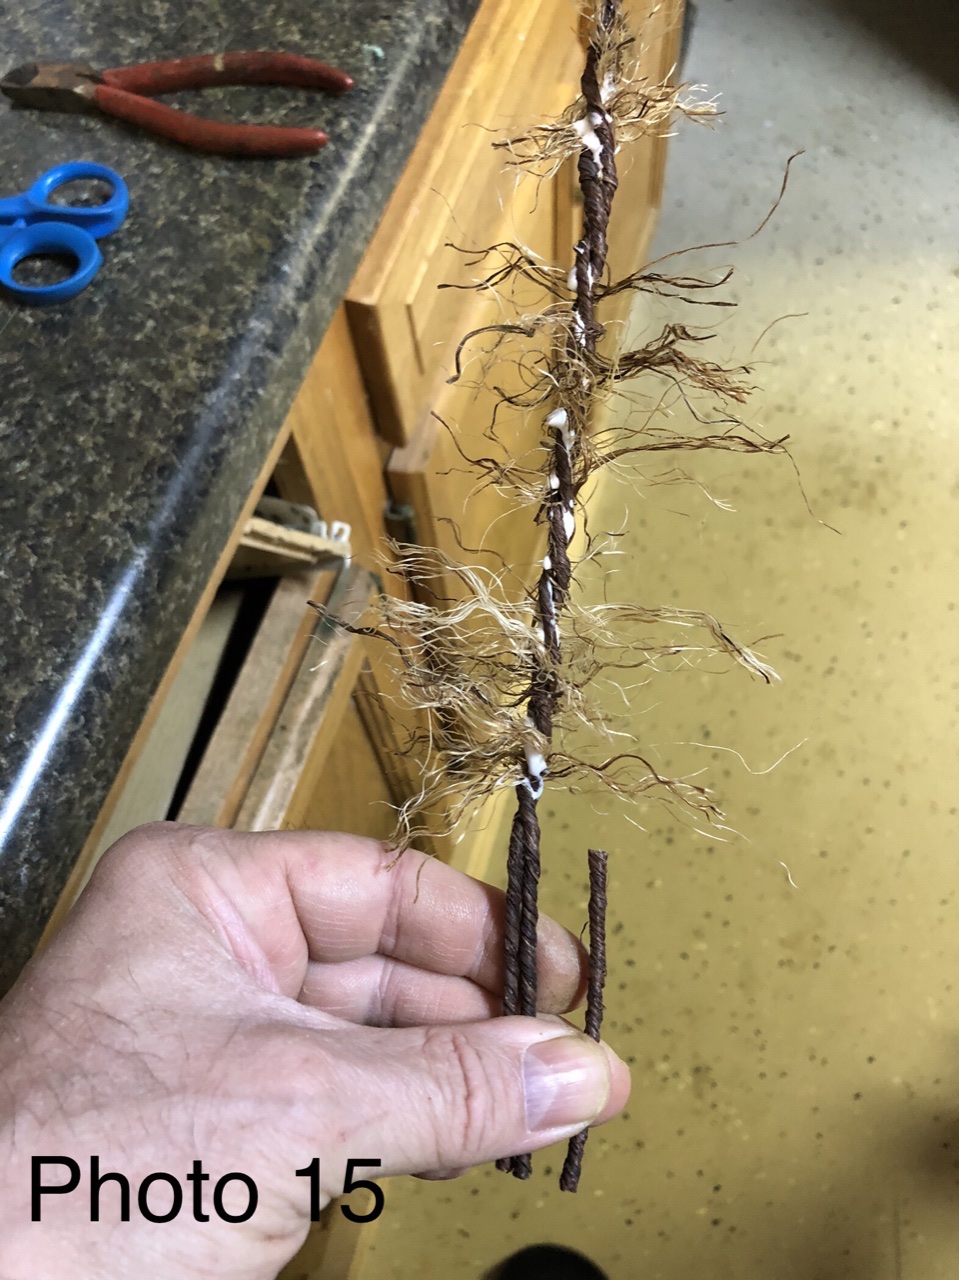
Photo 15 shows the model railroad trees after spray painting.
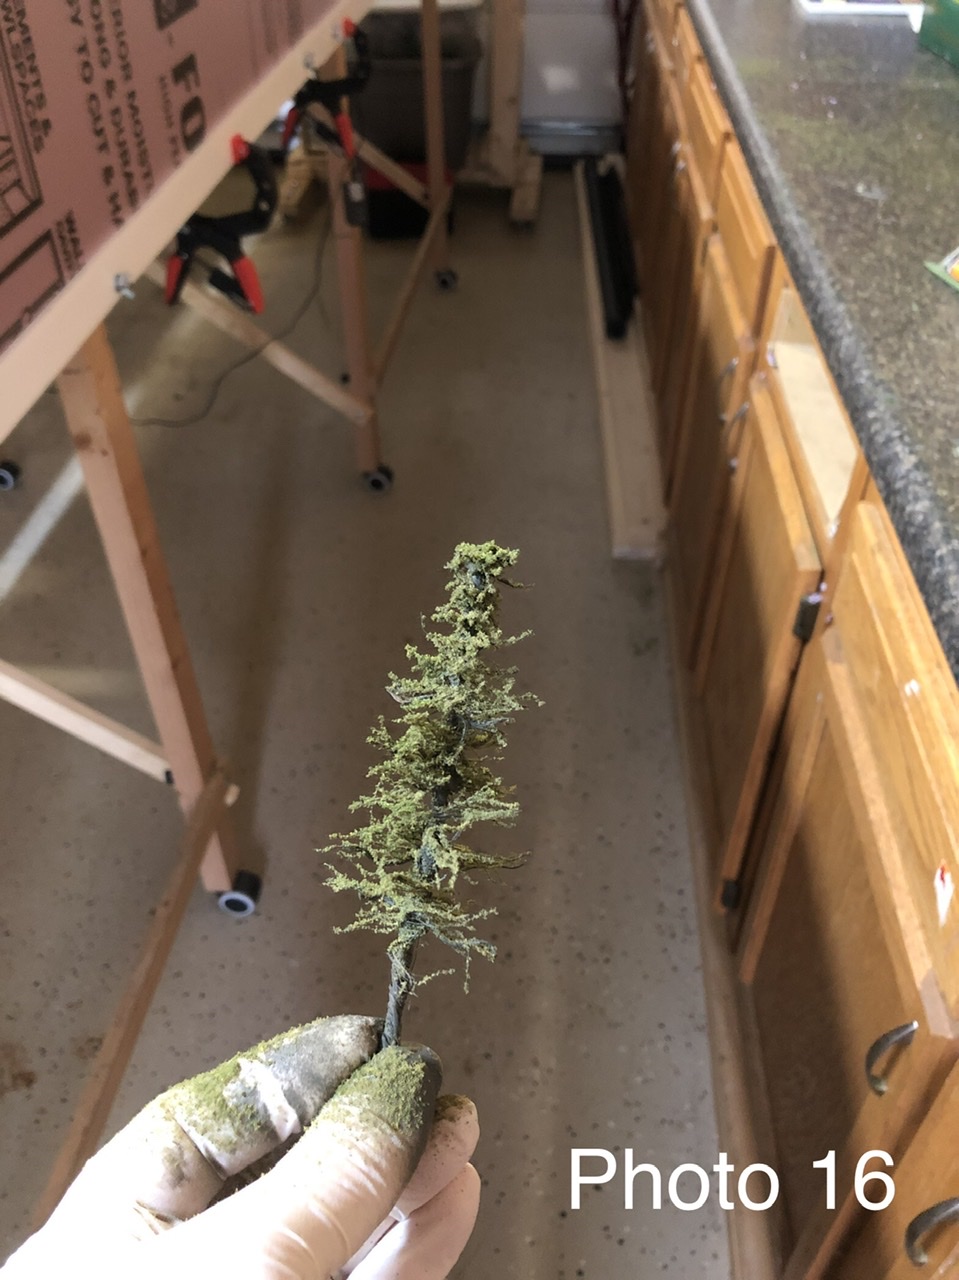
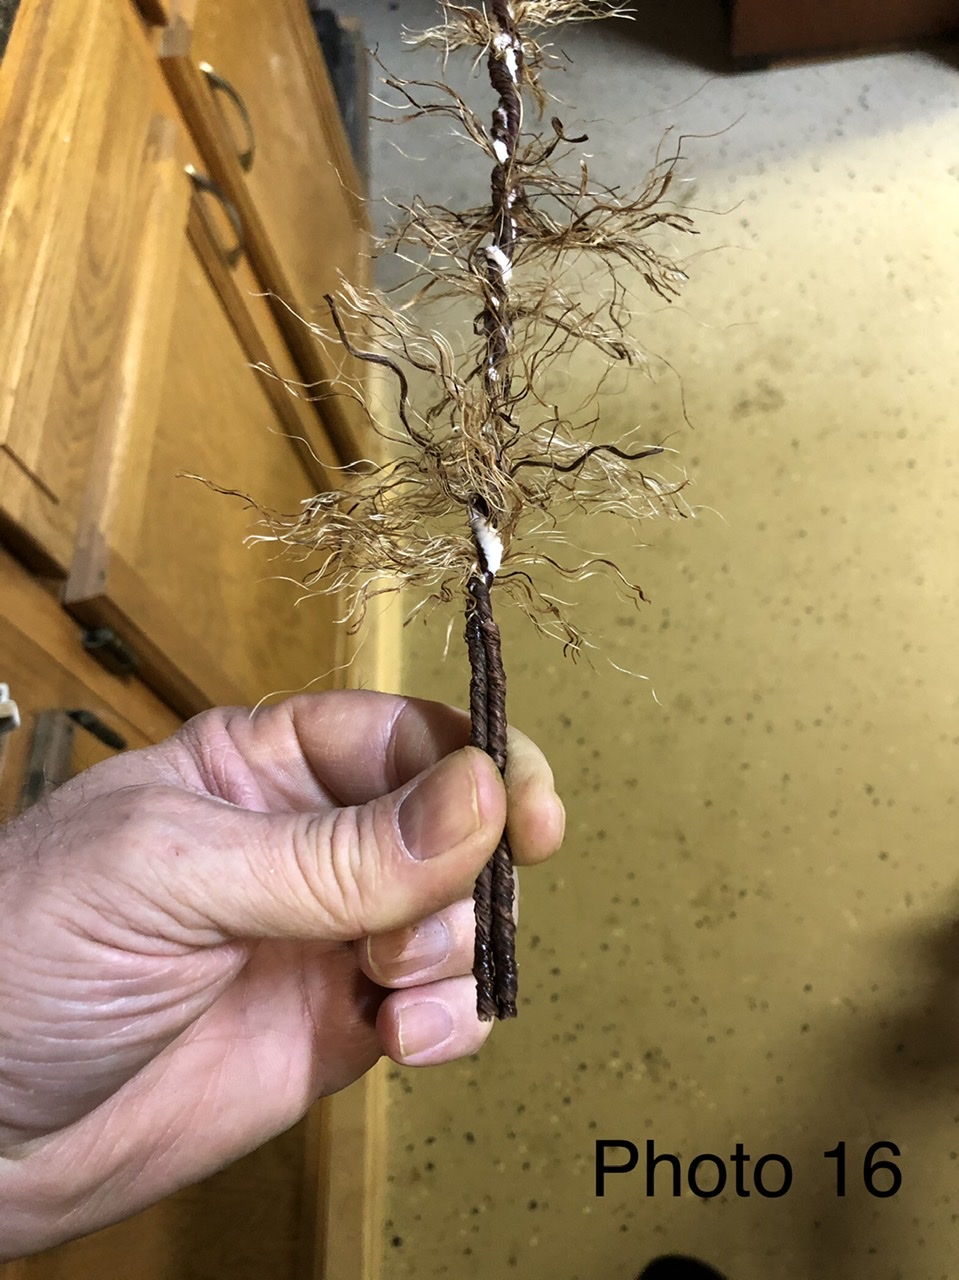
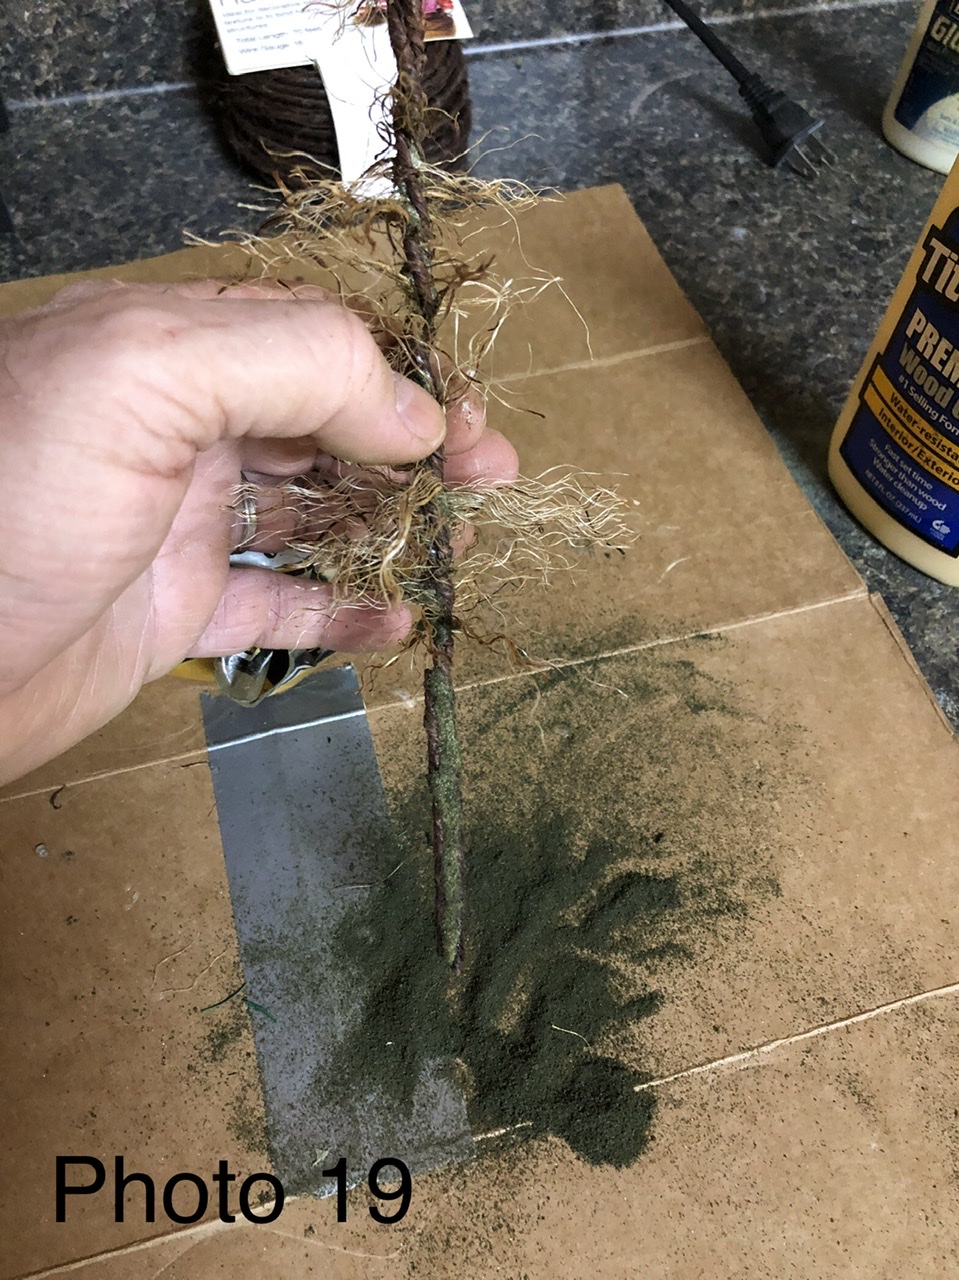
Photo 16 shows the tree after foliage has been applied. Same technique as used with other larger trees is fine with the smaller trees as well.
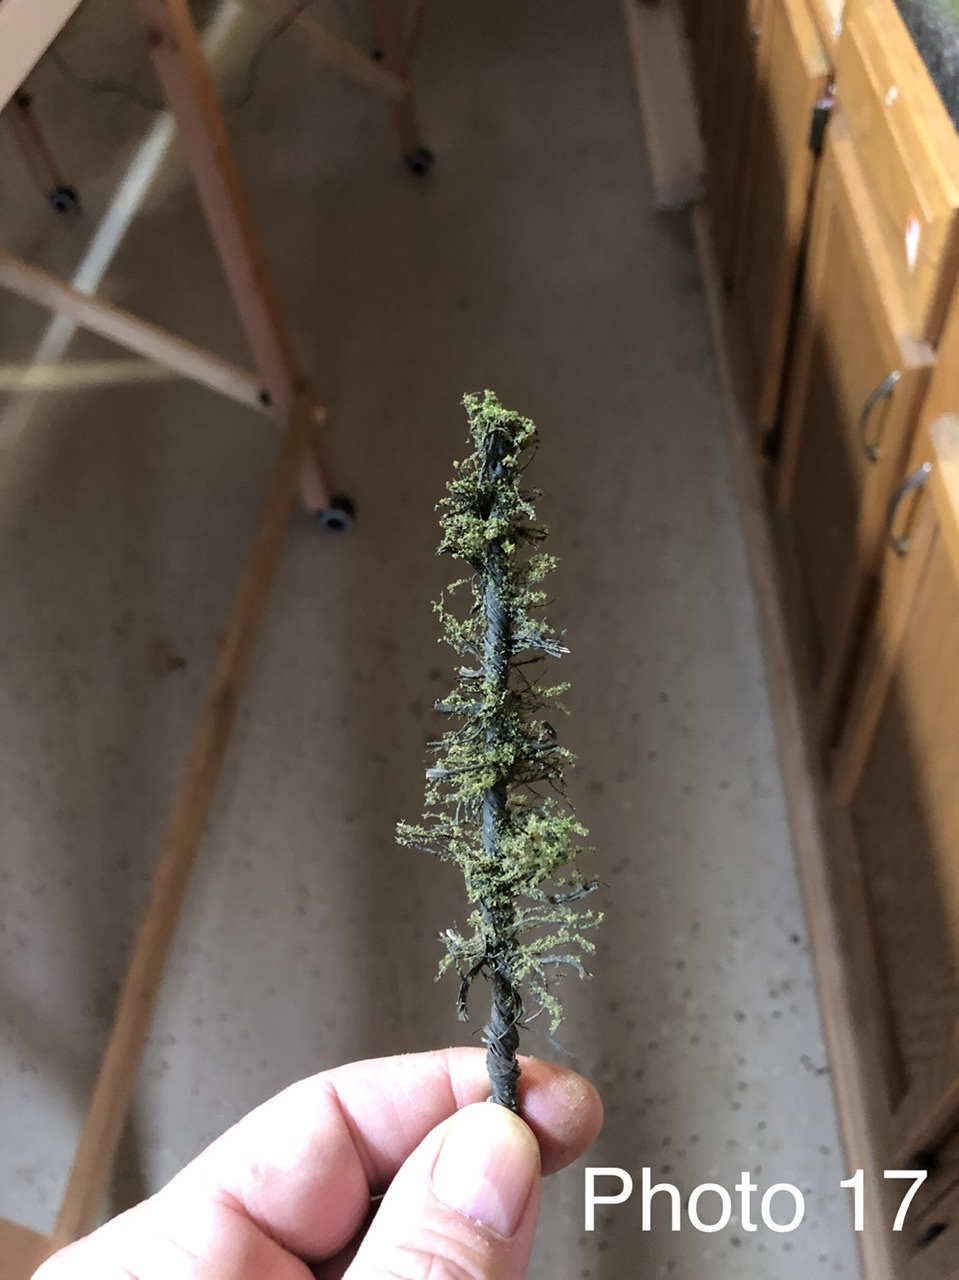
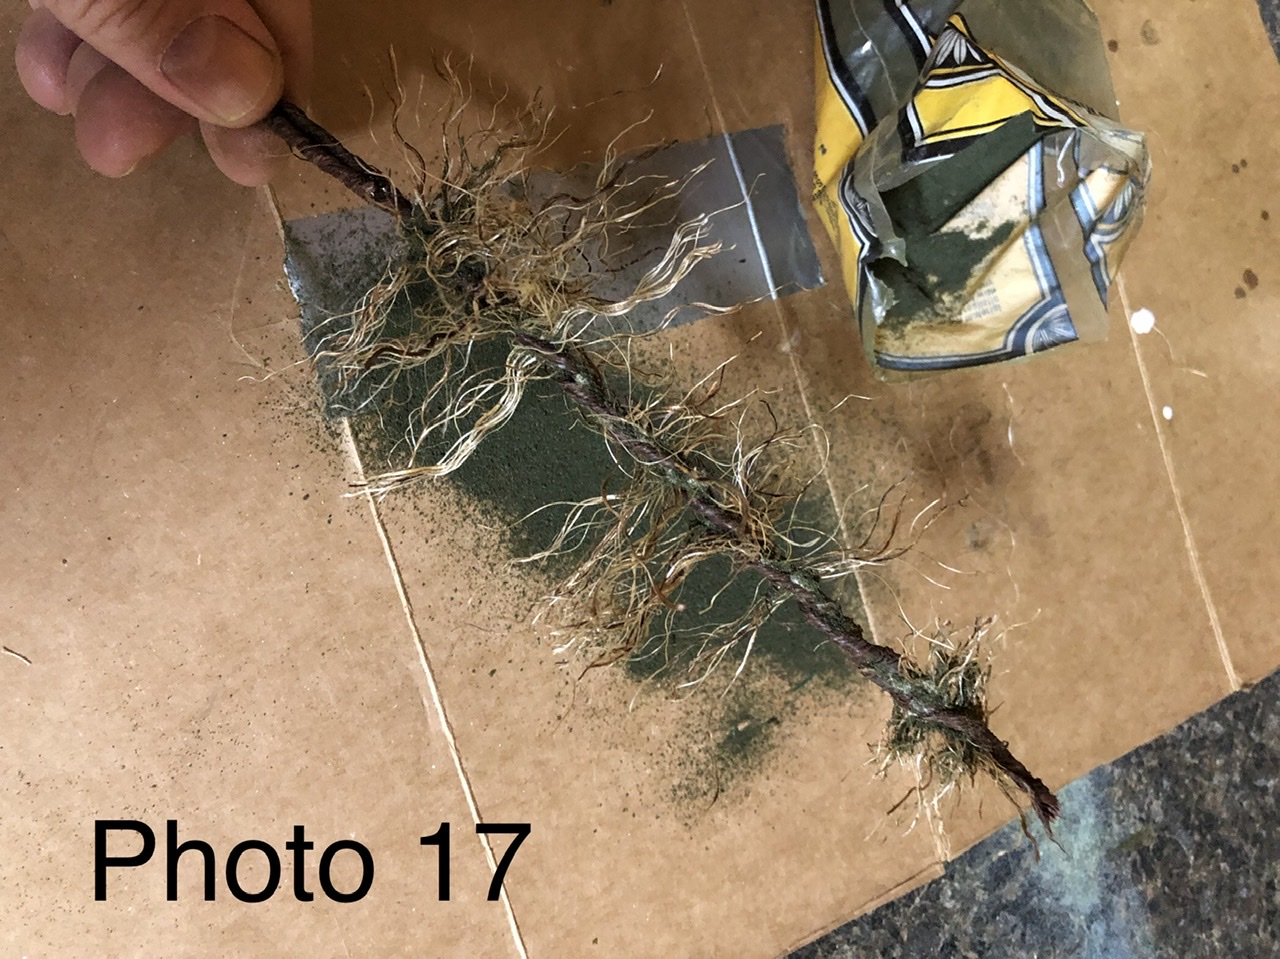
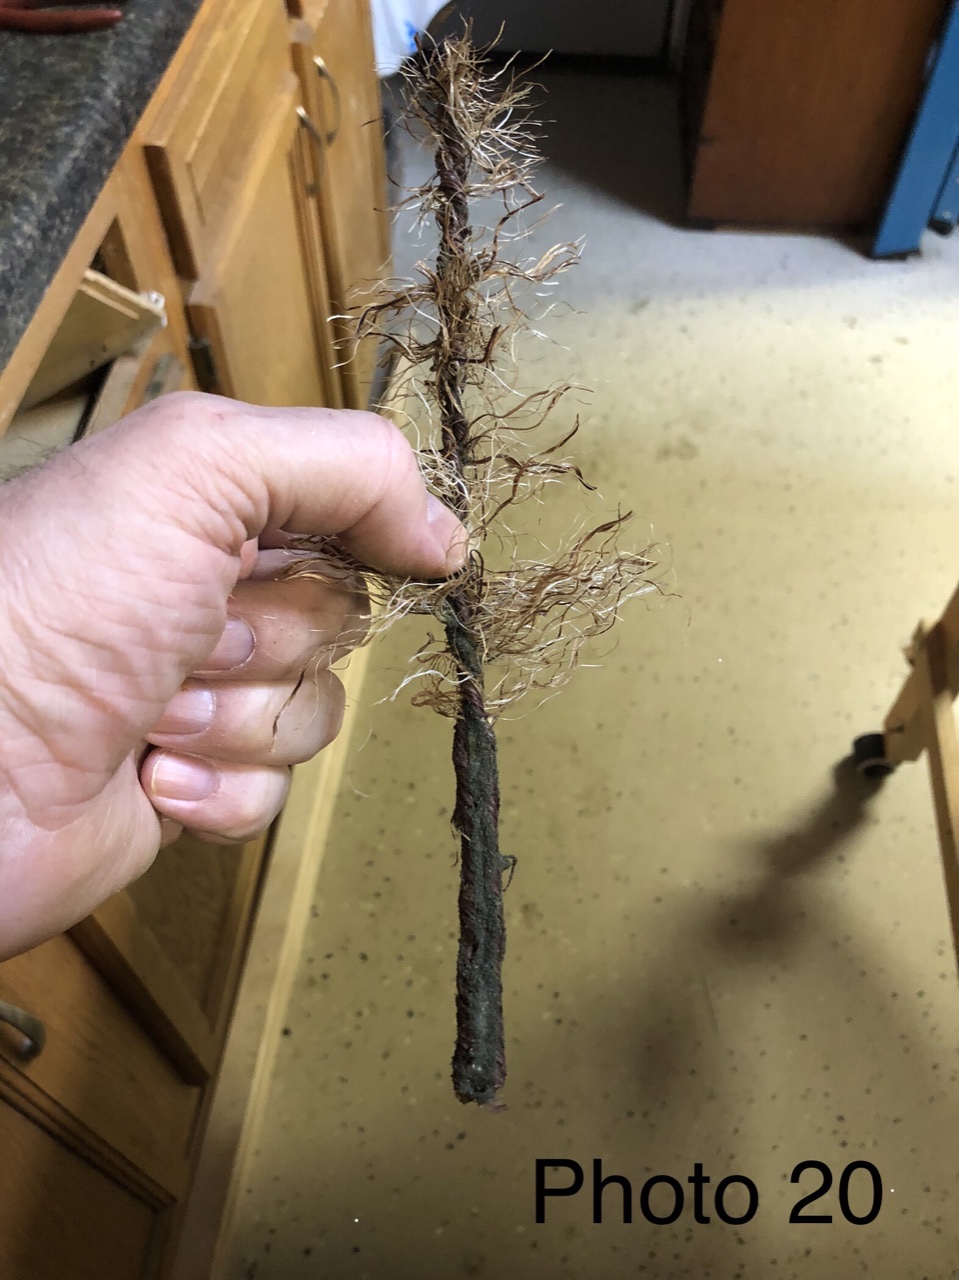
Photo 17 shows the tree after its trunk has been cleaned up and final trimming has been completed. It’s layout ready at this point
Hope folks give these a try. It’s very satisfying to make your own trees and cost effective too!
Best wishes
Bill in Virginia”
A huge thanks to Bill for sharing his model railroad trees ‘how to’.
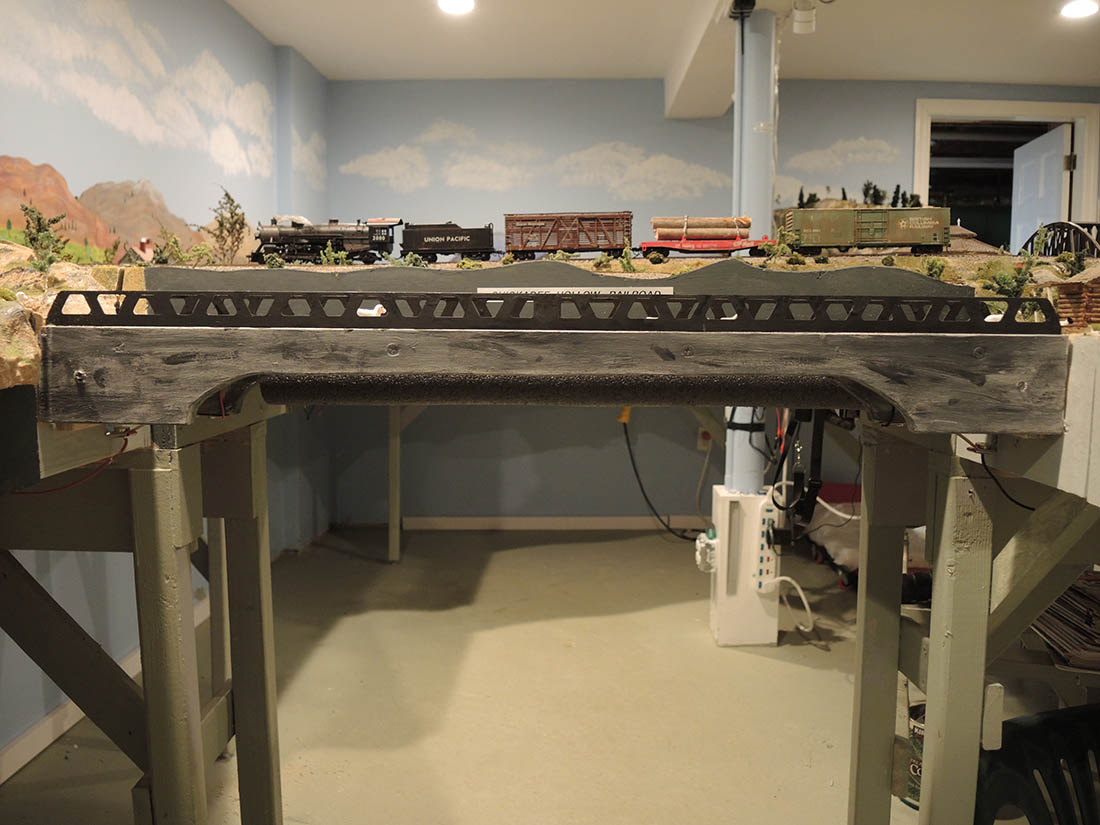
If you want to see what his layout looks like, here’s his last video update:
Please do keep ’em coming.
And don’t forget the Beginner’s Guide is here if you want to make your start.
Best
Al
PS Latest ebay cheat sheet is here.