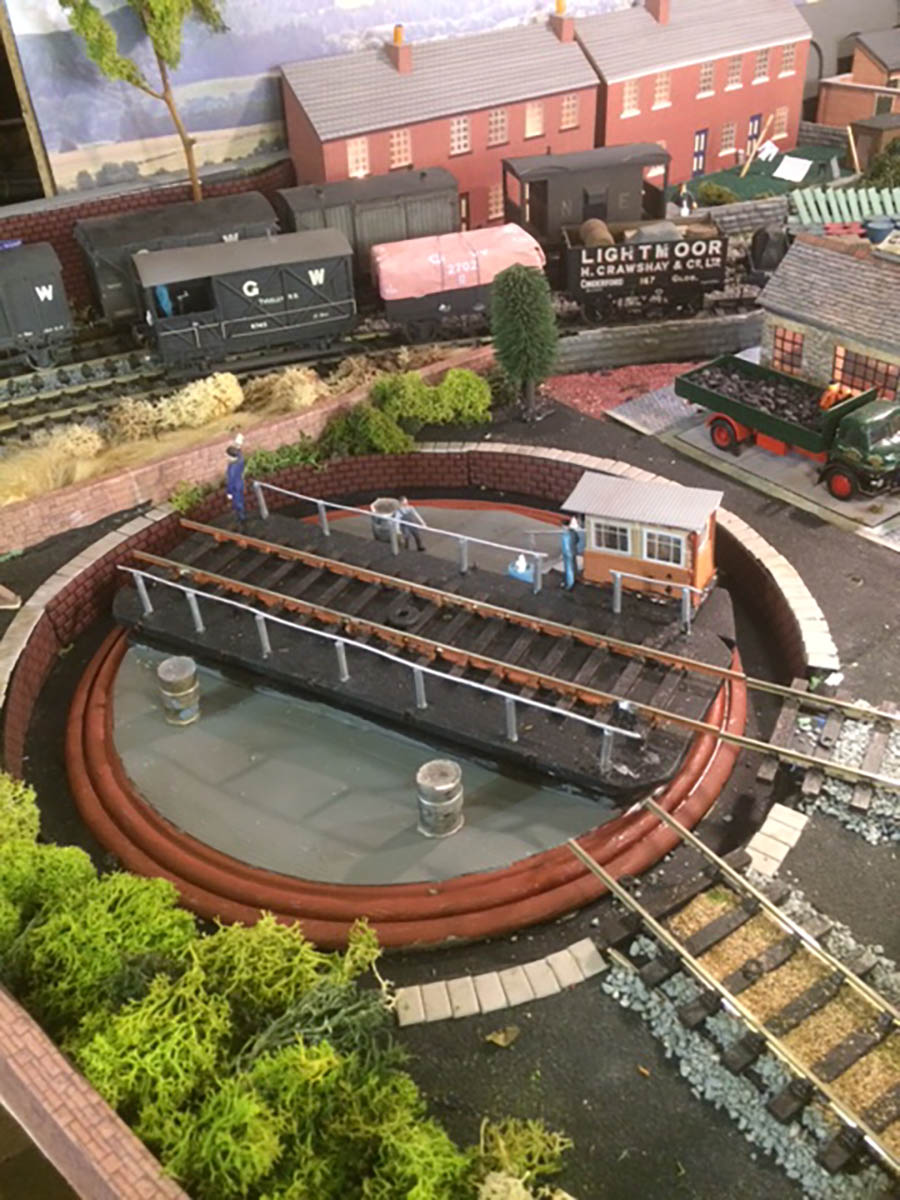
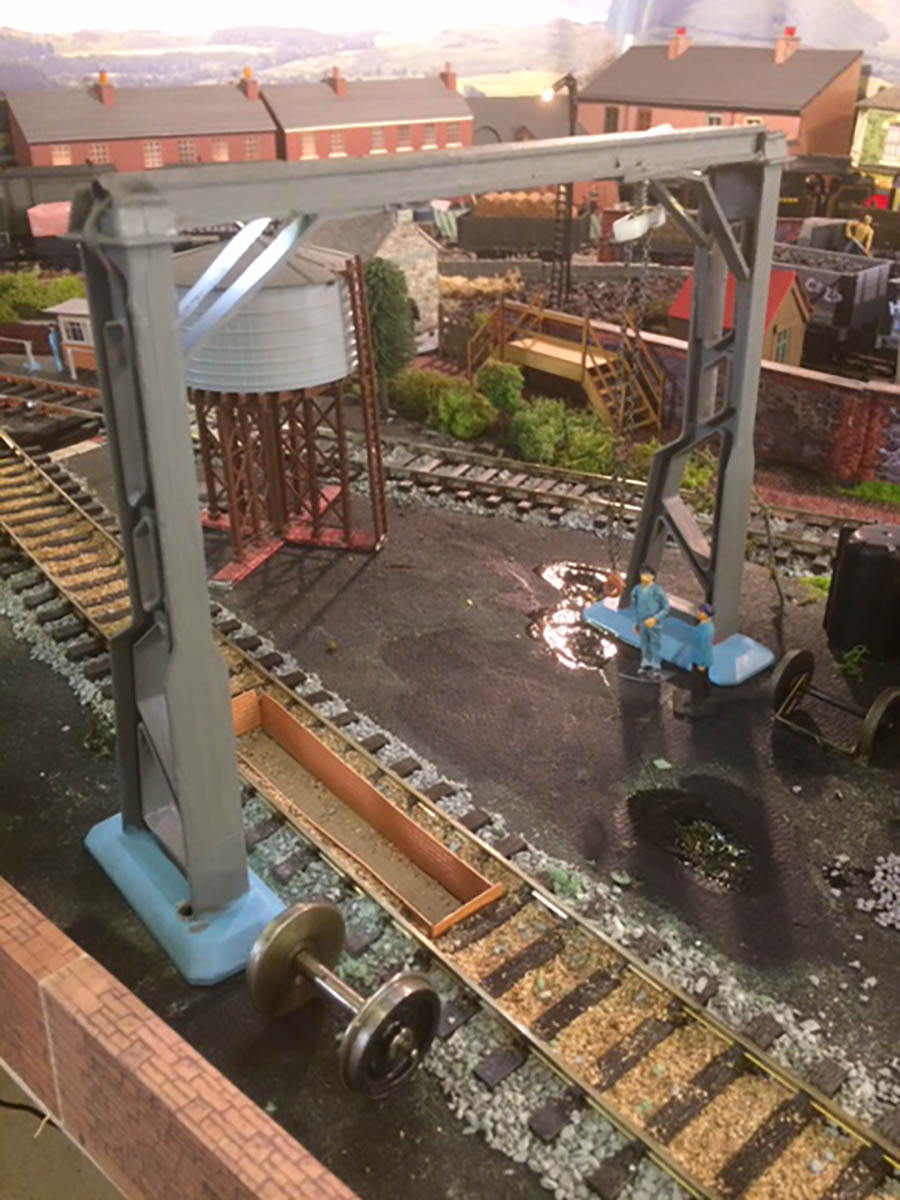
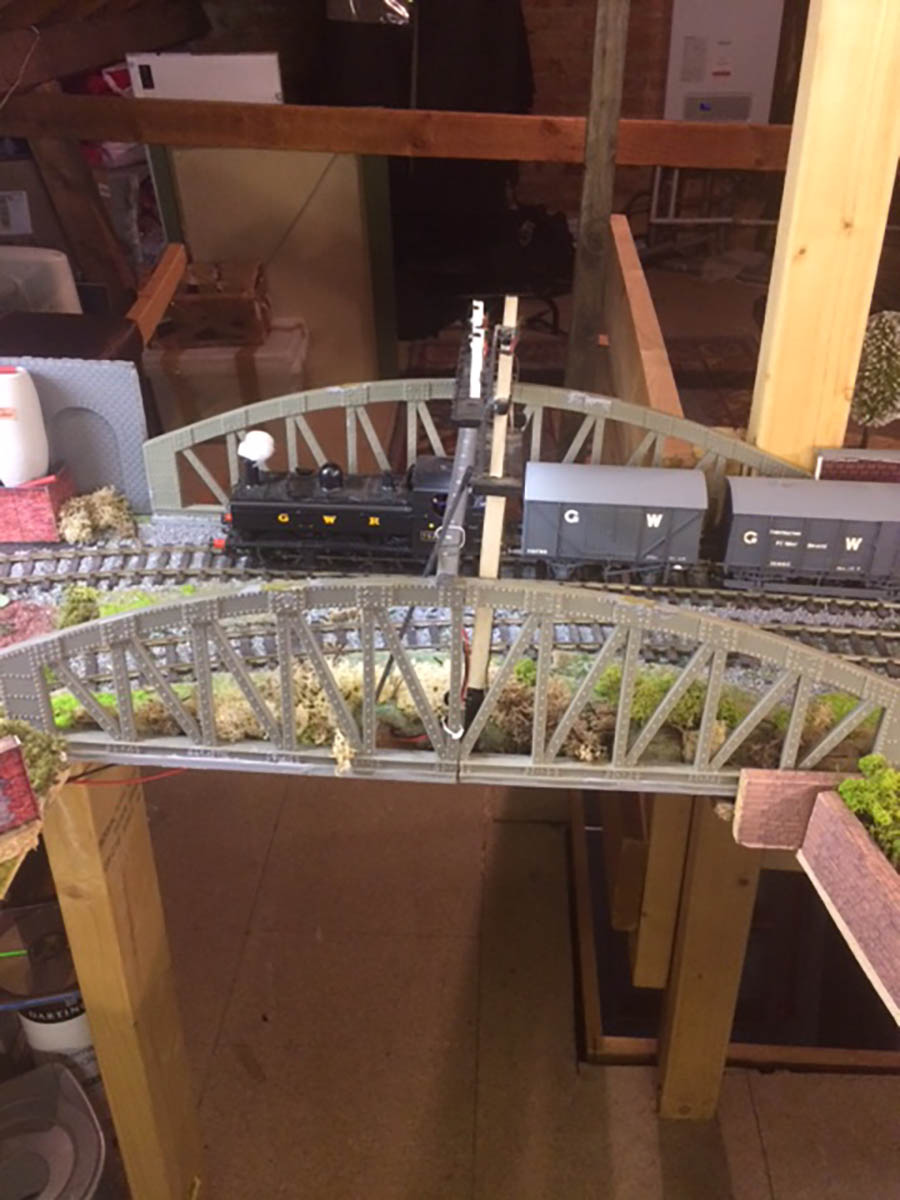
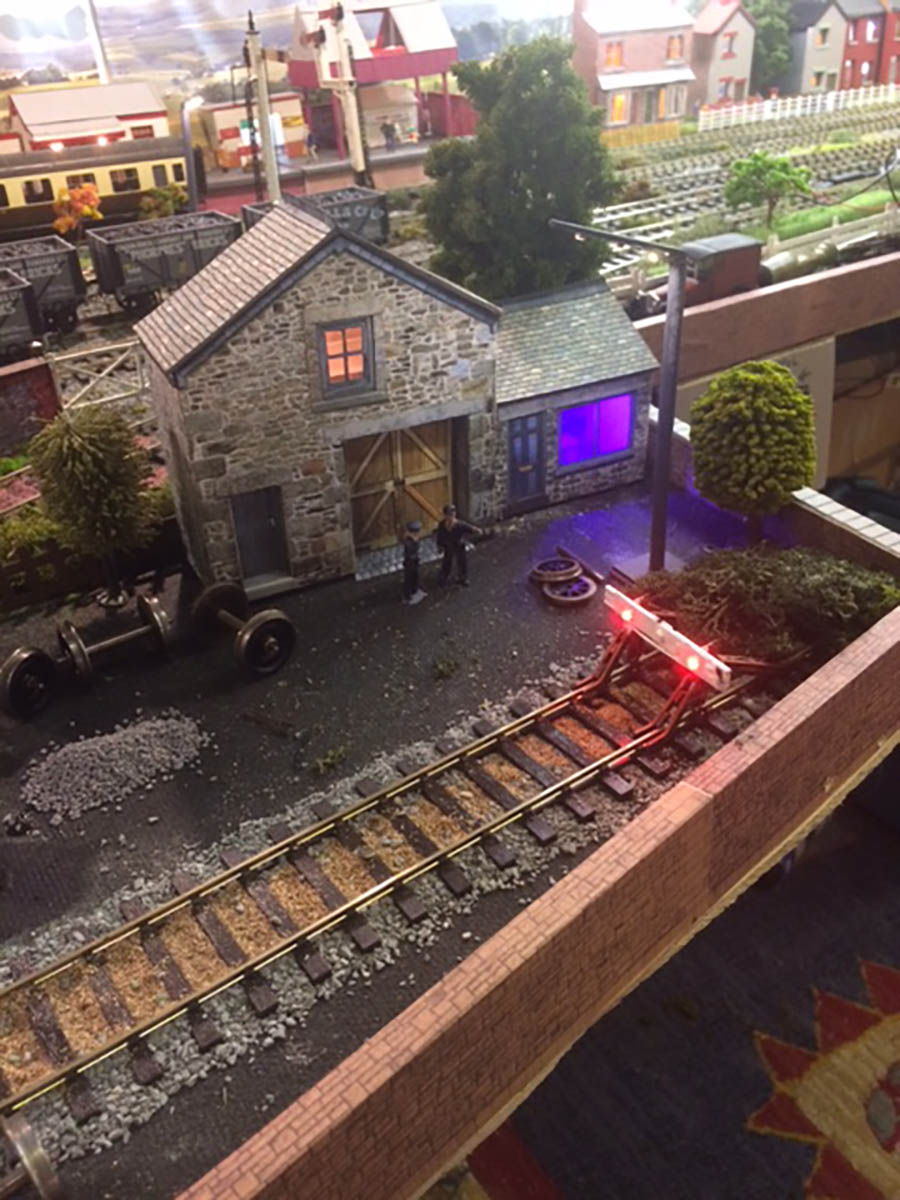
John’s been in touch with his small shelf layout:
“As you know, I normally build small layouts… Easily portable and inexpensive.
I also like little challenges as I love to build things.
Recently one of my little layouts took on a whole new meaning for me.
First, a bit of philosophy.
In life we often take many things for granted. We believe that the sun will rise tomorrow morning and we will be there to see it. We believe those we love will always be with us. We get caught up in life and we too often take both the mundane and the special for granted. We just believe it will always be there.
One day it all changes: It can change in a moment, in a twinkling of the eye. One minute what we always believed would be there is suddenly gone.
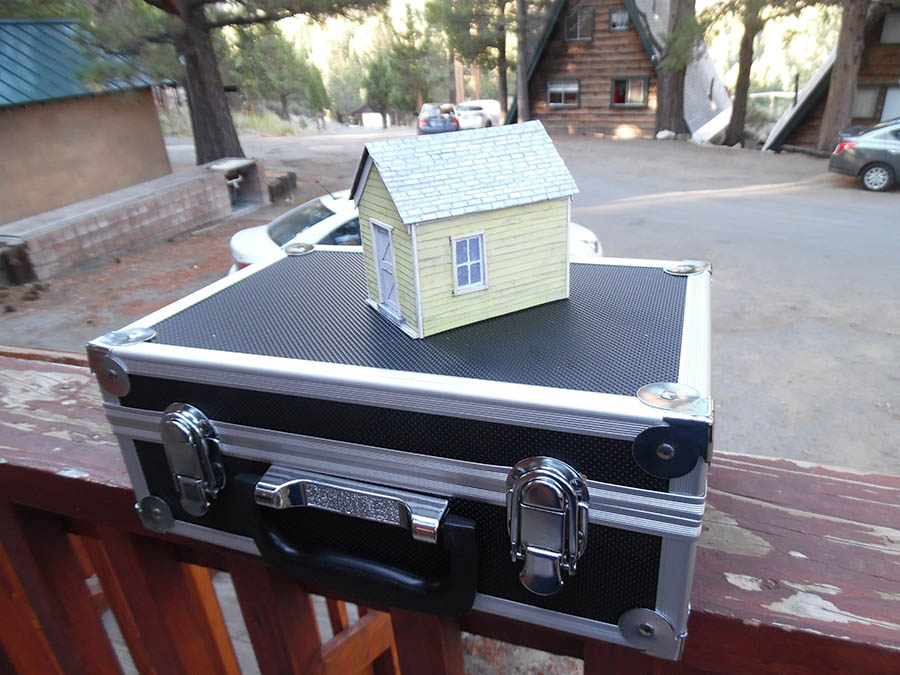
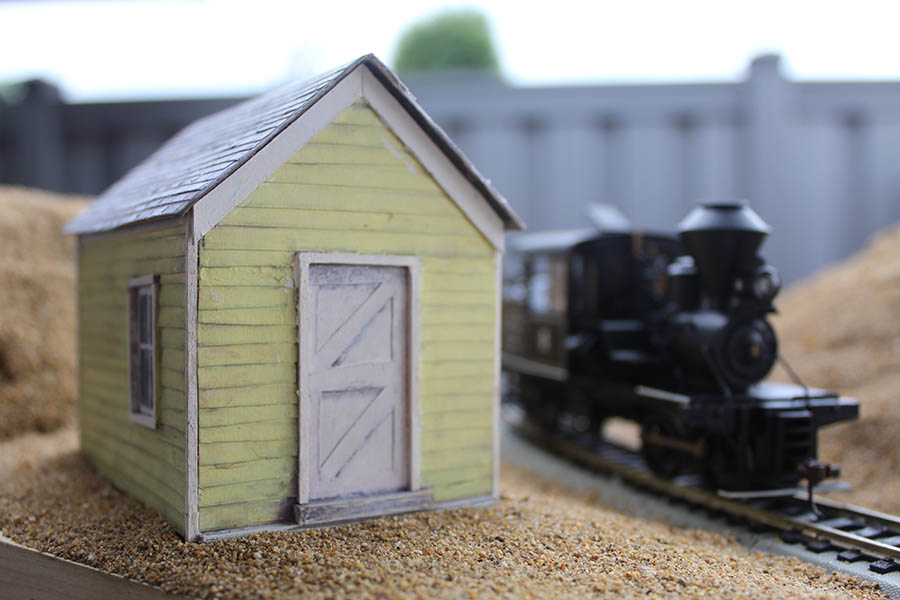
Labor Day, 2017. My wife, my daughter, and myself went to a beloved family vacation spot; Silver Lake, California. On that trip I took a little box with one of your print out kits. I wanted something to do when the family was resting… I like to keep busy.
I also wanted to show what is possible when one “does not have time” or “does not have room”. When I came back, I sent pictures and you posted the model.
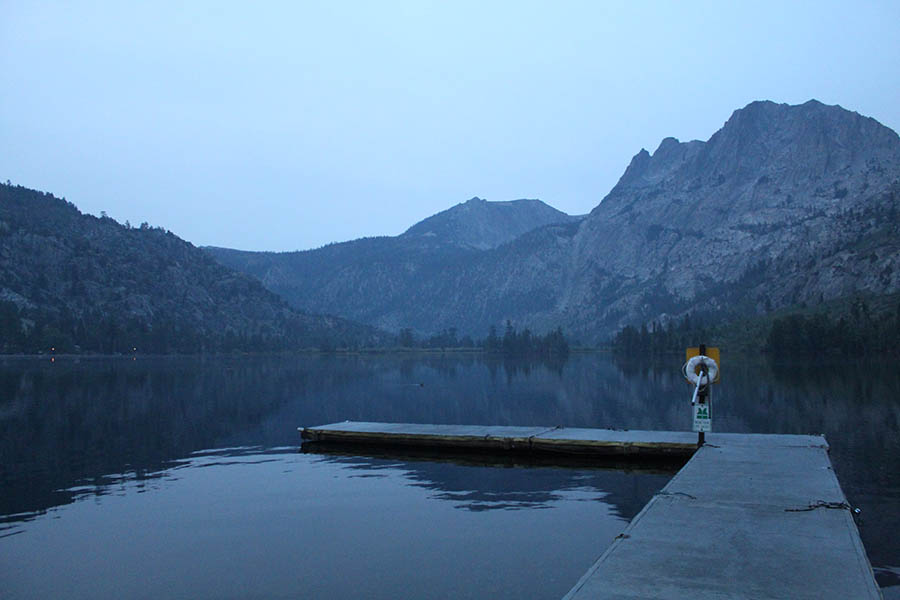
When we took the trip where I built that little yellow shed, I had know Idea that would be our last family trip to that beloved location. Christy and I took one more trip for our anniversary in October but it was obvious that her lungs were failing and we would not return.
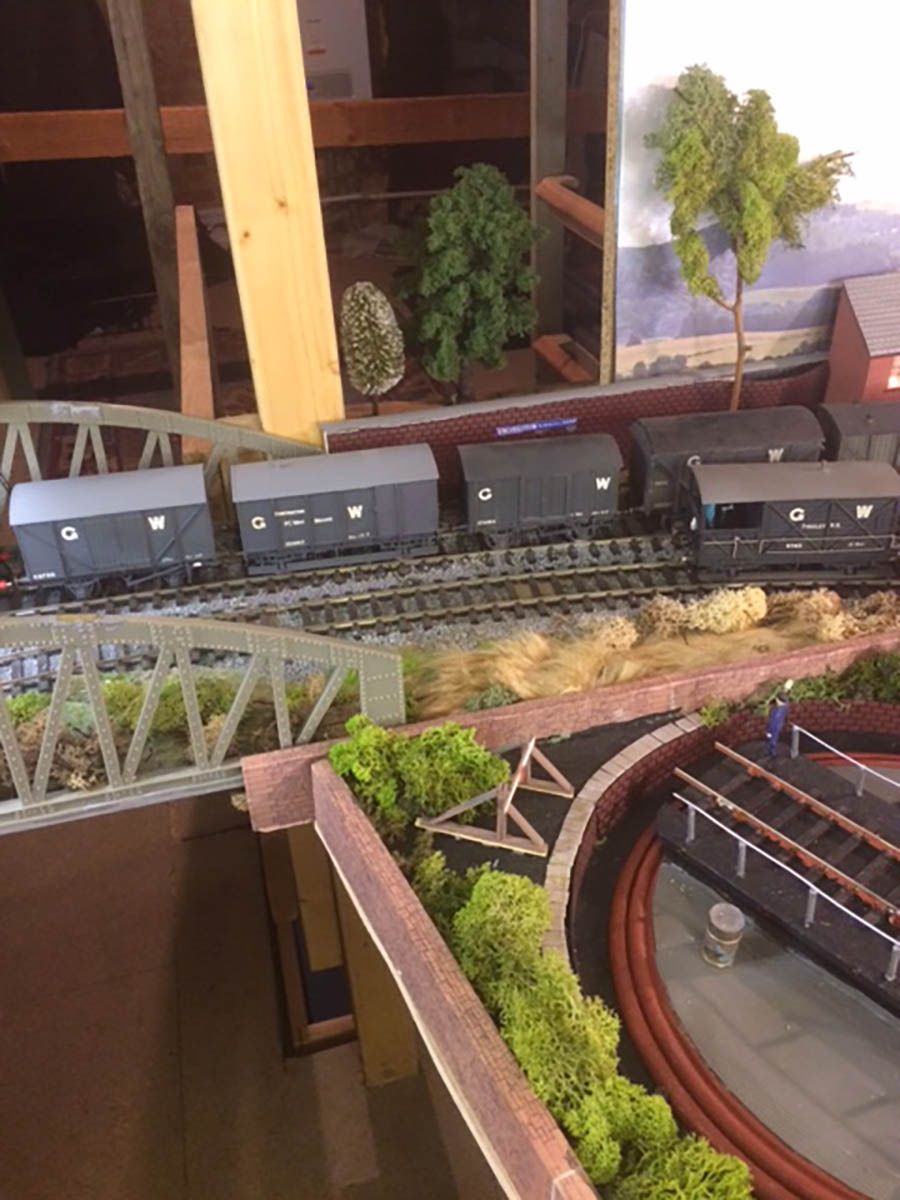
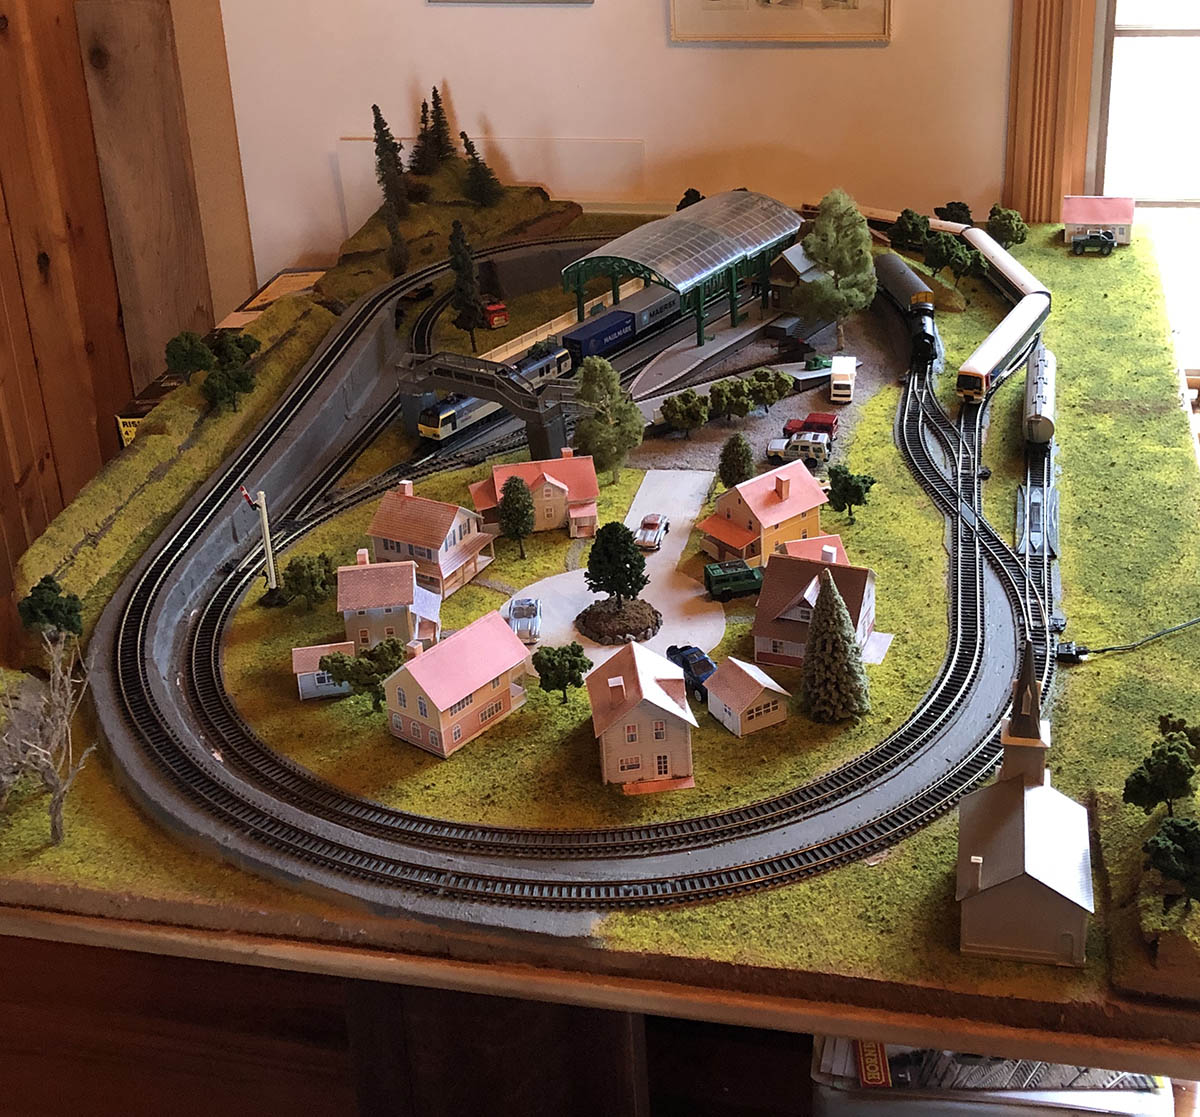
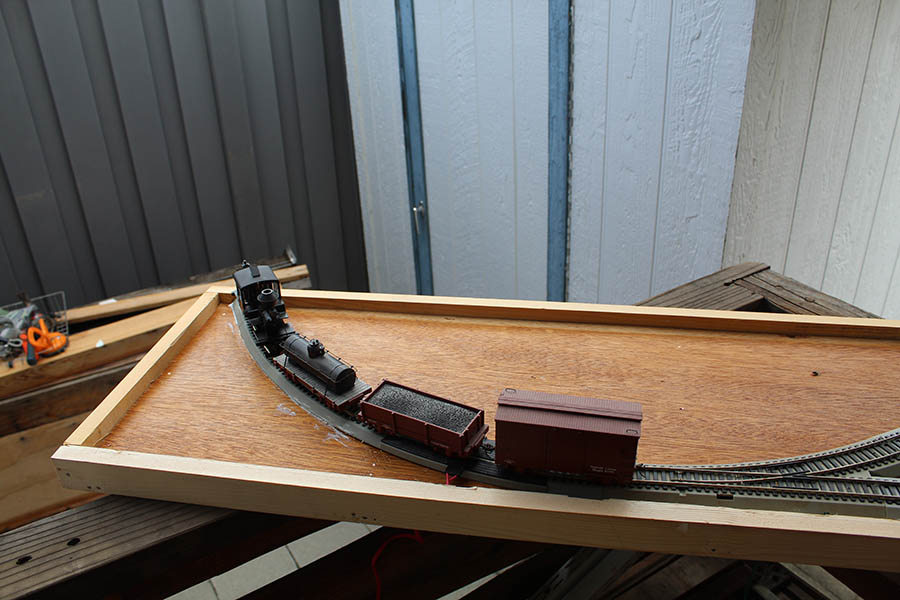
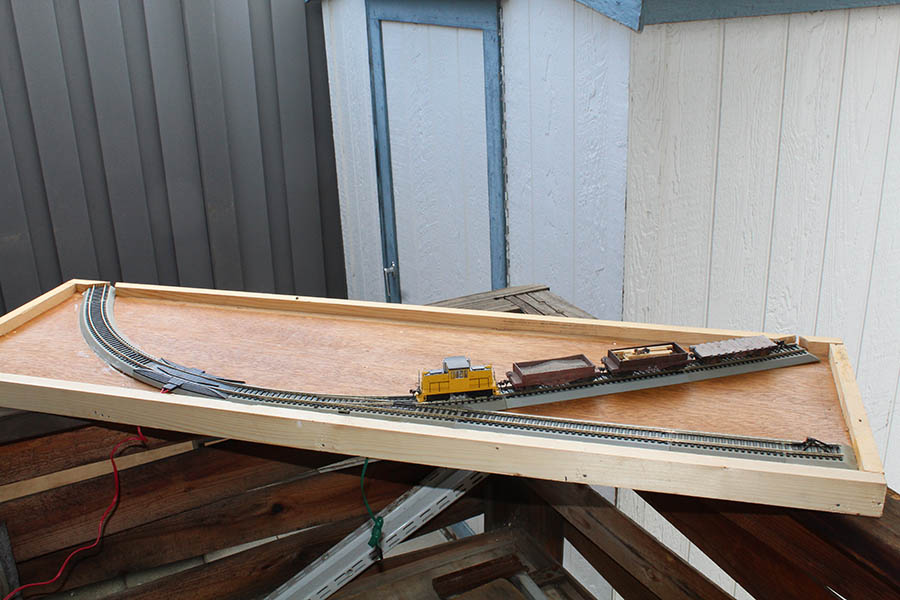
Around November, David Pye, a Facebook friend, made a “dare” on the Micro and Small model Railroads page he administrates. His “dare” was to grab some spare track (we all have some) and build a very simple, one switch, layout. This was a design the late Carl Arndt called a “Tuning Fork”. One set of points, two spurs, a shunting lead. 2/2/3.
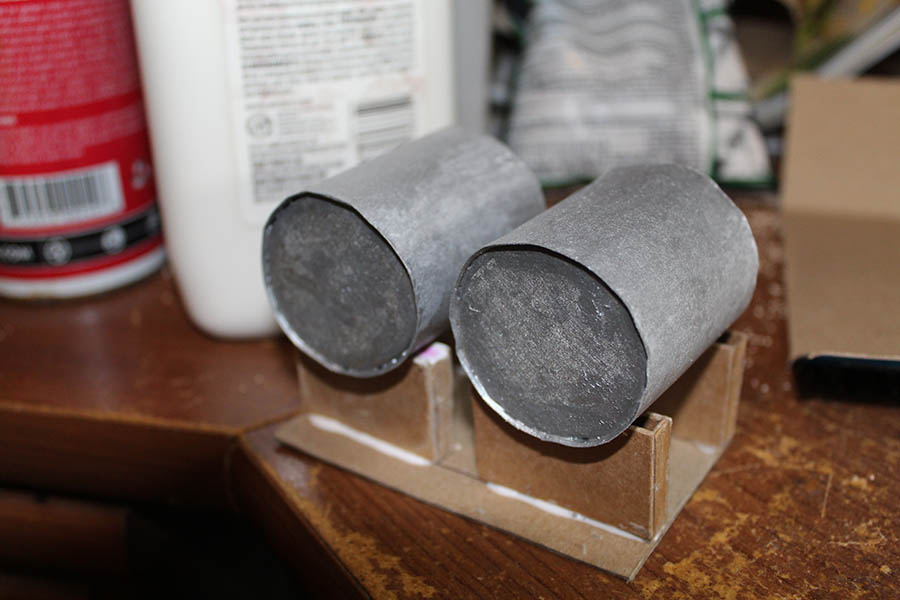
I love to build things (it is my “drug of choice”. I build to relax and to take my mind off stressful things. I build to exercise my mind. I was looking for something to do and “Dave’s Dare” was just the thing. I grabbed some spare Bachmann EZ track and “Pye’s Point” was born… Yes, I like playing with words too. Most of my layouts have some little pun worked into them…
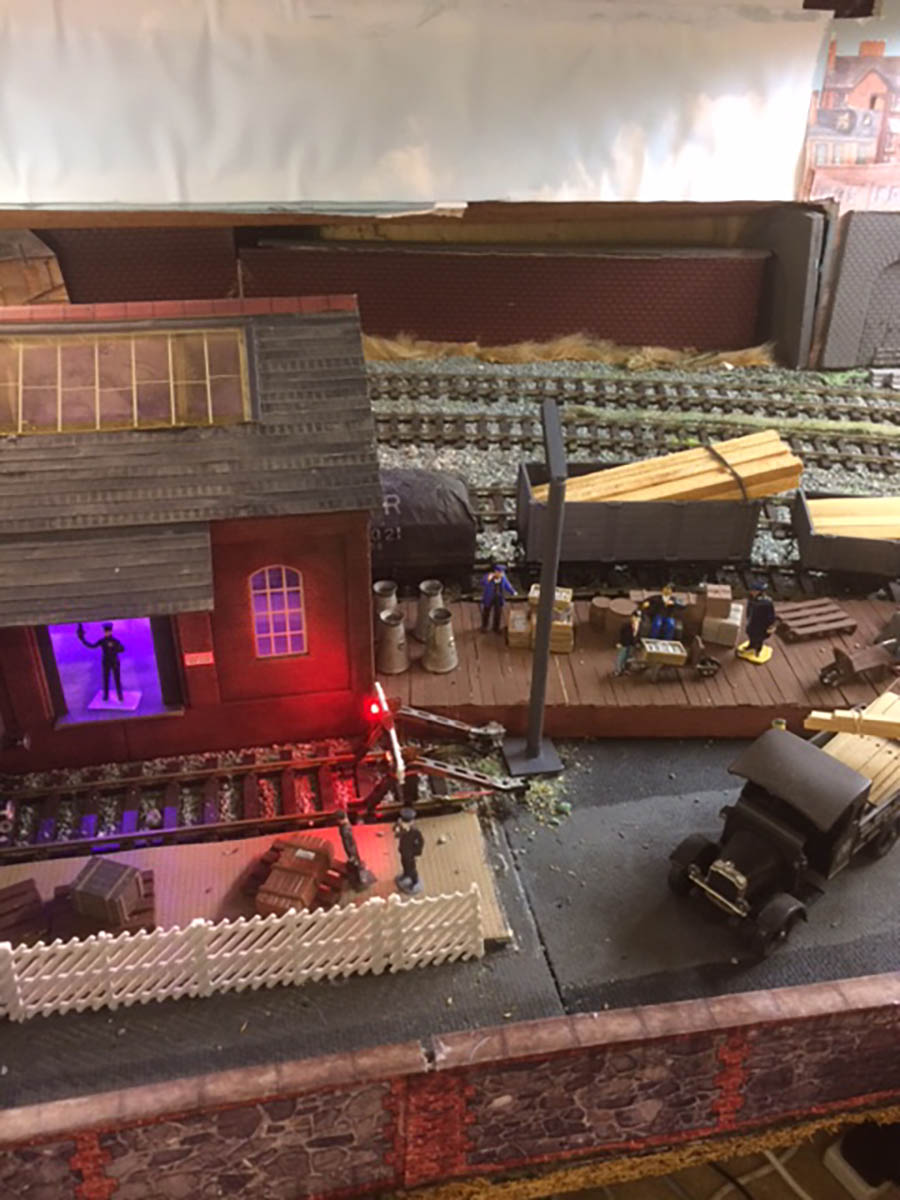
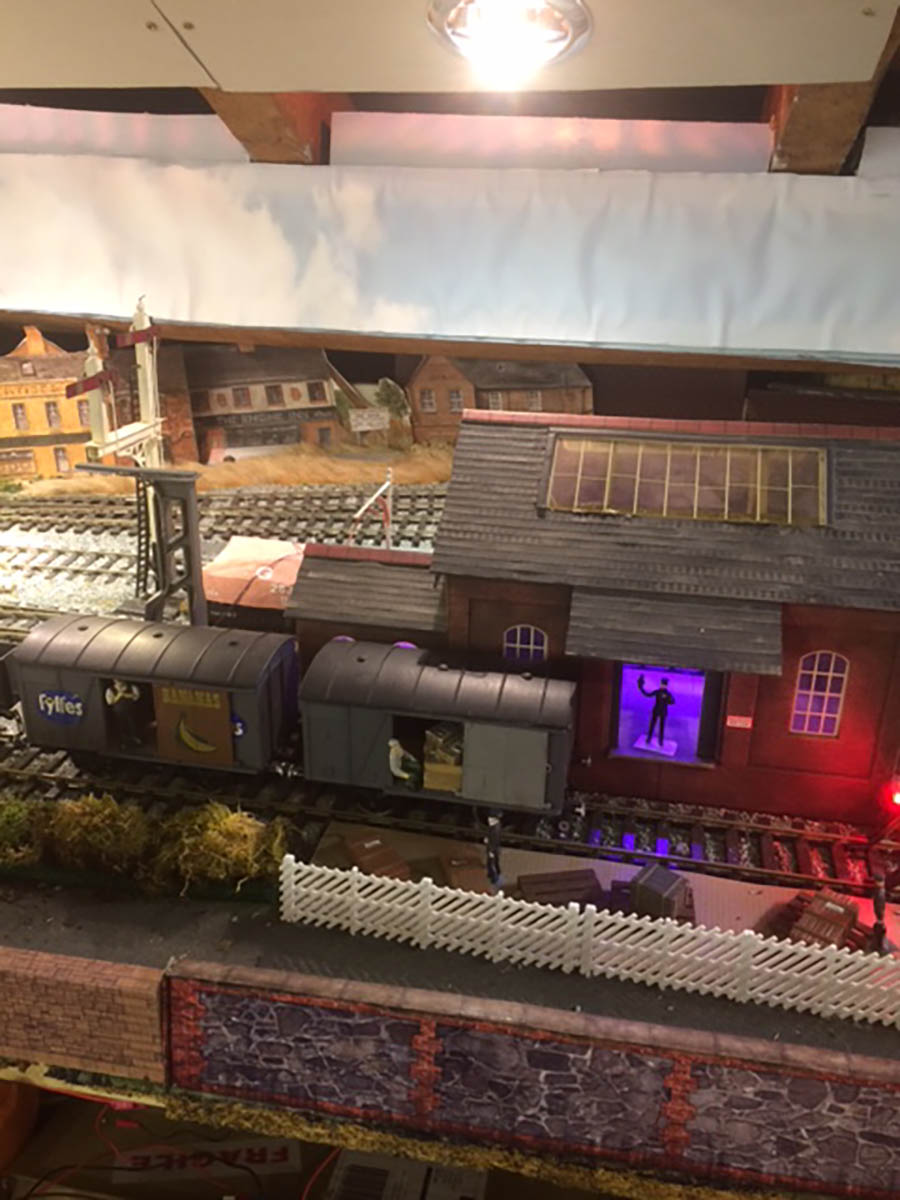
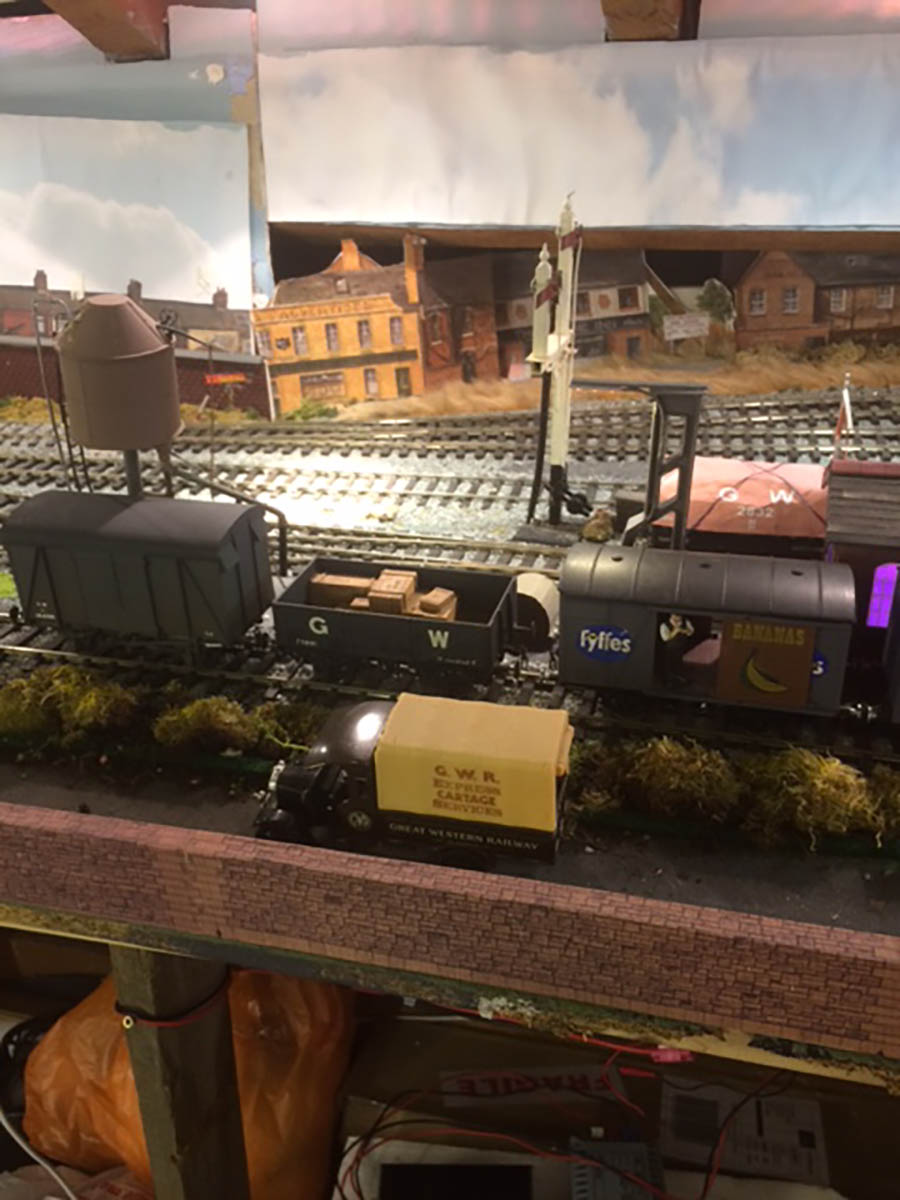
You also featured this… It is On30 — O scale narrow gauge running on HO gauge track.
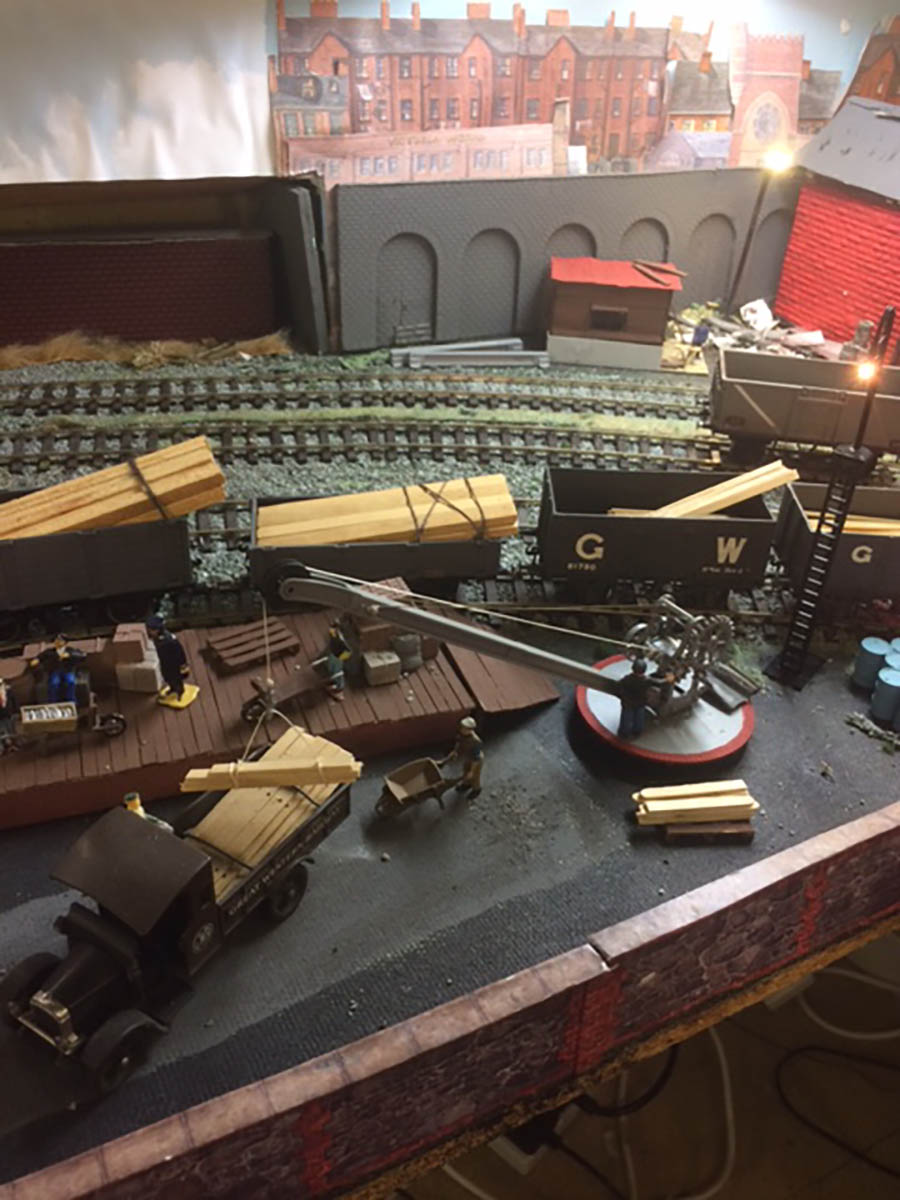
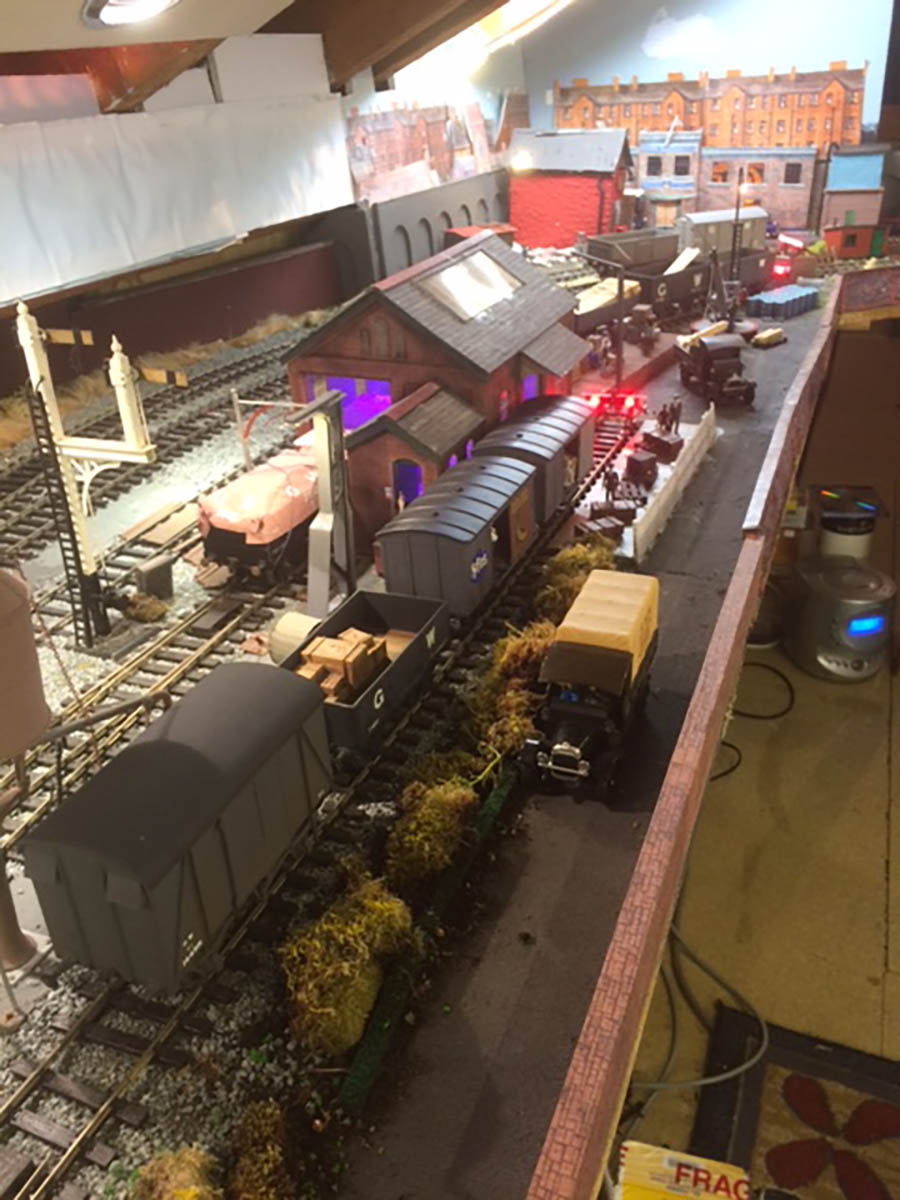
How a little layout becomes something bigger, much bigger.
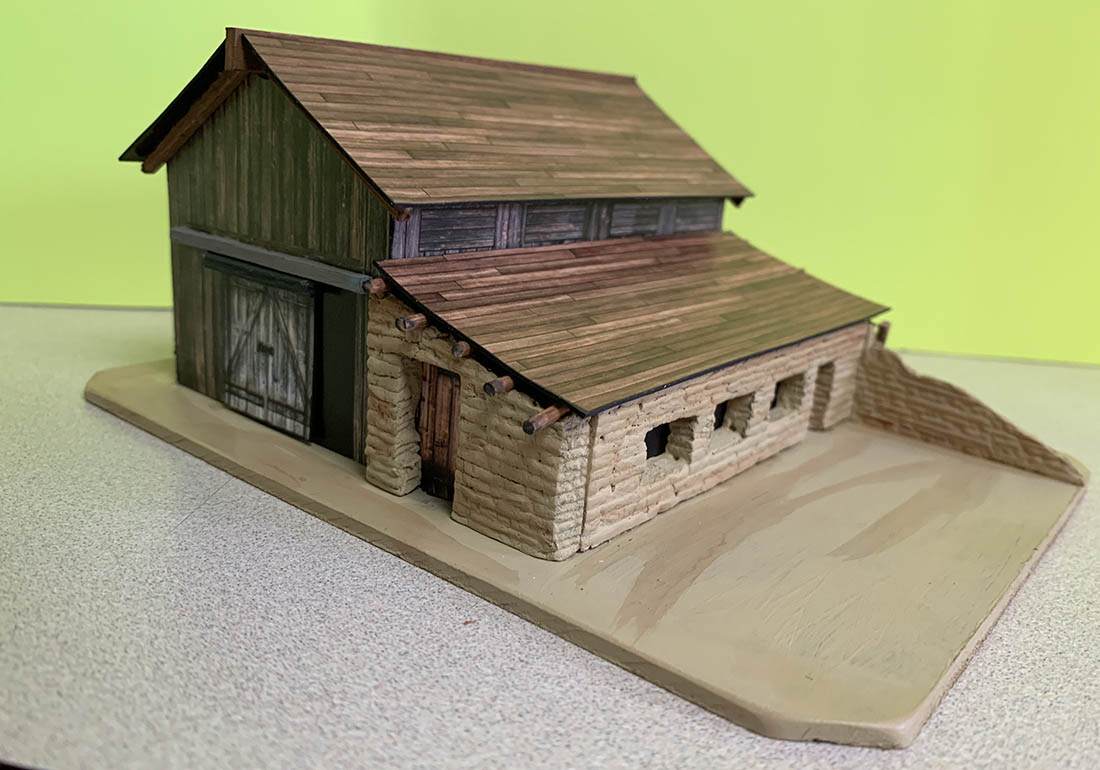
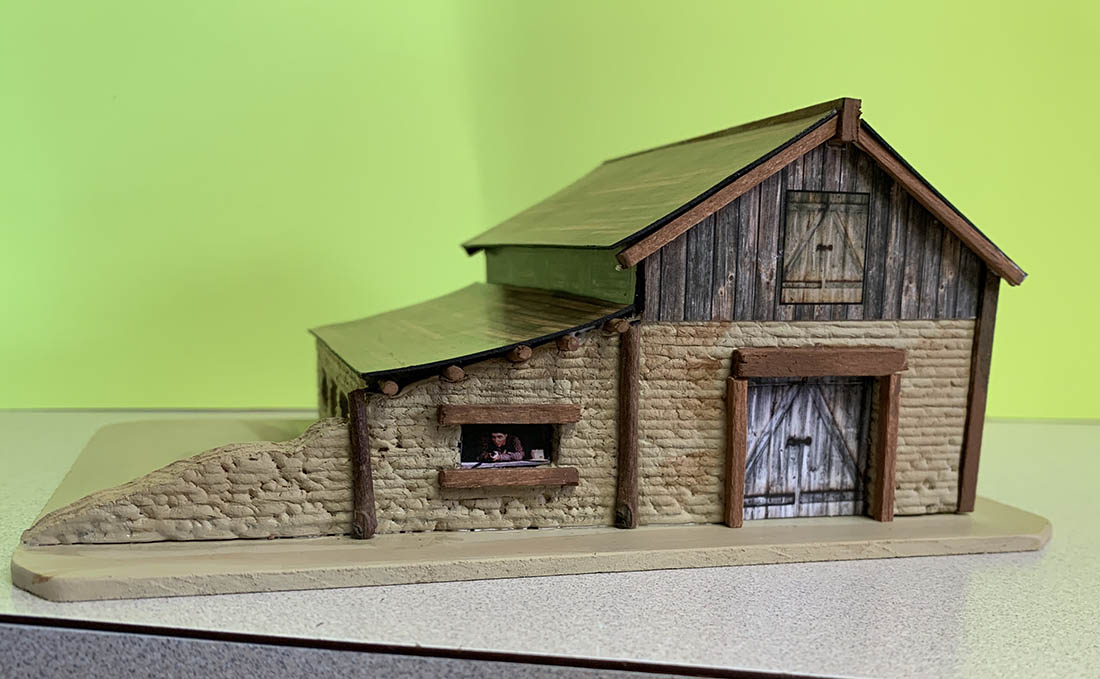
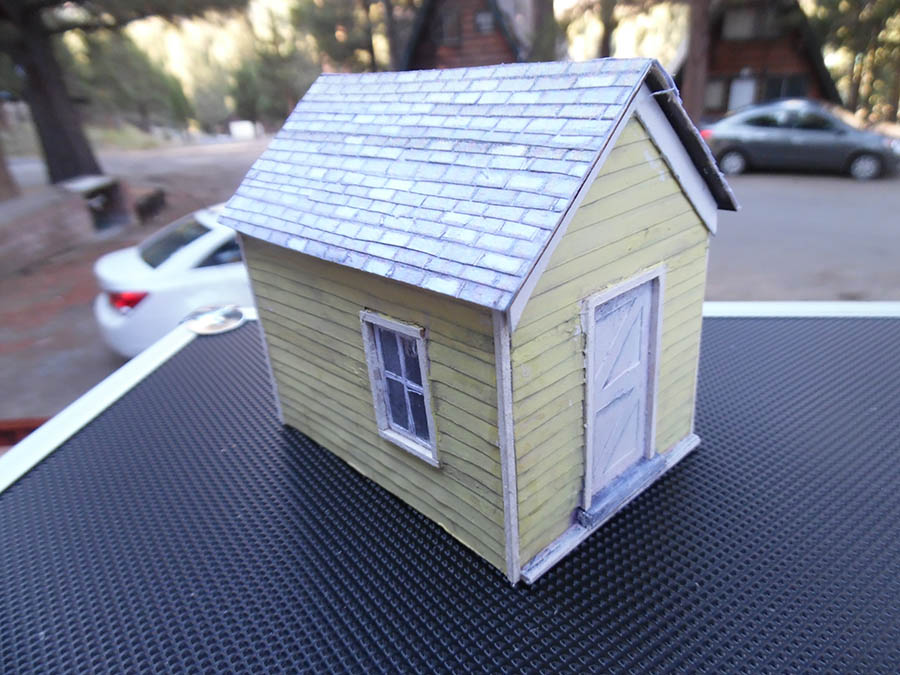
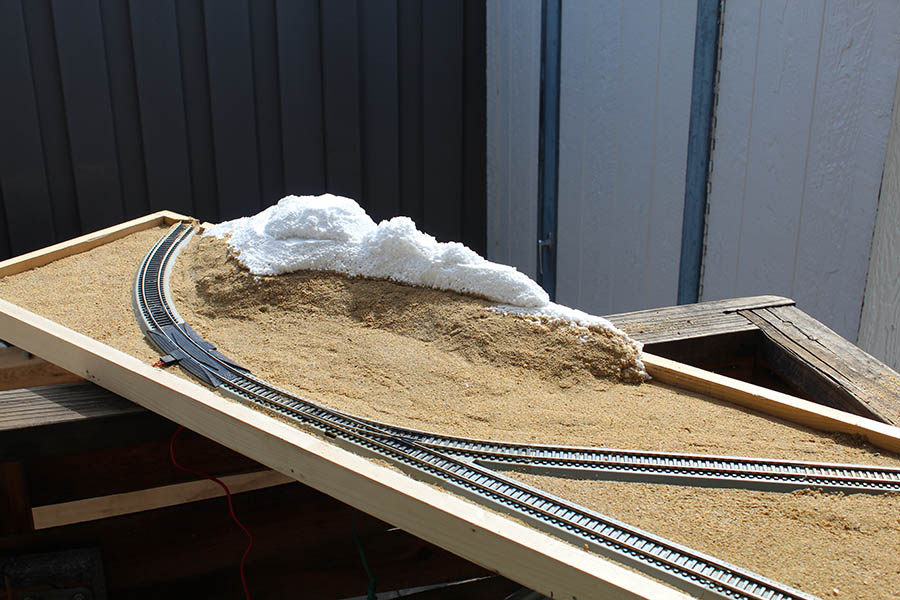
Of course my small shelf layout needed some scenery and the little shed I had built on that Labor Day trip was just the thing to fit in one corner by a road crossing.
Yes, this all has a point…
In January, I had surgery for an umbilical hernia…My mother’s heath was beginning to fail.
I know this story is depressing but it has a point, a very important point.
My son is in the Army reserves as a medic. He was also my mother’s primary caretaker for most of 2017 and all of 2018. In June he had to do his two weeks annual training. While he was to be gone, my sister and I would be in New Mexico to take care of my mother.
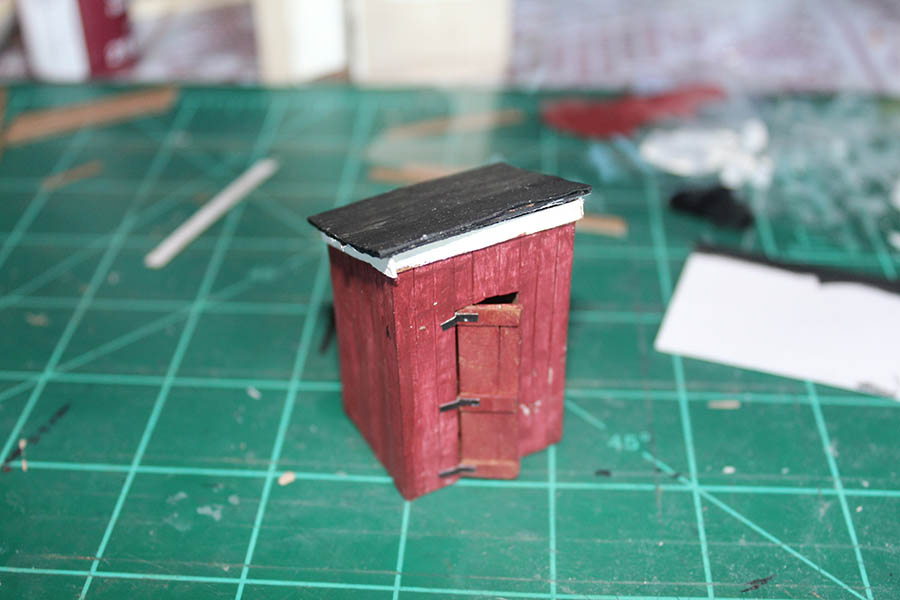
Again I brought my little modeling box with me… No kit but a lot of ideas and scratchbuilding materials. Again, to relieve stress, I build.
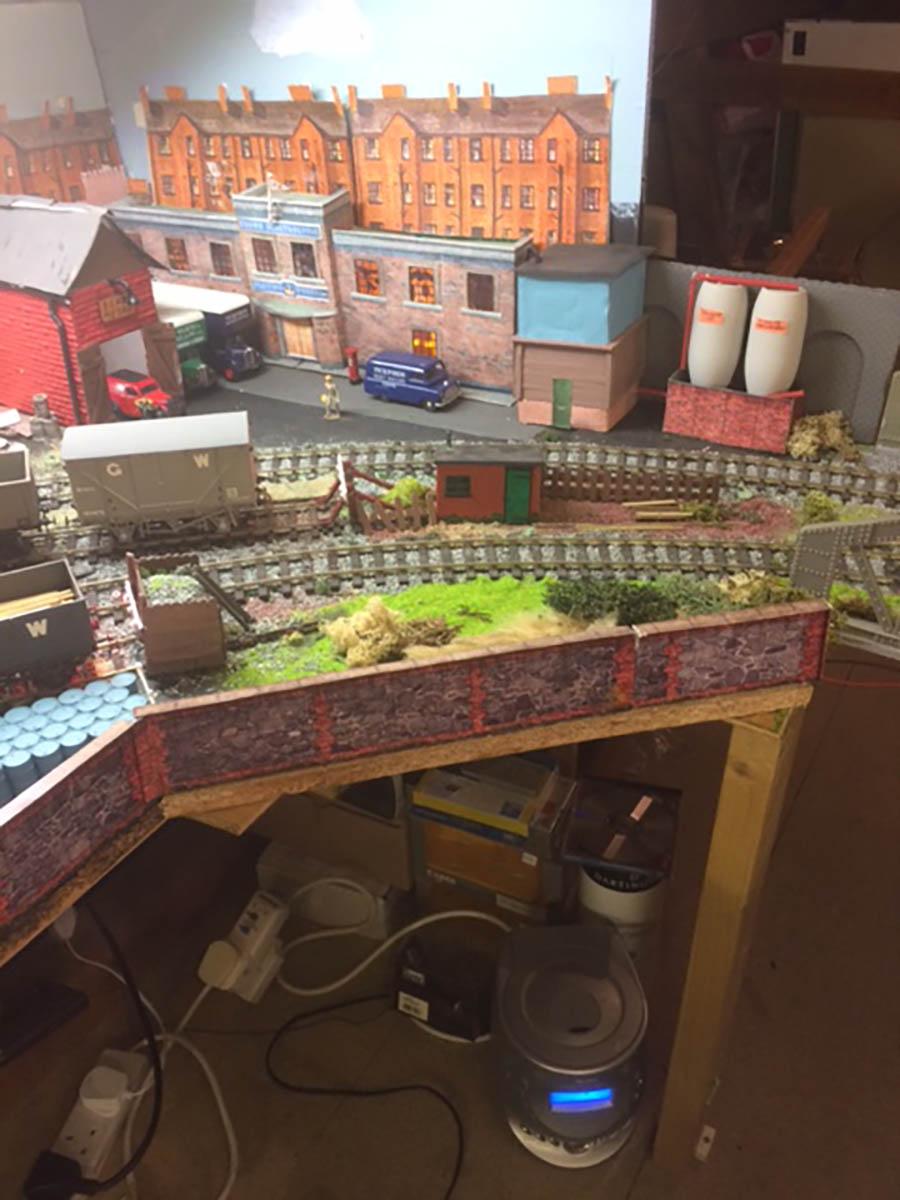
My mother was failing and she passed just a little over a week after I arrived to help take care of her. During that week I built several buildings for Pye’s Point.

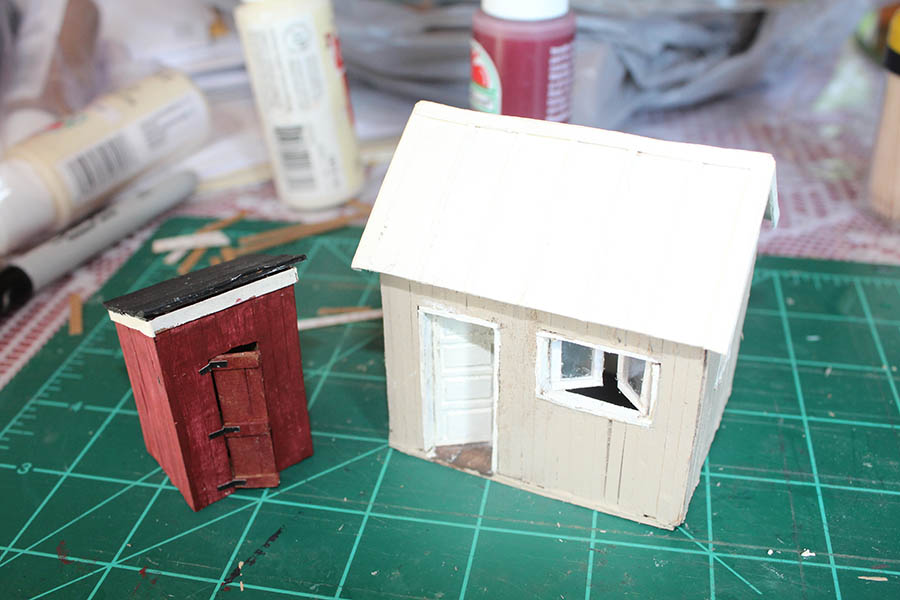
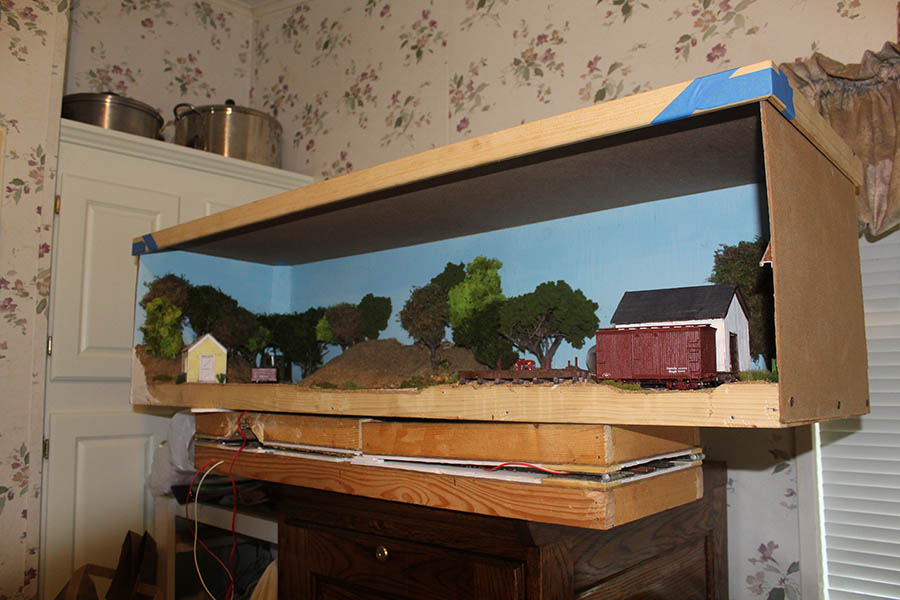
When I returned from New Mexico, the structures were placed on Pye’s Point. Scenery was finished and it was made “Presentable”.
This is how it sat from June to the present.
Noting special, I took it for granted.
Christy (my wife) passed in January.
I purchased the home I will retire to in August and began a slow moving process.
This month I decided to build a simple “Roundy Round” to pass the time and again relieve stress.
My first plan was to duplicate a previous layout… But the track that I was going to use is already 400 miles away from my Southern California home.
I decided to build another On30 layout in a 3.5 foot by 6 foot space… — And use some structures I had already made.
At the time, I was also breaking up a couple of old small shelf layouts and salvaging them for their structures.. Less stuff to move that way. “Pye’s Point” was slated to be just one more layout to be junked and the buildings recycled to the new layout. Then in one moment, in a twinkling of time, everything changed.
As I got ready to pull down the layout I saw that little yellow shed… and then the other structures… Pye’s Point became a “Memory Box”, a repository of some very special memories.
I now intend to improve the presentation box to make it suitable for a special place in my new home. It will reside in my study with two other special layouts that hold different memories.
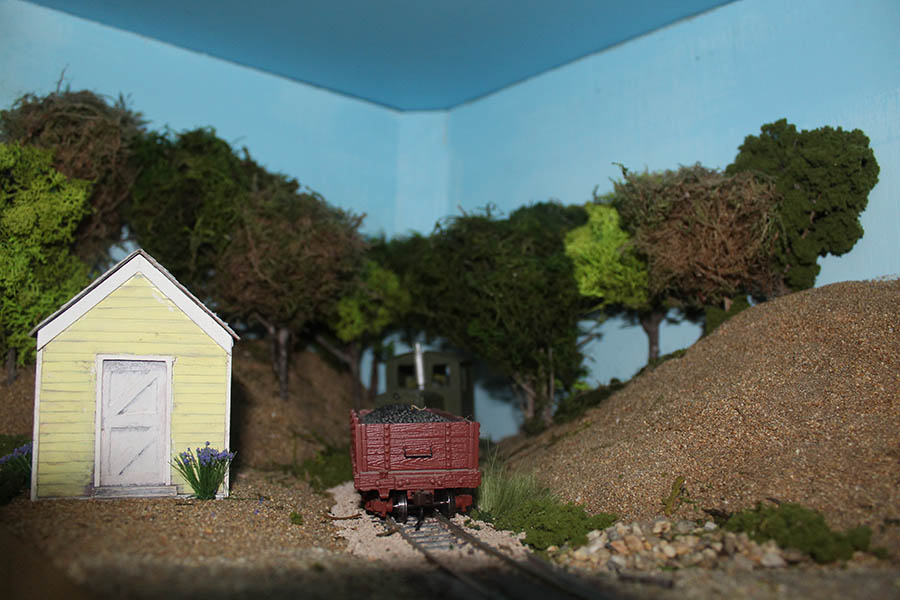
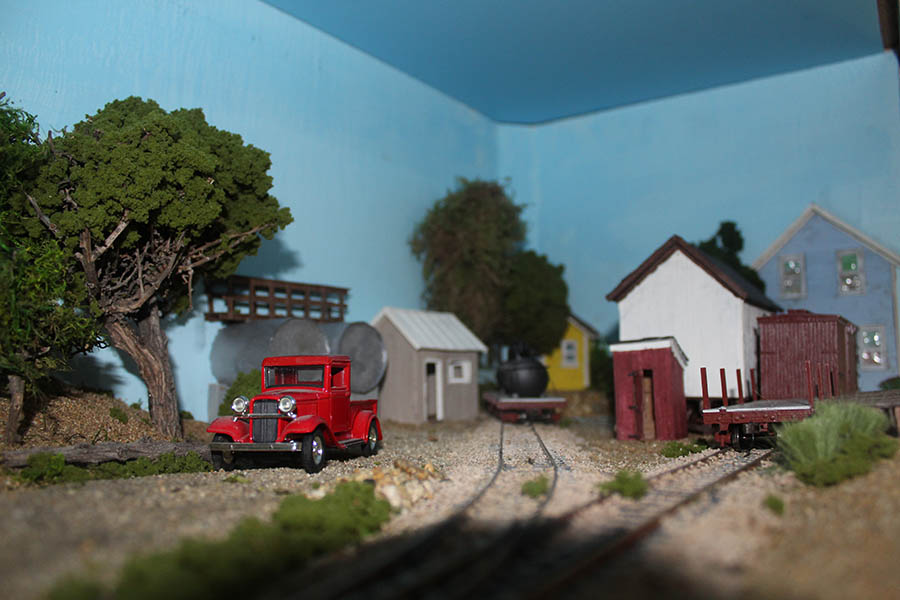
The Yellow Shed by the Crossing is a reminder of my list “happy” family trip…
The buildings on the right hand side (the “business end”) of the layout remind me of my last moments with my mother…
What fools we mortals can be. We can be foolish in the things we take for granted and equally foolish in how we choose to keep our sentimental tokens.
John”
After I read John’s post, it did make me think of just how many of your posts include fond memories from many years ago.
John’s right. This hobby absorbs memories without us knowing. And it’s beautiful when they return.
That’s all for today folks.
A big thanks to John for sharing his small shelf layout.
Please do keep ’em coming, and if you want to take the plunge and start your layout and memories, the Beginner’s Guide is here.
Best
Al
PS Please do leave a comment below if you’ve got a memory you’d like to share.