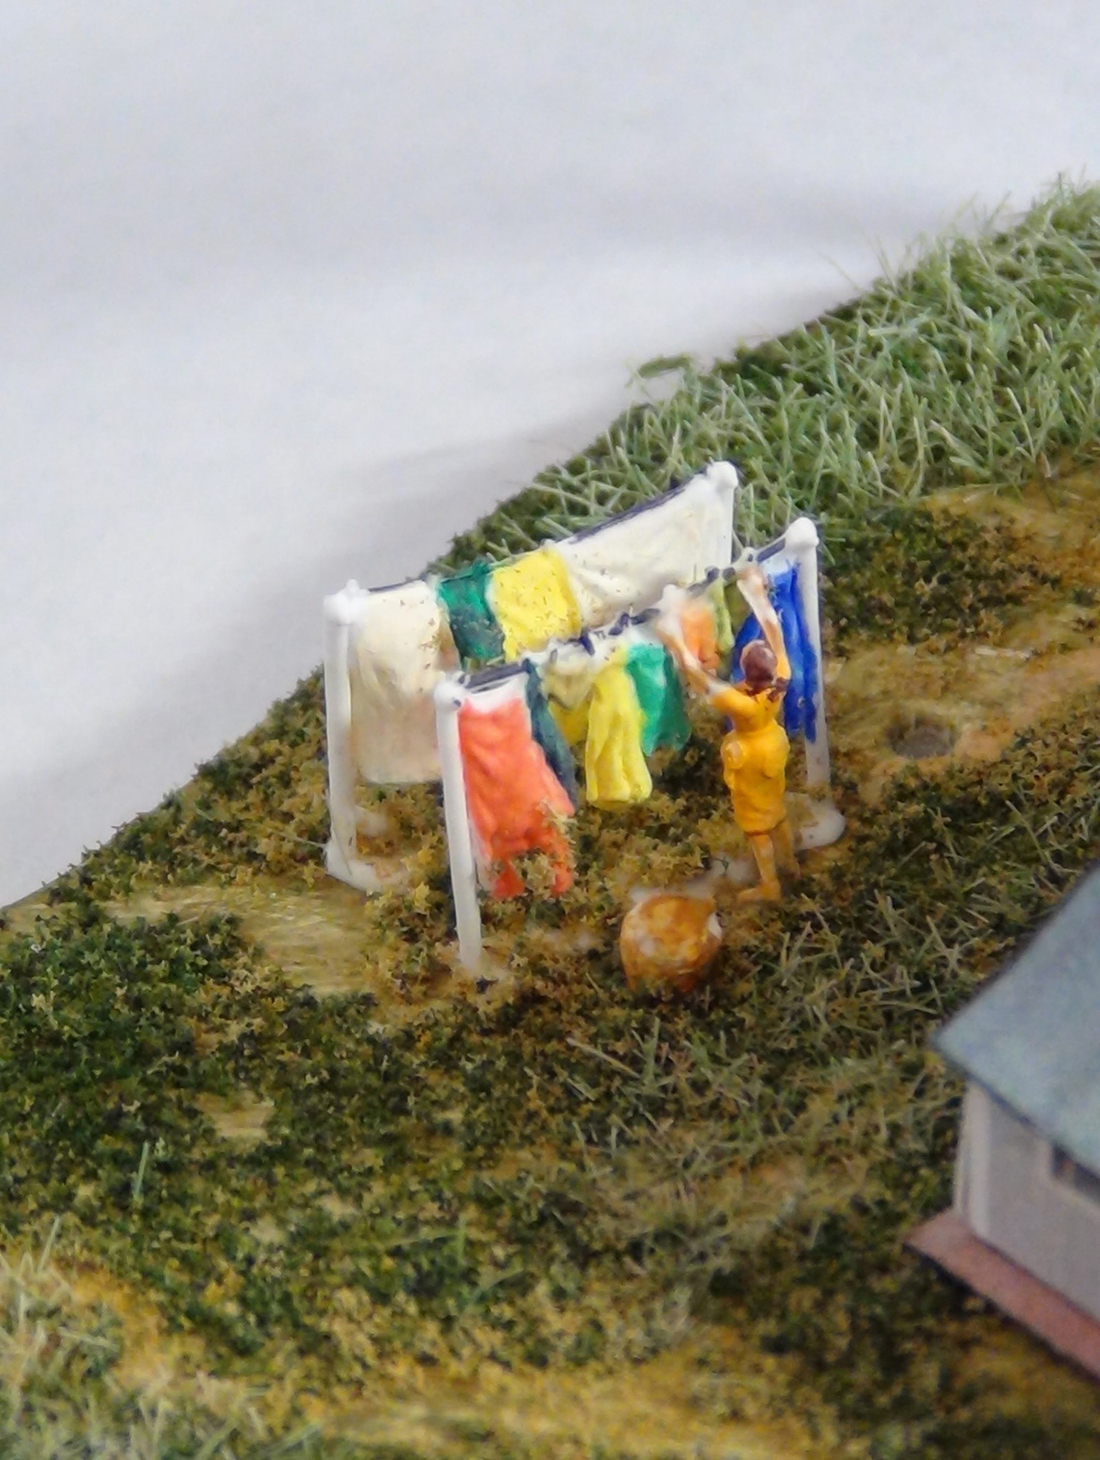
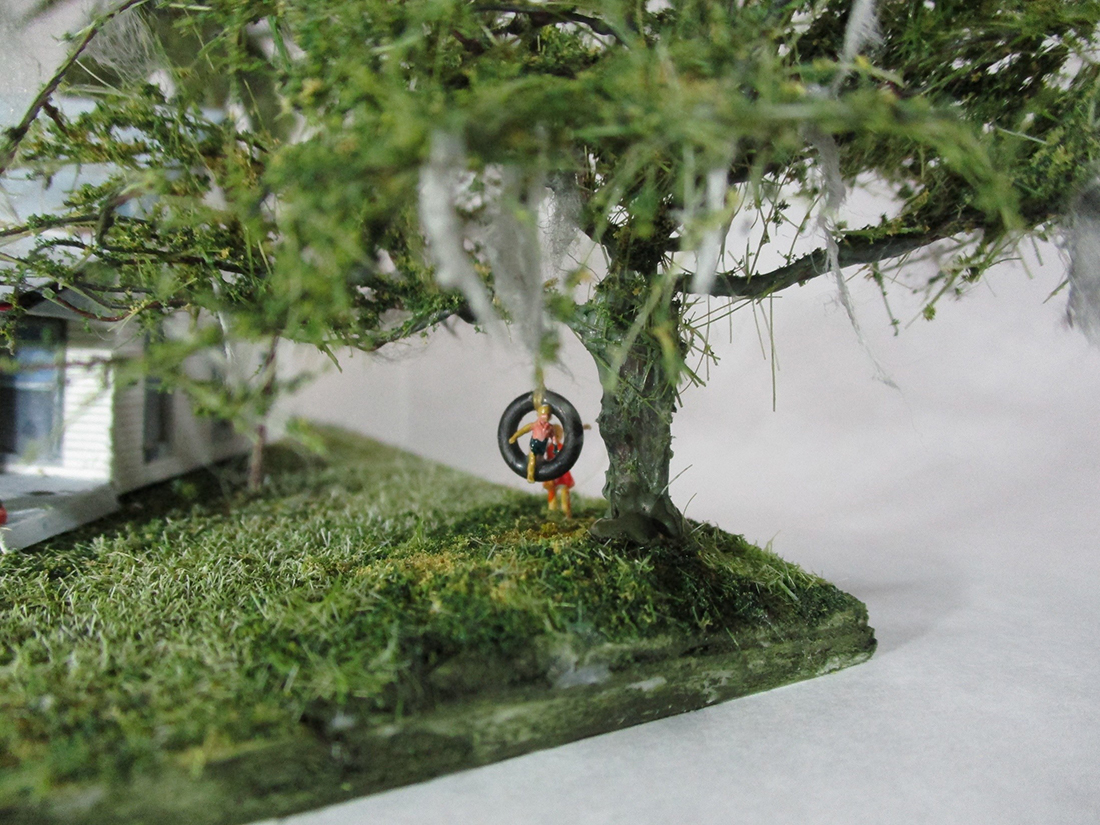
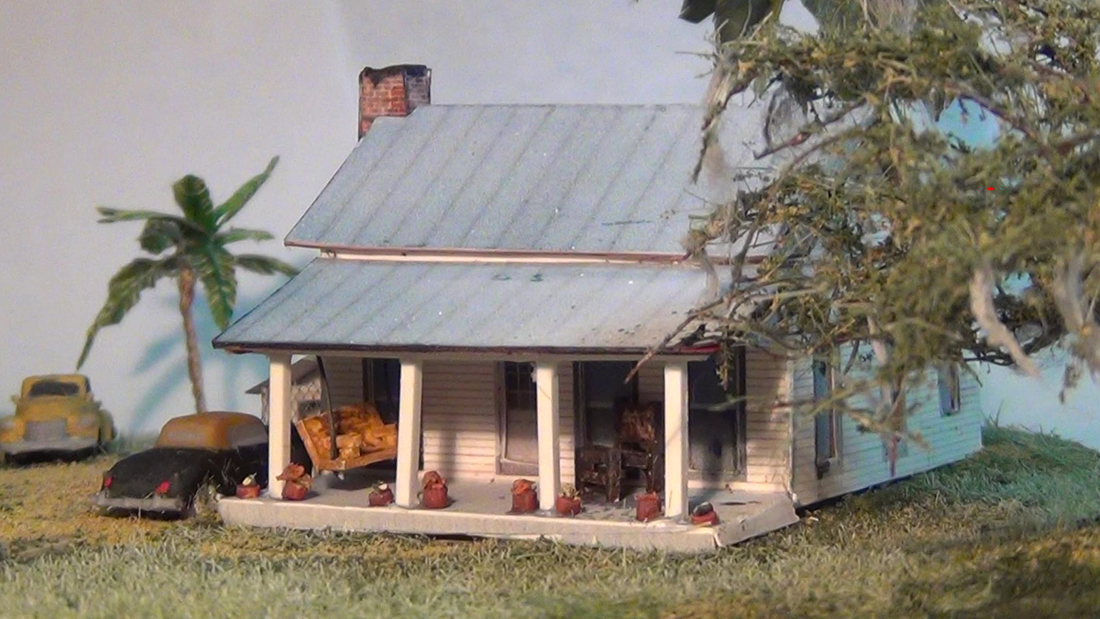
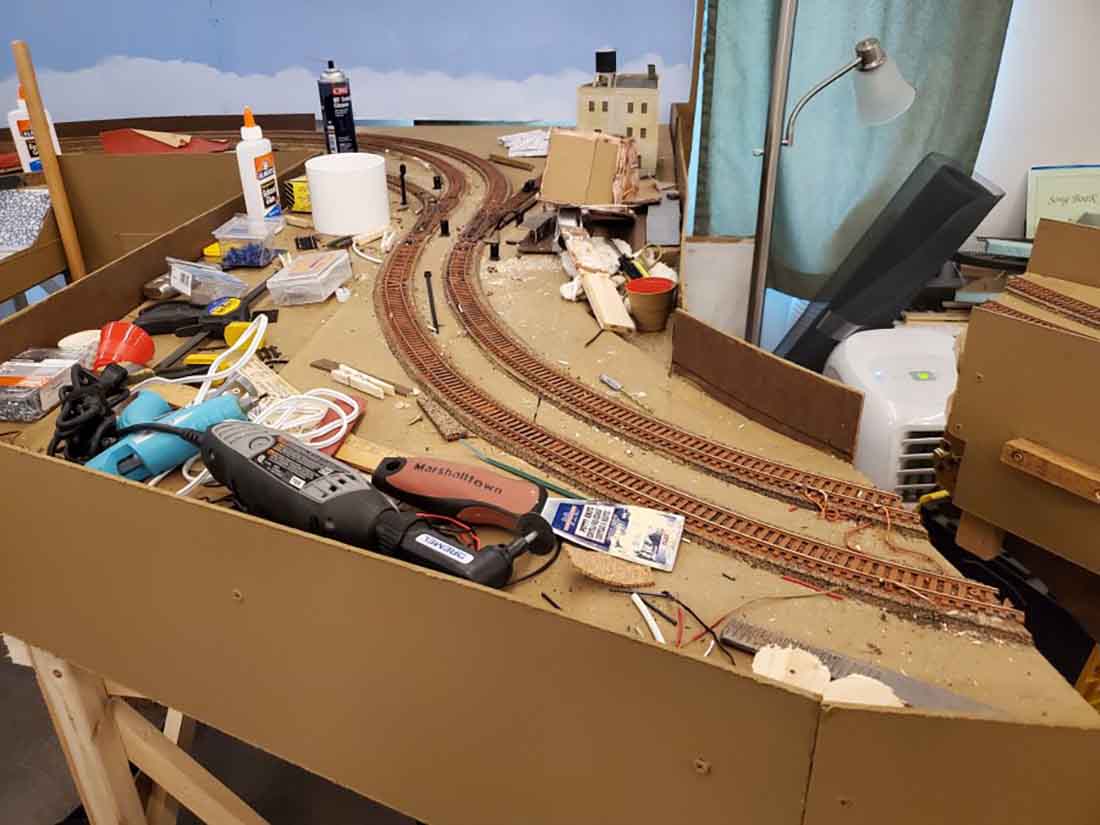
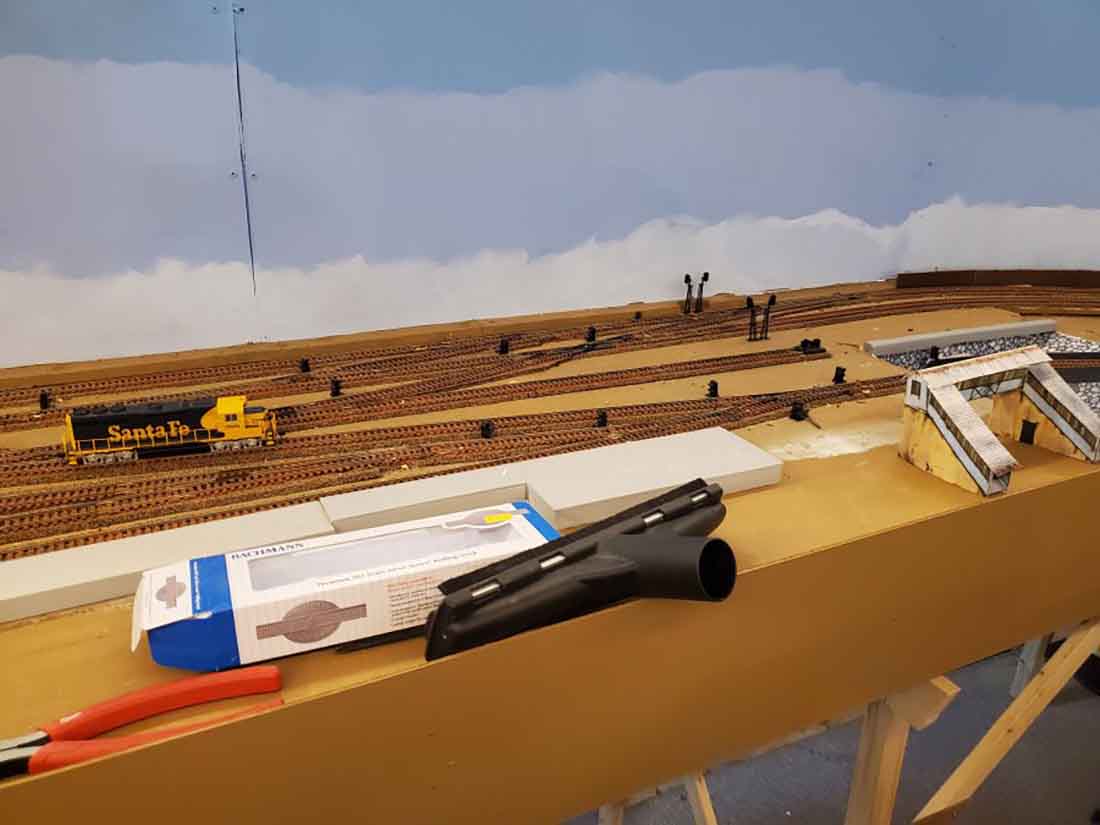
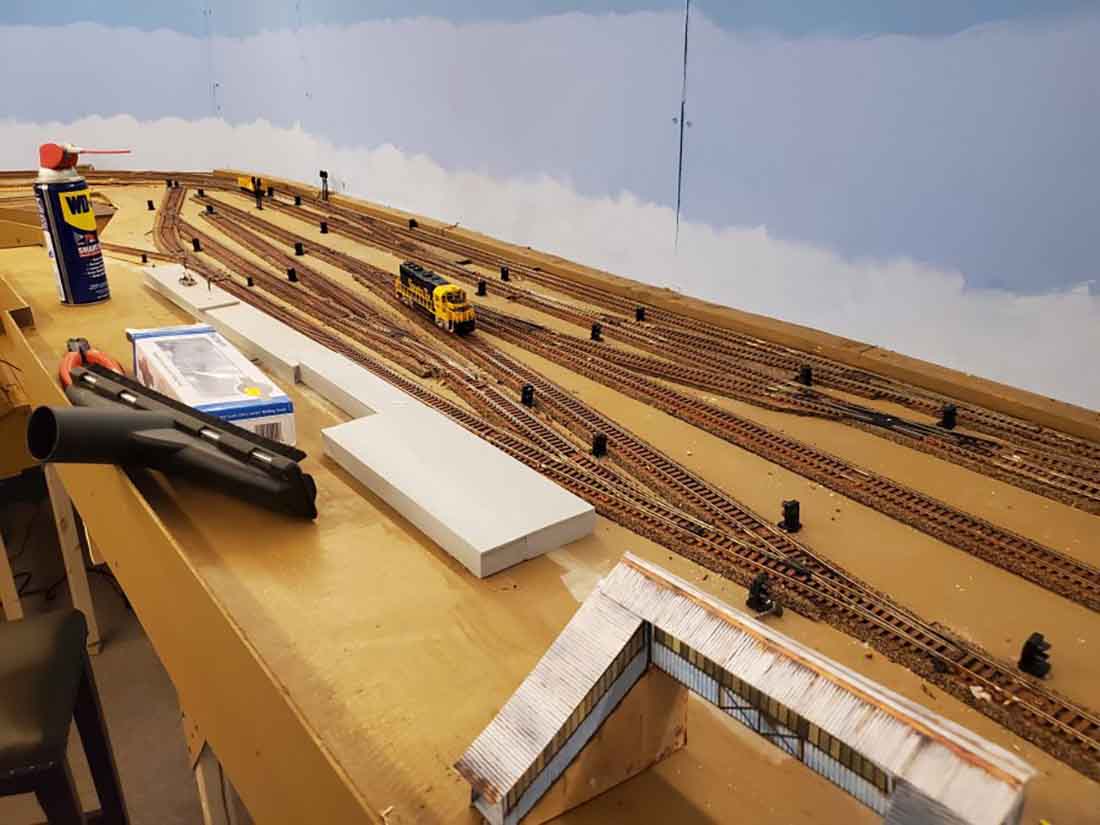
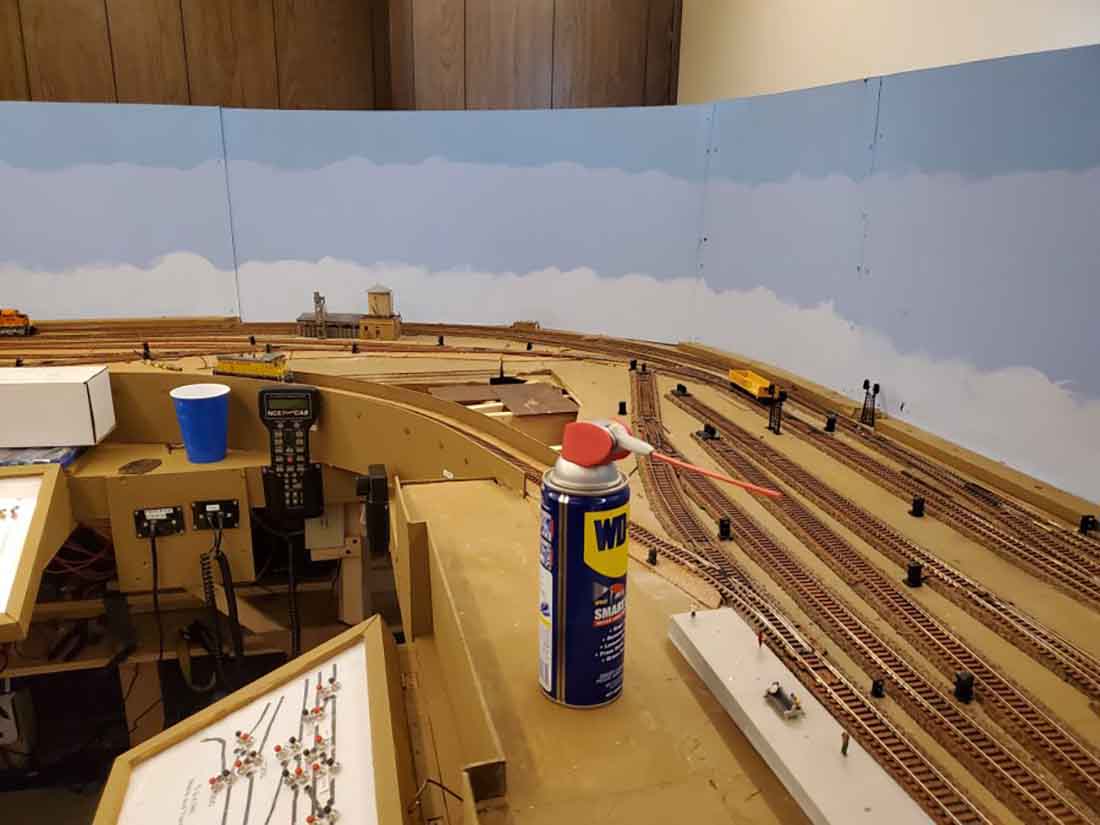
“I want to thank you all for your kind comments about the Pine Island Railroad and encouragement to send more.
Many of you wanted to see some video but, unfortunately, I don’t have the capacity to produce it. My friend, and tech wizard Jeff, could help me out and we will be in touch as soon as life starts to open up again around here. (Jeff is also the airbrush virtuoso for the backdrop work.)
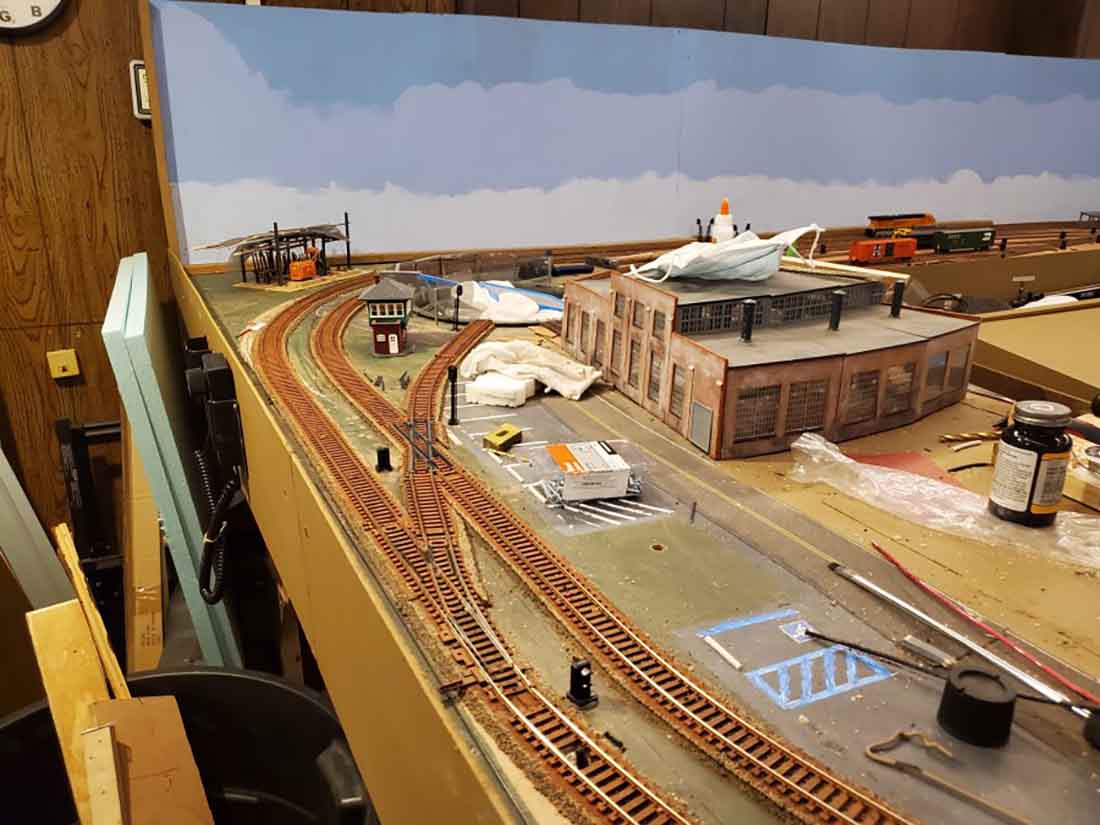
My technique for photographing the Pine Island is to use a tripod and time exposure.
Also shoot at night because natural light through windows and flash photography leads to unrealistic color and overly reflective highlights.
Set the f stop as high as it will go (22-29) and regulate the shutter speed slower than 1 second.
The high f stop keeps more of the depth in focus (although nothing’s perfect) but the shutter speed requires an absolutely still camera; setting the timer helps too.
Also try to stay low at track level. Too many aerial shots are unrealistic and don’t do justice to detail.
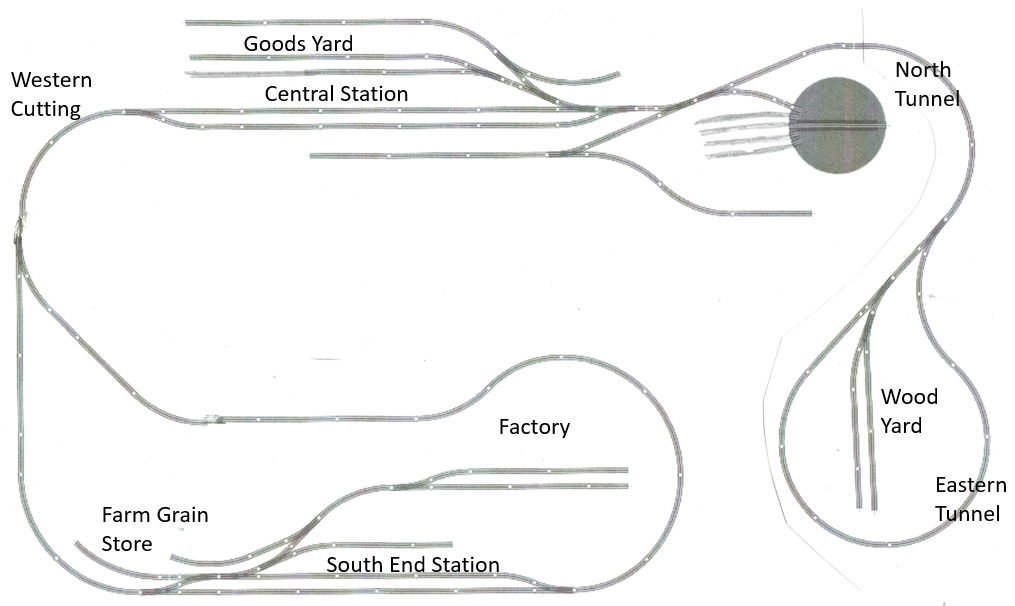
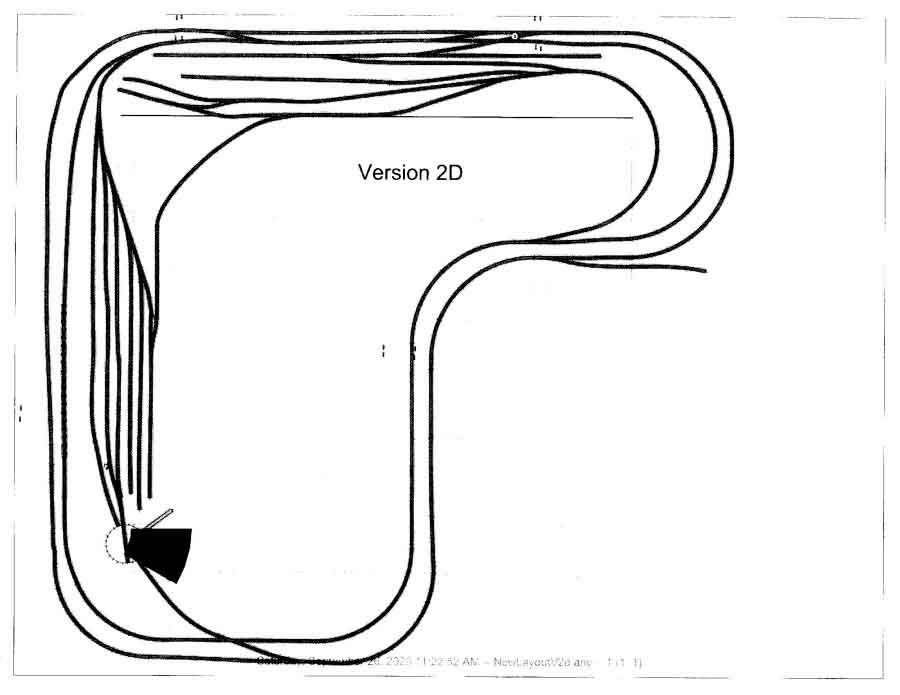
I will send still more pictures at another time and hopefully draw up a track plan.
Thank you Alastair for again posting my photos.
Robert”
O scale NYC Hudsons prepare to depart.
A long quiet platform.
BBQ gone to the dogs.
Back street game of hoops.
Smoke stack.
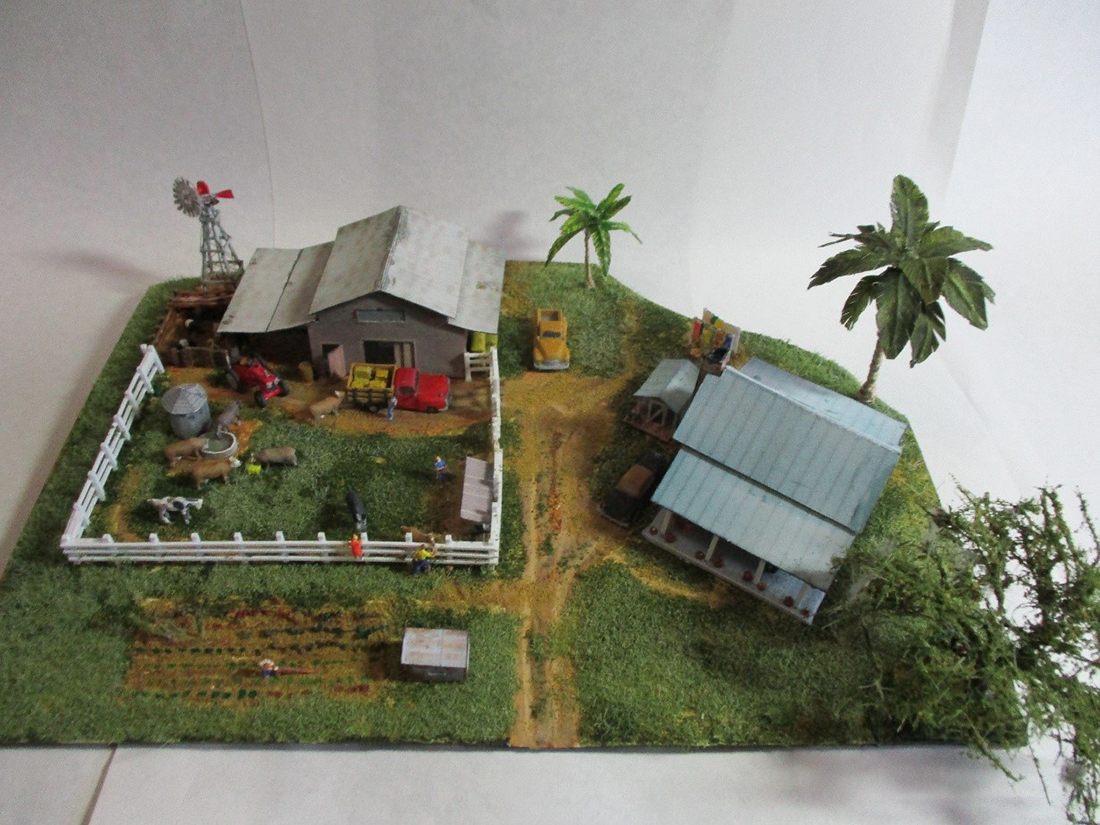
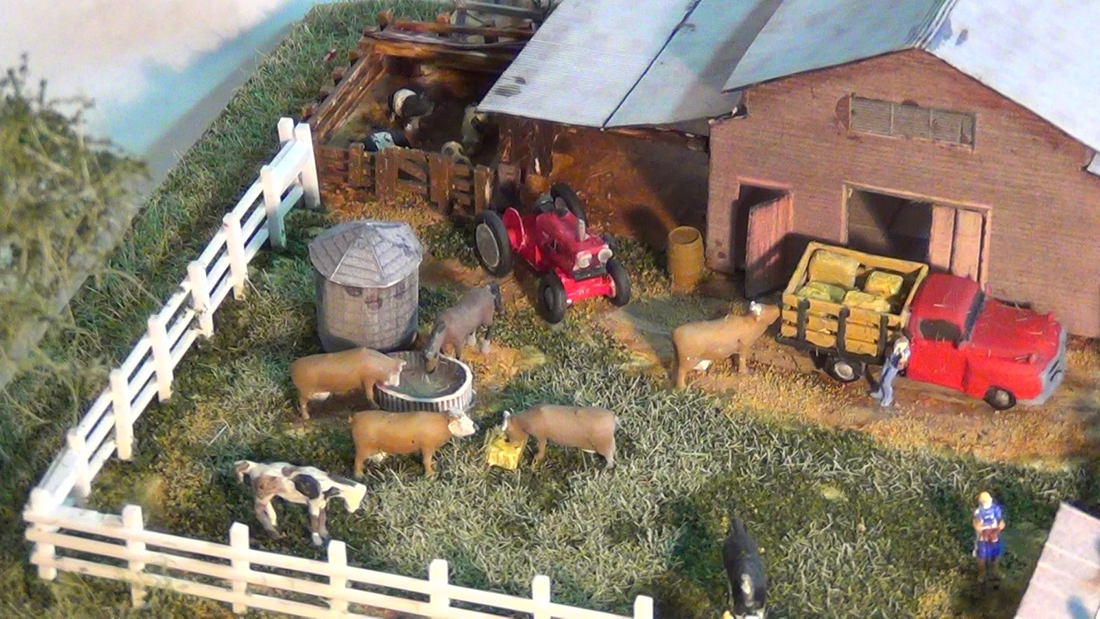
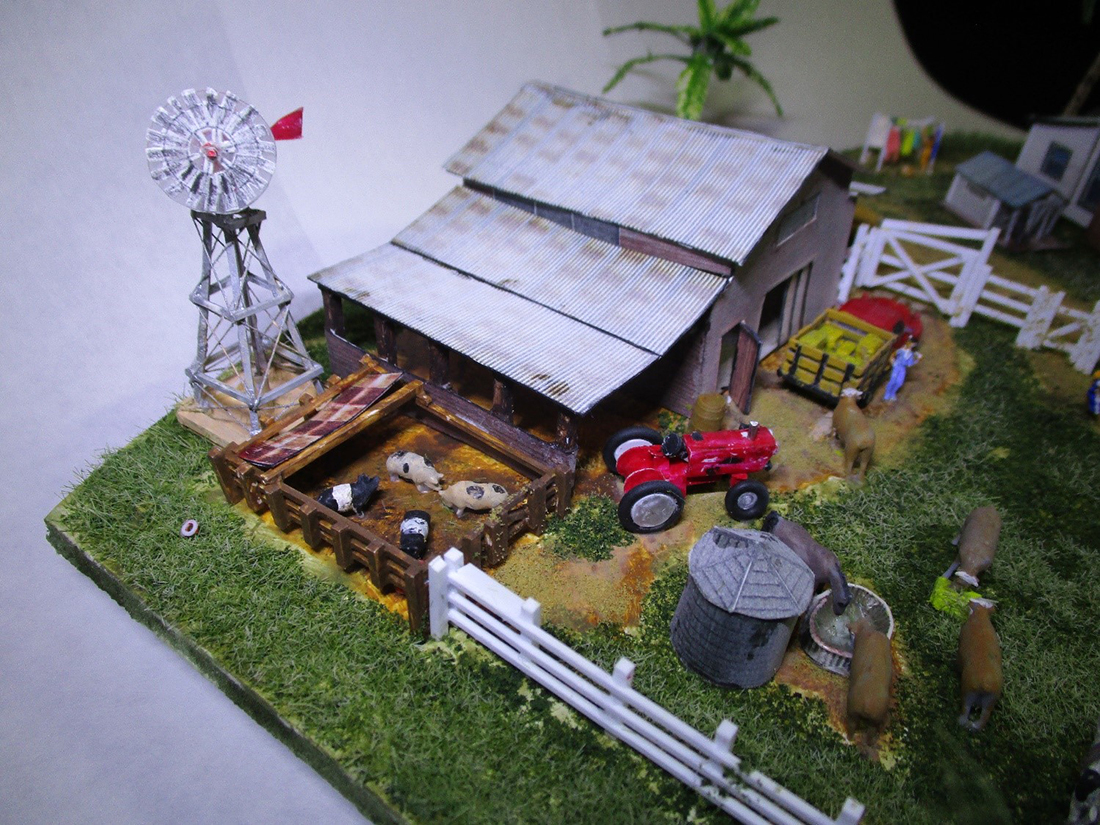
Busy barnyard.
Diesel service yard.
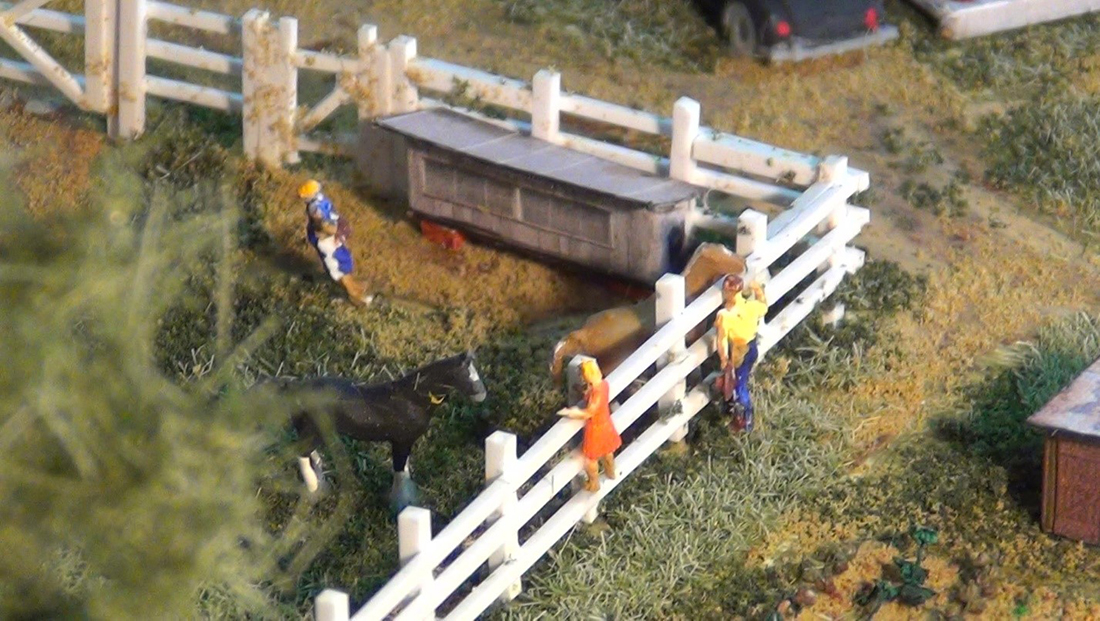
Dad scolds lazy son for not helping out.
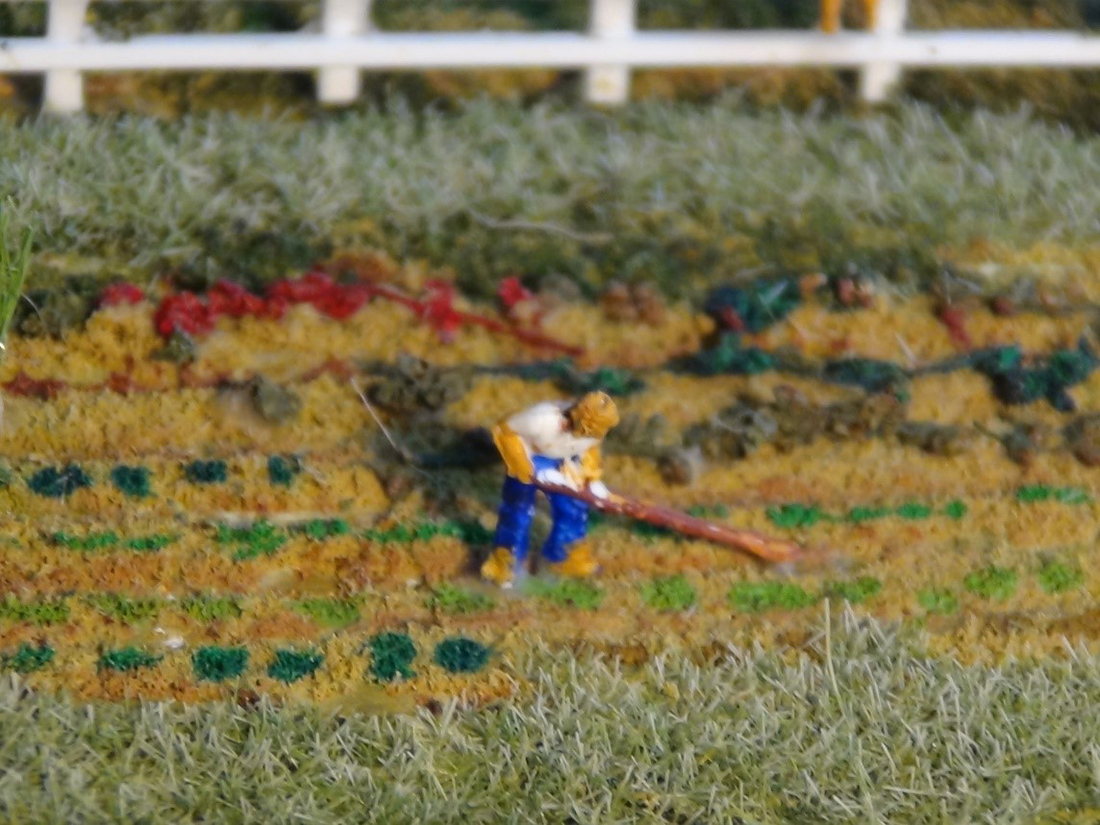
Farm plowed field was cardboard box.
Lovers kiss as nuns look on.
NYC T&P motors at hillside junction.
Overview of layout taken through window.
Ready to hoop up orders.
River valley looking south.
Pine Island 0-4-0s and 2-6-4s croud roundhouse whisker tracks
This is a bust!
Toxic dump creates puddle under the bridge
I do love the story that the captions tell.
Stunning stuff from Robert and his O scale NYC Hudsons. His pics are as a good as his layout – it’s good of him to share his photography tips too.
That’s all for today folks.
Please do keep ’em coming.
And don’t forget the The Beginner’s Guide is here if today is the day you get thoughts together to get going on your very own layout.
“As an “Old School Modeler” I learned from my Dad a long Time ago that if you don’t have “good track work” as in “Your Track/Layout and connections are PERFECT… It won’t be fun to run the trains!”
This is exactly what my dad instilled in me over forty two years ago when I was in my pre/early teens.
Back then we had switched from American Flyer ‘S’ gage to HO, because back then we didn’t have “E-Bay” or the internet or “after markets” and “Re-Pops”. Sooo getting parts and stuff for those old American Flyer trains was alot more difficult!
So when we switched to HO… first off we could build alot bigger layouts with the tables we already had… and do alot more detailing! And it was pretty affordable too.
And I’ve always loves seeing what I could do with Smaller Trains and slot cars too! 🙂 so this was a win-win for us!
but… it also meant taking much more time to get things right!
In Smaller Scale… things like tight curves, gaps etc. get alot worse and made for attention to what we were doing much more critical!
If your track work does not work flawlessly, no amount of electronics. scenery, realism, operations, etc. will ever make you want to head for the train room. Take your time on the track work, make if bullet proof, and everything else will be a delight!”
However It wasn’t easy for me (as a Kid!) because my Dad and I had spent a good chunk of money getting all New Stuff! And of course being a kid I couldn’t wait to run it all! (Hell I’m still that way now! LOL 😀 )
So “patience” and “time taking” was something I really had to learn! But it did all pay off! Once we got ALL of the “bugs” worked out on the main layout… which also taught us a lot in just how “tight” we could make turns and how steeo we could make grades and such… and when we later added on the back “Train Yards” on the other side of our wreck room wall (And into the laundry/utility room!) it went down without a hitch including the “Round House” and “Repair Yards”!
What also Helped was using what we dubbed “The “Bitch” because it was a Steam Locomotive that would de-rail from a shadow it was so Sensitive!
So once “The Bitch” ran the entire Layout five times without a hitch or stopping or de-railing, then we knew it was all ready to nail down permanently!
I will also add to this… If you don’t have enough ‘power’ for your layout… especially if it’s a gin one like we ended up with… that too will add to frustrations!
So Power the tracks / trains with multiple power sources, add “bypass” wires from the Power Sources to multiple areas of the tracks to ensure continues power flow so you won’t get “dead Spots” and Power the “extras” (i.e. Lights. Switches, Etc.) with seperate power sources!
This will make for a much nicer time running things and if you have a “Snafu” in anything… you only have to mess with that circuit setup and not the entire layout.
Joe
Jefferson Wisconsin”
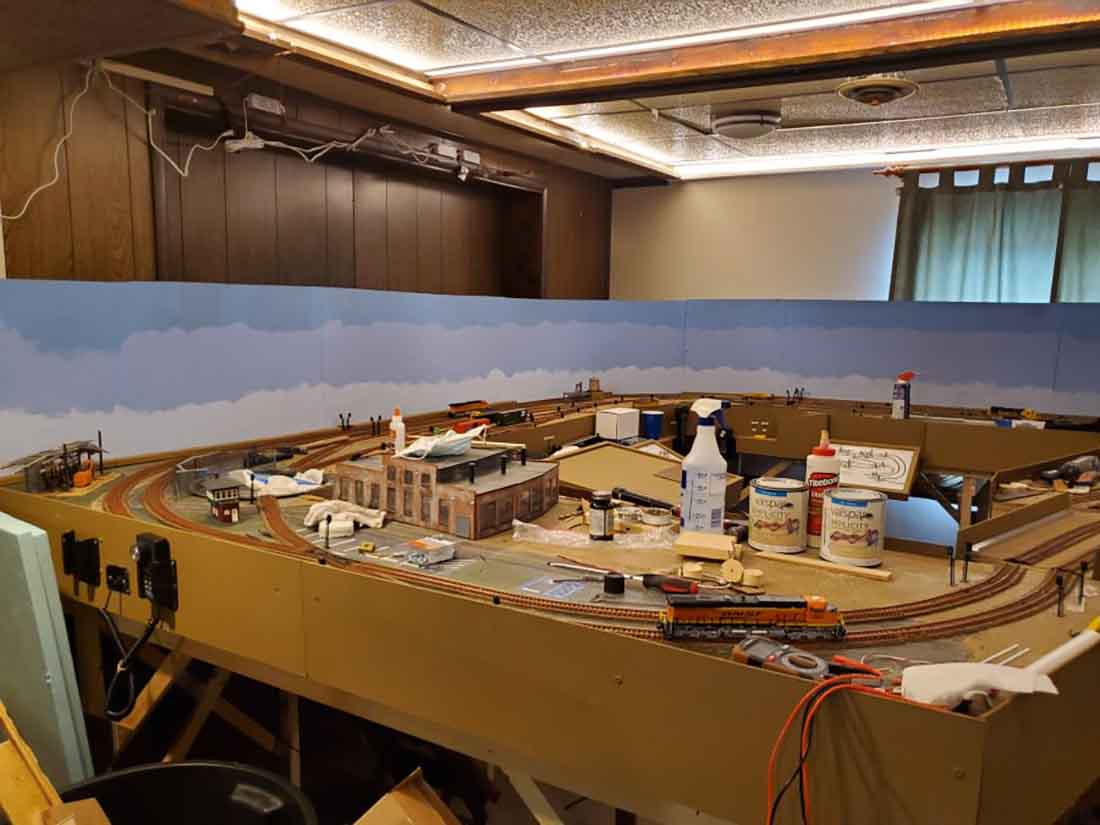
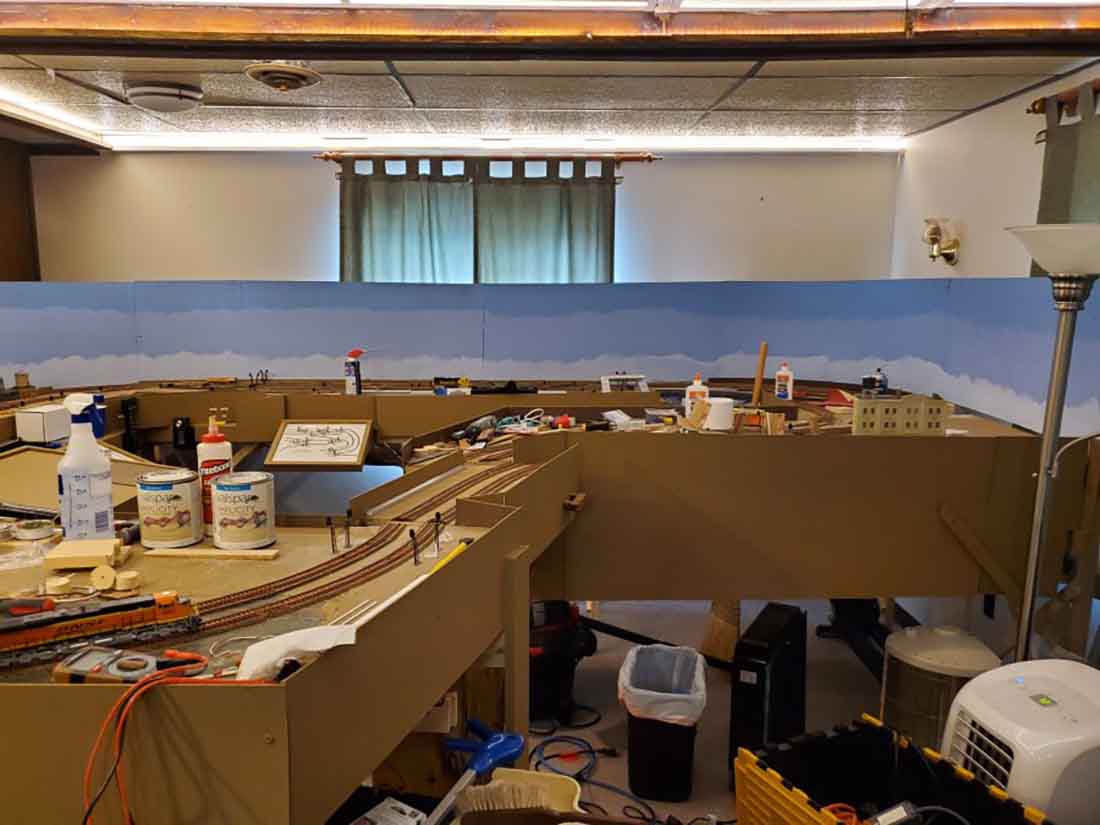
“I have an HO two level, (not inter-connected), layout which fills a room of about 25 by 25 feet. I built it myself and made every mistake in the book and then some.
Some thoughts:
I find it a problem when the track is further away than my arm’s reach.
I find it a problem when there are no “emergency hand access” holes in totally covered mountain scenery.
I find it a problem where there are no “people access holes” on large table tops.
I find it a problem when a layout is densely complex with turn-outs, switch backs, short sidings, etc.
Another point:
It was a BIG Problem when I added a second main line next to and basically following the already installed, original main line:
Clearance problems, (particularly for tunnel entrances, and for long freight/passenger cars), radius problems, wiring problems, turn-out interferences, track side structures, etc. Disappointed
Another problem: if you are going to install a Round House and turntable, make sure you have sufficient, (yes, more than you think necessary), “lead in track” so that your longest locomotive can line up properly and enter the turntable and exit the turntable and smoothly enter the Round House.
Also watch out for track alignment and track elevation problems on the entrance and exit of the turntable.Weary
Another issue: I used flex track around the long curves. Watch out. Flex track is great. However when you bend it around to make a curve you are inducing “locked in stresses”, (yes I know, I am an engineer).
These “locked in stresses”, over time, may cause track misalignments and may even cause the track to warp in a vertical plane, popping off the road bed. If the involved section of track is beyond your arm’s reach, you may have an “Advil” headache problem.
Frank in San Diego”
“Hi Al…
just downloaded this video showing a problem I have, maybe someone can sort for me, also a tip on cleaning the tracks, and a bit of a running session.
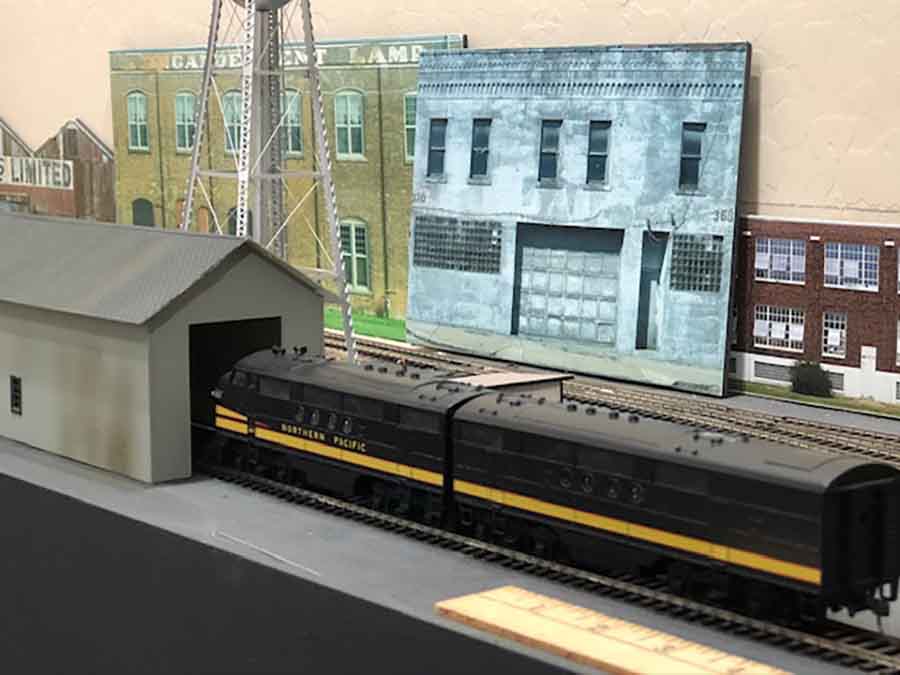
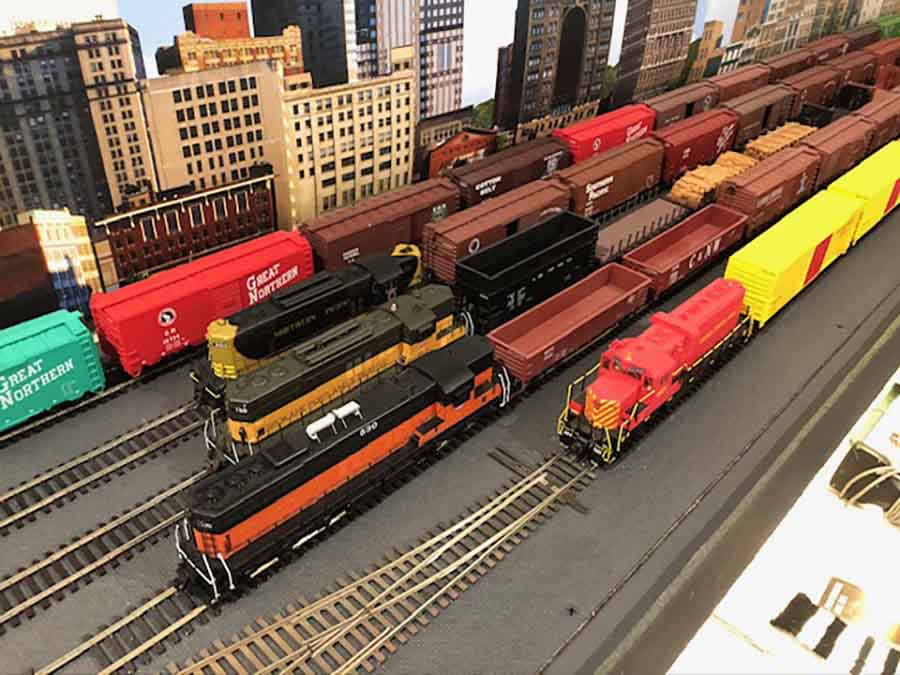
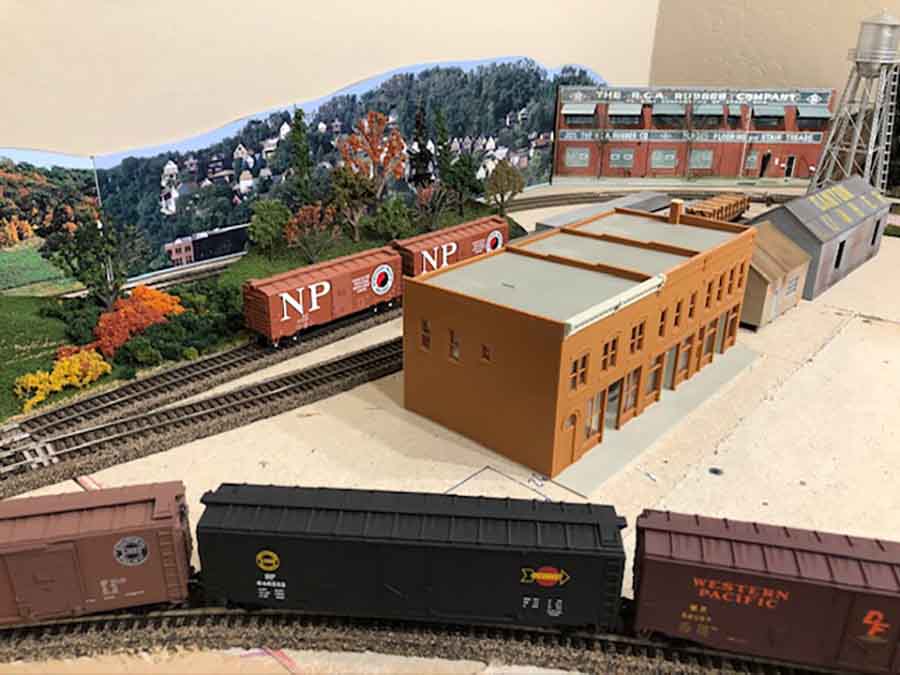
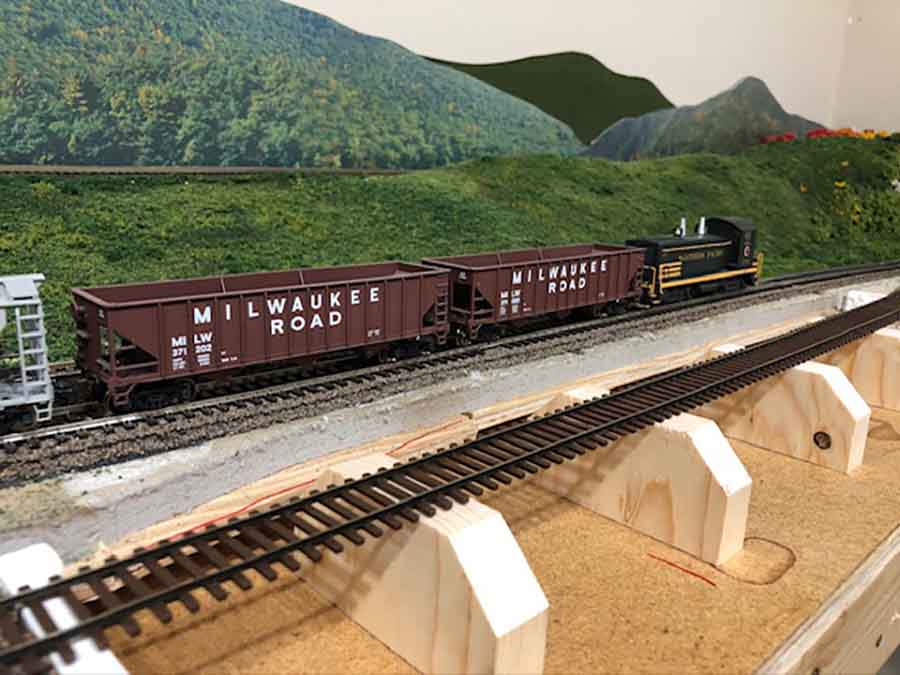
John’s been in touch – he’s shared pics of his N Scale Northern Pacific Freight cars:
“Al,
Like many things in life, my interest in model railroading started at a very young age. I built 14 different layouts over the years; this is number 14.
As I got further in life after college and getting settled in a career (Industrial Arts teacher) with a steady income, I began building more.
Problem was that after I got a layout built, I’d get transferred or changed jobs, it was a curse. It happened 13 time from my very first HO layout while in middle school.
The current layout was built with my planned retirement in mind. We had a hot tub on our back deck that quit working and it was not worth replacing so we took it out. That left a large open space to the side of the extended deck I built when the hot tub was there.
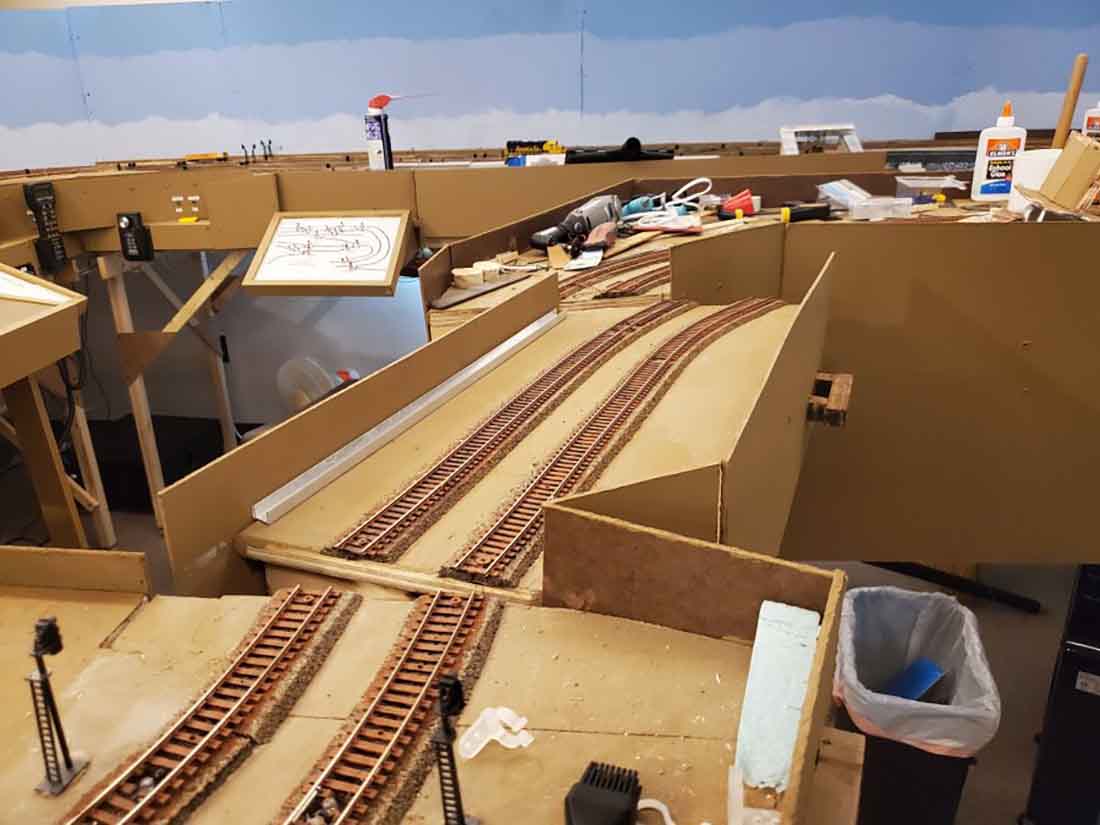
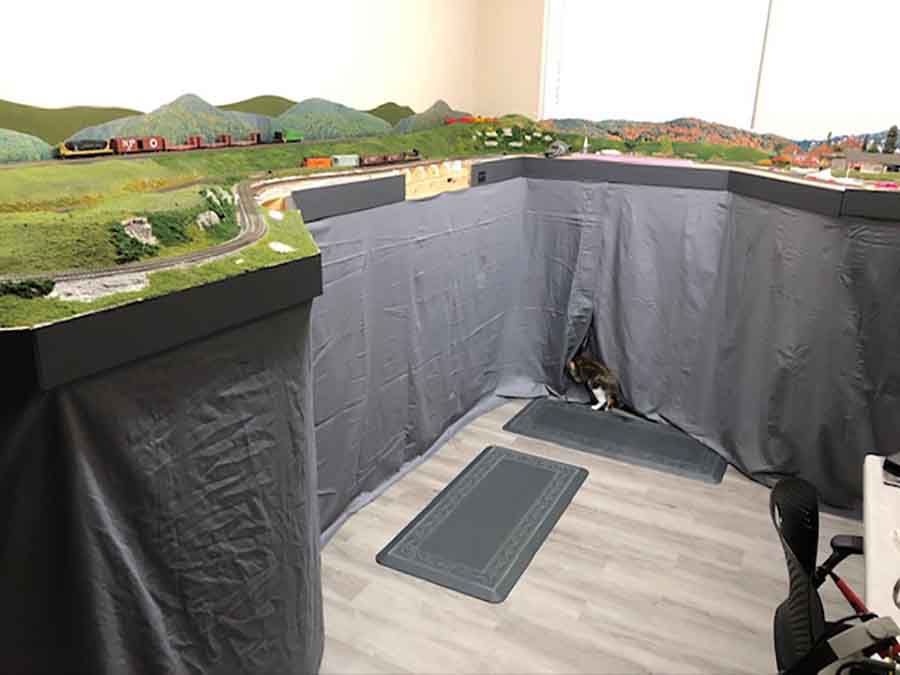
AS I looked at all the open space now, the extended deck had a three sided five-foot-high privacy fence. I saw if I extended the fence up another 3 feet, close off the front, put a roof on it, instant railroad room!
That’s what I did, closed it in, wired it, insulated it and added air-conditioning (a must have in Florida).
The inspiration came when my wife and I were in Colorado chasing trains and we found ourselves at the west portal of the Moffat Tunnel. We heard a roar in the valley and soon a 110-car coal drag with 3 Denver and Rio Grade SD50s on the front three in the middle, and two at the rear.
Soon the doors to the tunnel opened and the train roared by us at about 8 MPH. It was inspiring, so years later I decided to model the D&RG.
The layout is N-scale and free lanced, with an interchange with the Northern Pacific, no specific years modeled.
I have added a card system (Not in the pictures) for planned scheduled operation and car forwarding.
I use Digitrax DCC. It cost more in the beginning but it is the only way to go. Most of the engines have sound. I have been modeling N-scale since 1970, and some very early Micro-Trains cars are still in service.
I have 6 staging tracks behind the backdrops. I use mirrors in the corners to view the hidden tracks.
Scenery is carved foam with plaster cloth over the forms with rock castings.
I made many of the castings by pouring plaster into crumpled aluminum foil.
The mass of trees was done by taking fiber-fill material, rolling small balls, soaking in diluted white glue, then rolling in different shades of ground foam. A very fast way to cover large areas.
Edges of the forest was accomplished by taking strips of lichen and soaking and applying ground foam.
Still lots to do, but one step at a time.
I tried not to make the layout a bowl of spaghetti tracks and separate the scenes so you focus on one part at a time. The concept of less is more.
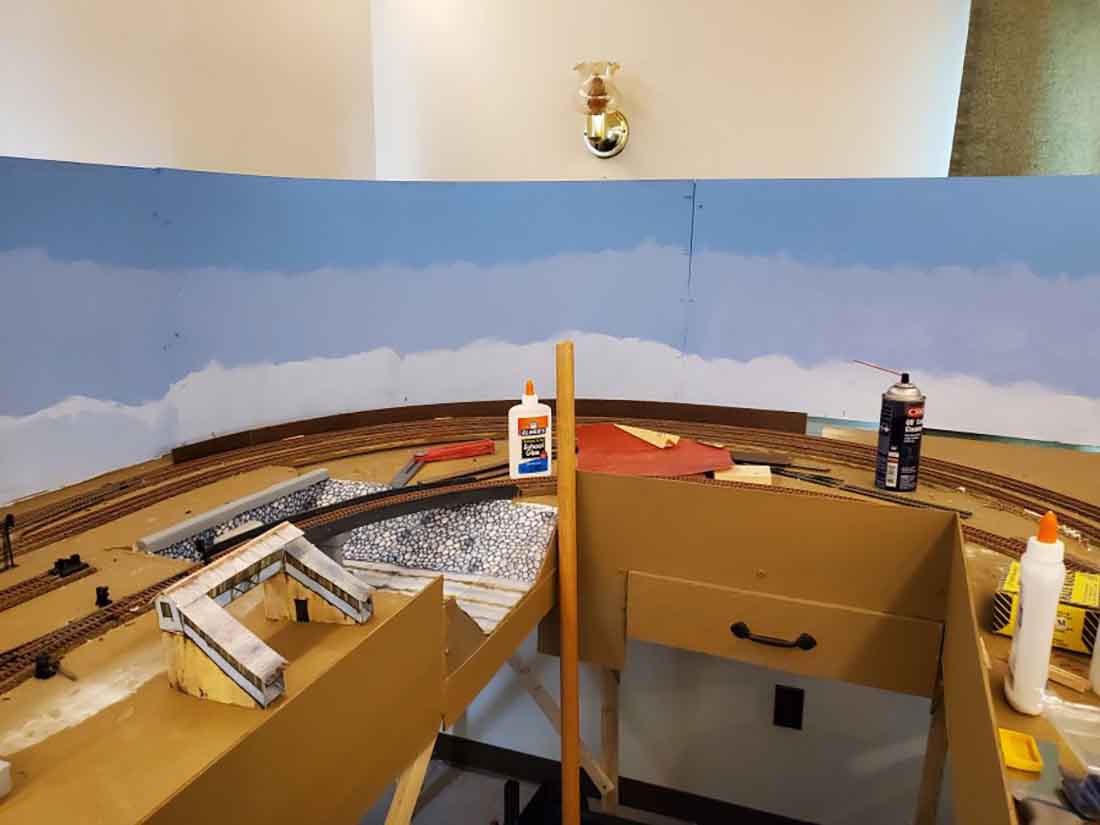
As it turns out, I retired but came back as a contractor with the school district to direct an Aerospace/Aviation program. I am a pilot and started a high school program 20 years ago.
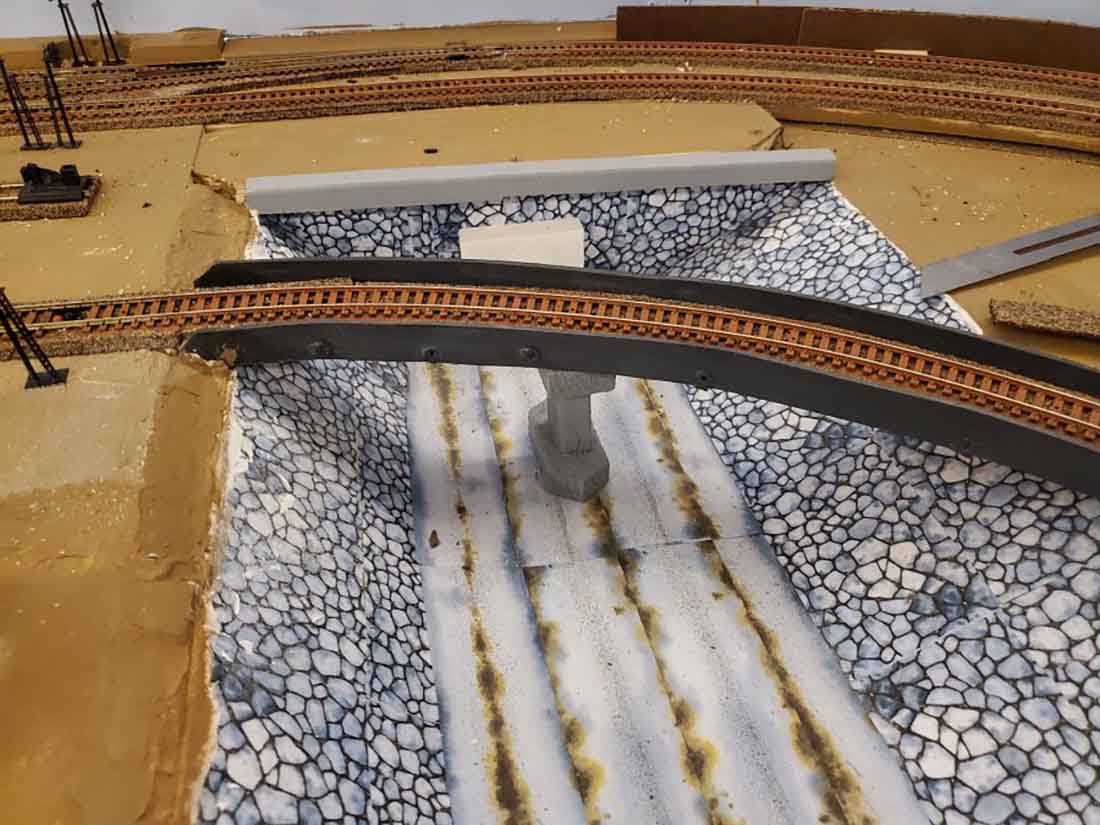
The school district wanted to expand the program and wanted me to head it up. So, my railroading time is limited.
What is nice is that the room is tight and sealed, so I can close the door, run the dehumidifier and not worry about anything. It stays dry and clean.
Build sequence:
I have enjoyed monitoring your e-mail ideas.
Enjoy,
John
Sebring, Florida, USA”
A huge thanks to John for sharing his N Scale Northern Pacific Freight cars, they are fabulous pics.