Dave’s been back in touch, he’s added to the collection of small HOn3 track plans:
If you missed his stunning layout, it’s here.
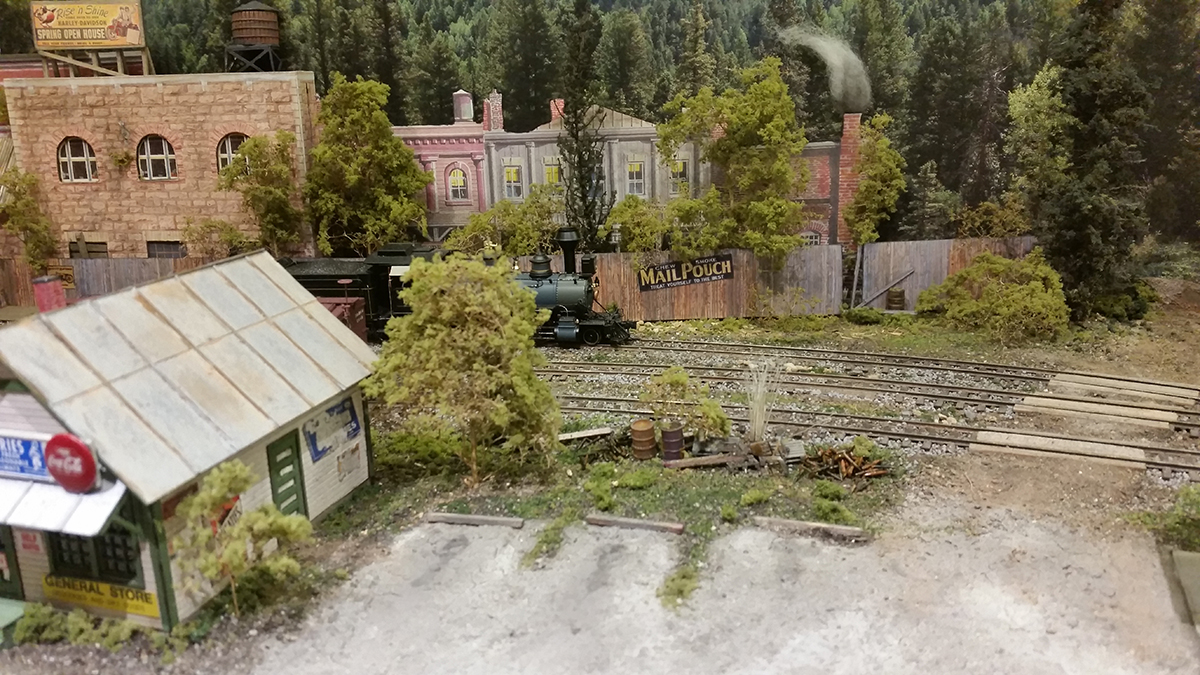
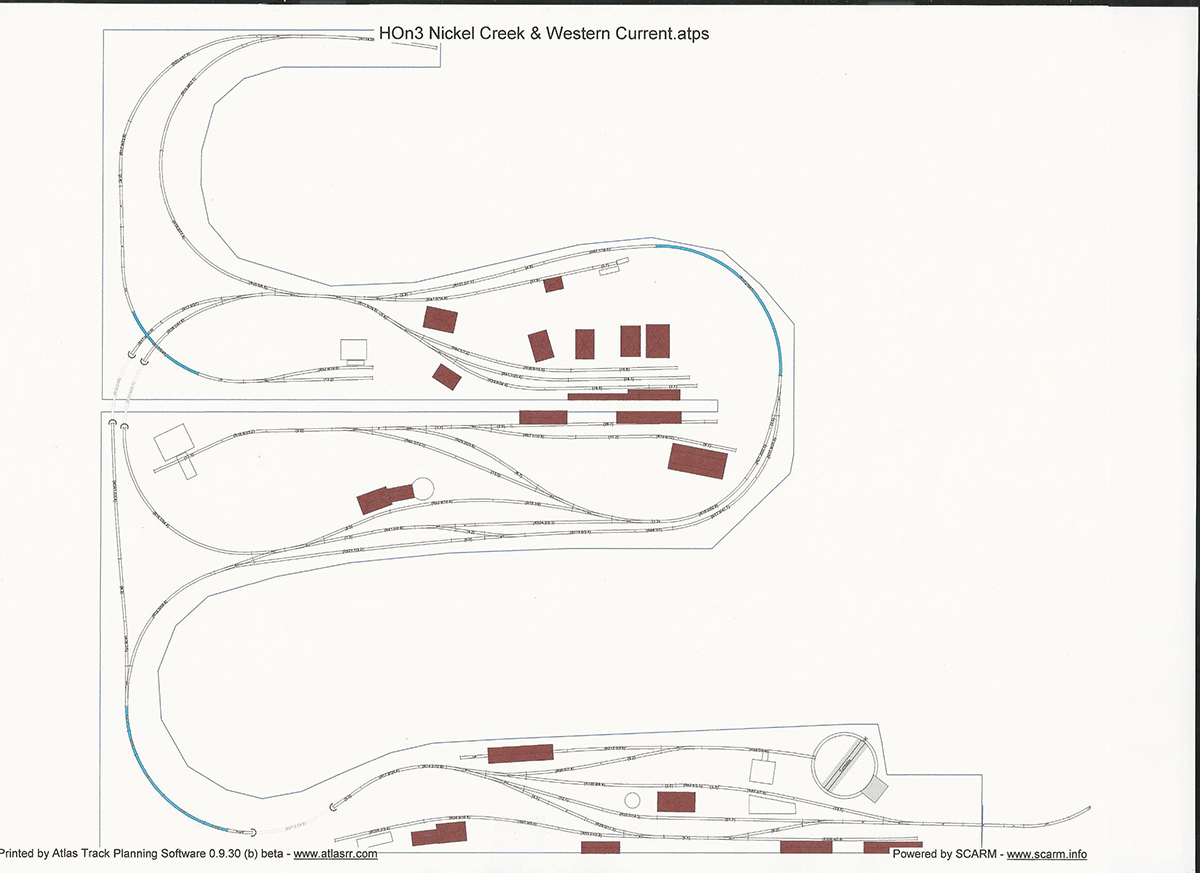
“Track Planning For The Nickel Creek & Western HOn3 Layout
My track plan was primarily determined by two things. The first was the space available in my room and second, the desire to build an operational railroad. My room is small measuring 10.5 feet by 11 feet, but the real limiting factor is that I only had use of two full walls. A set of French doors that open up into that room and a large closet on an adjacent wall eliminated two of them.
So, my best and really only option was to include a peninsula coming off of the one shorter wall. That peninsula needed to be wide enough to easily turn a train using an 18 inch radius while still leaving some space outside of that track. It also had to leave enough isle room around it to comfortably move around and ideally allow two people to pass each other is necessary.
An operational railroad is one that serves an actual function of doing work and does not just have trains running in circles around nice scenery. The work that is done involves moving cars around the railroad, picking up some while dropping others off at different industries and yards along the way. Trains on such a railroad have a place of origin and one of termination. It’s difficult to find small HOn3 track plans that do this.
To allow this to happen and come off as being semi-realistic a layout needs to include different locations separated from each other by either some actual distance, or a scenery block of some sort. Then, within each there needs to be multiple industries and places that require rail service.
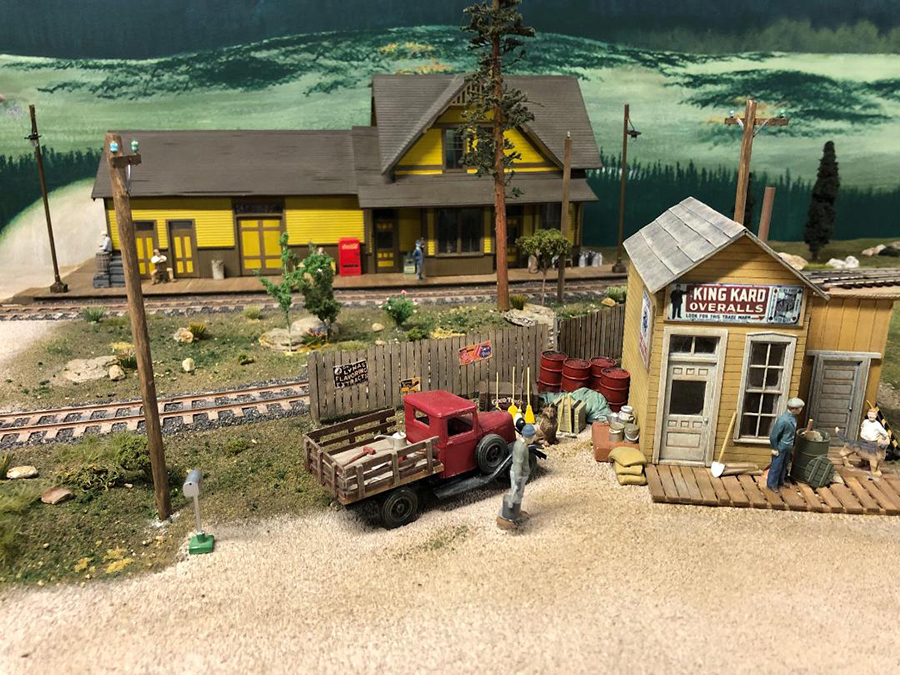
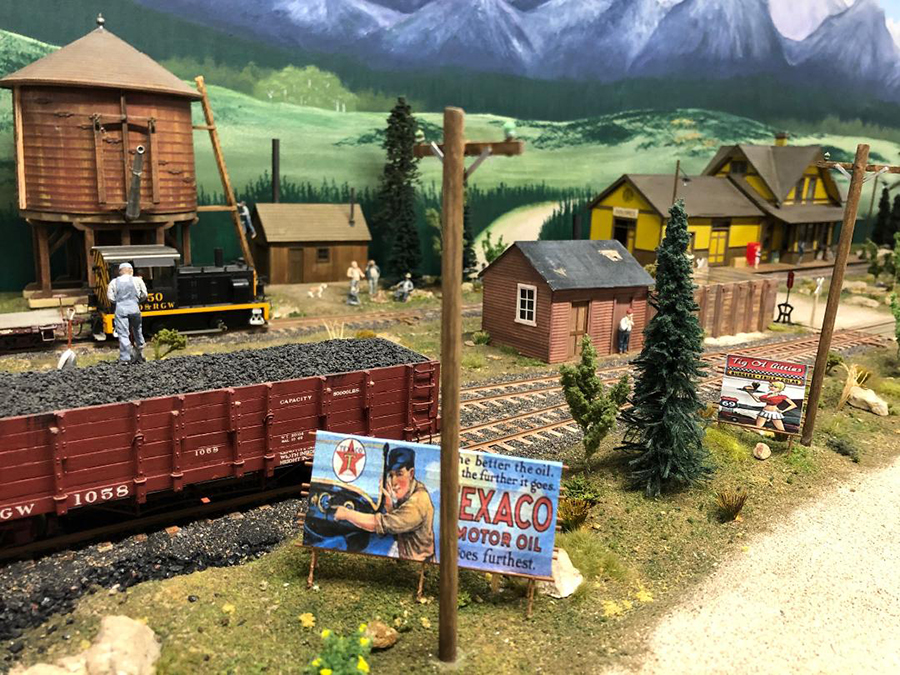
My railroad has three such locations. Nickel Creek is the section which forms the shelf part of the layout against the long wall. Widow Rock is next down the track on the side of the peninsula opposite of Nickel Creek. Lastly, Lost Valley is on the other side of that same peninsula with the small railyard.
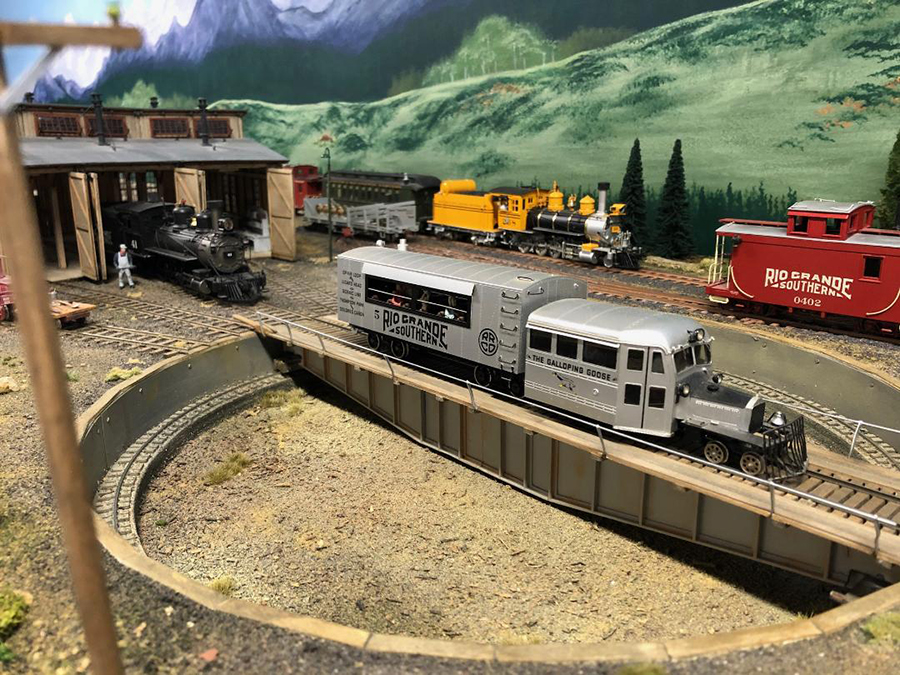
Trains leaving Lost Valley can either stay on the peninsula and go to Widow Rock, or take the outer track to Nickel Creek. That inner loop on the peninsula can be used to run a circular train when desired. I can also have such a train running while an operational one is doing work around it. All trains that enter Nickel Creek from that direction will get end-for-ended using the turntable.
All of this is placed into motion on my layout by having manifests created by a computer program called JMRI. It is freeware based and can be easily downloaded off of the internet – ideal for small HOn3 track plans. JMRI can be set up to be as simple, or complex as one desires. It is the kind of program that you get out of it the time, data and info that you put into it. Currently I have mine running in a very simple way.
From the initial basic data input JMRI knows the location and lengths of all my sidings, spurs and yard tracks. It knows the lengths of the rail cars and their placement within the railroad. It also knows which industries and yards will accept what kind of car. In simple mode JMRI looks at how many times a particular car has been moved and targets those with the least number of moves to be a part of the next train to run. For a car to be moved it must have a location available to go, or one that can be made available.
The created manifest will show where that particular train will be built and where the cars will be initially pulled from. This can be a railyard, various industries, or a combination of both. Trains can also come from staging and I will explain that a little later. The manifest will also show the route, various stops along the way, the exchange of cars, and where the train will terminate.
The far end of Nickel Creek shows the track entering a tunnel and apparently just ending. That is a limitation of the printing out of that plan. That track is actually entering a long closet terminating into a three track staging yard. A staging yard is a place off of the layout that often represents a location far away. It is a way of bringing a prebuilt train on to the layout to work and then terminate in the same way.
If I choose to run a staged train a manifest will be created showing it as prebuilt and leaving staging. A typical route would be for it to first enter Nickel Creek and do work there. Next in line is Widow Rock for possible further car exchanges. From Widow Rock Lost Valley is usually the next stop. That train will most often leave Lost Valley to once again enter Nickel Creek for work from the other direction. That train would then get end-for-ended and backed back into staging for termination.
It is very common to have a train originating from Lost Valley and being assembled from the yard there. The manifest may have it go first to Nickel Creek, get end-for-ended there and then next go to Widow Rock. From there it would go back to Lost Valley for termination.
On a large model railroad such as what my friend Art has, it can take several hours to run a single train and usually there can be as many as eight, or more running at the same time given enough operators. My layout is from small HOn3 track plans. The average running time of one of my JMRI created trains is about 45 – 50 minutes, which for me is just perfect.
Dave”
Now on to Brian.
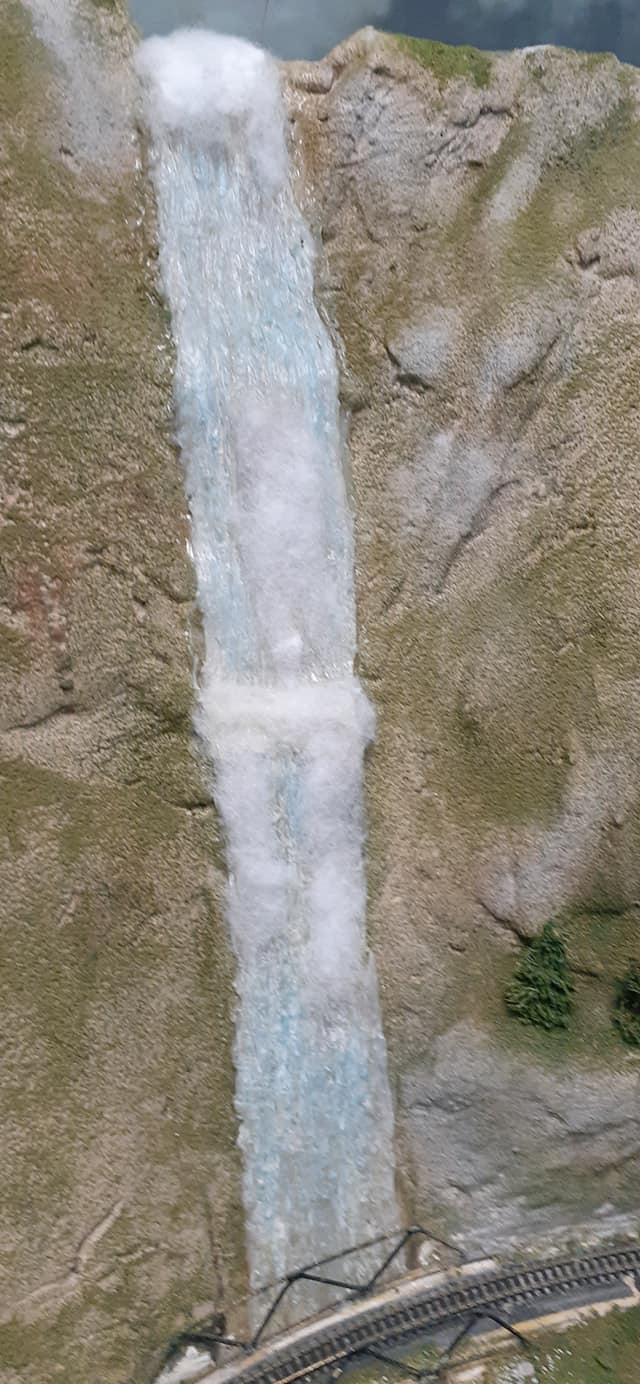
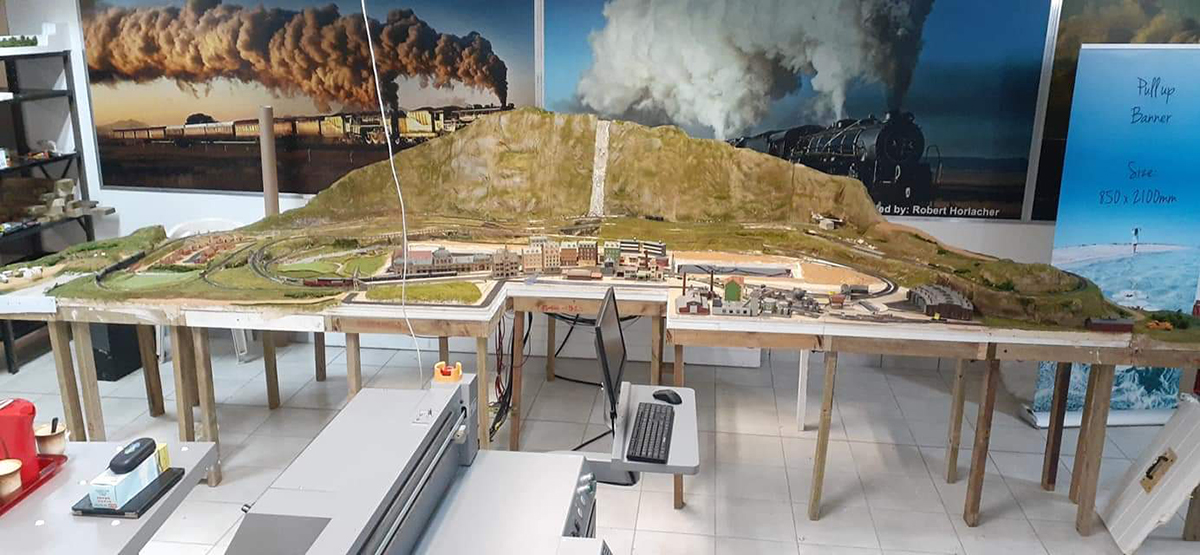
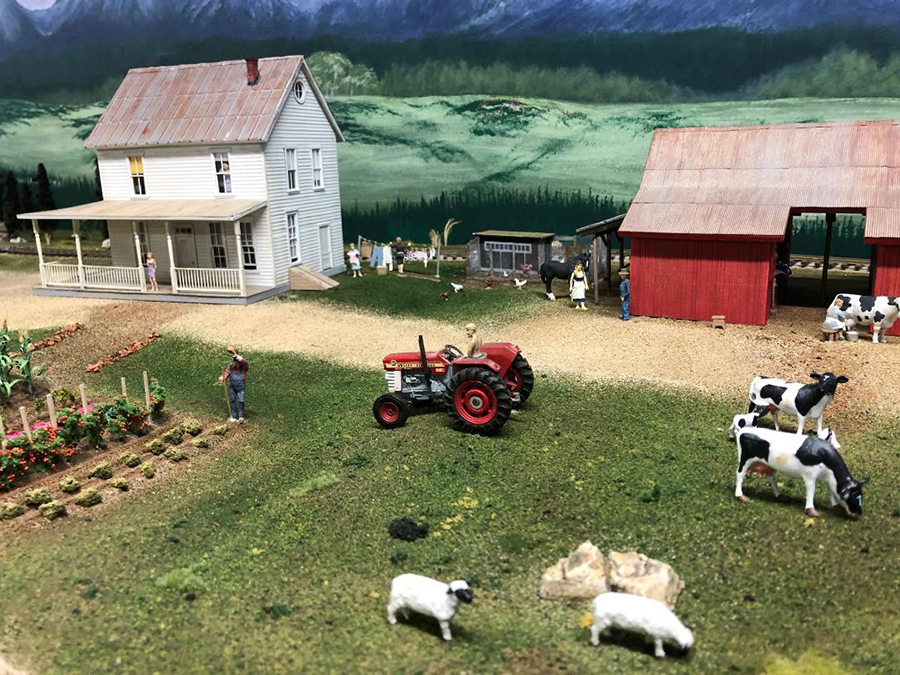
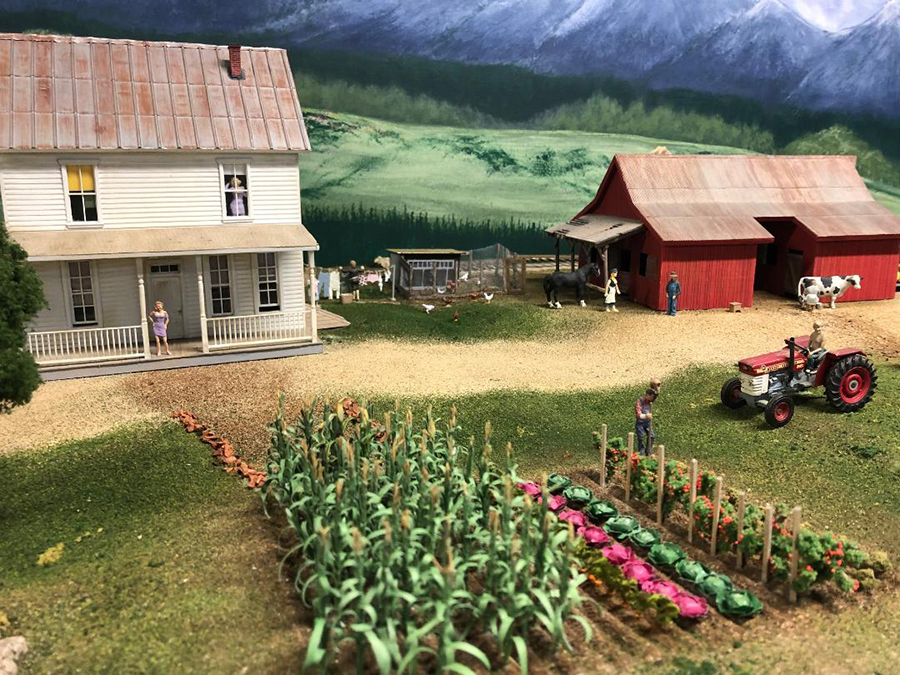
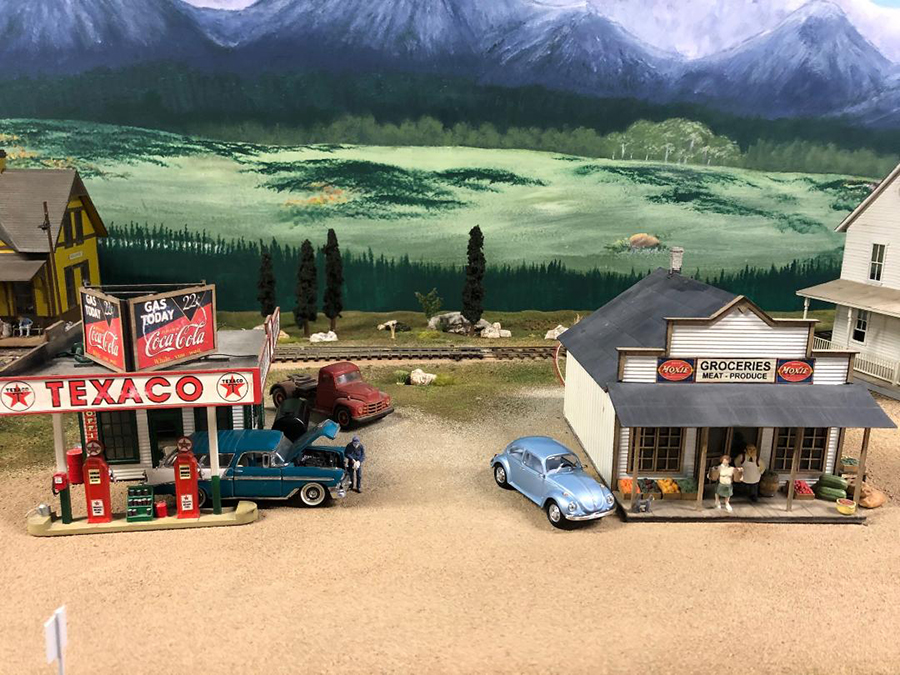
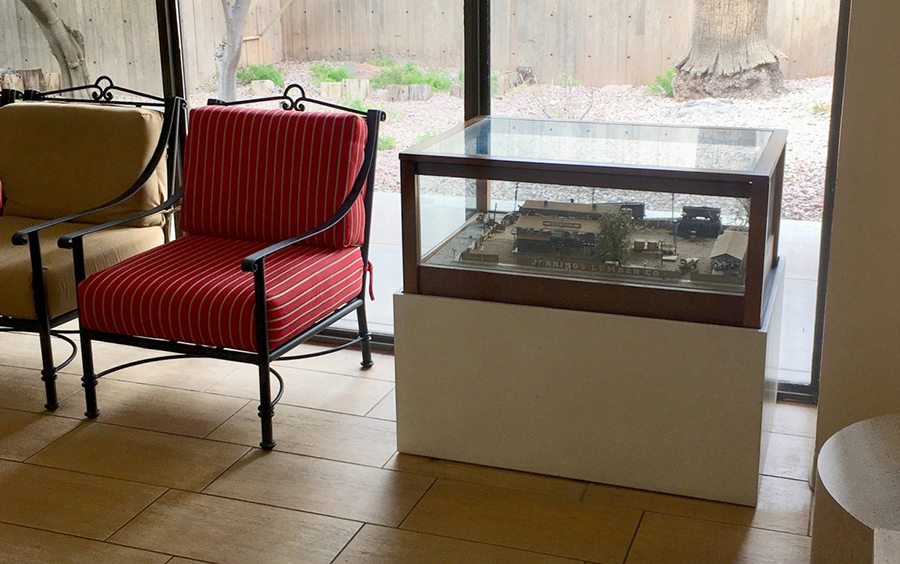
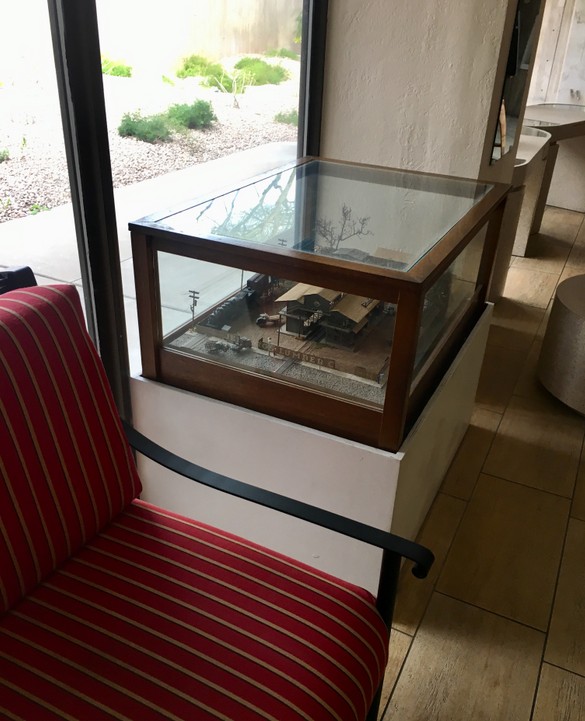
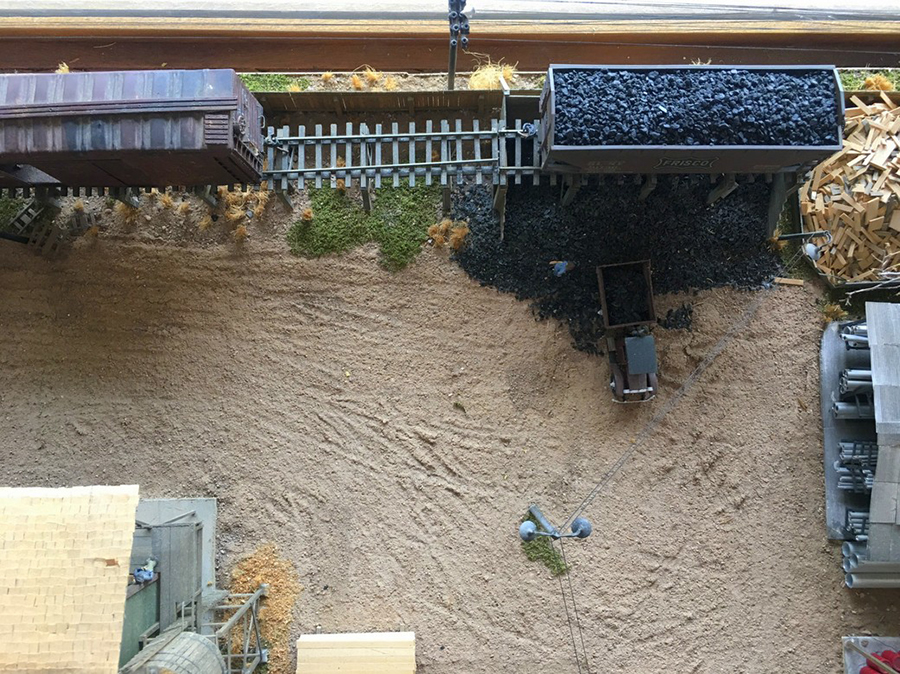
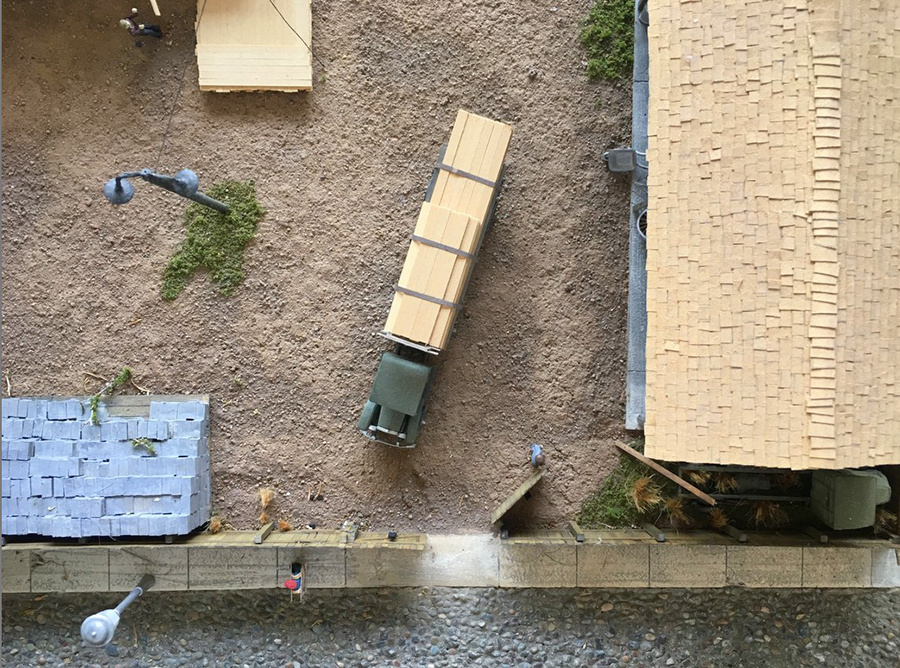
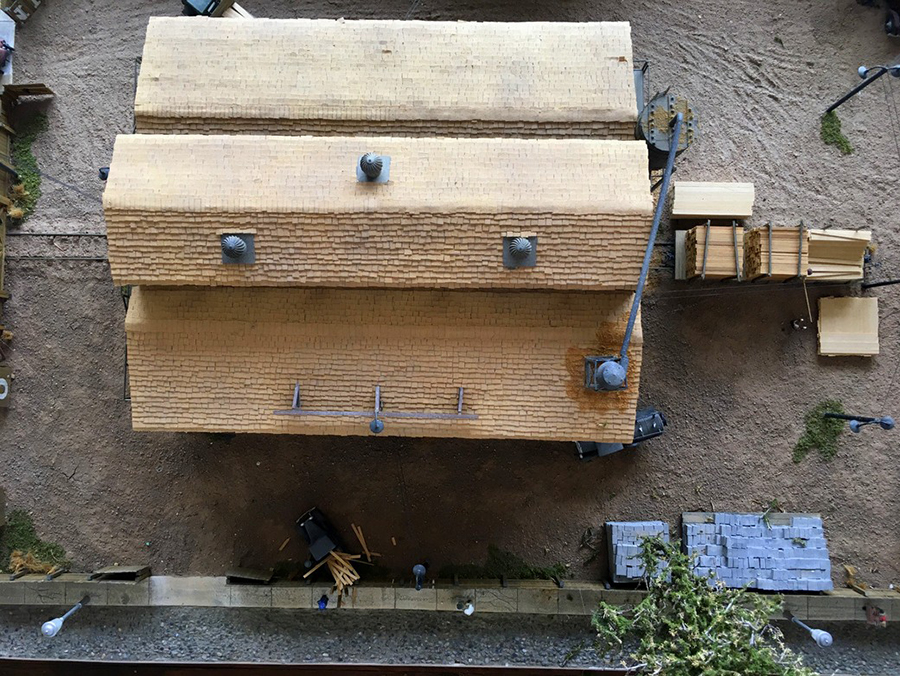
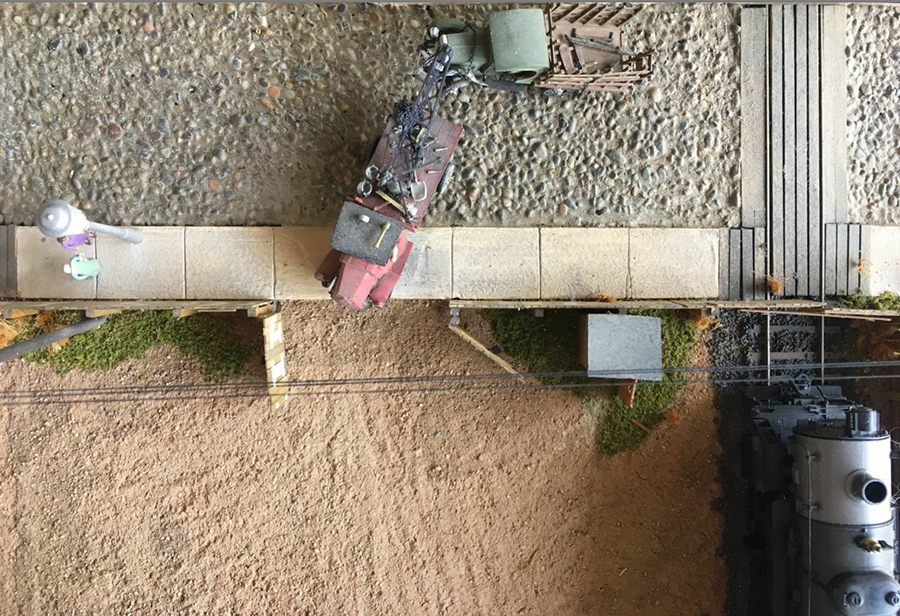
He’s involved in making a display for a shopping mall.
If you missed his post, It’s at the bottom of this one.
“Here are the answers to the questions on the post:
# – why did a retail mall contract for a model railroad (ie – relevance)?
Answer :- the owner of the retail mall is into model trains but does not have a layout yet, but wanted to get the hobby going in our town. He will start his once the mall layout is complete and the alterations to his garage.
If anyone can remember, we had tremendous fires in our town (Knysna) in 2017 which destroyed about 800 houses, a hotel and quite a few B & Bs. It was a big blow to us and the town is slowly recovering from this.
# – who paid for the construction?
Answer :- the owner of the mall, he paid for and supplied everything needed for the layout.
# – who will have the enjoyment of operating the layout, and how frequently?
Answer :- there are 8 people involved in the construction of this layout when they can. The owner himself is very much involved in this construction as well as a female (16 year old art student) whose has developed a fascination for model trains and as explained above, made over 500 trees for the layout as well as some of the scenery. Once it is installed and operational, we will all take turns to run the layout. The mall is open daily 9.00 to 5.00 Monday to Friday and 9.00 to 1.00 Saturday.
# – who will service and maintain everything, and who will pay for upkeep?
Answer :- we will all take turns in servicing and maintaining it. The cost will (if anything) will be for the centre owner. There is no cost as far as space, electricity and entry in the mall. There are 2 major banks and about 30 shops on 2 levels in this mall. This mall is in the Main Street almost central in the town. Facebook page – Garden Route Center layout.
# – The project sounds wonderful, and could well be a stellar way to spark the imagination of prospective new hobbyists, both young and old. But with respect to location and application, it seems a bit unusual, no?
Answer :- Our coastal town (holiday destination and retirement place) has (out of season) about 70,000 people and in season increases to about 120,000 people in season. There will be signage in the Main Street showing how to find the display layout.
The owner and the rest of us feel that this will be an excellent way of attracting new comers to the hobby.
The down side is that we do not have any hobby shops in this town and the nearest (almost decent one – not much in the way of model train stock holding) is 500kms away. All the materials procured for this layout was via emails to a good (well stocked with train stuff) hobby shop about 1400kms away with a 2 day shipment.
As of December 2019, I have a data base of model train enthusiasts totaling about 25 between the next town (25kms away to the west) and a smaller town to the east of us (30kms) Our town has 5 operating layouts in various stages of construction and in scales from ‘0’ scale, HO scale and ‘n’ scale and of British, Continental, South African Railways and American prototypes.
There is a club in the next big town 60kms away that has a club in the railway museum (SAR prototype) that open when they feel like it and are not very forthcoming with information if you are not a member.
I hope the answers above are of help to those that asked them.
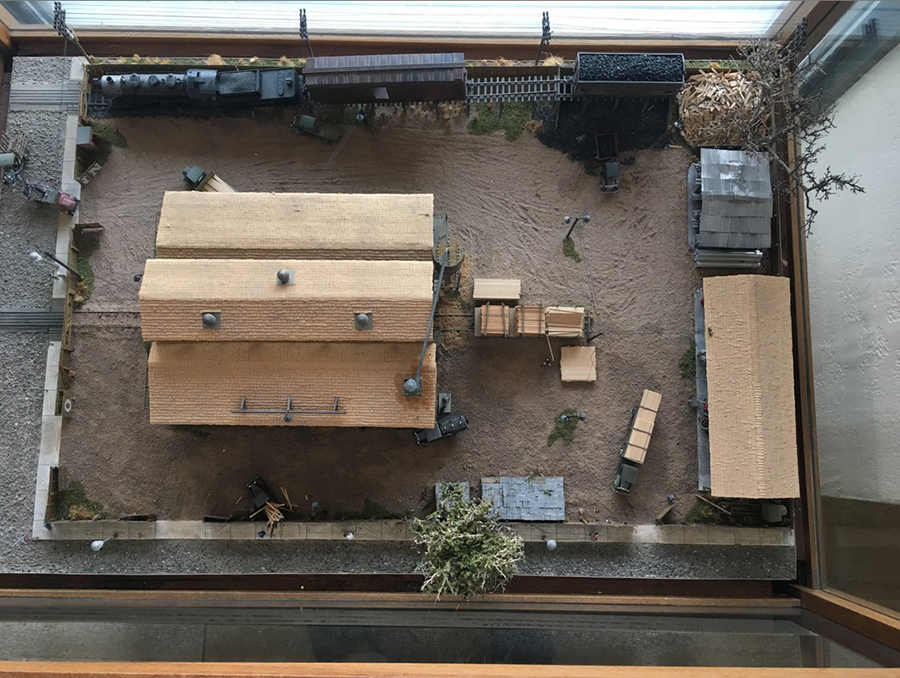
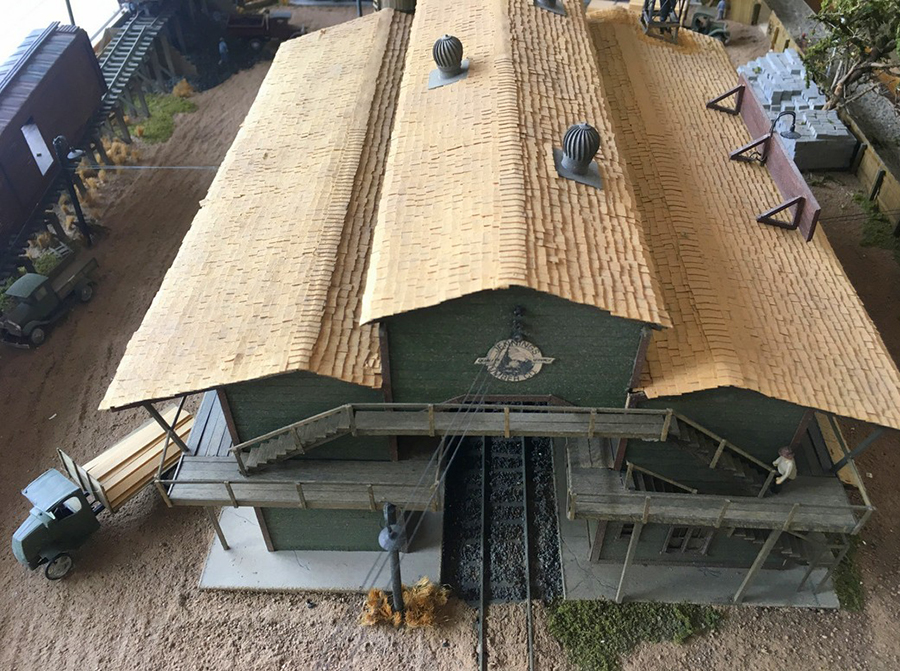
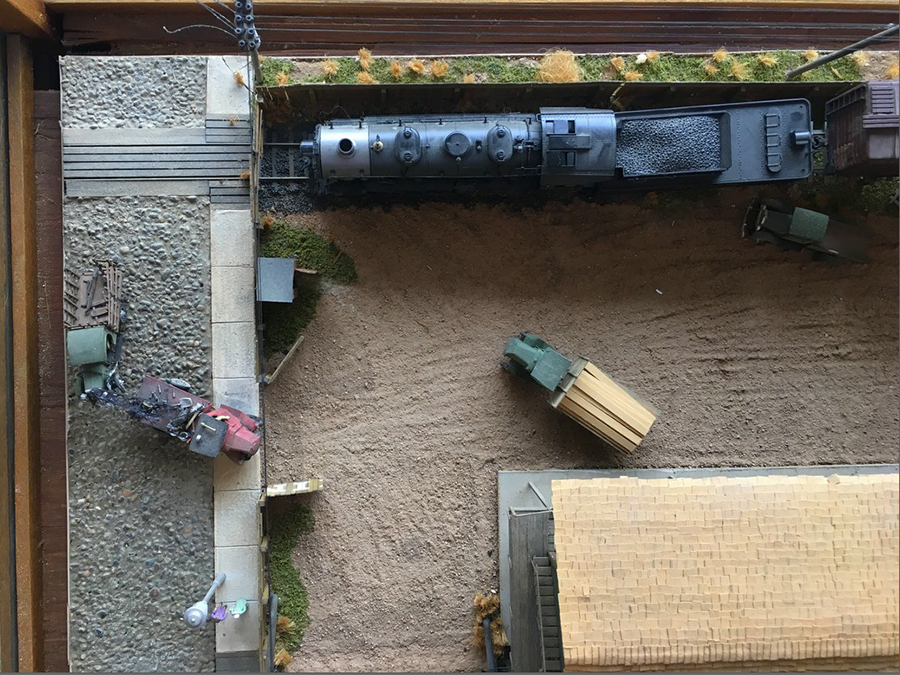
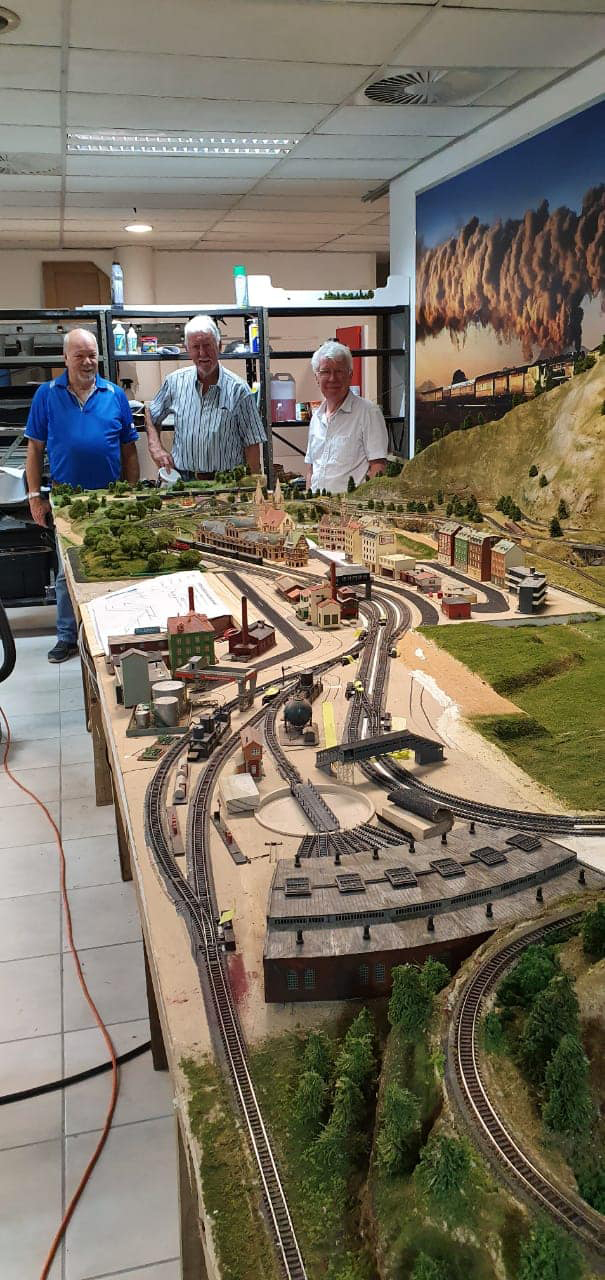
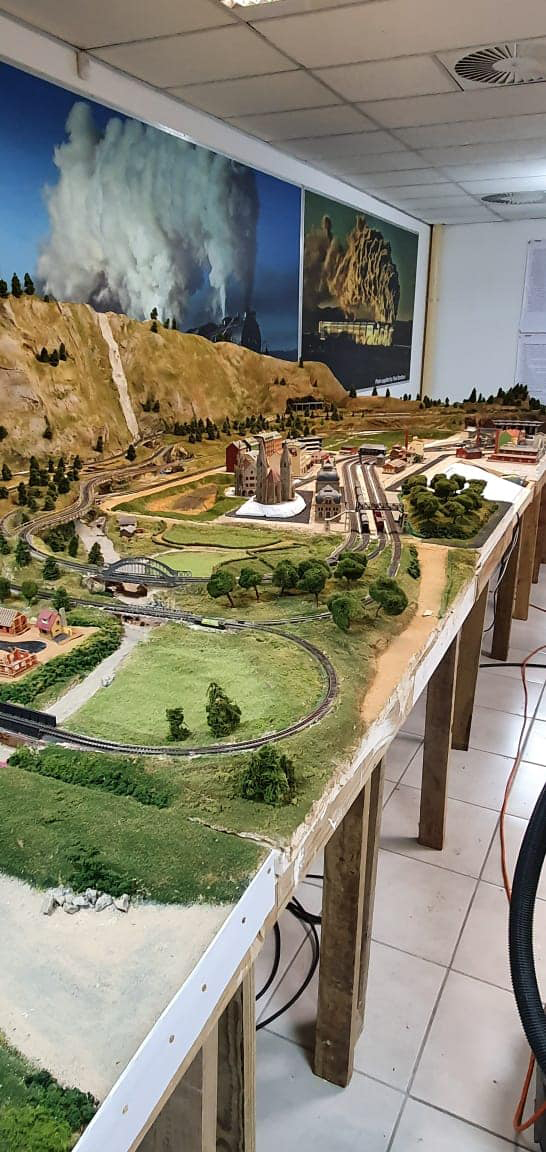
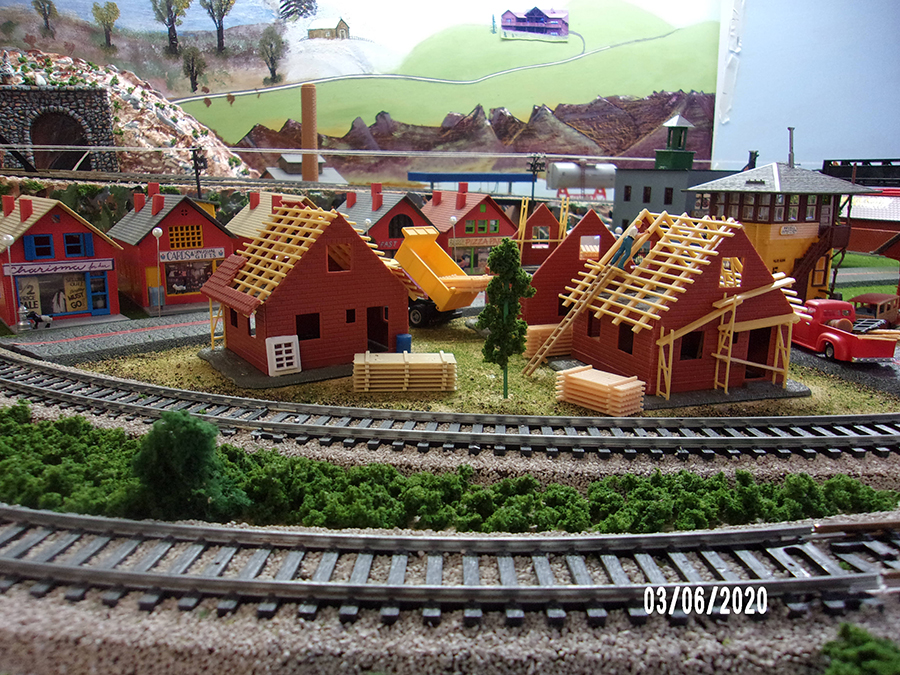
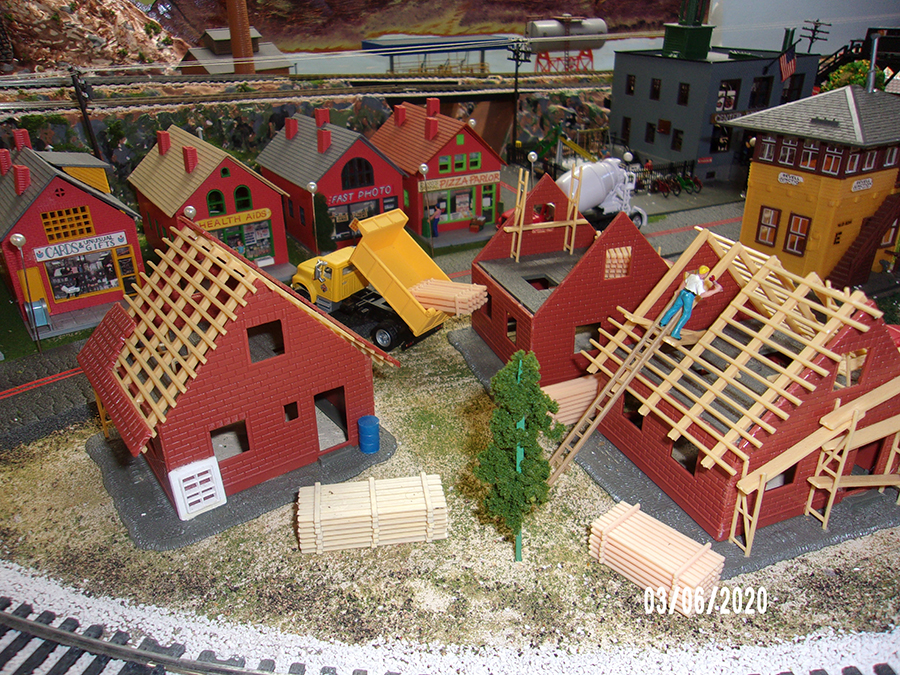
Below is three of the makers.
Brian – Knysna RSA”
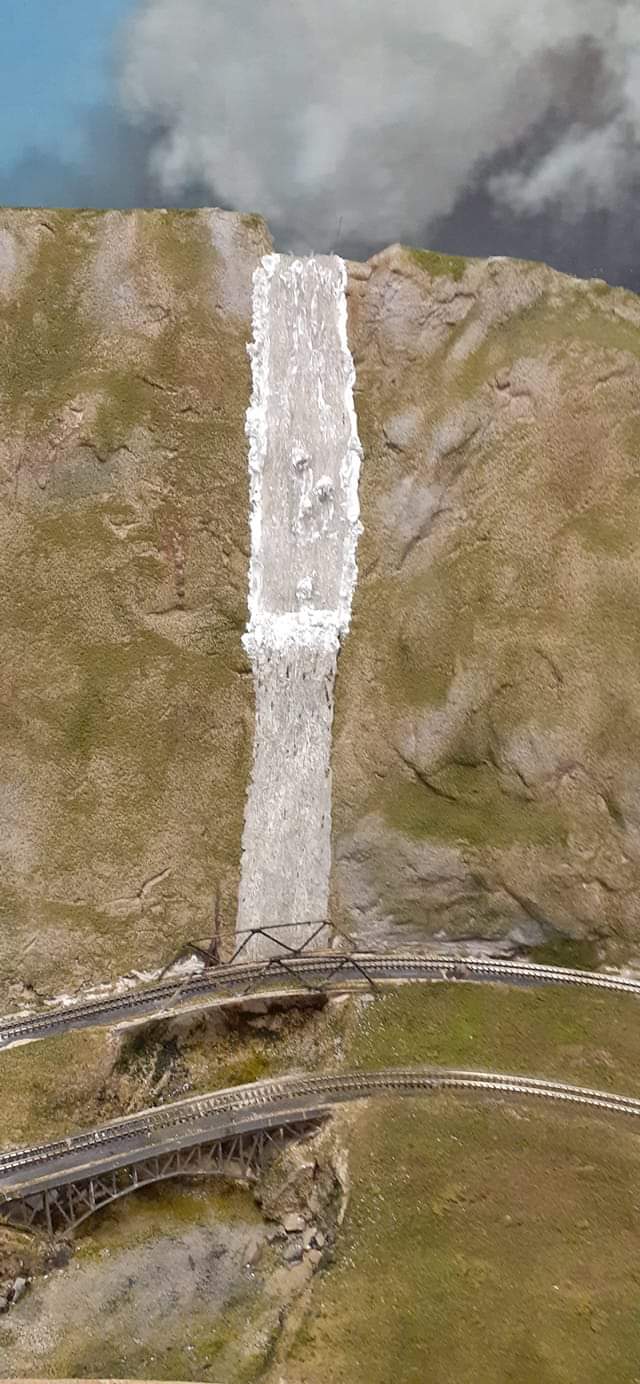
“Hi Al, Enjoy all the tips from your site.
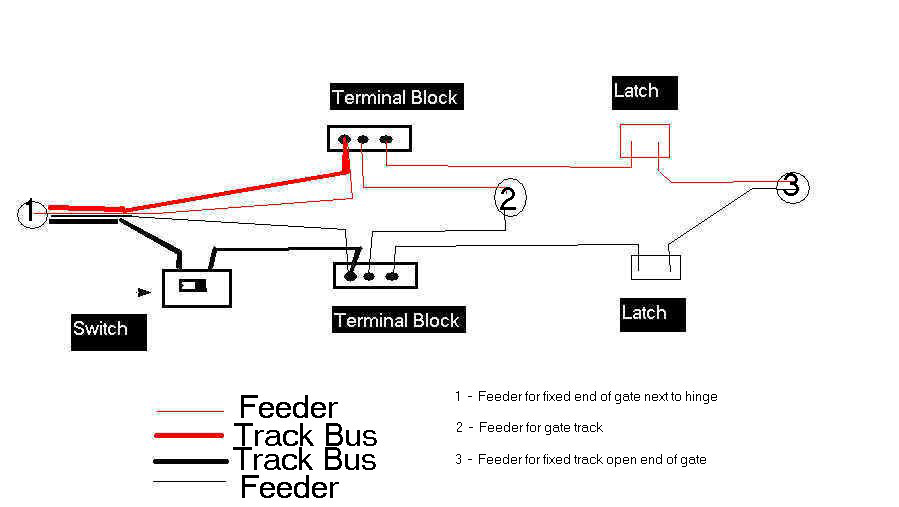
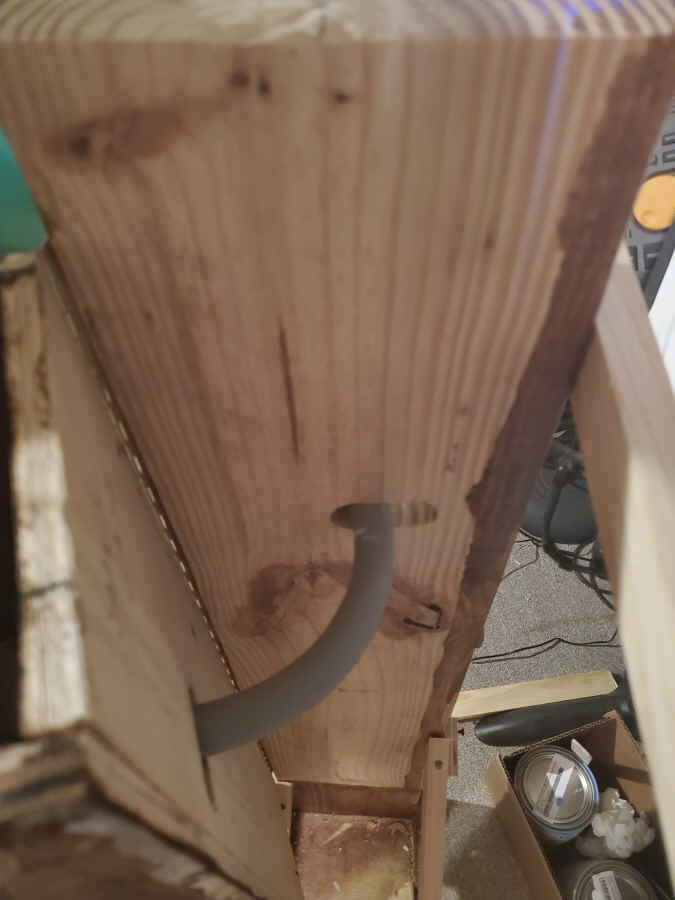
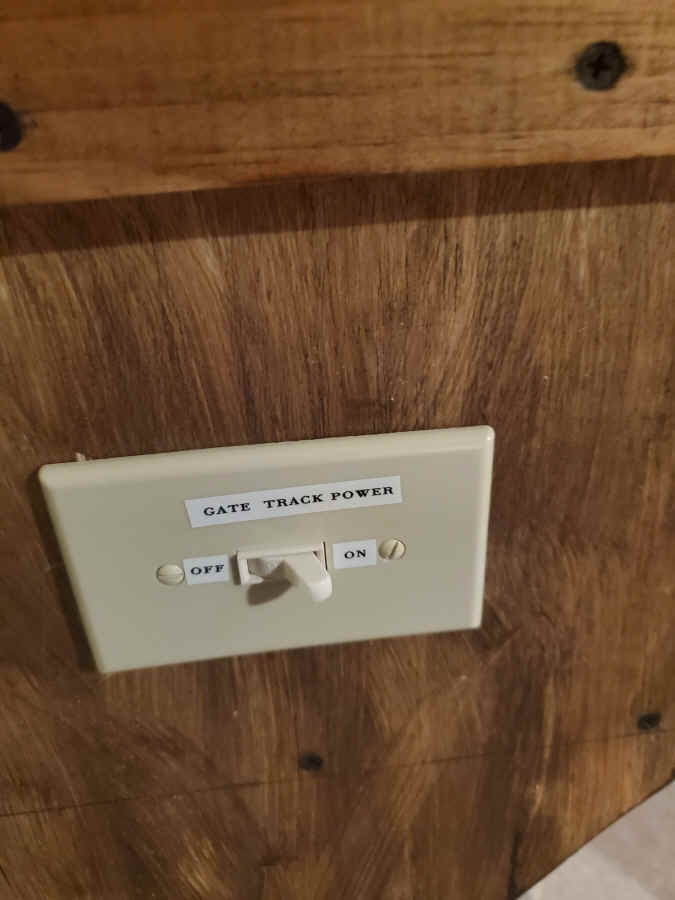
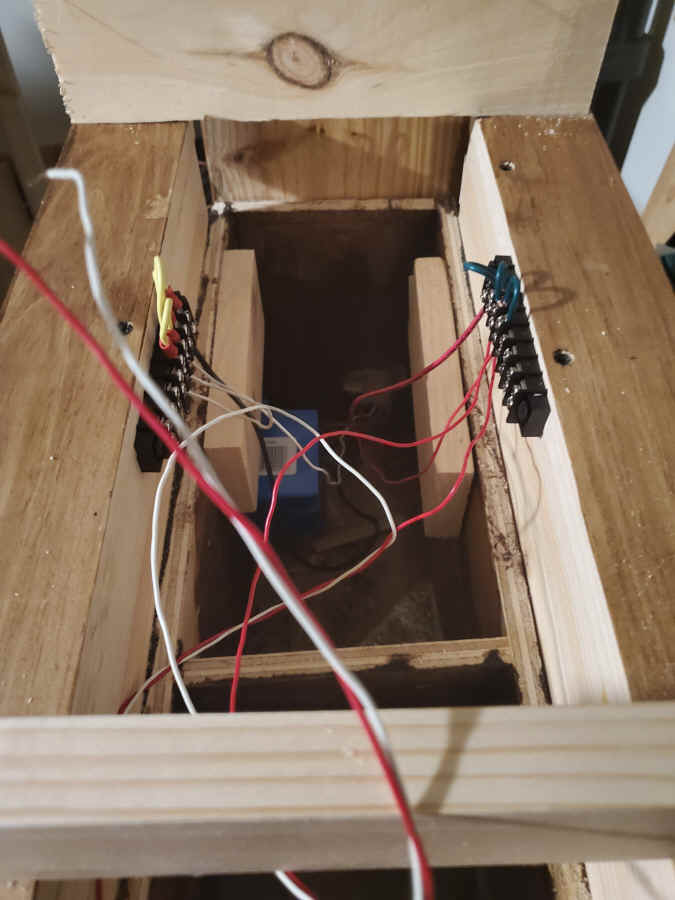
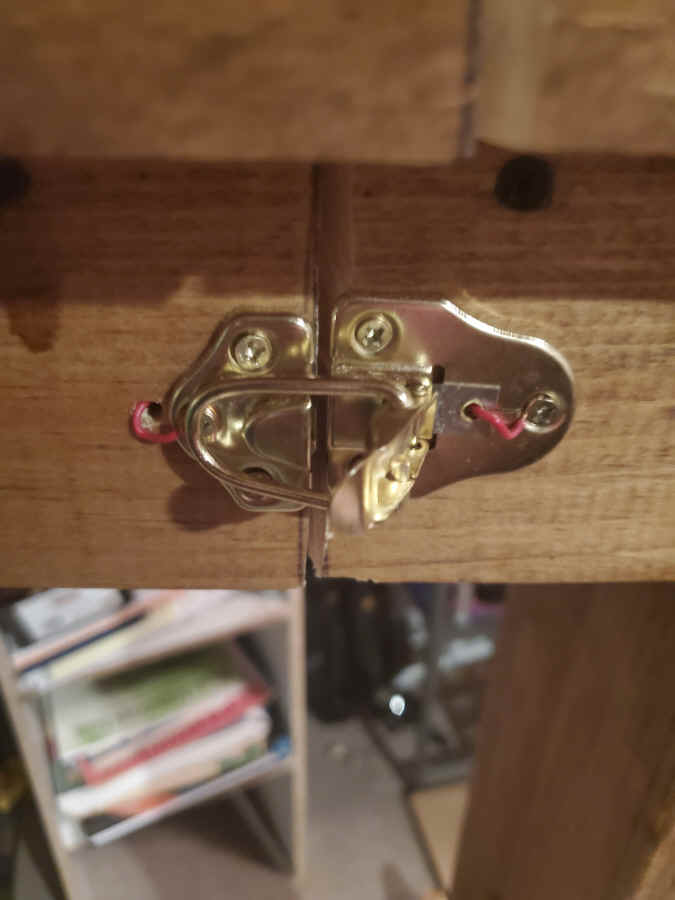
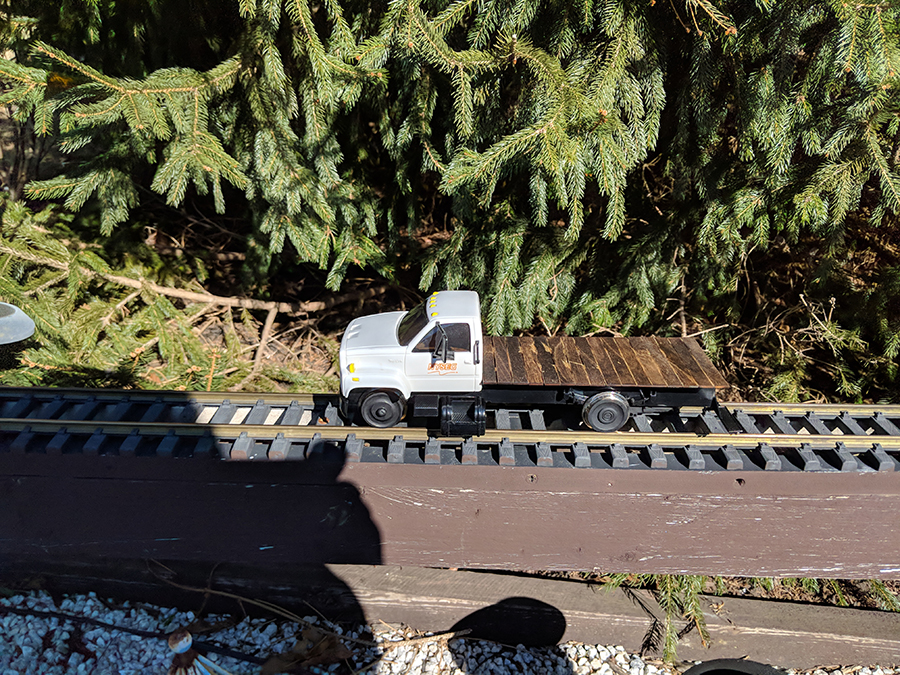
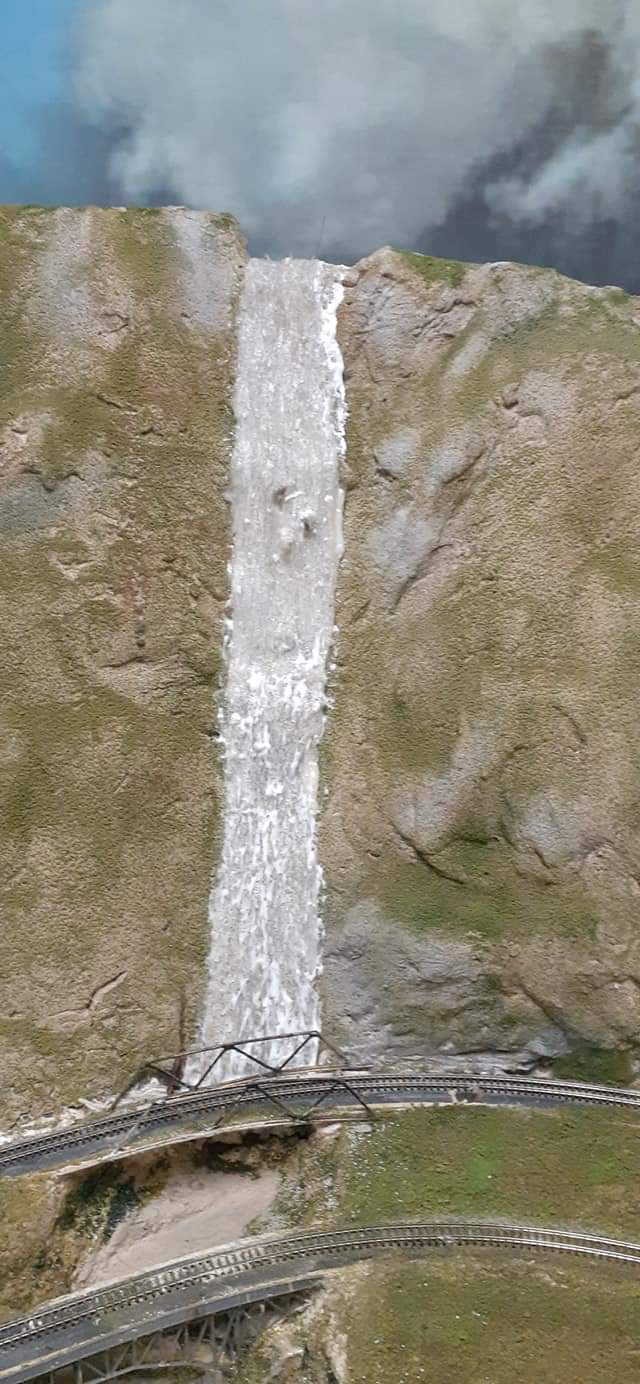
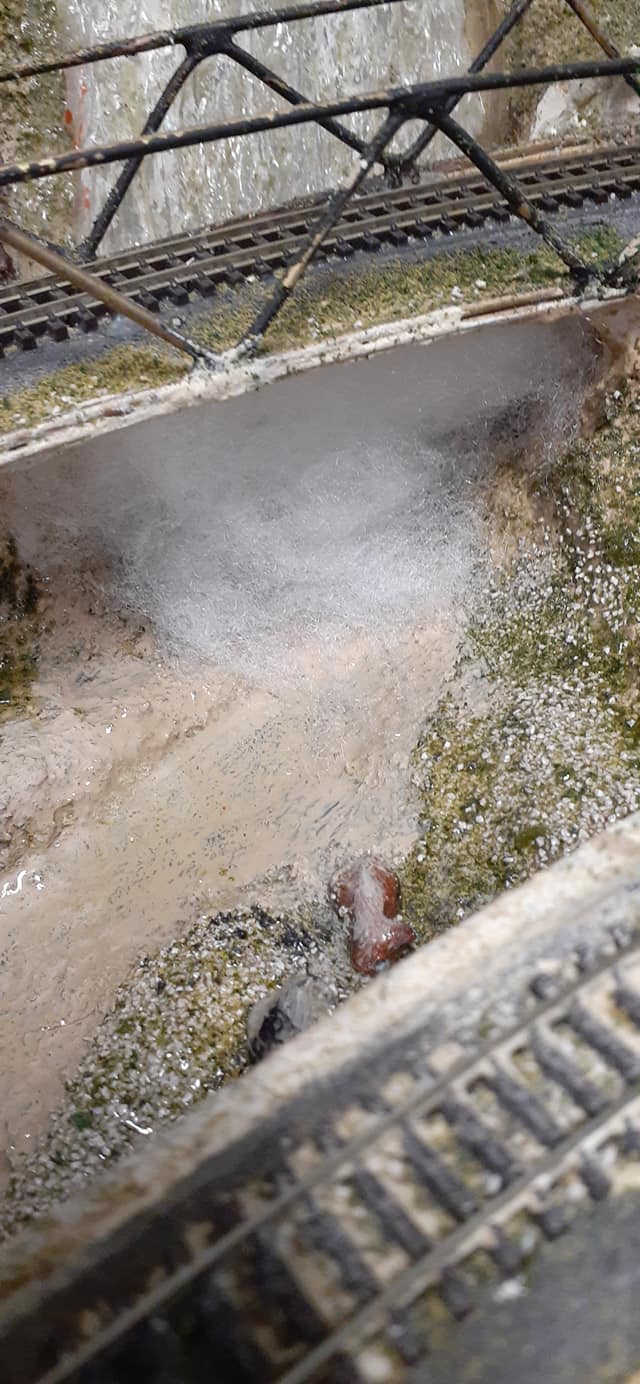
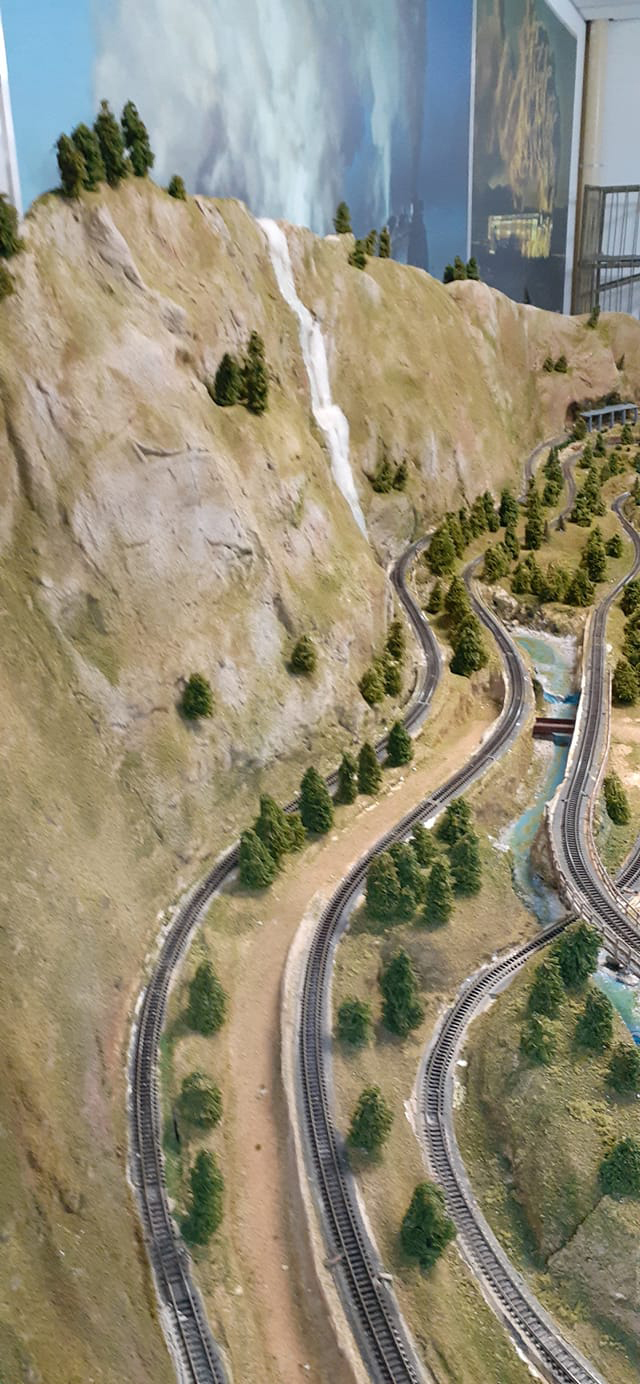
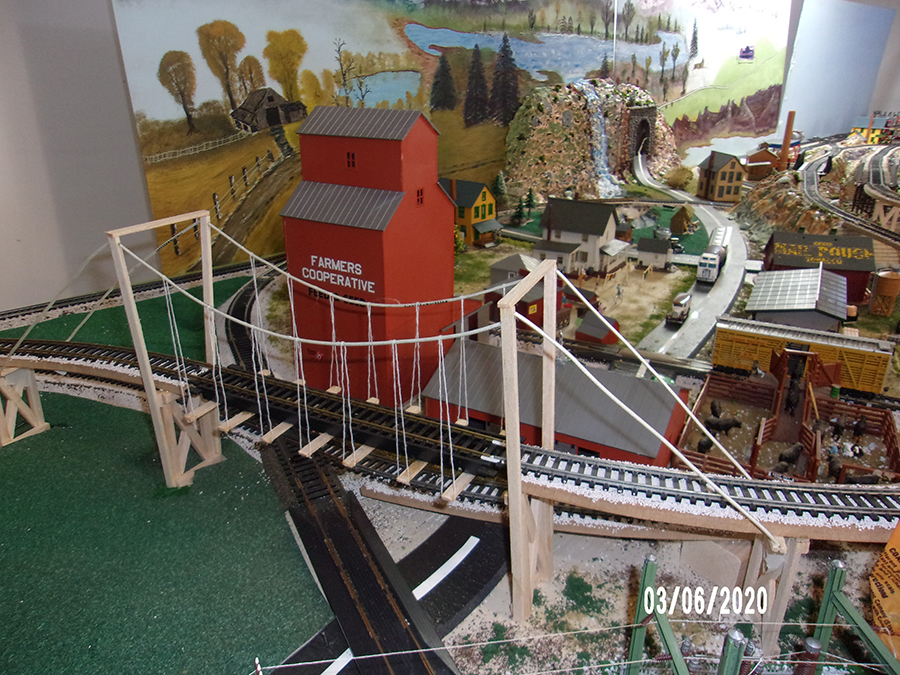
I have been doing HO train layouts for years. Recently moved and started over. I just did a swing bridge and thought the guys may like to see it.
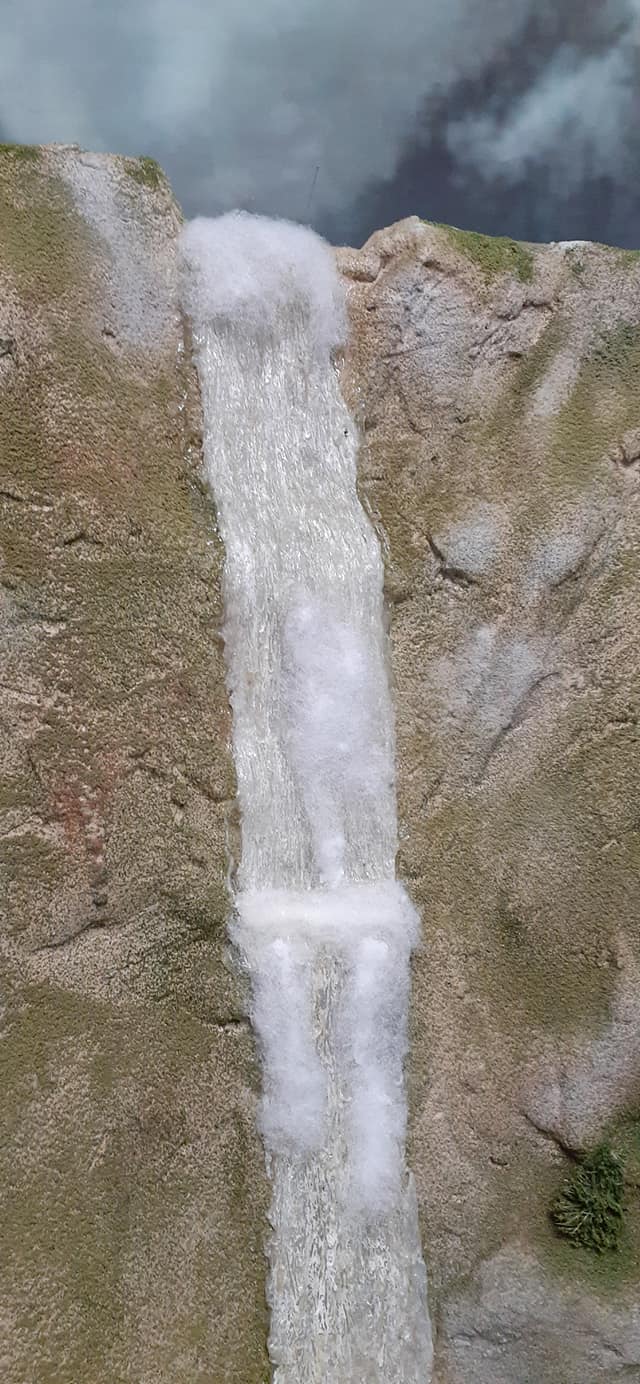
I used electrical wire, house thread and balsa soft wood for the trestle and rail supports. My rails are laying on 3/8″ flooring, cut to shape my rail layouts 1 3/8′ width. I also do my background painting.
Another thing I needed was some small trees, not wanting to buy. I used the small party tooth picks, dipped in hodge-podge glue, then rolled in the woodland Scenics underbrush foliage.
Joe”
That’s all for today folks.
A big thanks to Dave for adding to the small HOn3 track plans, and to Brian and Joe.
That’s all for today folks.
Please do keep ’em coming.
And if today is the day you get started on your layout, the Beginner’s Guide is here.
Best
Al
PS Latest ebay cheat sheet is here.