Rob’s been in touch with his 2×5 N scale layout:
“Alastair —
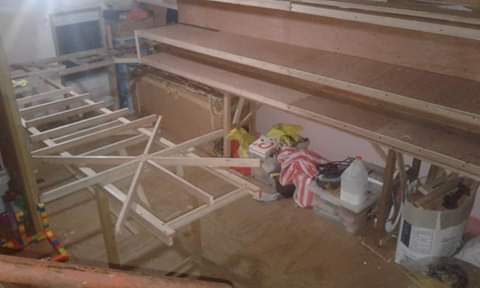
Last year I sent you a few pictures of the start of my layout.
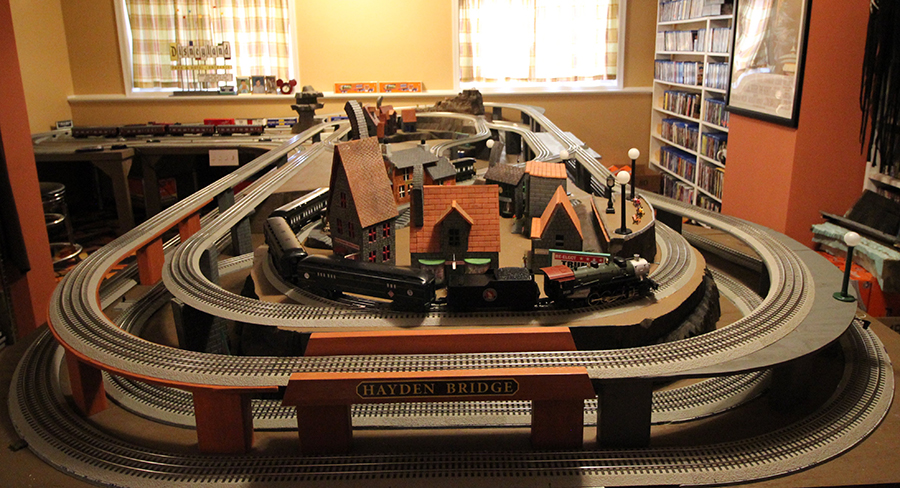
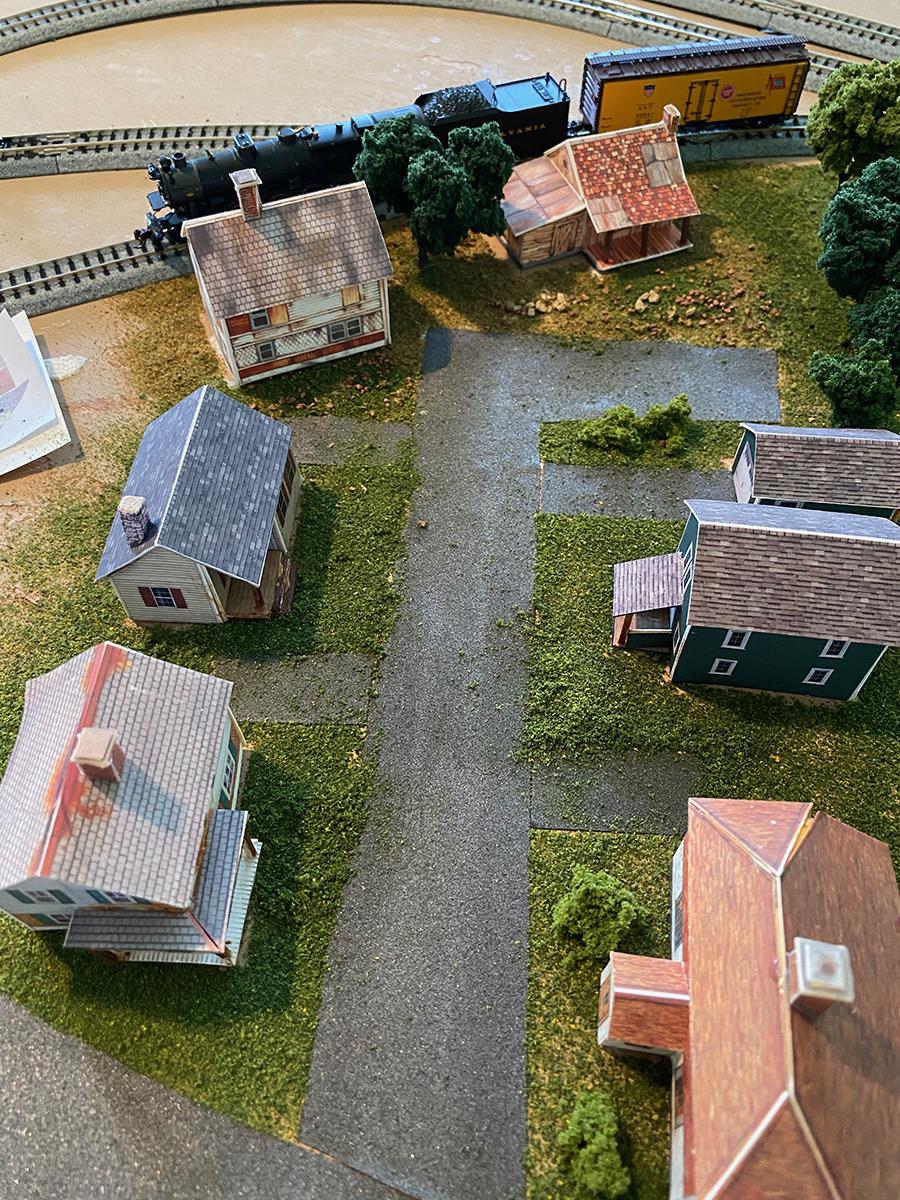
I explained that I was constrained by living in a NYC apartment, but found a layout upon which I based mine to fit on a 2-1/2′ x 5′ hollow-core door (N scale).
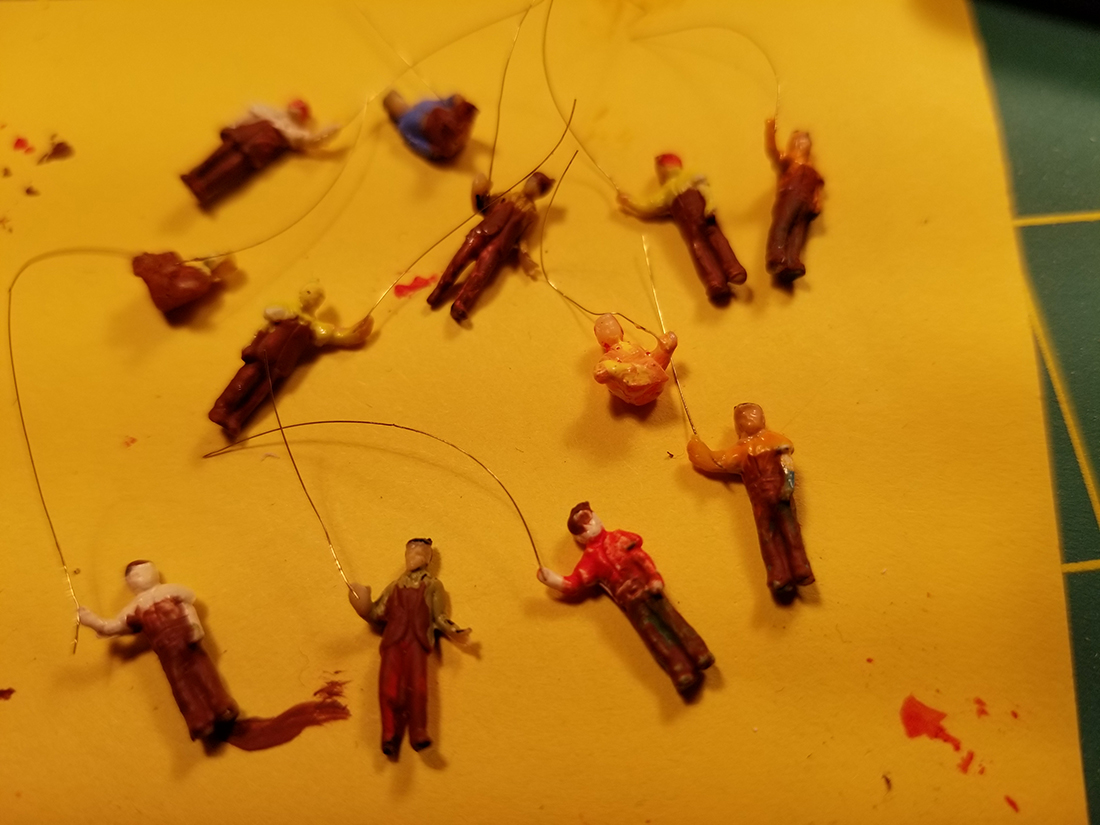
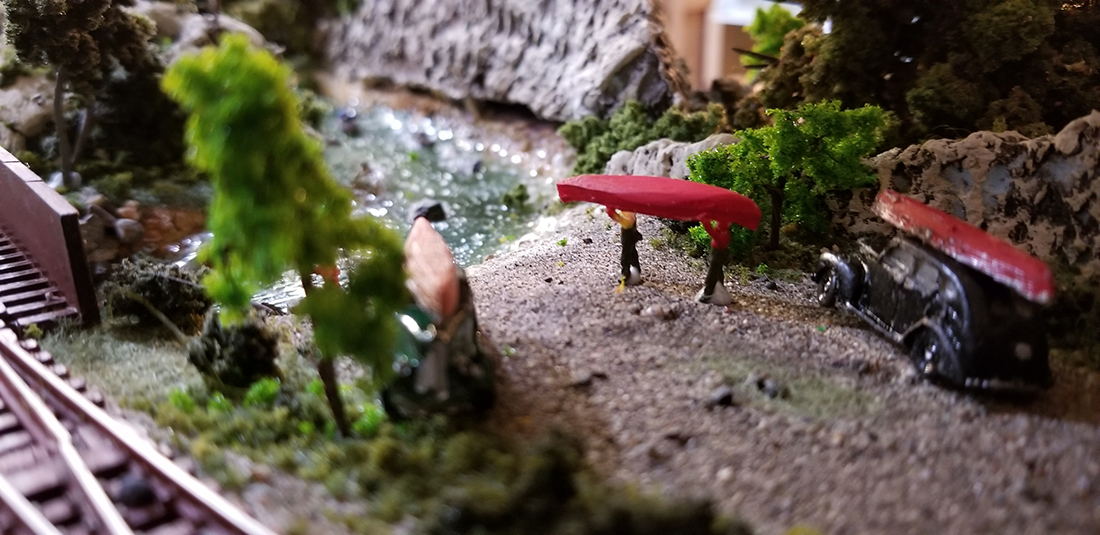
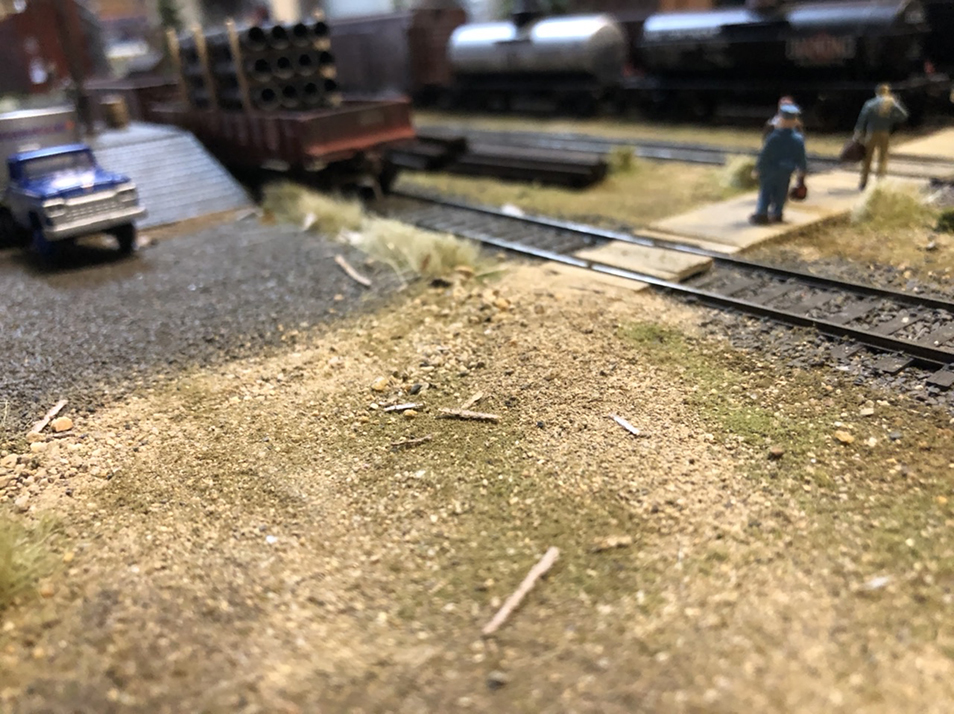
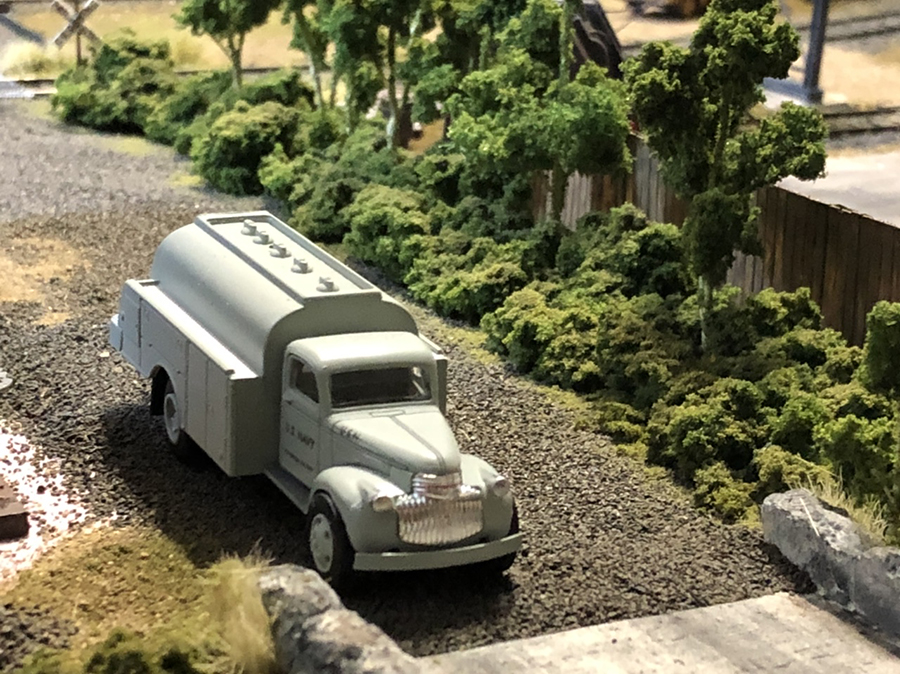
I’ve been adding various structures, streets, and a few details.
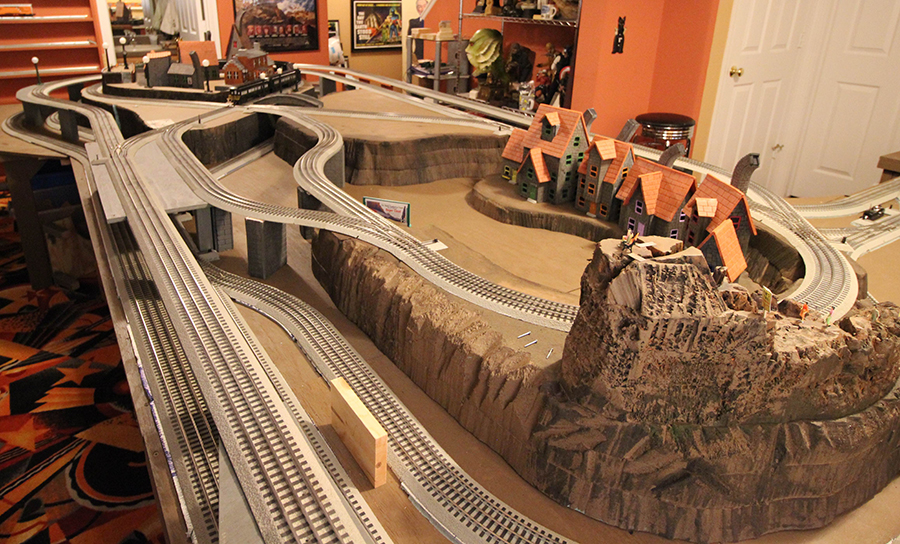
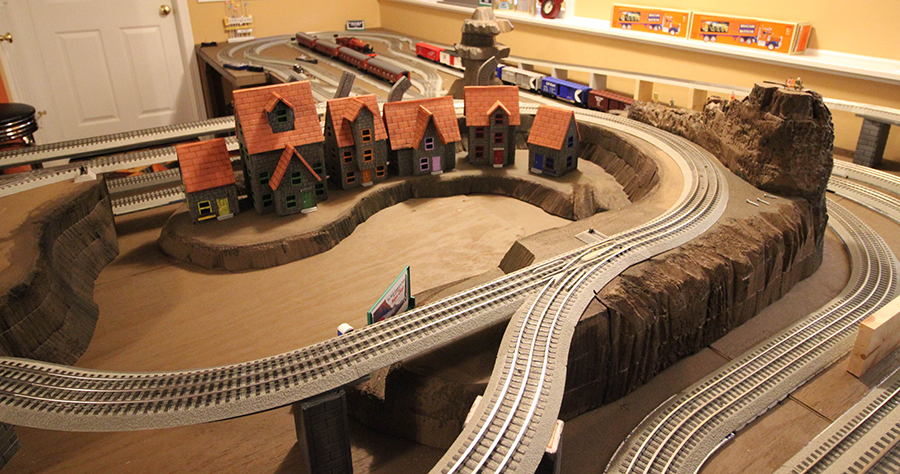
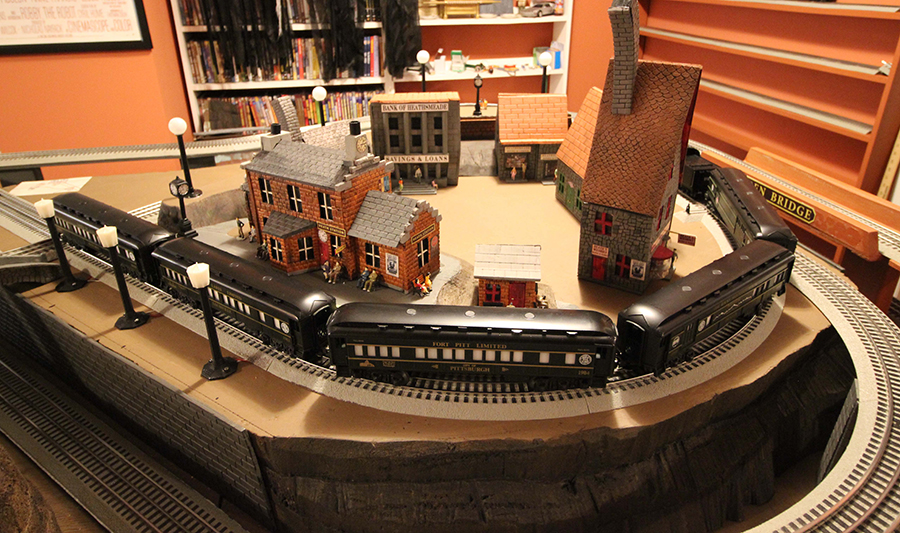
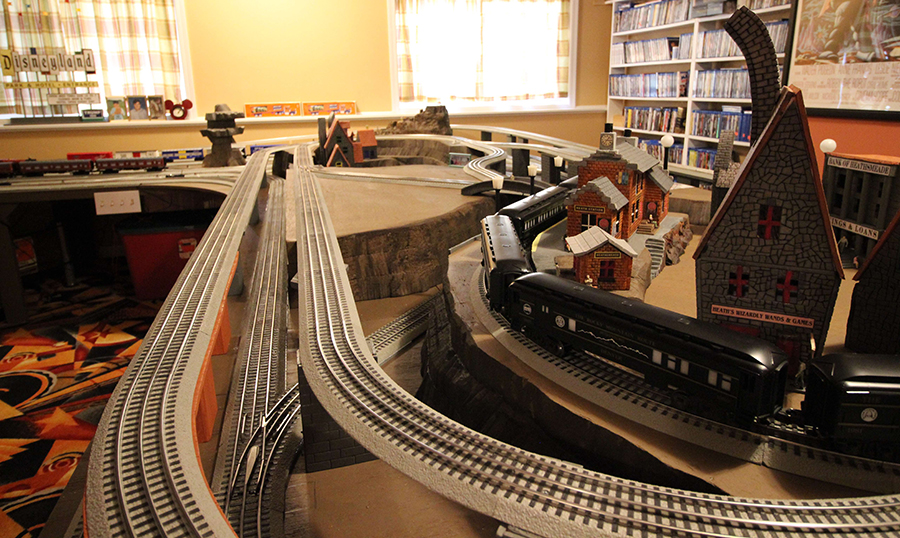
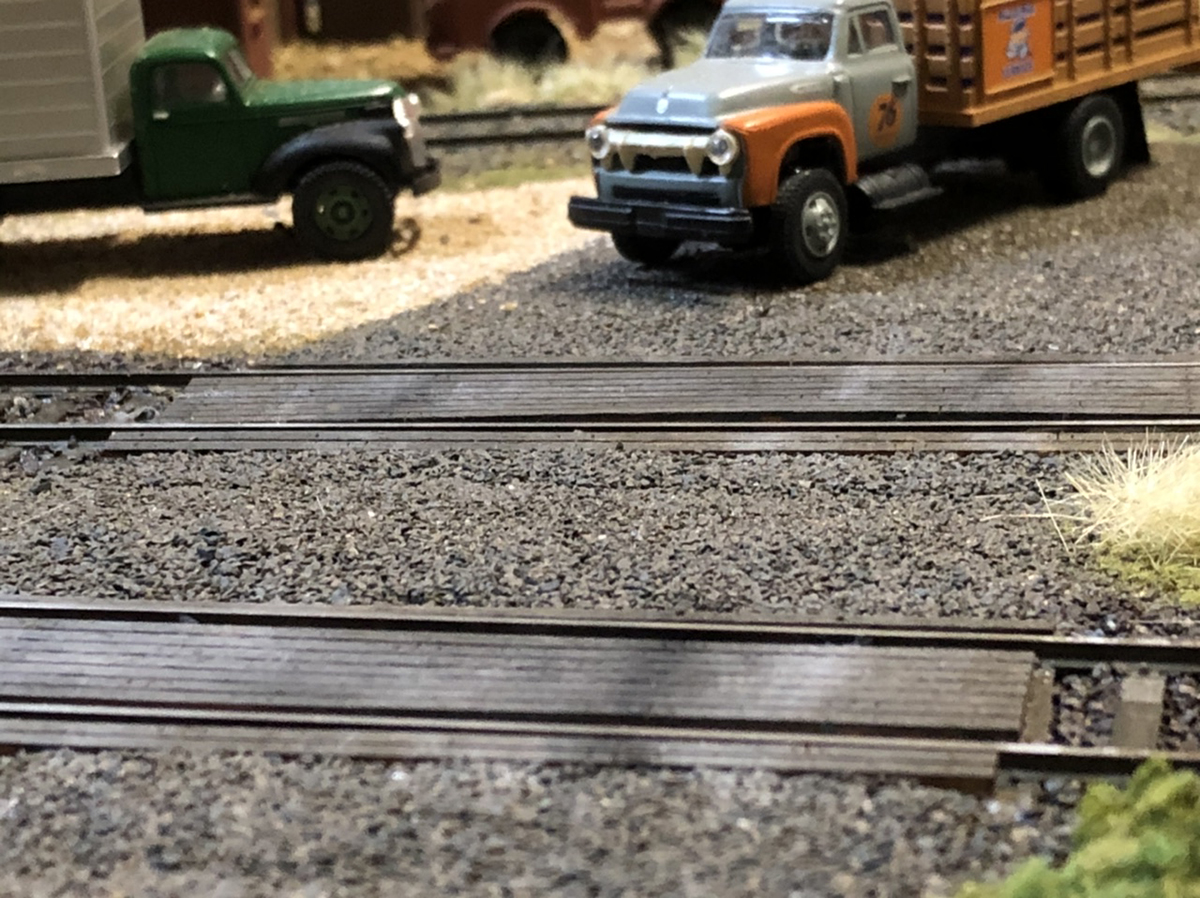
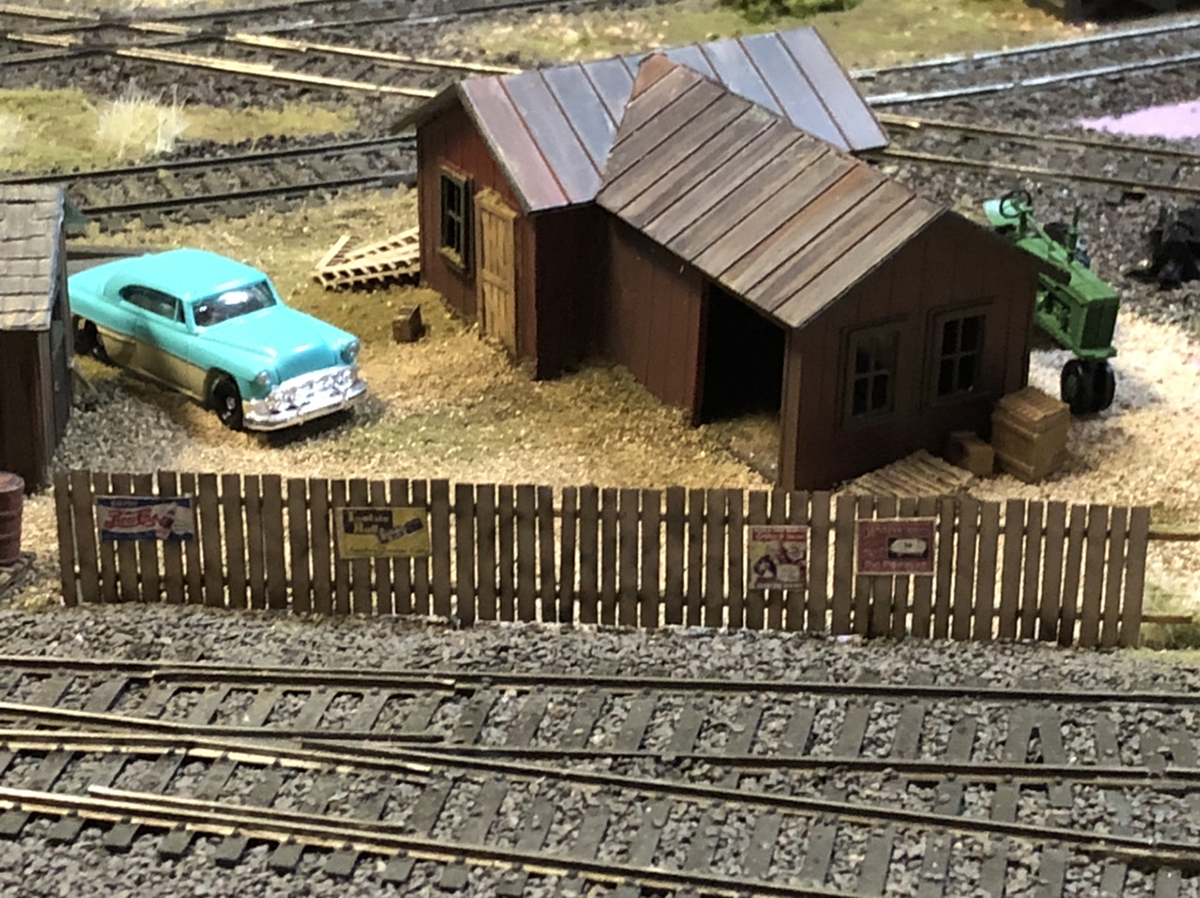
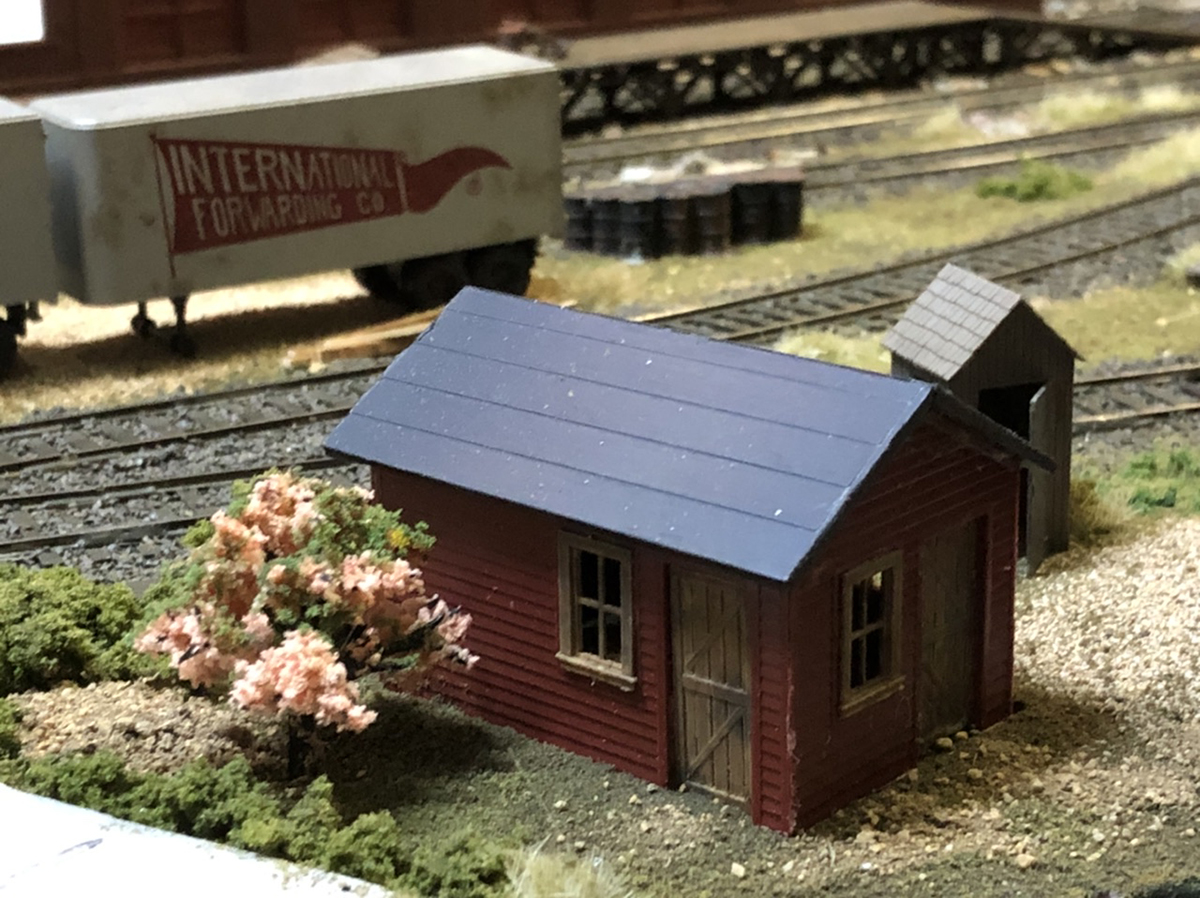
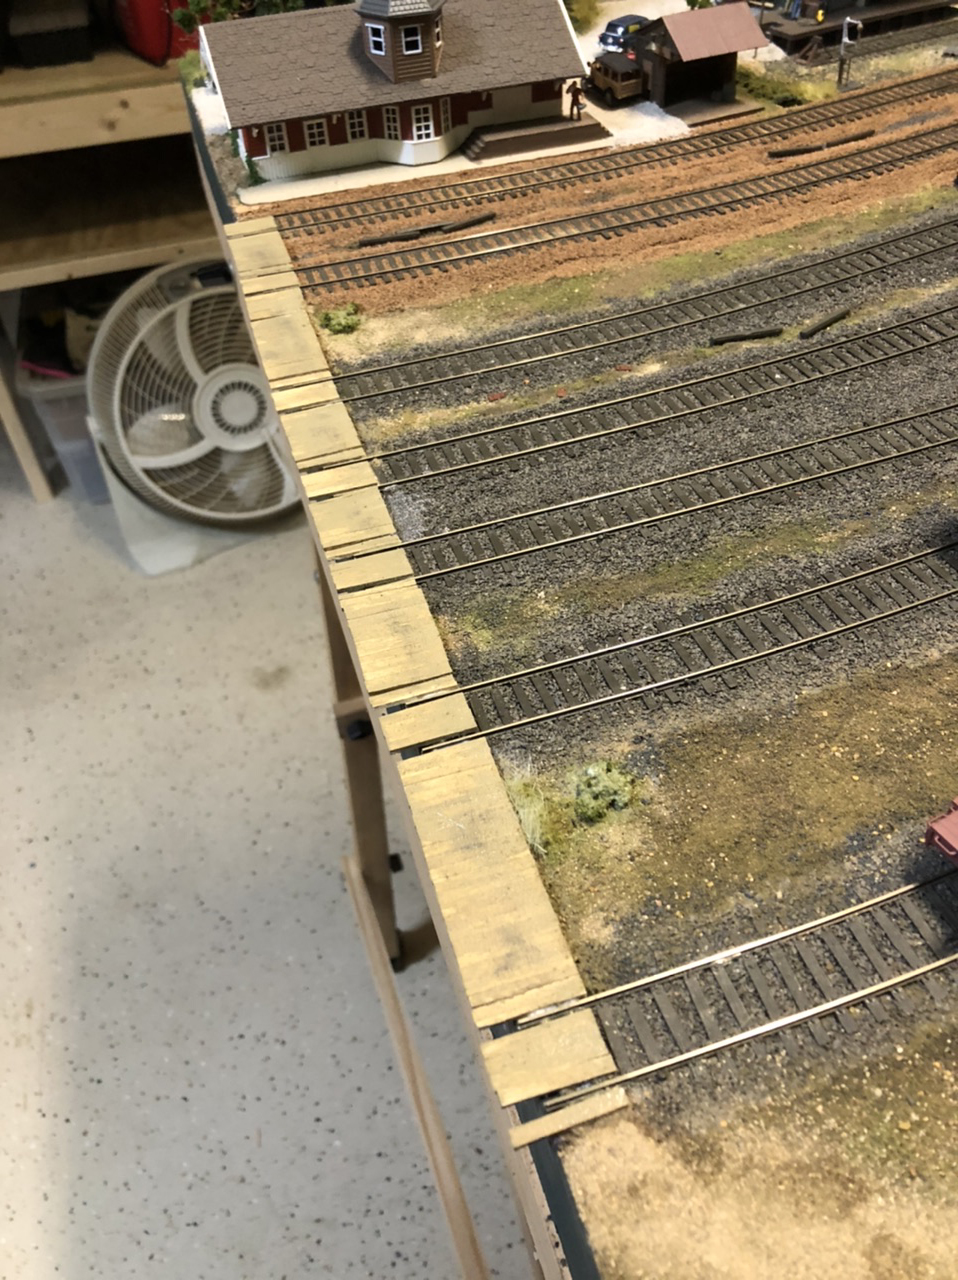
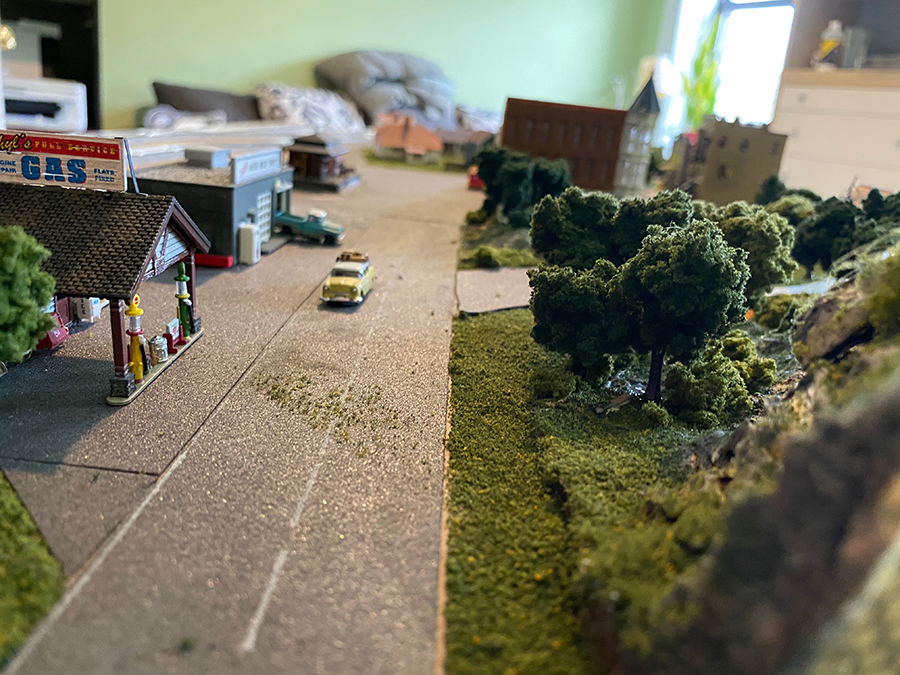
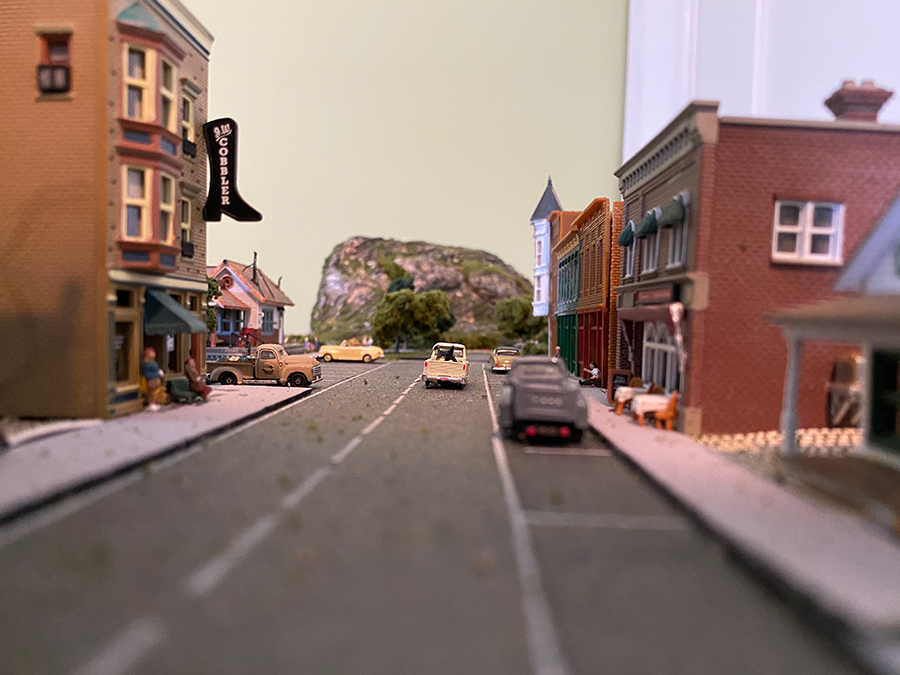
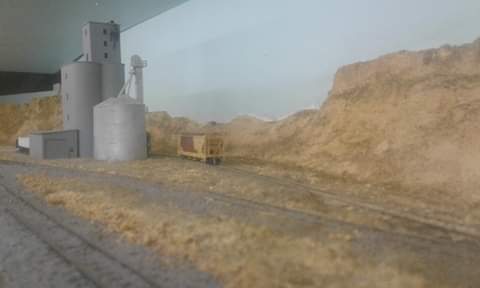
There is a downtown area consisting of Woodland Scenics buildings, and then a residential area using some houses you and your readers may recognize! There is also a little side street which at the moment is used for auto service: gas/petrol station and a service shop.
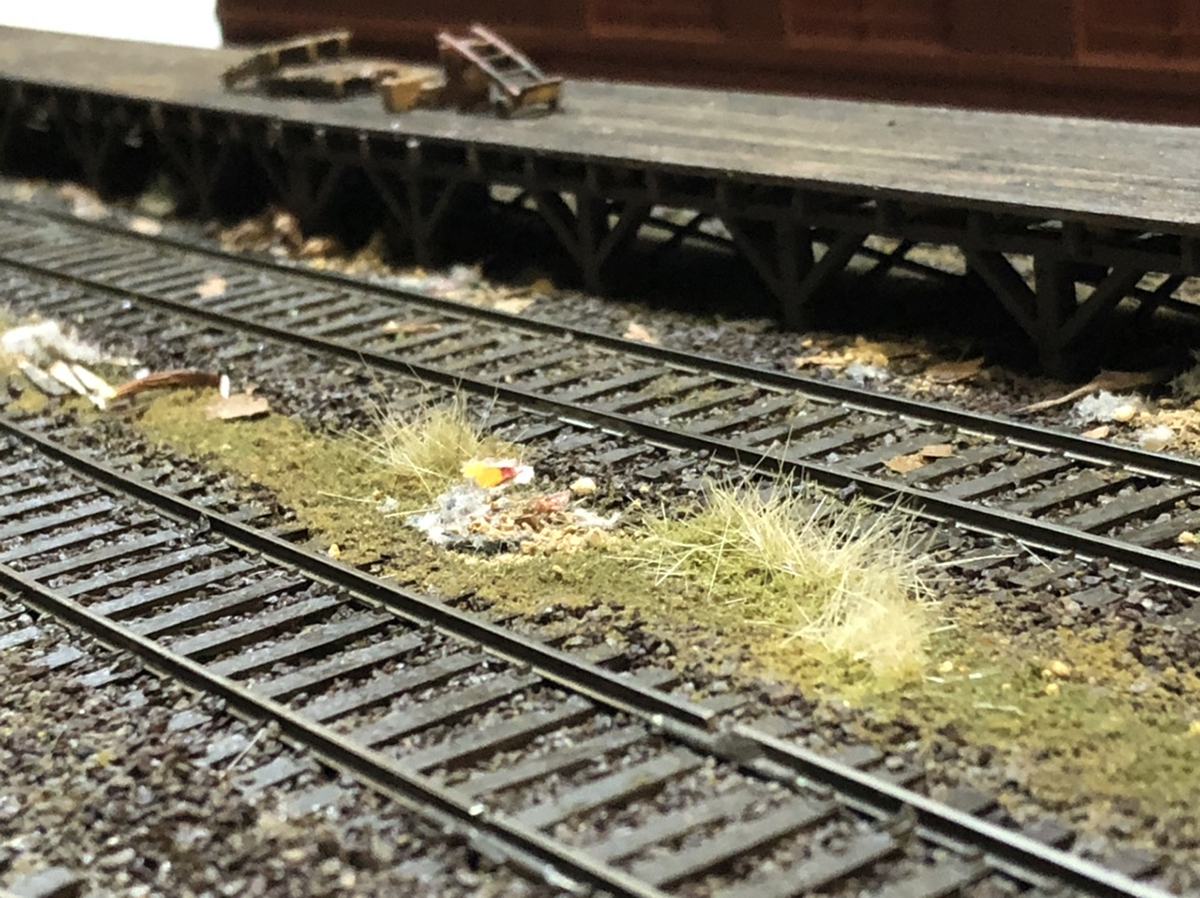
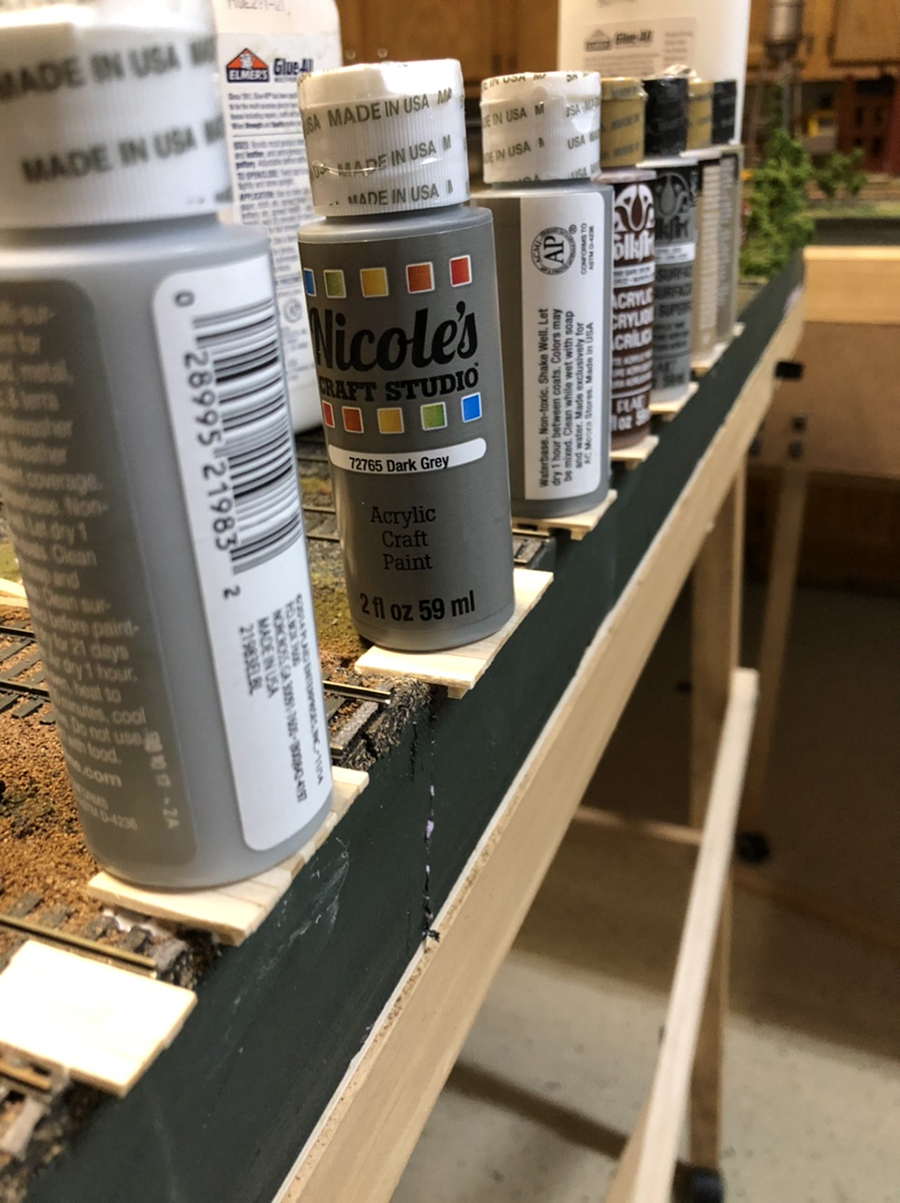
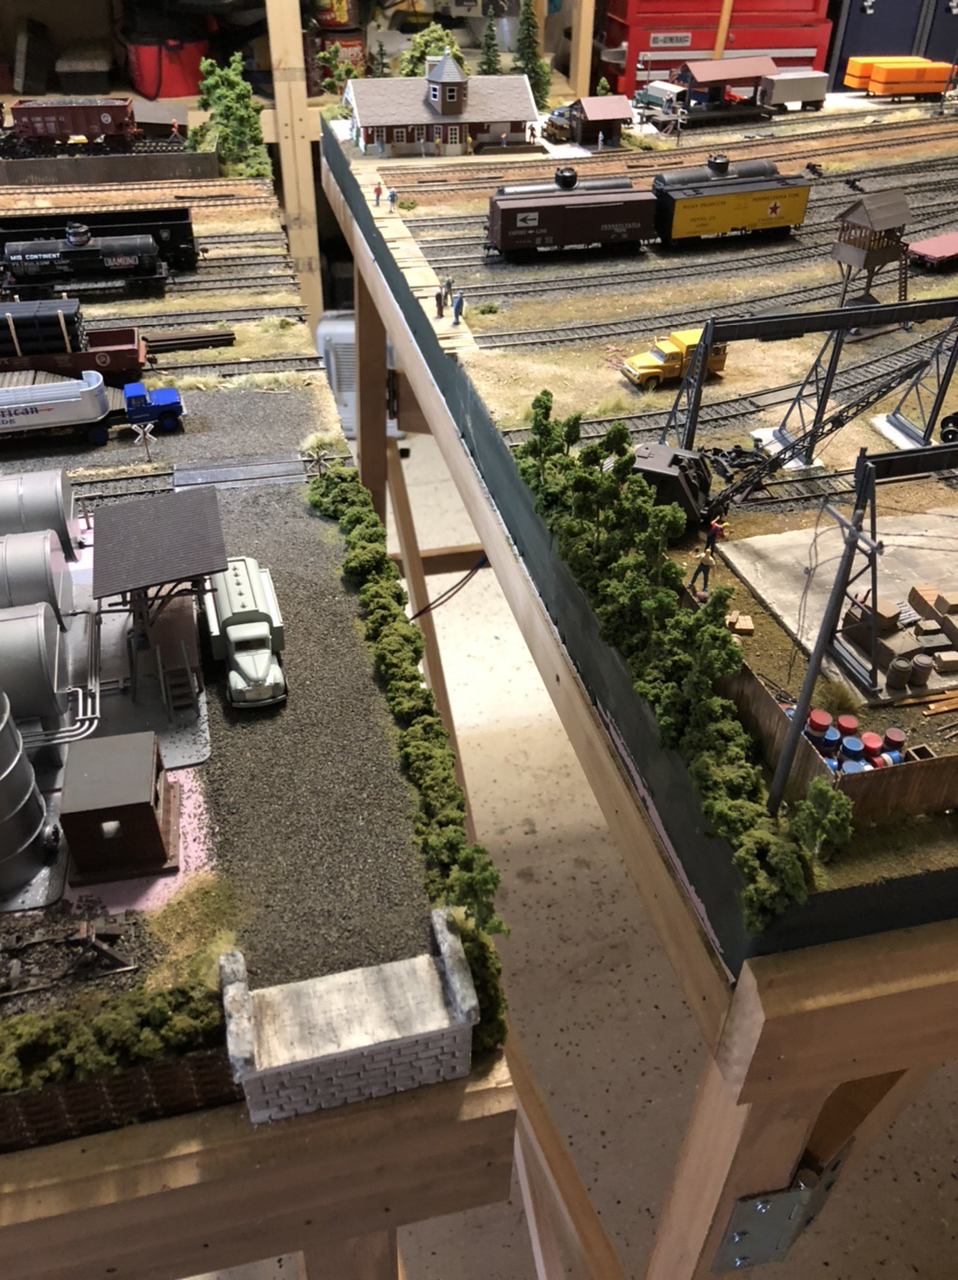
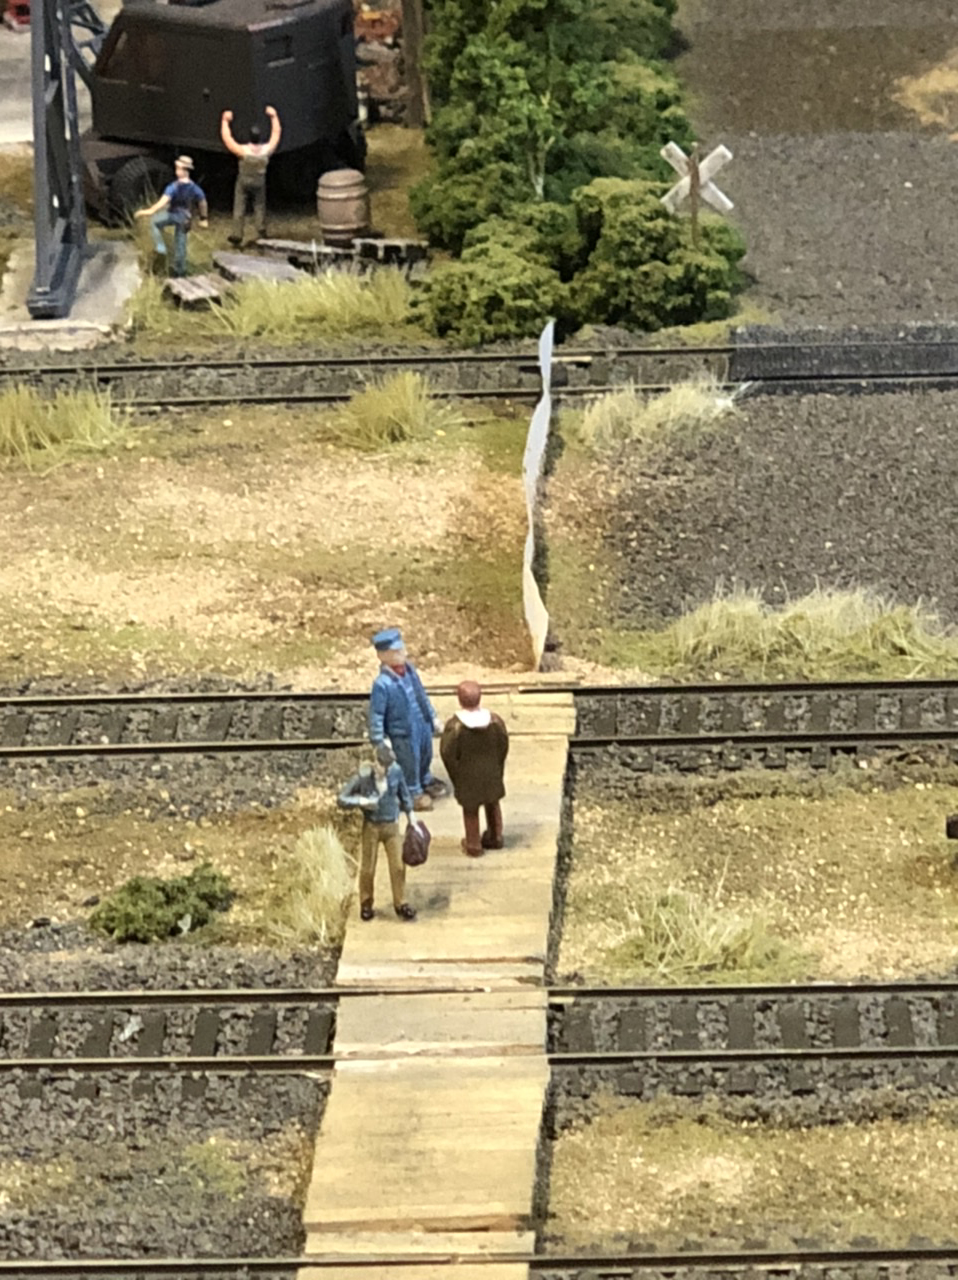
Much work to look forward to: ballast for all the track; complete the other side of the hill that was cut through to allow the railroad to get to the town; a small mountain at the other end with a tunnel; lots of detail scenes; businesses to go along the sidings; etc., etc.
Regards,
Robert in Washington Heights”


And now on to Andrew… which is another N scale.
(I’m wondering where all you HO chaps have gone? Seems to be all N scale at the mo.)
Unfortunately most of Andrew’s pics can’t be enlarged – but some can.
“Hi there…
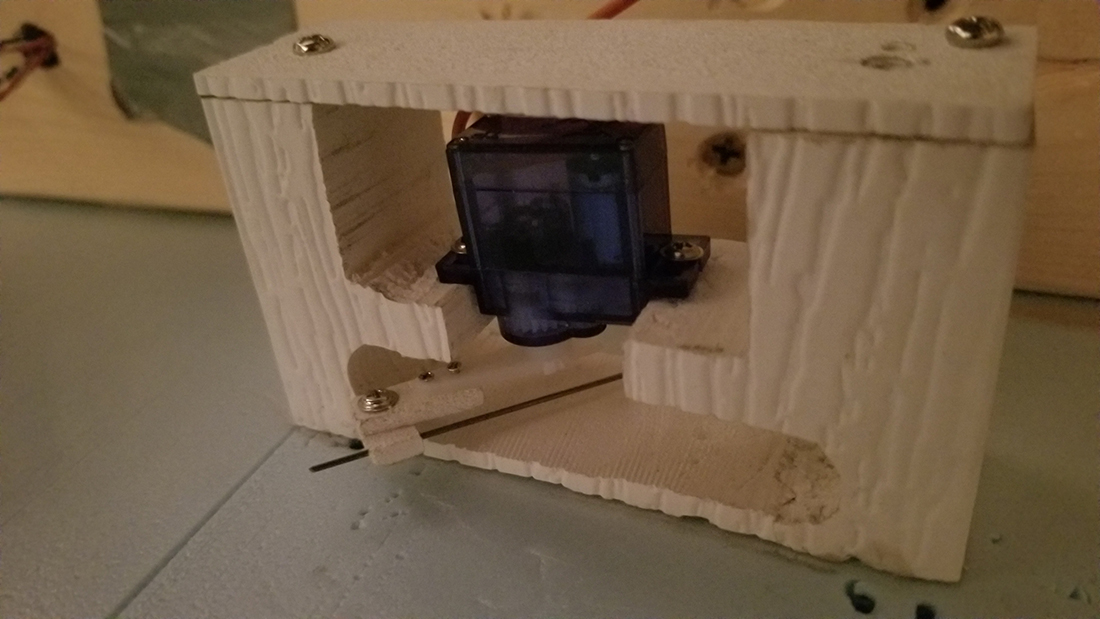
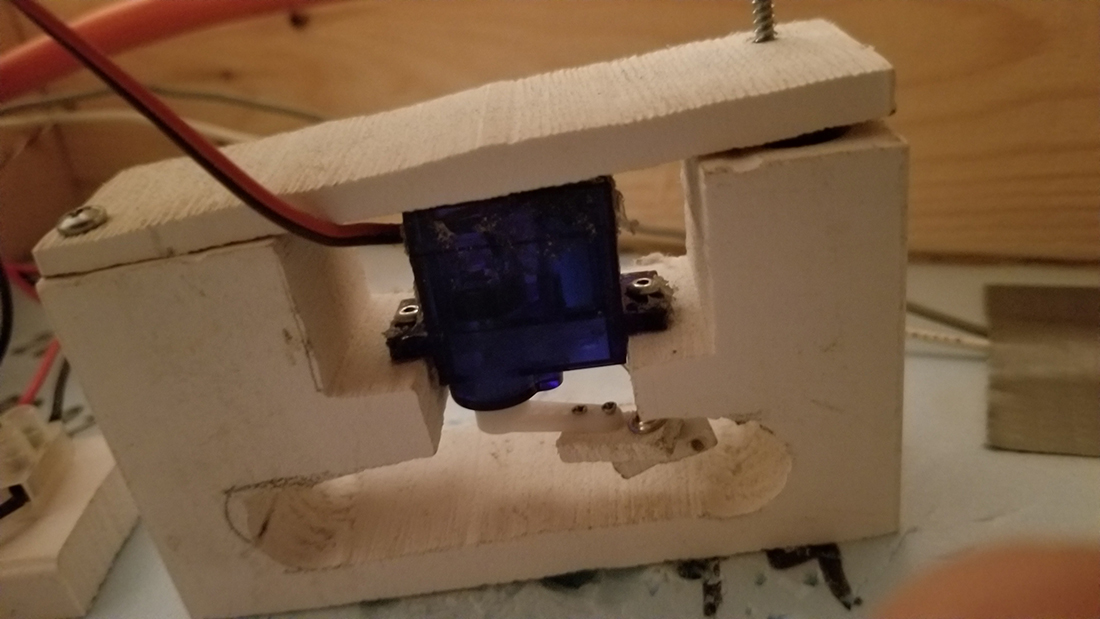
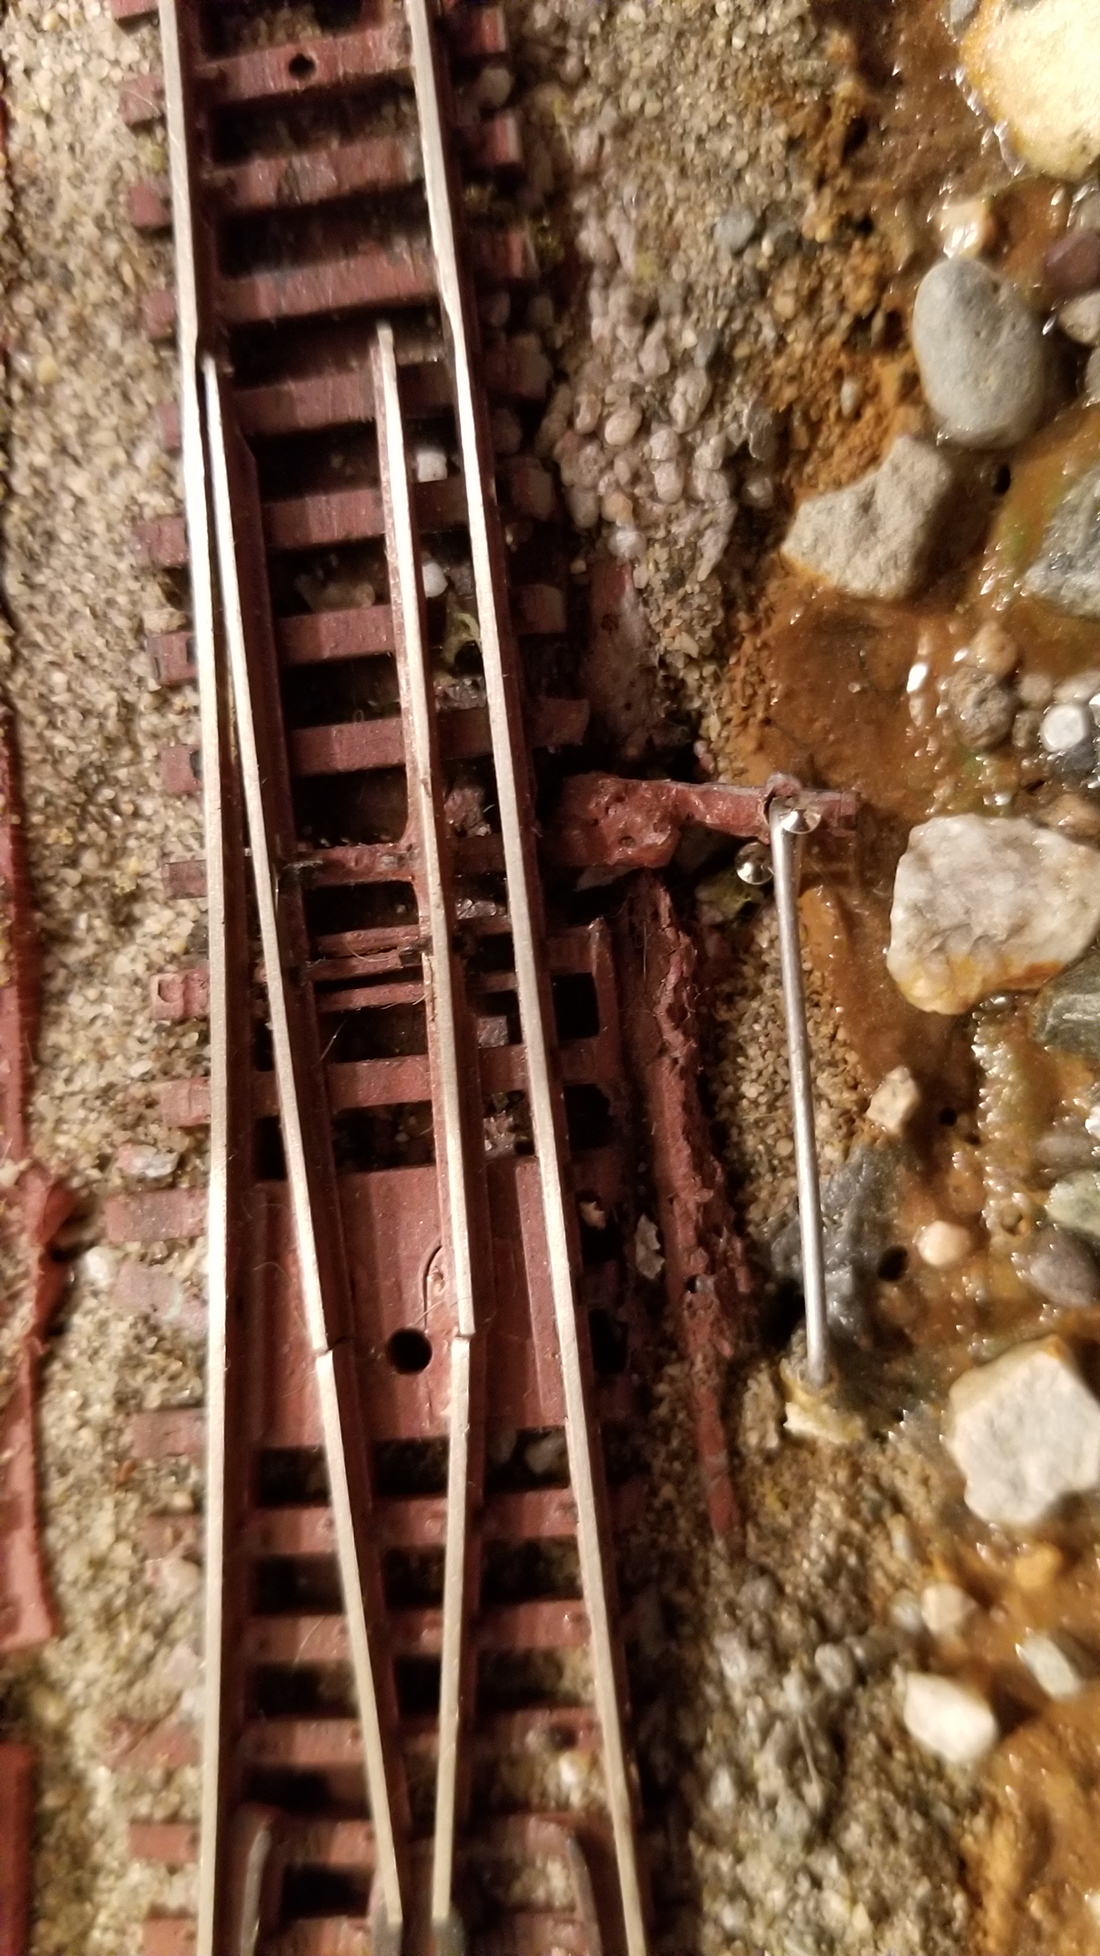
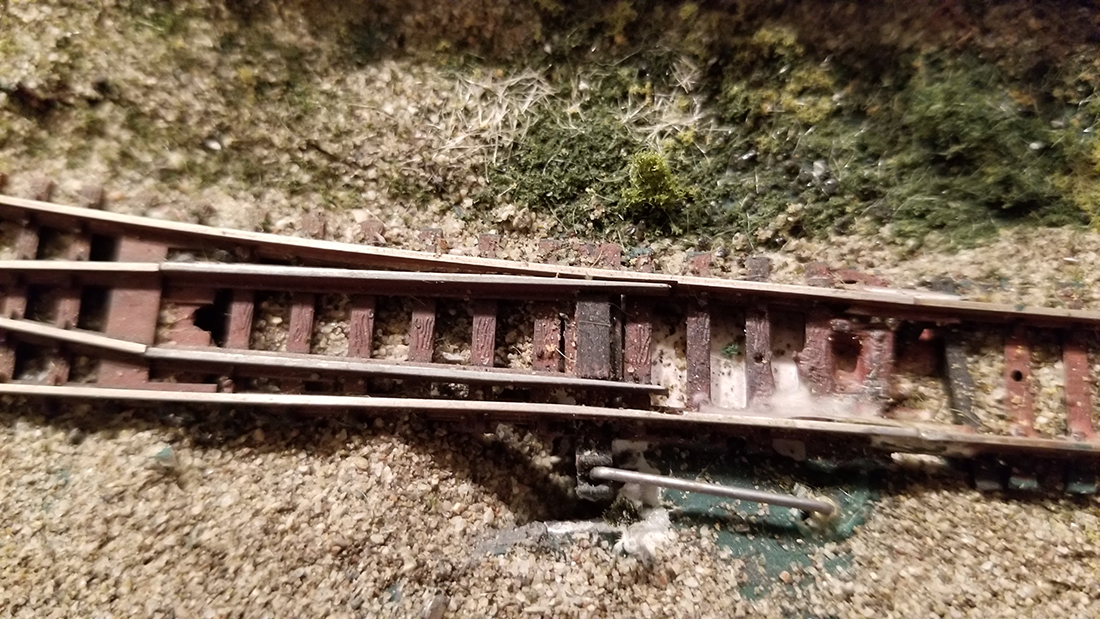
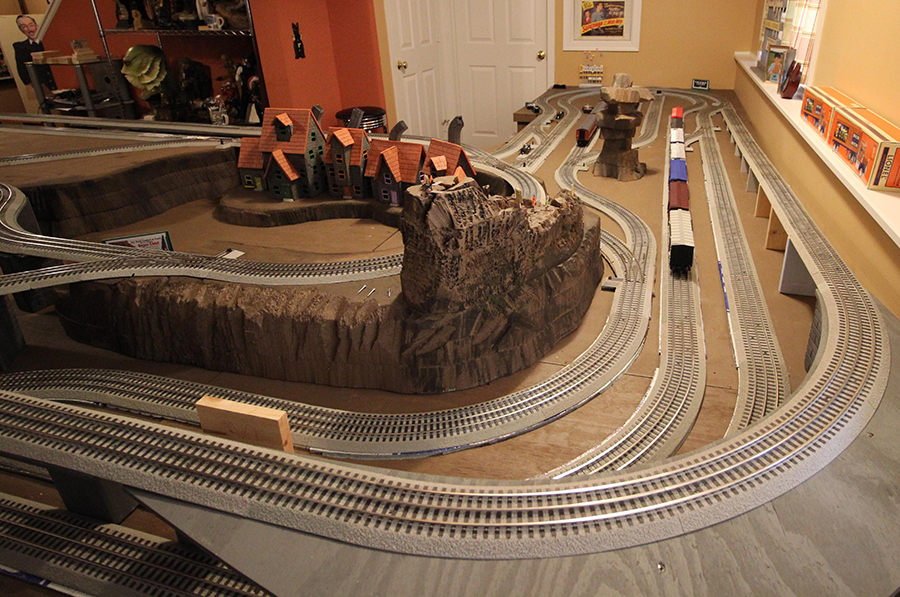
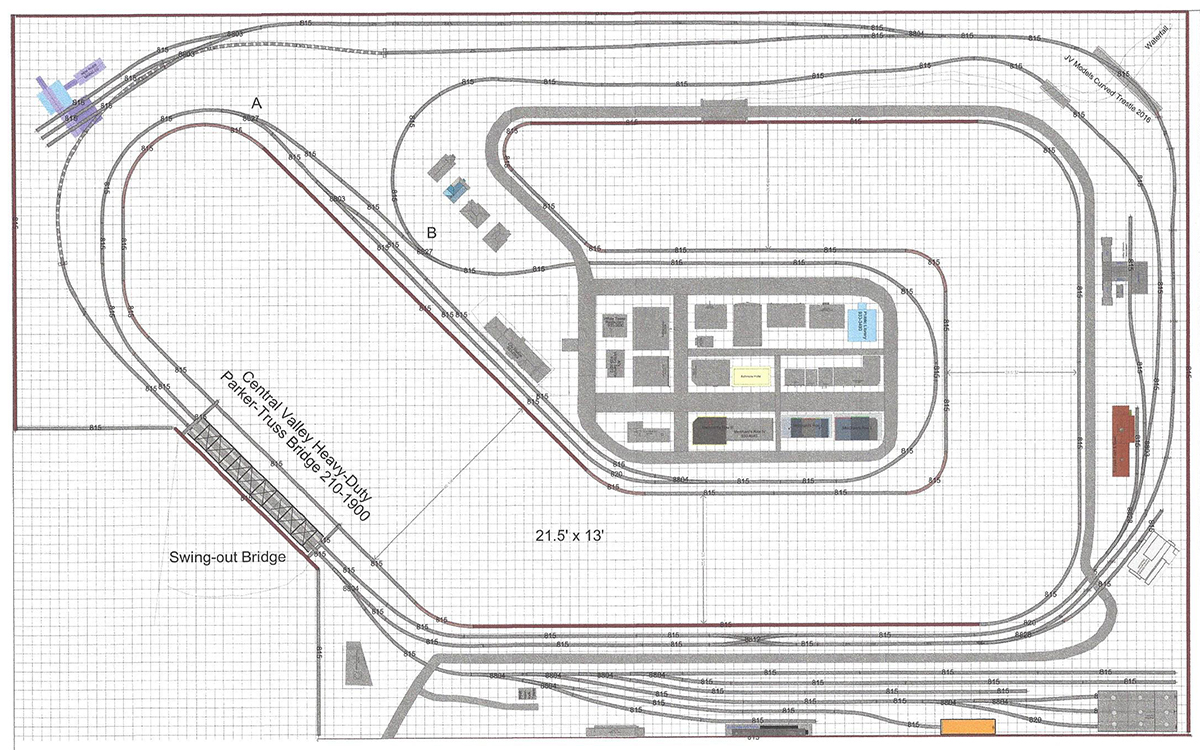
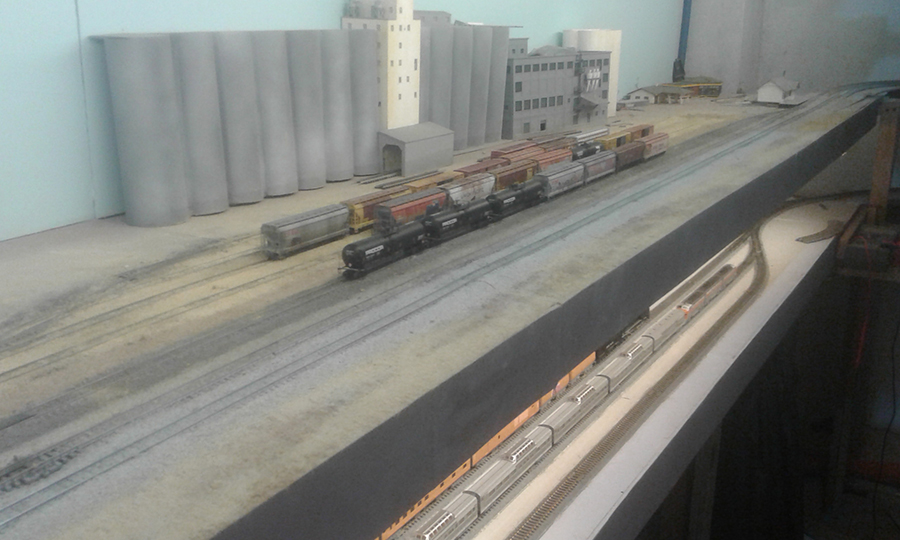
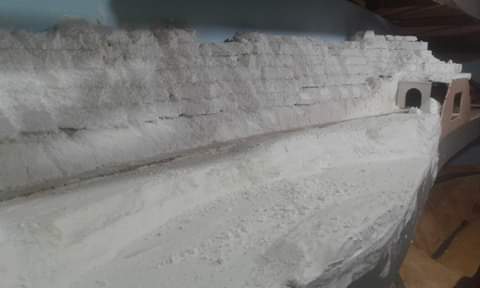
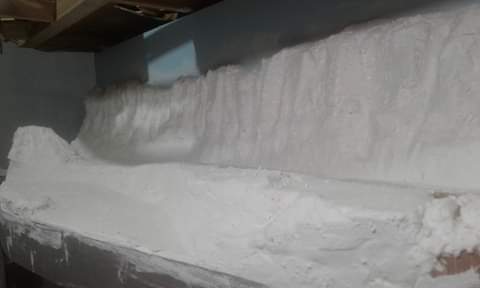
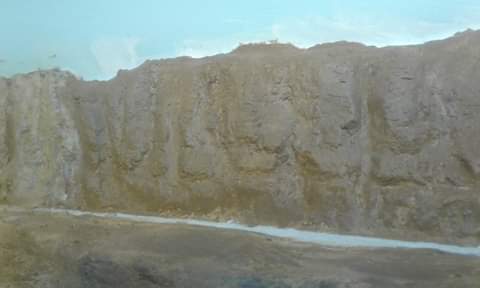
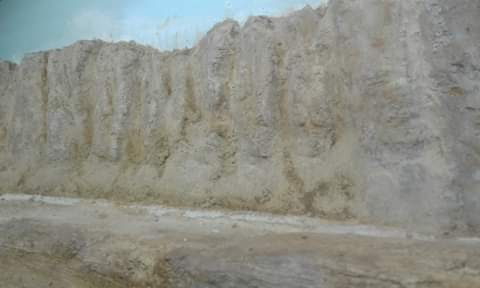
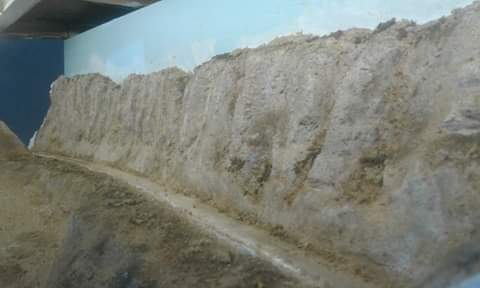
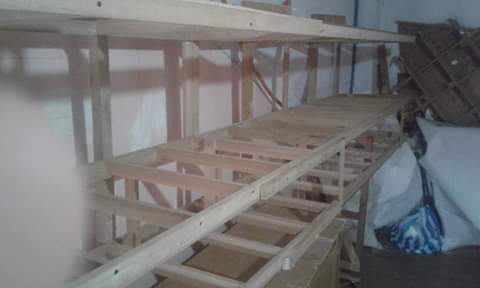
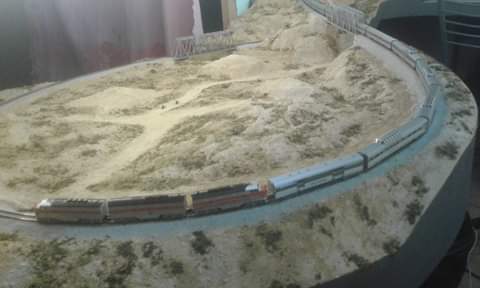
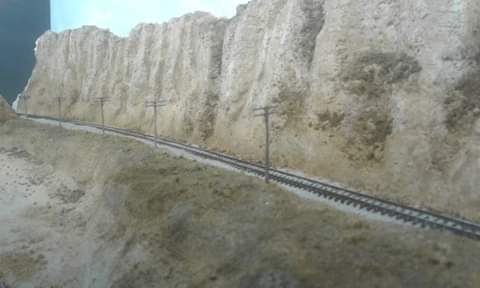
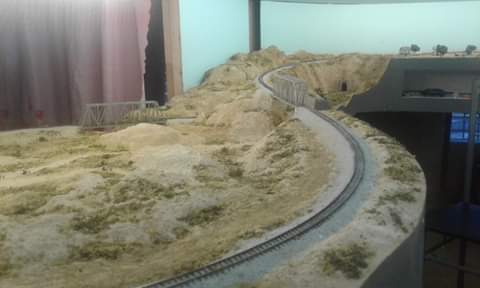
Building a N scale layout… 15 ft by 7ft area…
Tri deck…. lower level staging
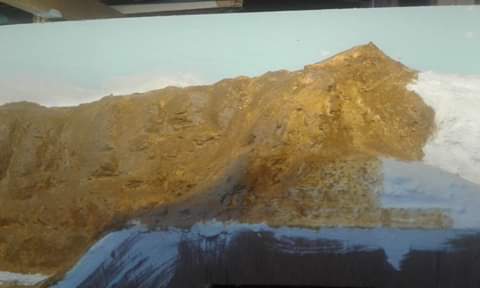
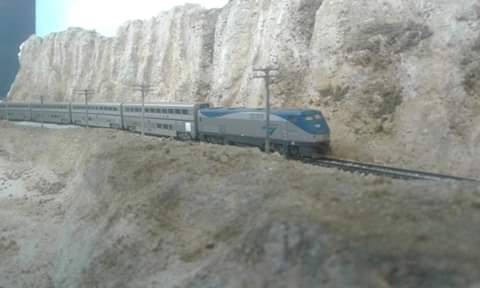
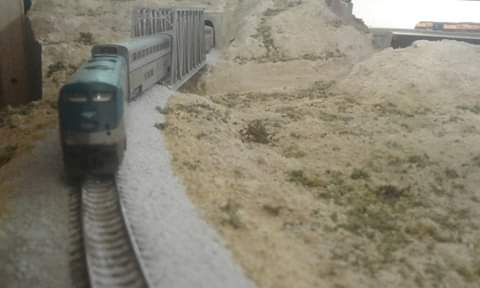
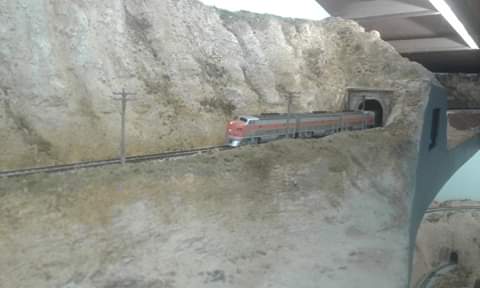
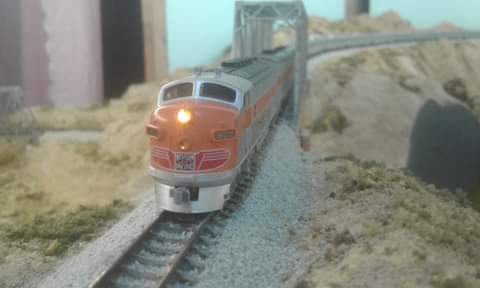
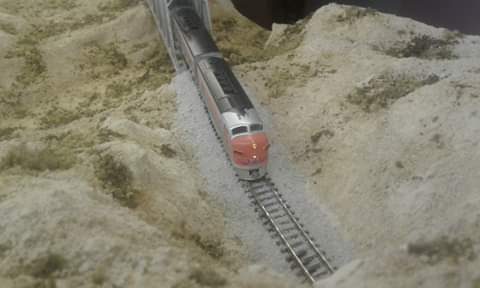
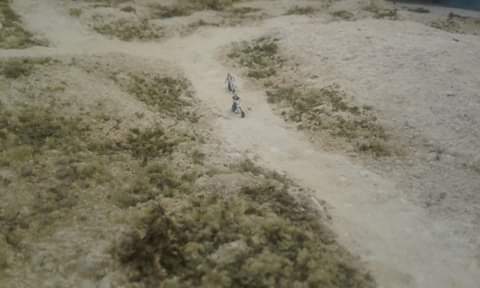
Climb (desert scene) upto a middle deck…
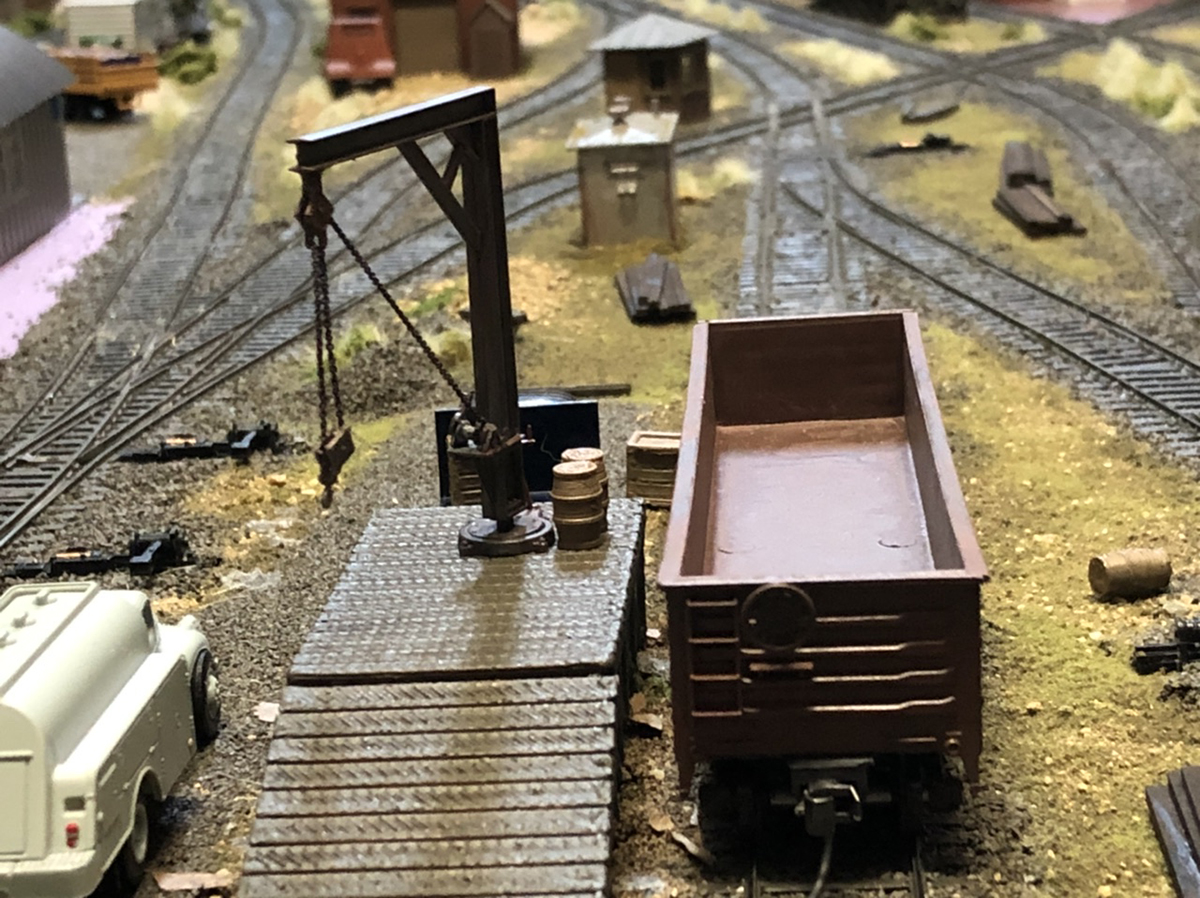
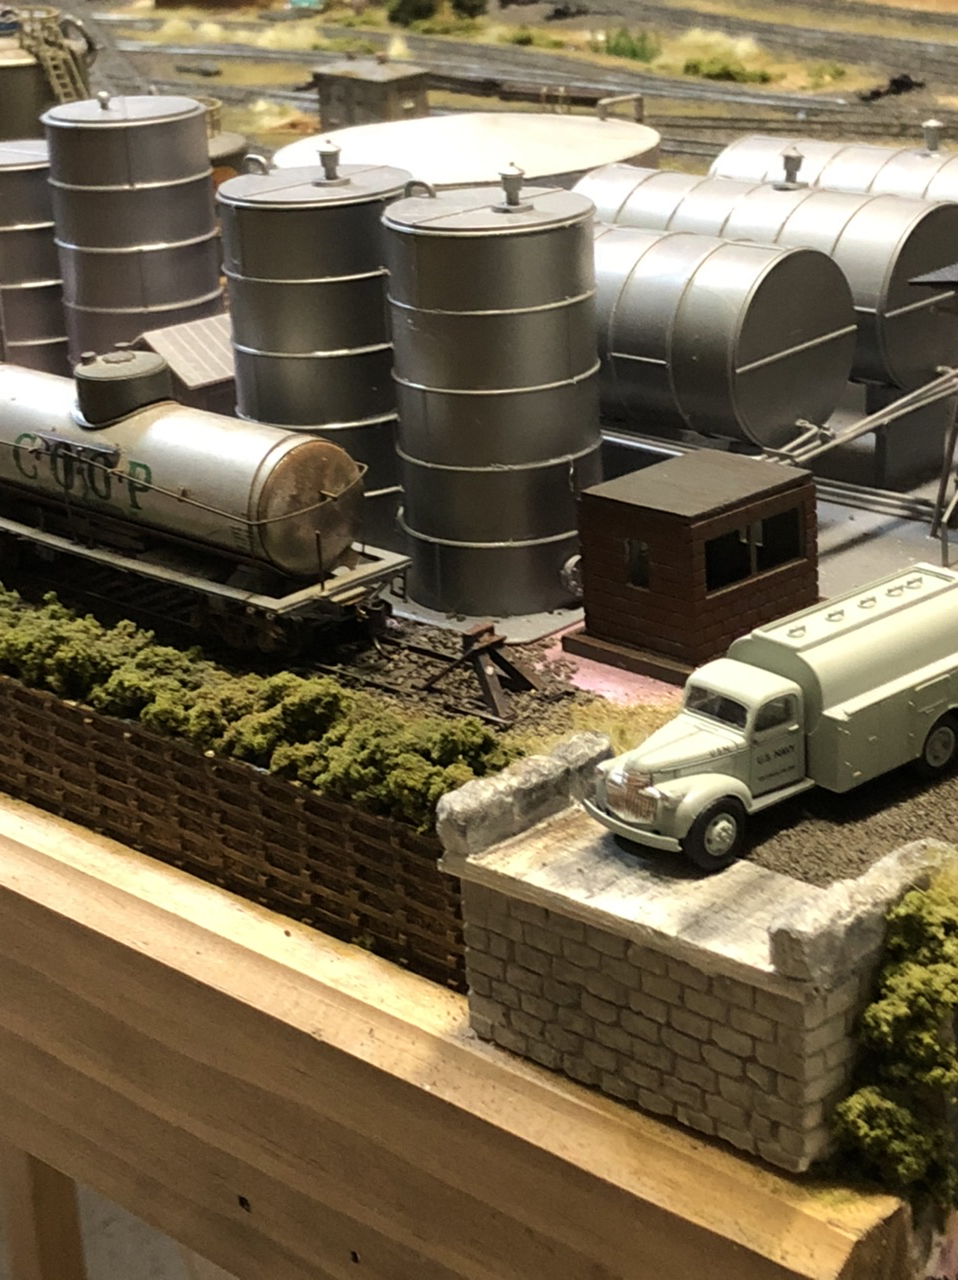
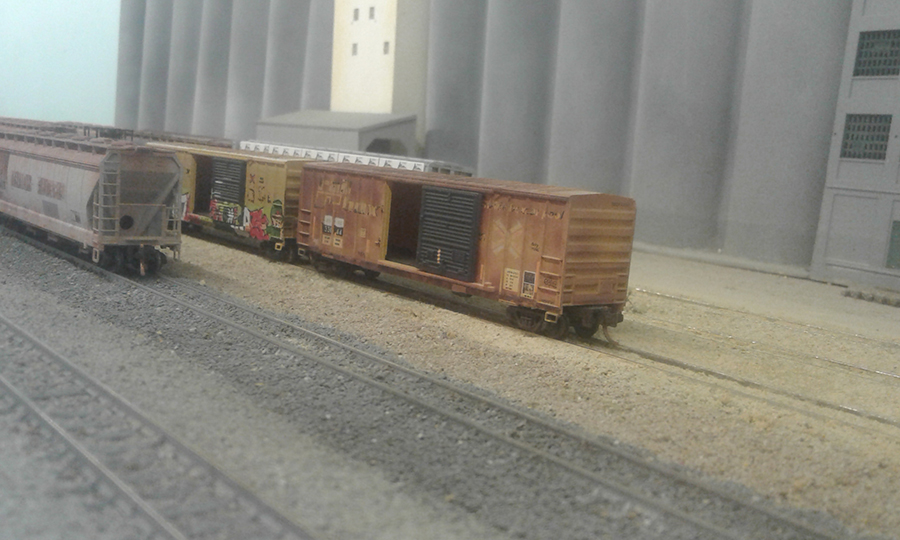
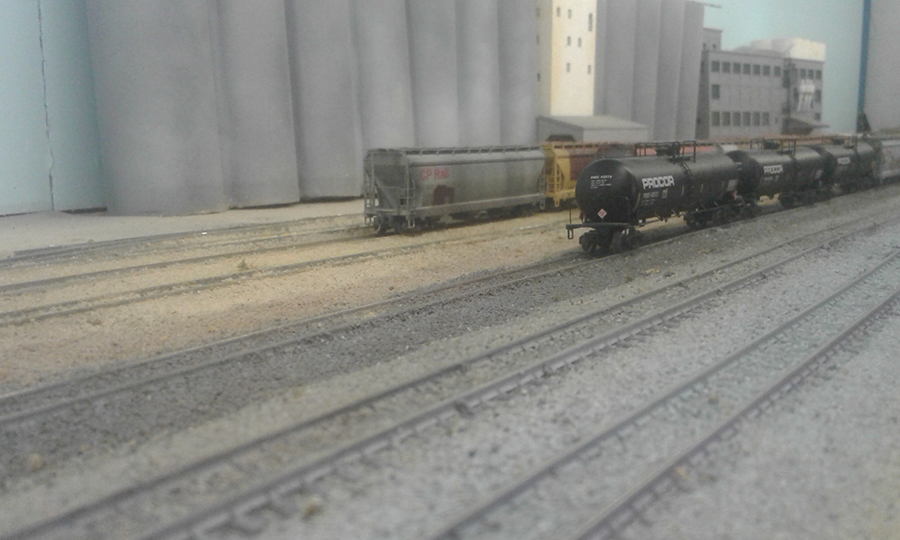
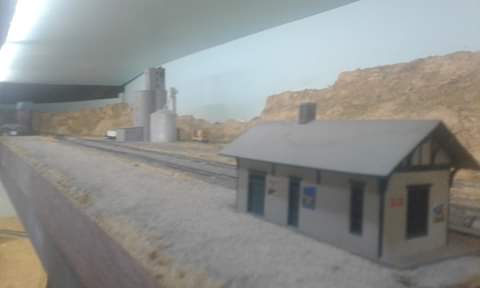
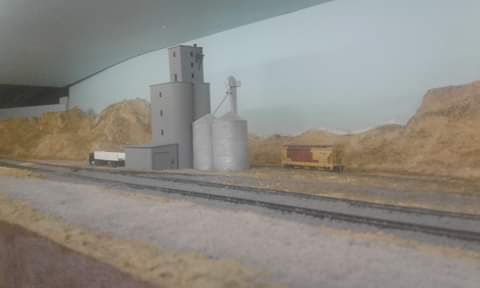
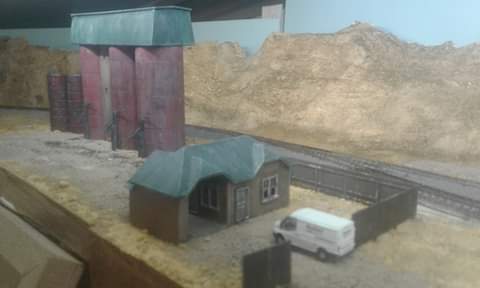
Middle deck main yard…. industry..
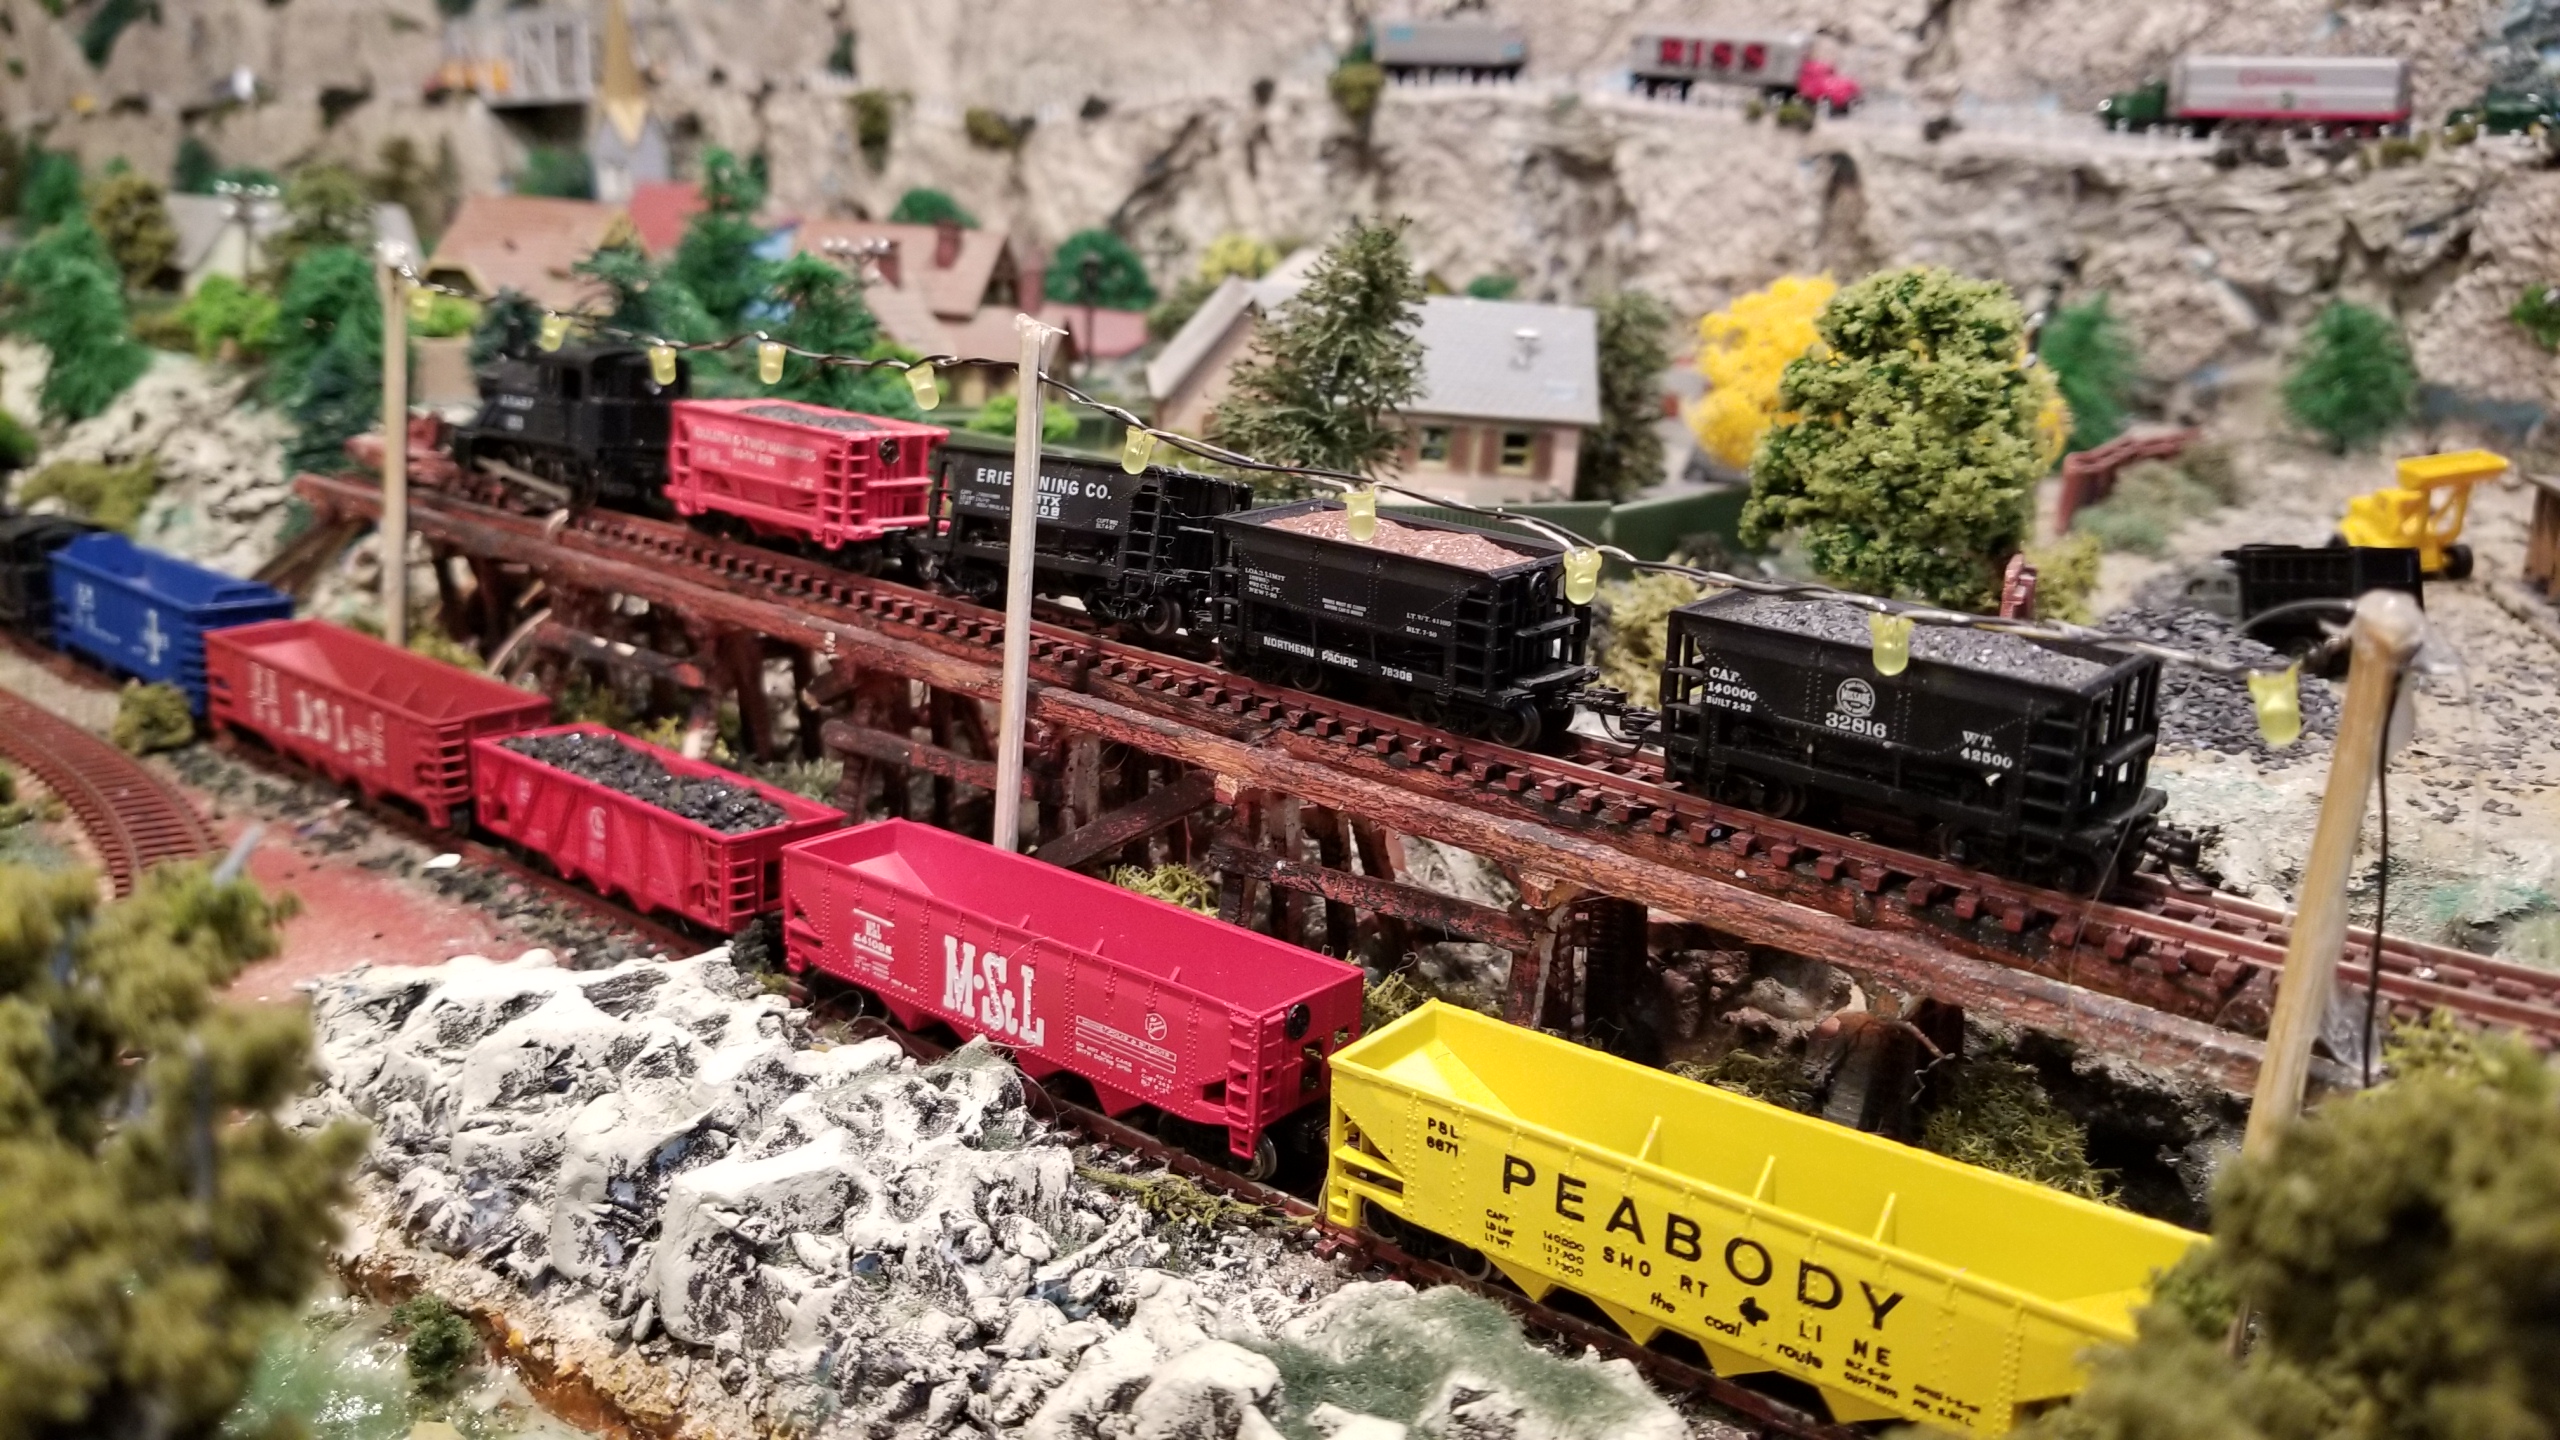
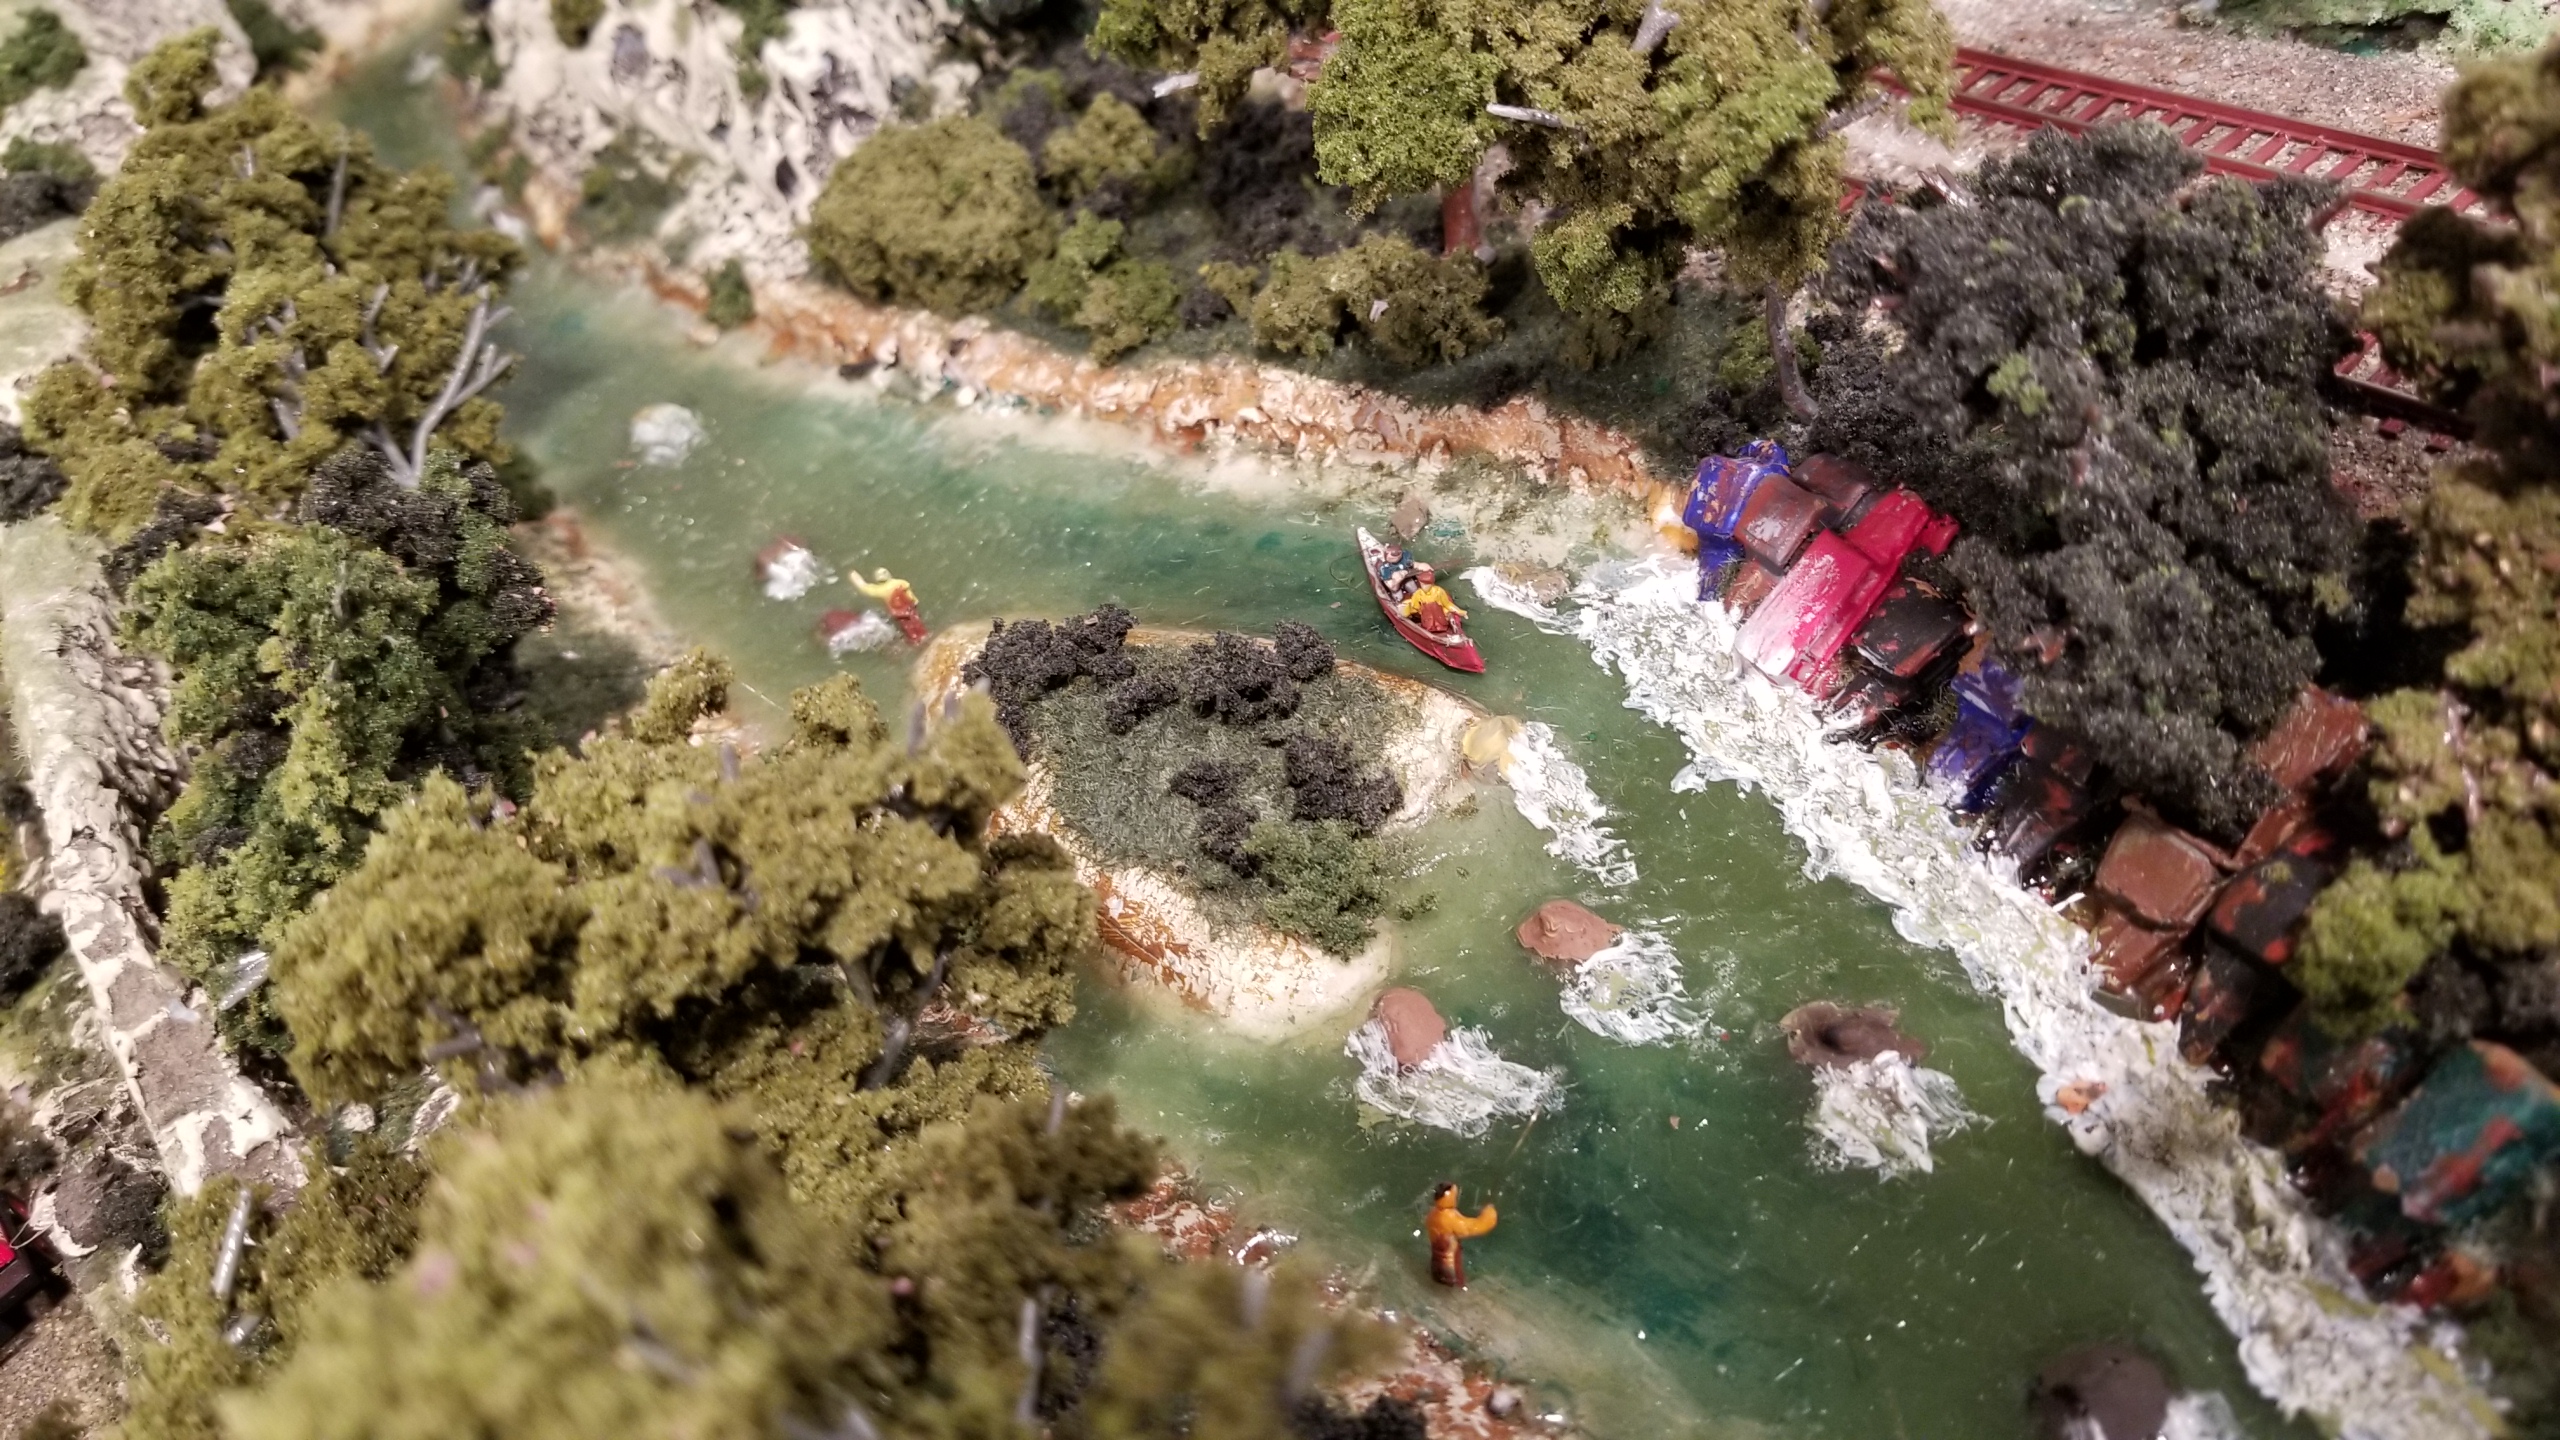
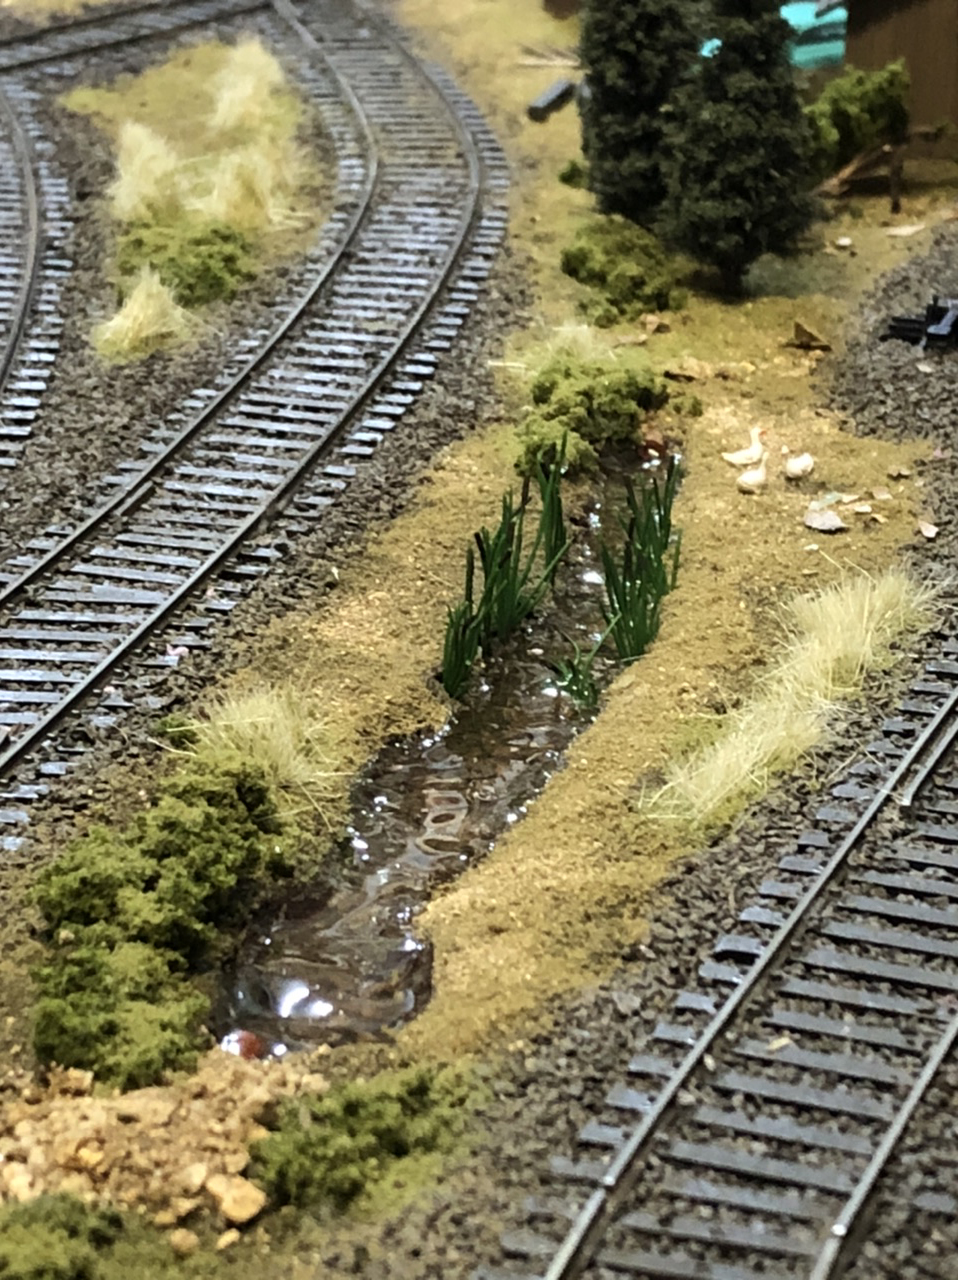
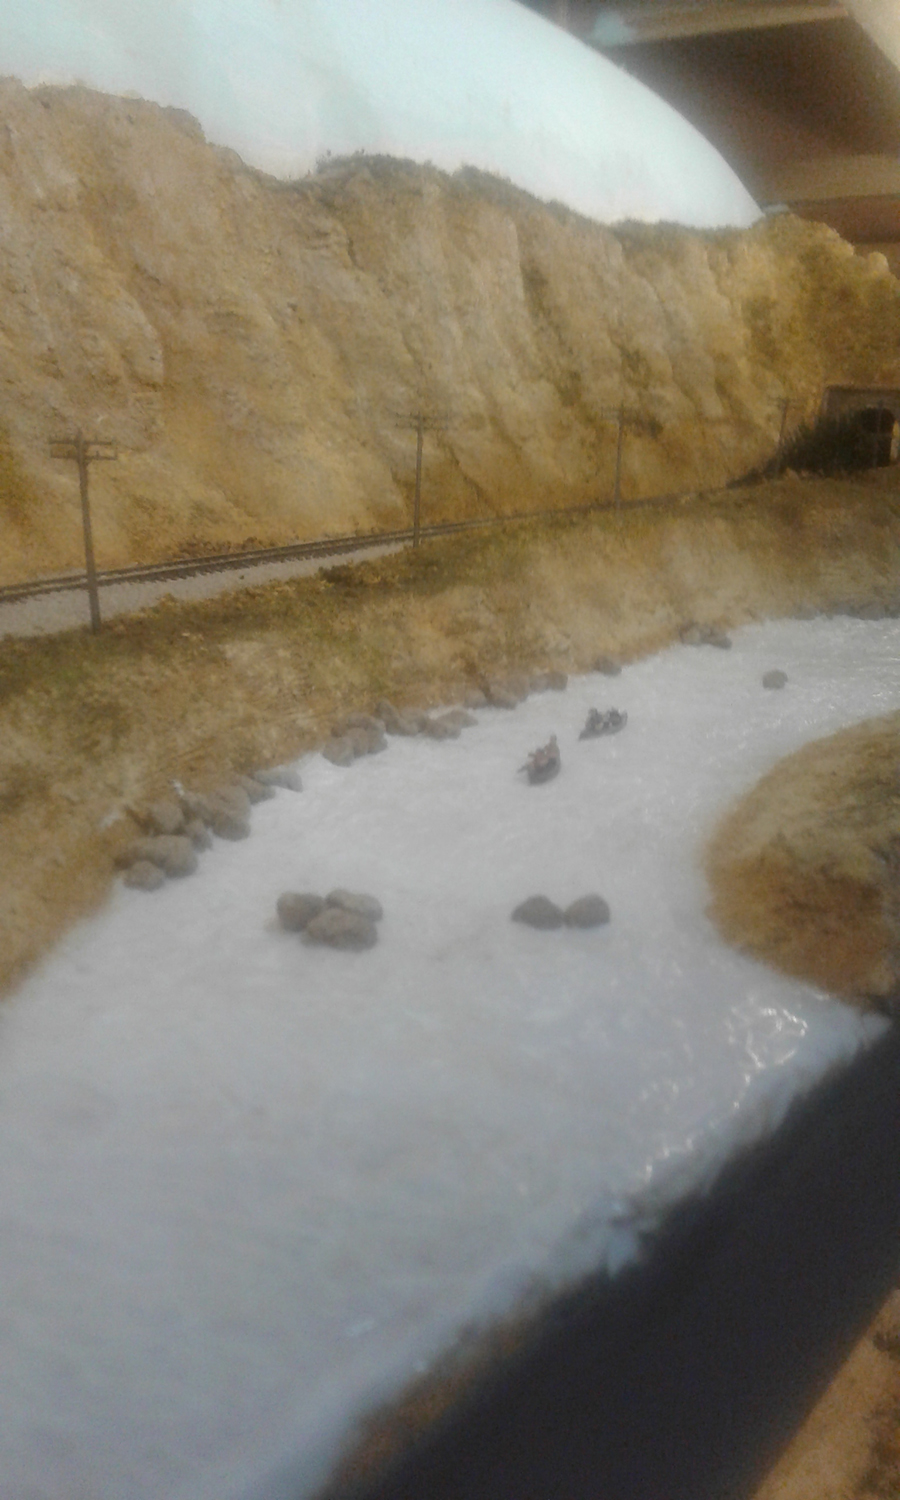
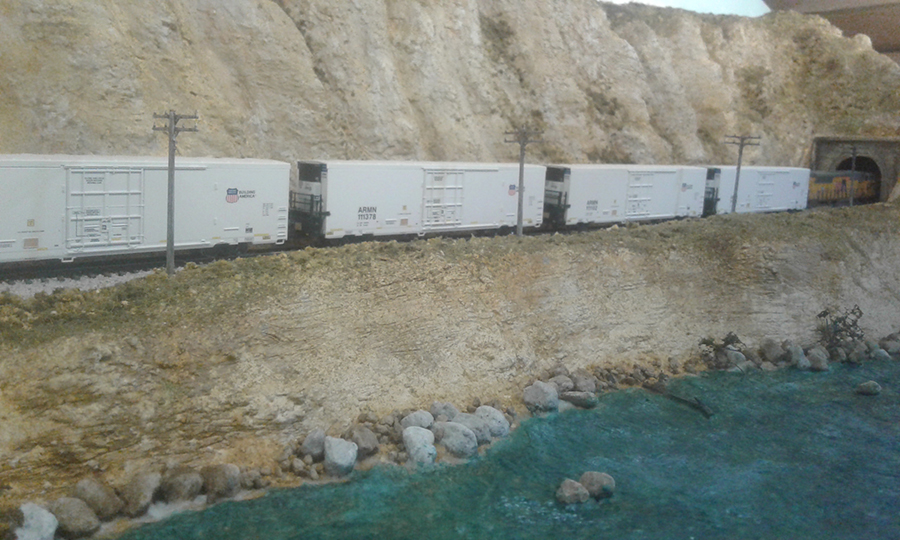
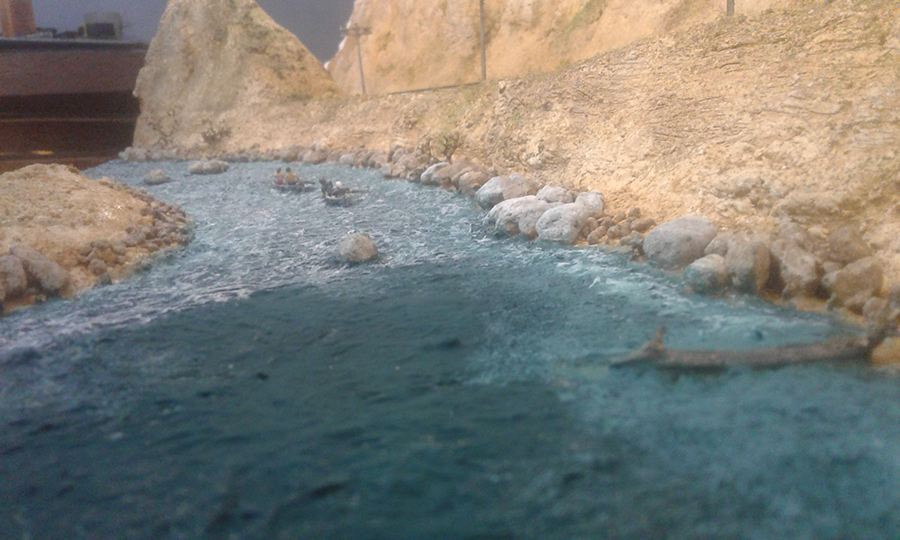
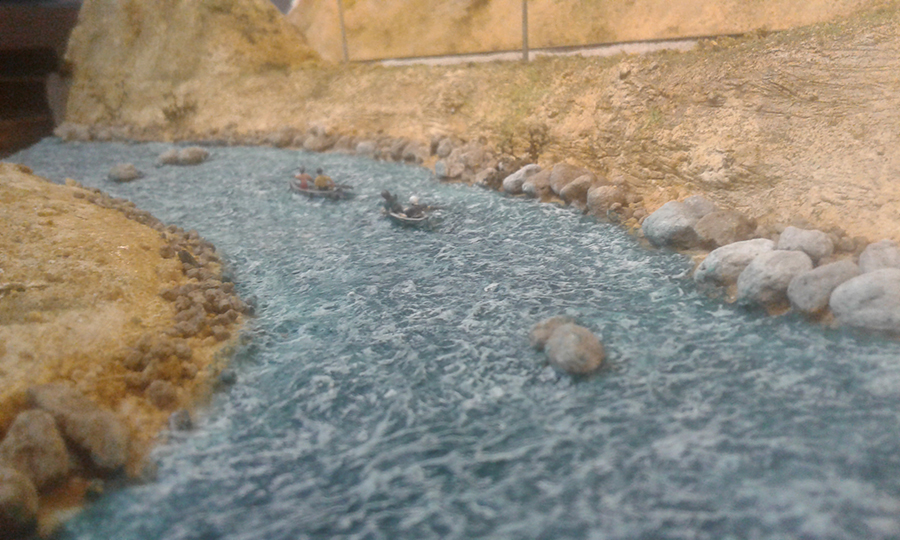
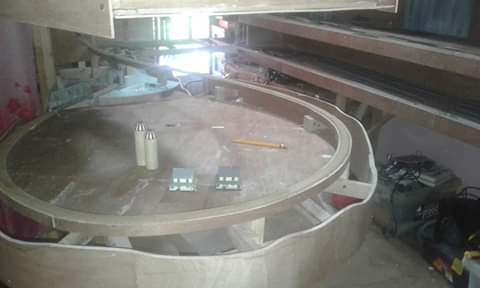
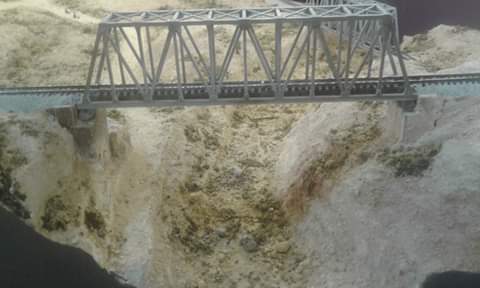
Via a helix upto top deck… river cayon to a small depot area… then back down helix to staging.
Work in progress… started sept 2019
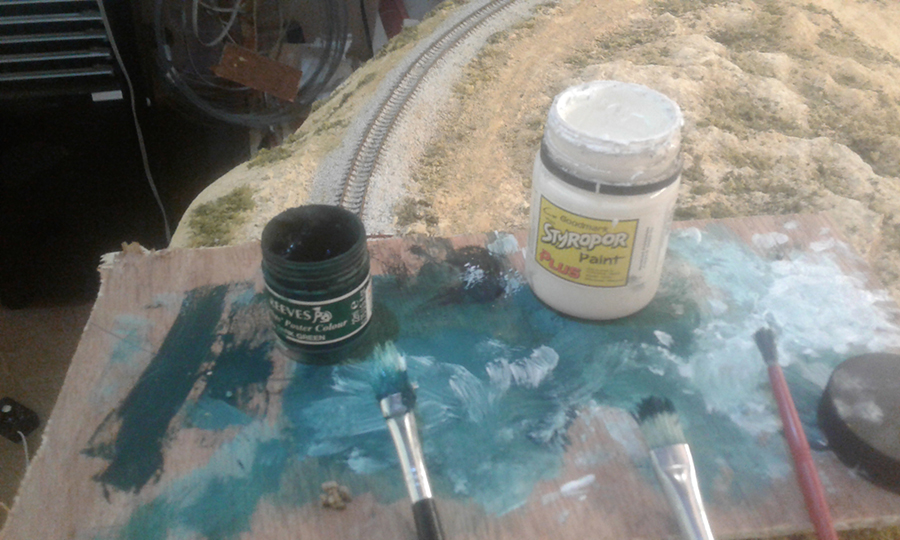
Here a few photos..
Cheers
Andrew”


A huge thanks to Rob and Andrew – I don’t thing I’ll ever tire of seeing what’s in my inbox each morning.
Whenever I see an N scale like this, I’m reminded of Michael’s N scale on a door.
If you’re a HO chappie, please do wake up and send some pics in with a narrative. It’s all getting very N scale at the mo. Not that I mind, but it’s nice to keep a balance.
That’s all for today folks.
Please do keep ’em coming.
And if today is the day you start your very own model railway – the model train Beginner’s Guide is here.
Best
Al
PS Latest ebay cheat sheet is here.
PPS More N scale layouts here if that’s your thing.