Gus has been in touch with his O gauge layout:
“Al,
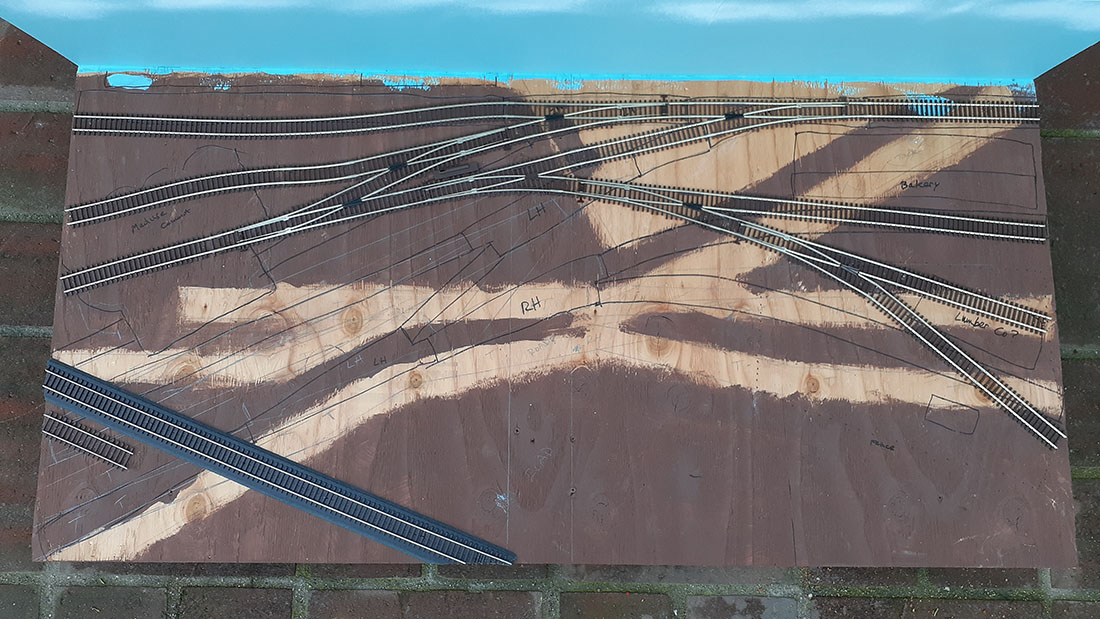
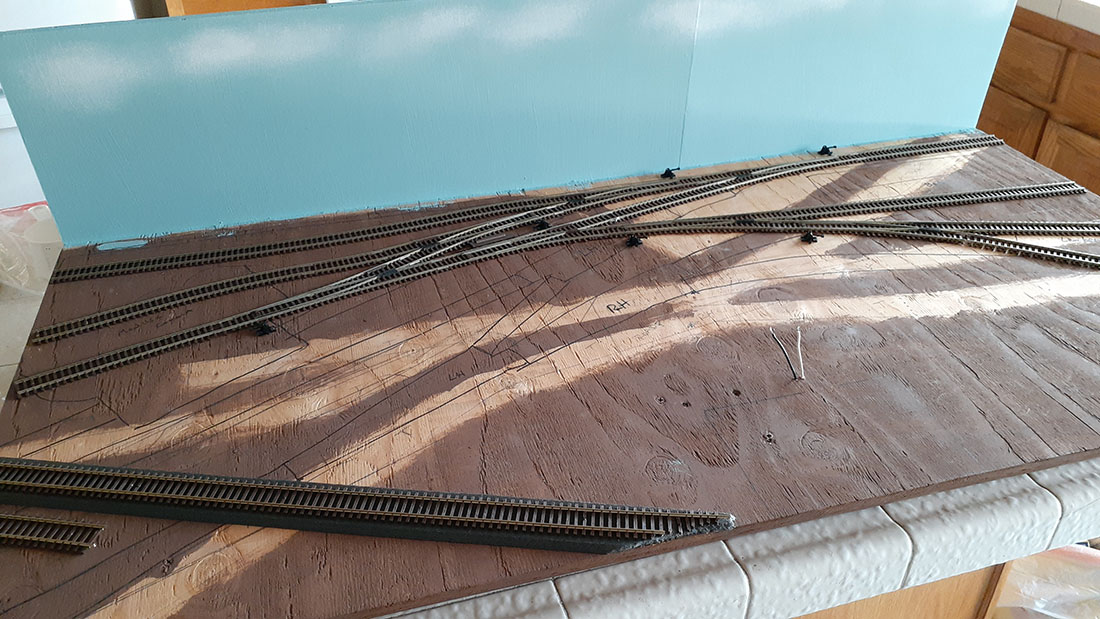
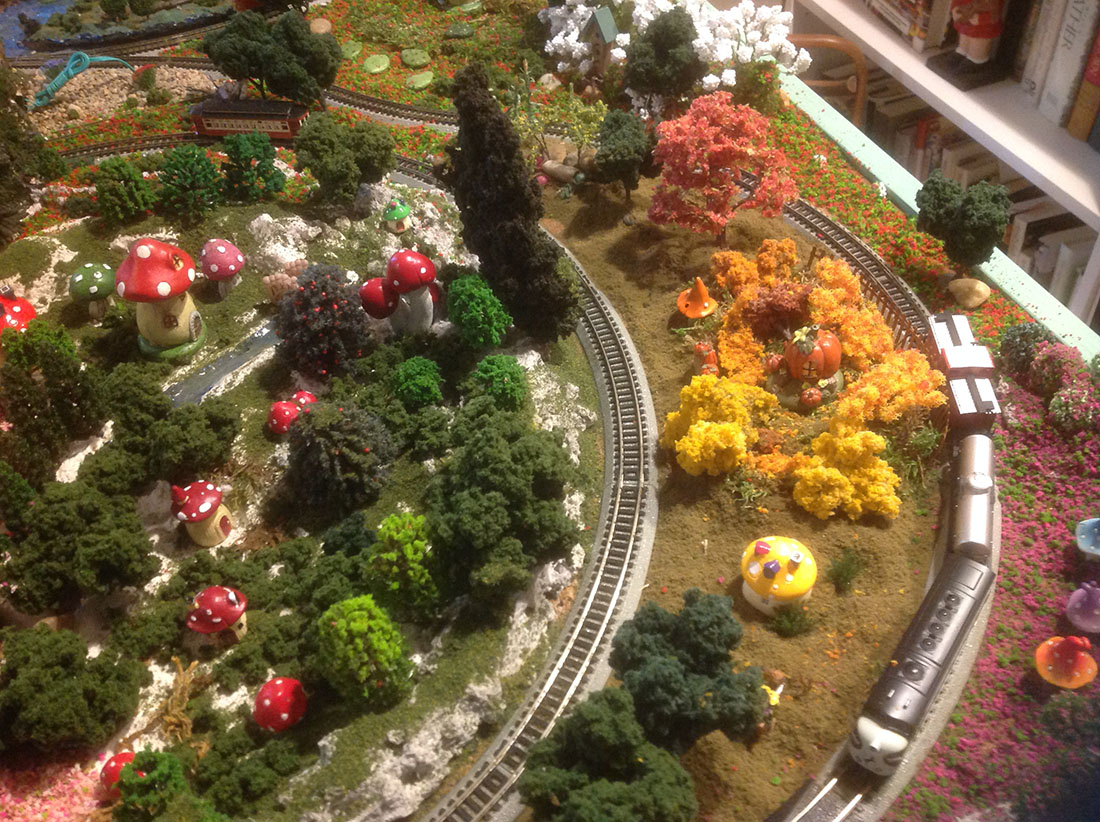
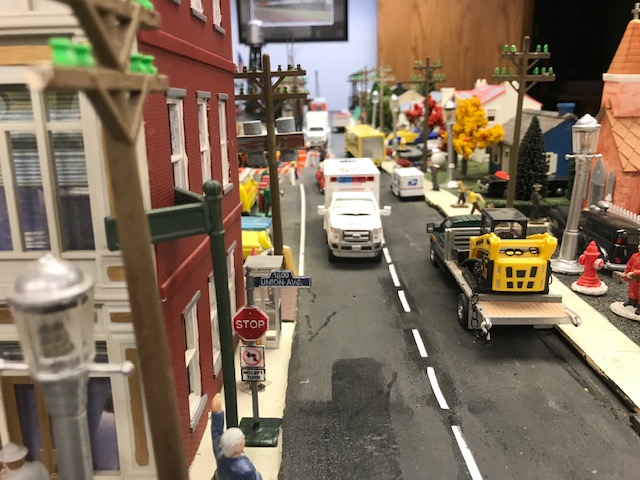
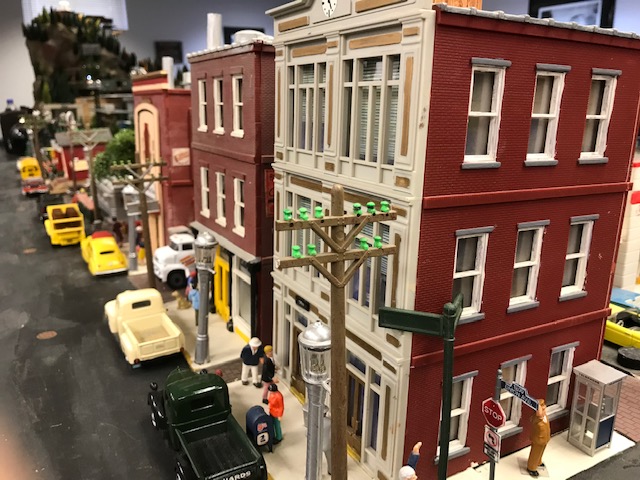
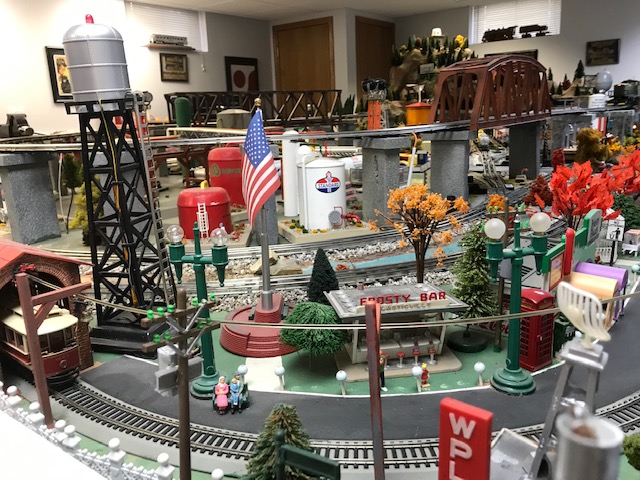
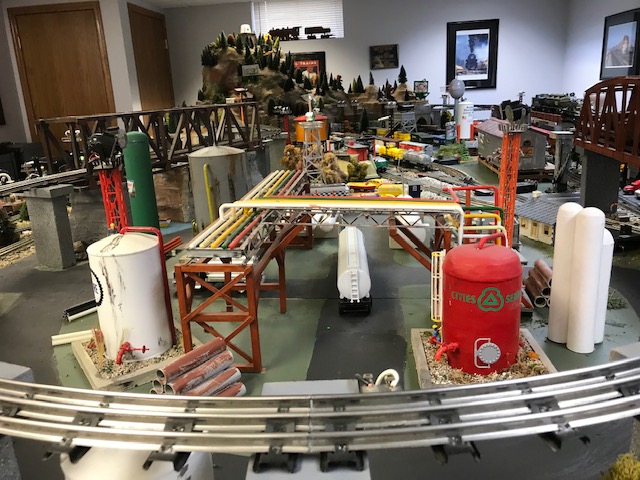
I really enjoy your site. I thought I would send a few pictures of my layout four years in the making. The layout is 9’-0” X 17’-0” (274 x 518). We can run four trains. Some of the scenery is store bought and a lot is scratch built from materials around the house.
The table is built aircraft style with ribbed construction and 2 x 4 legs that have gusset braces at 8 perimeter locations. The center is supported by 4 2 x 4’s. The deck is two layers 1/2” plywood.
The trackage is the old fashion Lionel tubular track set on foam track bed. There are about 800 hand cut ties glued under the tracks with o scale ballast.
The layout is powered by two Lionel 275 watt transformers.
The lighting is divided into five separate circuits and are powered by five multi tap transformers.
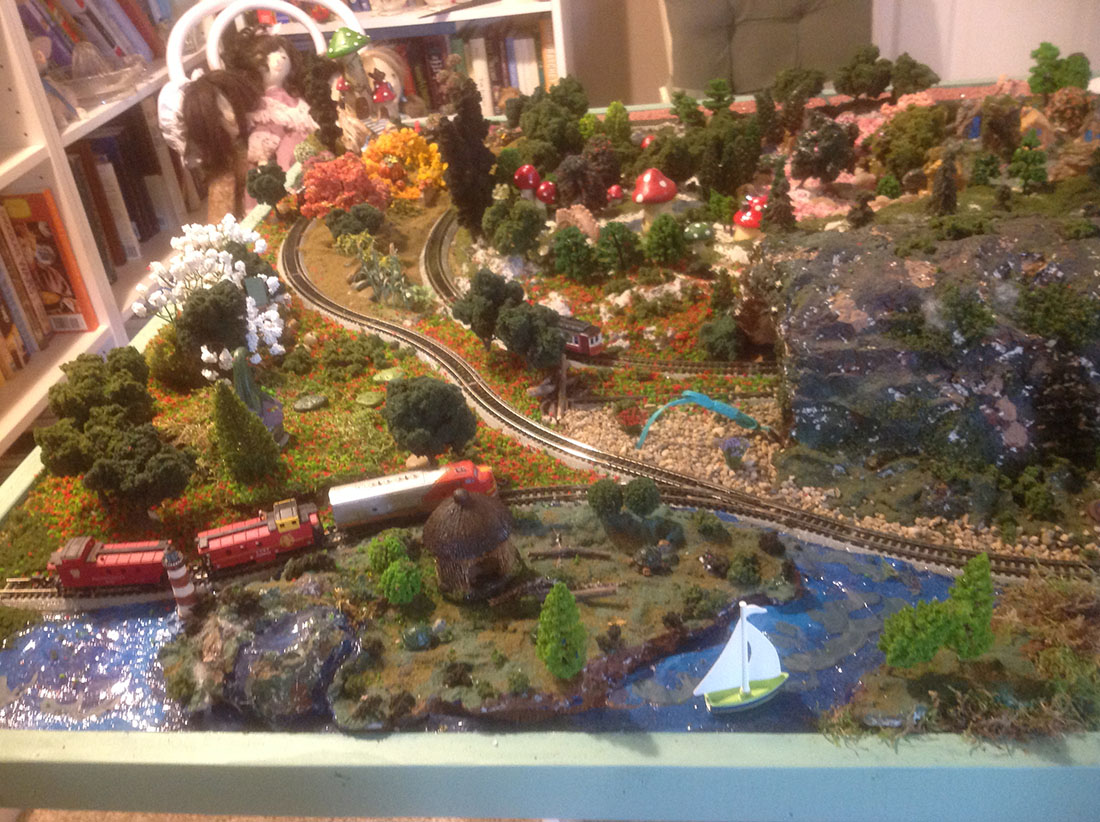
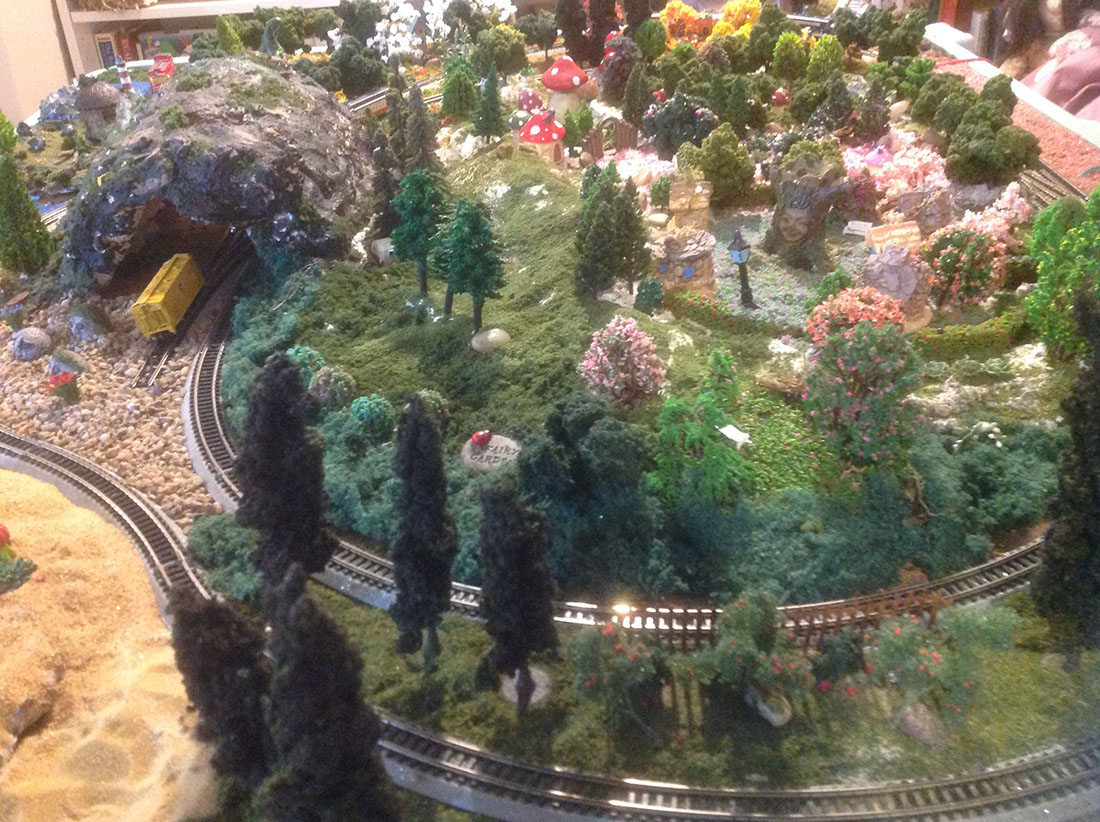
All of the building scenes are built on 1/8 thick board so that I can remove each scene and place it elsewhere on the layout.
The mountain and tunnels are made of scrap styrofoam and sculpted using a hacksaw blade attached to piece of wood and heated red hot with propane torch then covered with plaster cloth.
All main buss wiring is # 12 with # 14 feeders. Wanted to make sure minimal voltage loss. One thing for sure is that you learn to correctly wire the layout so you don’t burn up things.
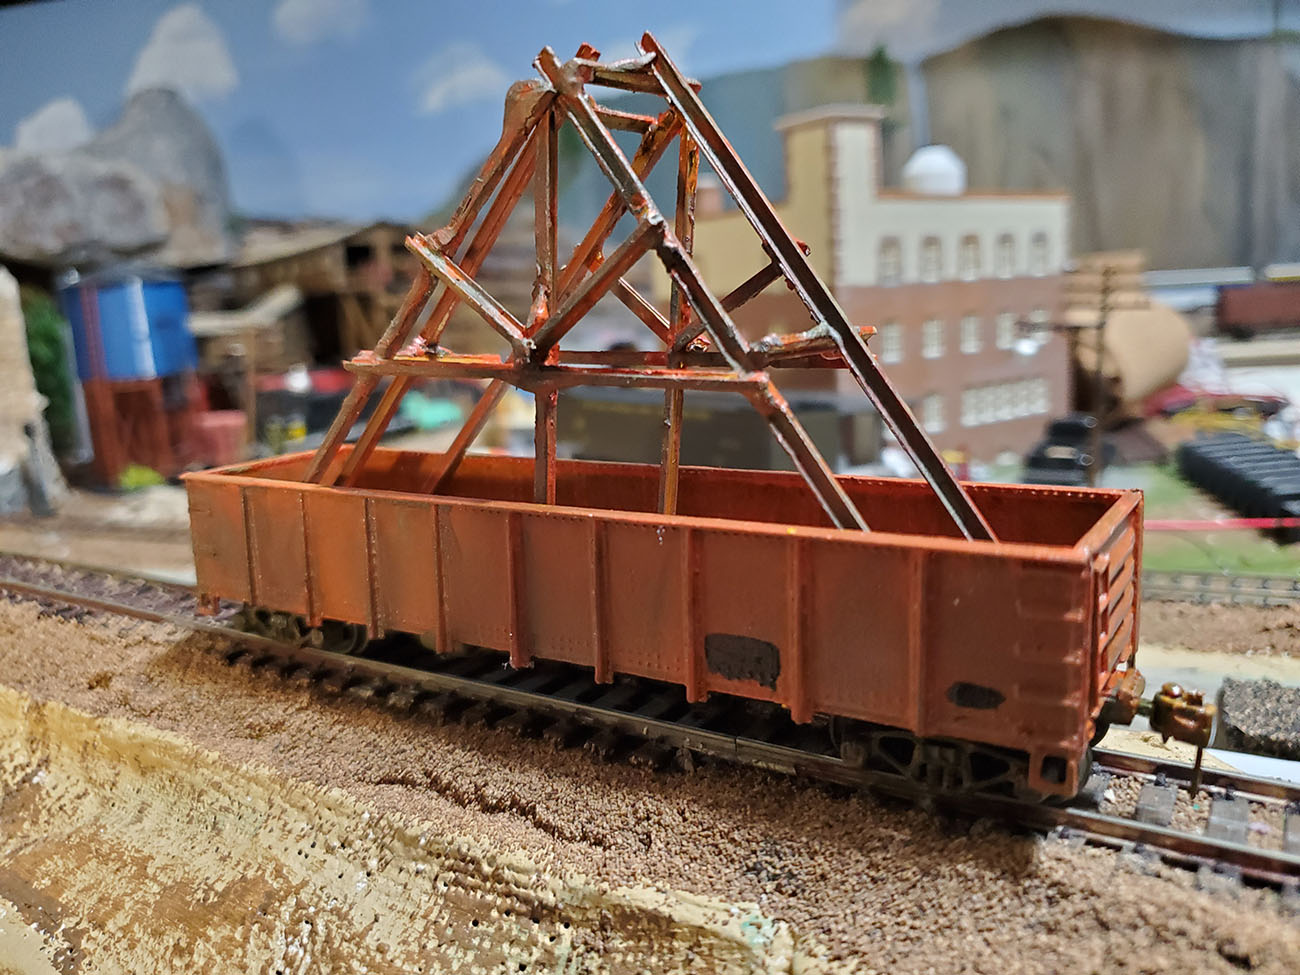
Have some of the usual accessories. Coal loader, stationary crane, water tower, culvert loader and a circus car. The locomotives are Lionel, K-Line and Williams 1950 to present.
Thanks for a great site and all of the ideas. It great to see what you folks do across the pond.
Gus”

A big thanks to Gus for sharing his O gauge layout. Whenever an O scale comes through at the mo, I always think of Martin’s O scale.
And here’s one from Dave that fell through the cracks:
“Hi Al, just uploaded this video trying to lighten the day.
Hope this can bring a smile to some!
Regards
Dave”
Latest ebay cheat sheet is here.
Now on to Bill:
“Hi Al,
Thank you for all the posts! I read them every day and save most of them for future.
I have finally started!
As a kid, I set up my Lionel around the Christmas tree and ran it until tinsel fell on the tracks popping the circuit breaker. It has been seventy years since those days and I have finally started my layout.
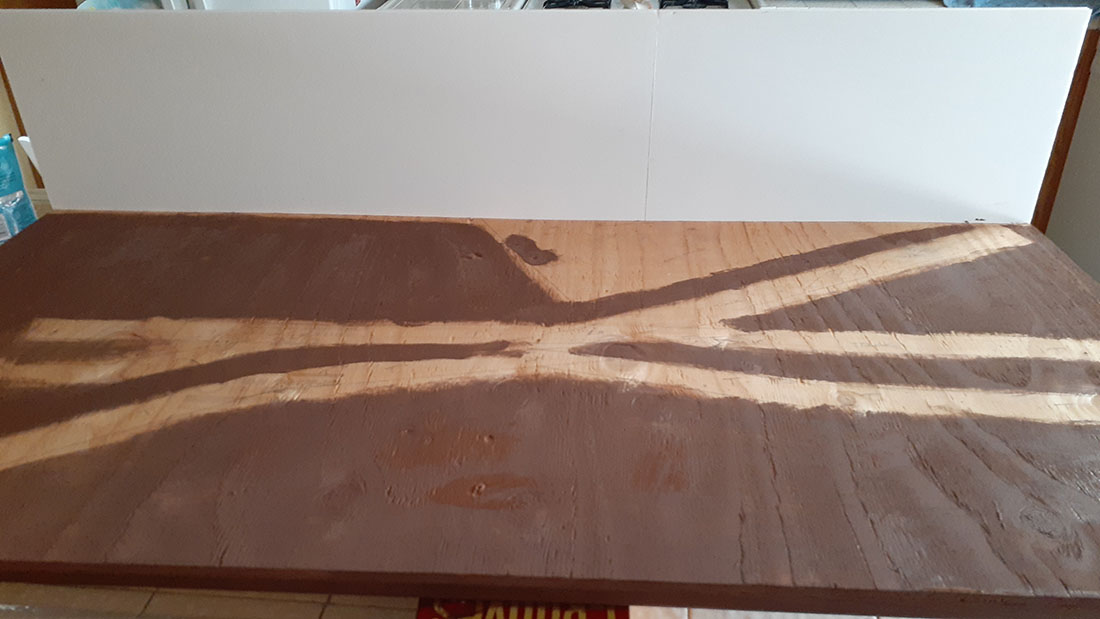
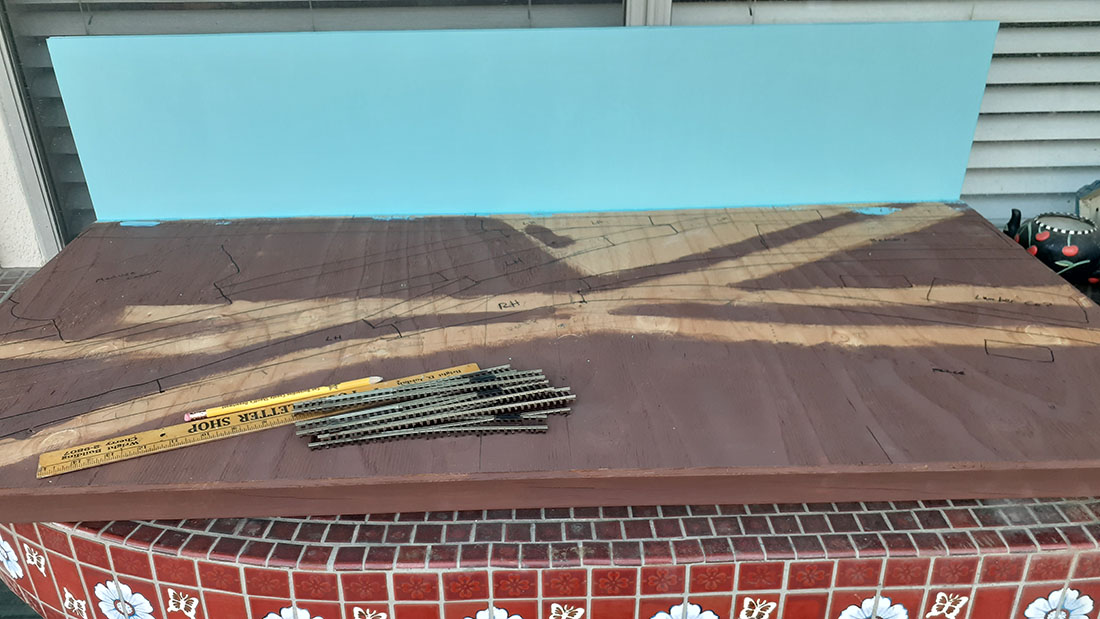
I decided my first effort would be a conservative 4 x 8 early twentieth century California Sierra Mountains logging operation with two connected tracks in HO scale; an upper/inner logging track bringing rough cut logs down to the mill and village where they would be cut and loaded onto flat cars for transport to “market” on a larger mainline.
I have completed the bench work and laid out both lines, but now I am losing some confidence.
My lower mainline should be fine with 18” radius and 2% incline/decline, but I’m more concerned about the upper layout.
I have designed the track on a 12” radius with 3% to 4% incline/decline hills.
My intention is use a small loco, x 6 x, or Shay at slow speeds pulling three or four logging cars. Am I destined for continuous frustration with derailments using this tight of turns?
Thanks in advance for your input.
Bill
California, USA”
Please do leave a comment below if you can help Bill.
That’s all for this time.
Please do keep ’em coming.
And if you want to make a start on your very own layout, the Beginner’s Guide is here.
Best
Al