Tony’s been back in touch with his excellent model train diorama.
If you missed his last post, it’s here. Have a look at what he’s been busy with:
“Hi Alistair-
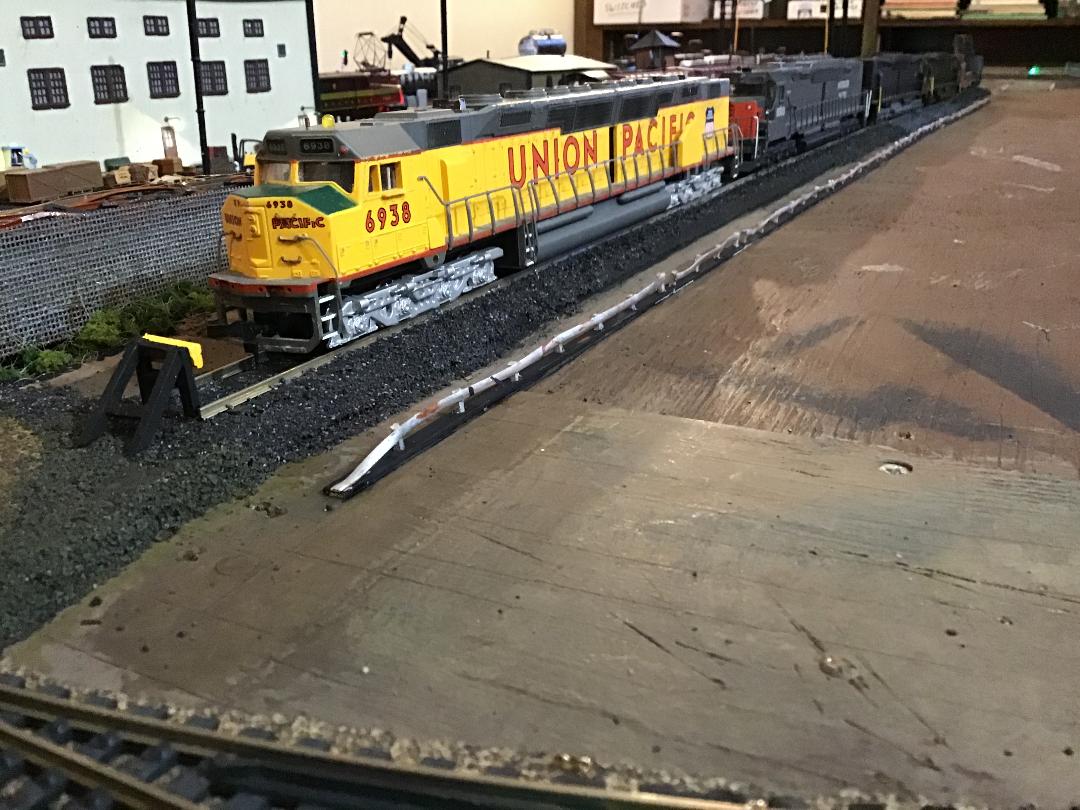
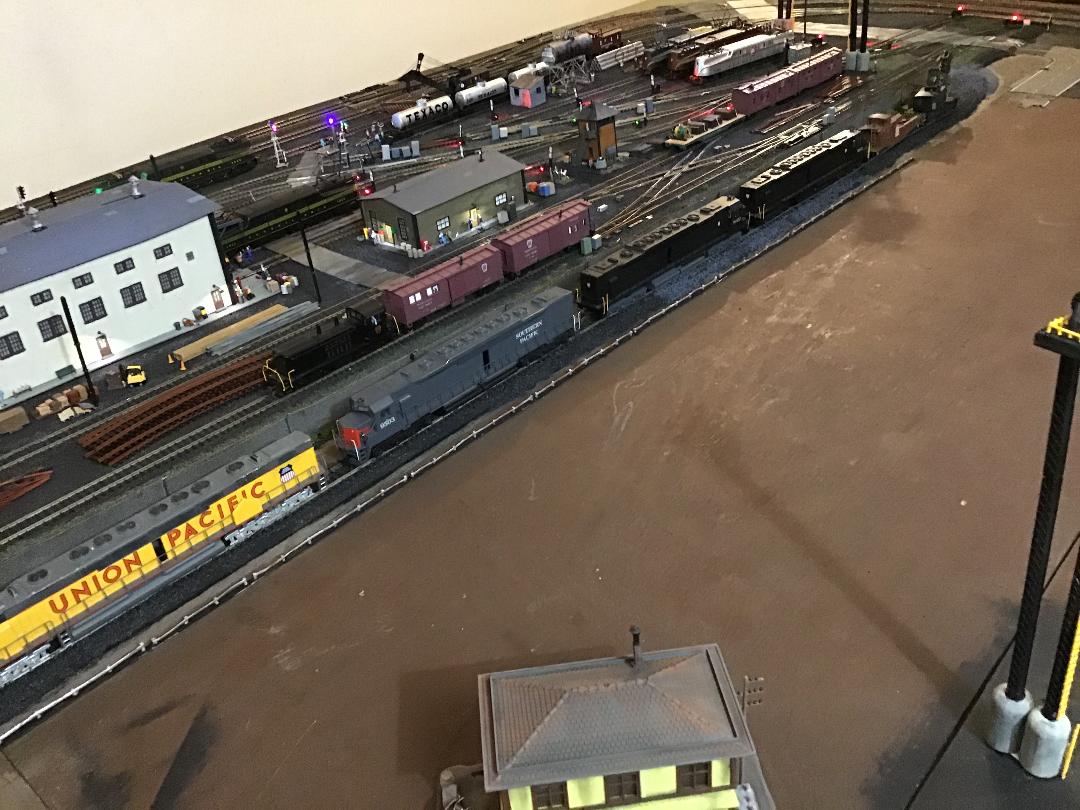
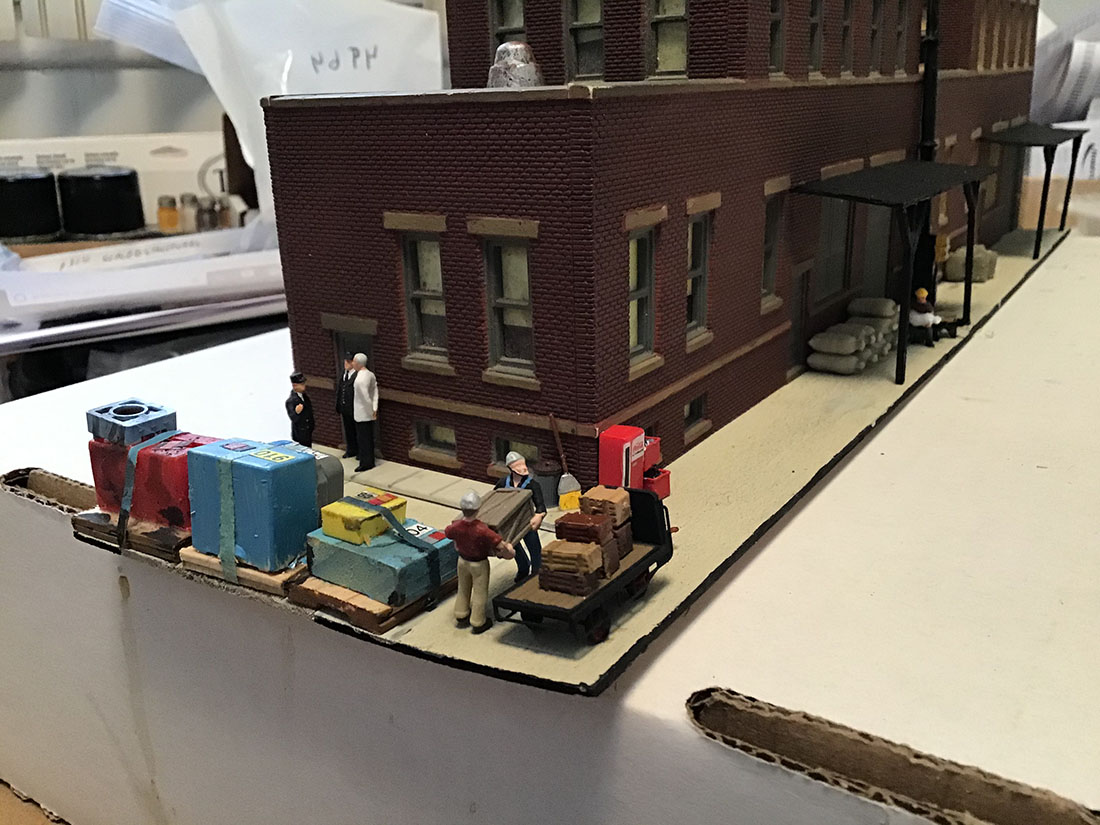
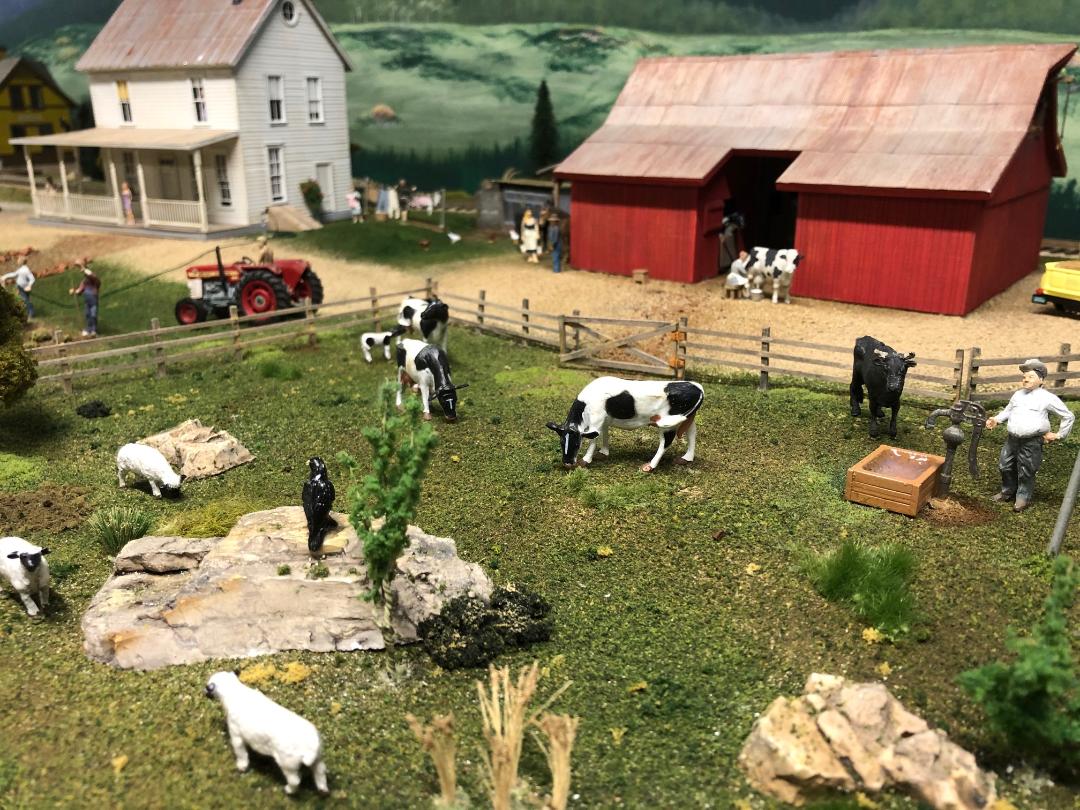
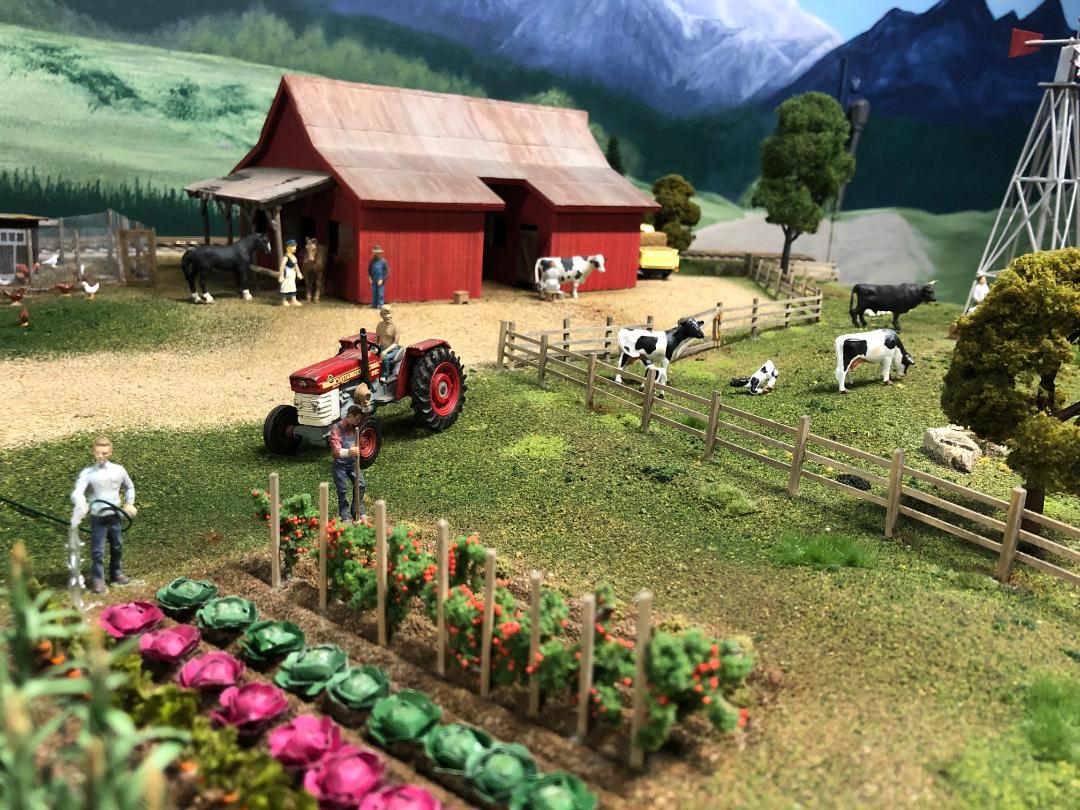
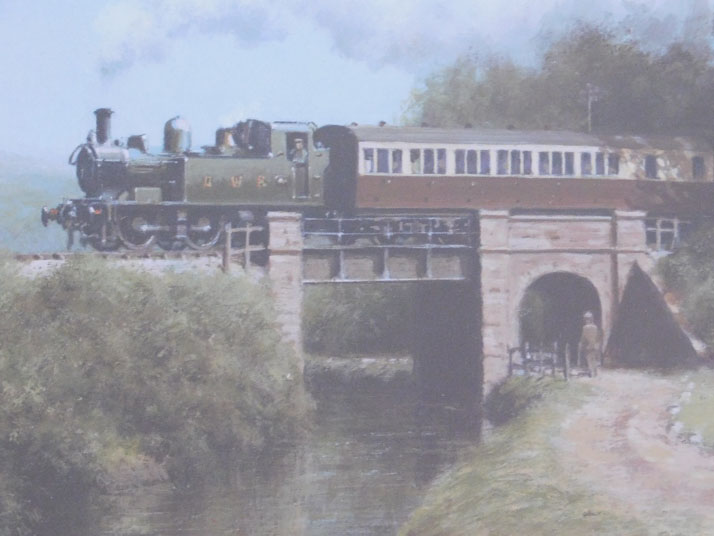
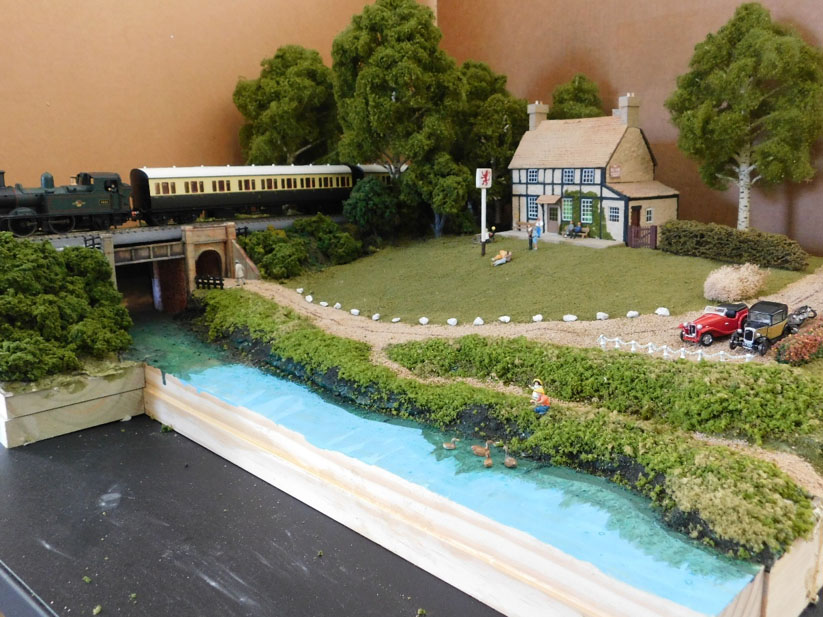
Here is the final segment of my diorama based on “The Riverside Local” by Don Breckon.
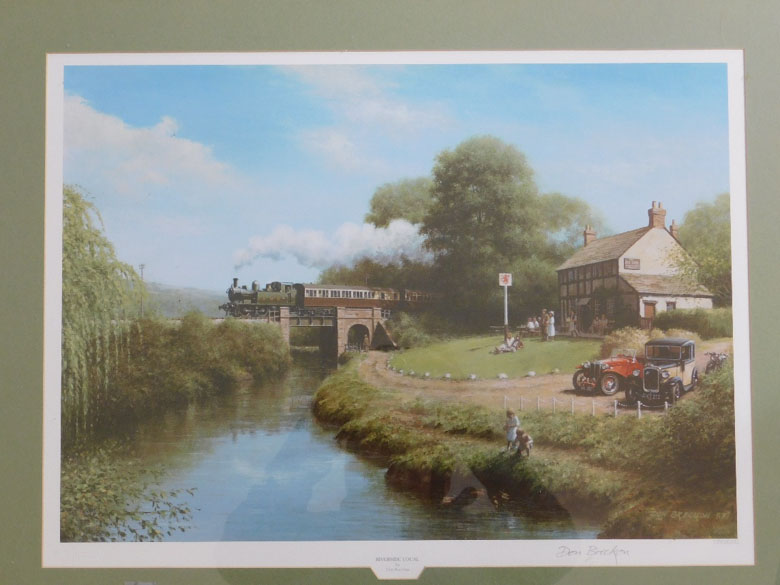
Just a quick review of the first two segments. I decided to build a diorama of this great painting as a modelling exercise, but also with plans to incorporate it in my future OO layout.
My original attempt to model the entire scene was abandoned after not being able to get the perspective right.
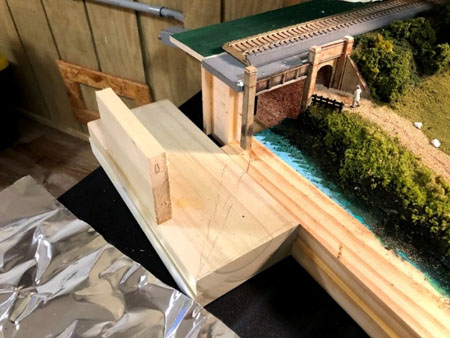
I decided to try again, modelling just the right side- to the river bank and this worked out better. Here is where I left off in the first post-
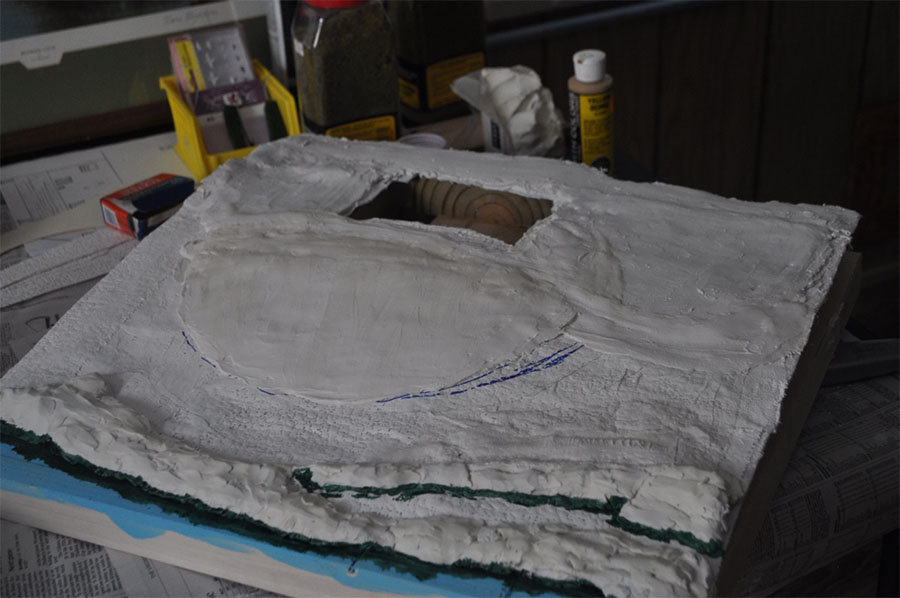
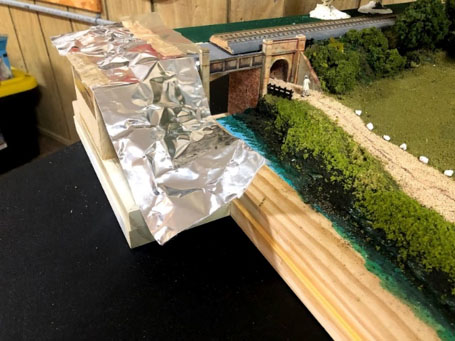
And here is where I left it at the second post-
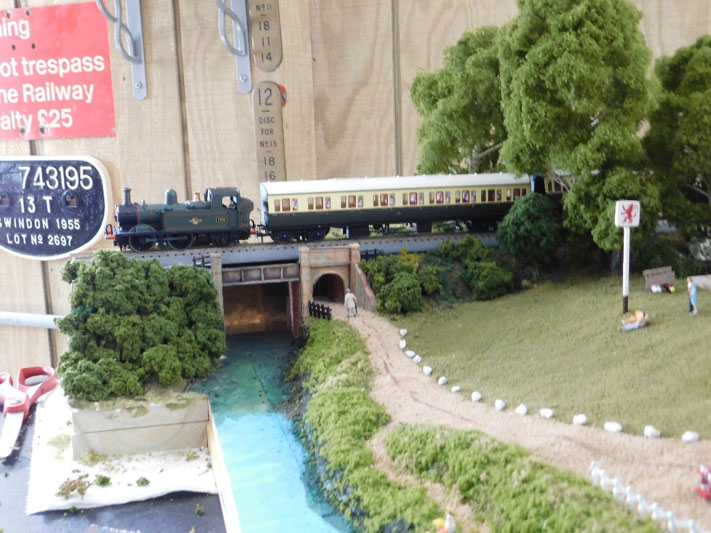
All the final little details, of course, took a lot of time. That’s the fun with a model train diorama.
Starting with the two vehicles, I was lucky to find that the excellent Oxford range of vehicles has a OO model of an Austin 7 and MG TC in the same colors as the painting. There were just a couple of modifications needed.

The bonnet (hood to us colonists) of the Austin 7 is black in the painting- a simple fix.
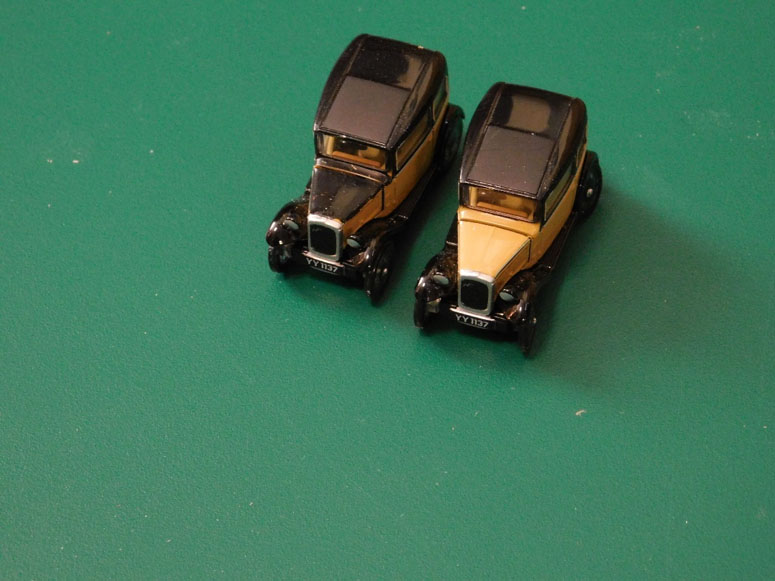
The TC needed a couple of changes. Painting the grill black, as in the painting, was easy and, I think, improves the look of the model.
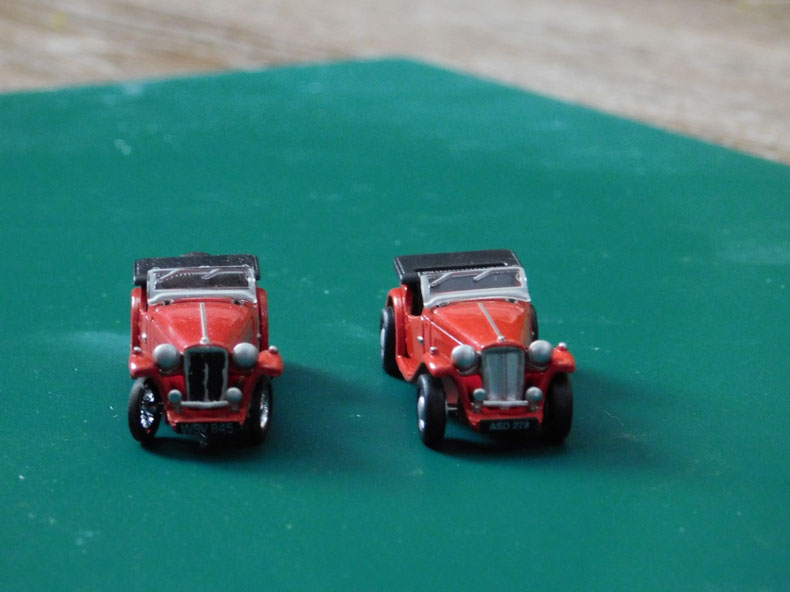
The second change I found a bit annoying. Having owned a TC for 35 years, I am sure that no TCs were built with disc wheels, as in the model. They all had 19” wire wheels, unlike the later TD which had 15” disc wheels- which seems to be the inspiration for this model.
For such an excellent range of vehicles, this is a disappointing oversight. Luckily, I had a model of a TC in HO that had the correct wheels. The model itself was too small to use, but the wheels, although slightly under-sized, look fine.
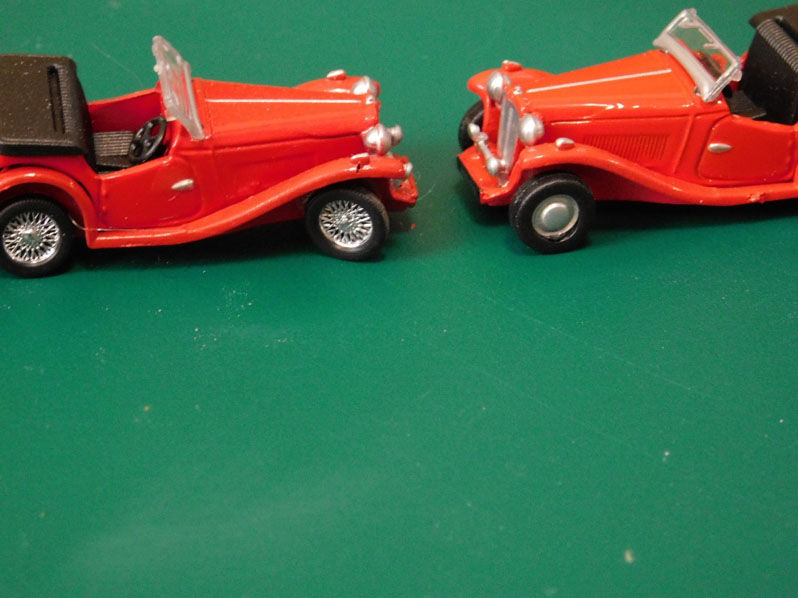
Swapping the wheels also gave me the opportunity to ‘turn’ the front wheels to the right. This matches the painting, but it is a modification I often make to vehicles, adding a touch of realism.
These 2 cars are parked, but I always add drivers and passengers to vehicles that are on the road (perhaps the subject of a future post). The motorbike that is only partly in sight behind a hedge is not recognizable as to manufacturer (at least not to me). I had an old white metal kit around that did the trick.

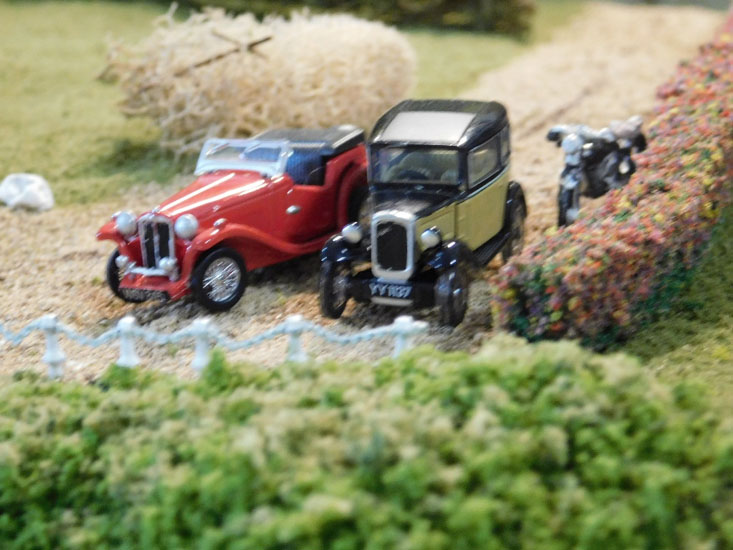
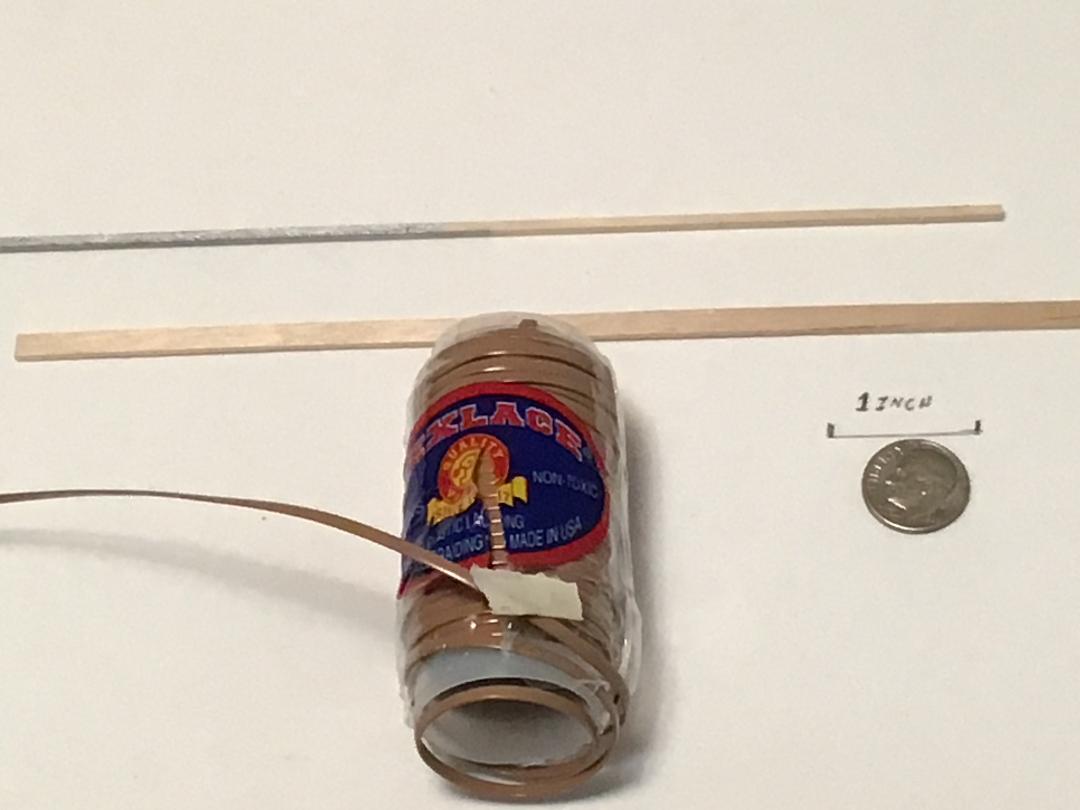
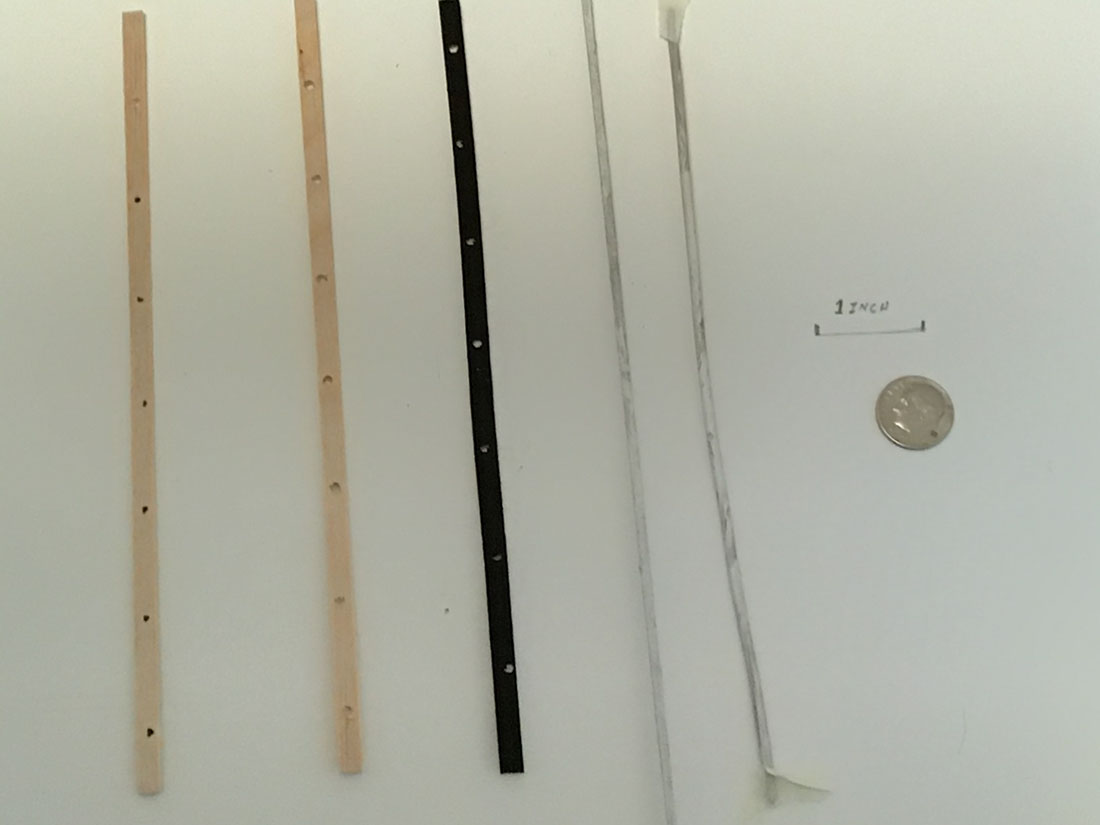
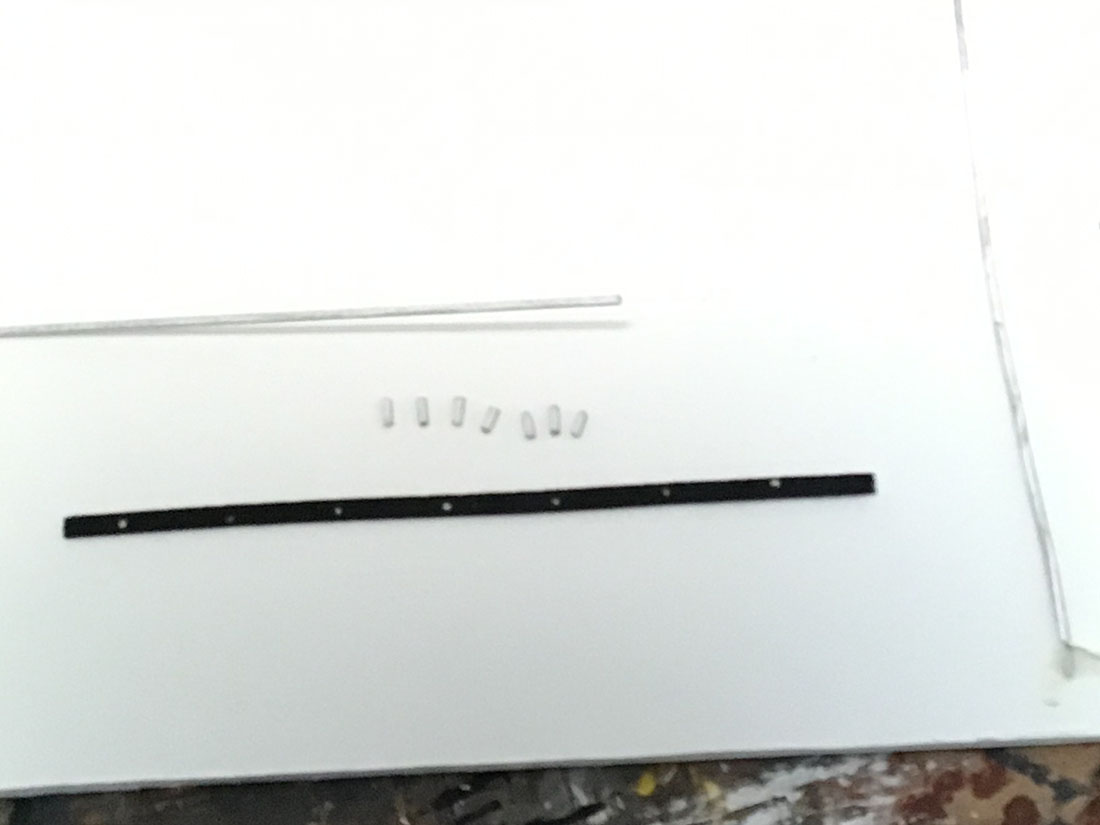
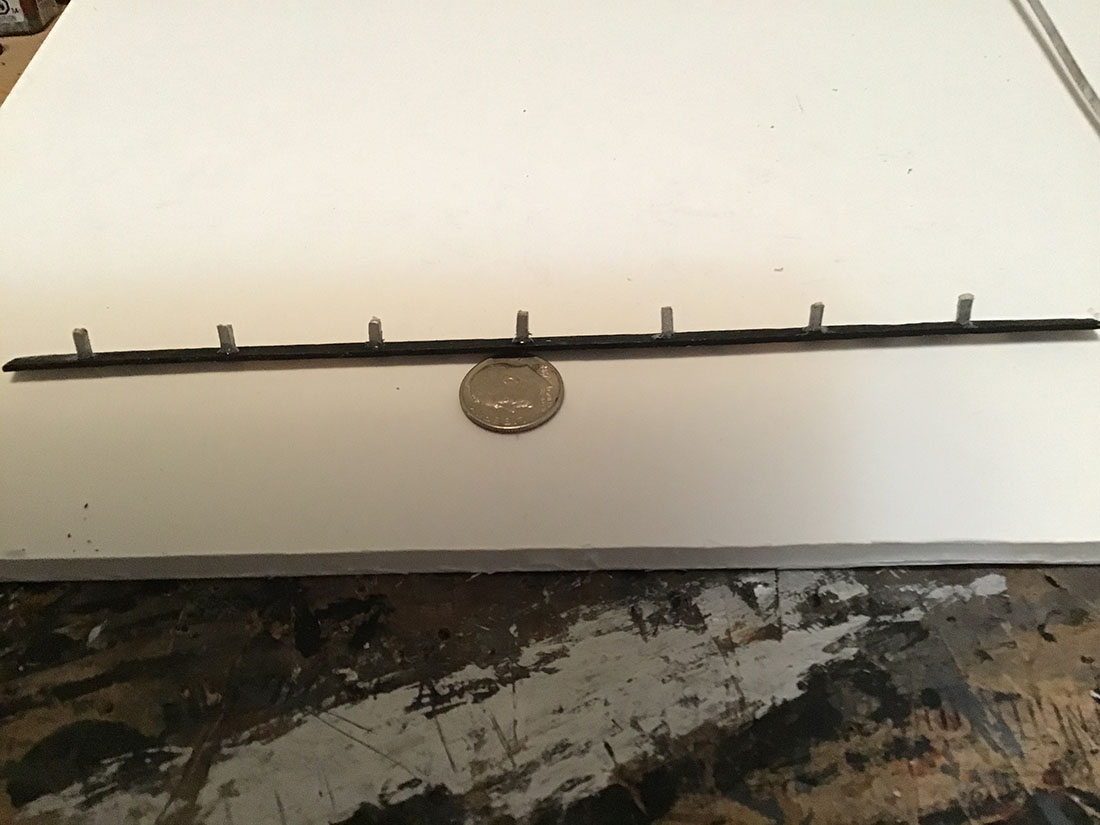
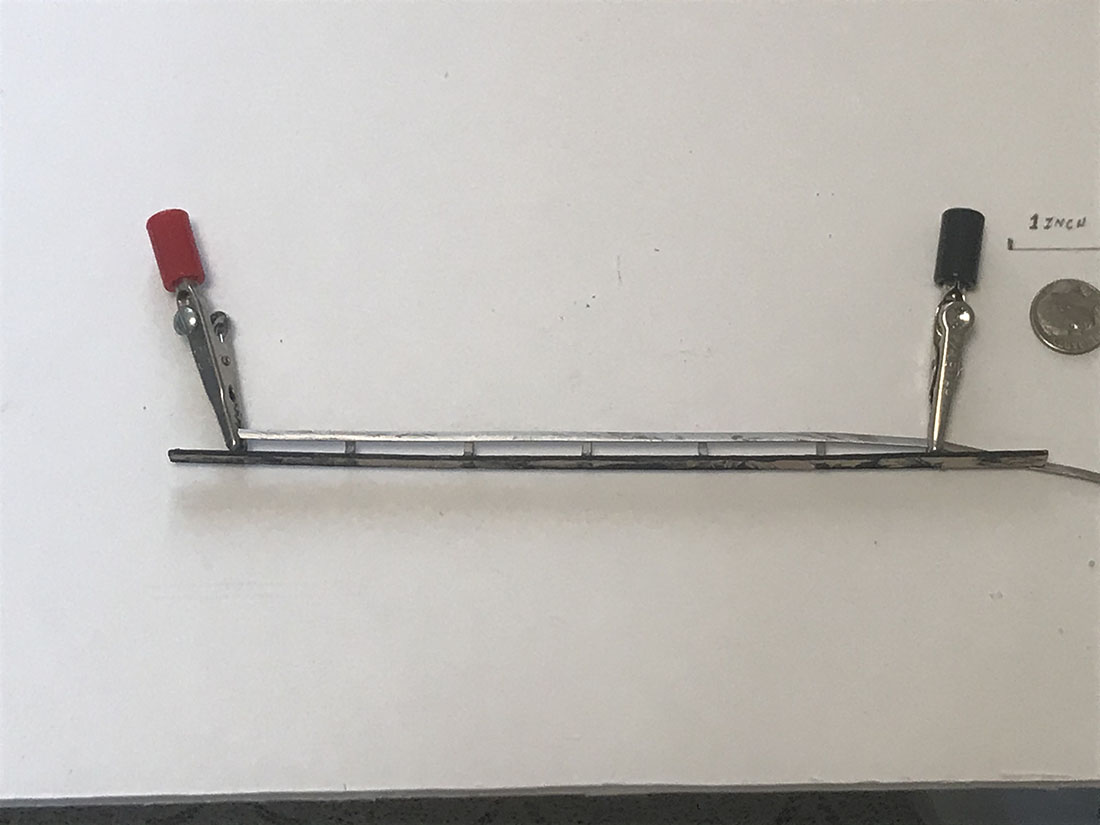
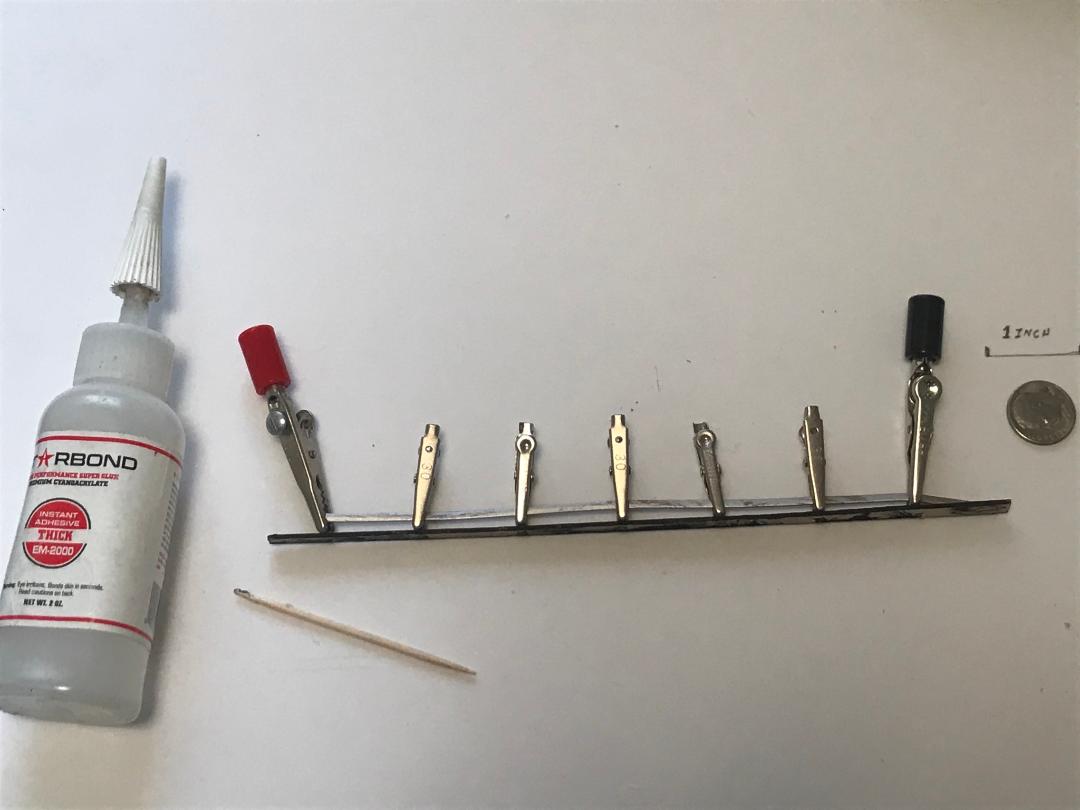
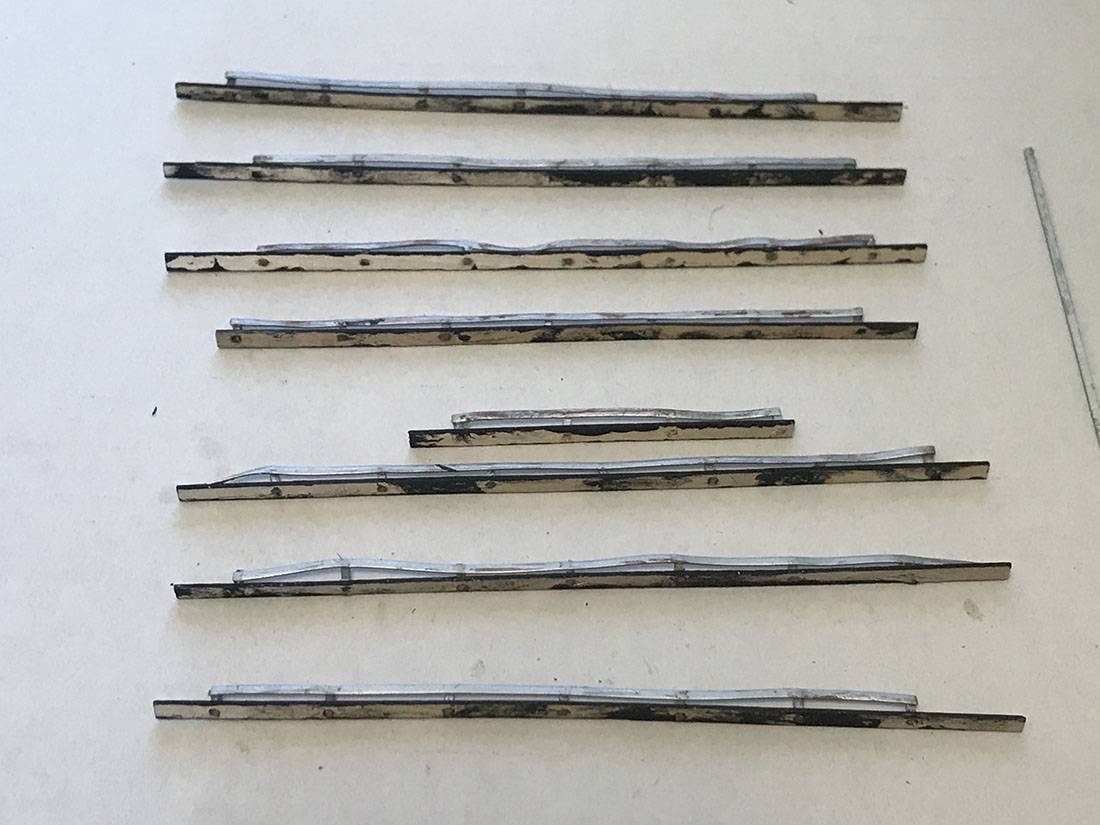
I also had a white metal fence kit that nicely matches the painting. White metal, of course, is a misnomer, as the metal is silver.
After painting the fence poles and chain, the chain would not fit through the holes in the poles. Drilling out the holes was a little tricky but I had some good luck. The kit contained 10 poles. One broke during the drilling process, but the painting has just 9 poles. It doesn’t usually work out that way!

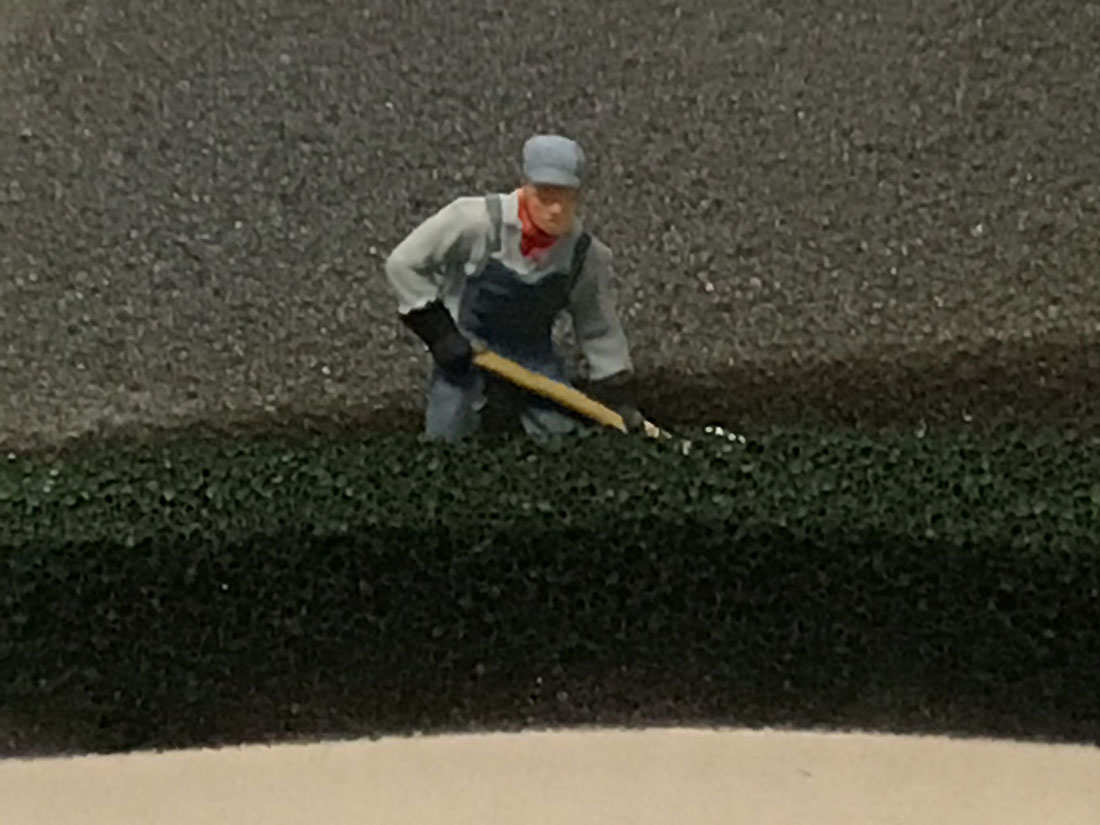
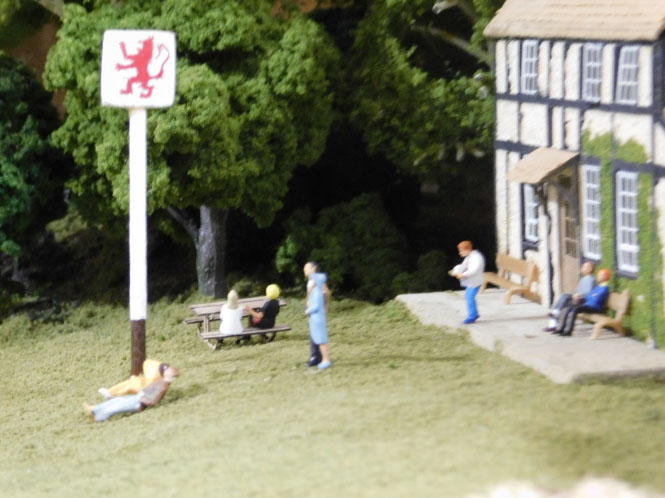
There are 13 figures in the painting and trying to match them to my model train diorama was quite a challenge. So as not to be too obsessive, I finally gave up looking for exact matches of poses and settled for close approximations.
I also ran into the perspective problem again. The model people (whether HO or OO) look smaller than in the painting. Looking at the diorama apart from the picture, the figures look fine, although they are placed in somewhat odd positions on the lawn (the positions work for the 2D painting).
I will probably change the positioning when I eventually install this in my layout. Please forgive some of these photos- it’s tough to accurately match angles!

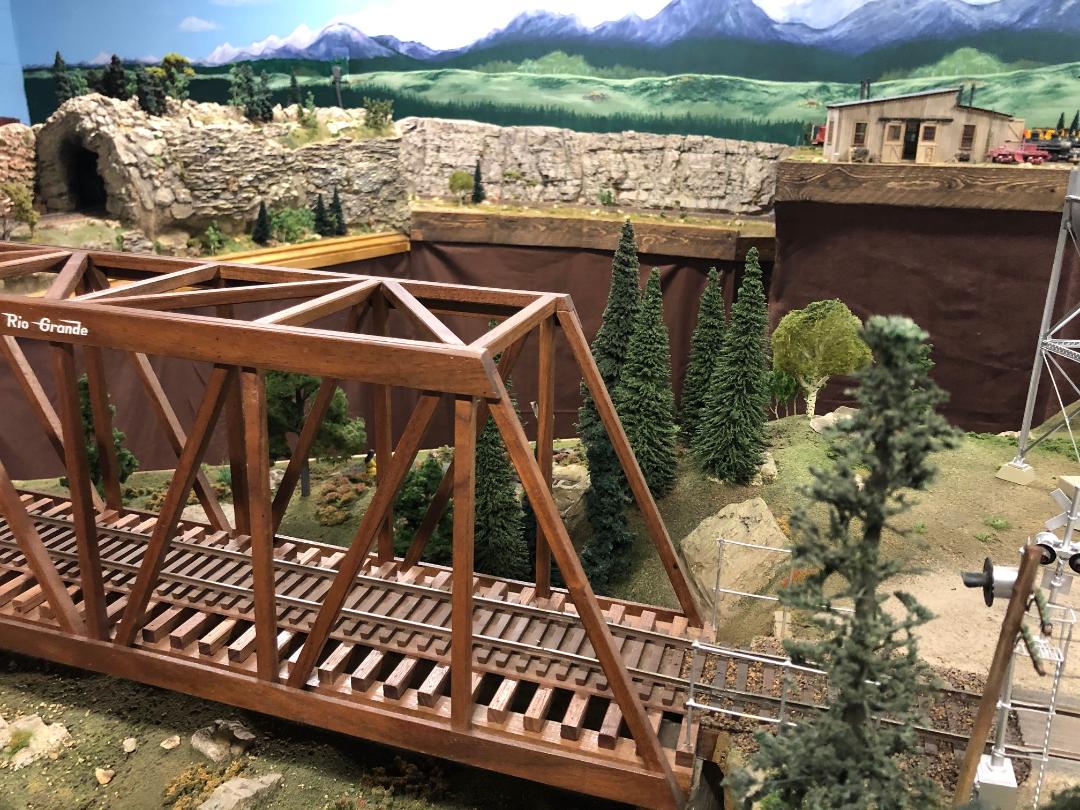
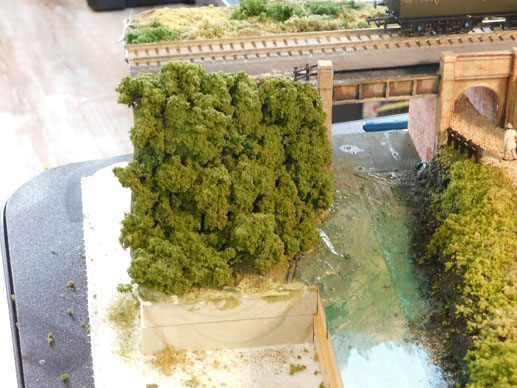
I wasn’t planning on detailing the bridge as this will clearly change when installed in my layout, but the loco is across the bridge in the painting and I wanted to match that, so I had to add a portion of the bank on the other side of the river. This was not too much work, and I think it did the trick.
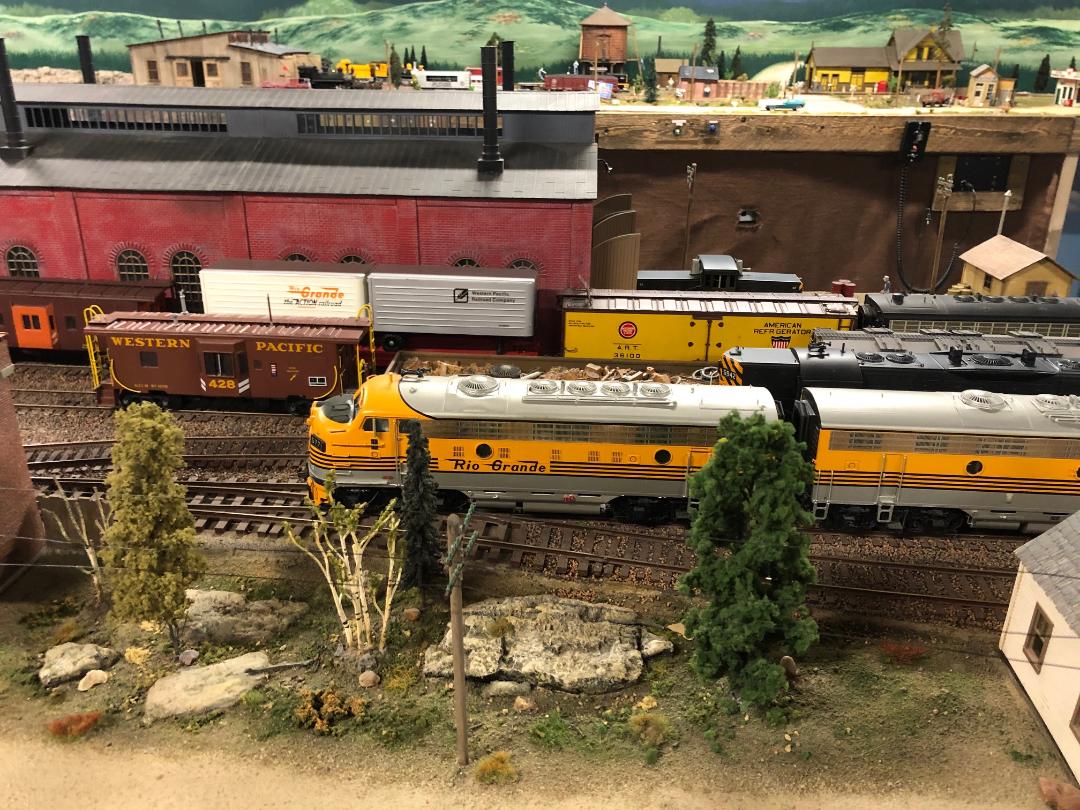
I knew the ’back’ of the scene was going to present the biggest perspective problem and I originally planned to look for a TT scale loco and carriages to address this issue.
I finally decided this would be a waste of time and money, so I just used OO. This looks fine on its own, but compared to the painting, the models look a little big. You can see that the coach sits much further to the right on the model than the painting. TT scale would probably have been about right.

The final issue was the river. I originally planned to model the water (in part) but I would have to rip it out later so I decided to just lay down some paint for now as a rough representation. I think it looks OK- and this way I got to include the children feeding the ducks (more white metal).
This whole exercise was fun and gave me some things to think about when modelling scenery. Other than an outdoor G-scale, I haven’t modelled trains for many years and this was a good brush-up of skills and techniques before starting on my new layout. And I expect most of us see old photos of scenes that we would like our layout to look like, and I think this shows that copying a scene is not a bad idea.
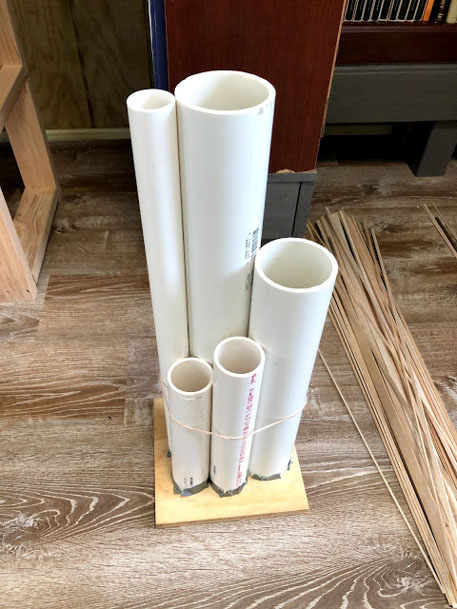
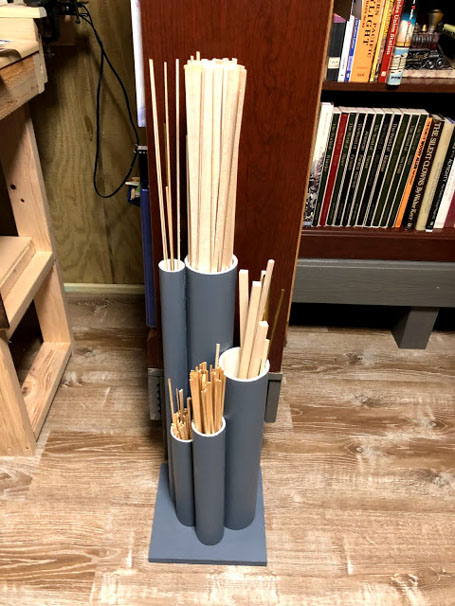
Just a quick tip that I came up with recently. When scratch building, I am always looking for the right size and shape of balsa strips. I had balsa sitting around in various places, and I often didn’t find what I needed.
I decided to make a start on getting my work area organized by organizing the balsa. I gathered some scraps of PCV pipe- 1 ½, 2 ½ and 3 ½” diameters (sorry, don’t know the mm equivalents).
I collected all my strips of balsa and laid them out according to size. I then cut the pipe to various lengths and glued them to each other. I made a wood base- finishing it all off with some grey paint. There is room to add another pipe or 2 if needed. A box with all the smaller scraps completed my organization.
As always, thanks Alastair- keep up the great work!
Tony
Kitty Hawk, North Carolina”
A huge thanks to Tony for sharing his model train diorama – and a small apology – he mailed me this upate but it fell through the cracks. I missed it. Fortunately though he got back in touch and I’m pleased to be posting this instalment.
If you enjoyed Tony’s work, have a look at his Book nook diorama.
That’s all for this time, folks.
Please do keep ’em coming, because we need these update more than ever right now.
Stay sane. Keep busy. The Beginner’s Guide is here.
Best
Al
PS Latest ebay cheat sheet is here.
PPS More HO scale trains here if that’s your thing.