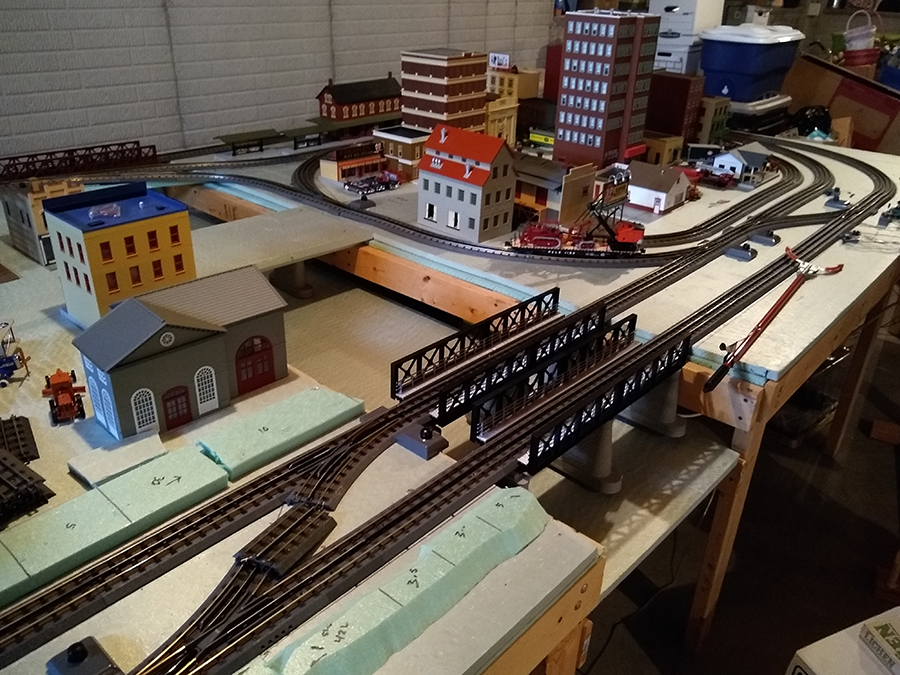
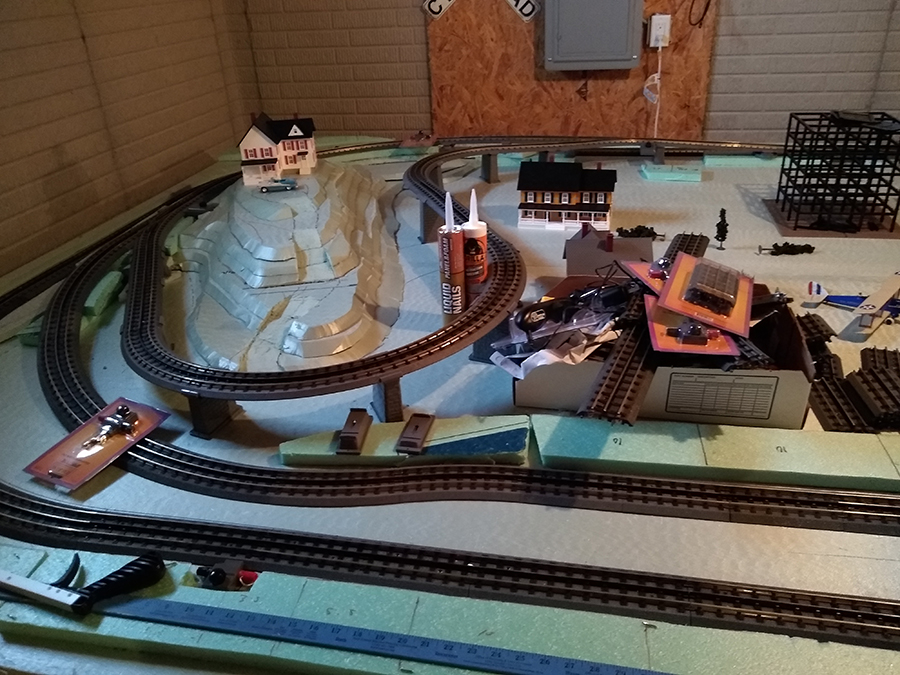
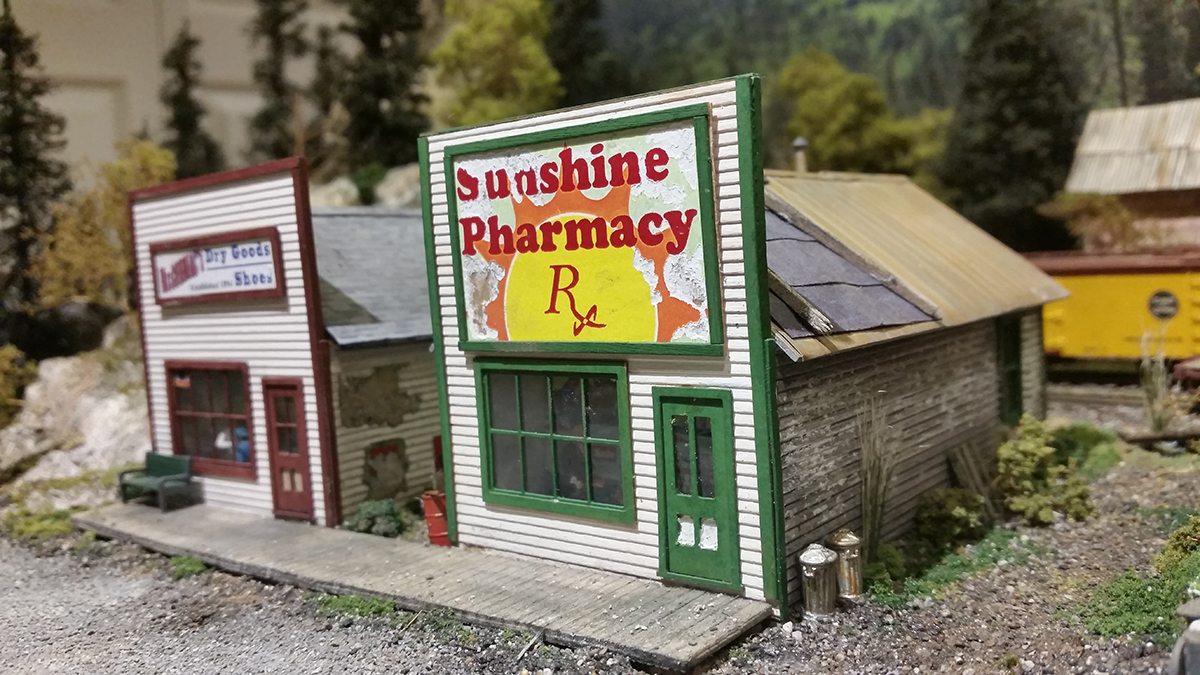
Peter’s been back in touch with his HO scale farm buildings.
You can see all his posts here. It’s fantastic to see a layout come to life like this.
“Hi Al,
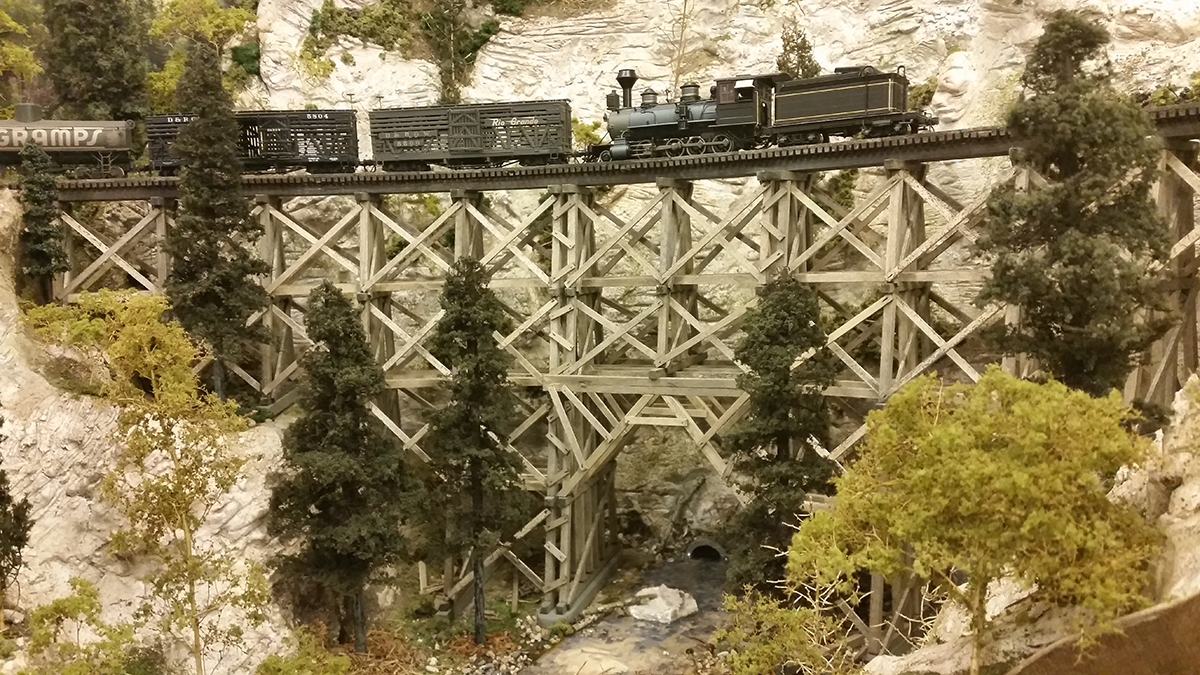
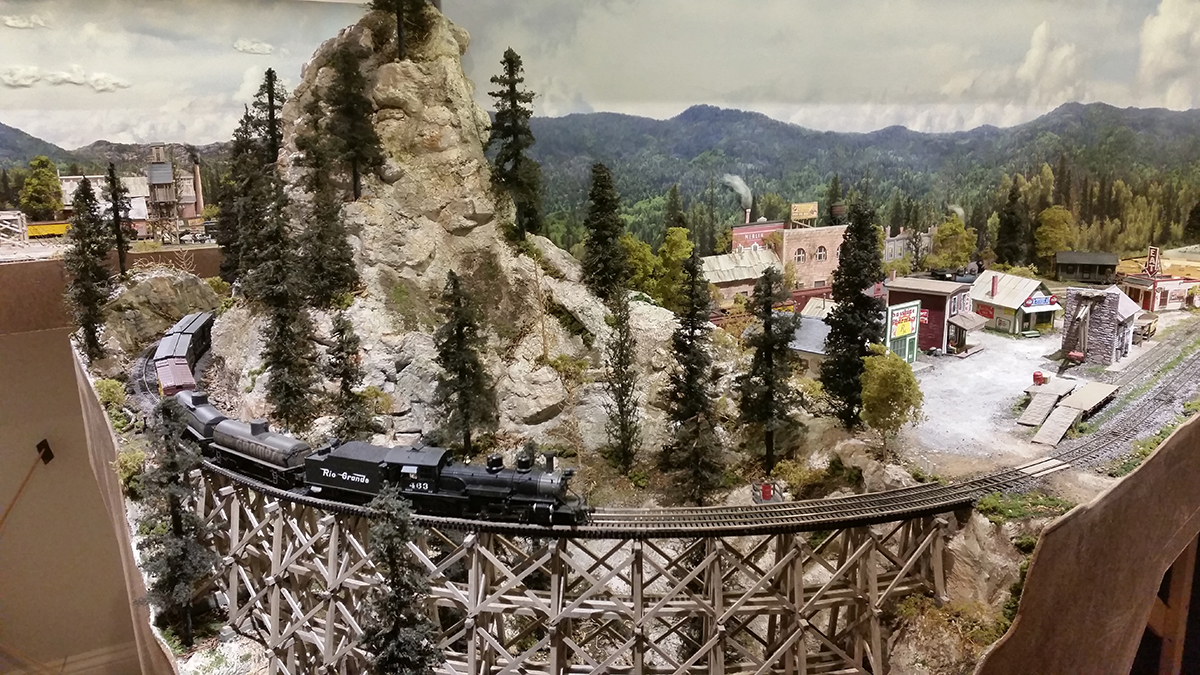
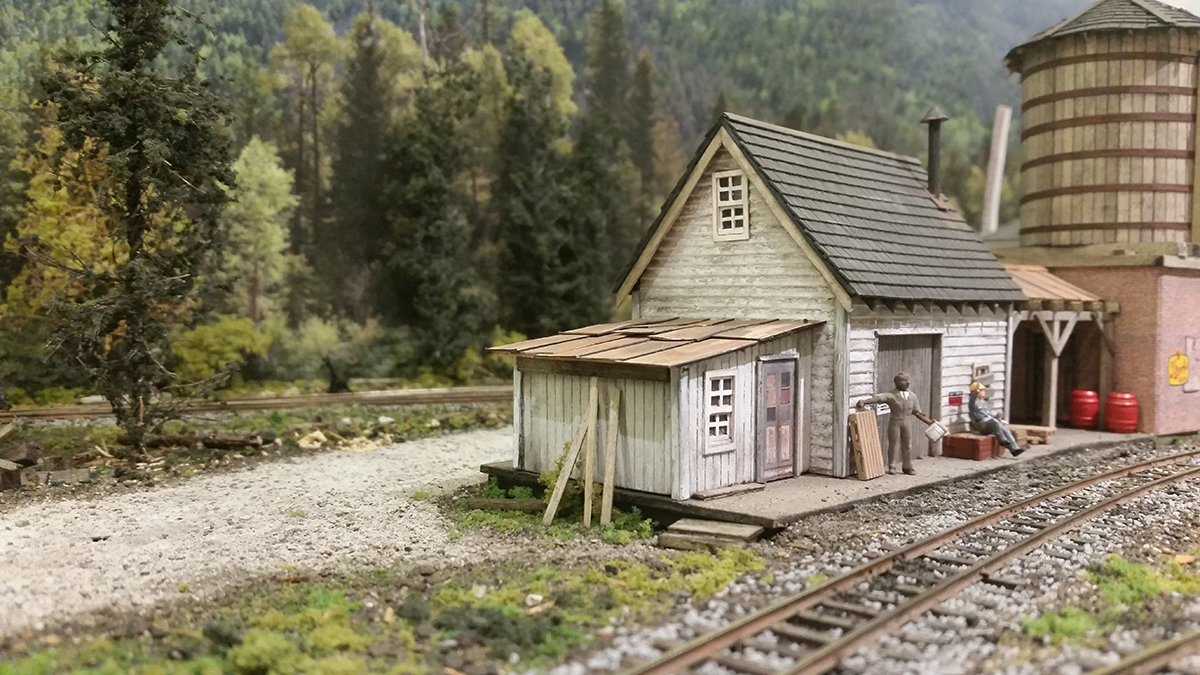
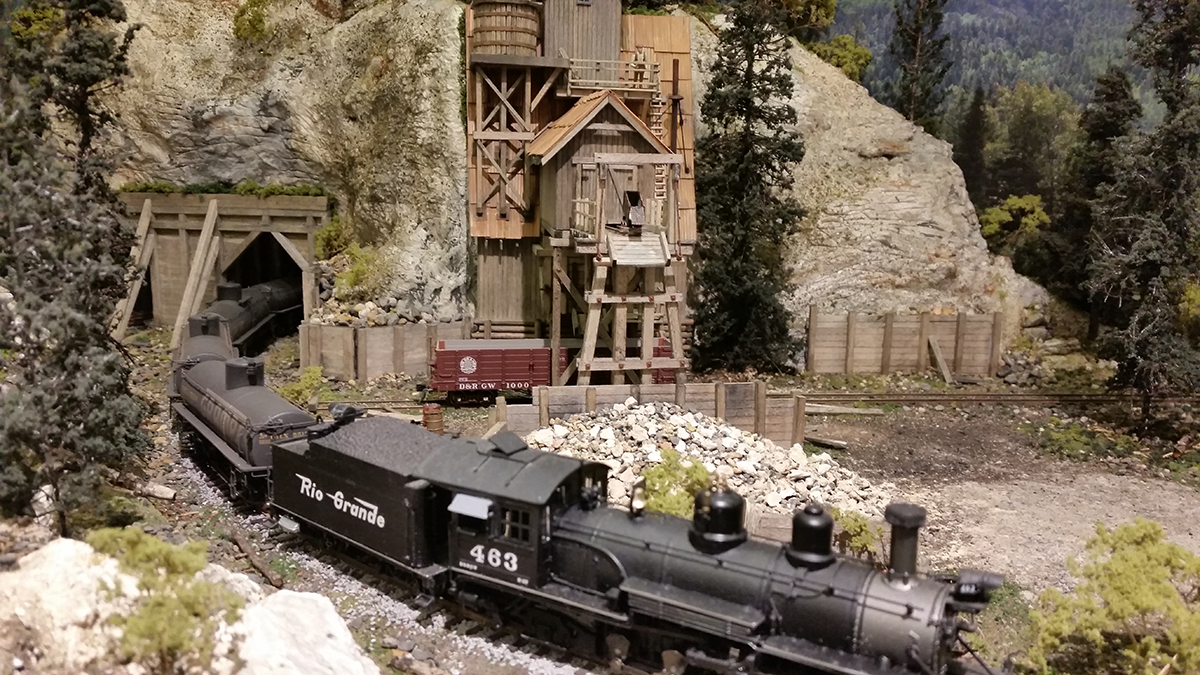
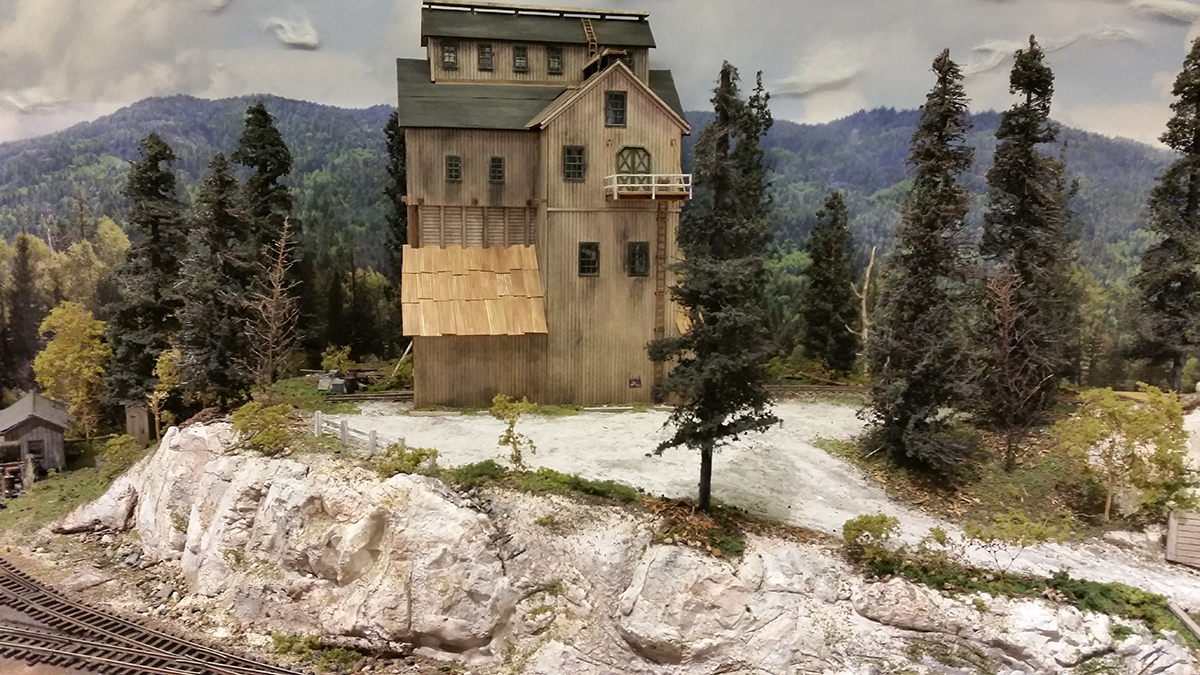
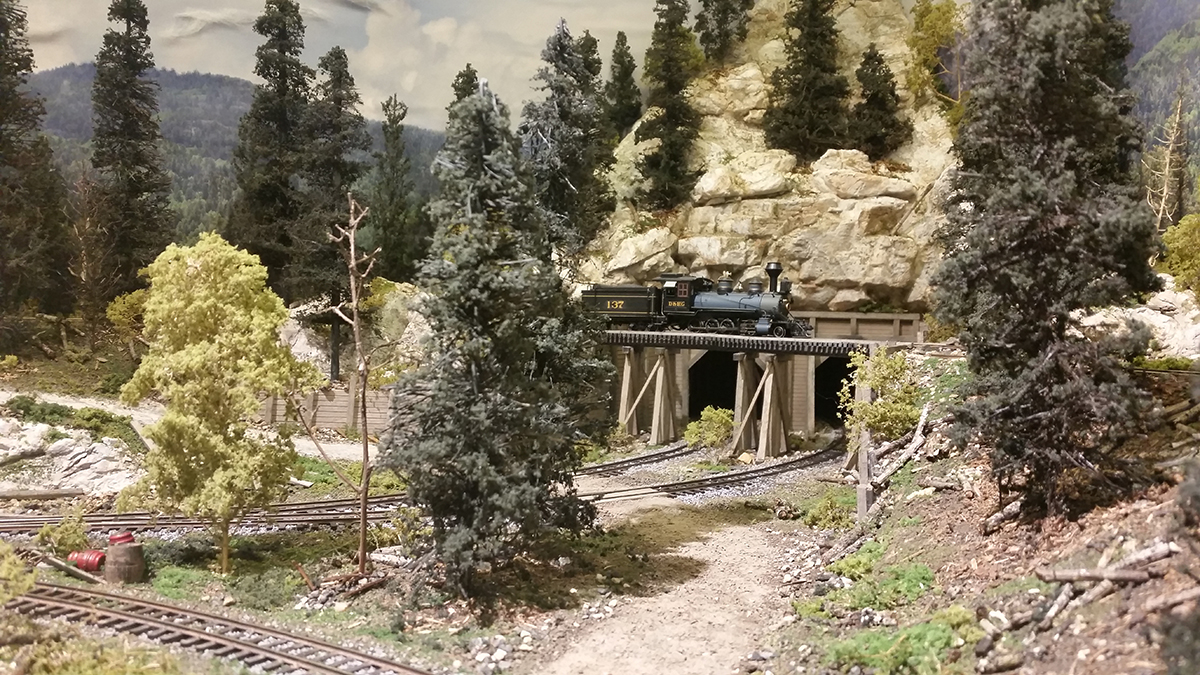
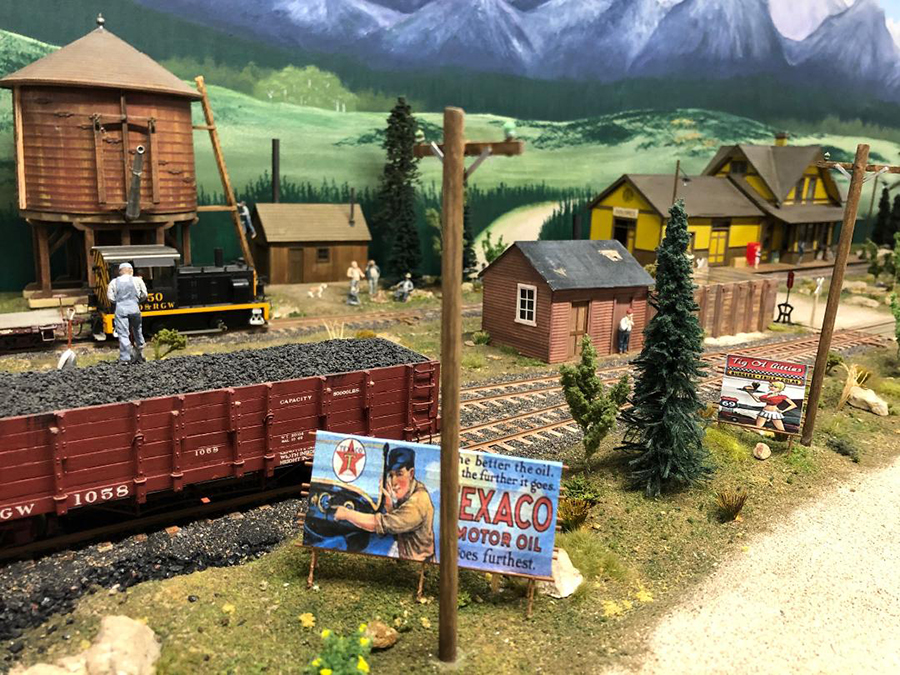
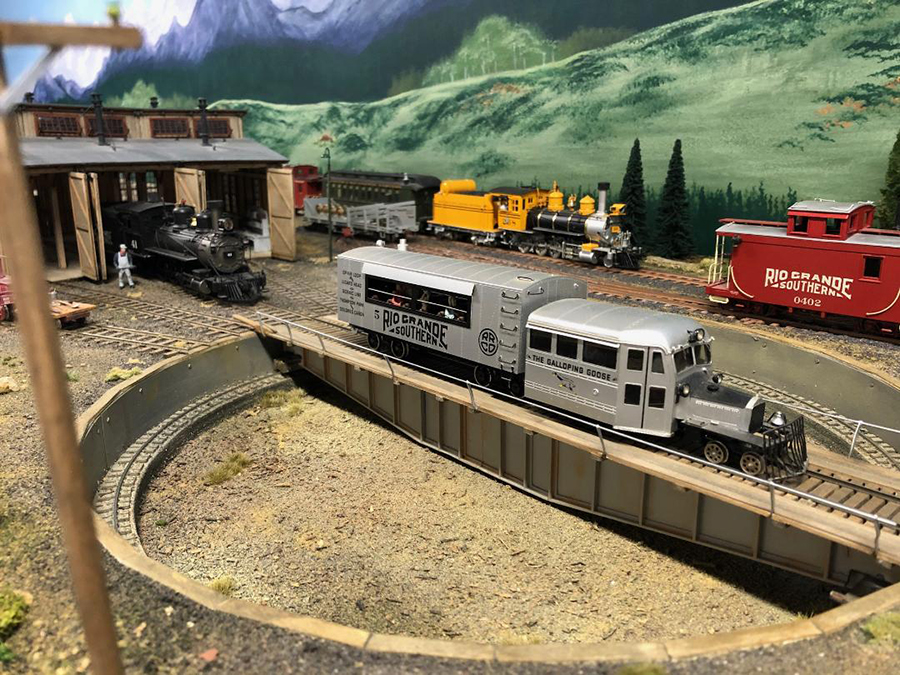
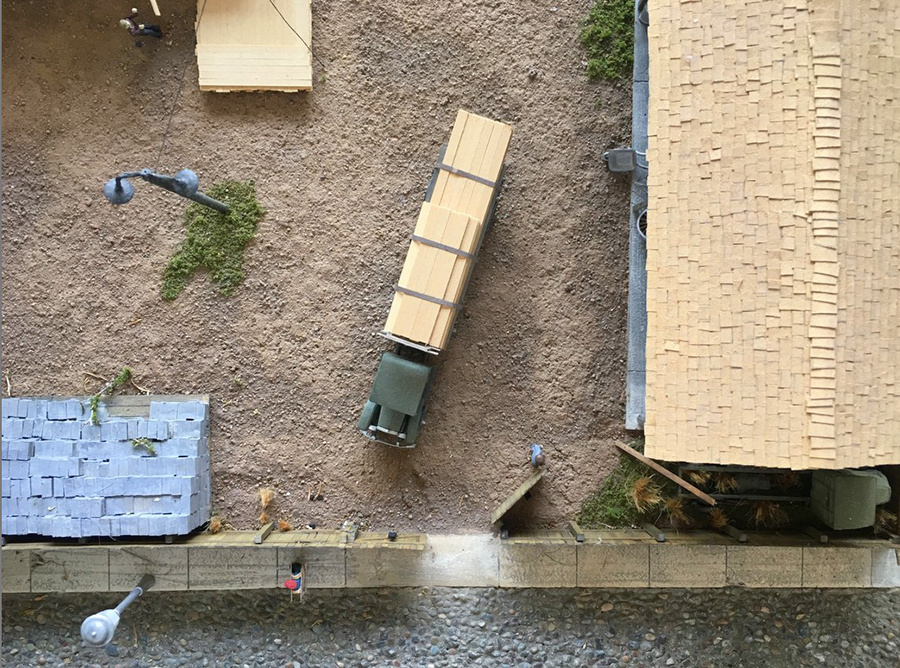
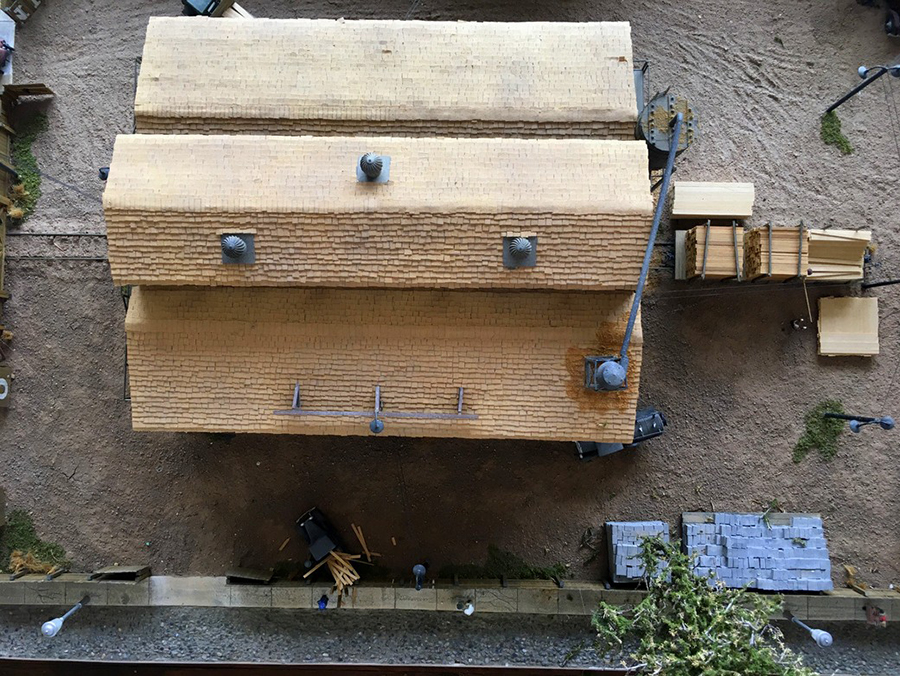
Working on the On3 portion of my layout.
Still track work to be done running behind the buildings. More trees to add & grass tufts.
Peter”
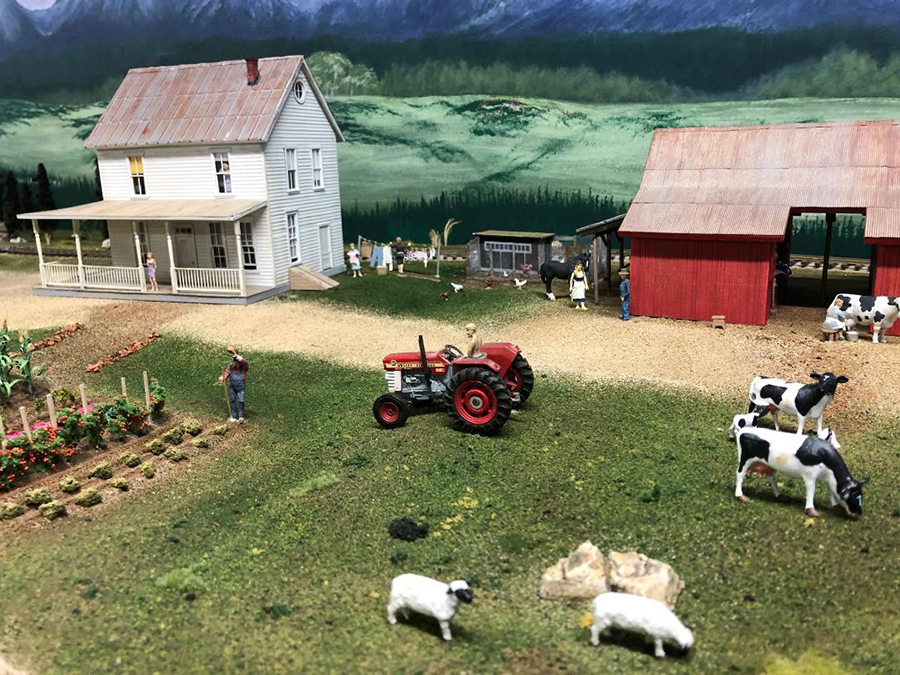
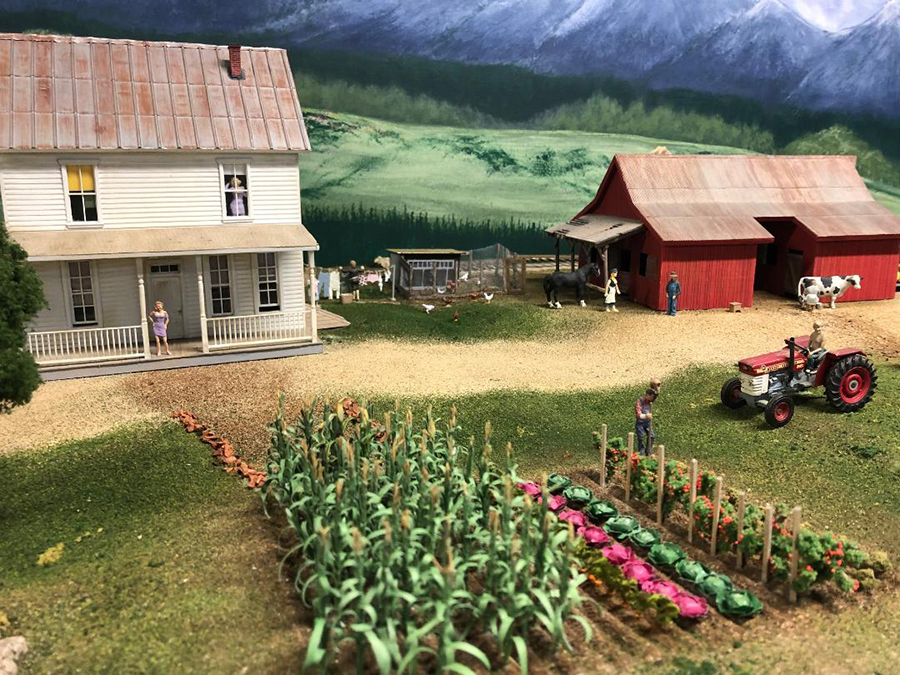
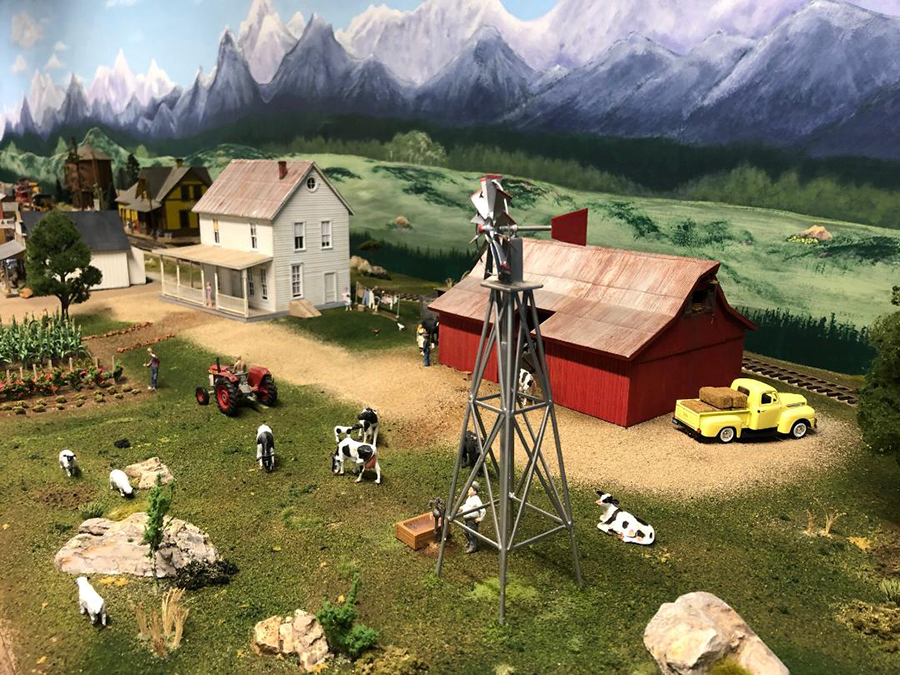
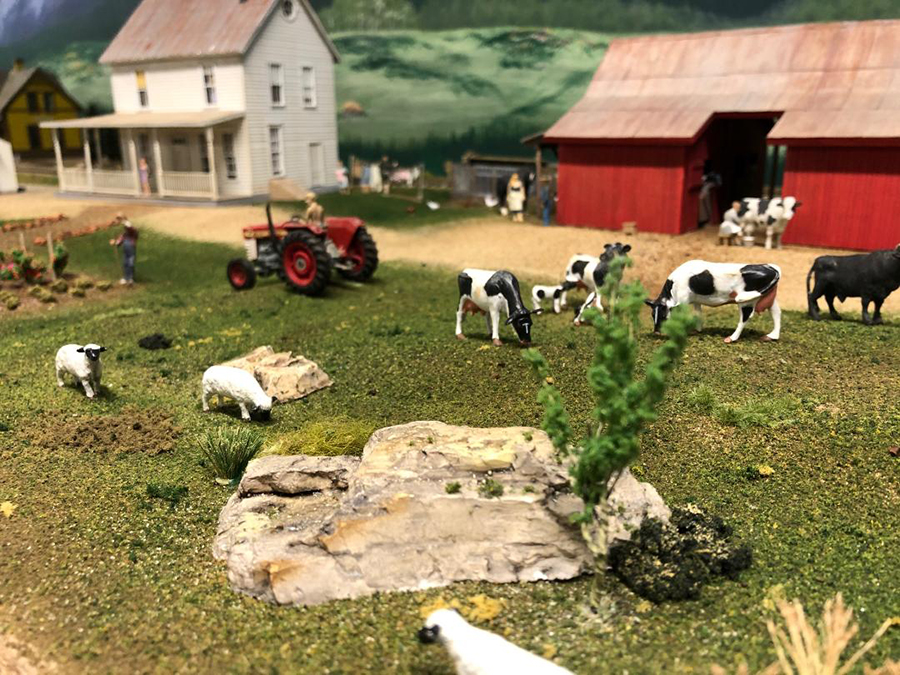
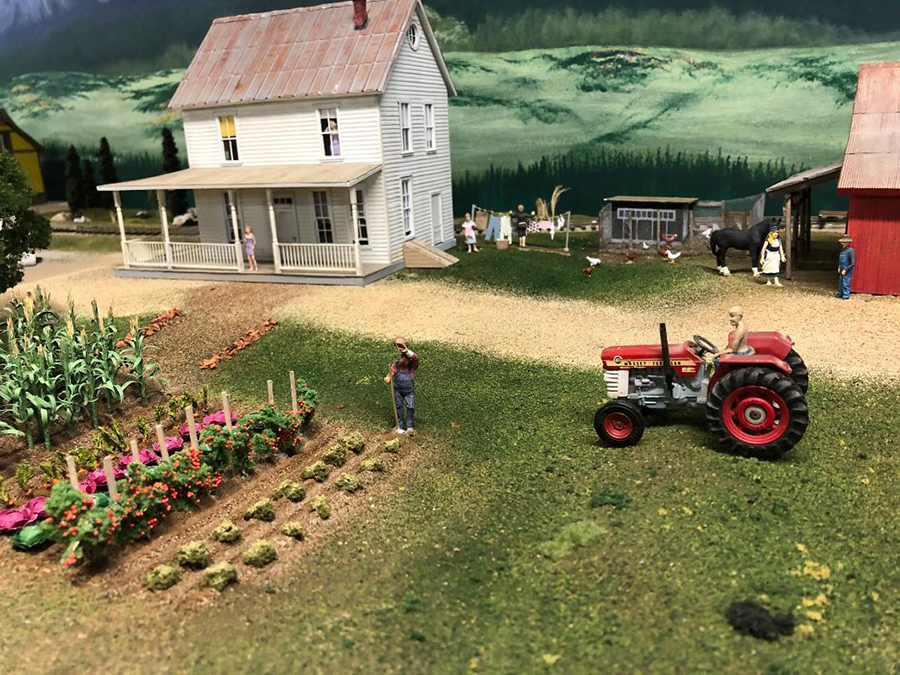
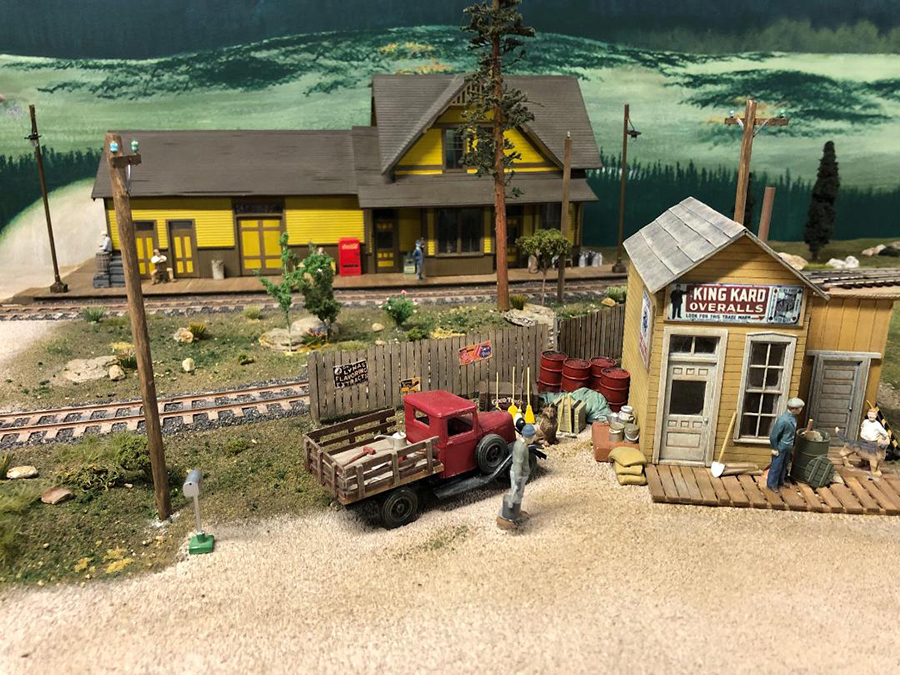
HO scale farm buildings:
Peter’s layout made me think of Mike’s: HO scale farm scenes.
Now on to Tim:
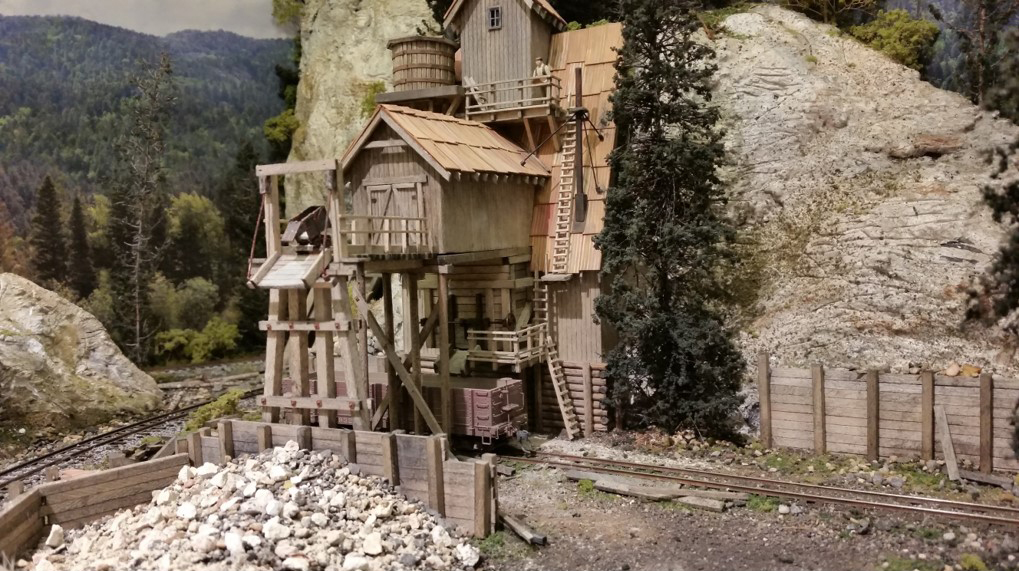
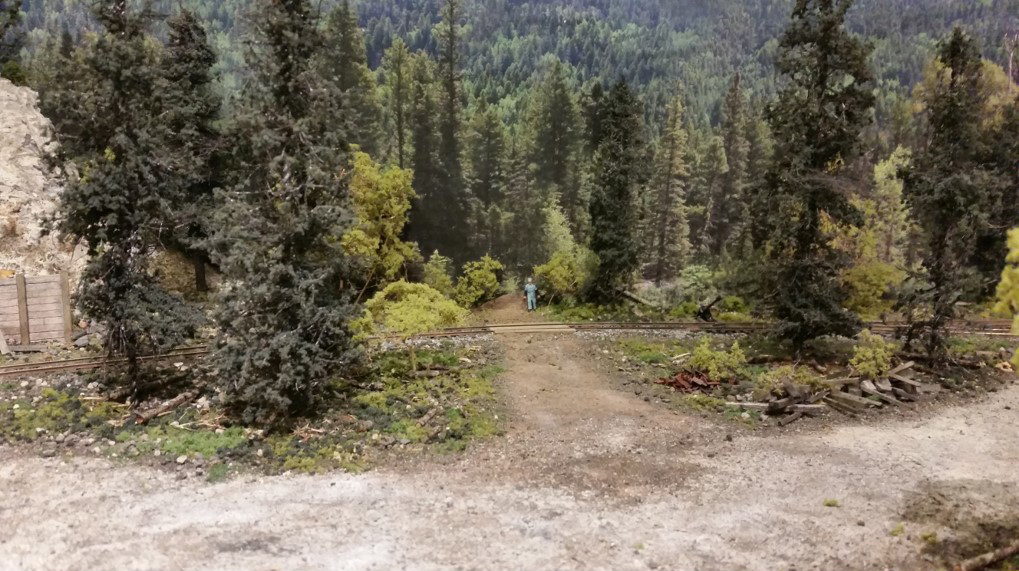
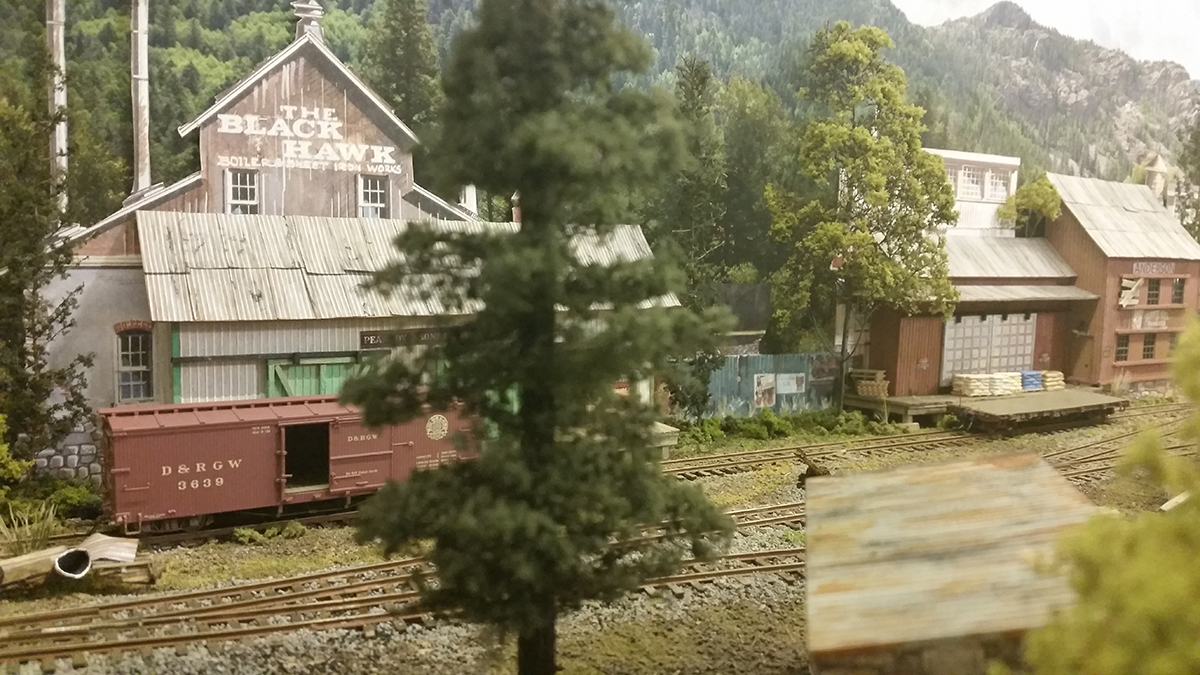
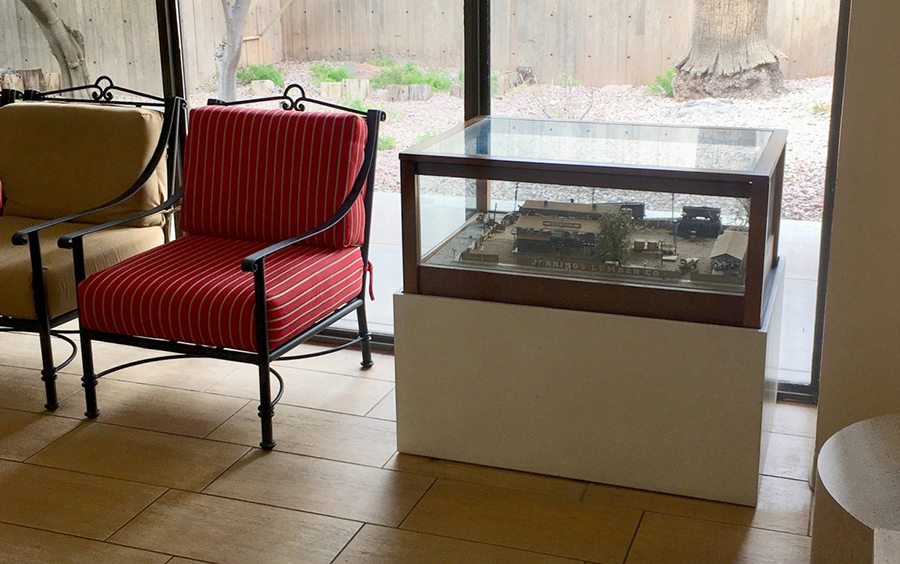
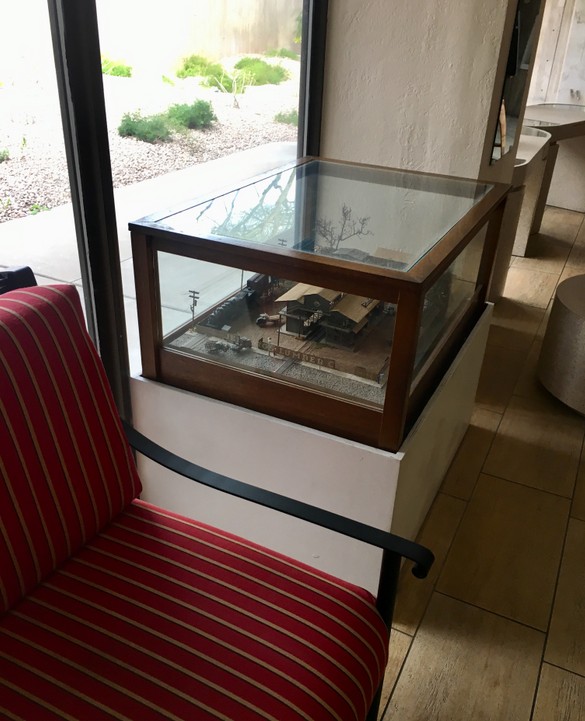
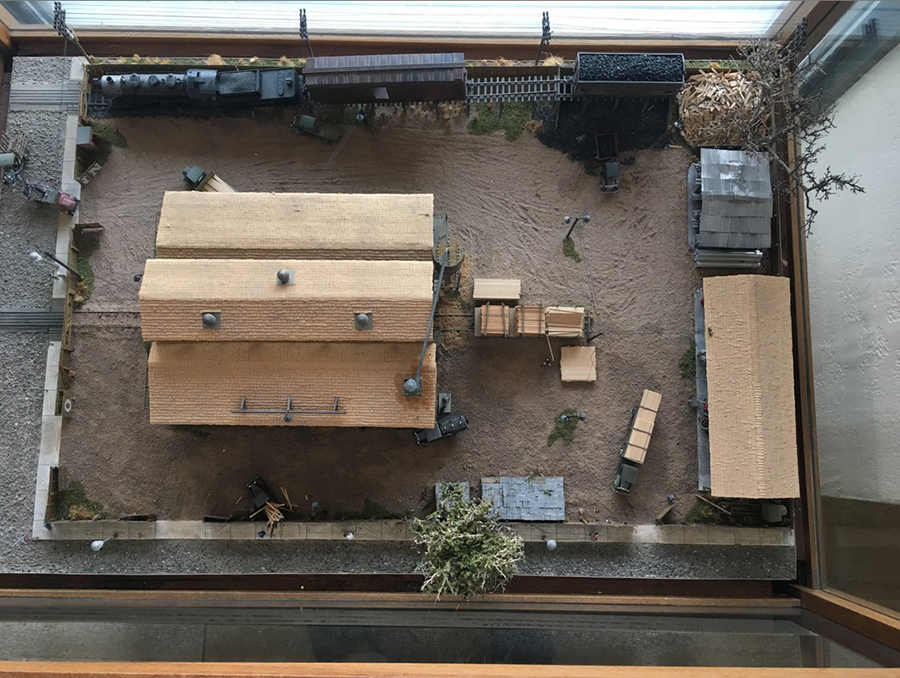
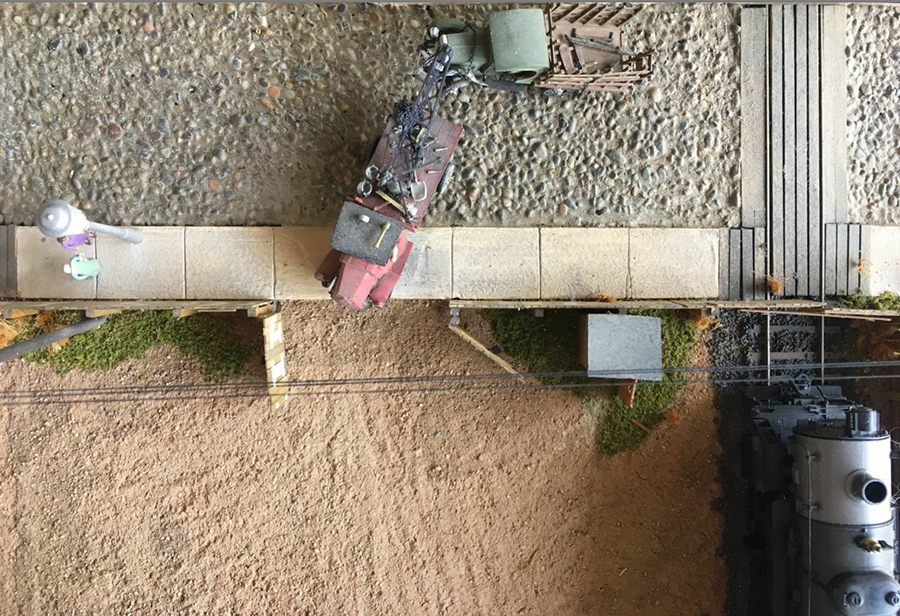
“A nice teenager was a bit too young for a summer job. He kept his agile brain and hands busy and built a diorama from the Jennings Lumber Company kit.
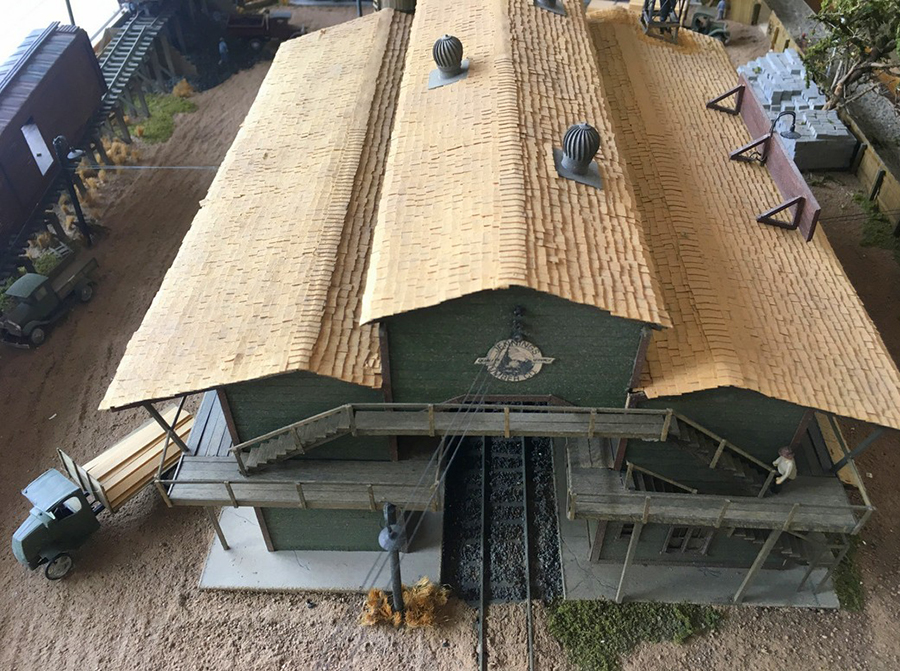
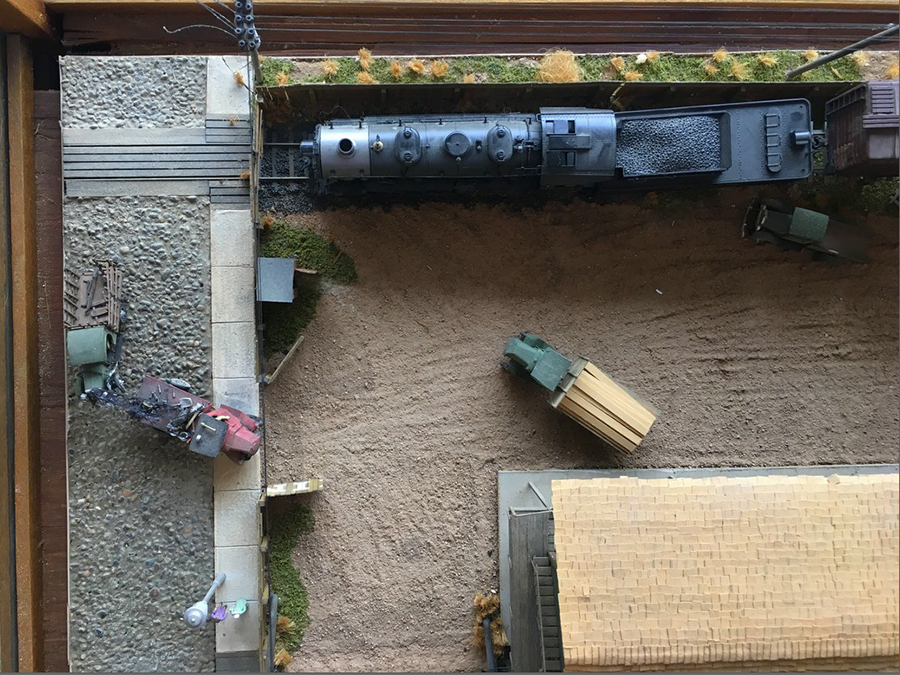
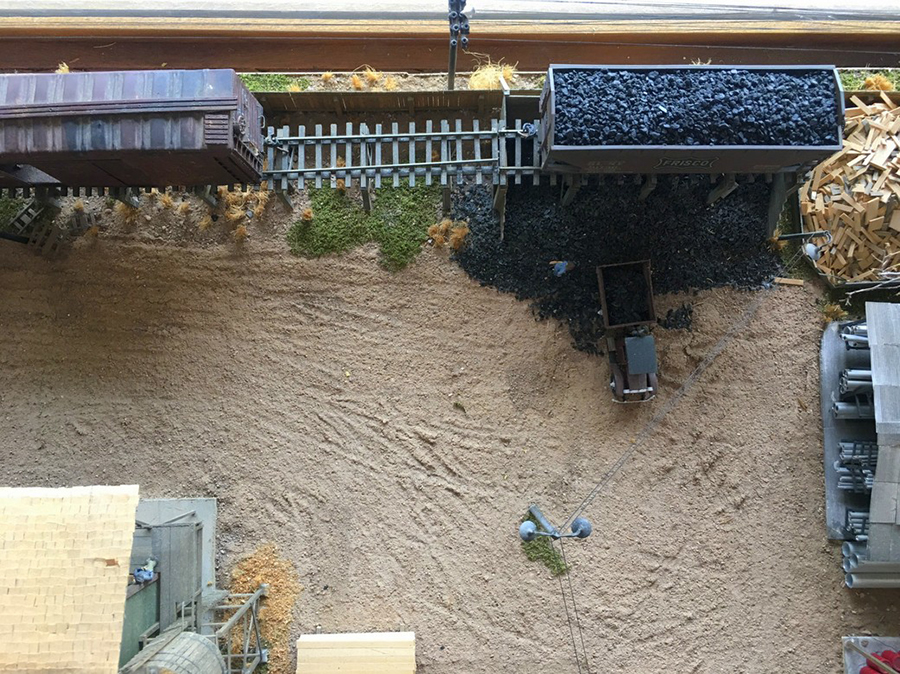
The kit is still available online for $150-$200 un-assembled from Scale Structures Limited. And what a job Tim did! Look at the detail, you can even see tire tracks in the dirt. Tim added a lot more detail to the basic kit and then built a stand and surrounding glass and frame for protection.
The diorama went on a journey, residing for a time at the local historical society and then the railroad park in Scottsdale Arizona. Eventually it became a fixture at the train store that Tim’s father ran in Mesa, Arizona. I enjoyed visiting the store for years, and although I never met Tim’s father, who became ill, I was charmed by Tim, his wife, employees and a couple of friendly cats.
It was a gathering place for us train geezers! Finally, it was time for Tim to move on and he closed the store, selling all the fixtures. I approached Tim and said, “You don’t want this winding up in someone’s basement or garage, sell it to me and my patients will enjoy it every day.”
We agreed on a price, separated the display from the base, loaded the two parts into my SUV and I carefully drove it a few miles to Scottsdale. I put a fresh coat of paint on the base before reassembling the parts, and, yes, I’m proud to display Tim’s work at my Ophthalmology office.
The only change to his work is I added an old locomotive and a few HO train cars, but otherwise it is just as he created it more than forty years ago!
My prediction was true, it is a guy magnet and patients passing by my office window often come in to ooh and aah.
Thanks, Tim!
Dennis Cooper, M.D.,
Scottsdale Arizona”
A big thanks to Peter for sharing his HO scale farm buildings, and to Dennis too.
Peter’s layout is quite something. I went back though his old posts when I added the link above. What a journey! Can’t wait for the next update.
That’s all for today folks.
Please do keep ’em coming.
And if today is the day you get started on your layout, the Beginner’s Guide is here.
Best
Al
PS Latest ebay cheat sheet is here.
PPS More HO scale train layouts here if that’s your thing.