HO scale coal trucks

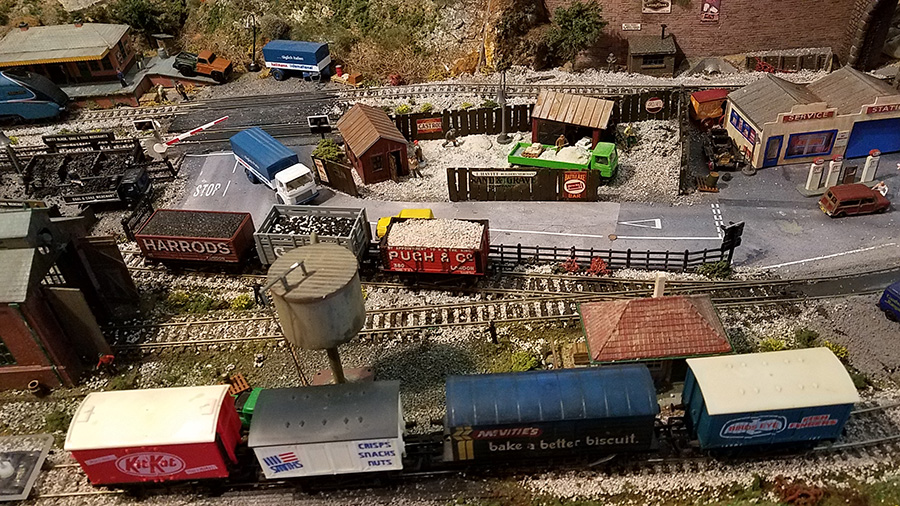
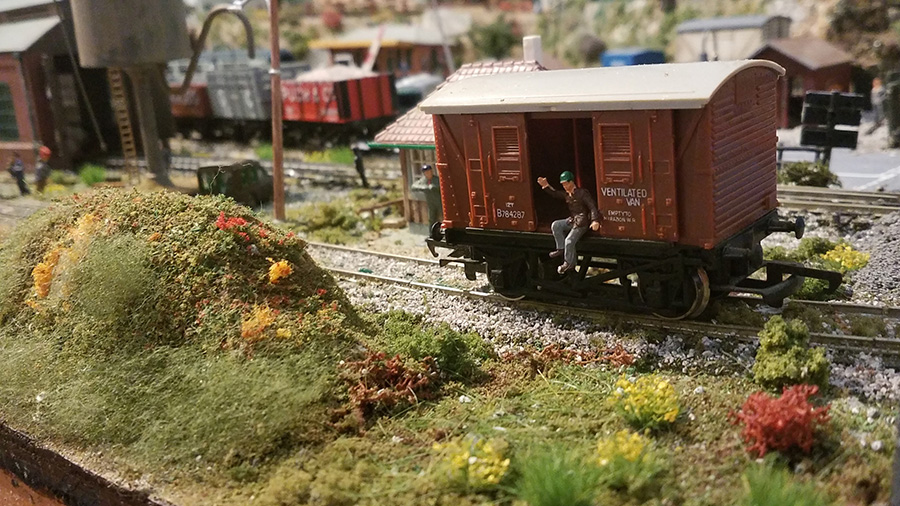
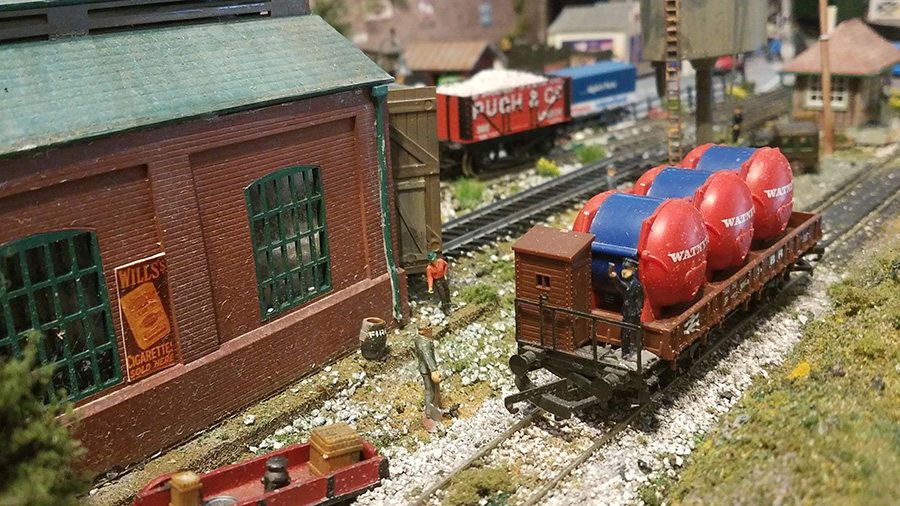
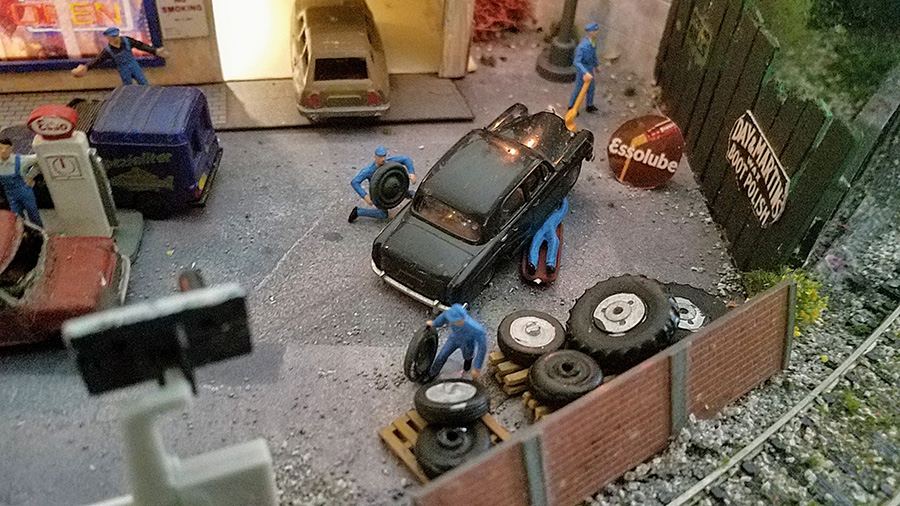
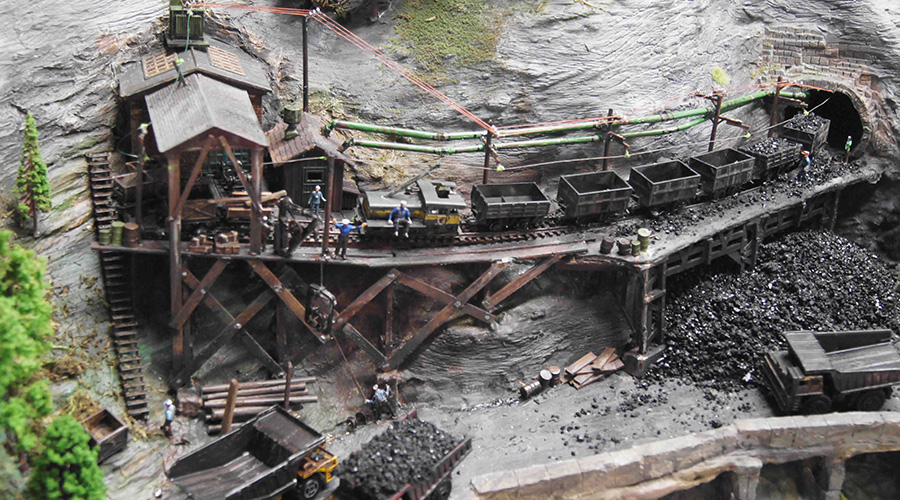
John’s been back in touch again – this time he’s added some HO scale coal trucks to his new mine entrance:

Last time we saw him working on a his mine module (you can see that, here).

This time, he’s slots it in to place on his layout.

Stunning stuff as usual:

“Hi Alastair,

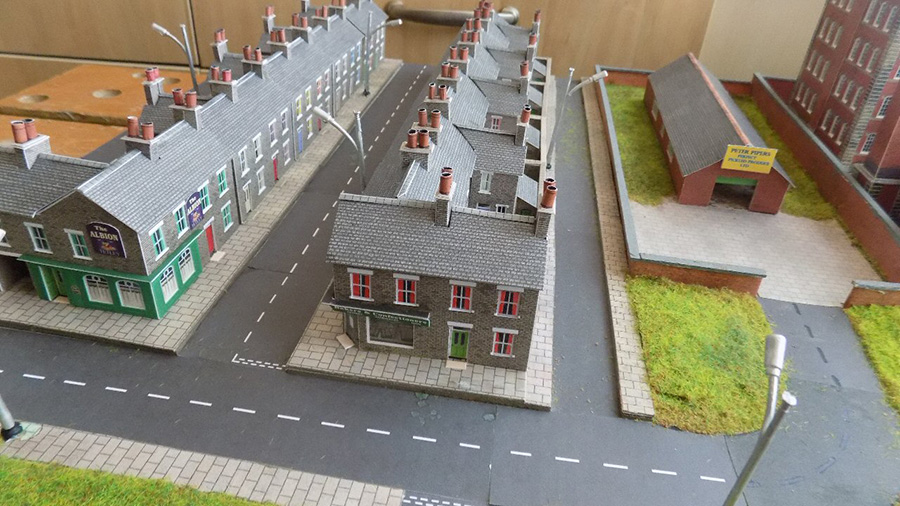
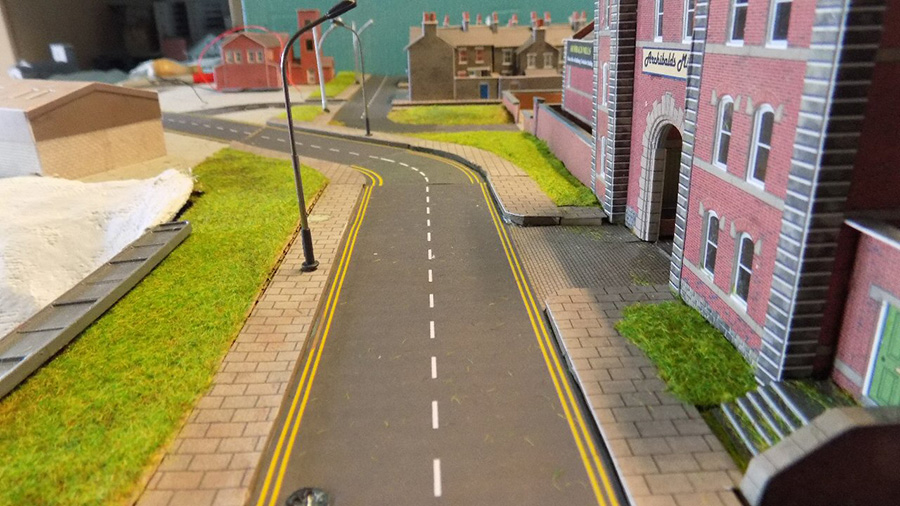
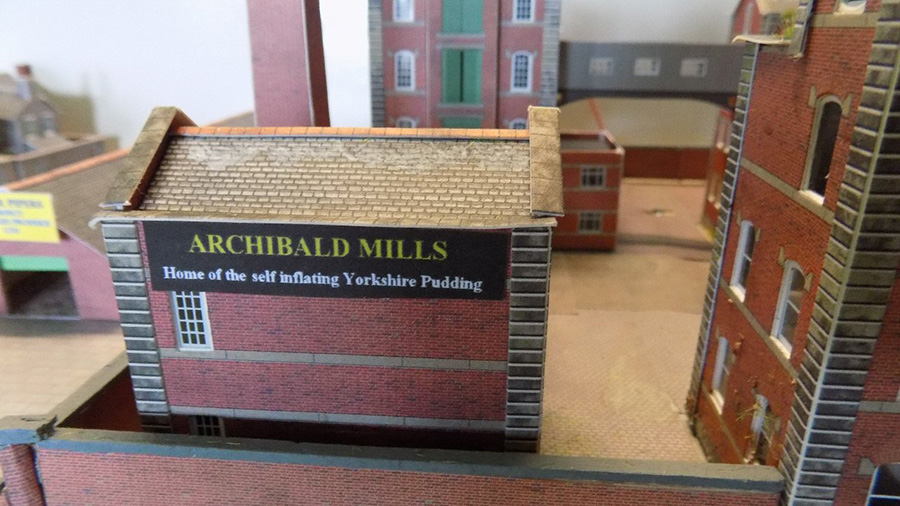
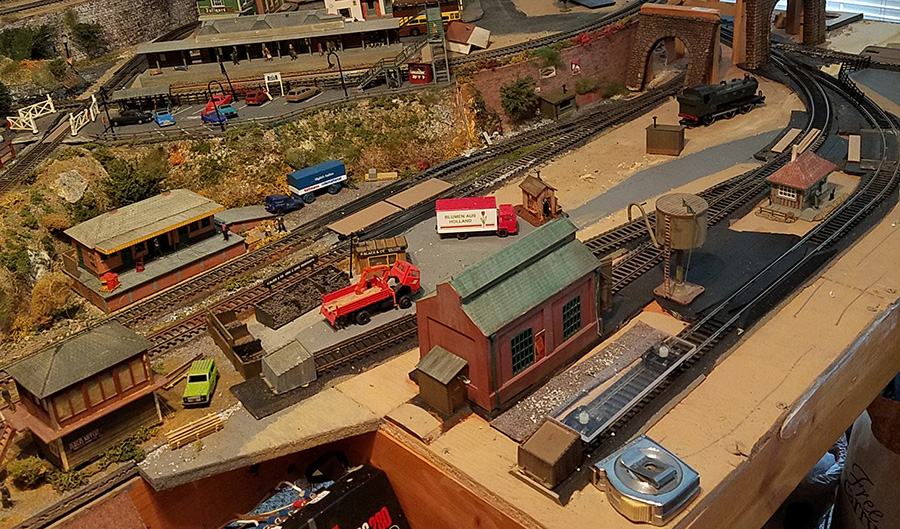
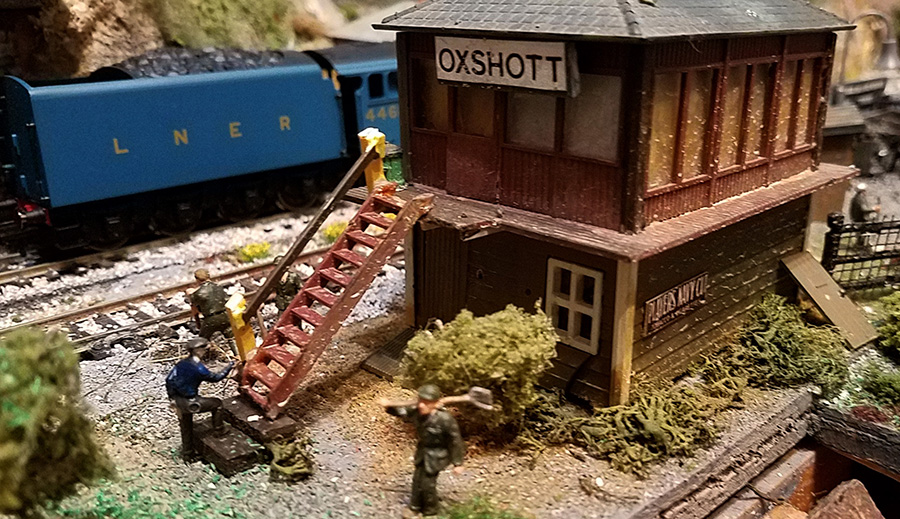
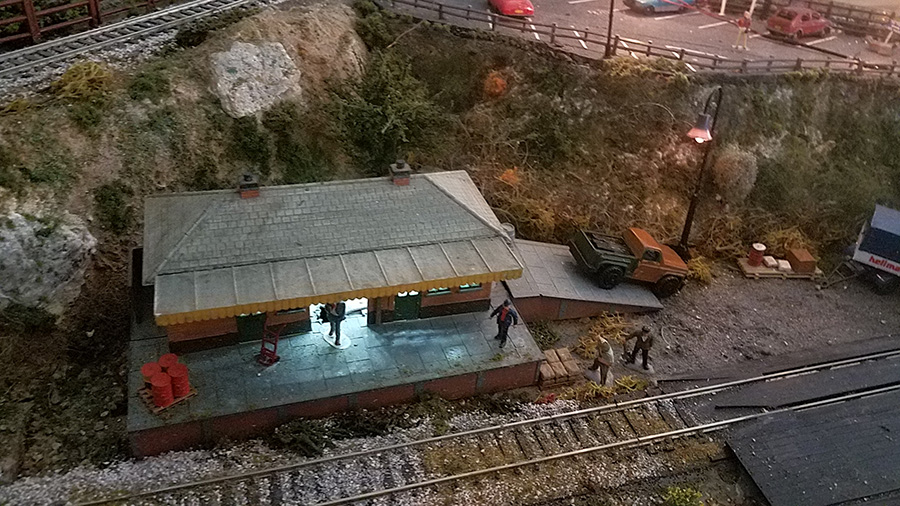
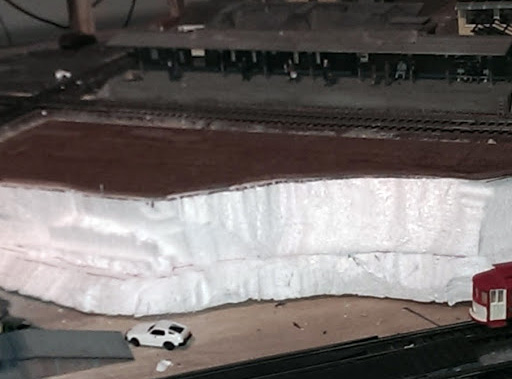
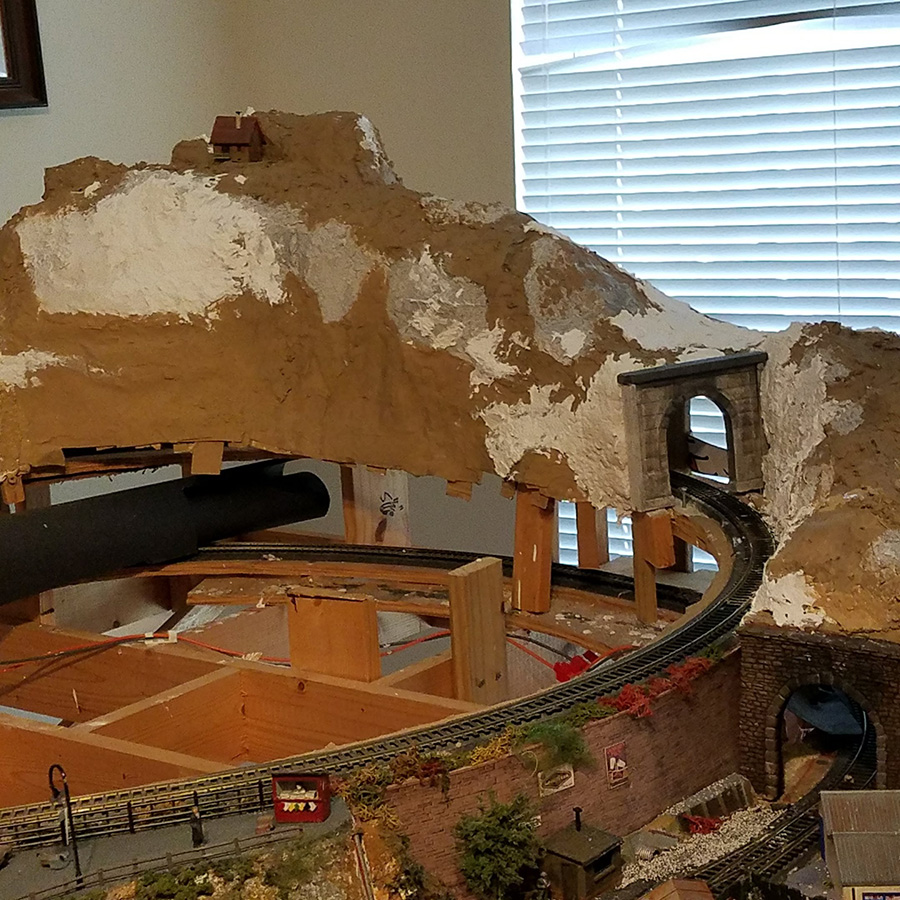
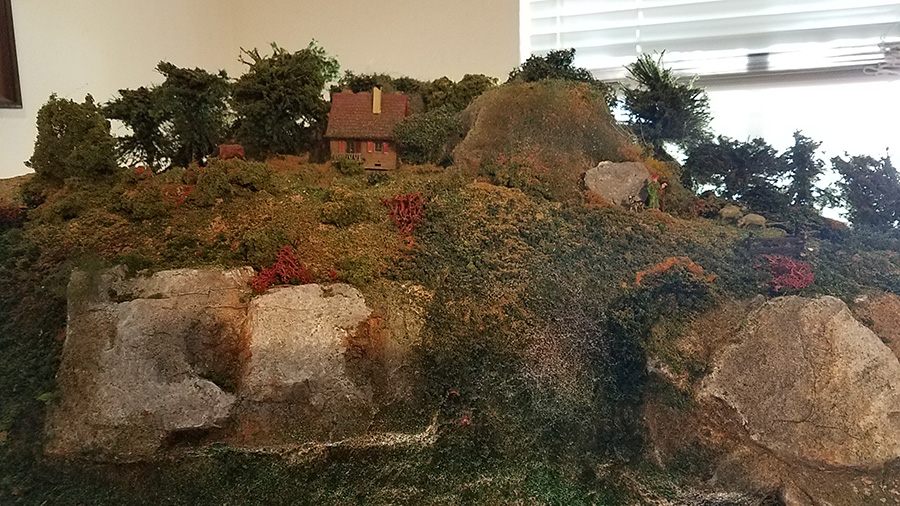
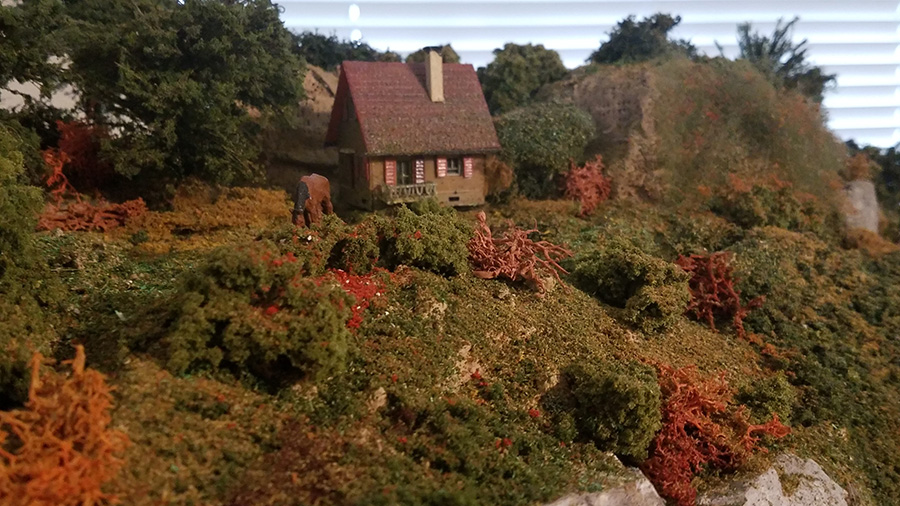
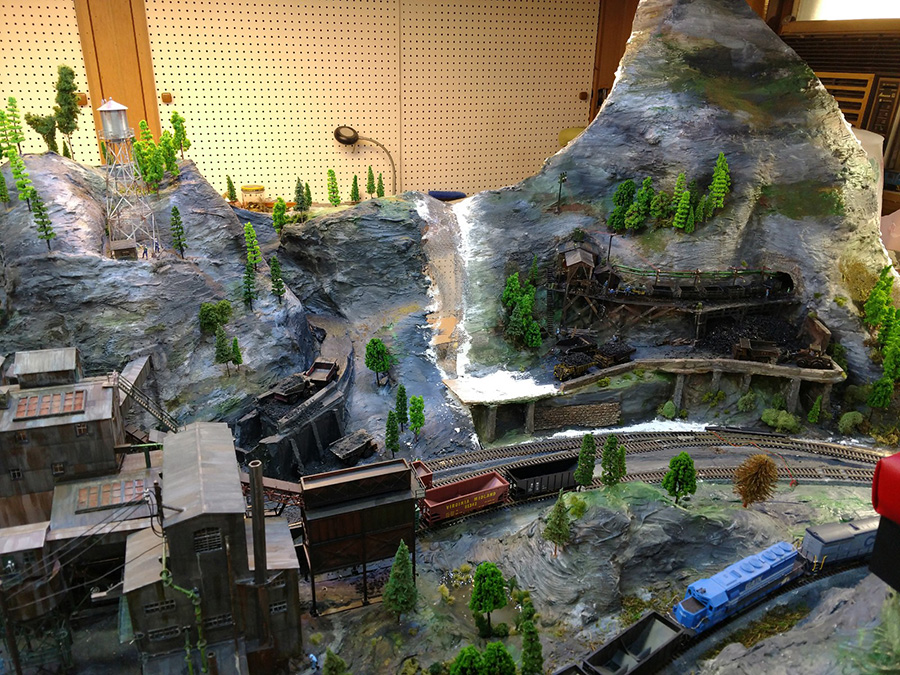
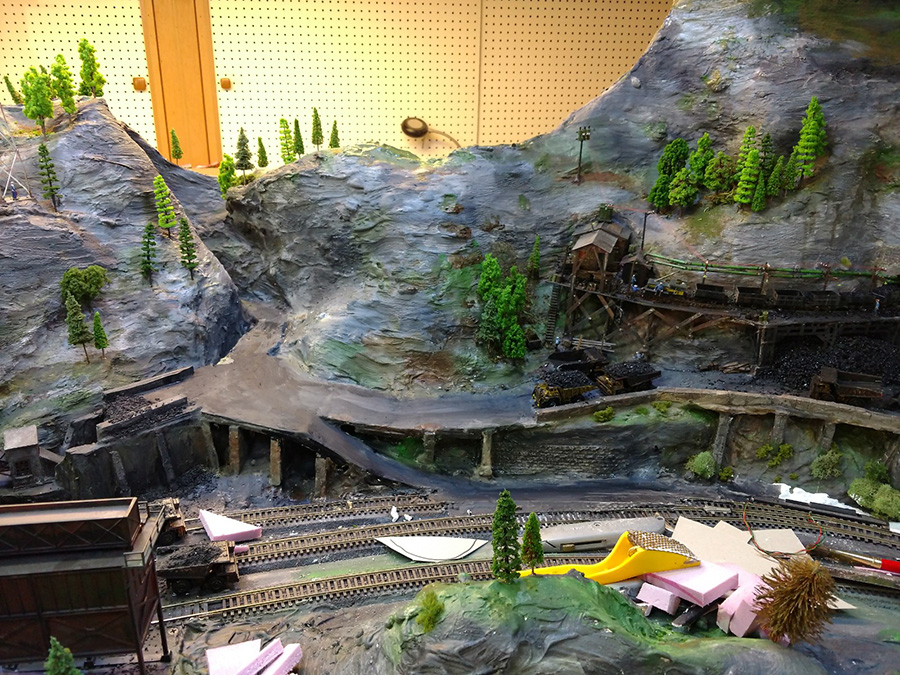
The mine module featured on my last email to you is now ‘home’ next to the ‘newer’ mine placed some months ago.

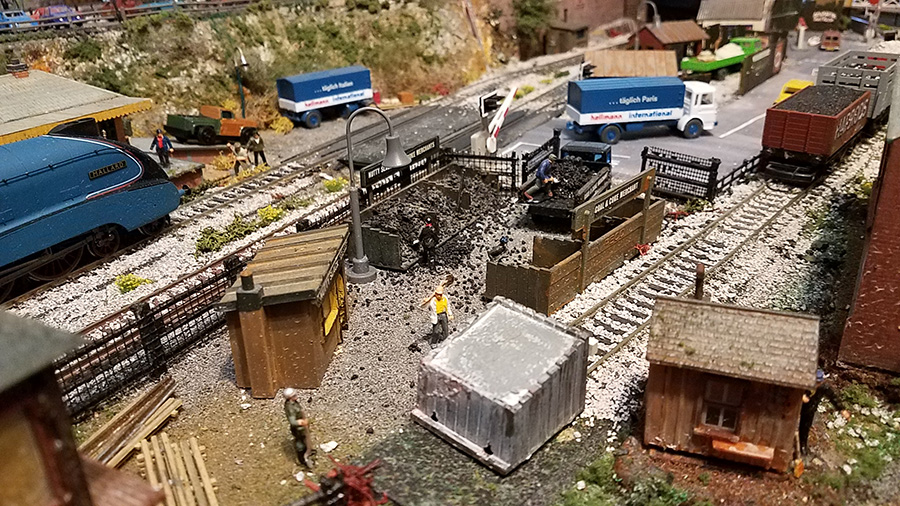
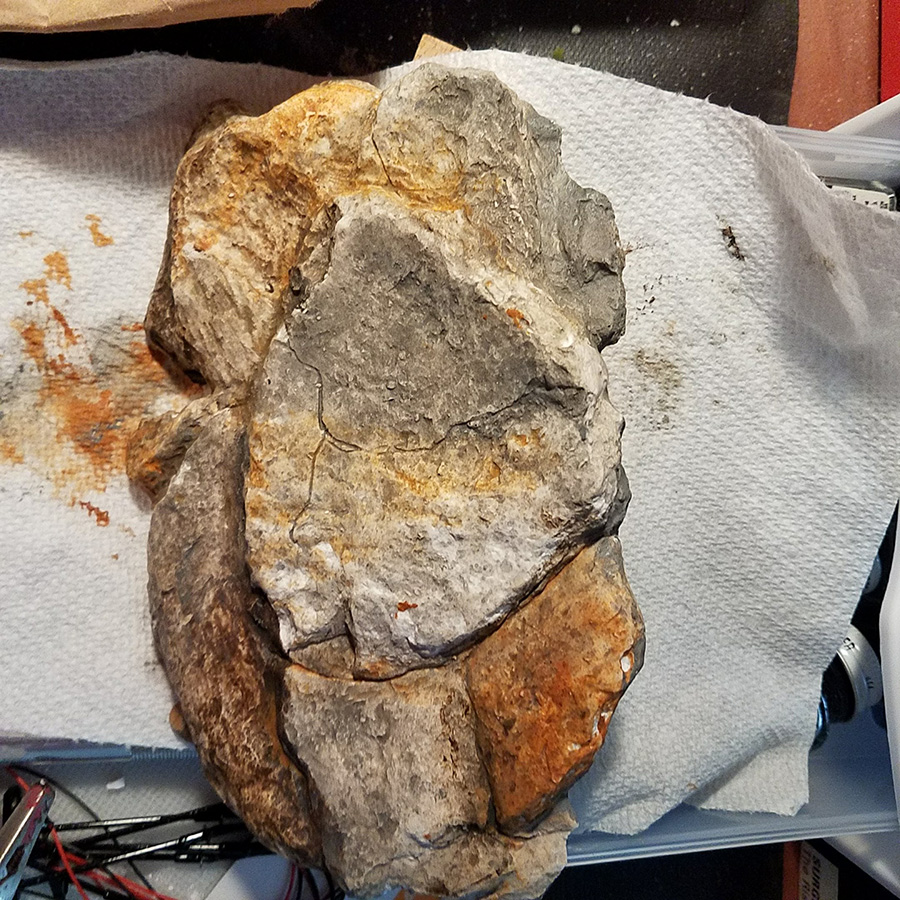
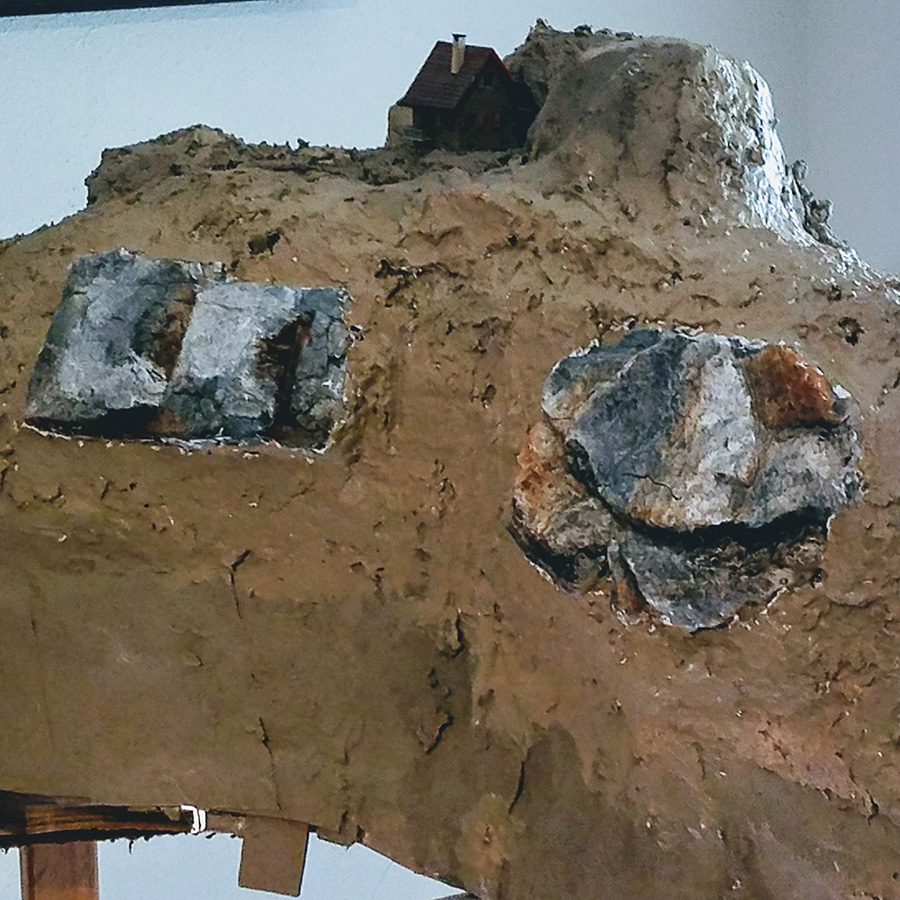
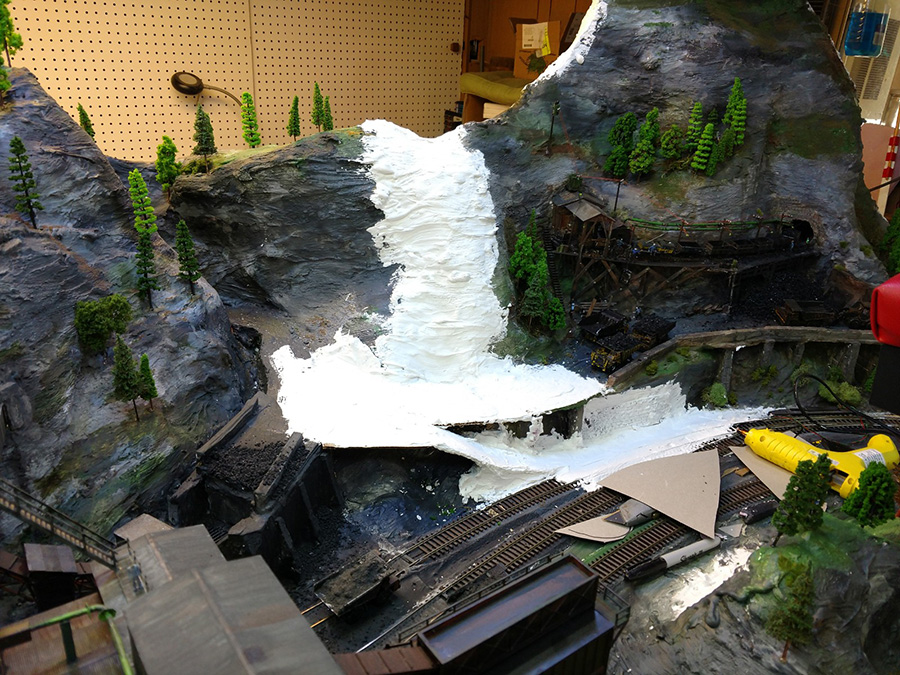
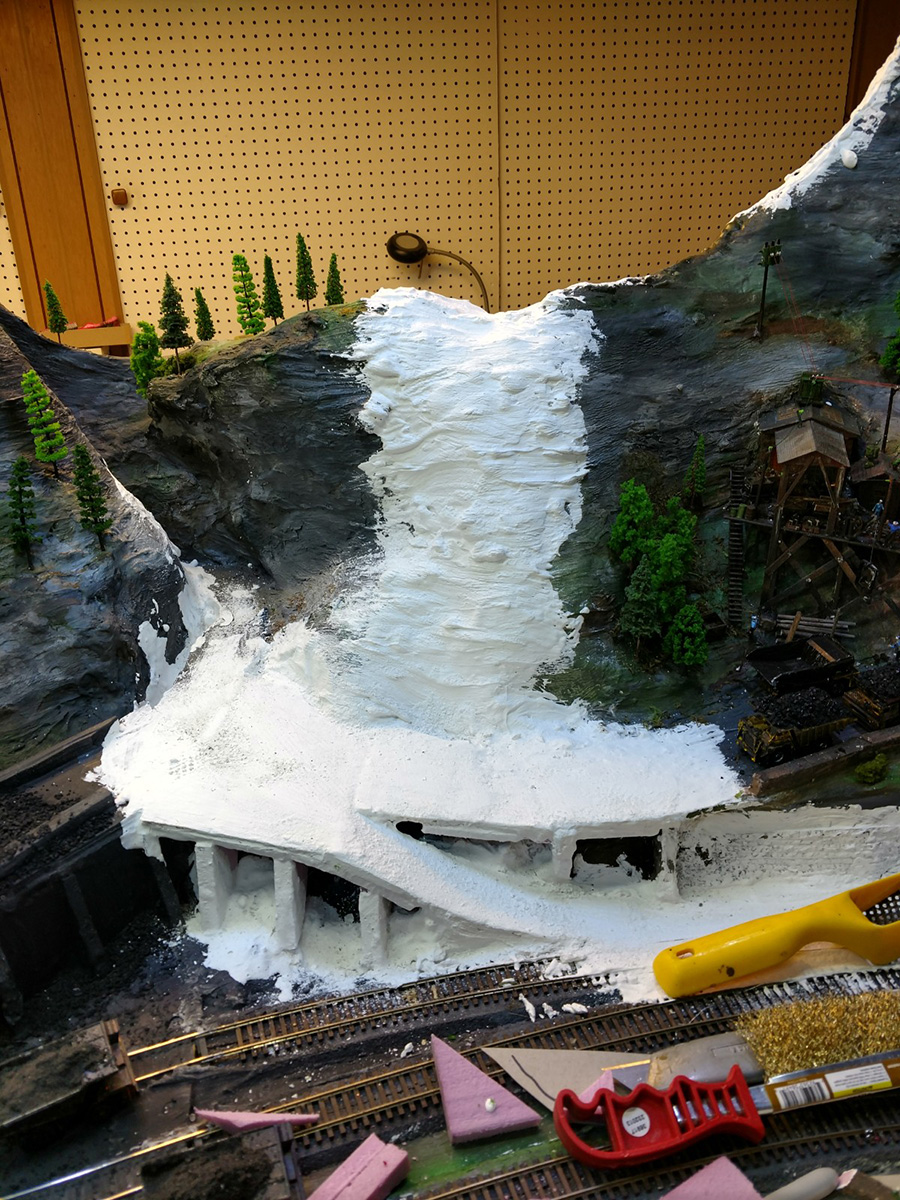
The pictures show it as I blended in the mountains and plaster work. Looks like my measurements for how the mountains would fit worked pretty well.

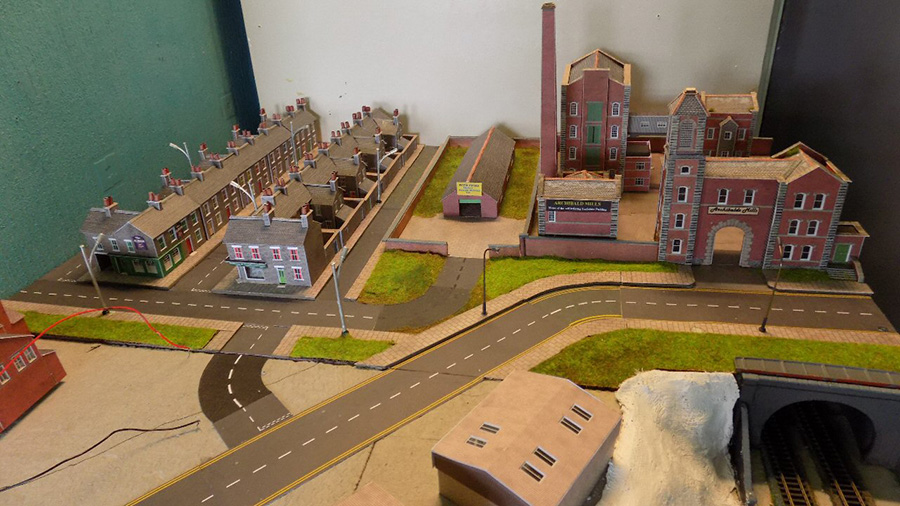
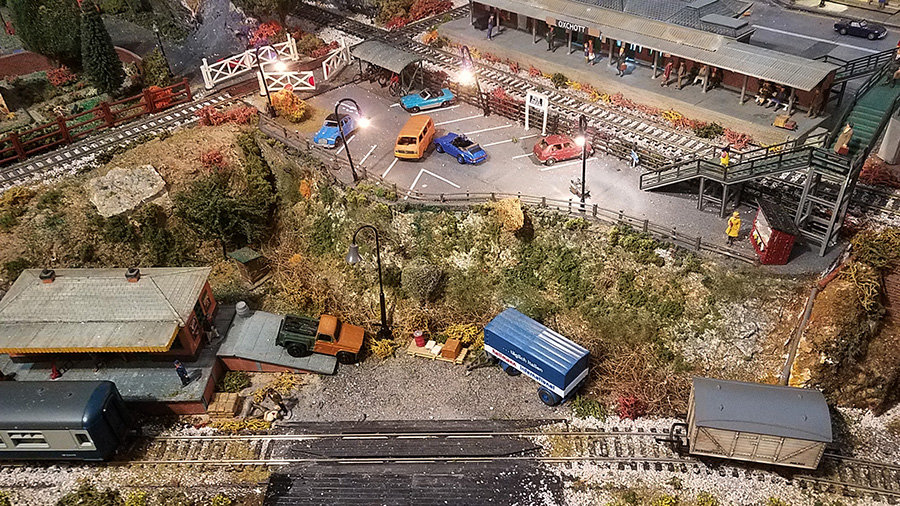
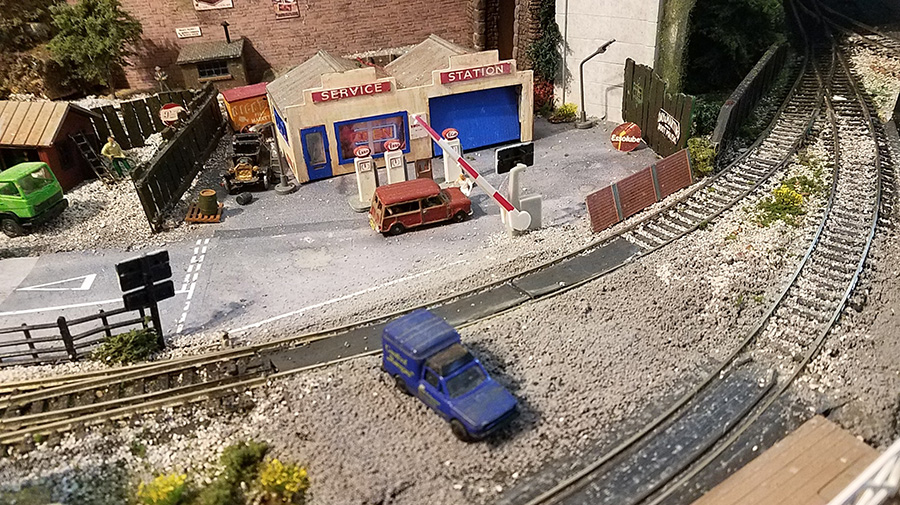
Next steps are add the guard rail blocks along the coal truck passage, clean-up of the siding rails and general adding of vehicles and stuff to add the look of clutter and life. A machine shed for the mine trucks and parking area for mine employees will go to the right of these modules and complete this side of the layout.

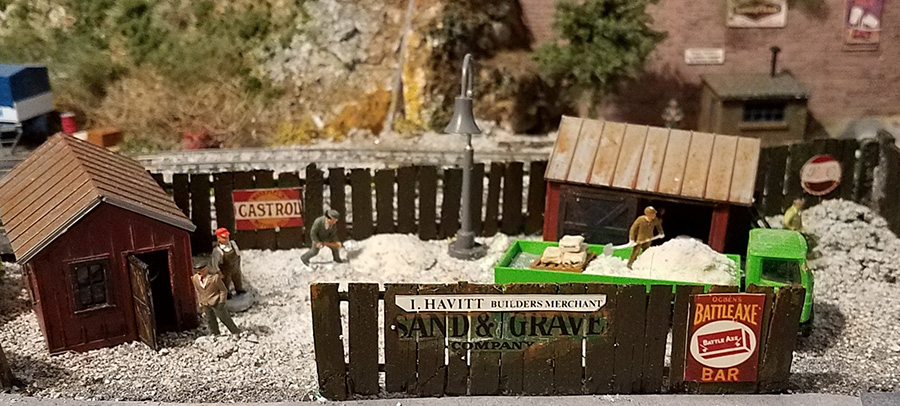
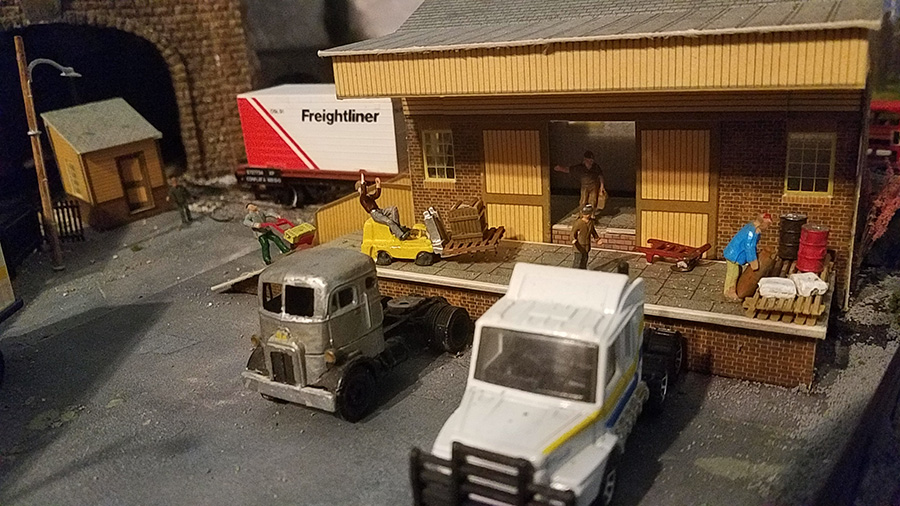
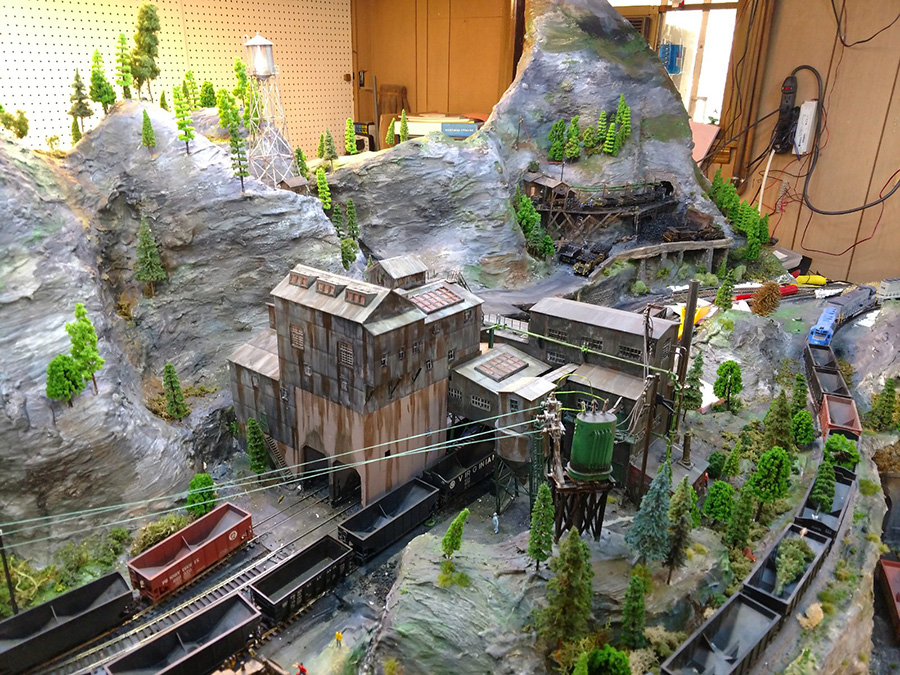
I took heart from a comment on the last post about being able to go back to a picture and pick out more detail, so I got busy on the machinery sheds for the old mine and added more stuff.

I’ll be back in touch when the back-drops are painted and installed.

Thanks to you and the many friends I’ve never met,

John From Baltimor”

HO scale coal trucks

model railroad mine plaster mountain

model railroad mountains

model railroad mountains

model railroad mountain

HO scale coal trucks

A huge thanks to John for sharing his HO scale coal trucks. It’s so wonderful to see this layout come together. I do love it when I see his name pop up in my inbox. Stunning stuff.

You know what else I like these posts? The comments. And as John says, they are read and taken in to consideration. So please do scroll down and let us know what you’re all thinking.

That’s all for today folks.

Please do keep ’em coming.

And if today is the day you start on your model railway journey, save yourself hours of sweat and tears – the Beginner’s Guide is here.

Best

Al

Latest ebay cheat sheet is here.

Model railway buildings – Eric’s

Eric’s been back in touch, this time with his model railway buildings.

” Introducing Wensdale Revisited…

…My project update 1.

Smeedle I am afraid has now been consigned to the past. An ex workmate of mine gave me a challenge and a half, that was to build a city type layout.

Now to build a city you need a lot of space for your layout and I am limited to my weird shaped 7.5 by 5.5 foot maximum boards with wall and hatchway for access. This makes it almost impossible to put in a city sized station even in N gauge.

So for this scenario we have to decide the station is off screen and just have a twin track double level layout. I have also gone back to my favourite name for the place as Wensdale where my layouts really started out, set somewhere in Yorkshire.

I have managed six sidings on the lower area and six on the first, all are fairly small but adequate. The city is the bit that is going to take the time with this layout which I am calling Wensdale Revisited, the small country town of Wensdale over the years has grown up into a city of sorts. Pics of tracks in next update.

At present I am working on my right hand side of the layout and got to thinking about everyday things and my mind wandered to pavements or sidewalks for you over the pond. One thing I have never noticed spoken about on your blog. In the past my paving has always been level with the road on my layouts so this time I am introducing pavements that are risen a little from the road.

Like most ideas it started out as something else, I build two rows of stone cottages (Metcalfe kits) first how to save wiring loads of different bulbs together drilling holes through the baseboard to accommodate them.

So to solve this I used a thin piece of balsa wood and cut out the centre area below the houses and glued my row of cottages to it, the hollow below allowing me to wire them all together above board with just one wire to go through the board for each row meaning just two holes in total not 10. Of course from there I had to introduce balsa strips under all my paving to bring it to the same sort of level.

It’s fiddly work especially having to paint the edges a mid brown to match the paving, where there is grass I heightened this by adding a thin card strip but I am delighted with the result so far as it brings more depth and realism to the layout.

Ok it takes an age to fiddle about cutting the balsa and painting it but I think it’s worth it when you look at the results, it’s not perfect, but see pictures below and let me know what you think.

Added also two pics of my little factory titles to amuse.

Eric”

model railway street

Model railway buildings

Model railway buildings

Model railway buildings

model railway sign

Model railway buildings

Loved the fun he’s had with his signs. Over the years he’s been a busy chap:

Eric’s Smeedle Valley layout

Eric’s Moors layout

Eric’s Wensdale layout

Eric’s time lapse video

That’s all for today folks – a big thanks to Eric for sharin his Model railway buildings.

And if you want to start pottering with your own layout – and who wouldn’t – the Beginner’s Guide is here.

Best

Al

Latest ebay cheat sheet is here.

How to wire a model train for DCC

Joe’s been back in touch, this time he shows us how to wire a model train for DCC:

If you missed Joe’s first missive, it’s here.

“Hi Alistair,

My story part ll.

I finally completed my total rewiring for DCC. I have simplified the wiring by eliminated 3 quarters of all former wires for blocks, power, etc. I should have done this a long time ago.

model railroad wiring

My best tool for wiring, is my home made lounge chair on wheels so you don’t break your back while wiring.

How to wire a model train for DCC creeper chair

I added a 52” x 13” lower yard as shown to my existing 4’ x 8’ layout. Before and after the completion. Added, engine house, signal tower, freight station, water tower, “I Havitt” Sand/Gravel Company and “Nutty Slack Coal and Coke Merchant”.

yard for model railroad

model train freight

model train gravel commpany

I Havitt” Sand/Gravel company

model railroad coal

“Nutty Slack Coal and Coke merchant”.

signal box

model train passenger station

Small passenger station

freight station

Freight station


model train box car

Box van Willey

How to wire a model train for DCC

model railroad passenger station

When you have a large Passenger station, you need a car park. So you build one.

model train gas station

Added an ESSO petrol station but needed employees! So some were hired and are doing a great job.

model railroad garage

model train garage

Needed some road repairs due the over use of traffic on the tunnel road.

How to wire a model train for DCC

Began construction of a new mountain, using cardboard strips hot melded together, applied Hydrocal plaster, Sculptamold and painted an earth tone. I then molded rock formations with Hydrocal and painted them, hopefully made them look realistic.

plaster mountain

The mountain was completed by adding handmade pine and oak trees, foliage, rock formations and a Sheppard’s house with sheep and horse.

model train figure

The next stage, part three, I am finishing the above High Street layout. When completed it will drop in to the opening next to the base of the mountain. It will include” Just Plug” lighting for all buildings and street lights. For the first attempt ever, I plan to construct a pond using “Realistic Water” from Woodland Scenics.

In order to control my DCC system, I purchased an MRC Prodigy Express DCC System. Also purchased, two Hornby locomotives; “Mallard” LNER Class A4 with sound and DCC fitted LNER 0-6-0T , Class J 83.

Joe”

A huge thanks to Joe for showing us how to wire a model train for DCC.

It’s such a pleasure seeing a layout grow and the personal touches being added. I loved it – Part 1 is here if you missed it.

And I thought his lounge chair on wheels whas a brilliant idea.

That’s all for today folks.

Please do keep ’em coming.

And if today is the day you get started on your layout, the Beginner’s Guide is here.

Best

Al

PS More HO scale train layouts here if that’s your thing.


Need buildings for your layout? Have a look at the Silly Discount bundle.