Jim’s been in touch – he’s shared his latest vid on weathering model railroad cars:
“Greetings, Al.
I’m still weathering freight cars but it’s heating up here in the desert and so is my garage. So it’s time to scale back.
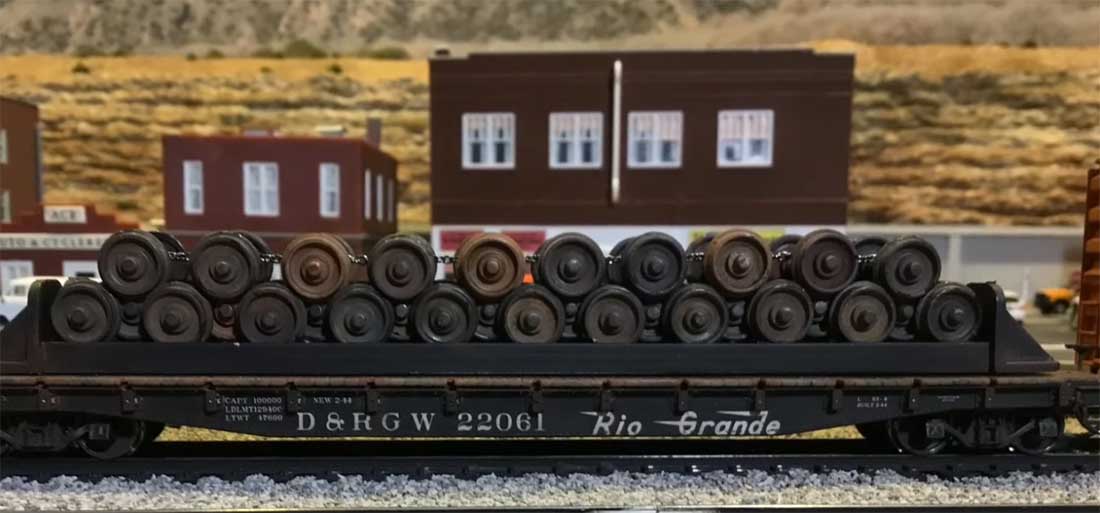
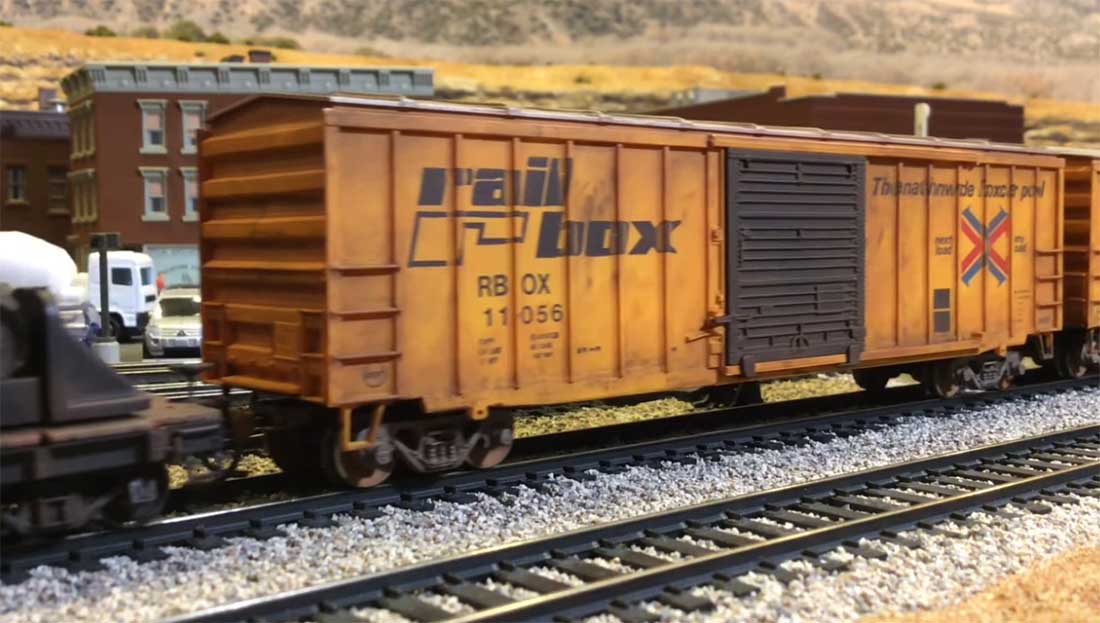
This video highlights a flat car converted to a wheel carrier using I beams and plastic bolsters from shade brackets and cafe tables with the legs cut off for anchoring bolts. And of course, old plastic wheel sets, painted and weathered with powders.
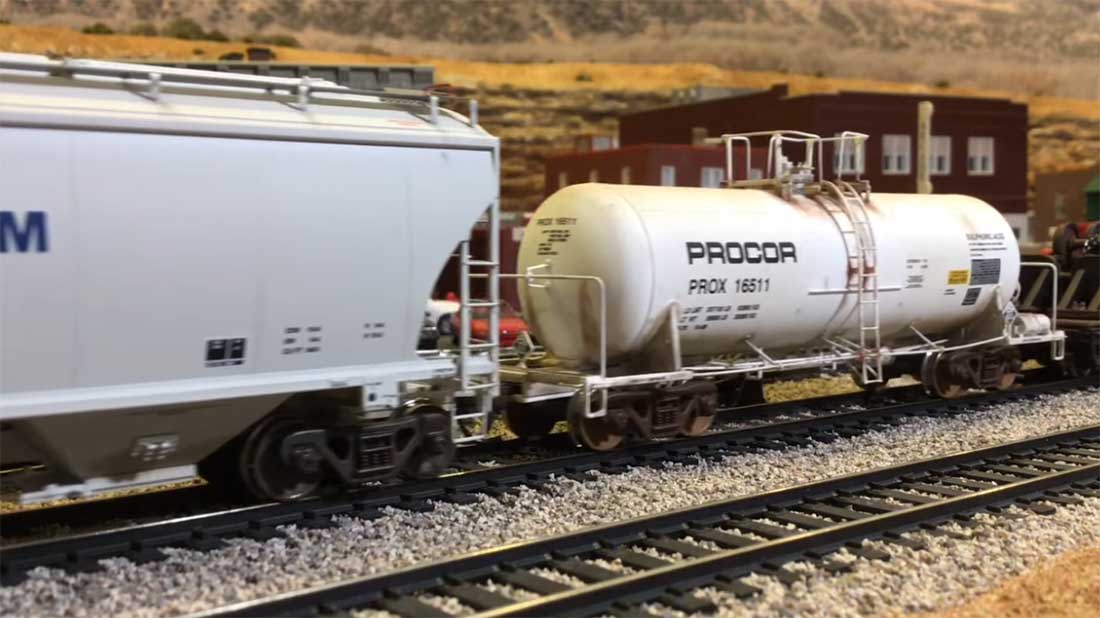
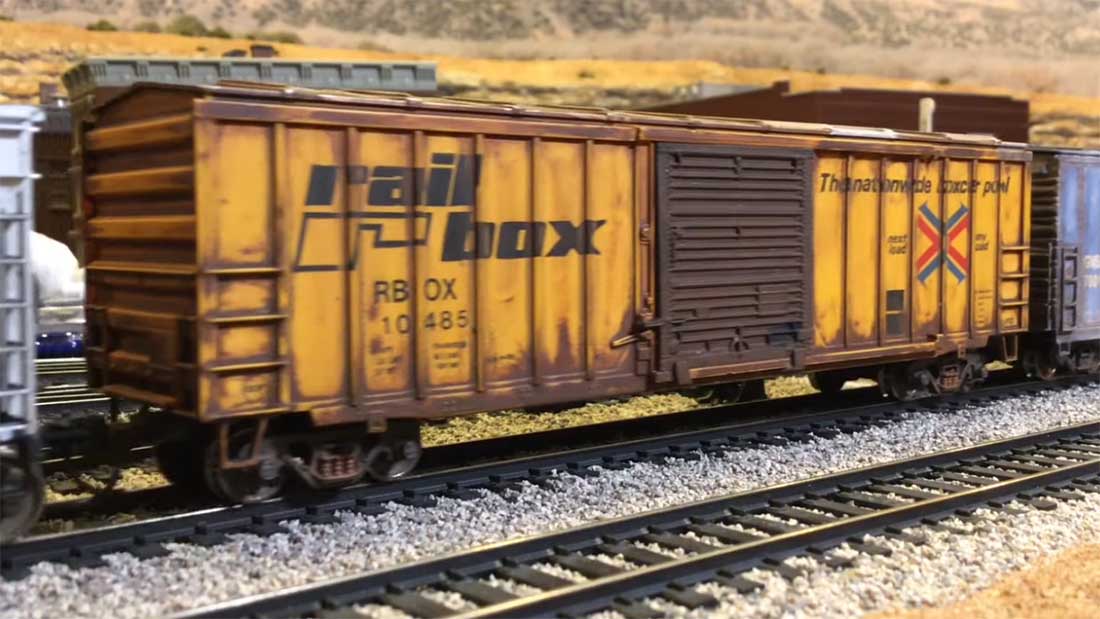
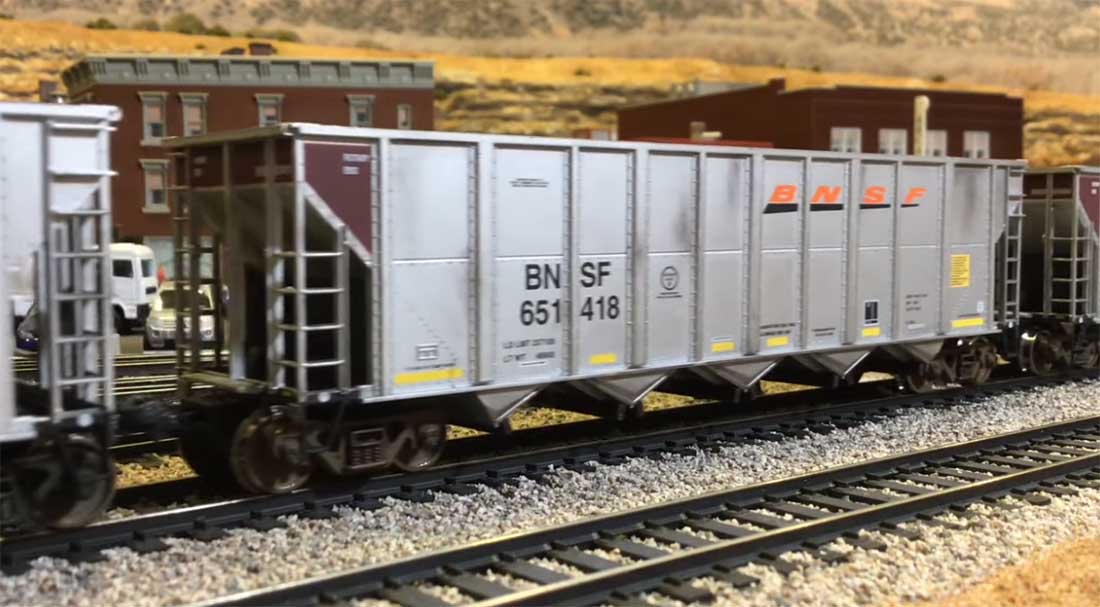
The cars were weathered with dull cote, layers of powders, light washes of white paint and more powders.
Weathering is a much like trial and error process. And how heavy or light you want the cars to look. Your time period for your layout is key. So some cars can actually look relatively new. Photos of the cars you want to weather helps too.
Hope you all enjoy and looking forward to more of your posts.
John’s been in touch with how to make your own railroad switch points:
“Al,
I have been working on designing a switch machine that can be mounted under the table, and has power, flexibility and can be used to light signal LED’s to both show on the layout control panel, and on the layout itself.
There are good switch machines out there for sure, like the Tortoise® but I wanted my own.
All of the components of the switch machines were ordered from eBay from various vendors, and the plastic sheet from a local home store. One “storm door” ¼” thick (6mm or so) plastic should make several dozen machine frames.
The diodes are – 1N4001 Rectifier Diode 50V 1A
Micro Switches are – Mini Micro Limit Switch Long Roller Lever Arm SPDT Snap Action
The Motors are – 9G SG90 Mini Micro Servo For RC Robot – Helicopter
The Double Throw panel switches are – 6 Pin 2 Position ON-ON DPDT Mini Latching Toggle Switch
The description in BOLD is what you would enter in the eBay search for the components. Now for the details.
The best price for the motors is, about $0.65 each if you order 20 or so. The rest of the components come up to about $1.20 so the machine costs < $2.50 when completed. I found the cheapest prices for all of the stuff above from China eBay vendors.
The schematic for the railroad switch machines is:
Please note the current arrows for the diodes are drawn by U.S.A. theory, Europe uses “common” theory which has electron flow in the opposite direction – pay no mind, the schematic works either way so don’t reverse the diodes.
If, when you build the machine, it does not throw, reverse the motor leads.
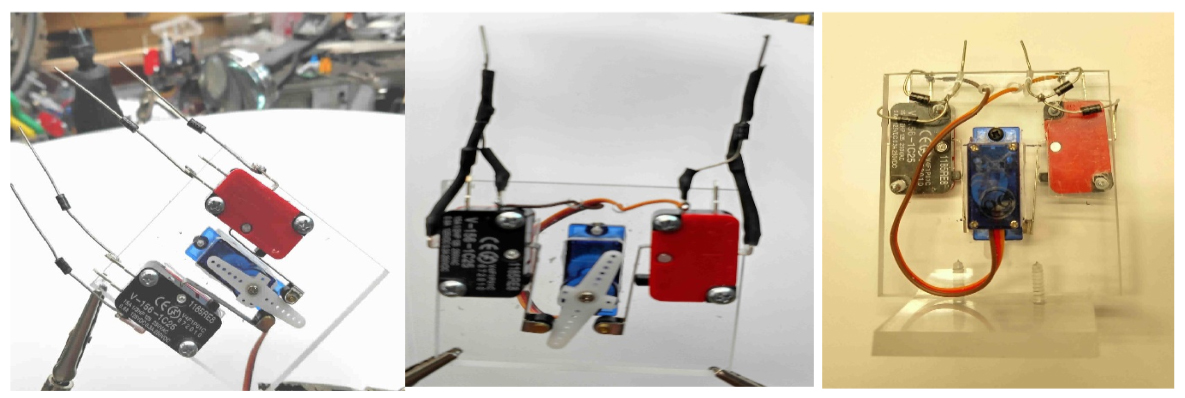
Note that when the motor goes to the right as the little arrows are indicating, the arm on the shaft will open the micro-switch on the right and stop it there. A “piano” wire on the arm goes through the board and operates the track switch.
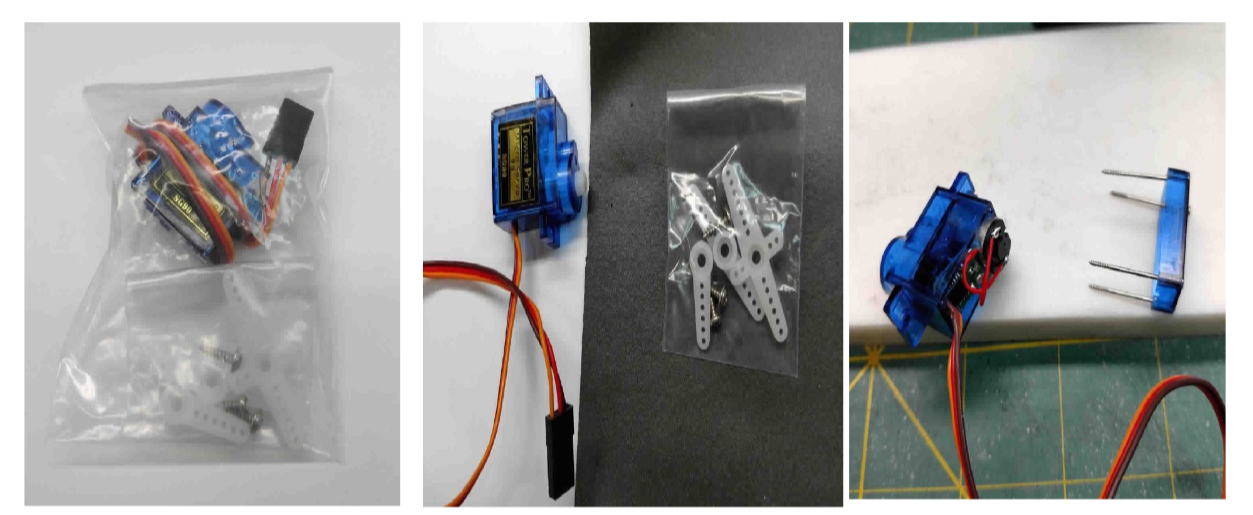
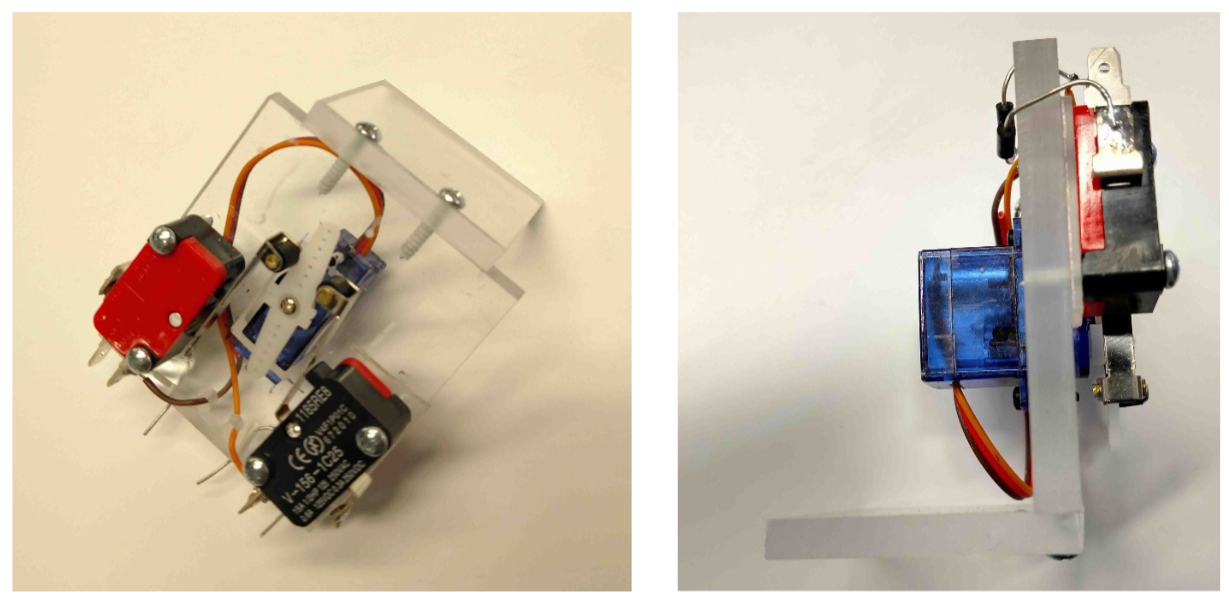
The motors as delivered need to be modified, as they come with a tiny circuit board that operates them by servo pulses. I wanted straight DC operation, so the PC board had to go.
The pictures below show how the motors come, and how they are modified.
Note: these will operate 180° but can be made to operate full rotation if the little potentiometer inside is removed too, but that requires taking the gearbox apart.
Use for the track switch machine is not required since the throw is only about 20° from center.
Also note these little motors are really powerful, with the gearing they can easily operate most anything on a HO layout, like bridges, turntables, or carnival rides. They are not full continuous duty, however so for accessories which would run more time reduce the voltage to about 3 volts.
(All images are clickable)
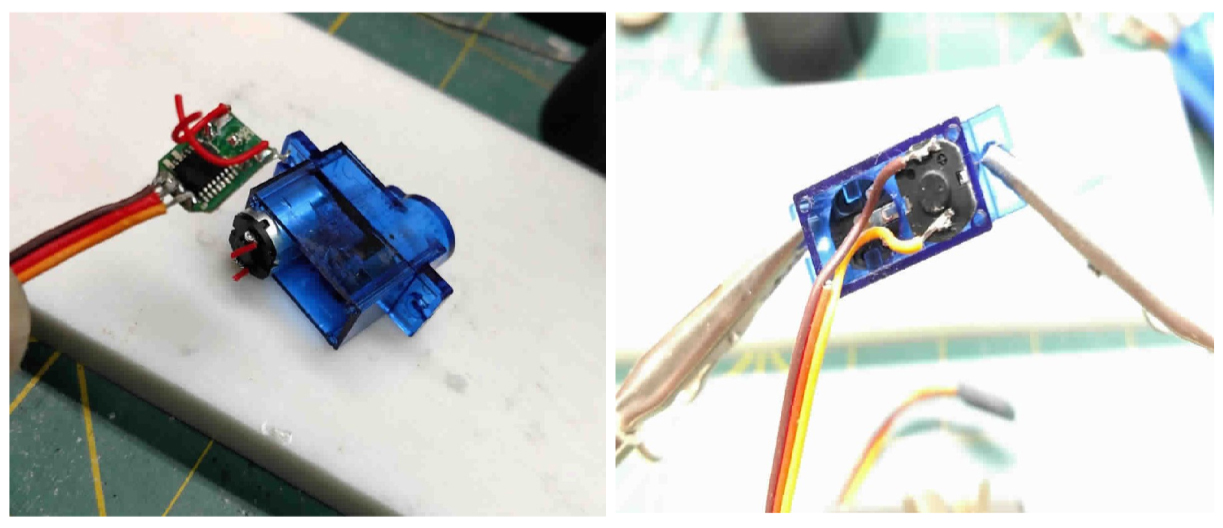
The pictures above show how the motors arrive, removal of the back cover and what’s inside – be careful here, the gearbox can come apart, but only if you mess with it.
Holding the motor body, remove the circuit board and re-solder the lead wires back to the motor – use minimum heat to connect the wires, and fine rosin core solder. Put the cover back and secure the 4 screws.
The next section is the preparation of the acrylic plastic sheet, I used ¼” Lucite® and have a little X-Y vise on a small drill press that I use. I lay out a strip with the motor openings for the sheet, then mill each out, cutting them off as they are milled.
When the plastic opening is milled, the corners need to be squared off, I clamp them in a vise and file out the remaining radius so the motors will fit.
.
I made a go gauge to assure the openings will fit the little motors. Because there is some play in the micro-switches, the tolerances can be pretty loose on the motor position, and where the actual switches are mounted.
The motors come with a number of actuators, like in the pictures of the accessory bags that come with the motor. I use the one with 7 holes because it’s the longest and hits the rollers of the micro-switches well.
Once the diodes are soldered in, I drill a few holes for the motor wiring, on the early ones I put on heat shrink tubing like above center, but later found that I could route the wires on the diodes so a short circuit was not possible, like on the switches above right viewed from the back-the micro-switches are on the other side of the plastic, and those below. I’m not worried about bare wires, only 5 volts.
After about 6 machines done and the several small mods I made, I now have the entire process from cutting the plastic blanks to testing the machines down to about 30 minutes per machine.
As a side note, some of the track railroad switch on my layout, especially in the yards, are Atlas Snap Switches®, and these will be used with the stock switch solenoids.
I will be using DPDT center-off spring loaded switches instead of the slide switches the Atlas products come with. This is for no other reason than the consistent appearance of my control panel. For the 5 volt supply, I am using a rewired little train set power-pack with the speed potentiometer removed and a few other added parts to get solid 5 volts.
I know for many this will seem like a lot of work, but at $11.00 each and I need 29 machines, the savings are substantial, also I have constant 5 volts available at the switches which I can add a dropping resistor and use for the LED signals.
The final wiring for the railroad switch, LED signals and control panel will be another article.
John”
A huge thanks to John – anybody else made something similar to his railroad switch machine? I’d love to hear from you if you have.
That’s all for today folks, but don’t forget the Beginner’s Guide if you want all the shortcuts to make your dream model railroad, without the heartache, blisters and toil.
I don’t know who has more fun, John testing out the new prints, or us lot watching his ‘unique delivery style’.
Have a look and you’ll see exactly what I mean:
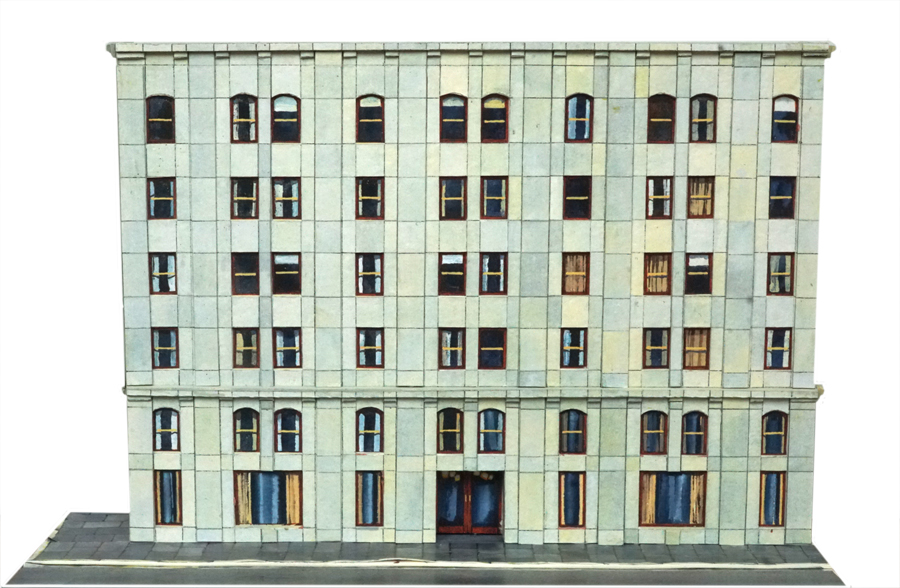
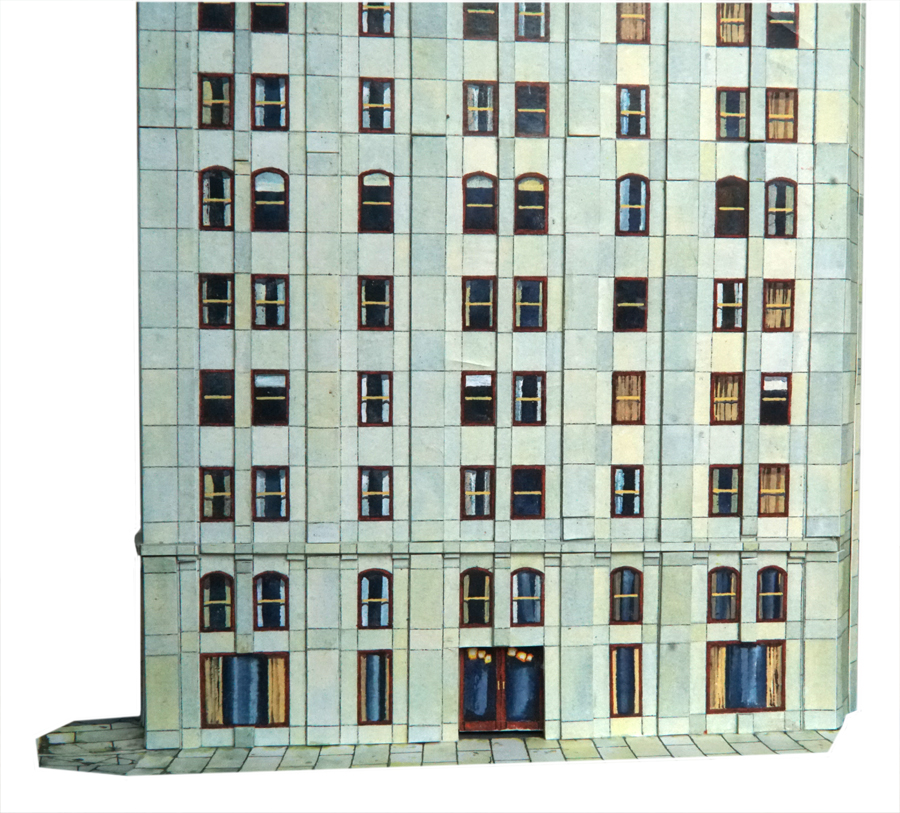
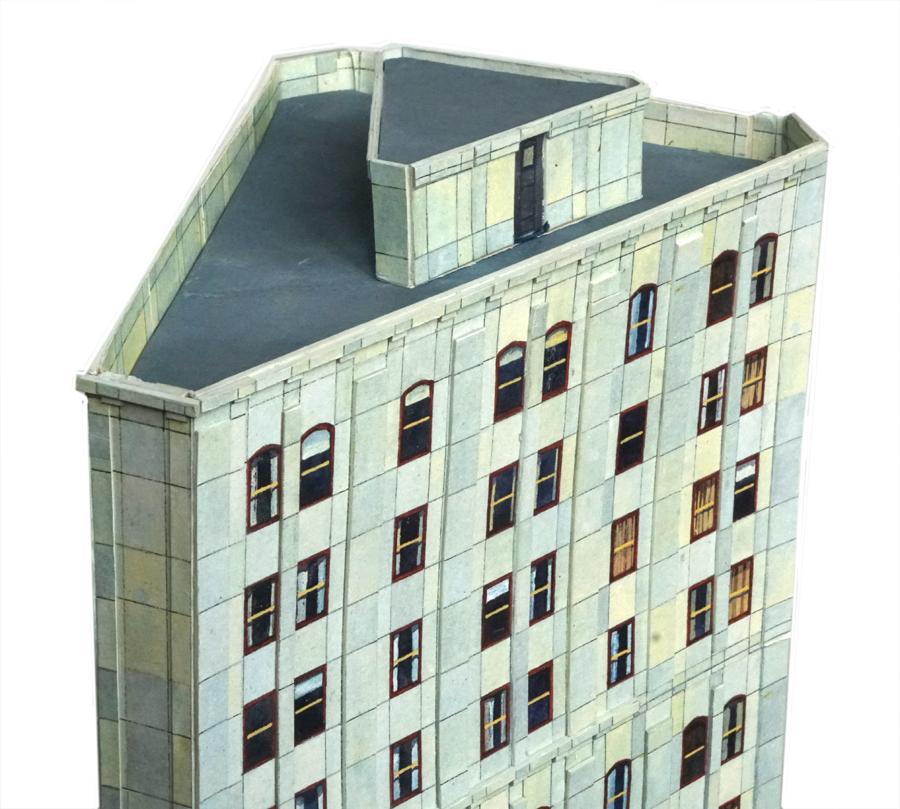
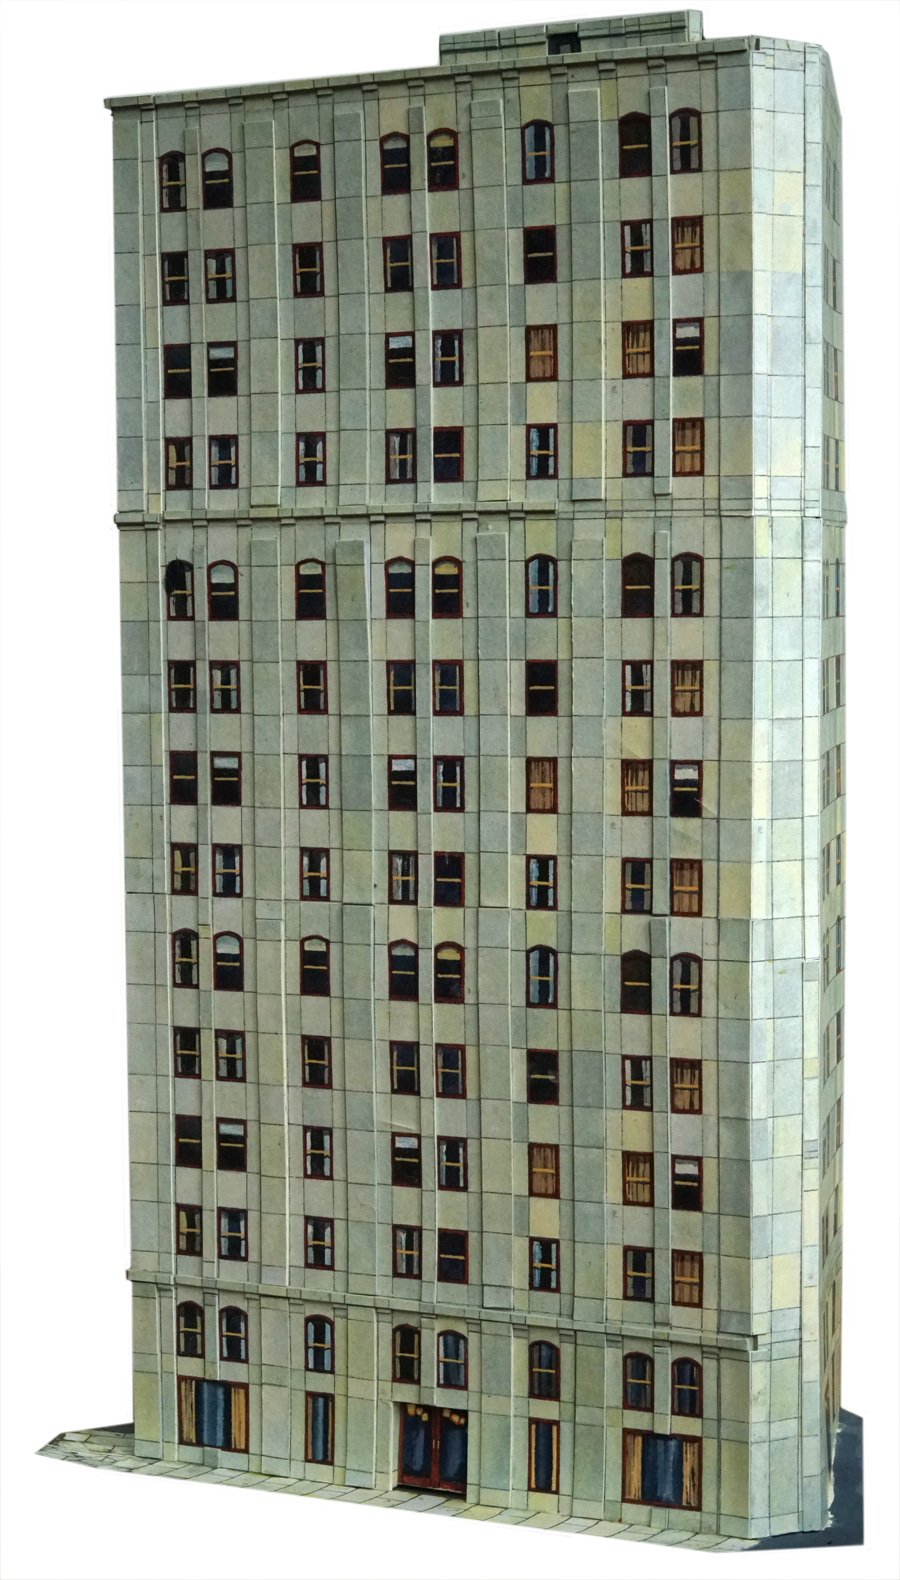
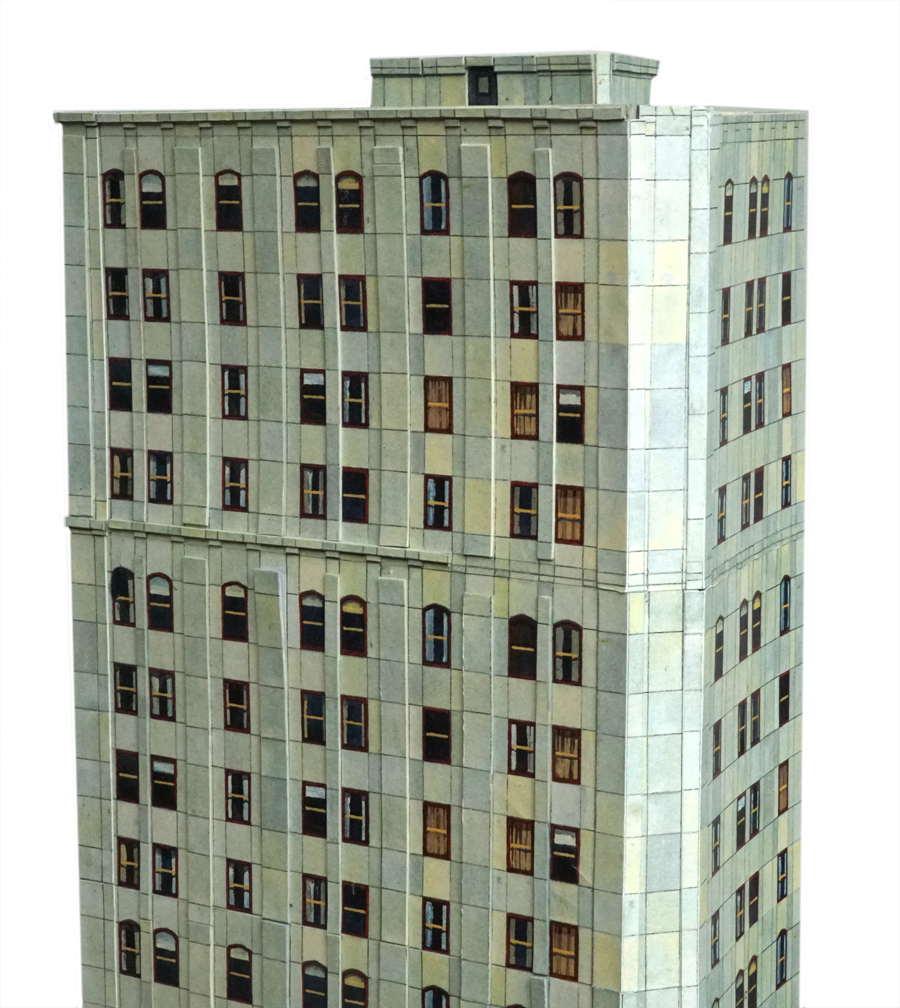
As with all the buildings in the store, they are made from print out scenery.
You just download, print, and make. Here’s what this office block looks like:
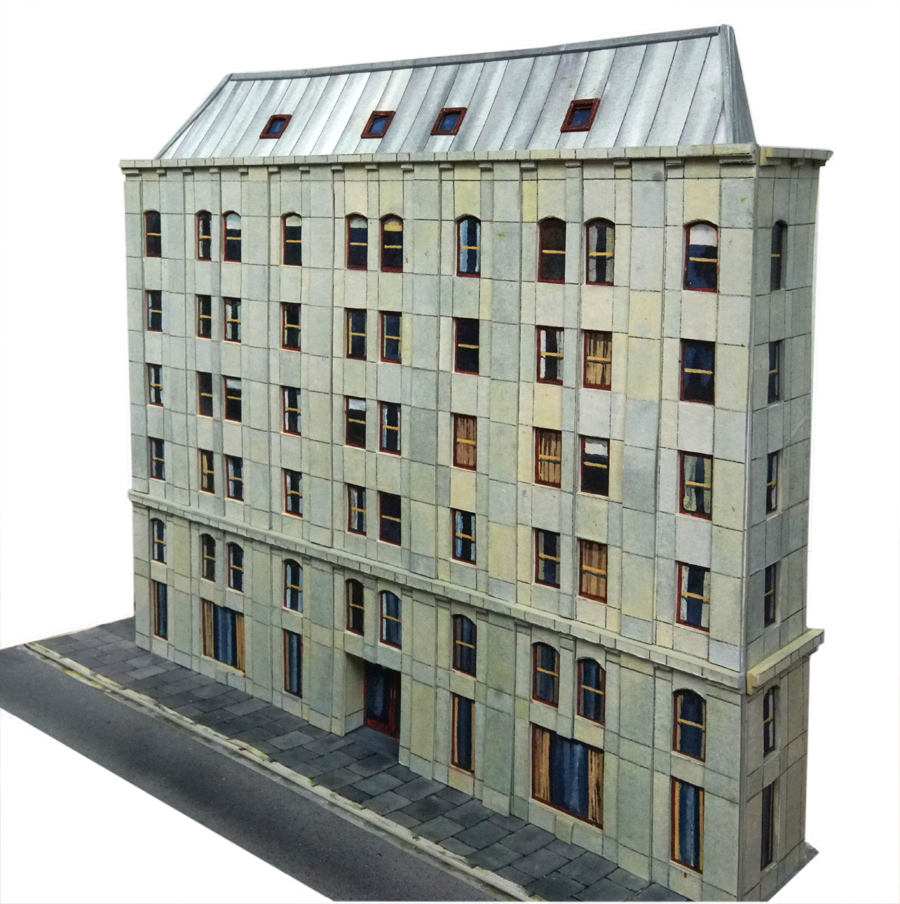
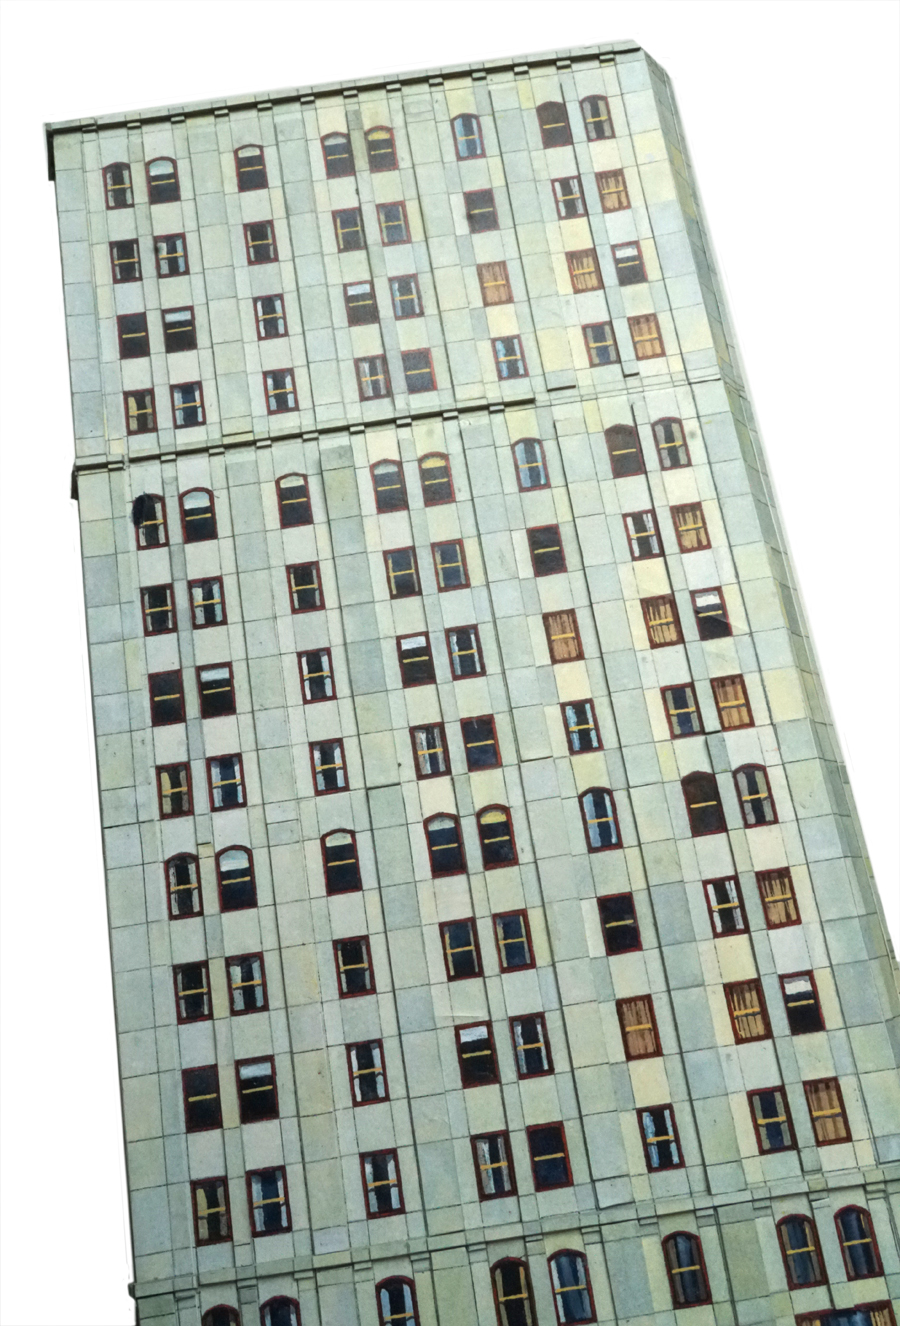
Here’s the clever part though, because you can print as many sheets as you like, you can scratch build until your hearts content – here’s what John did:
This office block is in the store for $9.97 – but right now, you can grab it for just $9 – with $193 worth of other buildings and the Beginner’s Guide too.
Course, I’m biased, but that’s a real steal.
For HO scale, you don’t need to do anything to the prints.
Don’t forget, once you have the download, you can print it out as many times as you like, so you can really experiment with different layers, and what card to stick it to.
That’s all for today folks.
Hope you enjoyed John and his vid on model train city buildings.
John’s unique delivery is a blast, it doesn put a smile on my face, and judging by your comments below, you lot feel the same too.