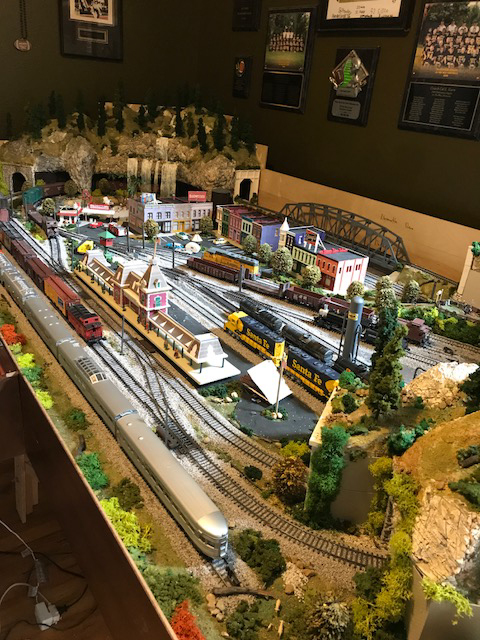
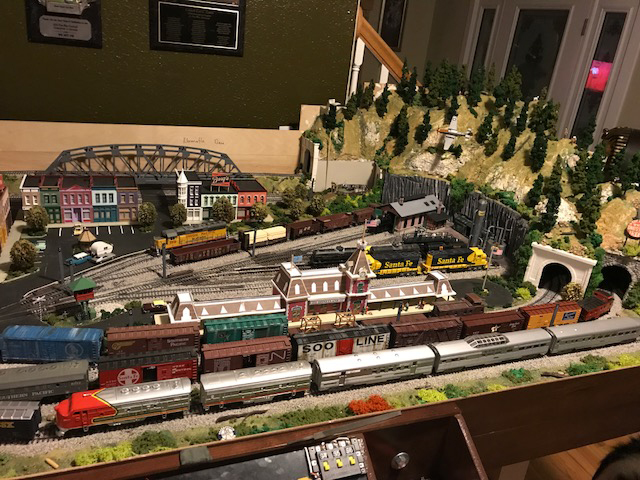
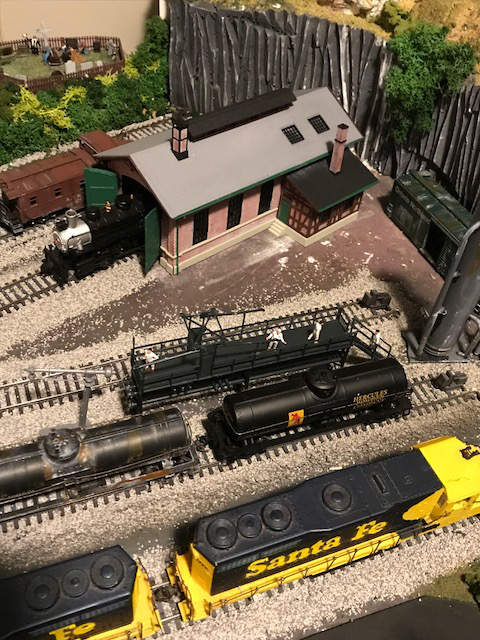
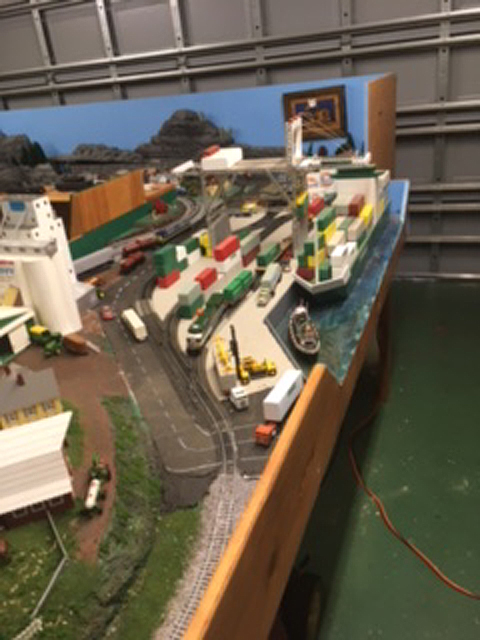
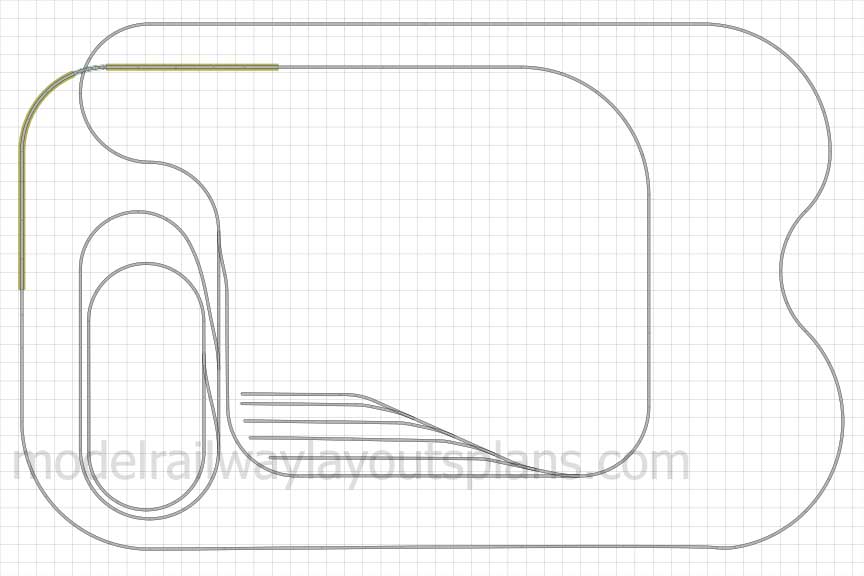
Leo’s been in touch with his HO scale airport – stunning stuff:
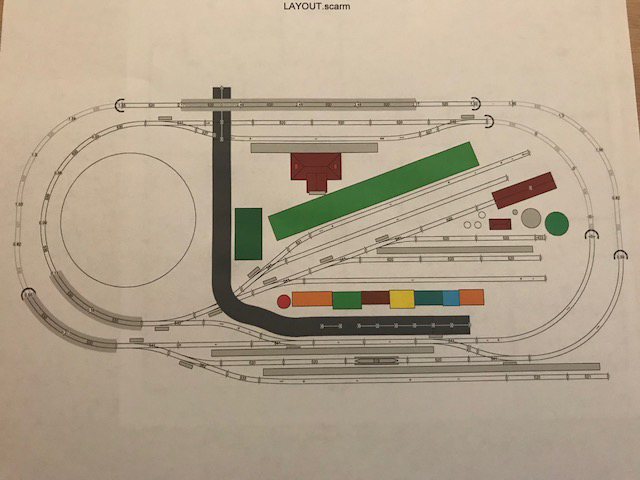
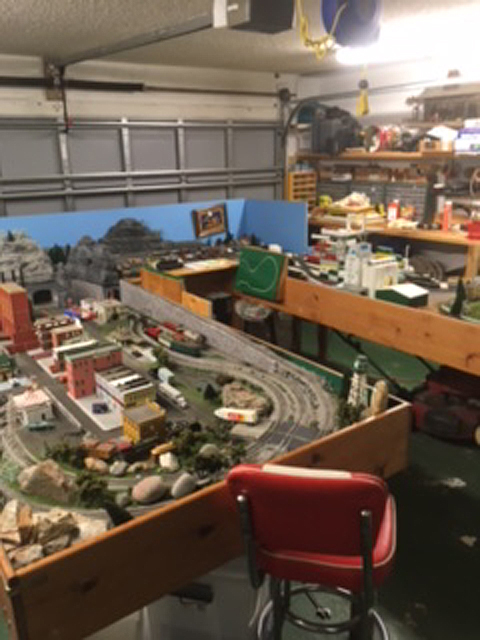
“I am retired, and this particular layout is modeled after the Oregon layout with major modifications.
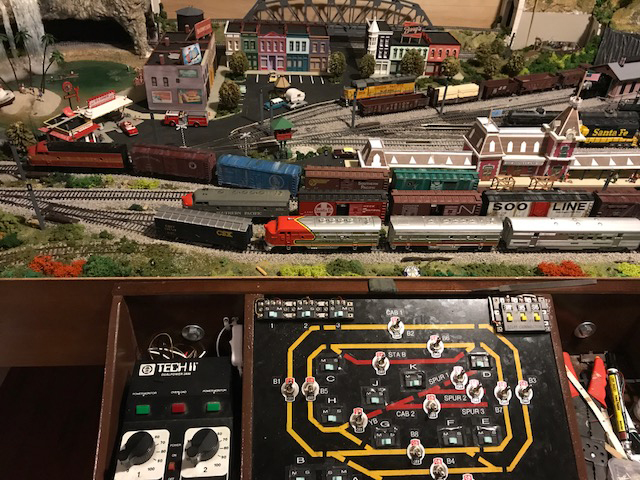
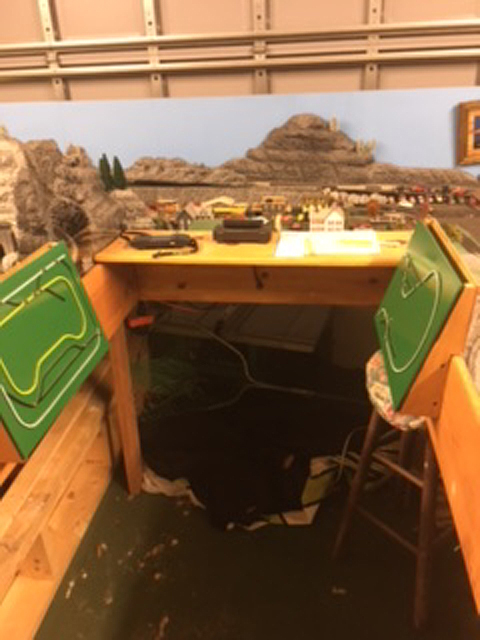
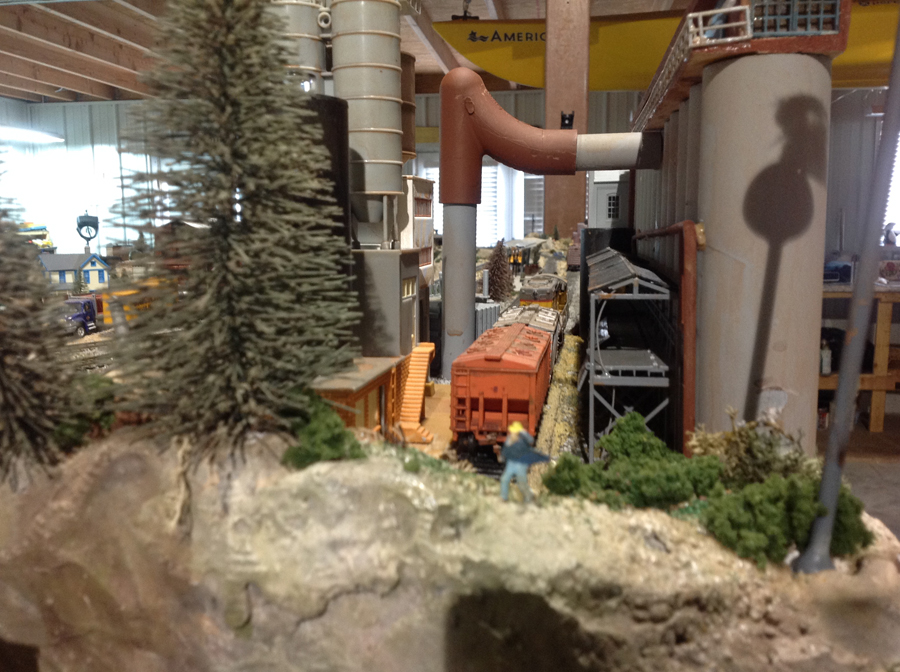
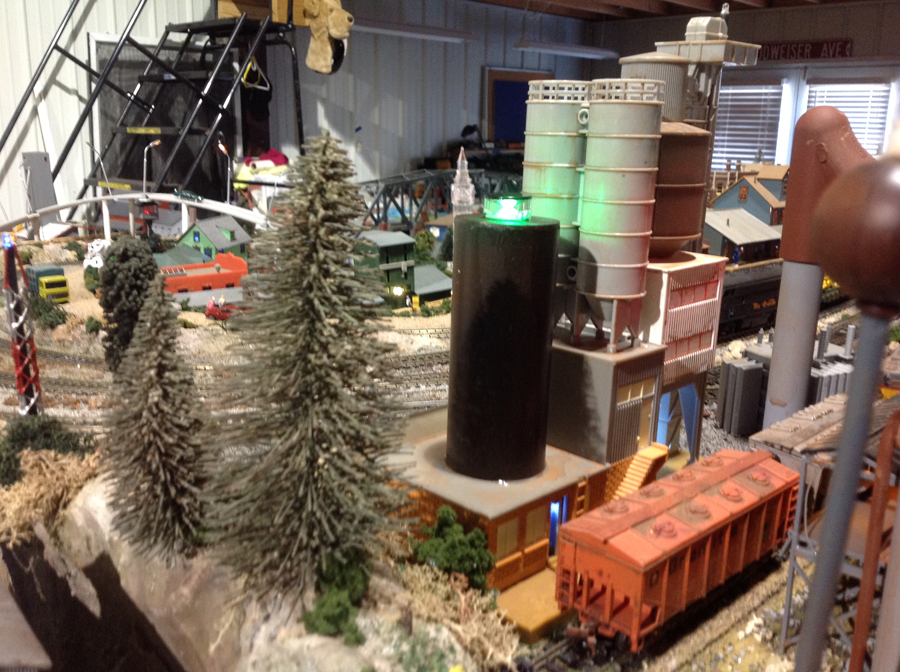
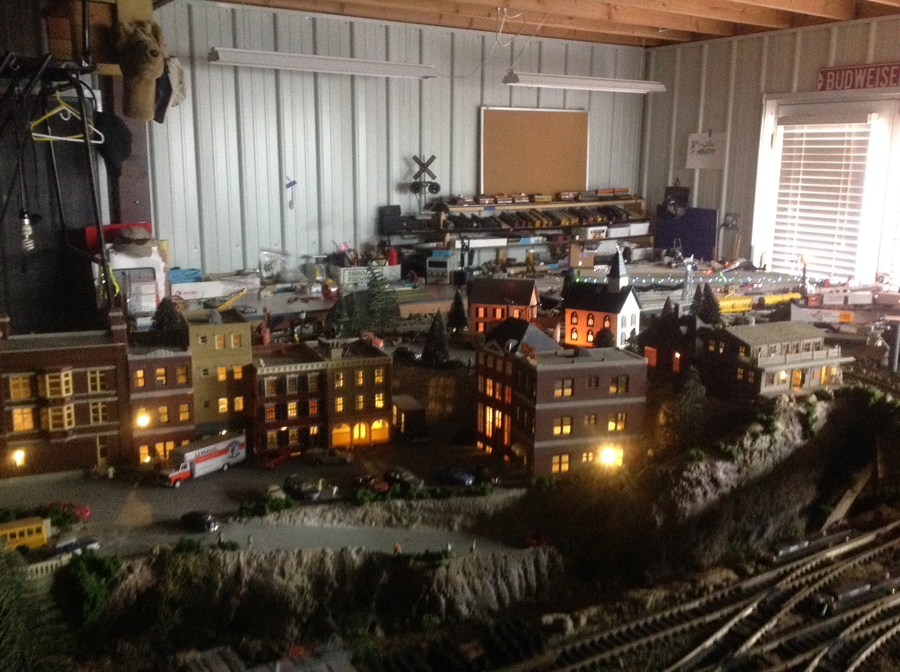
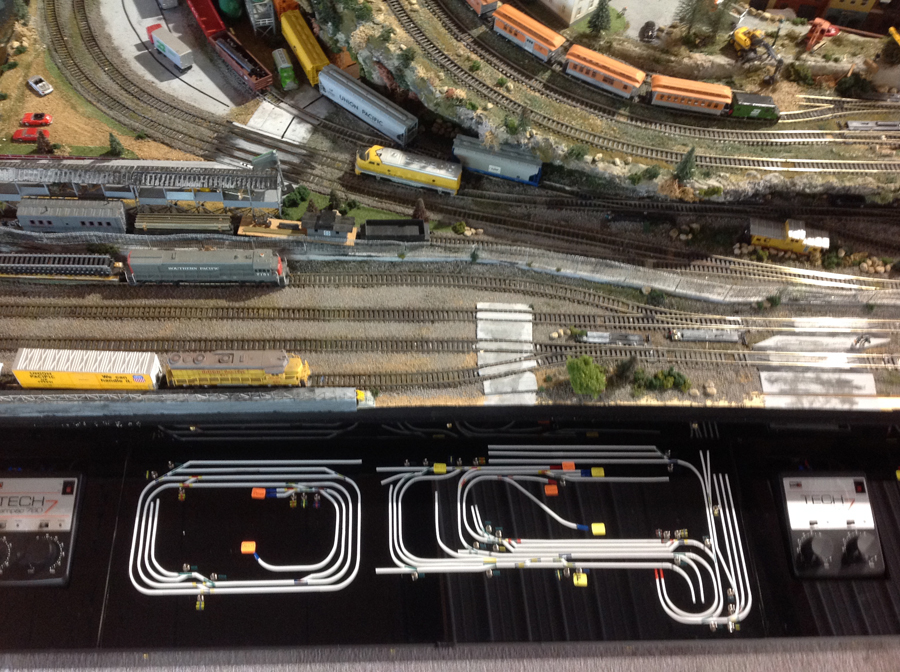
This layout is my fifth, housed on wheels in my garage. All lighting is LED voltage reduced via resisters.
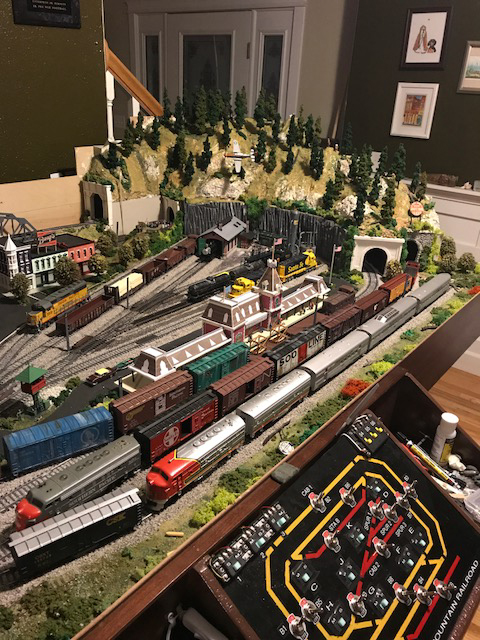
I have no sound in any of my 50 plus locos, relying on MRC sound box (the one with about 24 different sound effects) with speakers around the layout. Sound is amazing, realistic and cost is less then “1” loco with sound equipped.
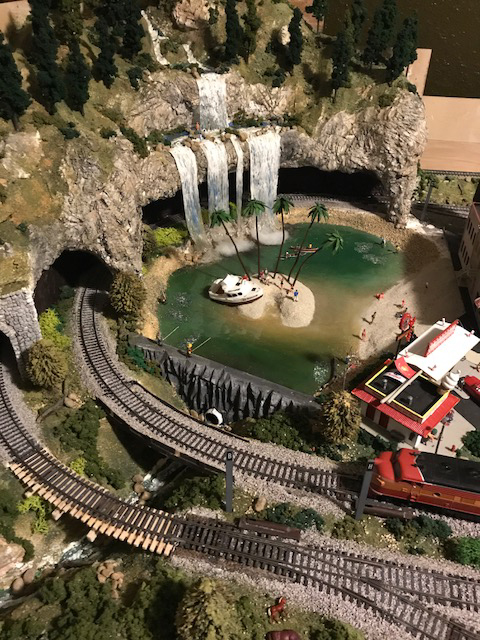
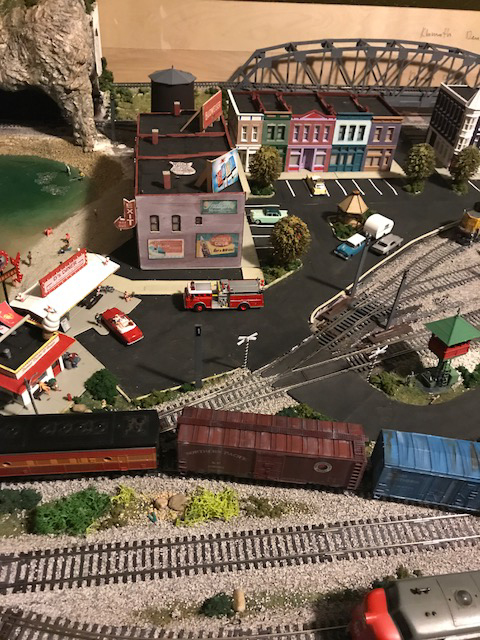
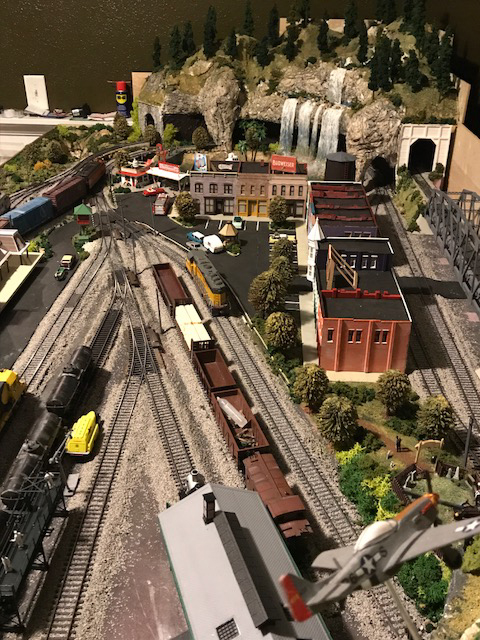
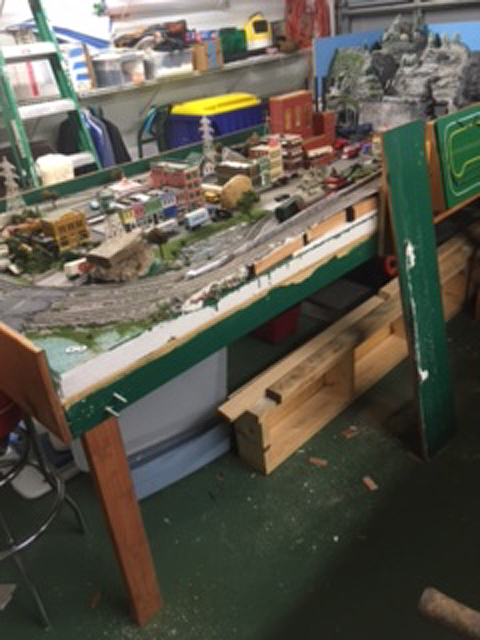
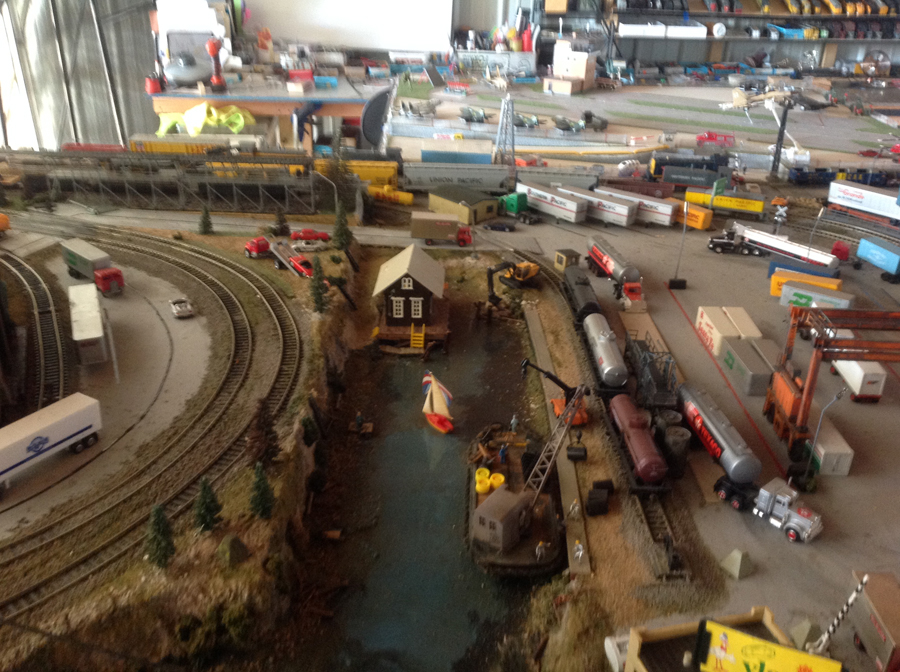
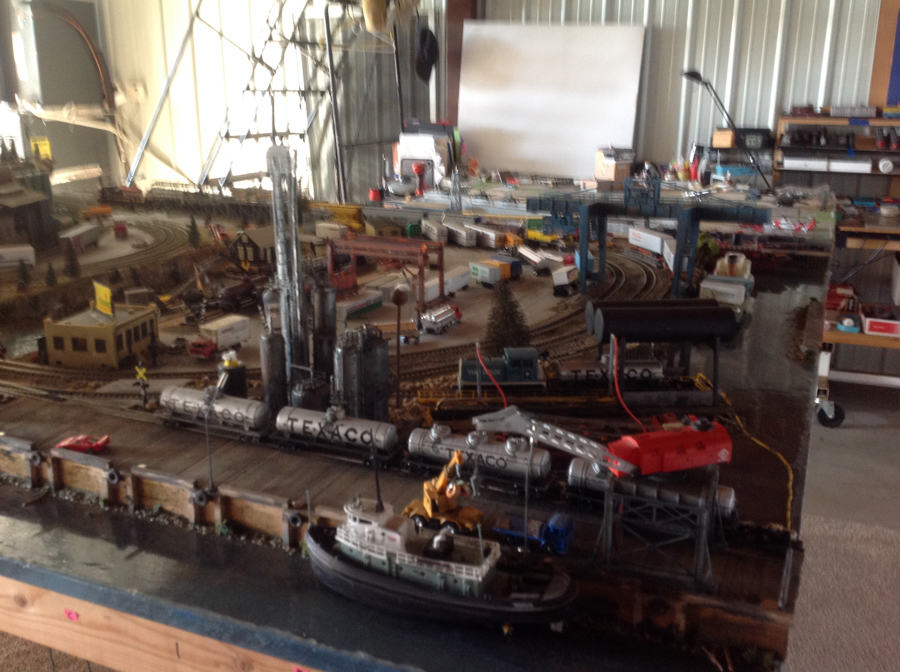
Numerous autos have lights including all my boats and some aircraft. Airport has run way lights along with beacon.
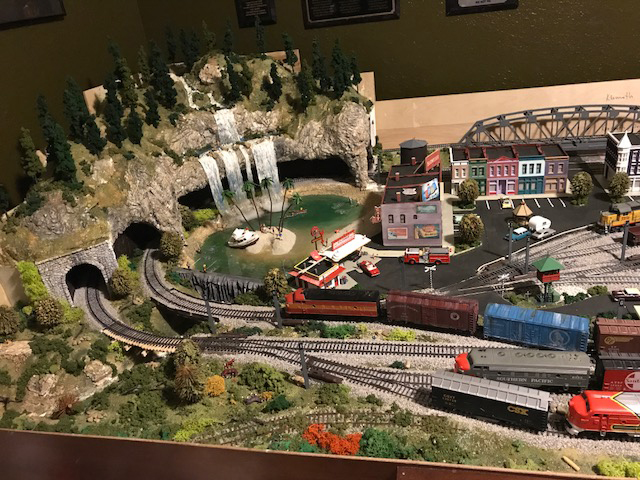
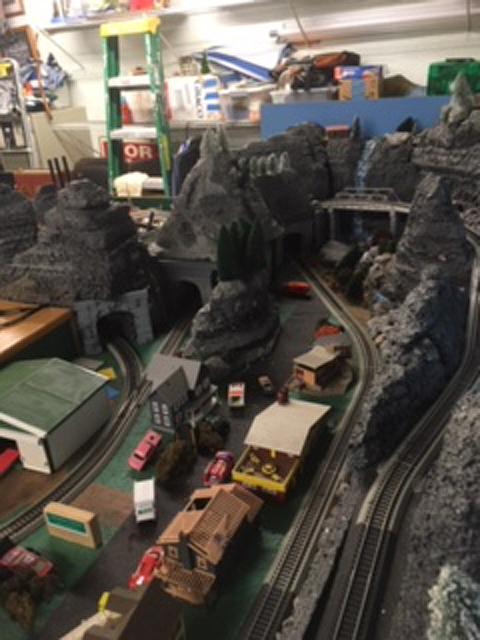
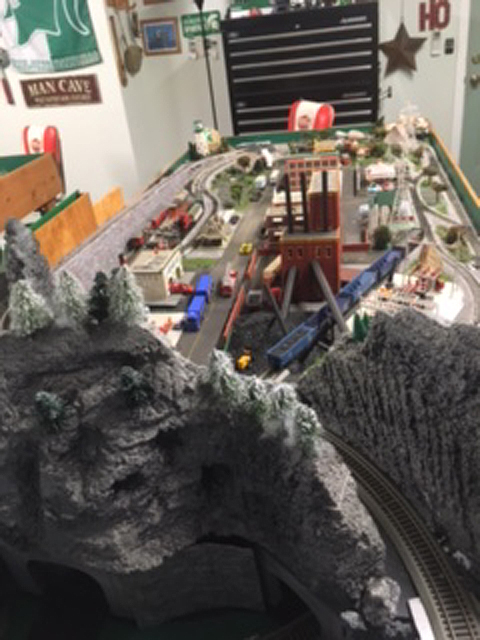
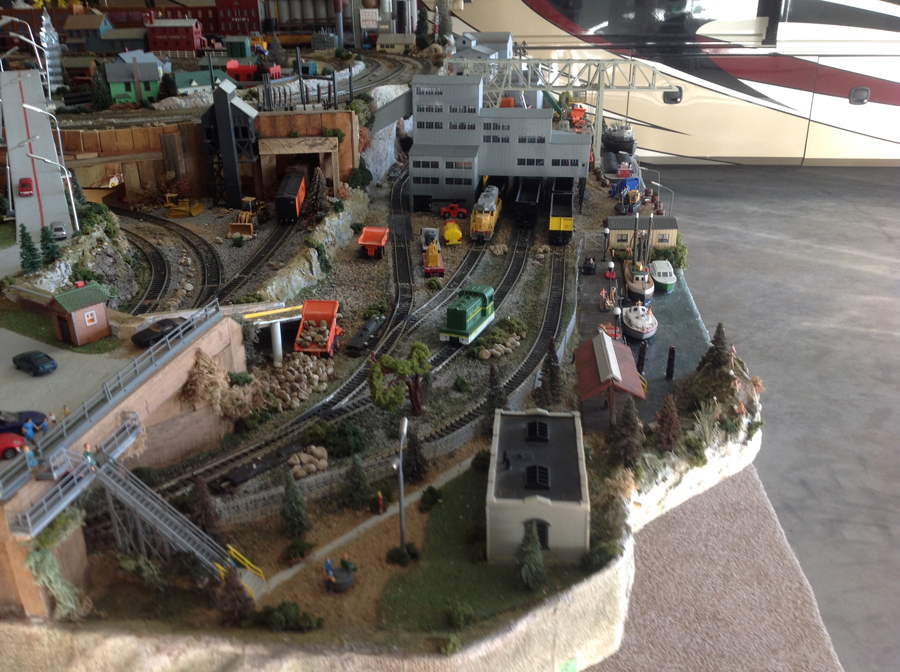
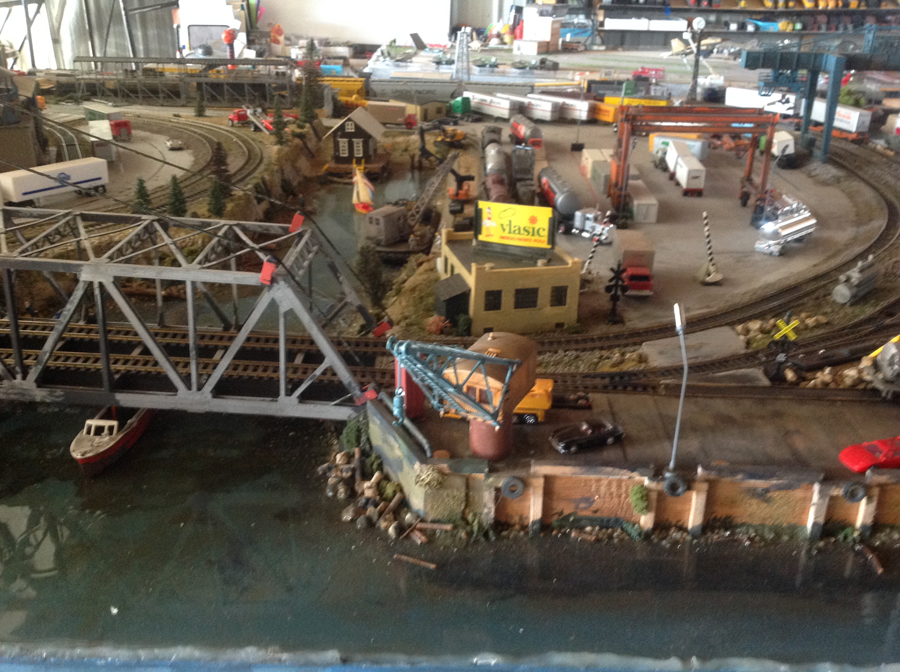
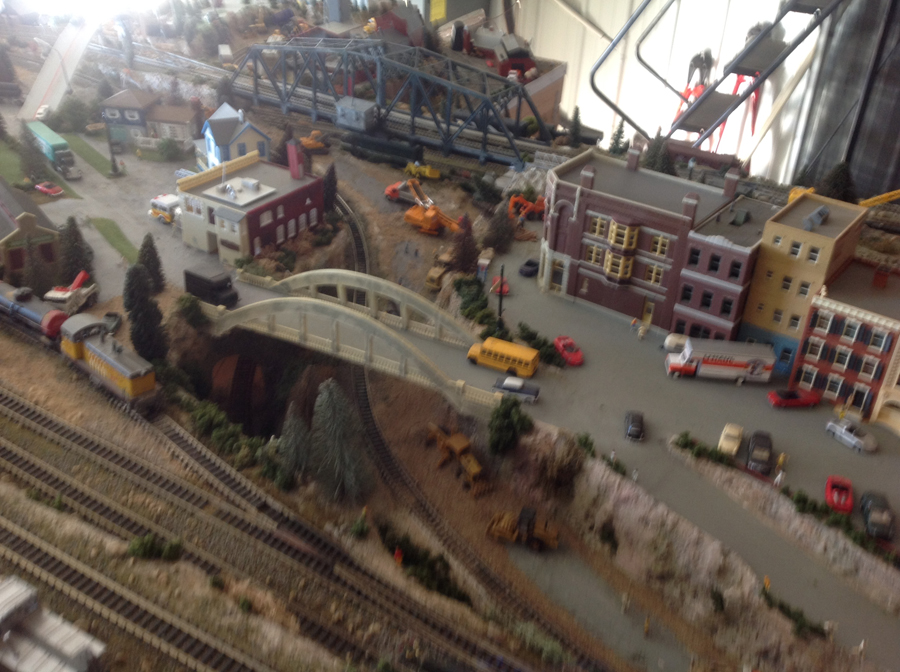
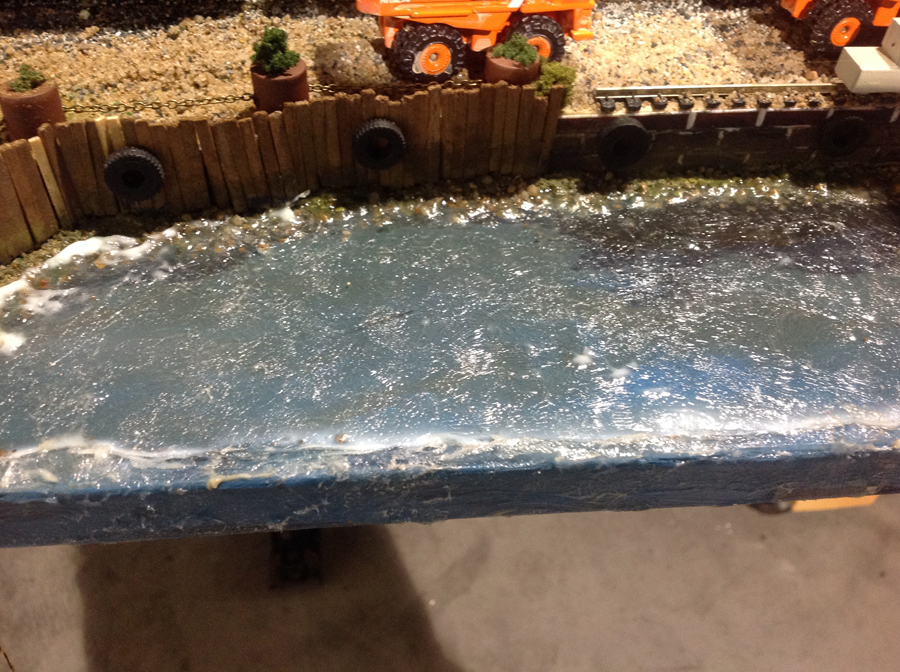
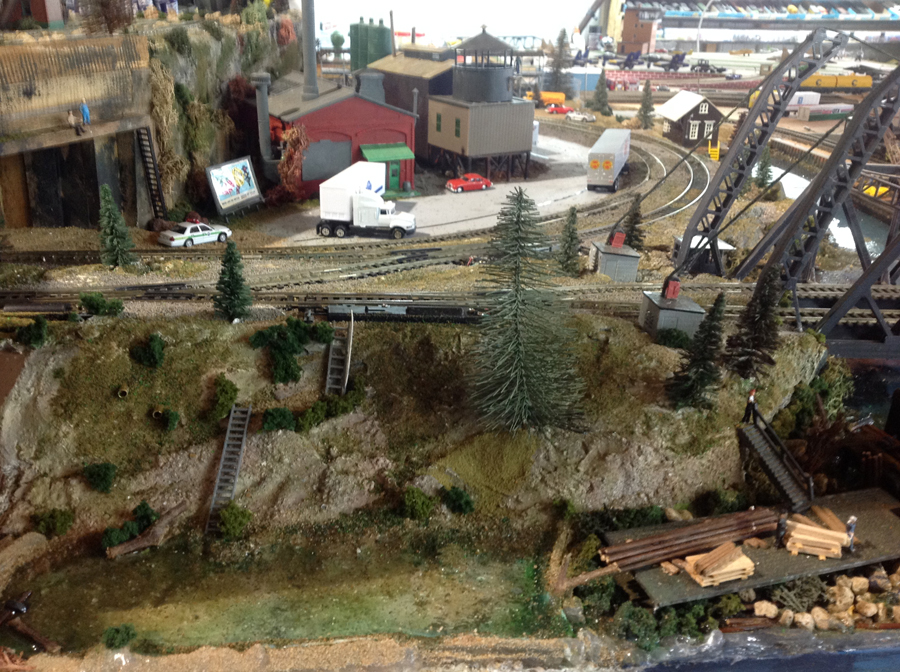
Scenery is made with hydrocal (purchased from local chemical company $50.00 for 75 pounds) mixed with play sand. Result is amazing rough, colored mountain/dirt effect without having to sculpture. I use Indian ink as additional base and add water based, various colors, as scene enhancement.
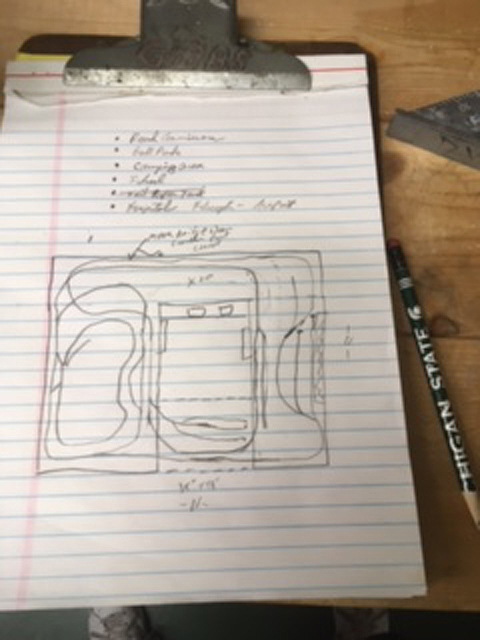
I live in Denver, CO as well and have started an around the wall lay out in a 30′ by 9′ foot room will send pictures shortly. I hope my comments are not to boring.
By the way I enjoyed all of readers pictures no matter the scale, I always learn. I am constantly amazed of the beautifull layouts fellow trains modelers have made (thanks to all I have learned so much, again thanks to you and your readers) . I am reluctant to purchase scenery stuff from professional companies but rather I rely on my own whatever I can find, make my mistakes and move on.
I do not belong to any modeler railroad group for on a whole are way to serious, to specific, time specific and rely on actual time setting vs type of train usage. Me on the other hand enjoy modeling based on little thought to anything other than what I like, what I have available to model with etc.
Leo, Langley, OK”
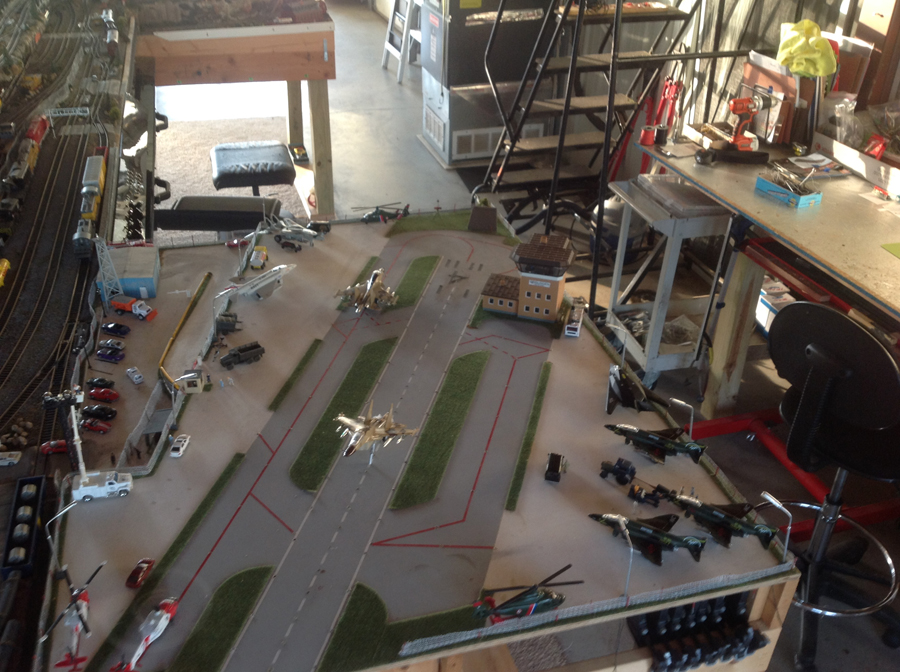
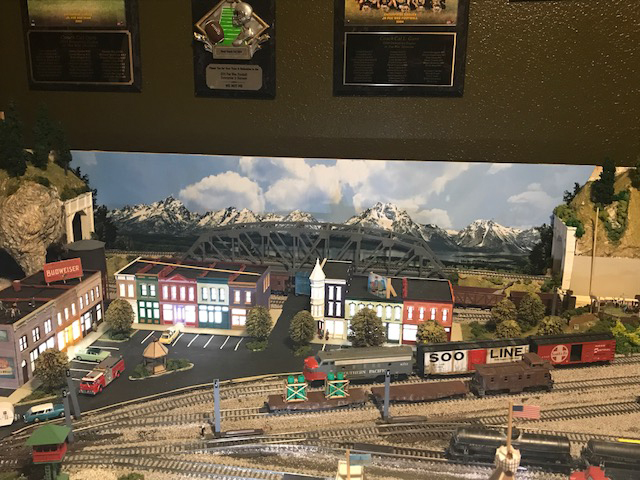
HO scale airport:
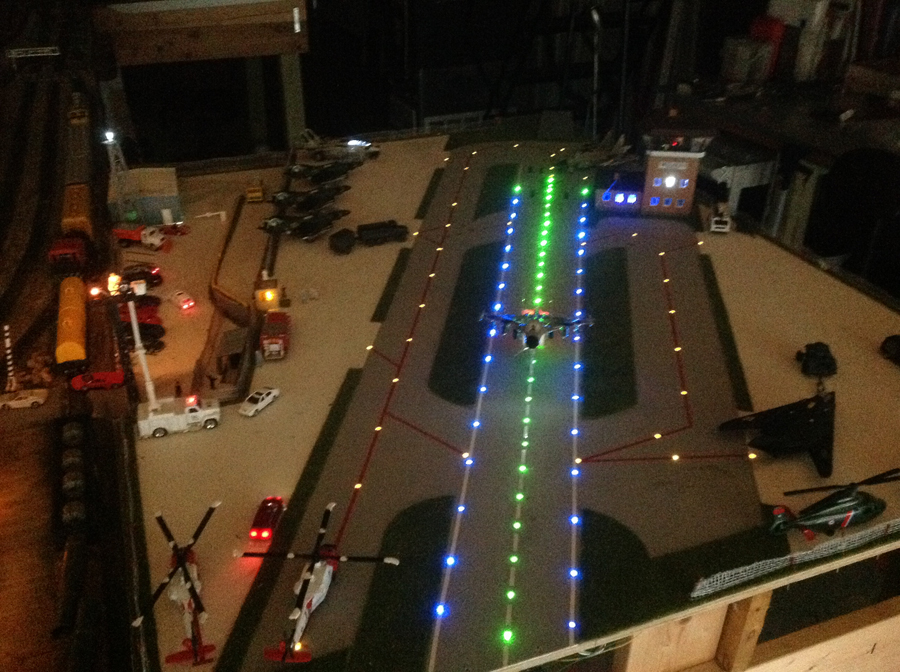
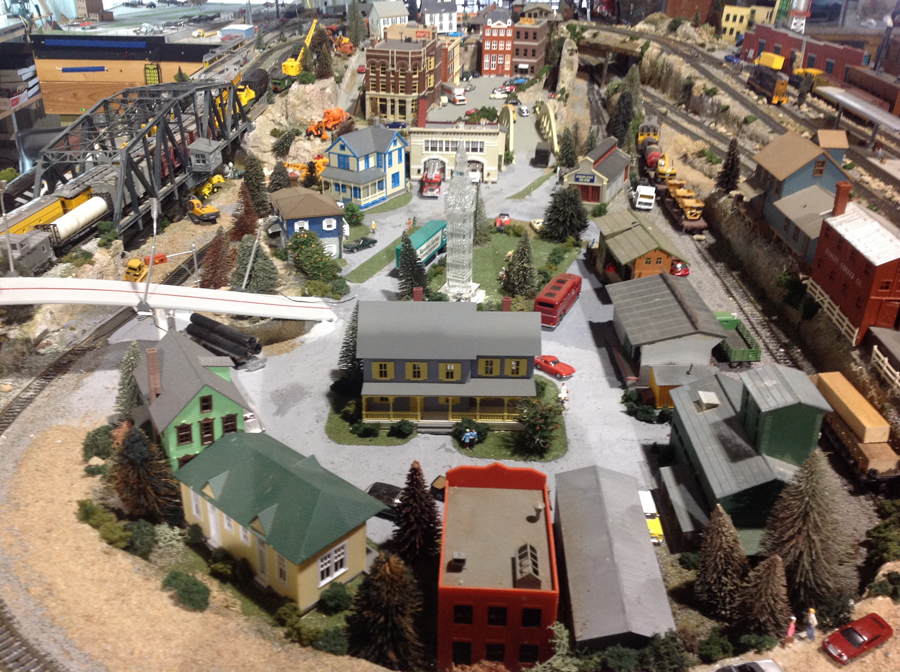
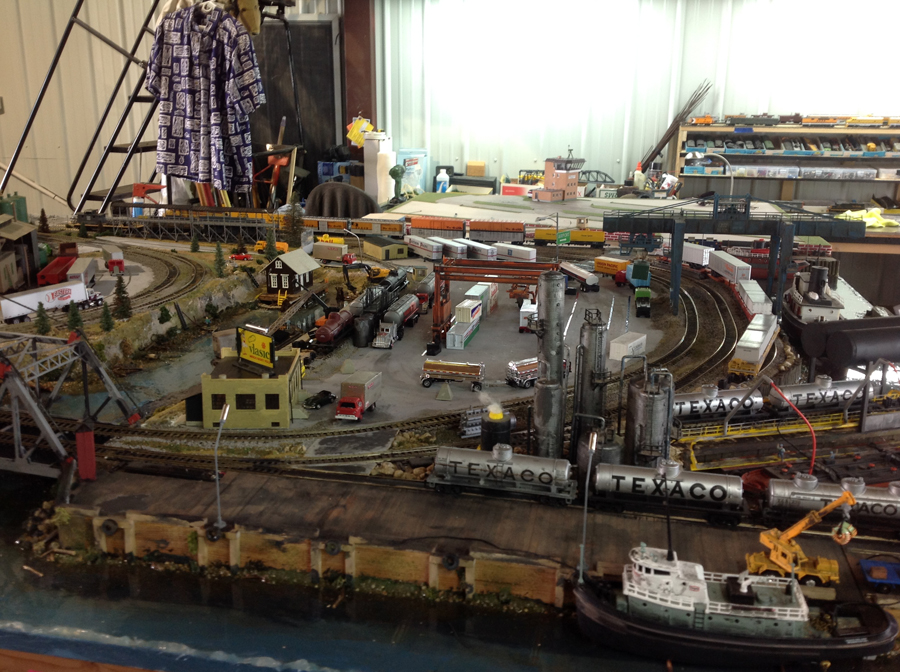
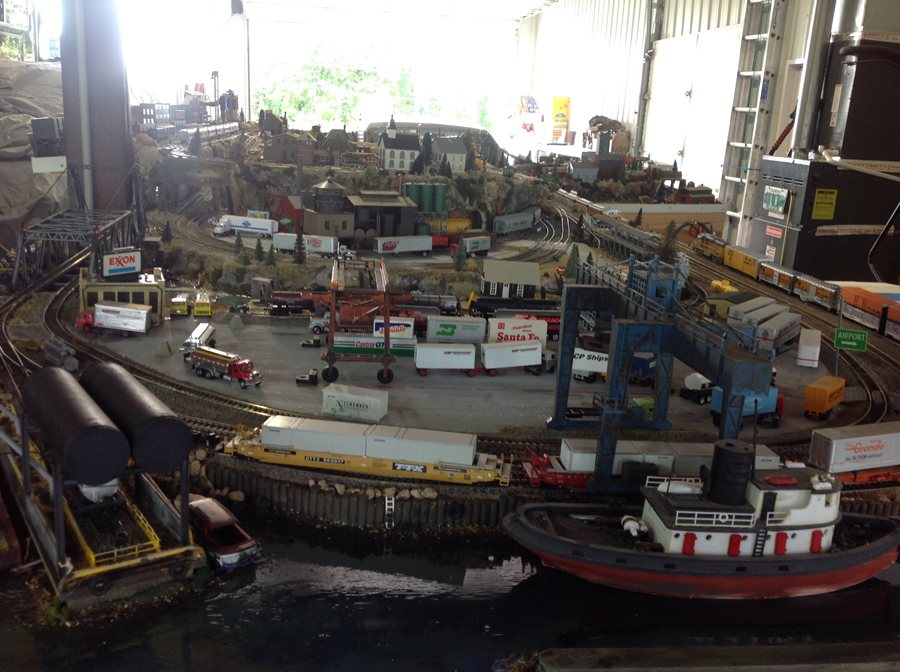
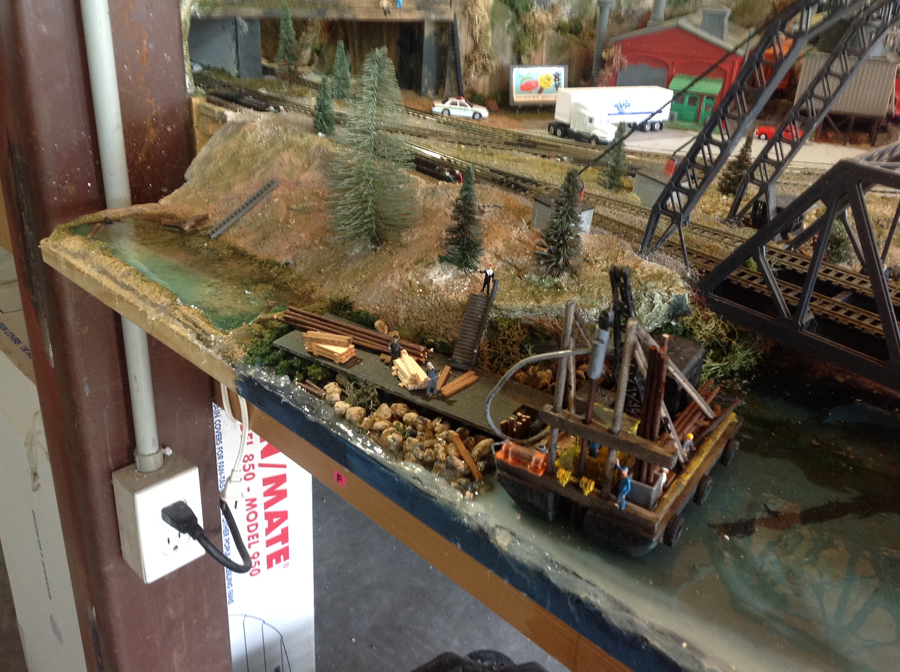
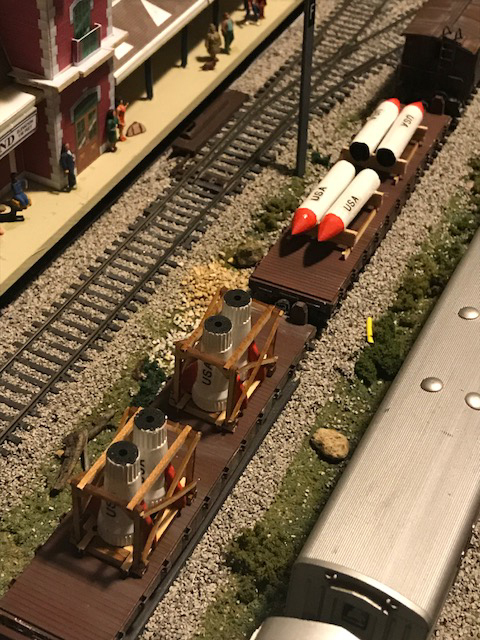
A huge thanks to Leo – what a layout. Loved the HO scale airport, and the barges too.
You can see more of Leo’s layout here: HO scale airport terminal
I also liked Leo narrative, I think he has some wise words:
“I am constantly amazed of the beautiful layouts fellow trains modelers have made…”
It’s the same for me, I do love seeing what’s in my inbox each morning.
That’s all for today folks. Please do keep ’em coming.
And don’t forget the Beginner’s Guide if you want to get going on your layout.
Best
Al
PS Latest ebay cheat sheet is here.