Model railroad lighting

Dean’s been in touch with a great explanation on model railroad lighting:

“Greetings from Dean, across the pond.

Lately, there has been a lot of discussion on this Blog about LED lighting, and in this post, I talk about LEDs and how I use them for lighting building on my N scale layout.

An LED is a special electronic component that emits light when current is passed in the correct direction. If you apply a small DC voltage to an LED (positive voltage to the positive lead, negative to the negative) then begin to raise the voltage, nothing will happen until you reach the working voltage of the diode. Then it will begin to conduct and emit light.

But, unless you limit the current through the diode, it will quickly heat up and destroy itself since it is virtually a short circuit. For many LEDs, the working voltage is around 3 volts and the maximum current allowed is around 20 mA (0.020 amps). When you buy them, these characteristics, working voltage and maximum current, will be specified by the seller.

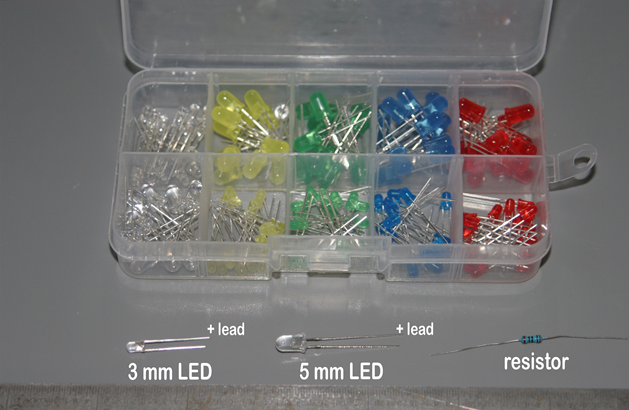
Below is a photo of some LEDs I have used. The positive lead is always the longest of the two. A resistor is also shown. Typical sizes are 3 mm and 5 mm and I buy these in bulk packs of 100 from EBAY for $4-$5, postage included. Thus, they run around 5 cents each. Resistors in bulk packs of 100 are about 4 cents apiece. Also shown is a box of the two sizes in 5 colors that I got for around $5, postage included.

model railroad lighting

You can also buy 1 mm LEDs usually with an included resistor and leads which are meant for model railroad hobbyists. I’ve seen these at $7.50 plus $2.50 shipping online. Or $10 each compared to what I pay for an LED and a resistor, $0.09. That’s why I wire my own! Lots of businesses sell bulk packs of electronic components for next to nothing on EBAY. Often these are shipped from sites in the US in a few days, although for some you have to wait for shipping from China.

Below is a simple circuit to show how an LED is wired. A battery, a 1000 ohm resistor and an LED. I just placed them together without solder to illustrate the circuit.

model railroad lighting

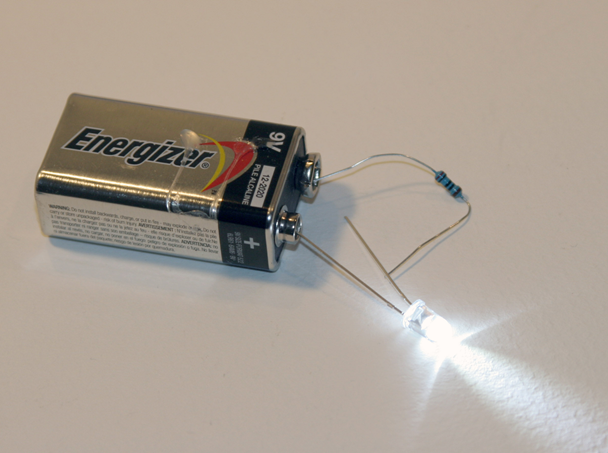
The value of the resistor can be calculated with the formula

R = (supply voltage – LED voltage) / the current

I use a supply voltage of up to 9 volts and most of my white LEDs are listed at voltage = 3, maximum current = 0.020 amps.

Then the resistance is

R = (9 – 3) / 0.020 = 6 / 0.020 = 300 ohms. This will give the maximum amount of light, but I prefer to run these at a lower current for longer life, and I increase the resistance to 500-1000 ohms.

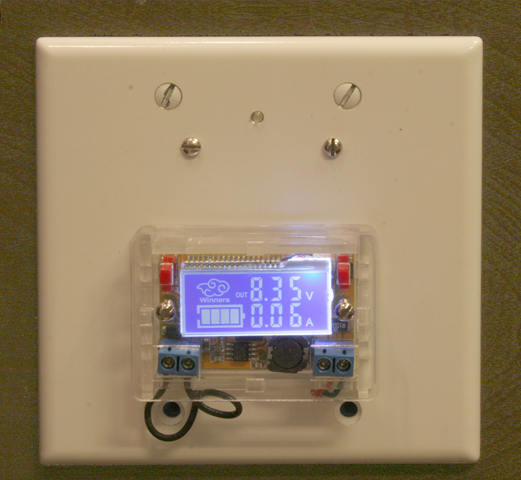
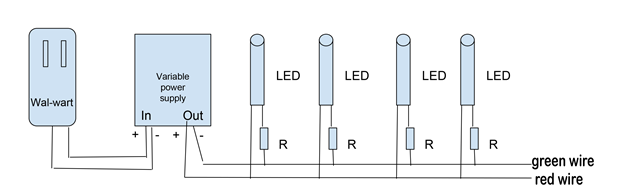
To change the voltage to the LEDs, I bought a variable voltage supply (again from EBAY) that is shown below. I use a 9-volt “wall-wart” from an old piece of electronics to supply the voltage to this variable supply. (See the circuit diagram further below.)

The voltage supply costs around $5, came with a Lucite box, and indicates both voltage and current. Make sure you connect the correct polarity to the variable supply from the wall-wart or you may destroy it. There is usually a diagram on the wall-wart that indicates which is the positive lead.

model railroad lighting

I use a regular blank electrical box covers (above) extensively on my model railroad lighting. To hold the covers, I saw a blue plastic electrical box down to a height of an inch or so and glue it into a square hole cut in the fascia panel of the layout (below):

model railroad lighting

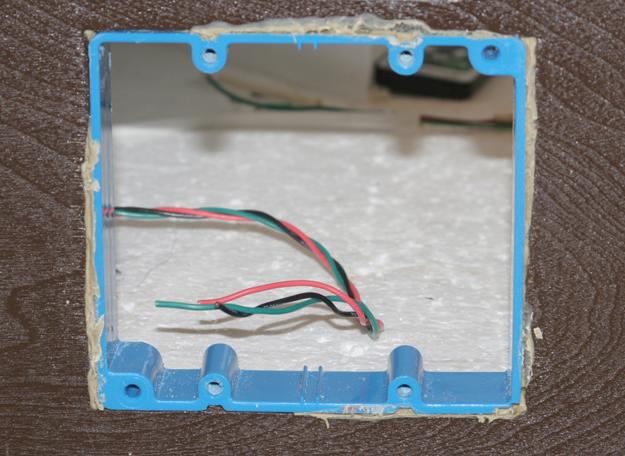
Three wires, which I twist together by chucking them in a drill, run between each of the boxes on the fascia. The colors are:

green is ground; red is to the LED lights, +0-9 v DC; black is +22 v DC for switches (I’ll describe my capacitive discharge circuit in a later post).

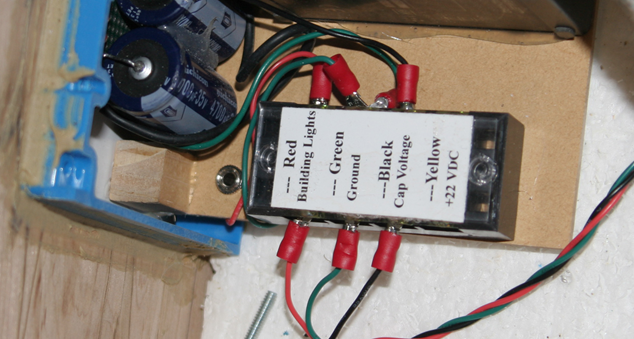
The wires terminate in junction blocks shown below (note the forth connector labeled yellow is for future expansion). The junction block has a plastic cover and I attach a printed label to this.

model railroad lighting junction box

Here is a sketch of how the wiring goes together. Note that I can connect any number of LEDs and associated resistors to the red and green wires. Normally, I use from two to four LED/resistor pairs for each building.

model railroad lighting wiring diagram

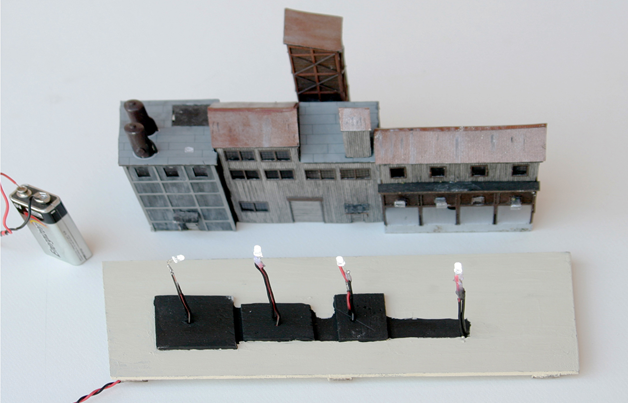
Below are two lighting examples, a mine (built from an N Scale Architect kit), and a New Model Power freight station kit. The mine is basically four boxes, put together.

Inside each box is an LED/resistor built up like a stick. The two wires are insulated with shrink tubing and the height is adjusted so that the LED sits at the top of the box.

The light is then bounced around the building. The freight station has two LED/resistors.

The base for the mine holds the four sticks and interconnections are made in slots below the base. In this photo I used a 9-volt battery to light them as a final test.

model railroad lighting LED lighting

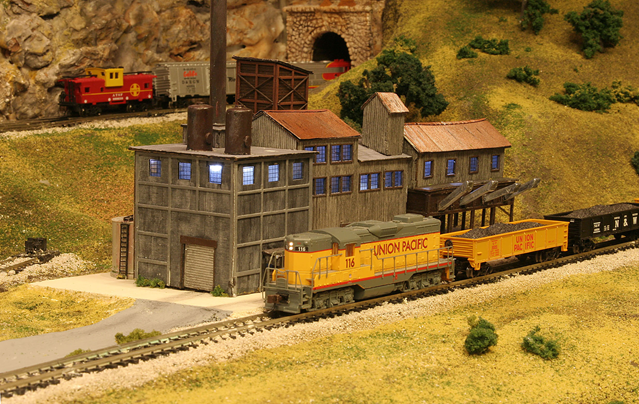
The mine lit up in all its glory with this simple model railroad lighting! The kit is a model of the Eagle River mine south of Minturn, Colorado. I first saw it in 1974 and the buildings are still there. It operated for about 100 years until 1984 and is a pollution source.

model railroad lighting


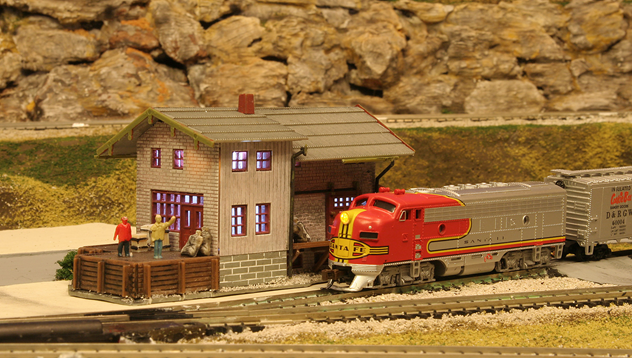
The lighted station.

The layout is lit by two banks of fluorescent lights and five 110-v LED flood lamps whose intensity can be varied. When I operate the layout, or photograph parts of it, I first vary the overhead lights and exposure to give what I want (daylight, dusk, night) then adjust the LED power supply to give the right effect. I place a camera on a tripod, since exposures are often a few seconds.

Dean”

A huge thank you to Dean for taking the time to go through his model railroad lighting – I know it’s is always a topic of conversation on this blog.

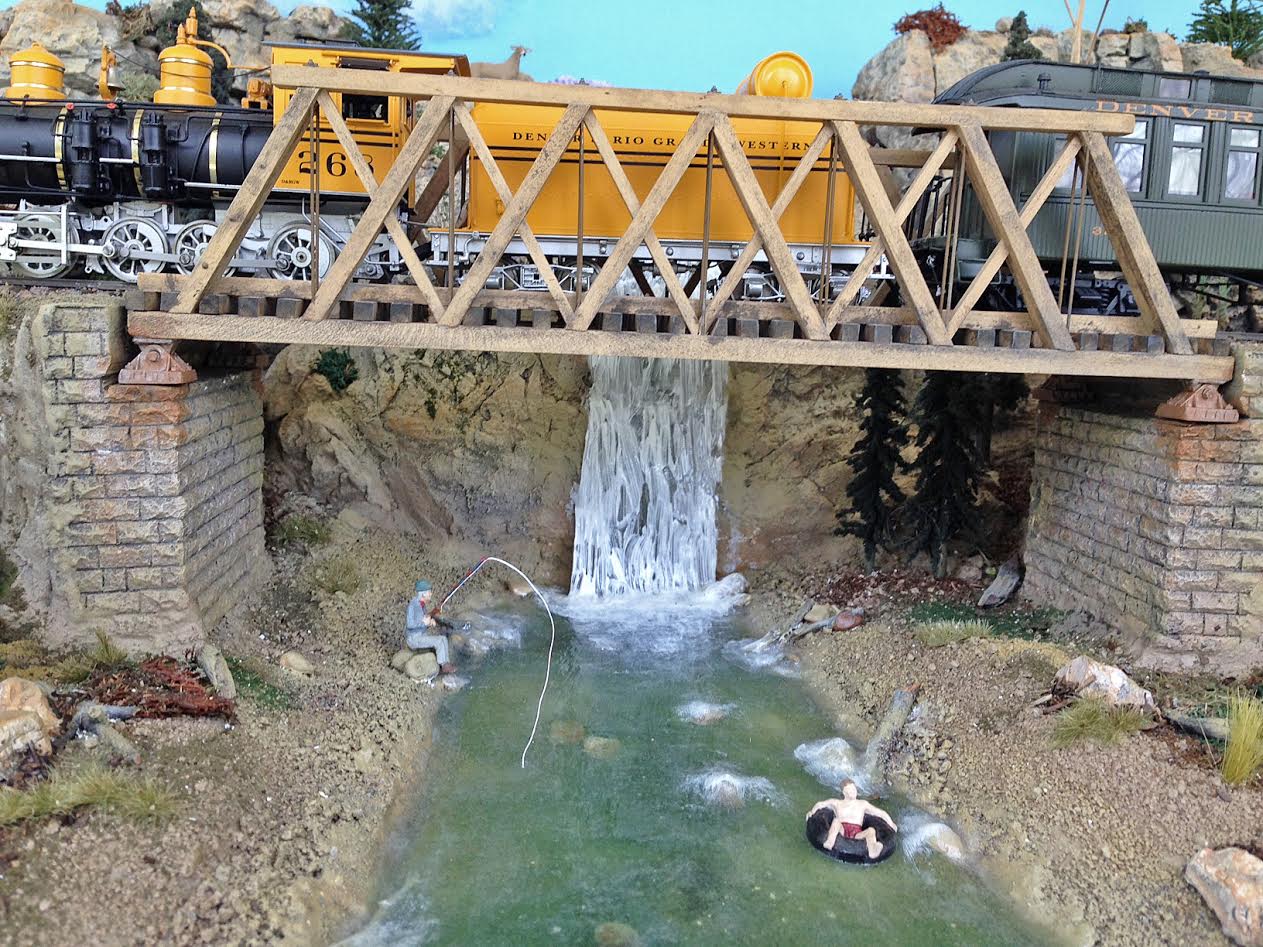
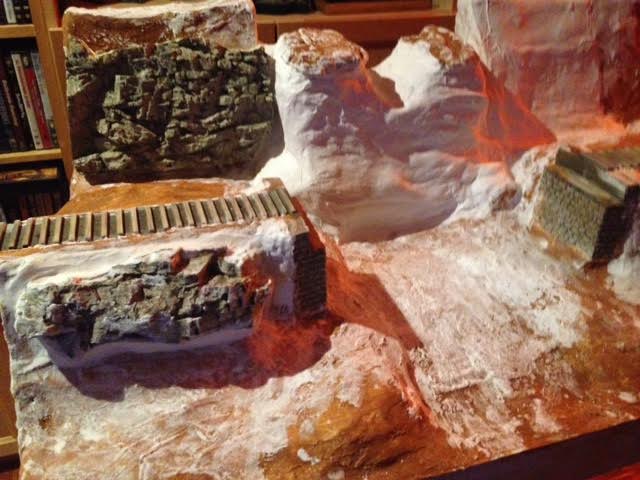
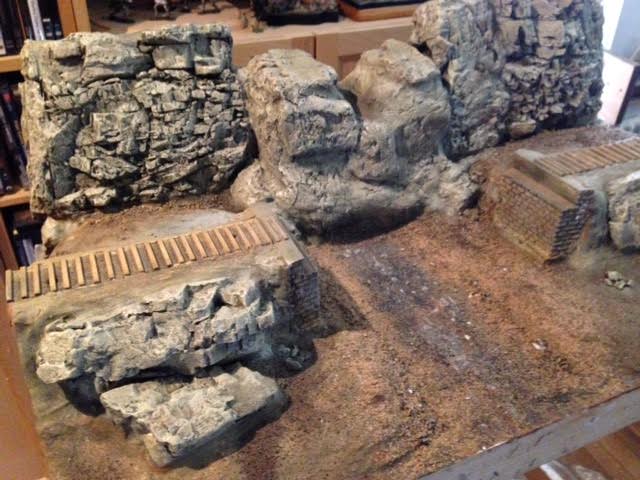
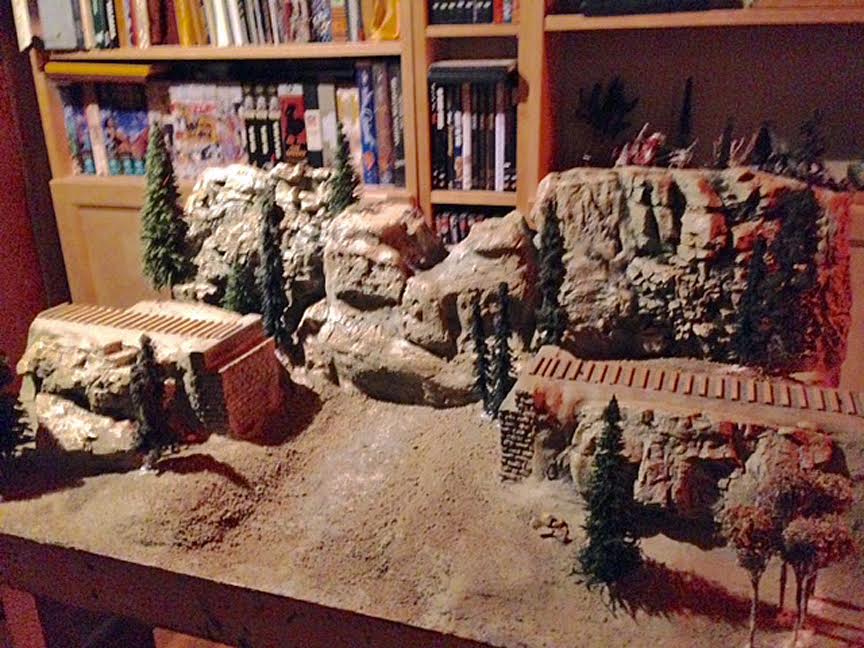
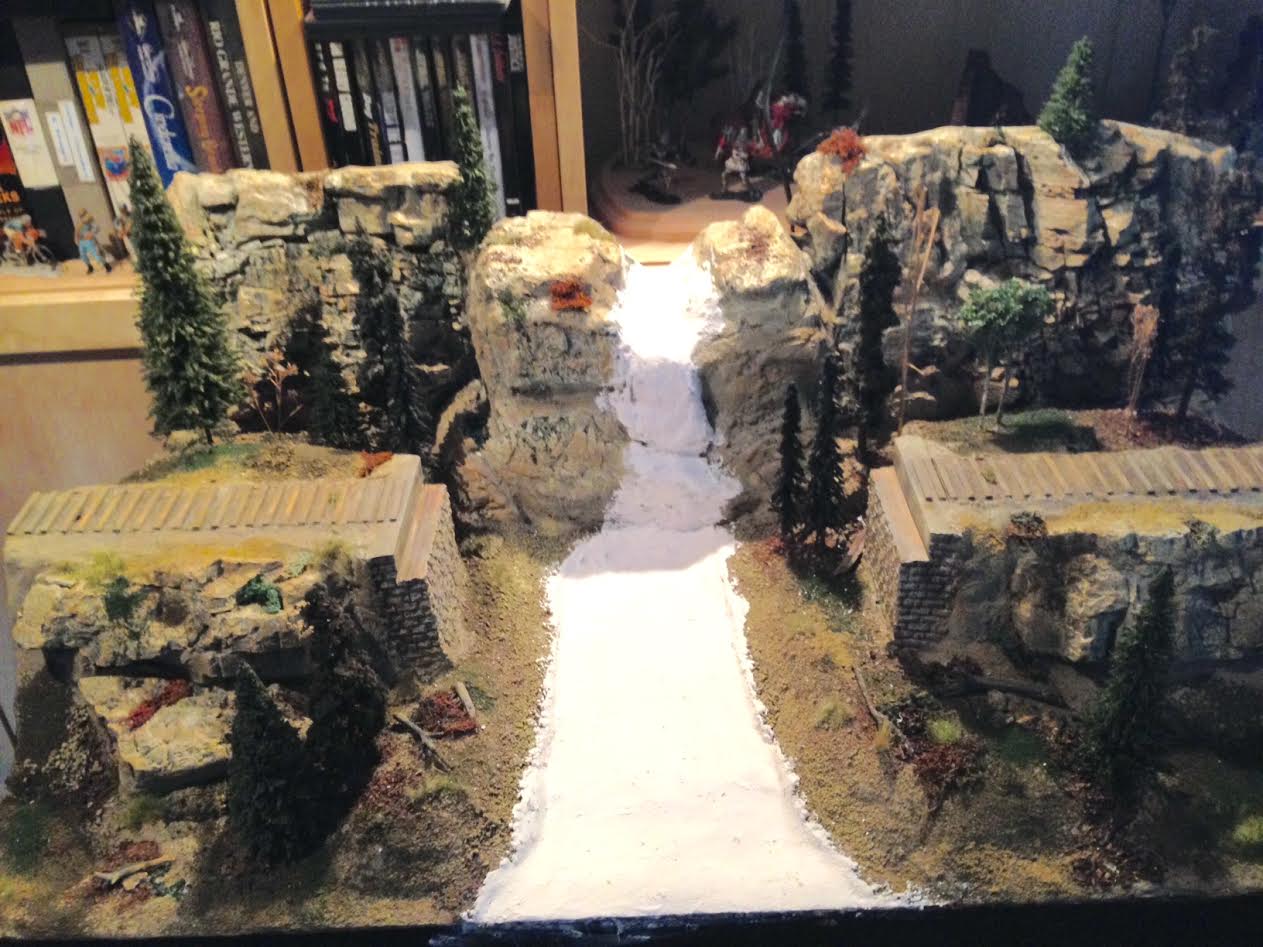
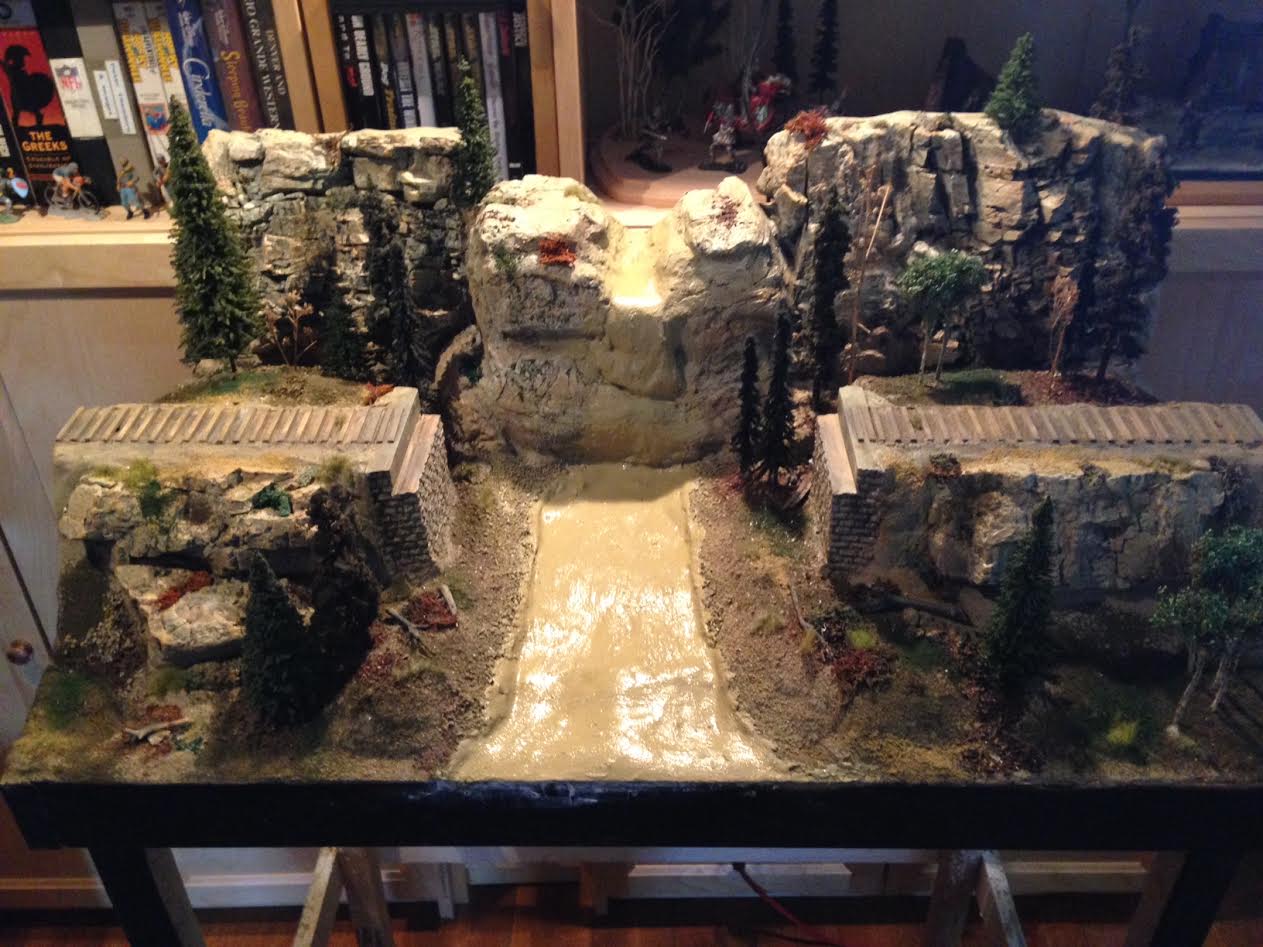
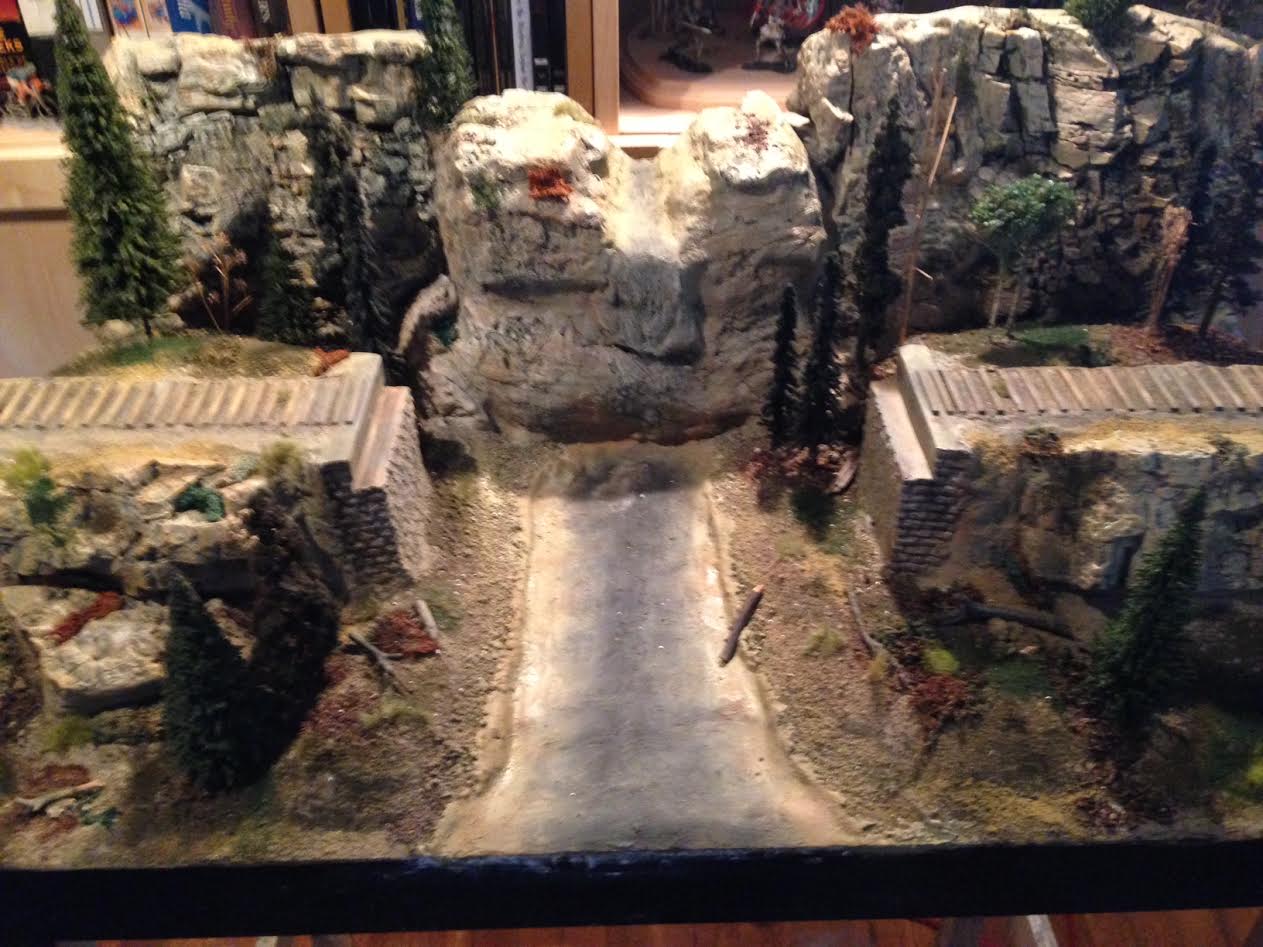
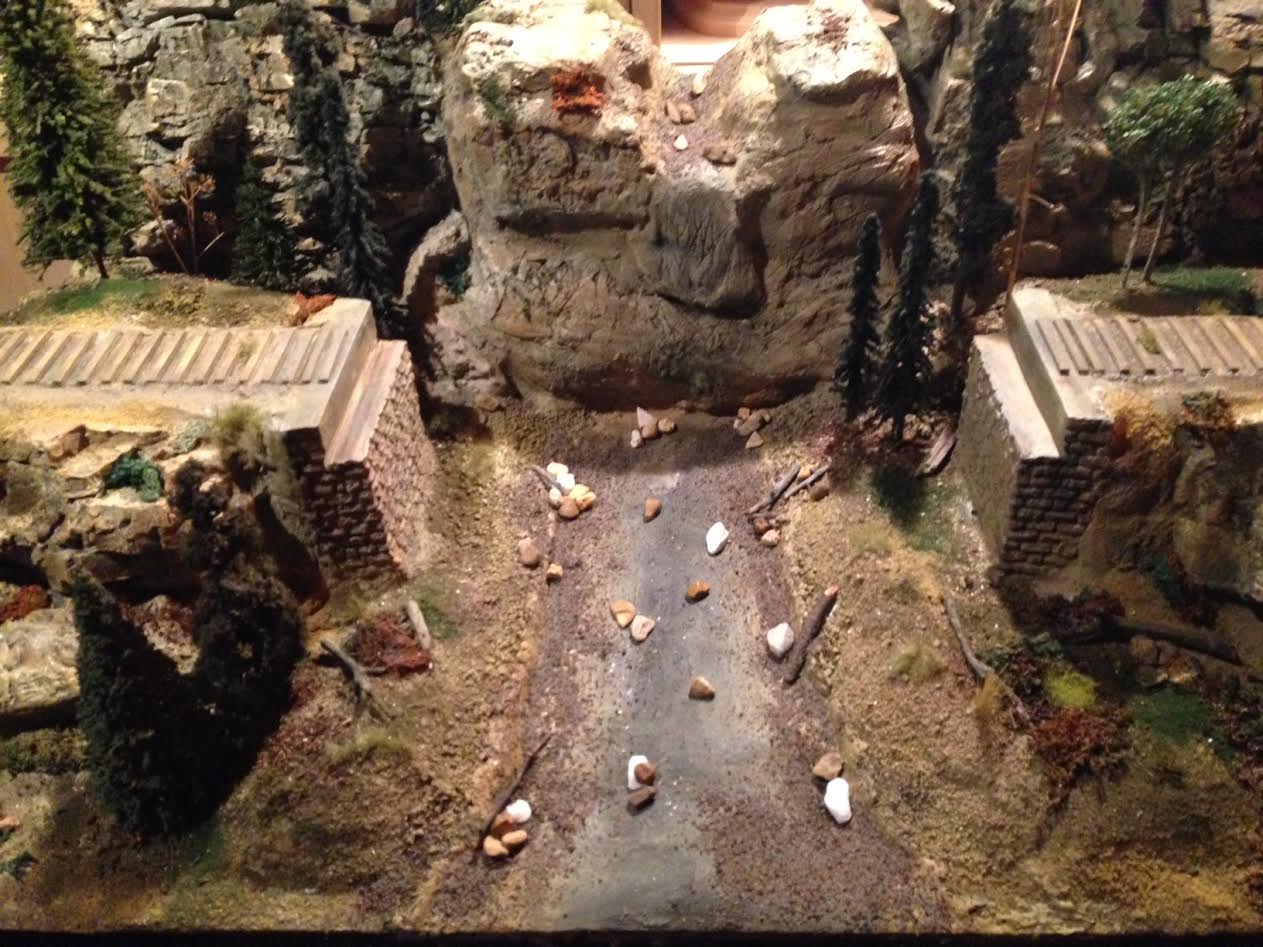
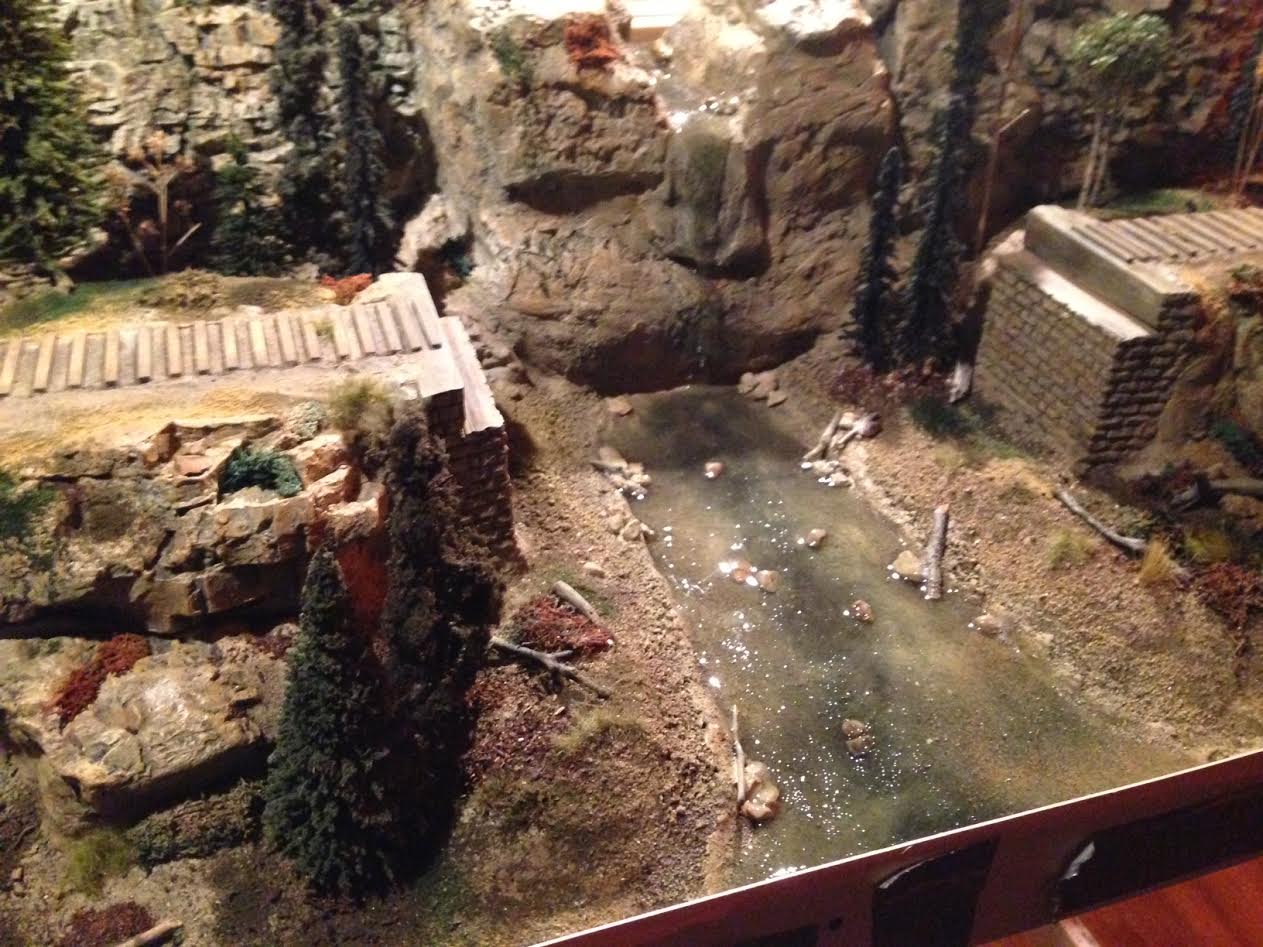
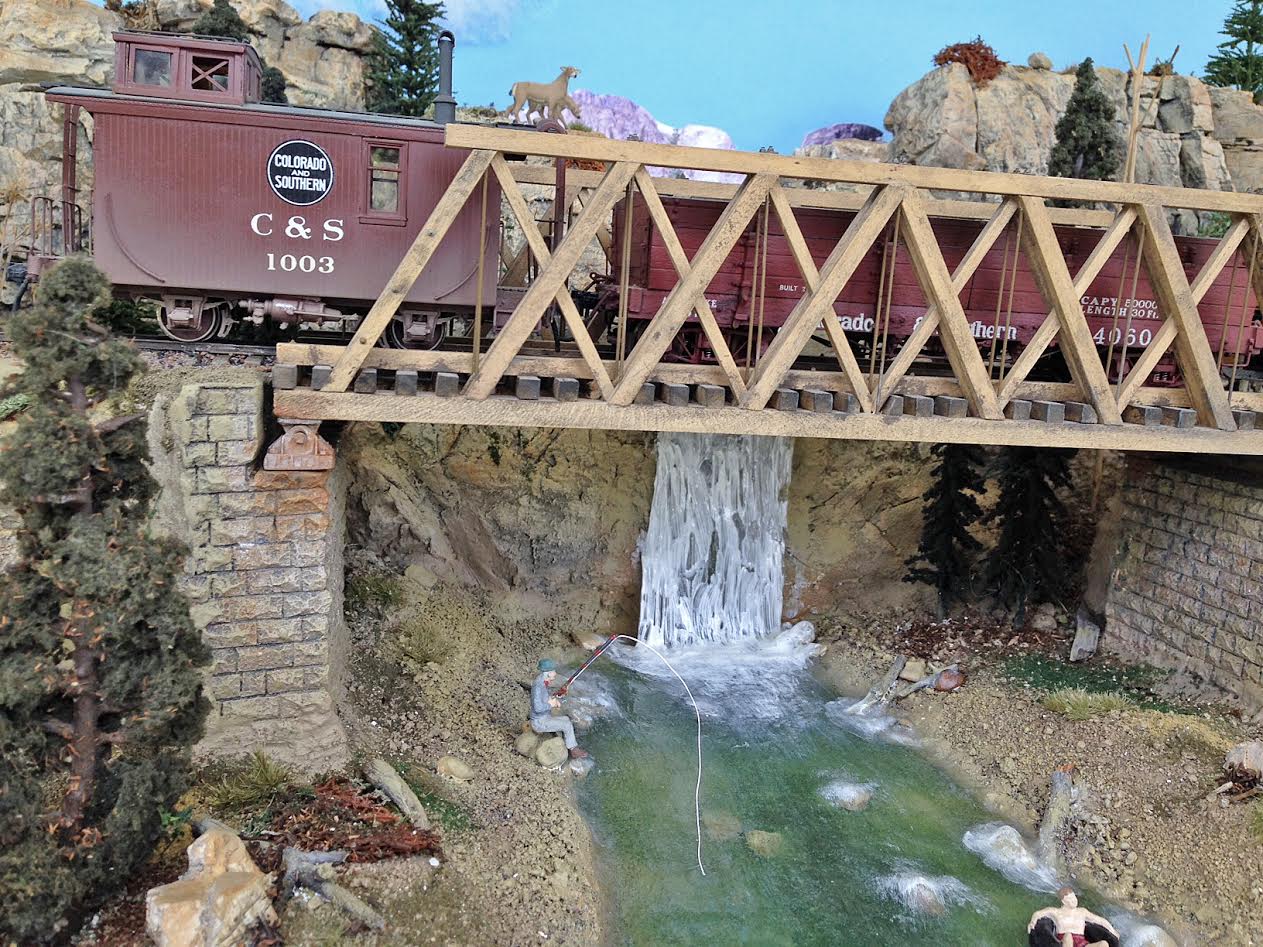
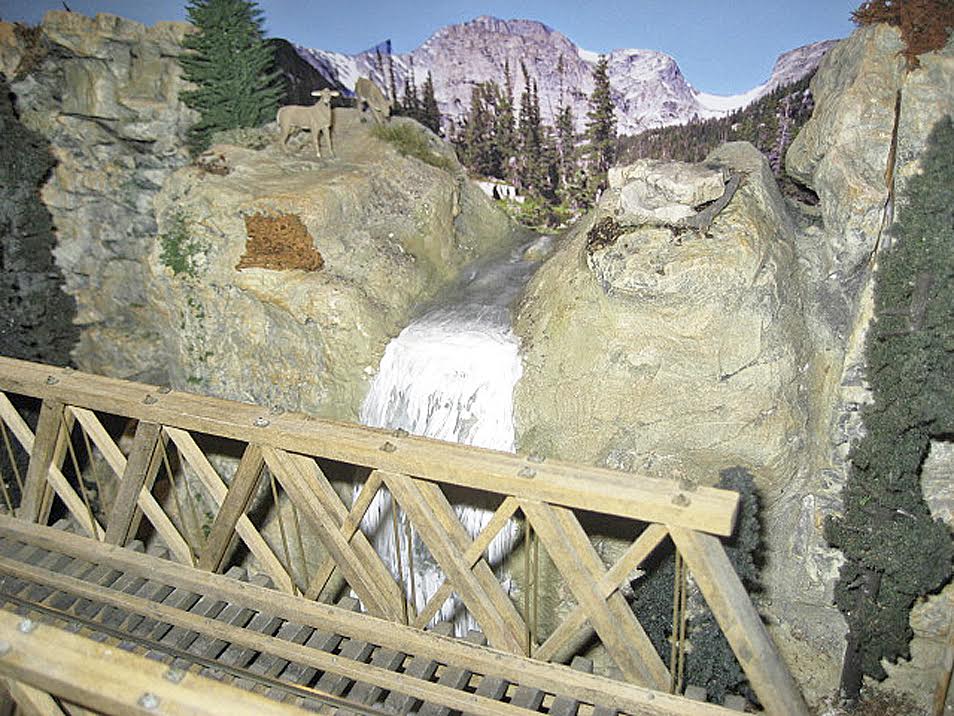
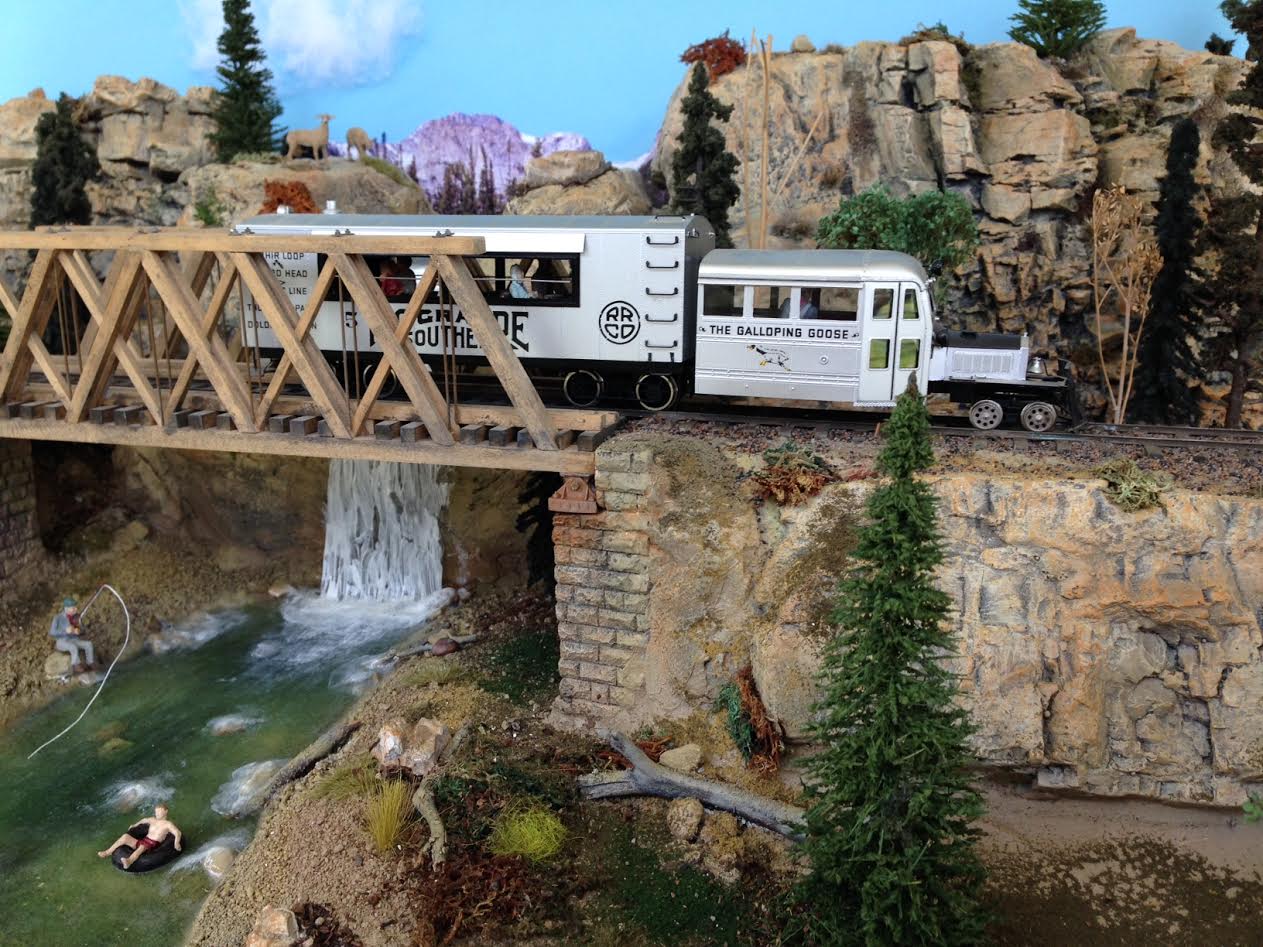
And who can forget Fred’s model railroad lighting? It has to be seen to be believed:

Model railroad building lighting.

I’m still getting the odd email on the roads and pavements bundle.

And I thought one or two of you may feel like barricading the doors and keeping yourself to yourself for a week or two.

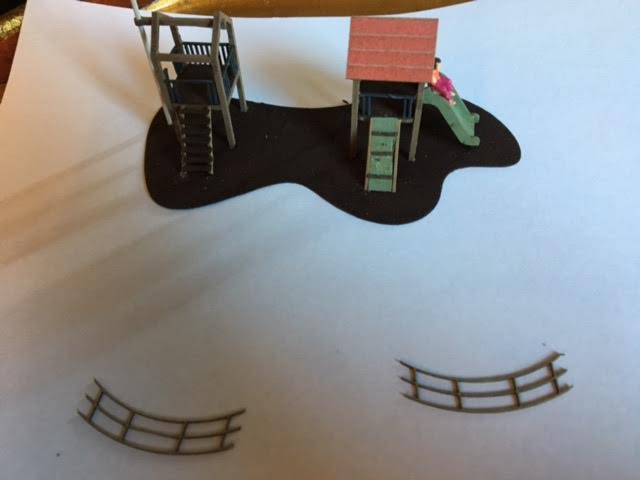
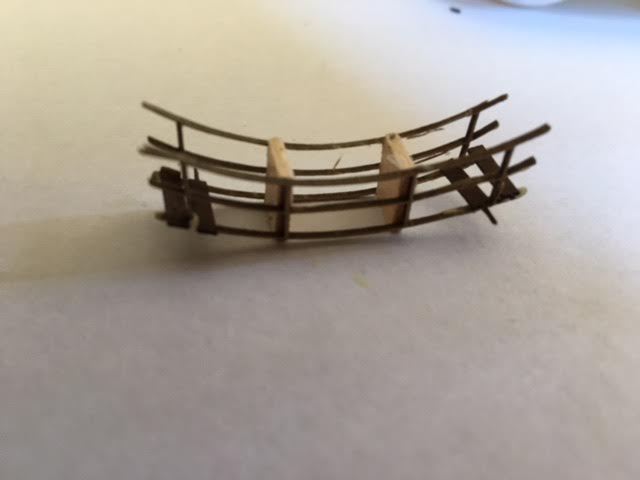
So keeping busy on with some of the print out scenery may help pass the time. Here it is:

And lastly, a few of you have have asked for the roads and pavements link again.

We’ll, I’ll go one better than that, here’s the sale offer too:

The latest prints consist of 4 roads, 4 pavements and 4 tarmac tracks – giving you a limitless combination for your layout. In fact, it’s only limited by your imagination.

John kindly put the below together just to give you an idea of what you can come up with. Here it is:

pavepics1_900

pavepic2_900

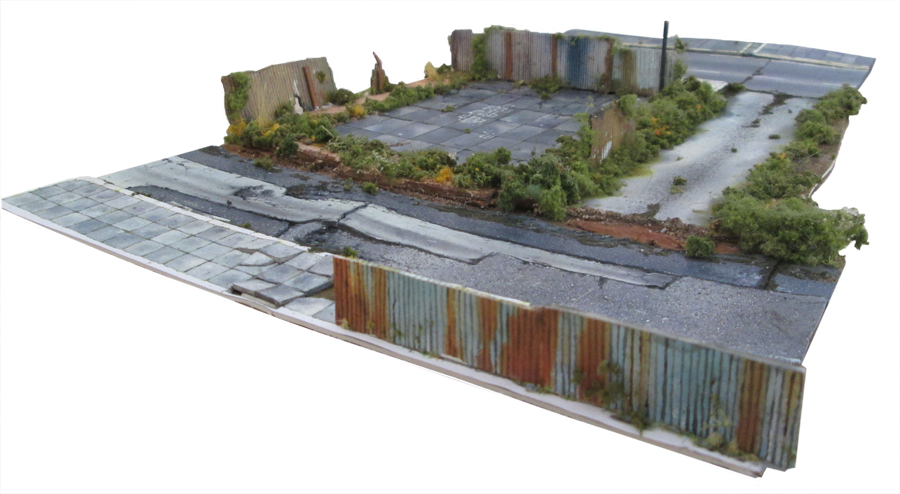
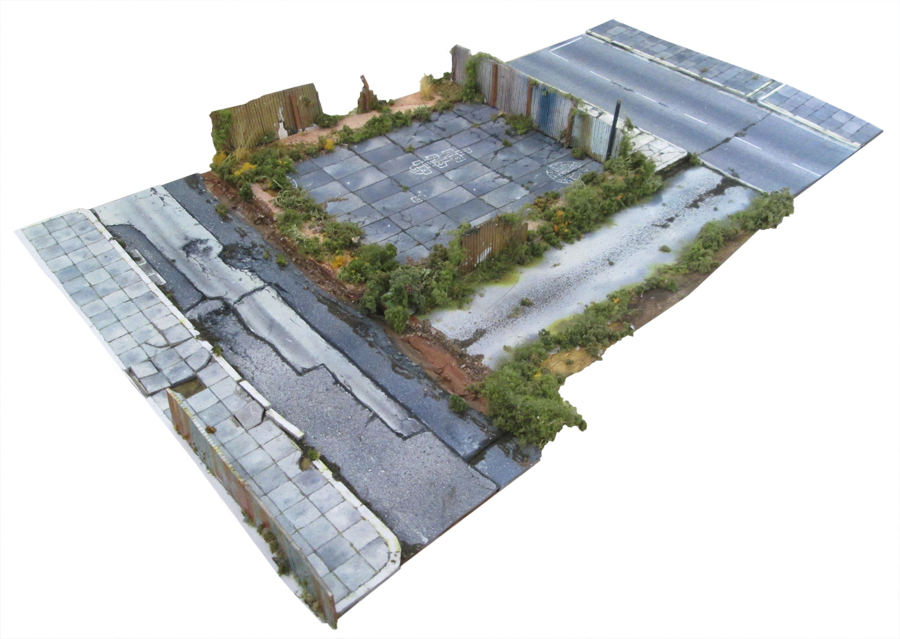
Just like every building in the store, it’s all made from print outs. Here’s his video. Hope it makes you smile as much as I did.


Latest ebay cheat sheet is here.

The prints for the roads and pavements that John was using are in the store already – but if you want them use this link to get this silly low price.

Also, until Sunday night, I’m bundling this fantastic green house with the roads and pavements, for free:

freegreenhouse

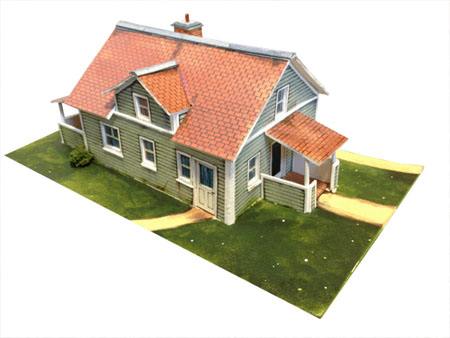
So if you’d like this fantastic house, as well as the roads and pavements, all for just $9.97 please click here to buy, or the button below.

(The house sells for $9.97 on its own, so it’s a great saving).

But remember – only until Sunday night.

Everytime I watch one of John’s videos it always makes me want to build something. I love his enthusiasm.

He also does a great job with all the scenery store it is all made from print out scenery (you just download it, print it out and stick it together).

That’s all this time folks. I never know what’s going to be in my inbox each morning – model railroad lighting tips, printable buildings and scenery, or whatever… I don’t think I’ll ever tire of it.

Please do keep ’em coming.

And lots more like this in the Beginner’s Guide, if you want to get going on your layout.

That’s all this time folks.

Best

Al

PS Latest ebay cheat sheet is here (still updated everyday).


Model railroad scenery design

Peter has been in touch with a great step by step on model railroad scenery design:

“Hi Al, ok my friend, here we go picture by picture.

Model railroad scenery design

I’ll keep each one fairly brief, buy hopefully understandable.

model train brige plaster paris

For module building it’s scene oriented, so that’s first, a basic idea of what I want to depict.

Start with the frame or ‘bench work. ‘ I use 2×2’s for the legs and 1×3 for the framing for the top and around towards the bottom.

I stay with 1×3 for the risers for the eventual track bed as well.

Once I’ve figured out what the center piece is going to be i.e. bridge, buildings, yards, etc. I screw in the risers where the track will run through.

I then figure out the scenery plan and frame that out, thus the thin card board stripping can be stapled in place to prepare for plaster cloth to cover those areas and tie in with the road bed.

model train bridge base

Next step is to add plaster to solidify all areas and start to build a solid scenery base, so I get a sense where rock molds will go.

If I add to my thoughts as I go along I’ll use moist newspaper to build up a mountain or hill and plaster that. Also the track bed is in place and covered so the hand laid ties don’t get messy.

model train bridge base with rocks

Once I’ve settled on a scene, I place the rocks where I’d like them to be and place the subject in as to get a picture of how it’s going to look.

I paint an earth color in depending on the geographical location, in this case a Colorado narrow gauge area.

Of course many colors are added later, but this is a base.

adding base colors

Rocks and bridge abutments are now being plastered in place and rock build ups I’d like to add, I wanted a water fall so I had to build up the center for height.

Model railroad scenery design base colors

Rocks are now plastered in and I’m fairly happy with placement, this took some thought of course and didn’t happen over night. In this scene you’ll see I’ve added more dirt color, sifted sand and starting to add small rocks in different areas. The water bed is taking same as well.

Model railroad scenery design


Model railroad scenery design:

Once the rock, earth, water bed and general scene has been blended together I add my trees and rearrange them a few times for, a hopefully aesthetic taste with different kinds of trees and shrubs eventually. Now it’s really taking shape and I can almost smell the outcome.

Model railroad scenery design

I’ve now added ground foam and various ground textures of many colors, green, yellow, brown (all kinds available) including pieces of fallen tree limbs, driftwood etc.

The water fall and river bed are now coated with a thin veneer of plaster.

Once dry I give it a muddy base color, then paint the center of the river bed a dark color for depth. Rocks and driftwood are added to the river bed.

Model railroad scenery design water

Model railroad scenery design river

Model railroad scenery design

Model railroad scenery design

Once everything is dry river bed wise, it’s time to pour in the 15 minute two part epoxy with a tiny and I mean tiny bit of blue/green tint added.

If too much is added it takes away the clear water look and realism. Don’t forget to dam the front of any scene so the epoxy won’t run onto the floor..lol

The reason I use epoxy for years is that it dries completely flat which is good. because once dry I start adding ‘Liquitex’ gloss medium & varnish with a brush starting from the back to the front.

Many layers are added so the it creates movement to the water. Make sure each thin layer dries before adding a new one.

You can add a tiny tiny bit of blue tint to the first couple of layers (acrylic works best) . It dries clear so the effect is what I want & hopefully looks real.

model train trestel bridge

model railroad trestle bridge

Model railroad scenery design

Model railroad bridge

For the water fall, I used woodland scenic water effects (expensive stuff!) I measure the length & width of the fall. I use a Pyrex glass long baking dish to brush on the water strips, I say strips because it may take a few before your satisfied with the amount of white acrylic you’ve added so it looks fairly real.

Once you’re satisfied, you can use the water effect stuff to glue it in place and even use it to attach it to the bottom of where it’s landing.

Once dry and in place, it’s time to add more gloss medium to blend it in. I added more white acrylic to the gloss medium where the fall hits the river bed, around rocks and whatever else would cause water to ripple and have foam.

I lay the track rails once scenery is done and spike them in, Bridge can now be added and adjusted with shoes given a rusty color and any details around the scene I care to add just from observing nature. There’s more than one color to rocks by the way, there’s many bottles of paint lying around when I attack something like this.

Well, I hope folks can pick up a few things from all of this, I sure did from my many years in the hobby obtaining tips and technics from fantastic modelers.

Thank you, & best to you and all,

Peter”

A huge thanks to Peter for taking the time to put this model railroad scenery design post together. Hope enjoyed it as much as I did.

That’s all for today folks.

Please do keep ’em coming.

And if today is the day you decide to stop watching and start doing, the Beginner’s Guide is here.

Best

Al

PS More HO scale train layouts here if that’s your thing.


Need buildings for your layout? Have a look at the Silly Discount bundle.

Amusement park HO scale – Jack’s

Jack’s been in touch again with his amusement park HO scale.

If you missed his last post, it’s here.

“Hi Al,

The residential area of the layout is almost complete.

I built a Noch kids playground, which is laser cut and pretty frustrating to build. There is a rope bridge between two towers.

I couldn’t figure out how to assemble it. You have to glue planks to the ‘rope’ side pieces. I finally cut two spacers a little shorter than the planks and using my spray glue sprayed the edges.

I was then able to hold the sides in place while gluing 4 of the 12 planks in place. I could then remove the spacers and glue the balance of the planks.

For the amusement park I built a number of Faller rides and booths. They are more detailed than other brands of amusement rides, but they have lots of parts.

The kids merry go round has 137 pieces. The only downside to the Faller stuff is that although some wording is in English, others of it is in German. You’d think they would come out with an English sticker set.

I didn’t find a ticket booth so I built one from balsa wood. I am calling my amusement park Dorney Park where I went as a kid. I found photos of signs on the Internet and using sprue material from the merry go round made signs. I just have to work out placement of the rides and booths.

I have the tunnel portals in and the cardboard on the mountain is covered with plaster cloth.

A word of caution regarding Woodland Scenics Realistic Water. I had poured the pond about 4 days ago. I hadn’t brought the ground cover down to the water’s edge, so I put painters tape on the water and finished the ground cover.

After removing the tape, I had impressions of the tape in the water. Fortunately I had some Realistic Water left, so I poured a thin layer on the pond. All looks good now.

Jack”

HO scale road

model train garden hut

HO scale swimming pool

amusement park ho scale

amusement park ho scale

amusement park ho scale


amusement park ho scale

HO layout

model train tunnel plaster

And here’s a video – a bit dark, but that’s to show off the lights:


Latest ebay cheat sheet is here. Still going strong!

A huge thanks to Jack for sharing his amusement park HO scale. A wonderful narrative and pics – every layout has its frustrations, and Jack’s is no exception.

It also goes to show your theme can be anything you want it to be – here’s a short list of some of the different themes on the blog:

Old west themed model trains

Bermuda model railway

New England themed layout

50s theme layout

Disney world model train

Harry Potter model railway

That’s all for today folks.

Please do keep ’em coming.

And if today is the day you decide to get busy and stop dreaming, the Beginner’s Guide is here.

Best

Al

PS Latest ebay cheat sheet is here.

PPS More HO scale train layouts here if that’s your thing.